How to: Add another trunk light
#1
 09-23-2014, 04:07 AM


How to: Add another trunk light
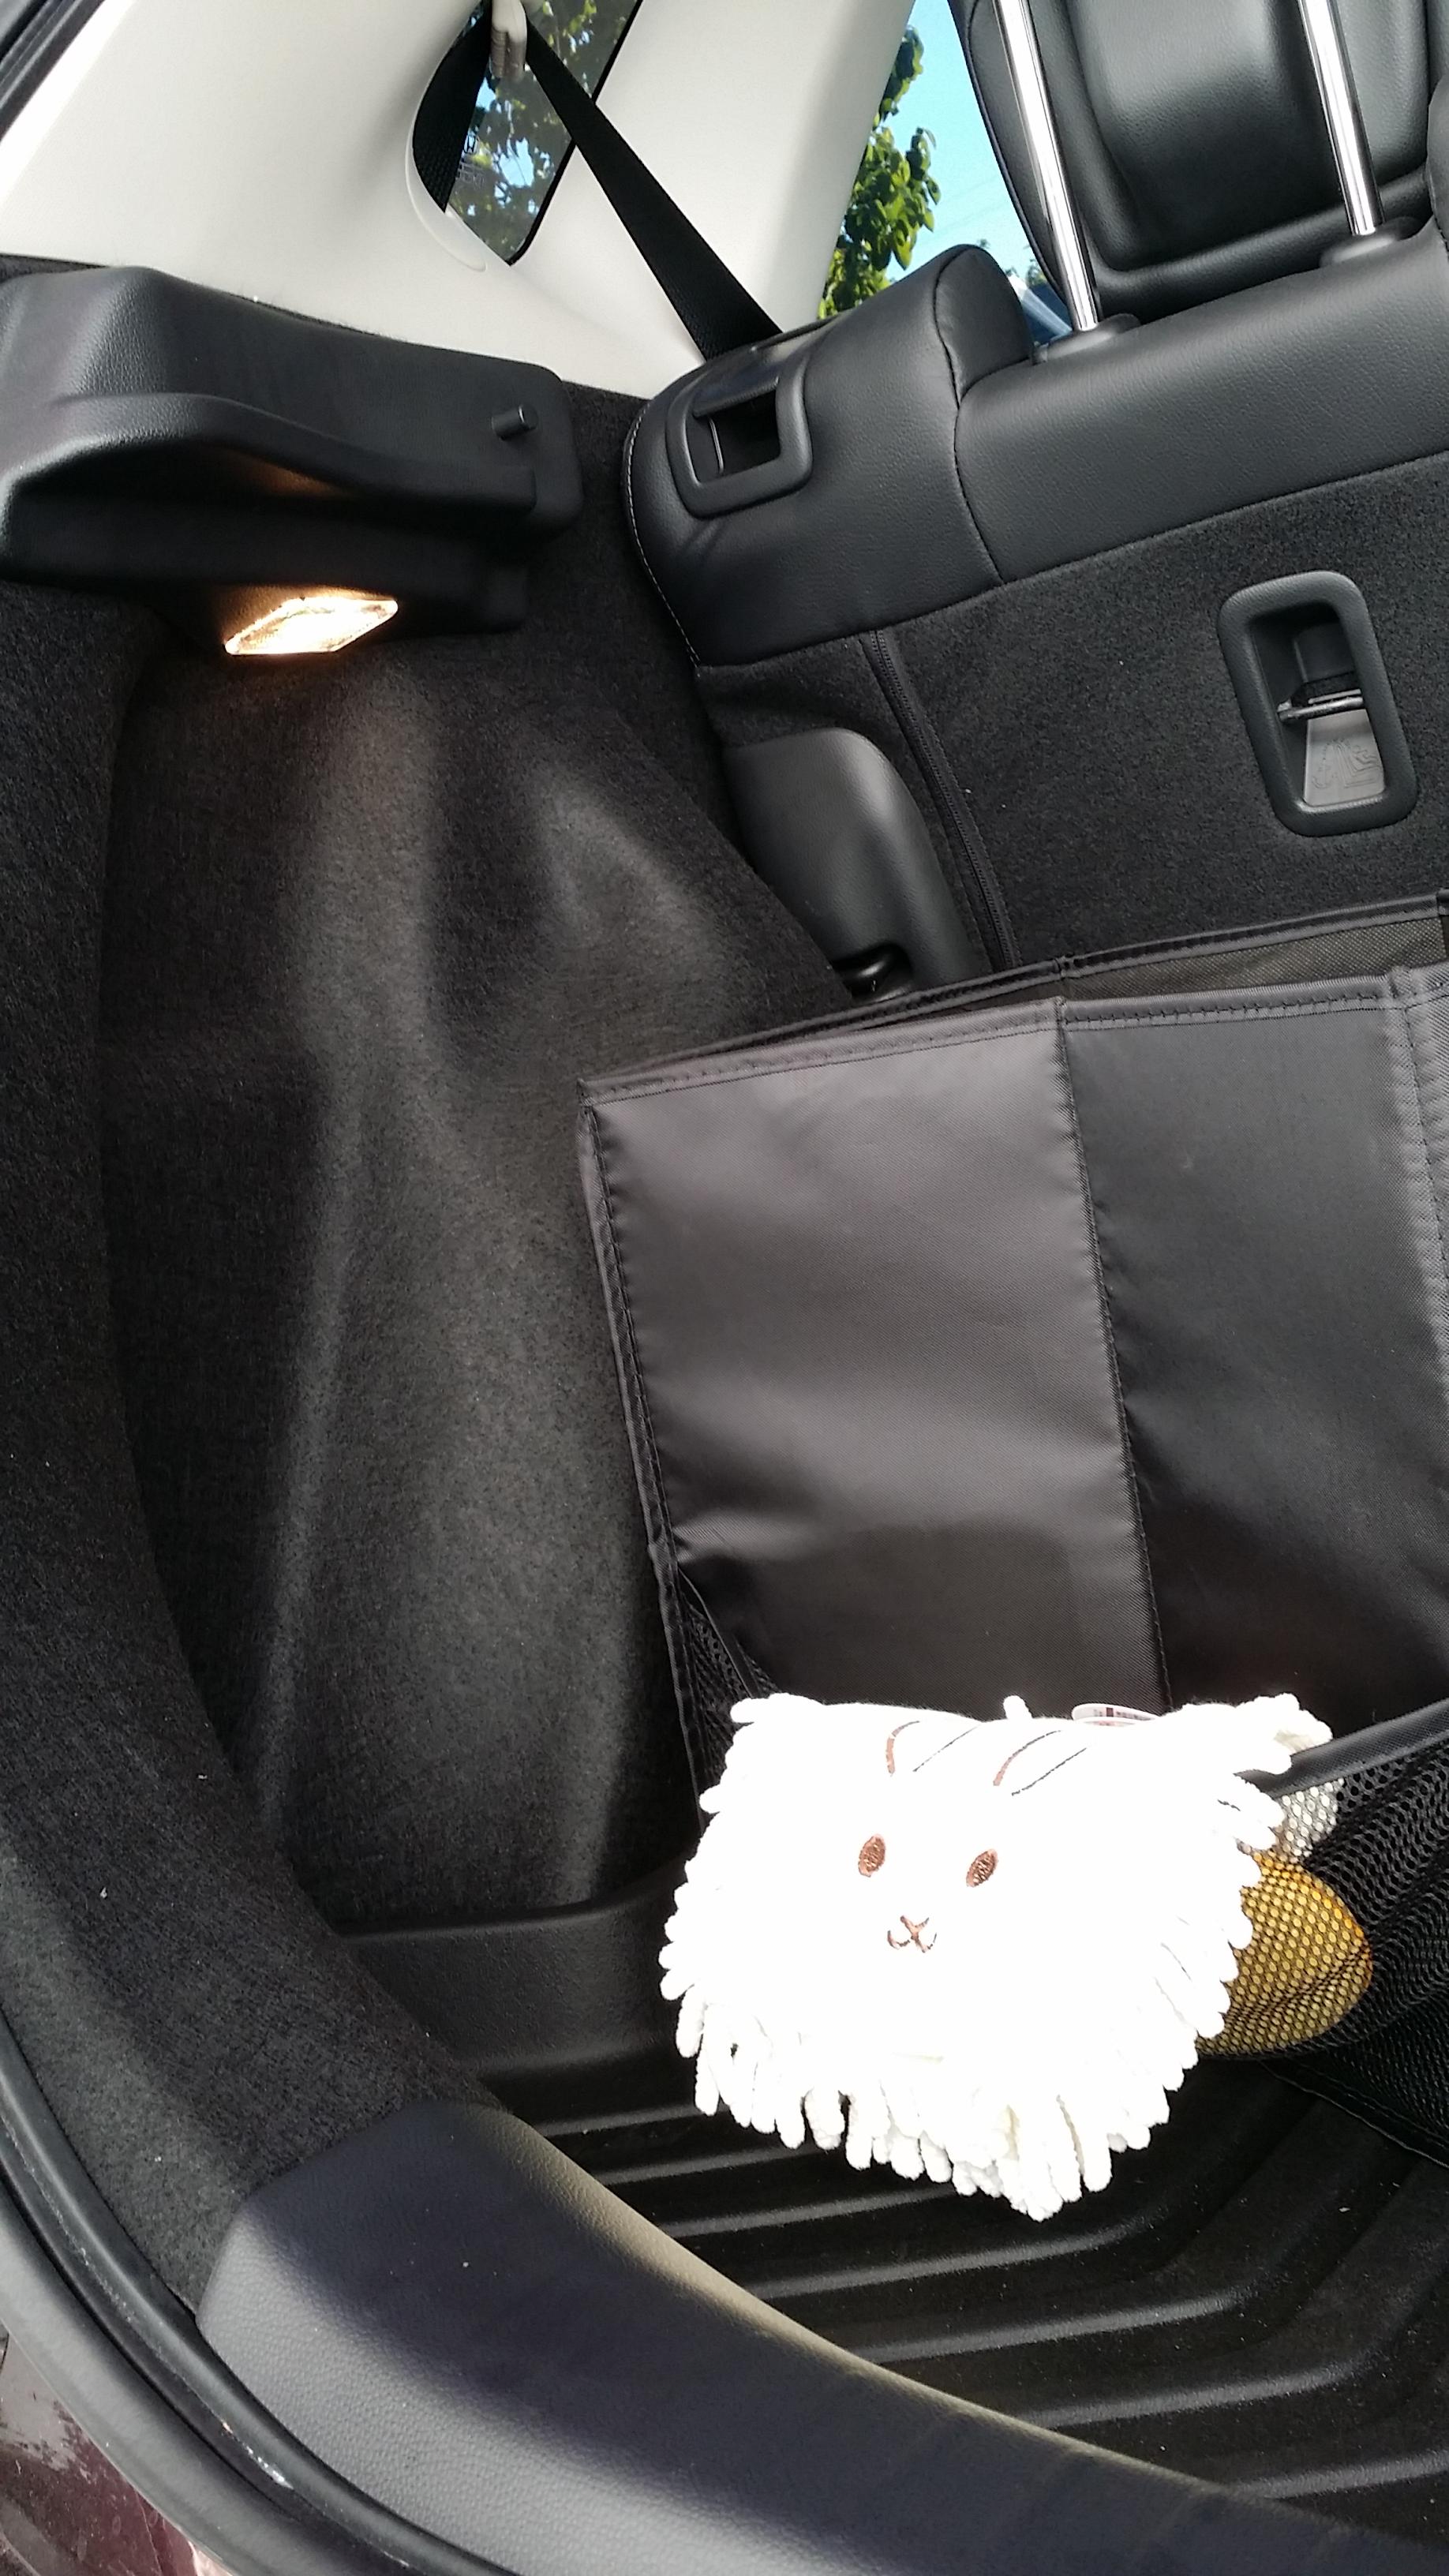
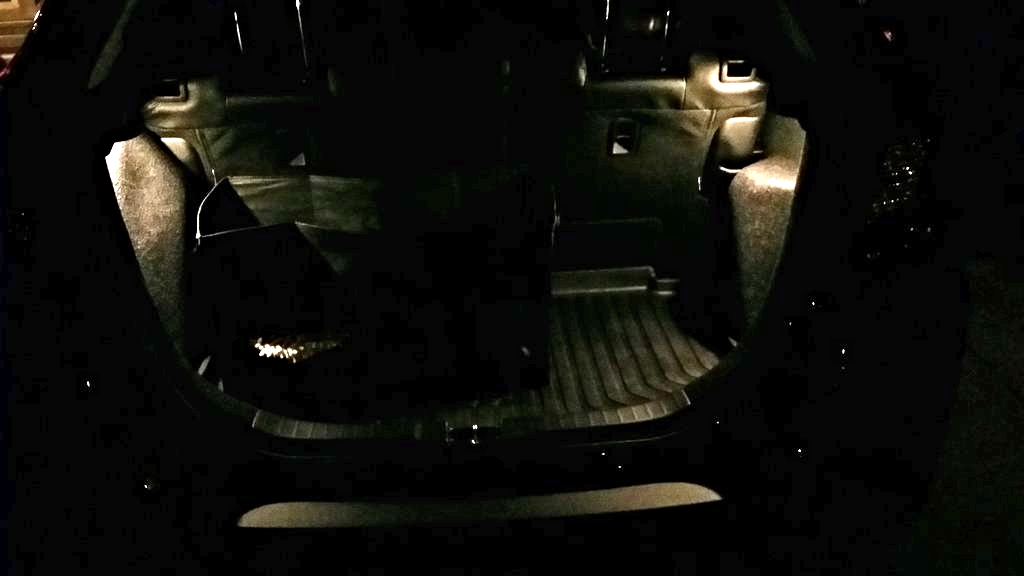
So I wanted an additional light in my trunk to see the stuff on the side that's generally not lit because you know ... sometimes it's really dark at night and these old beady eyes can't see well.
I had an extra trunk light lens assembly but you can use any lamp assembly, and the white LED with 3M sticky tape backing on Amazon works really well too - however I don't recommend attaching them straight on the cloth interior without some form of heat sink since they get really hot.
Those LEDs are REALLY bright but I chose not to use them because they don't fit in the OEM lens assembly. Tangent aside, here goes. Oh btw I took some of these pics backwards.
Lower the rear seats first. You're going to have to pull apart the left side plastic panel in the trunk. Use something flat, slip it under the plastic, pry up, then use your fingers to pry it off slowly. It will also pull part of the interior fabric with it. This is ok.
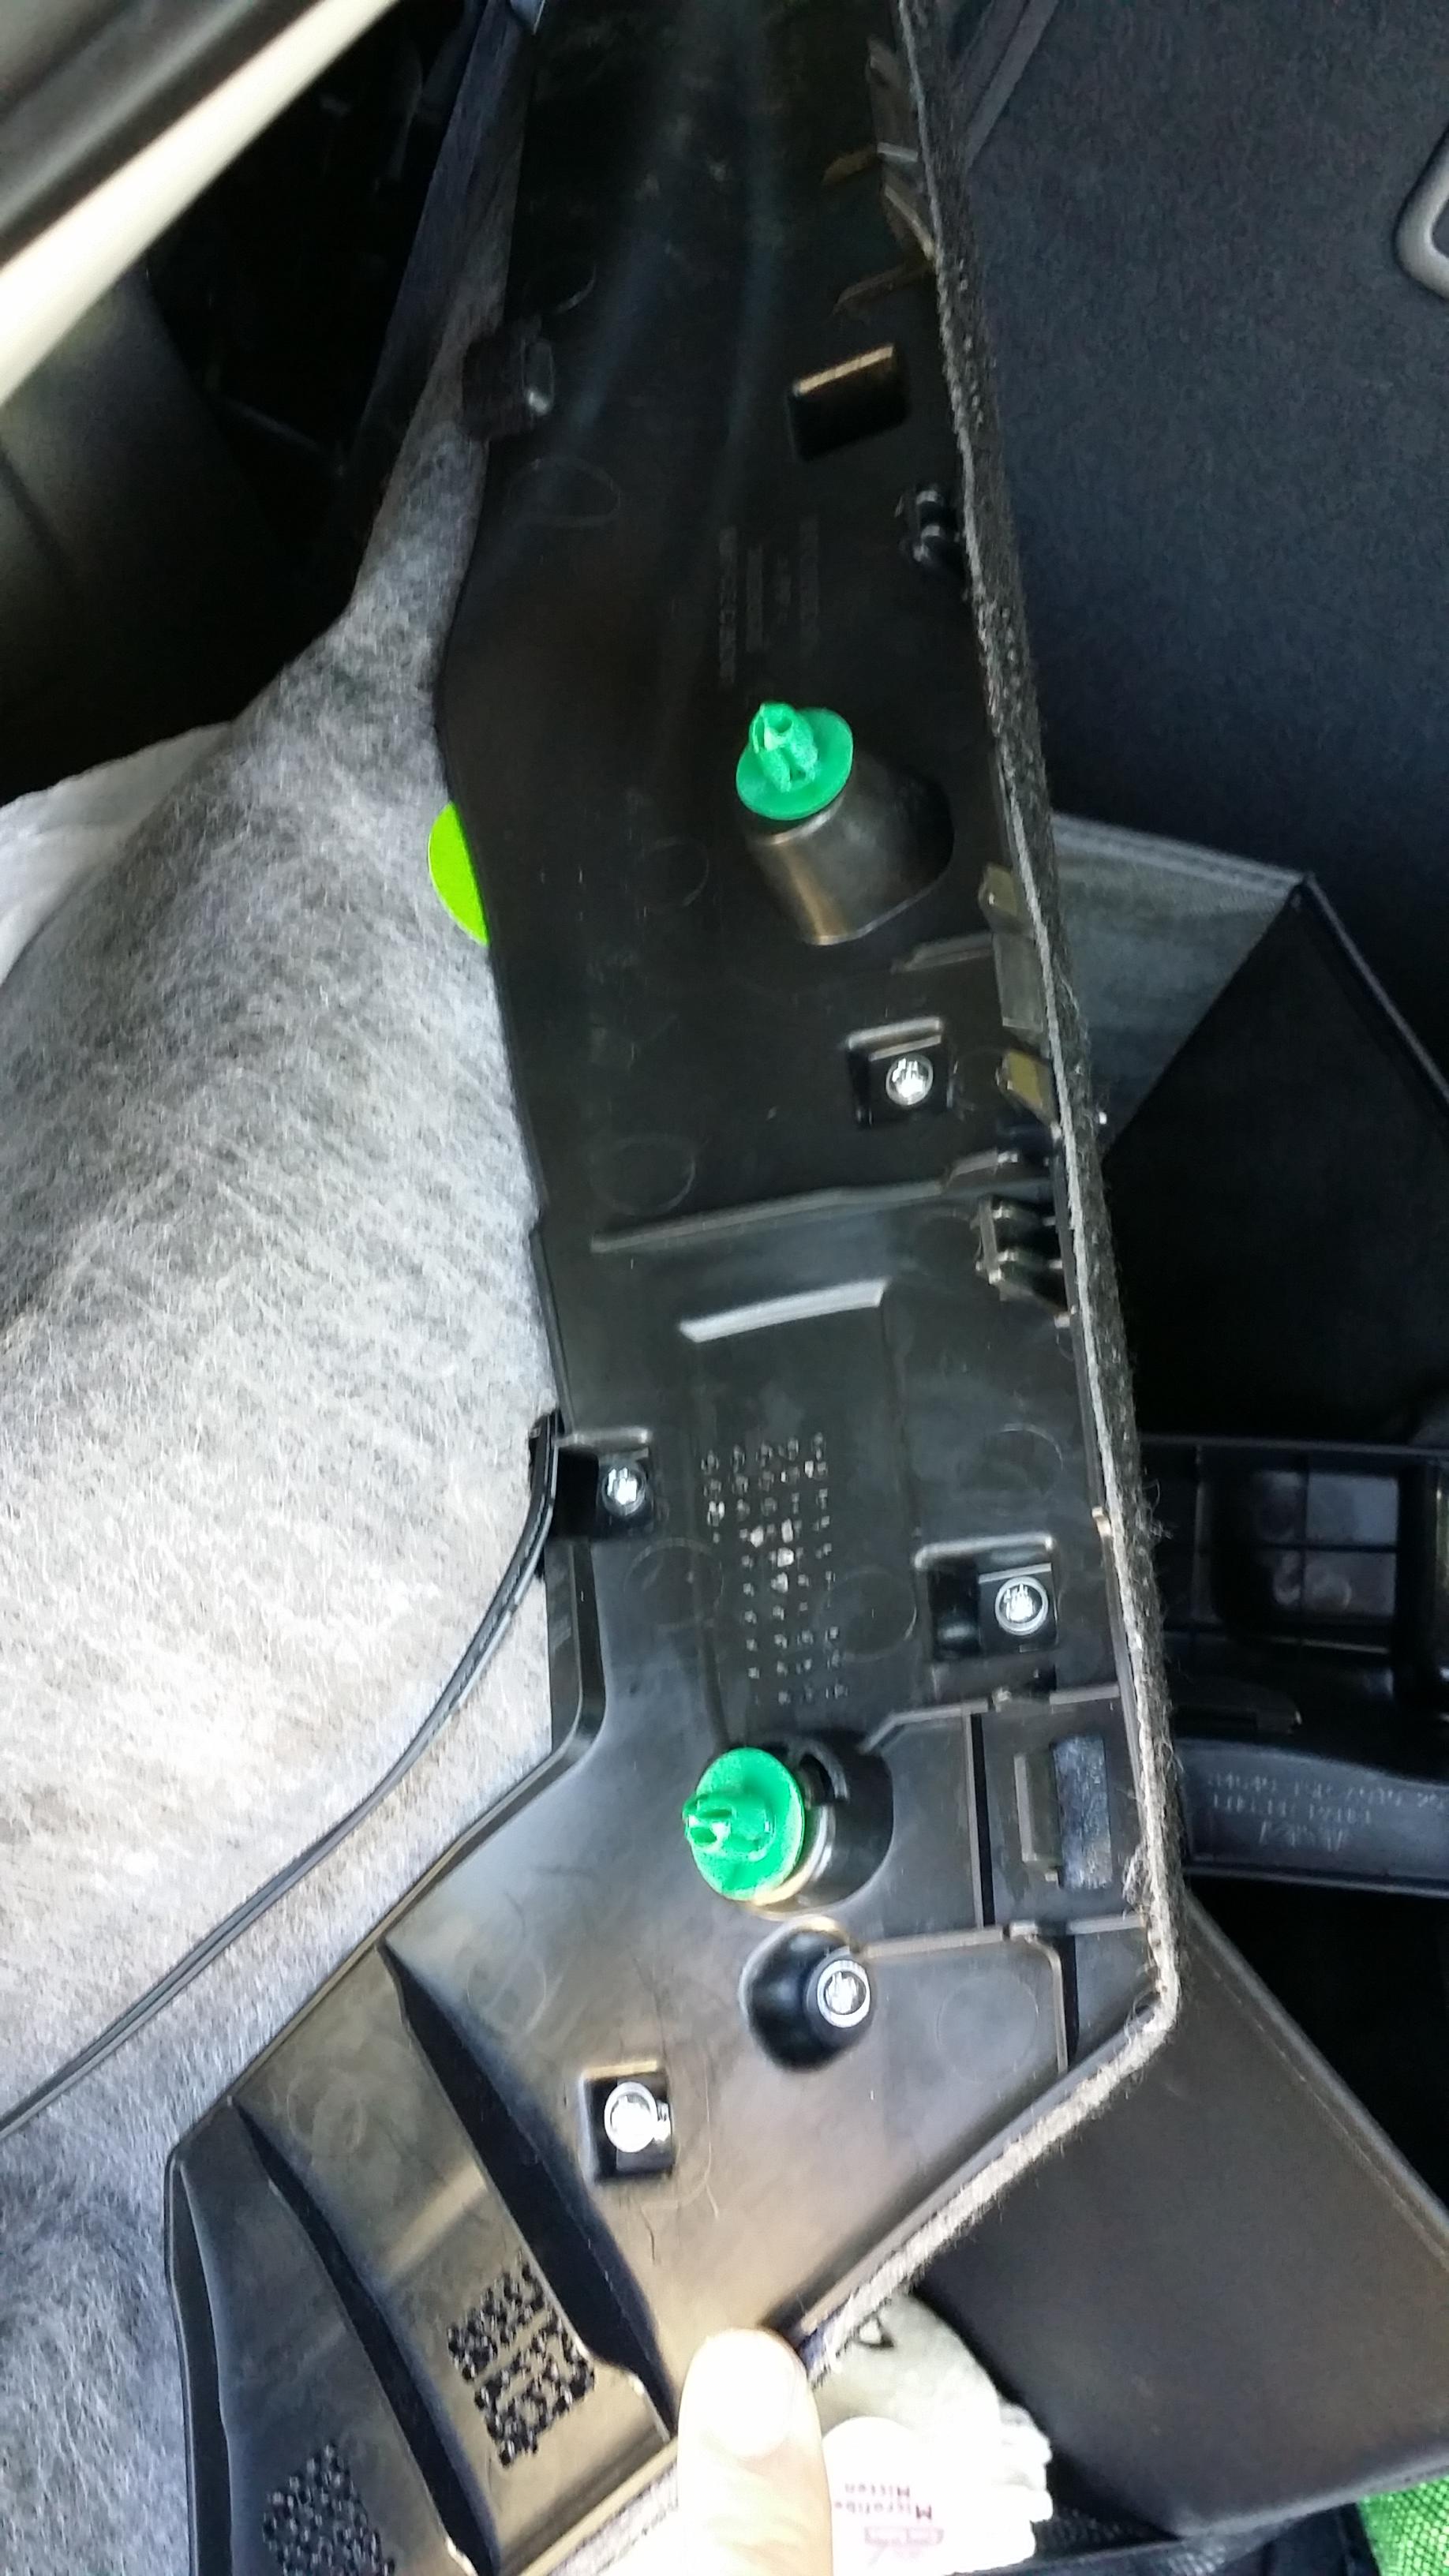
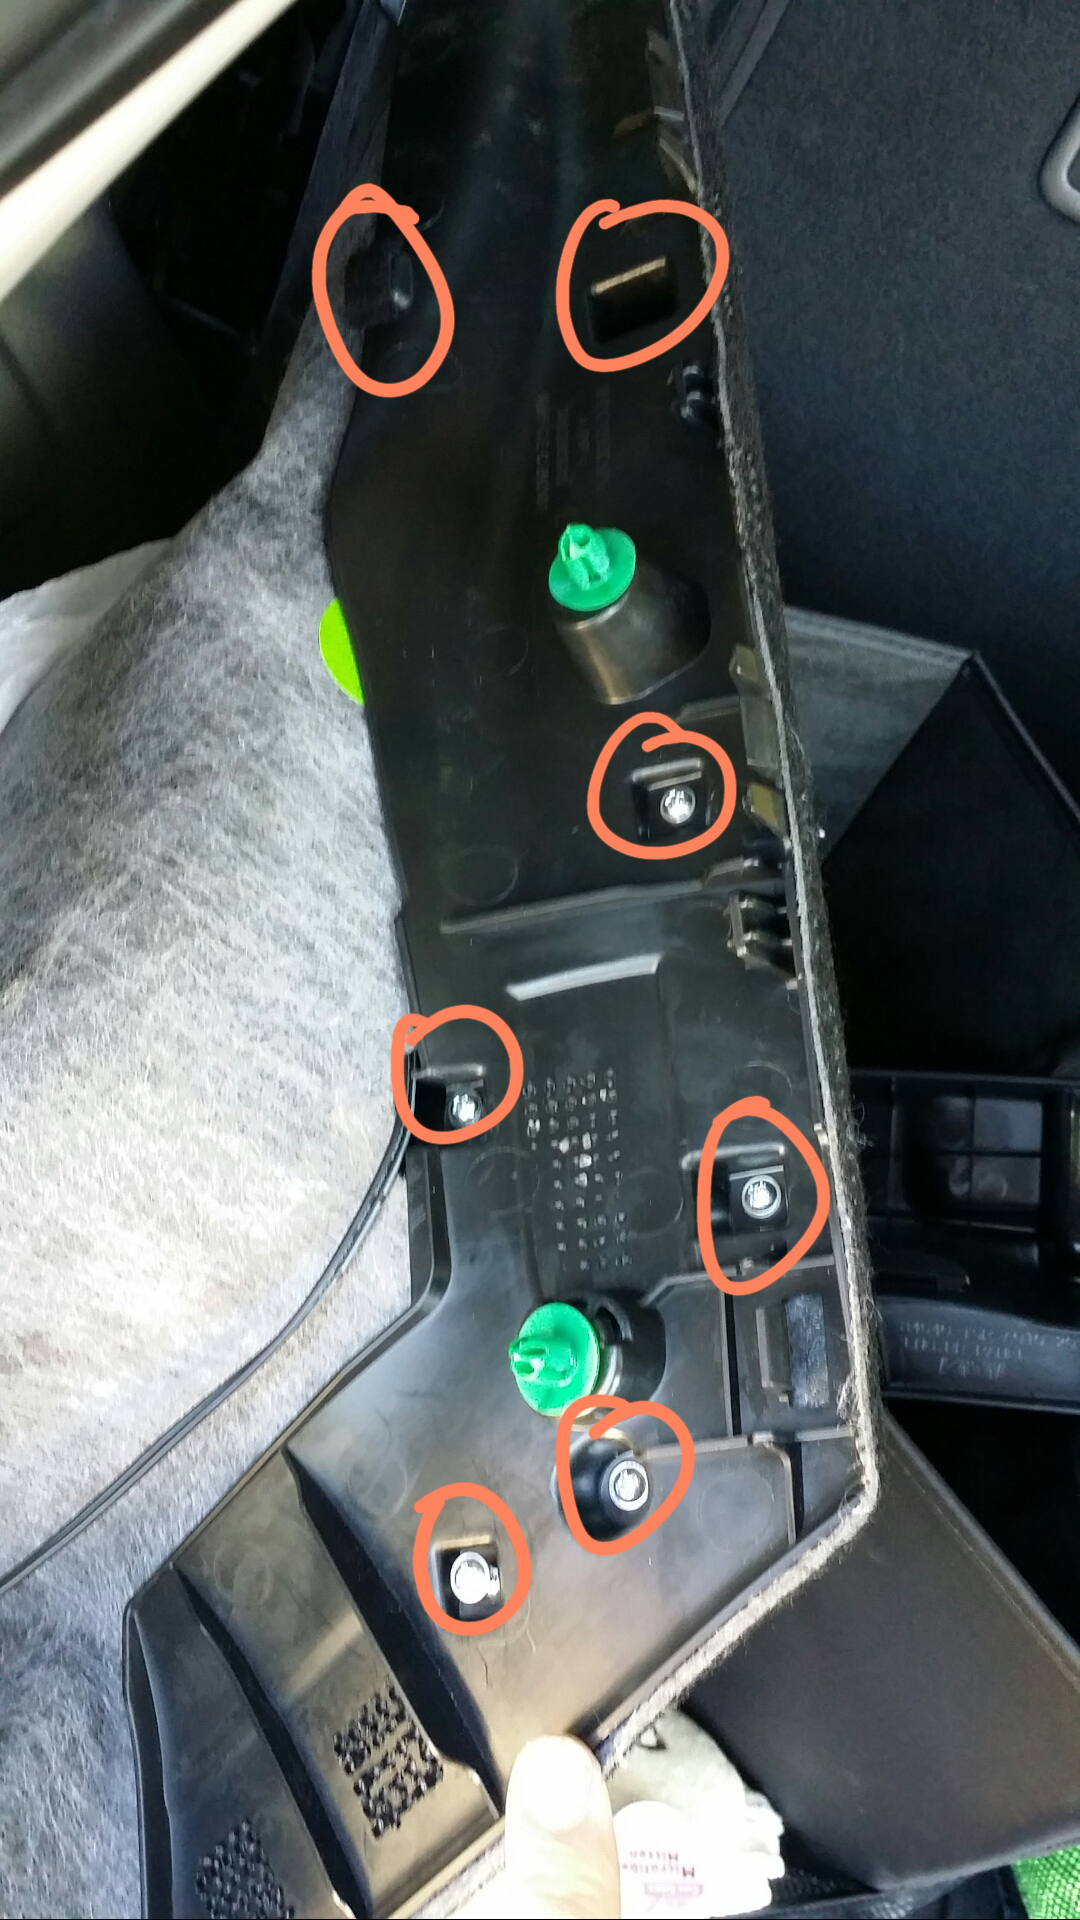
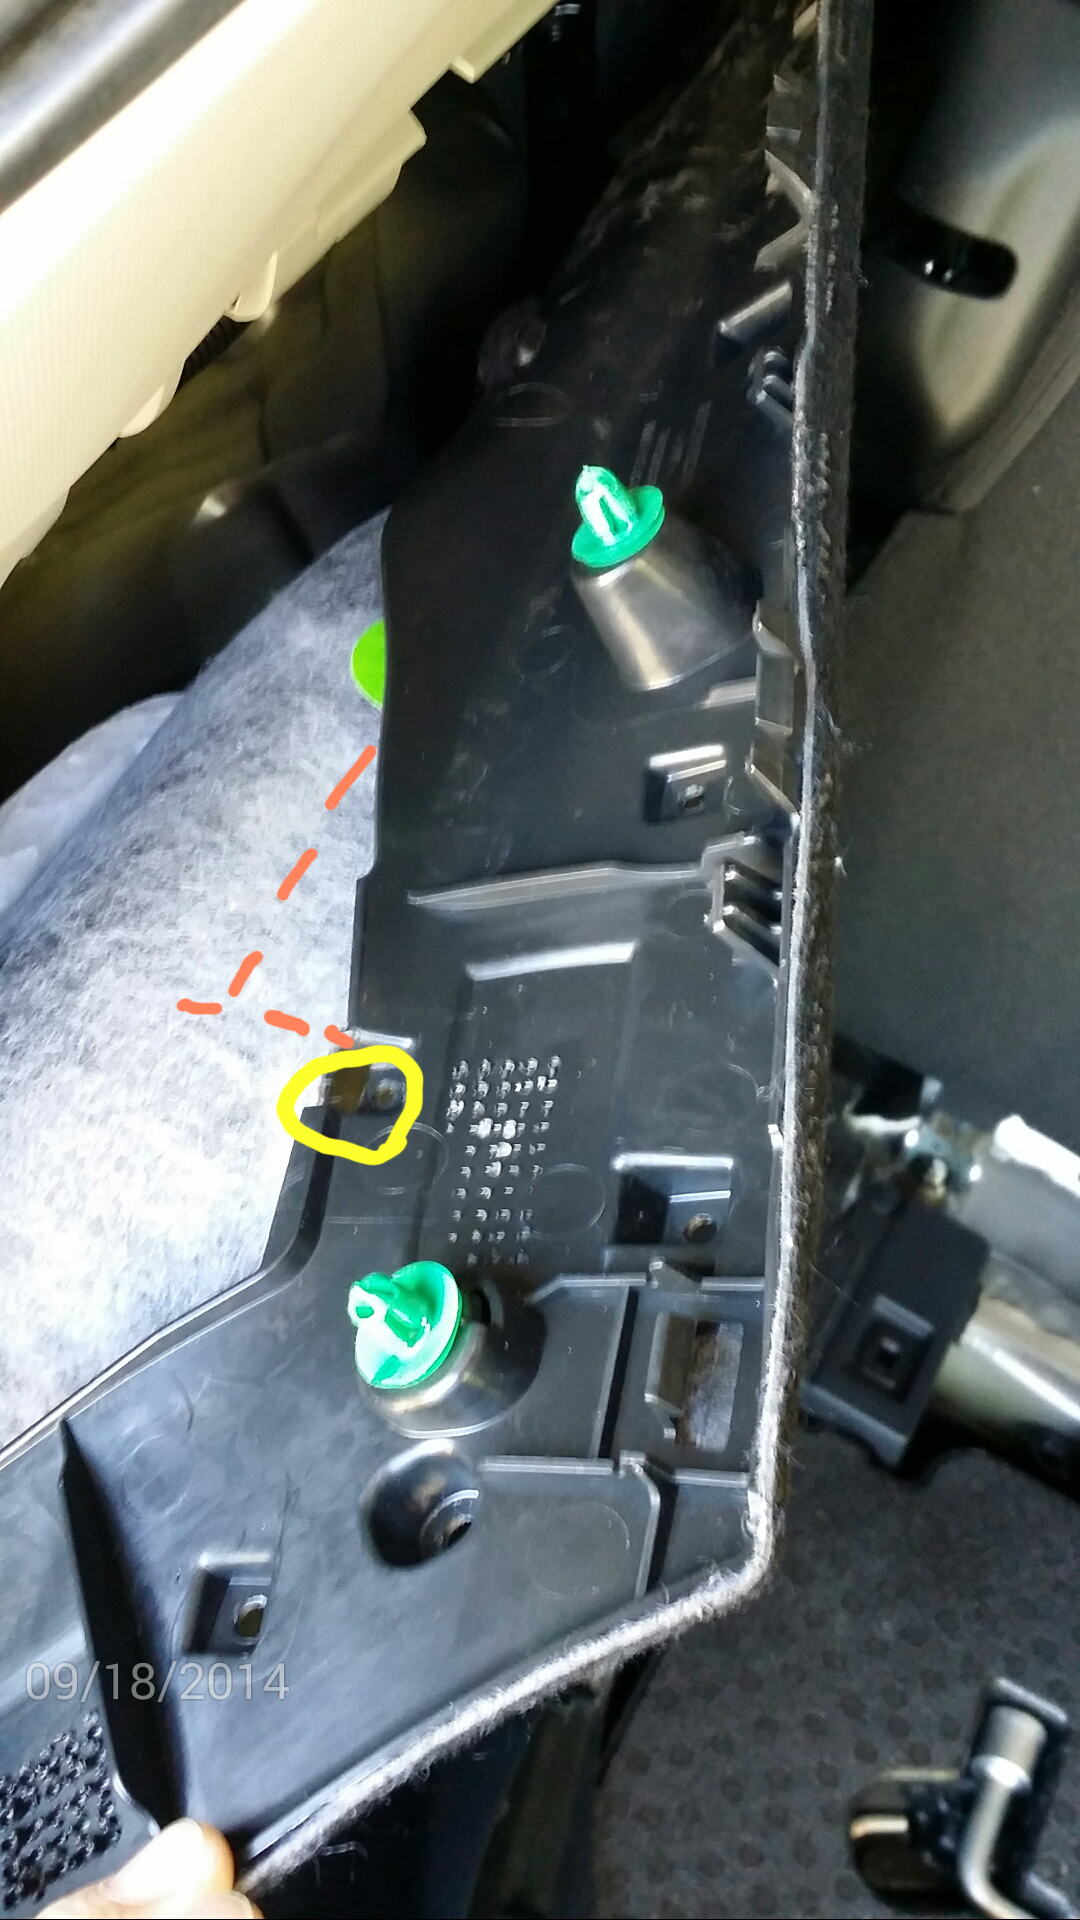
You will have to remove 7 screws circled in orange. One is hidden by felt tape.
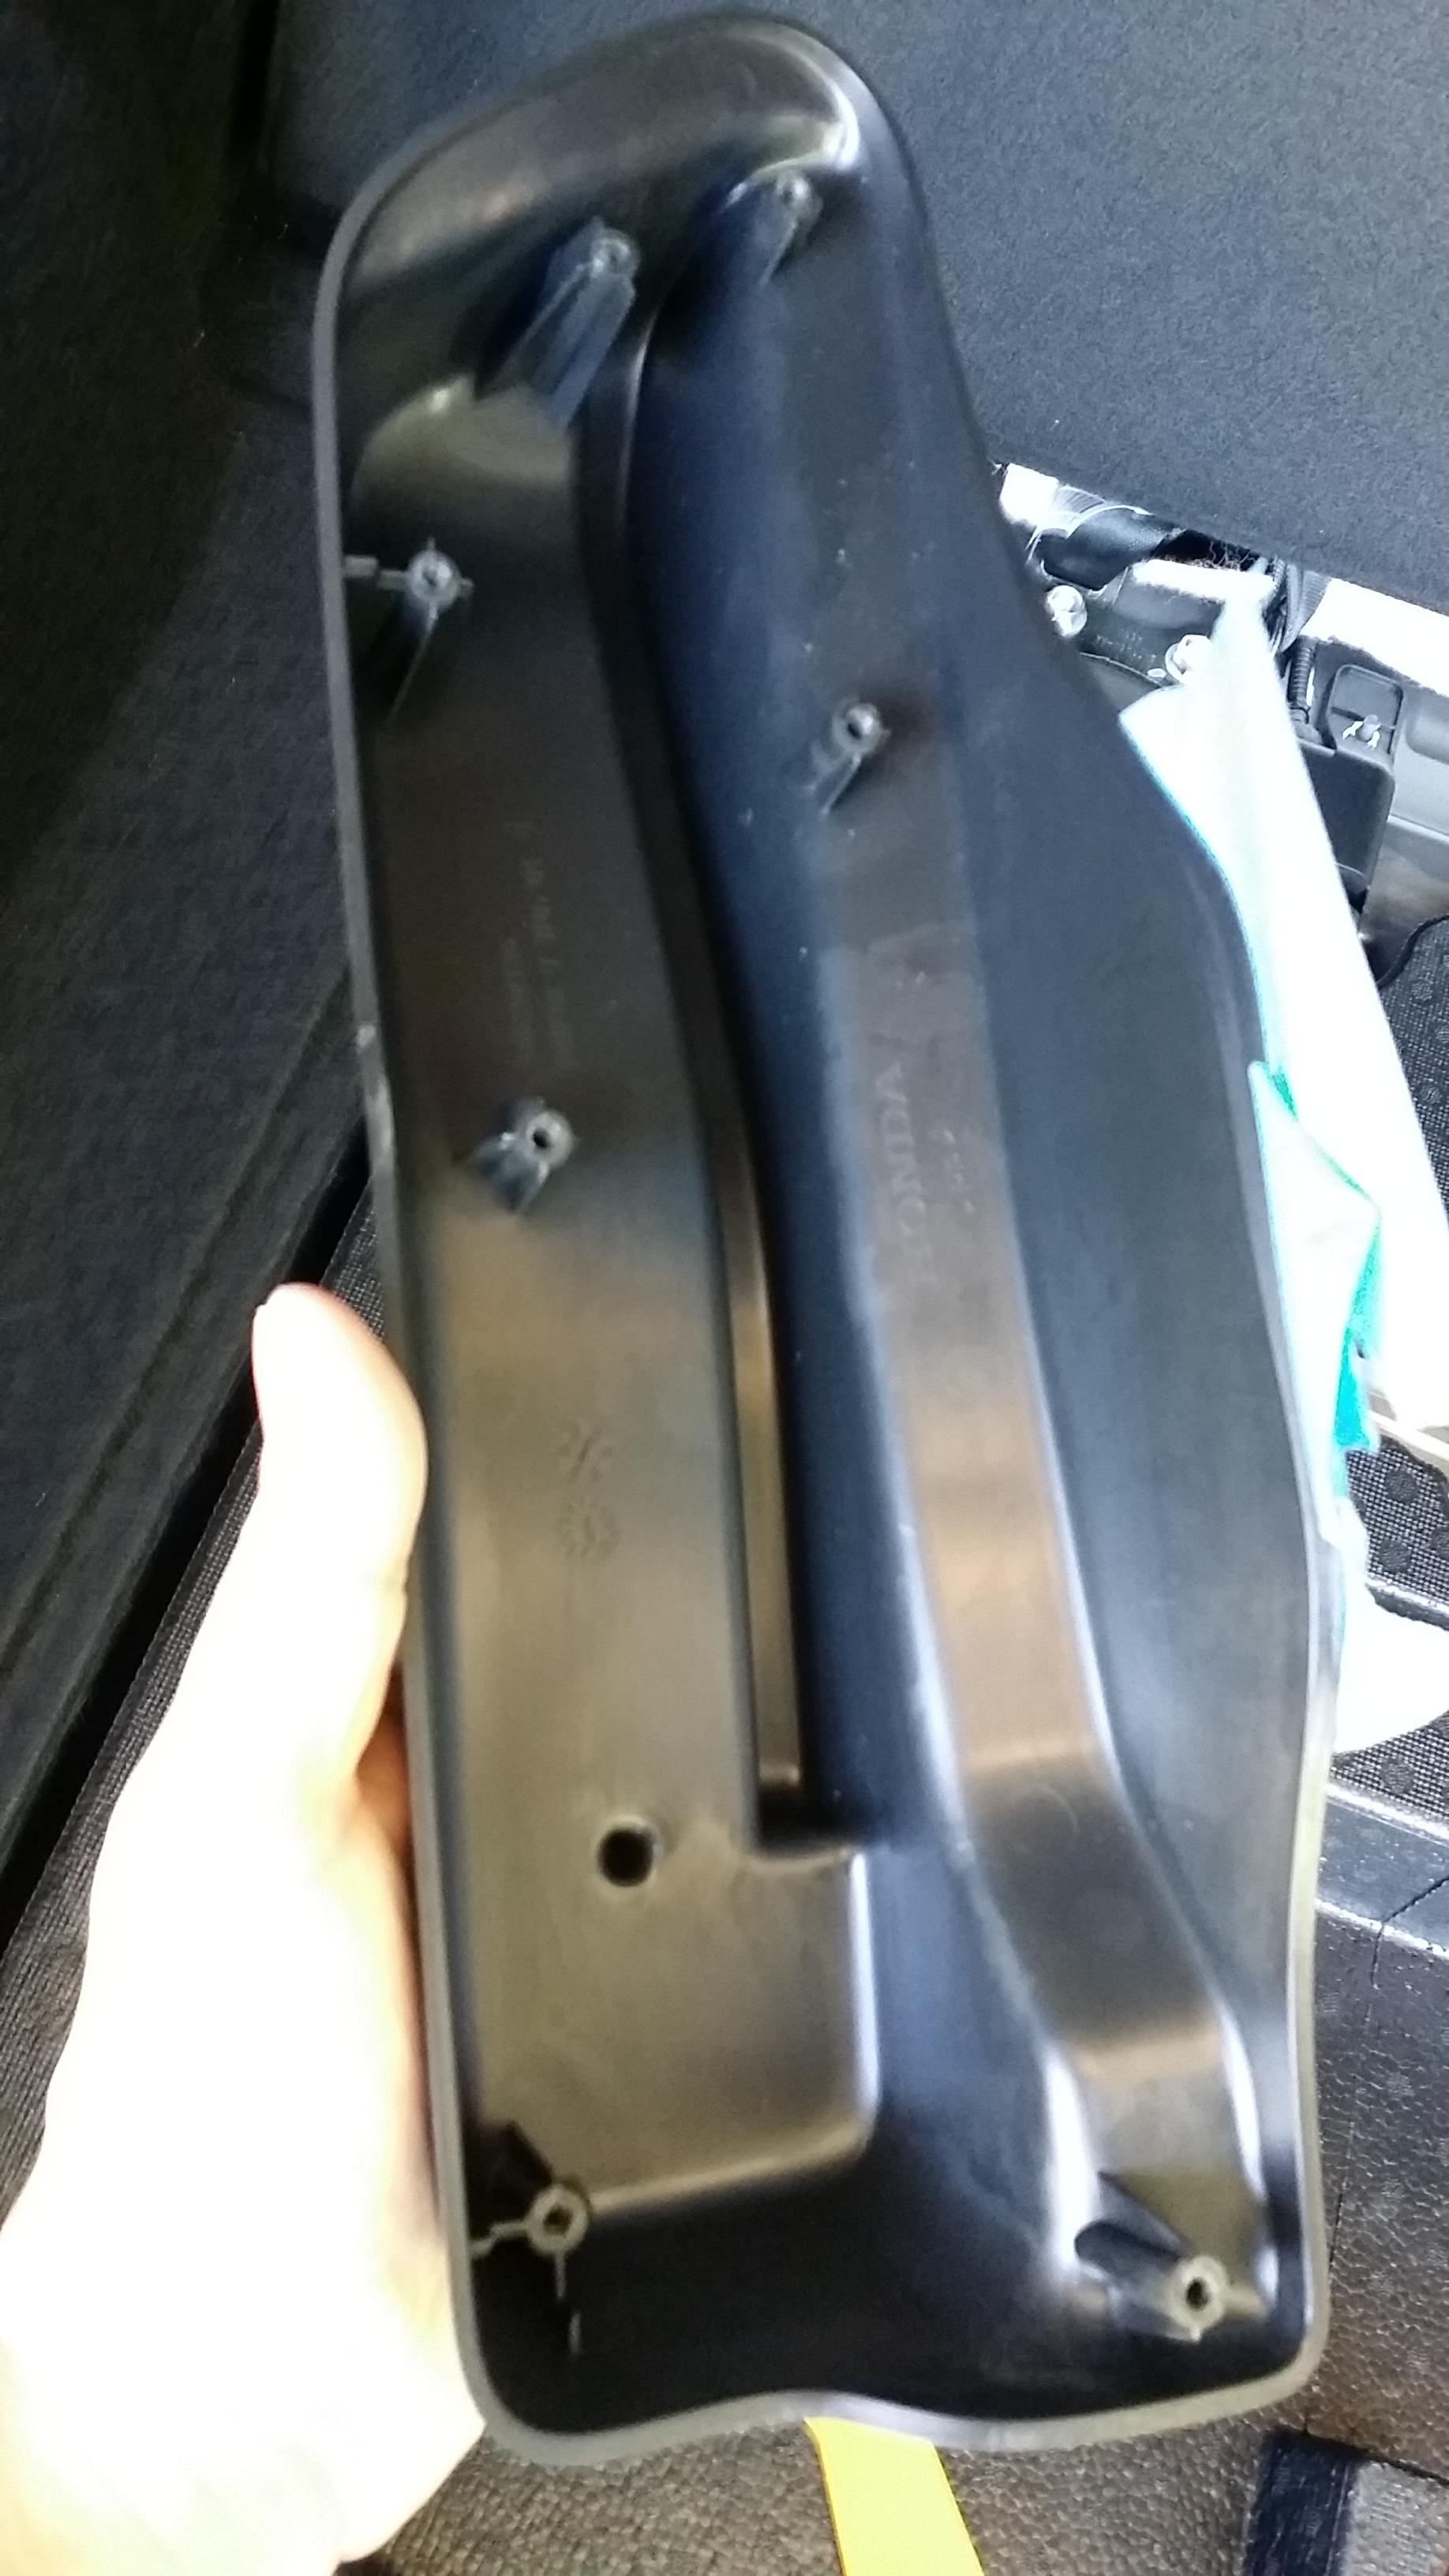
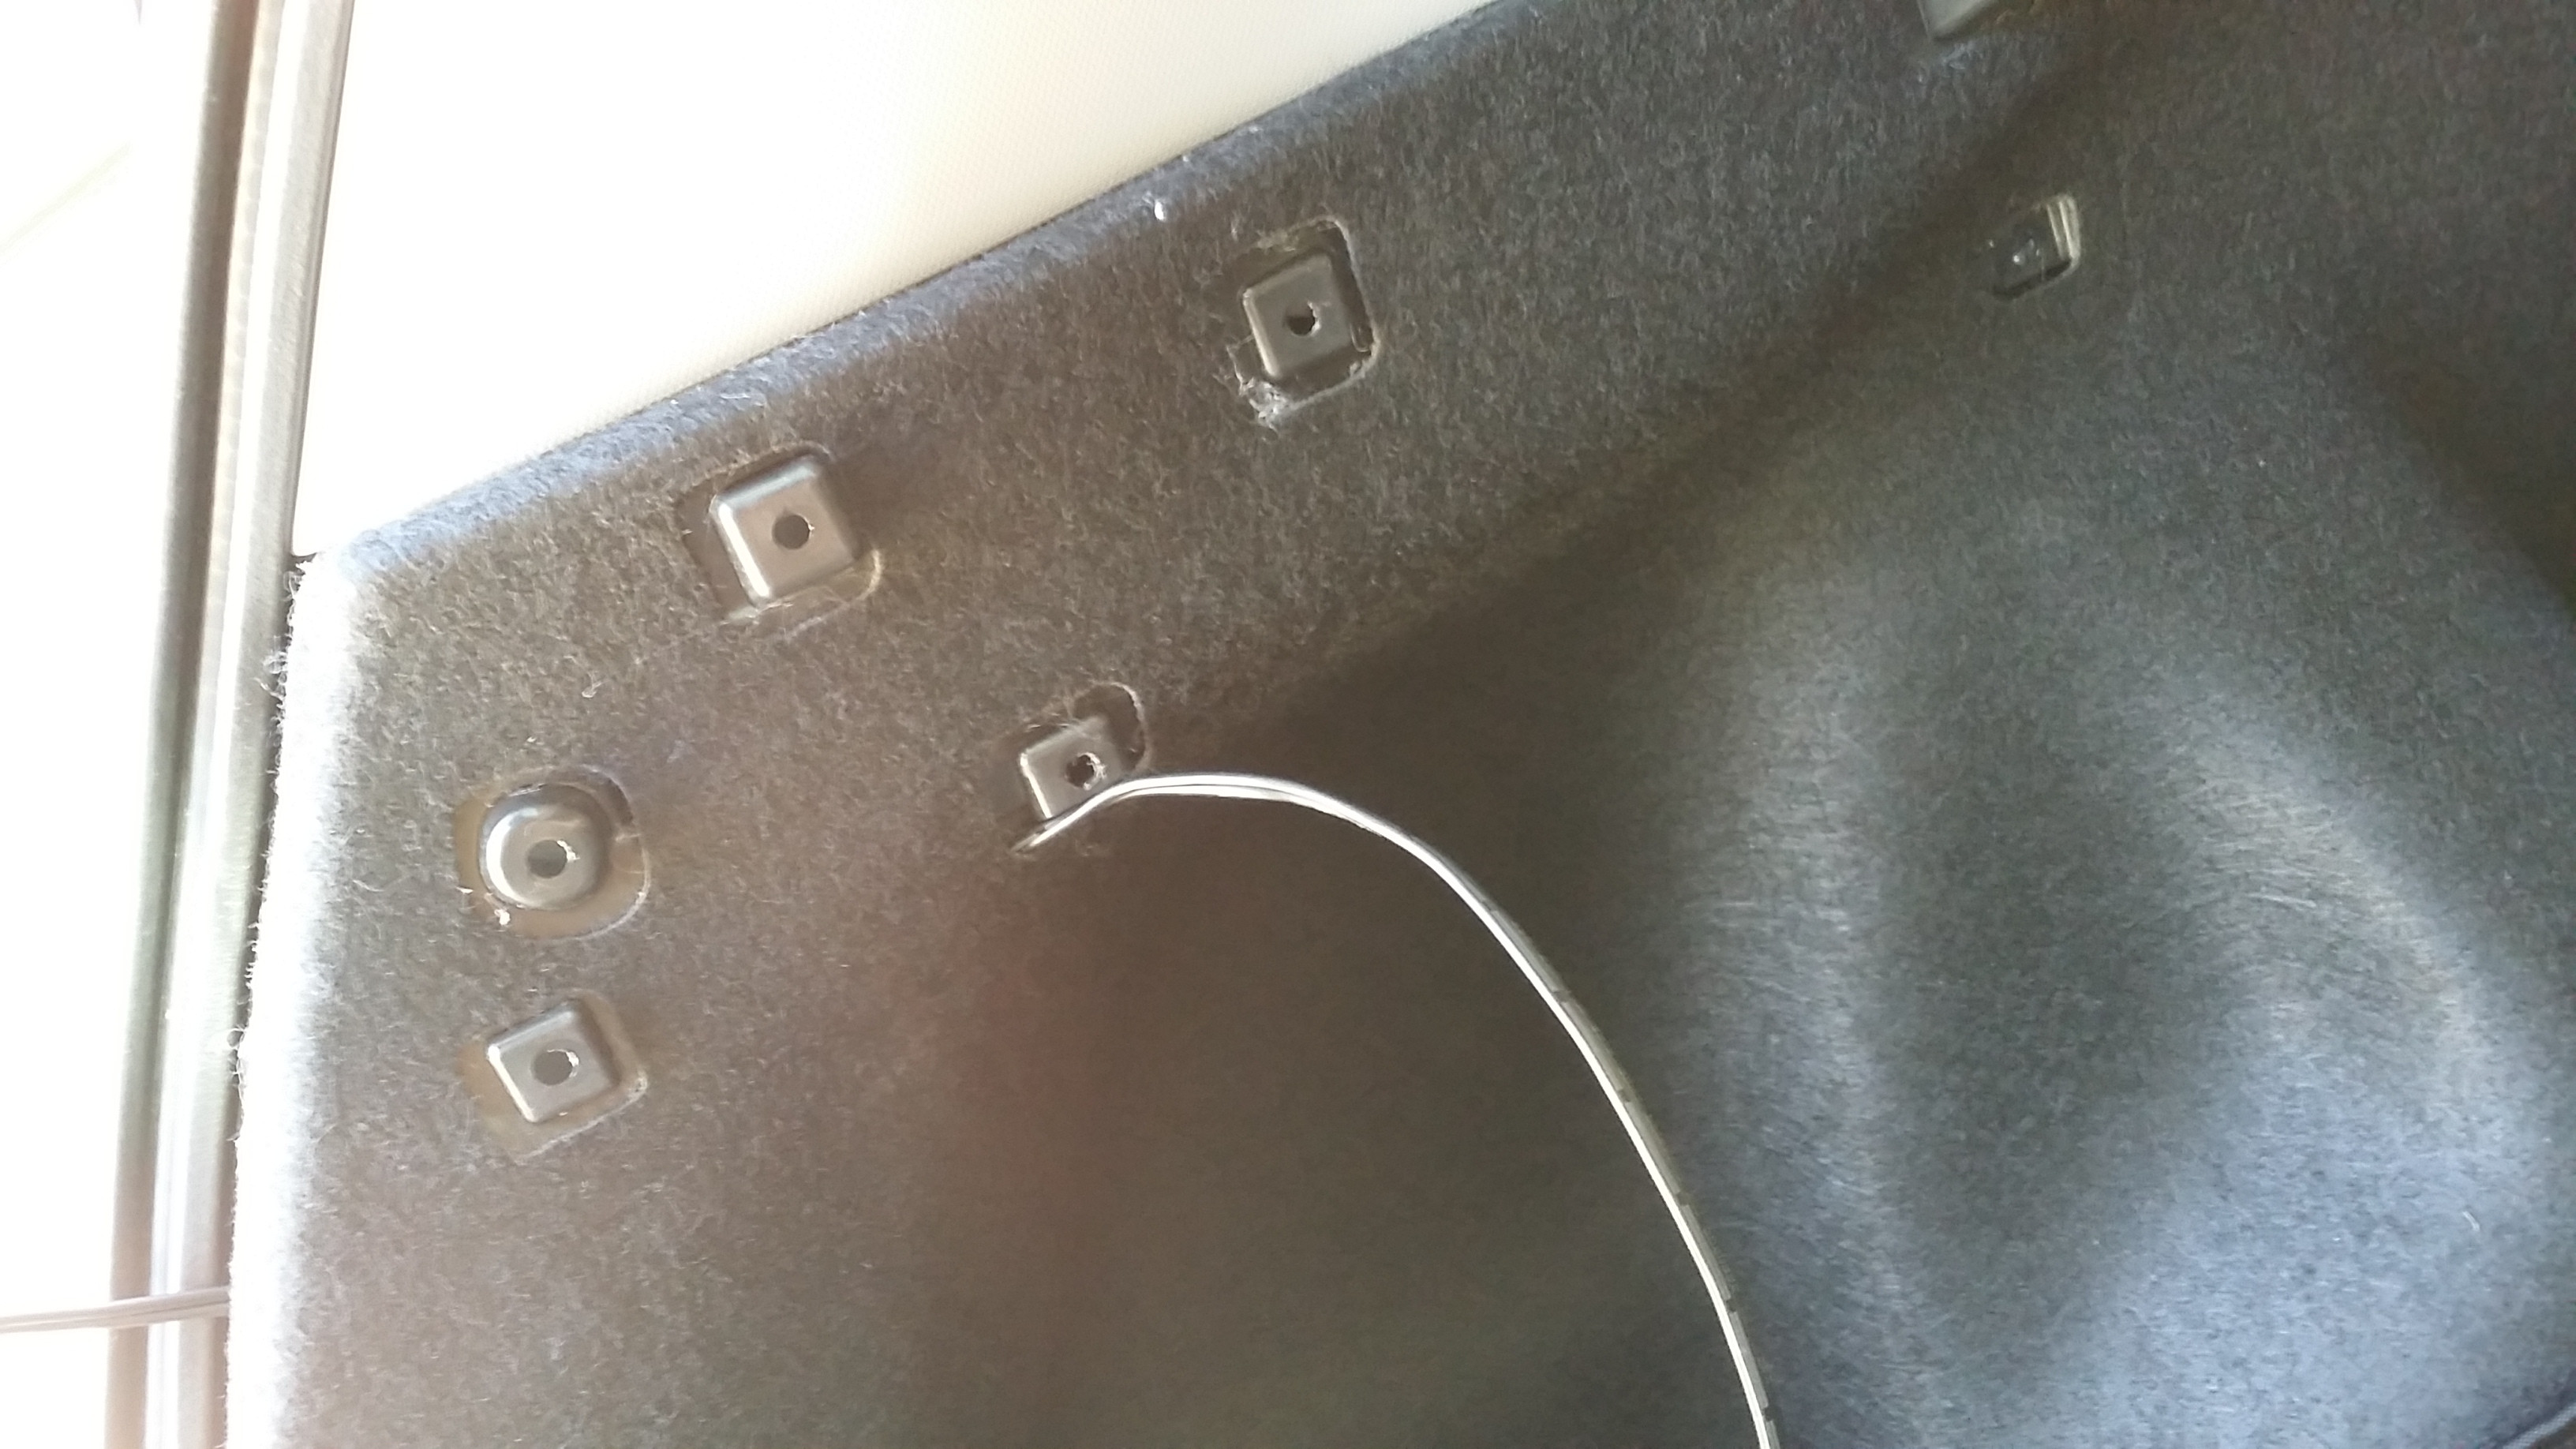
When you have removed the screws, take off the plastic covering.
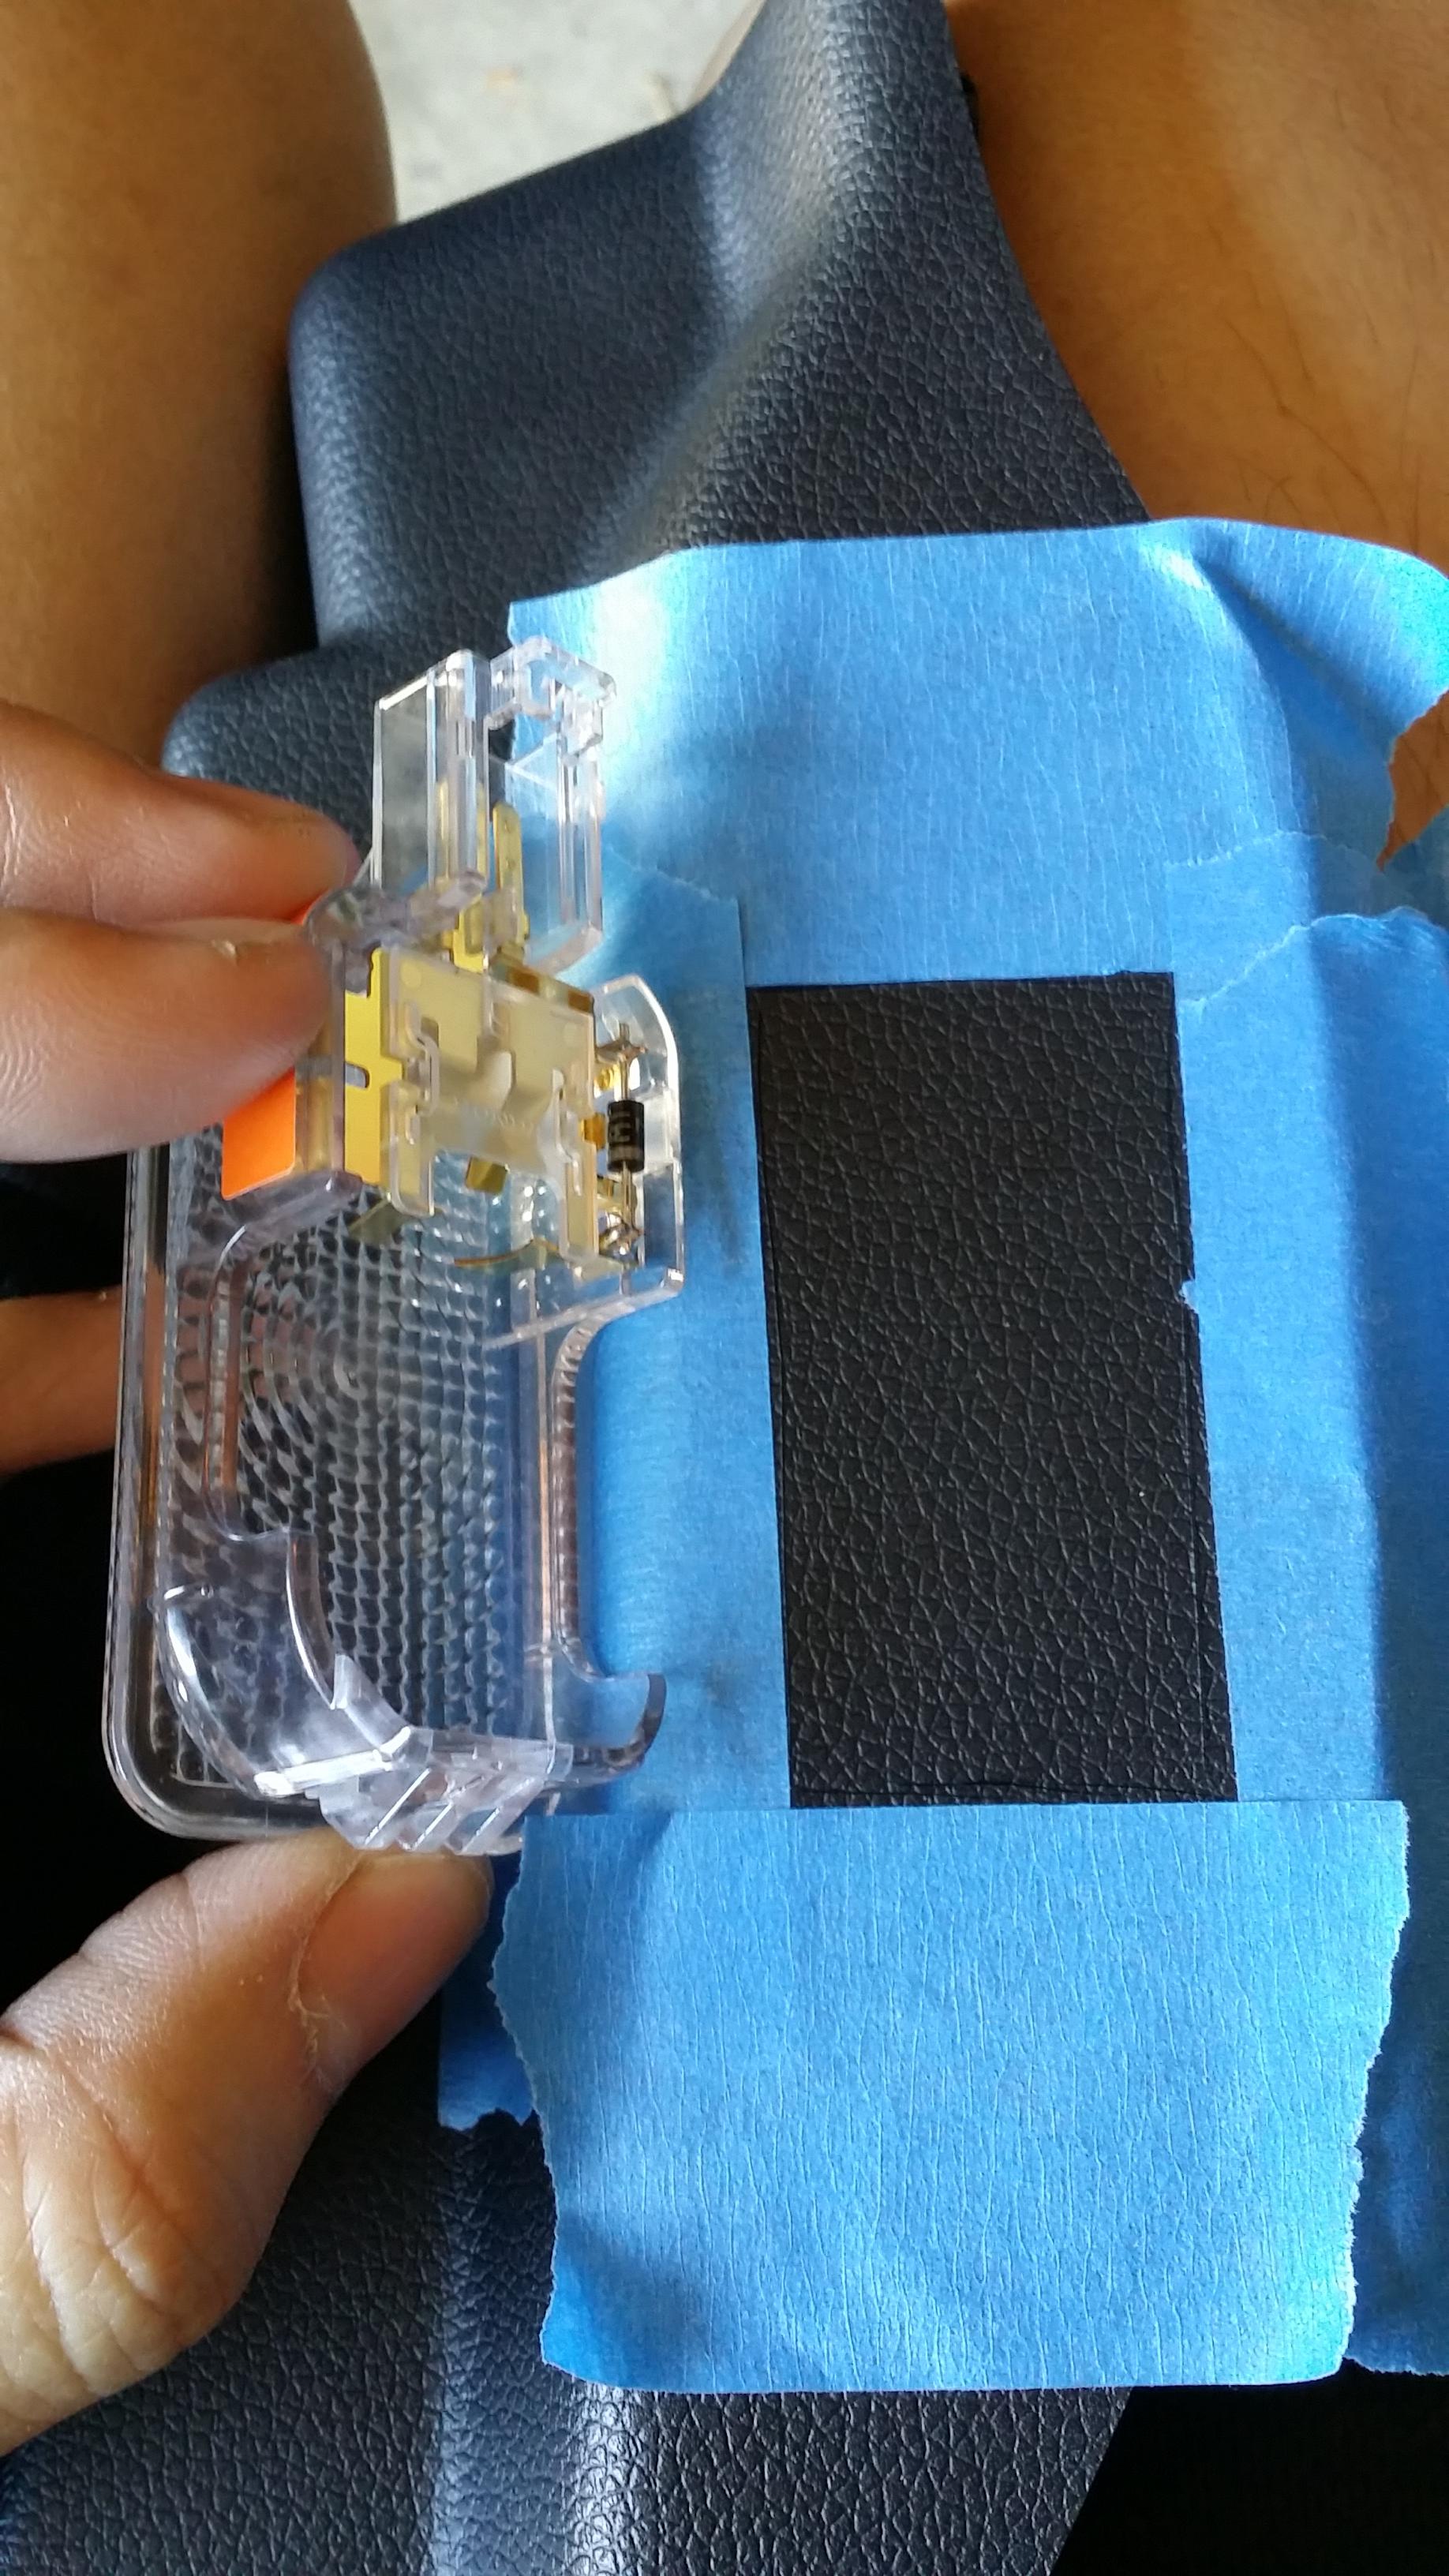
Place a lens assembly or lamp assembly of your choice on the plastic and mask it with some painter's tape so you know where to cut/dremel.
Dremel or cut off the piece with your favorite stress relief tool. Sand off and make it look pretty. Or try to.
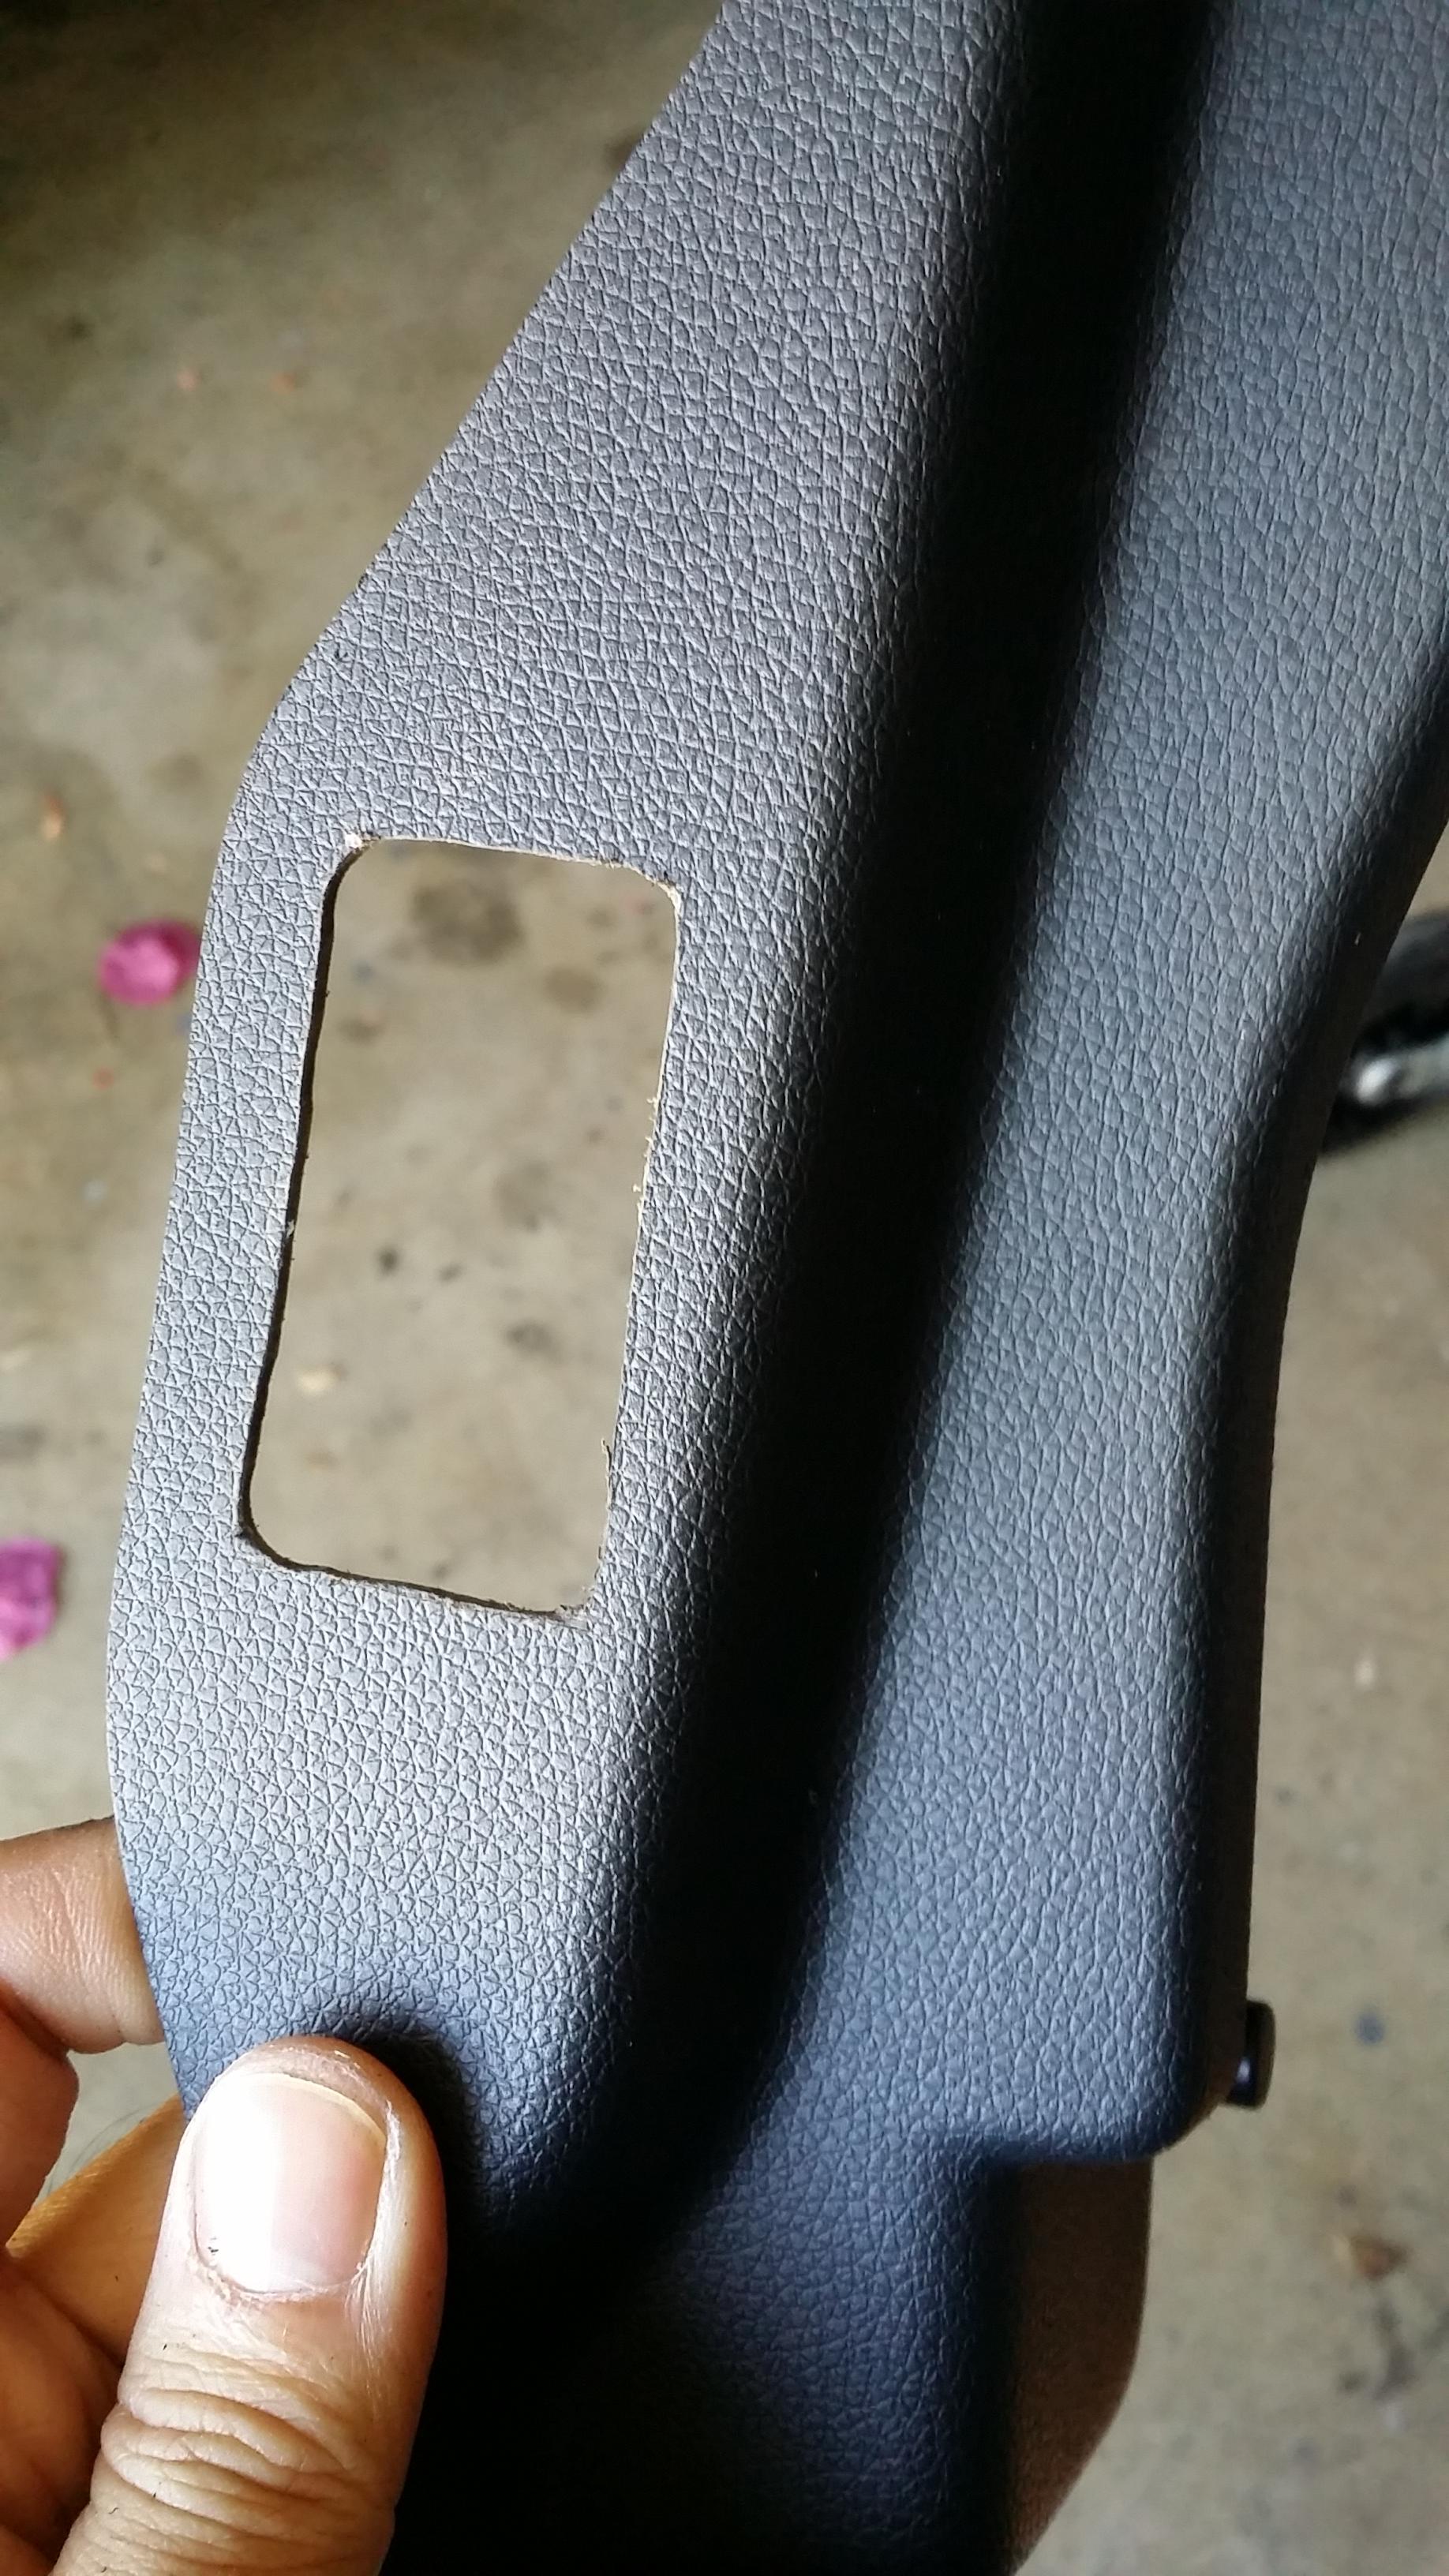
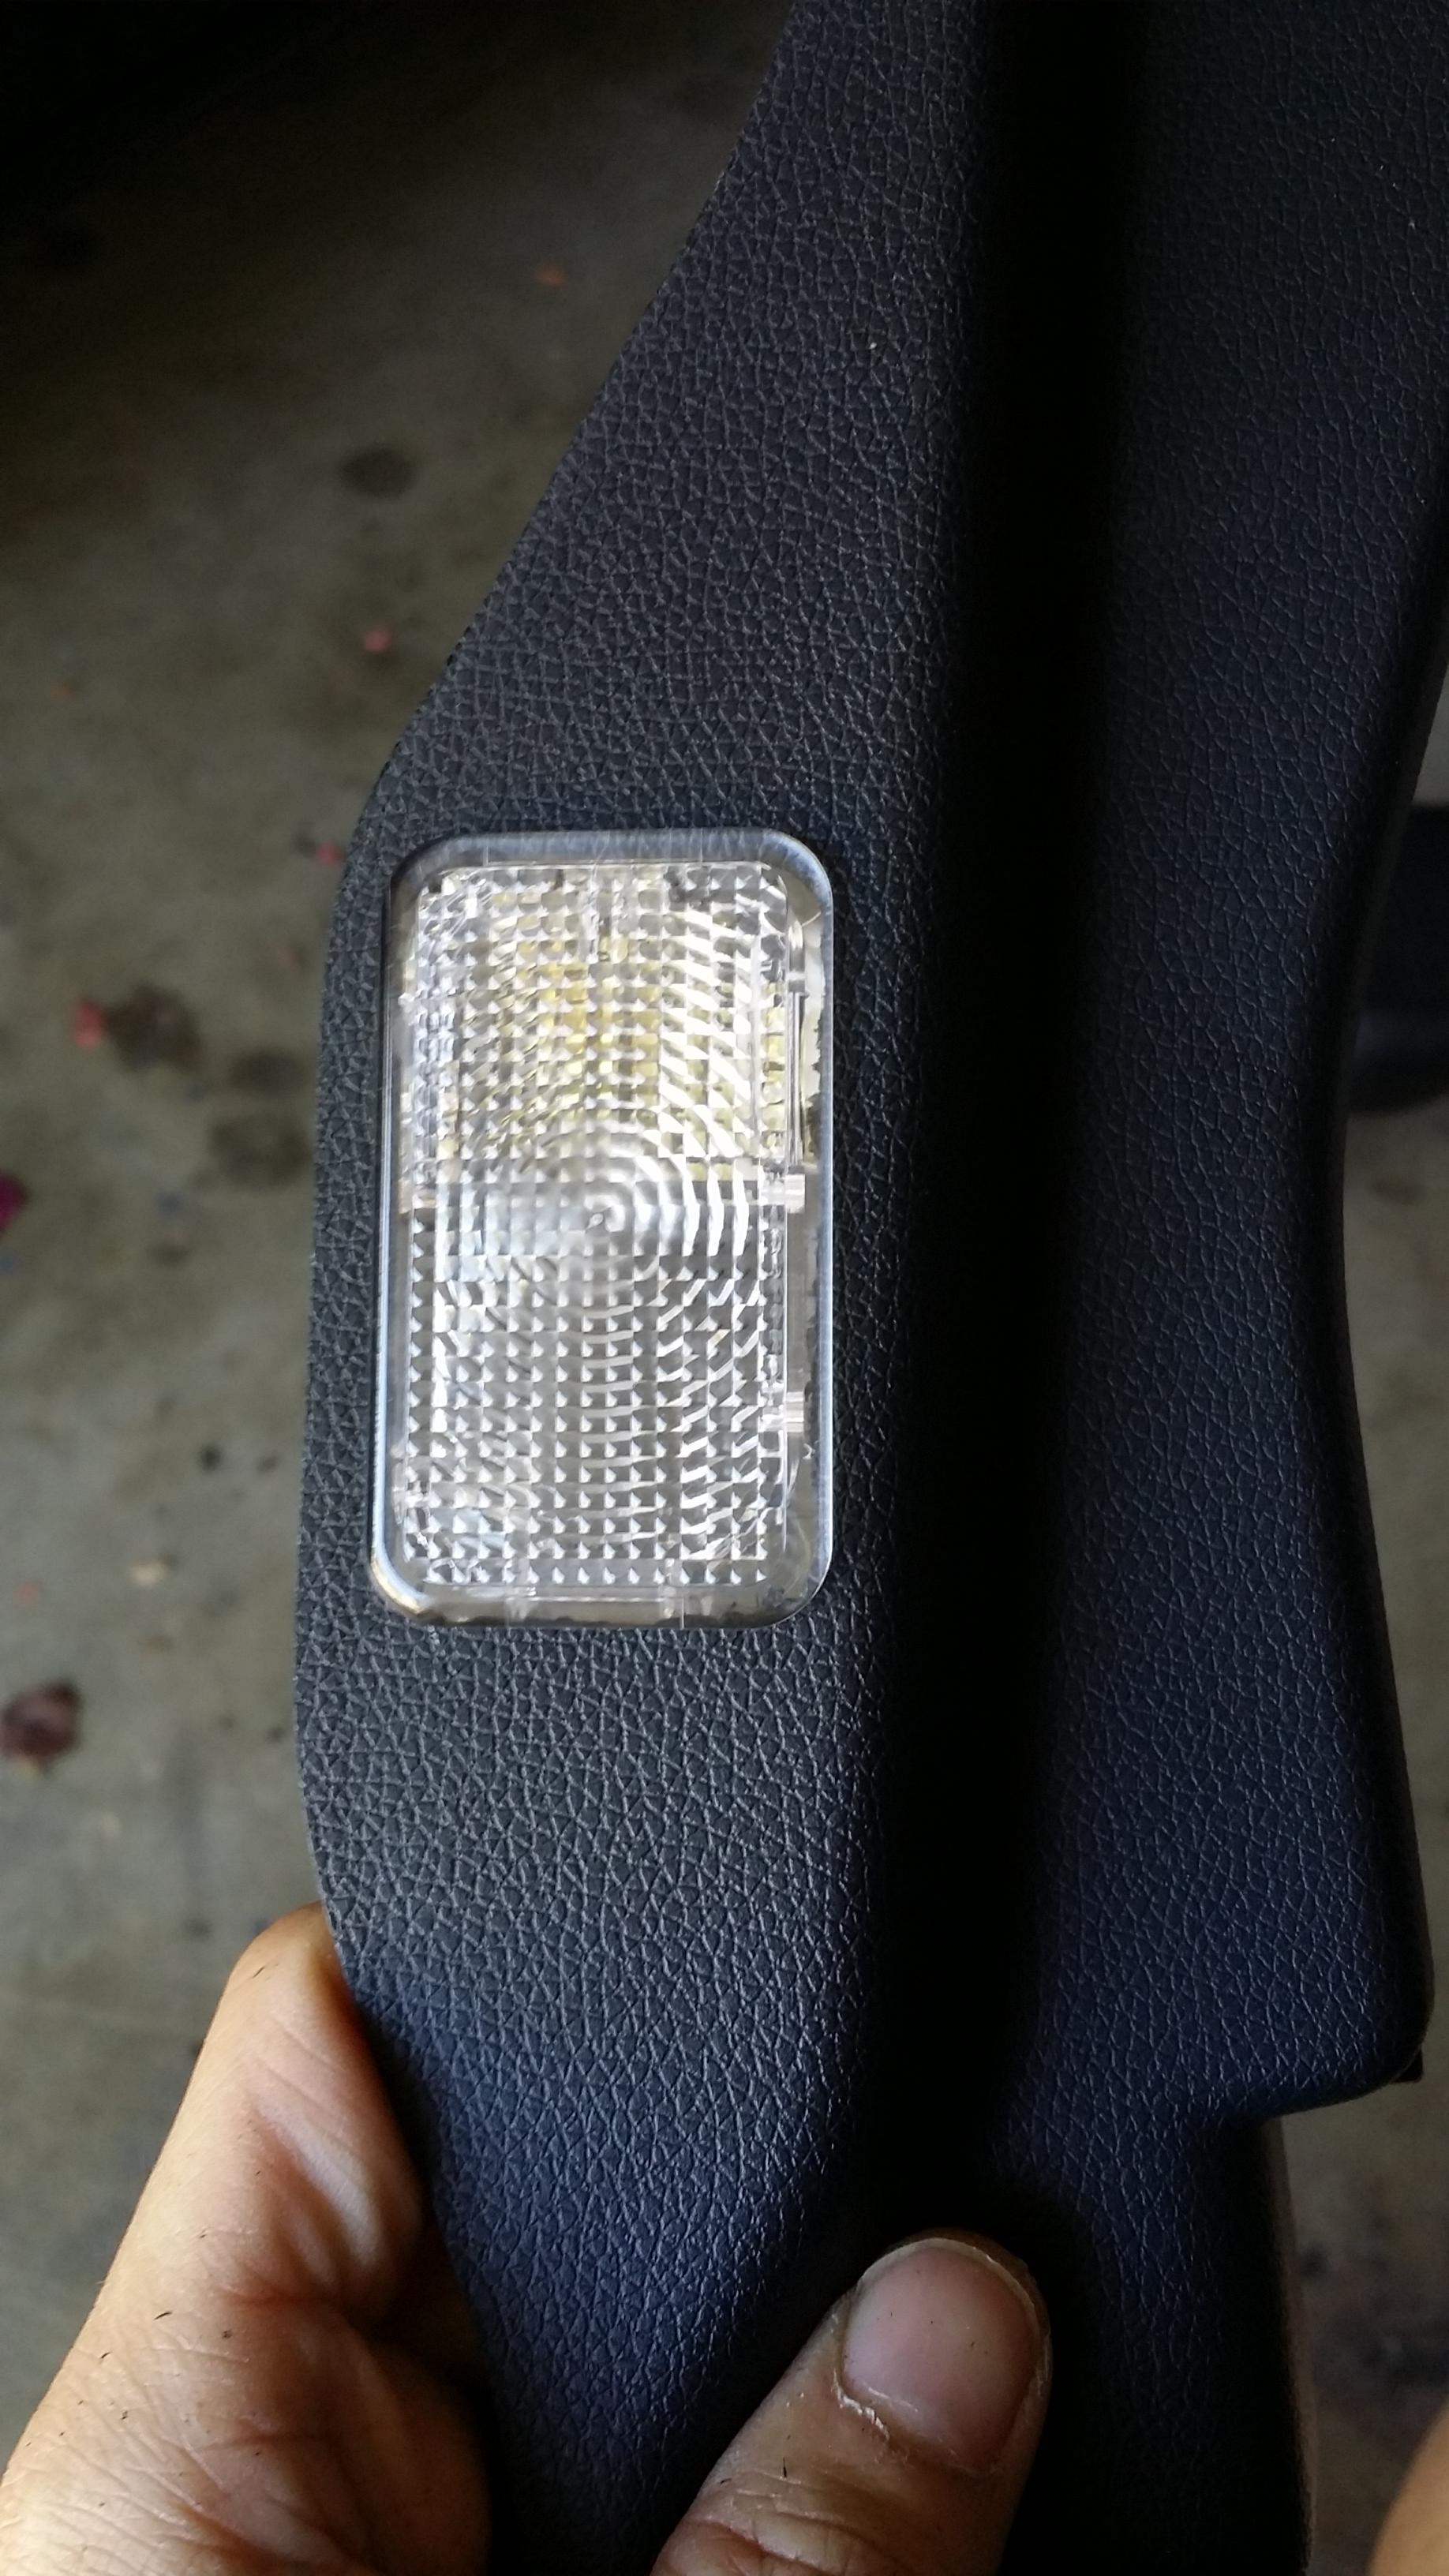
Test fit your assembly to make sure it's a snug fit but also capable of removal.
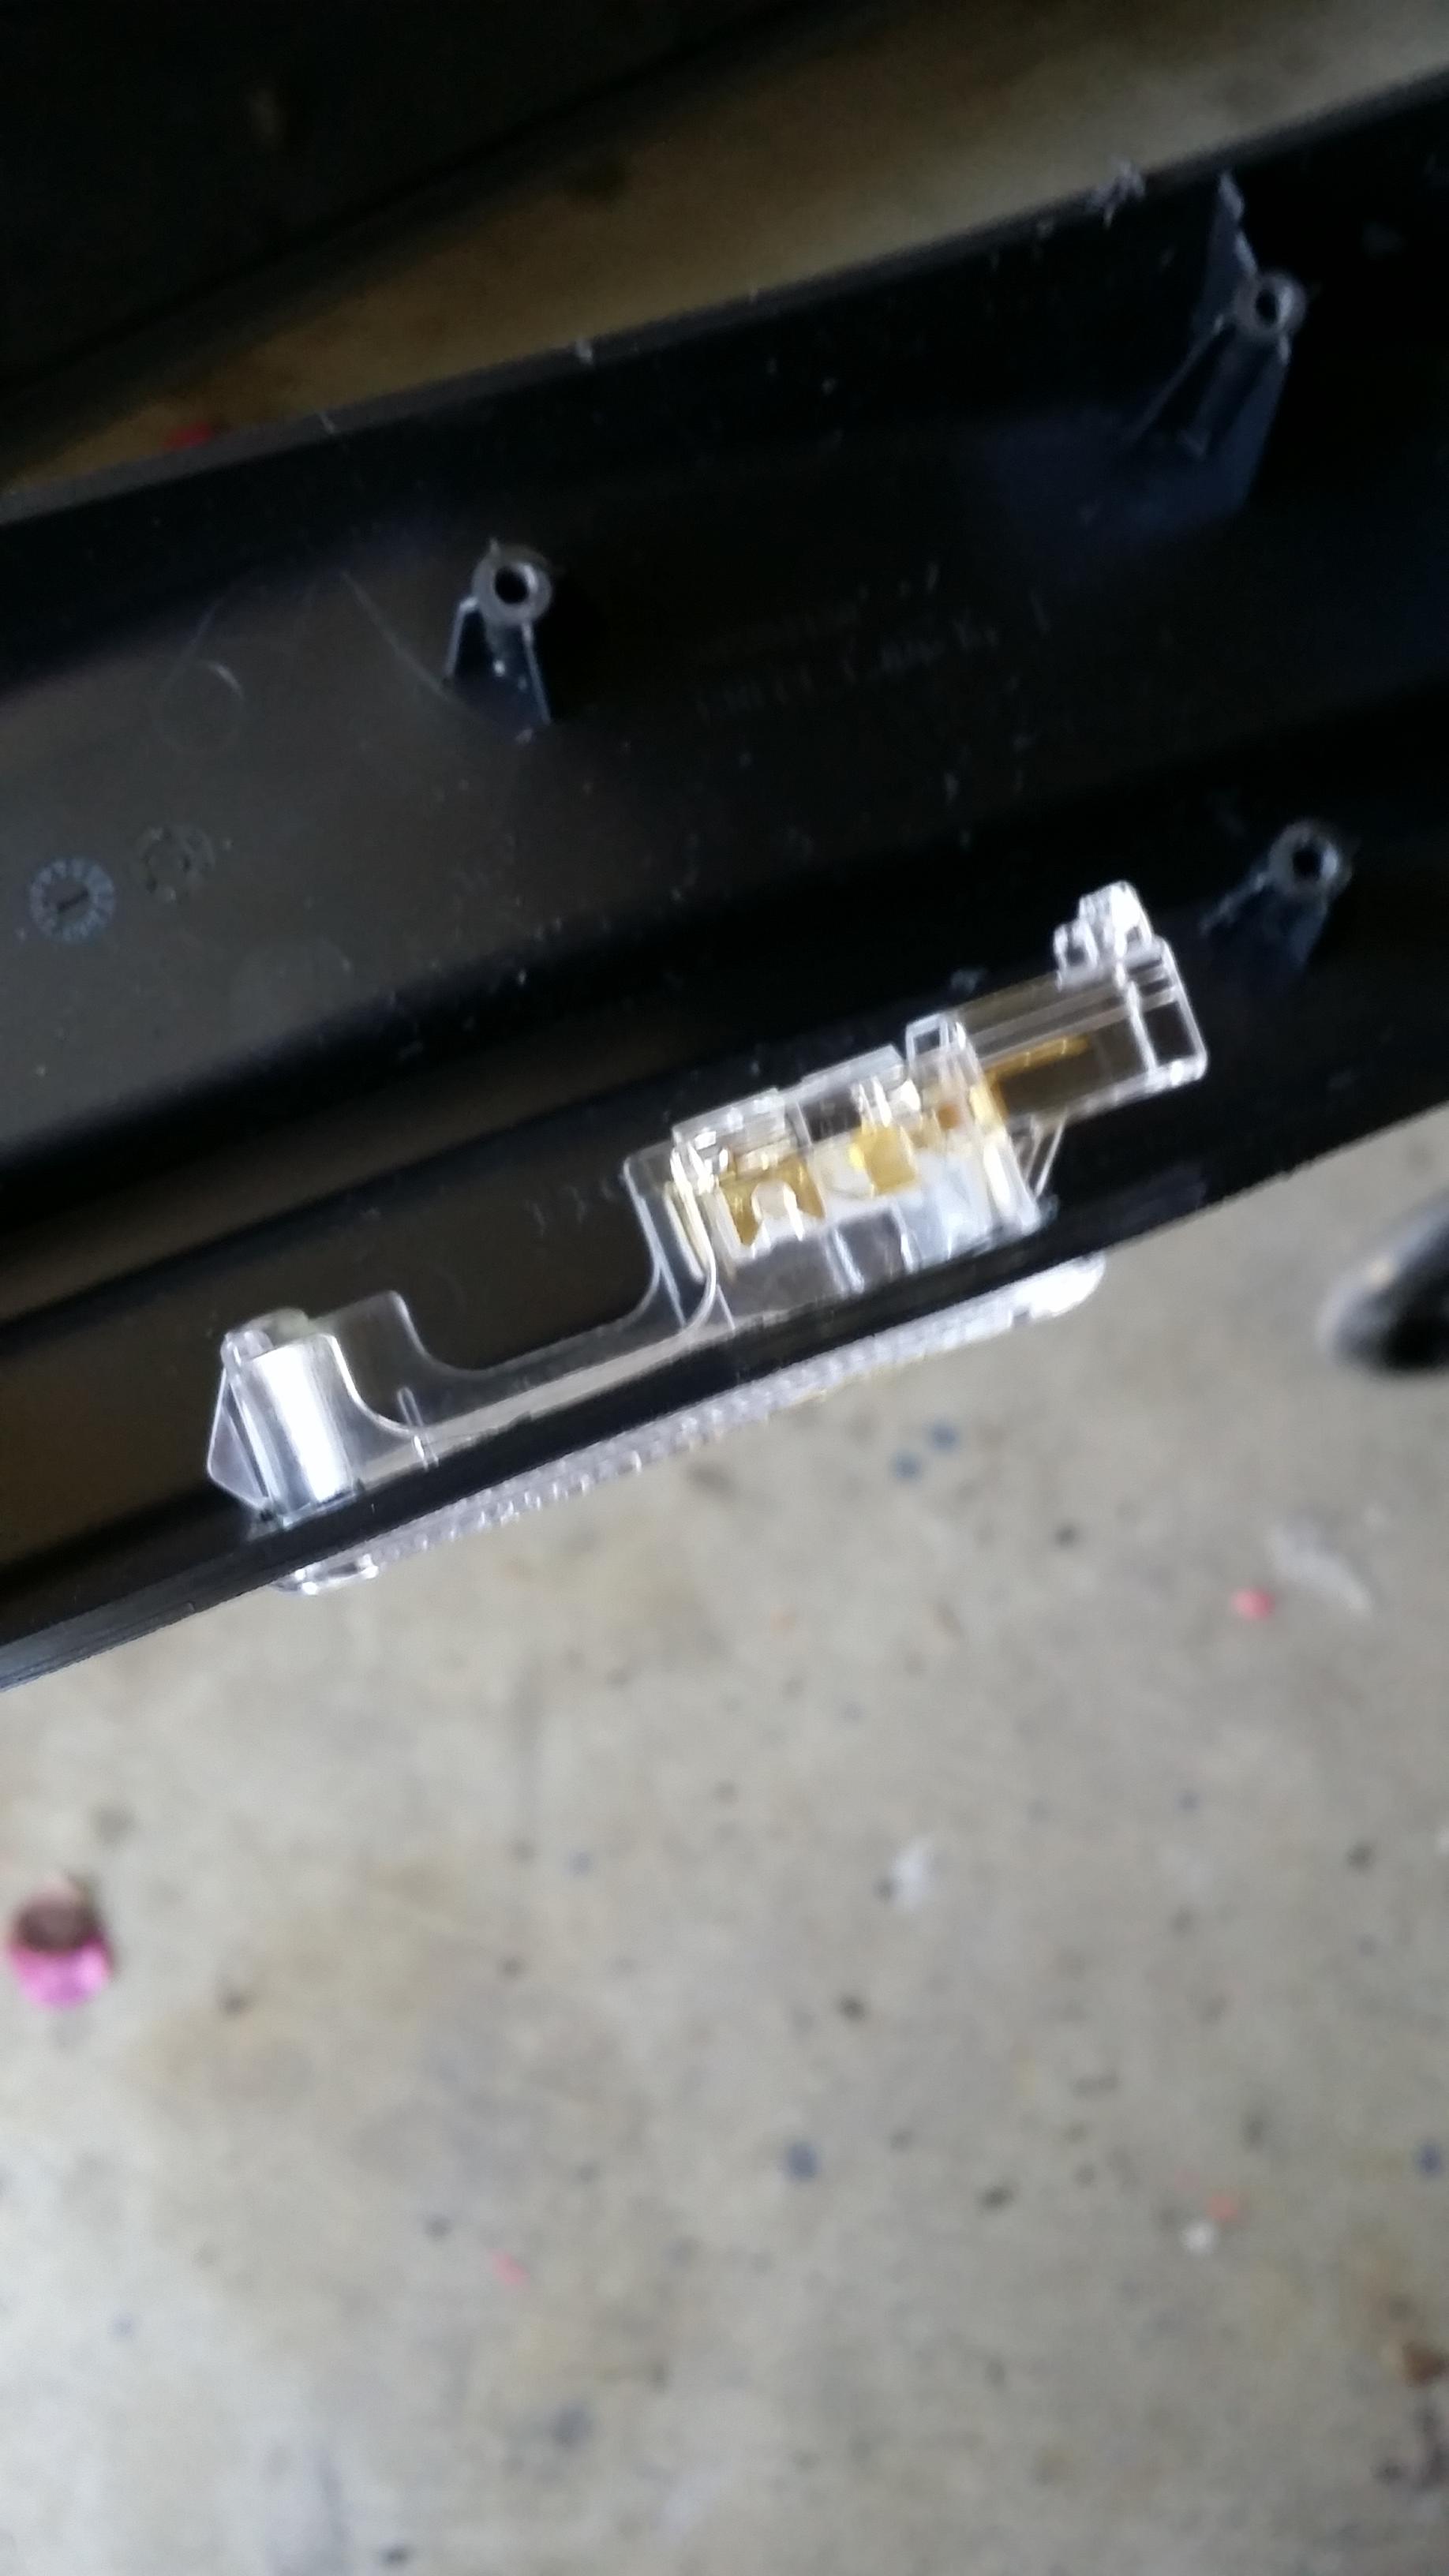
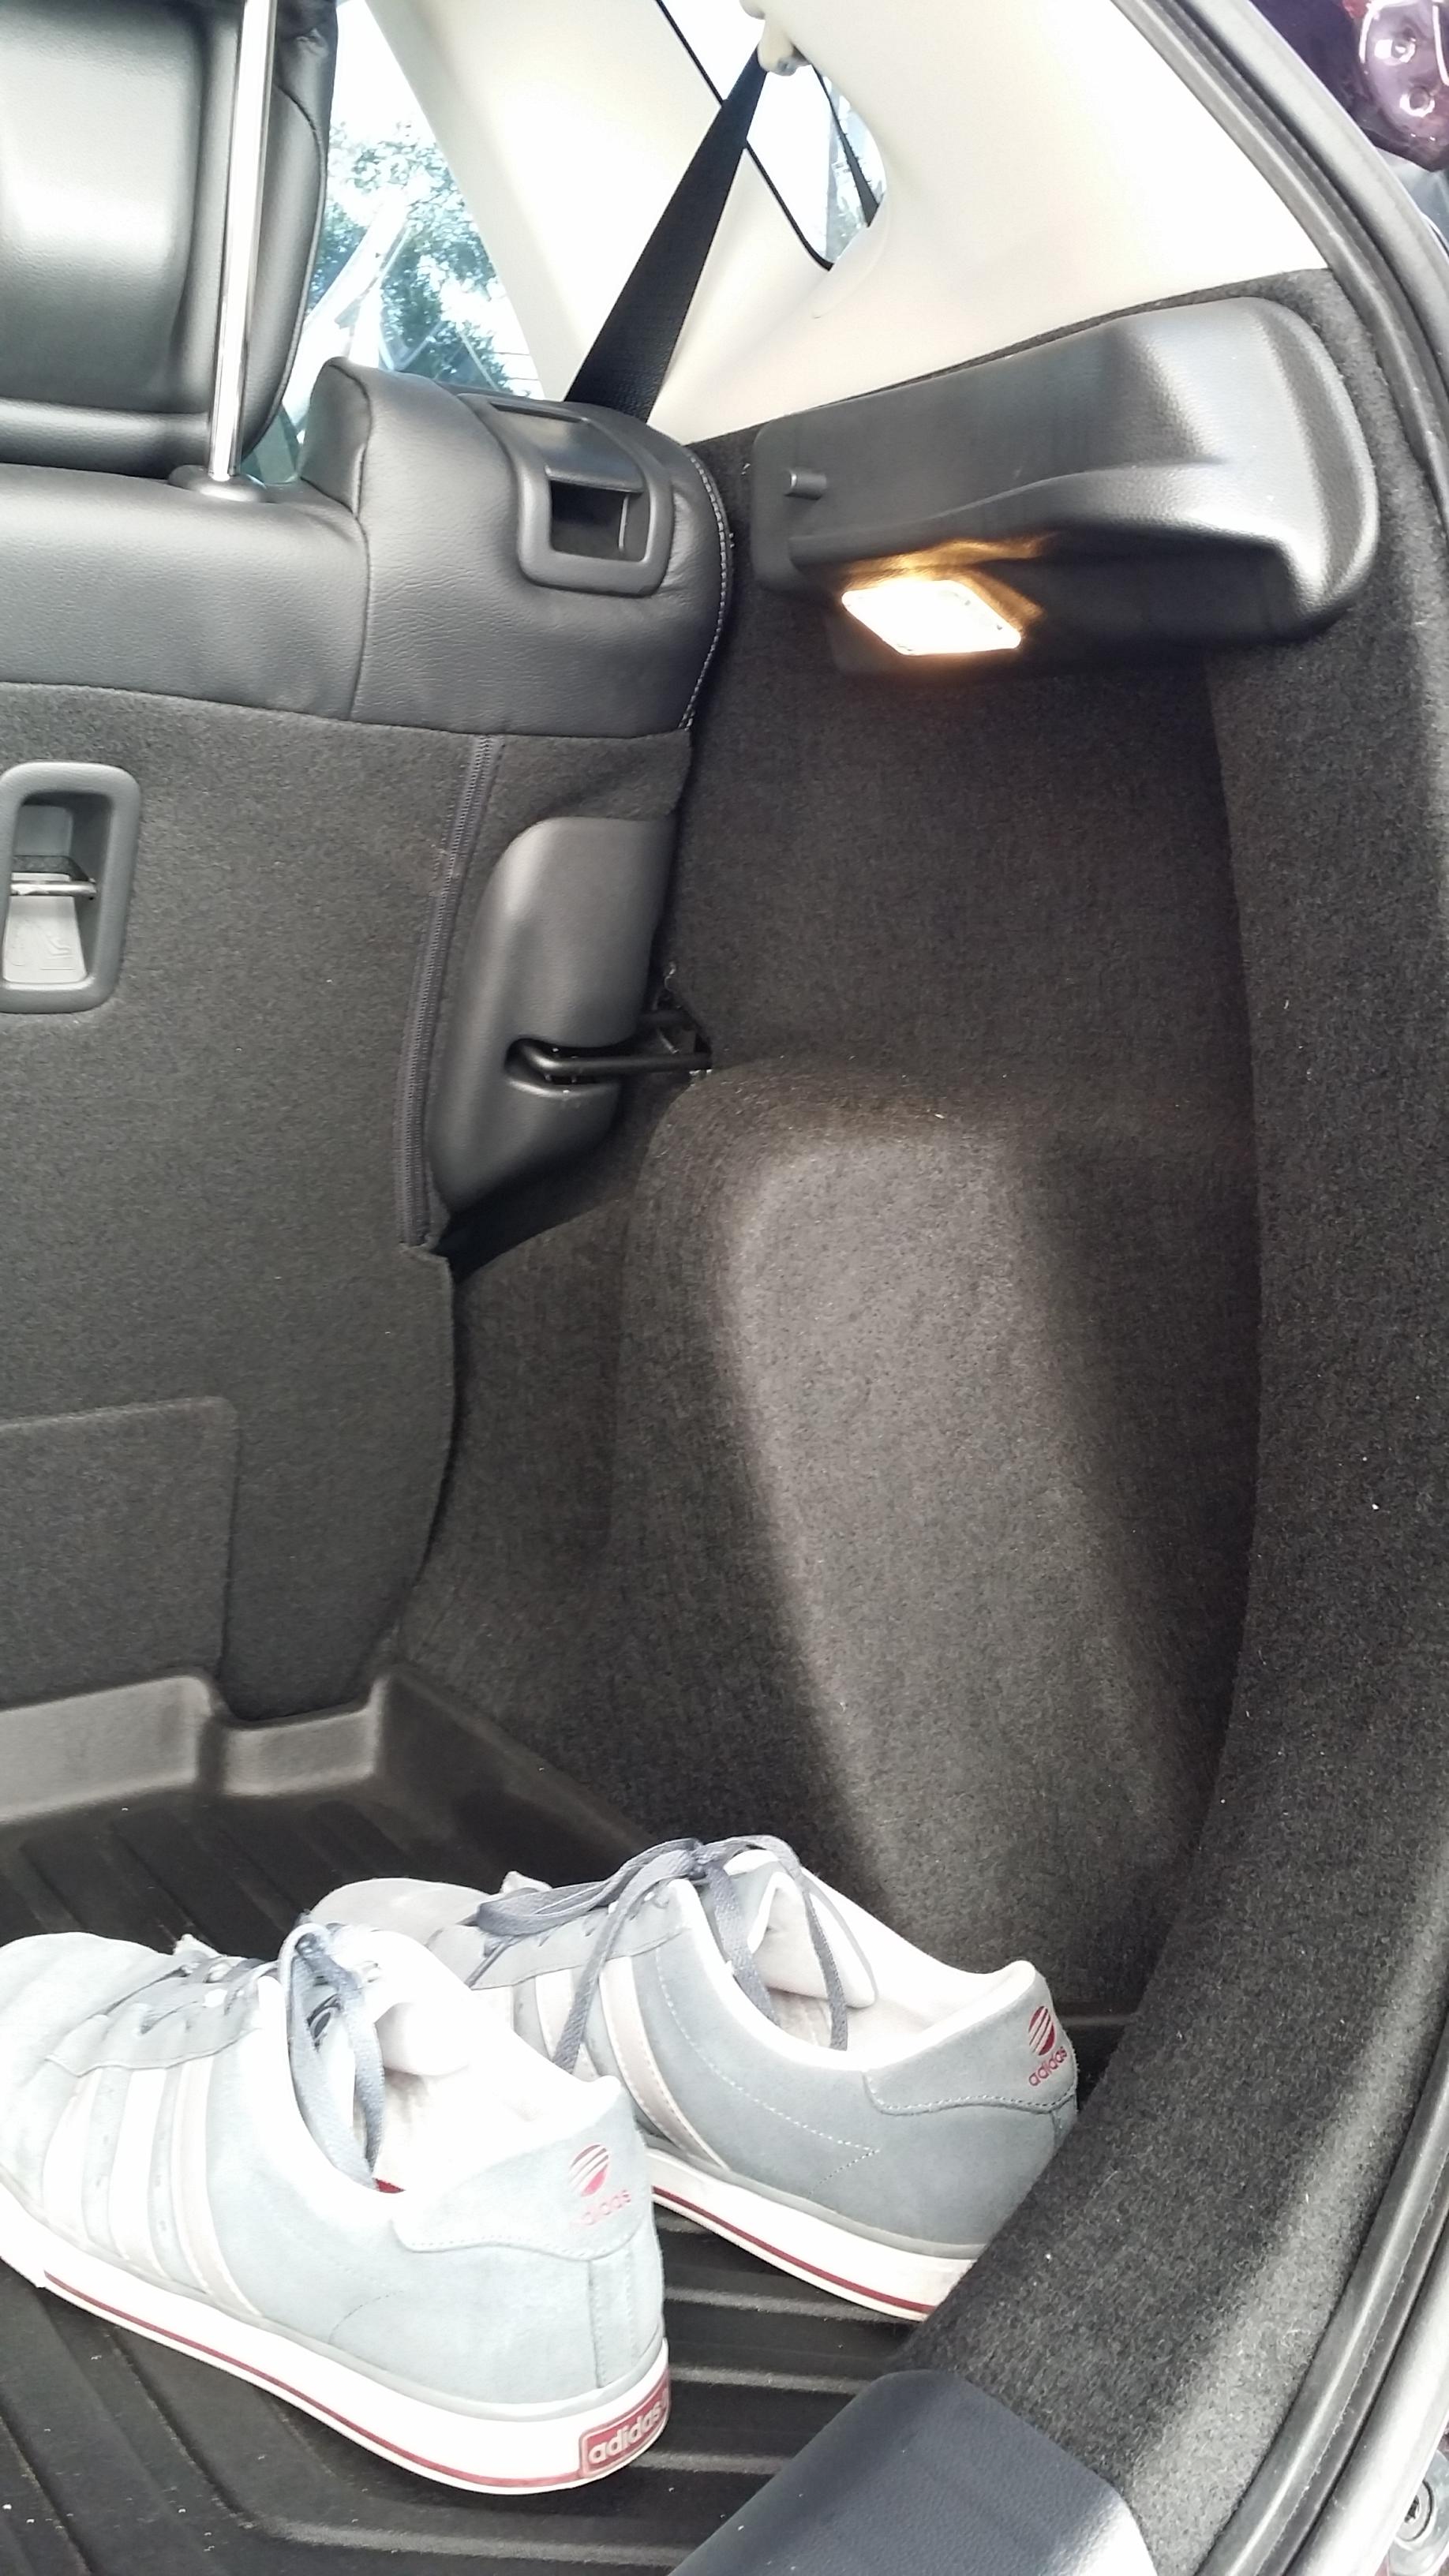
Now pull back on the other plastic with the stock light. You're going to have to tap the wires there to power up your upcoming new trunk lights. It's the same method as the first step, except you don't have to unscrew anything. Just remove the stock lens assembly, unplug the OEM harness and then tap the wires. Then re-route your new tapped wires to the other side.
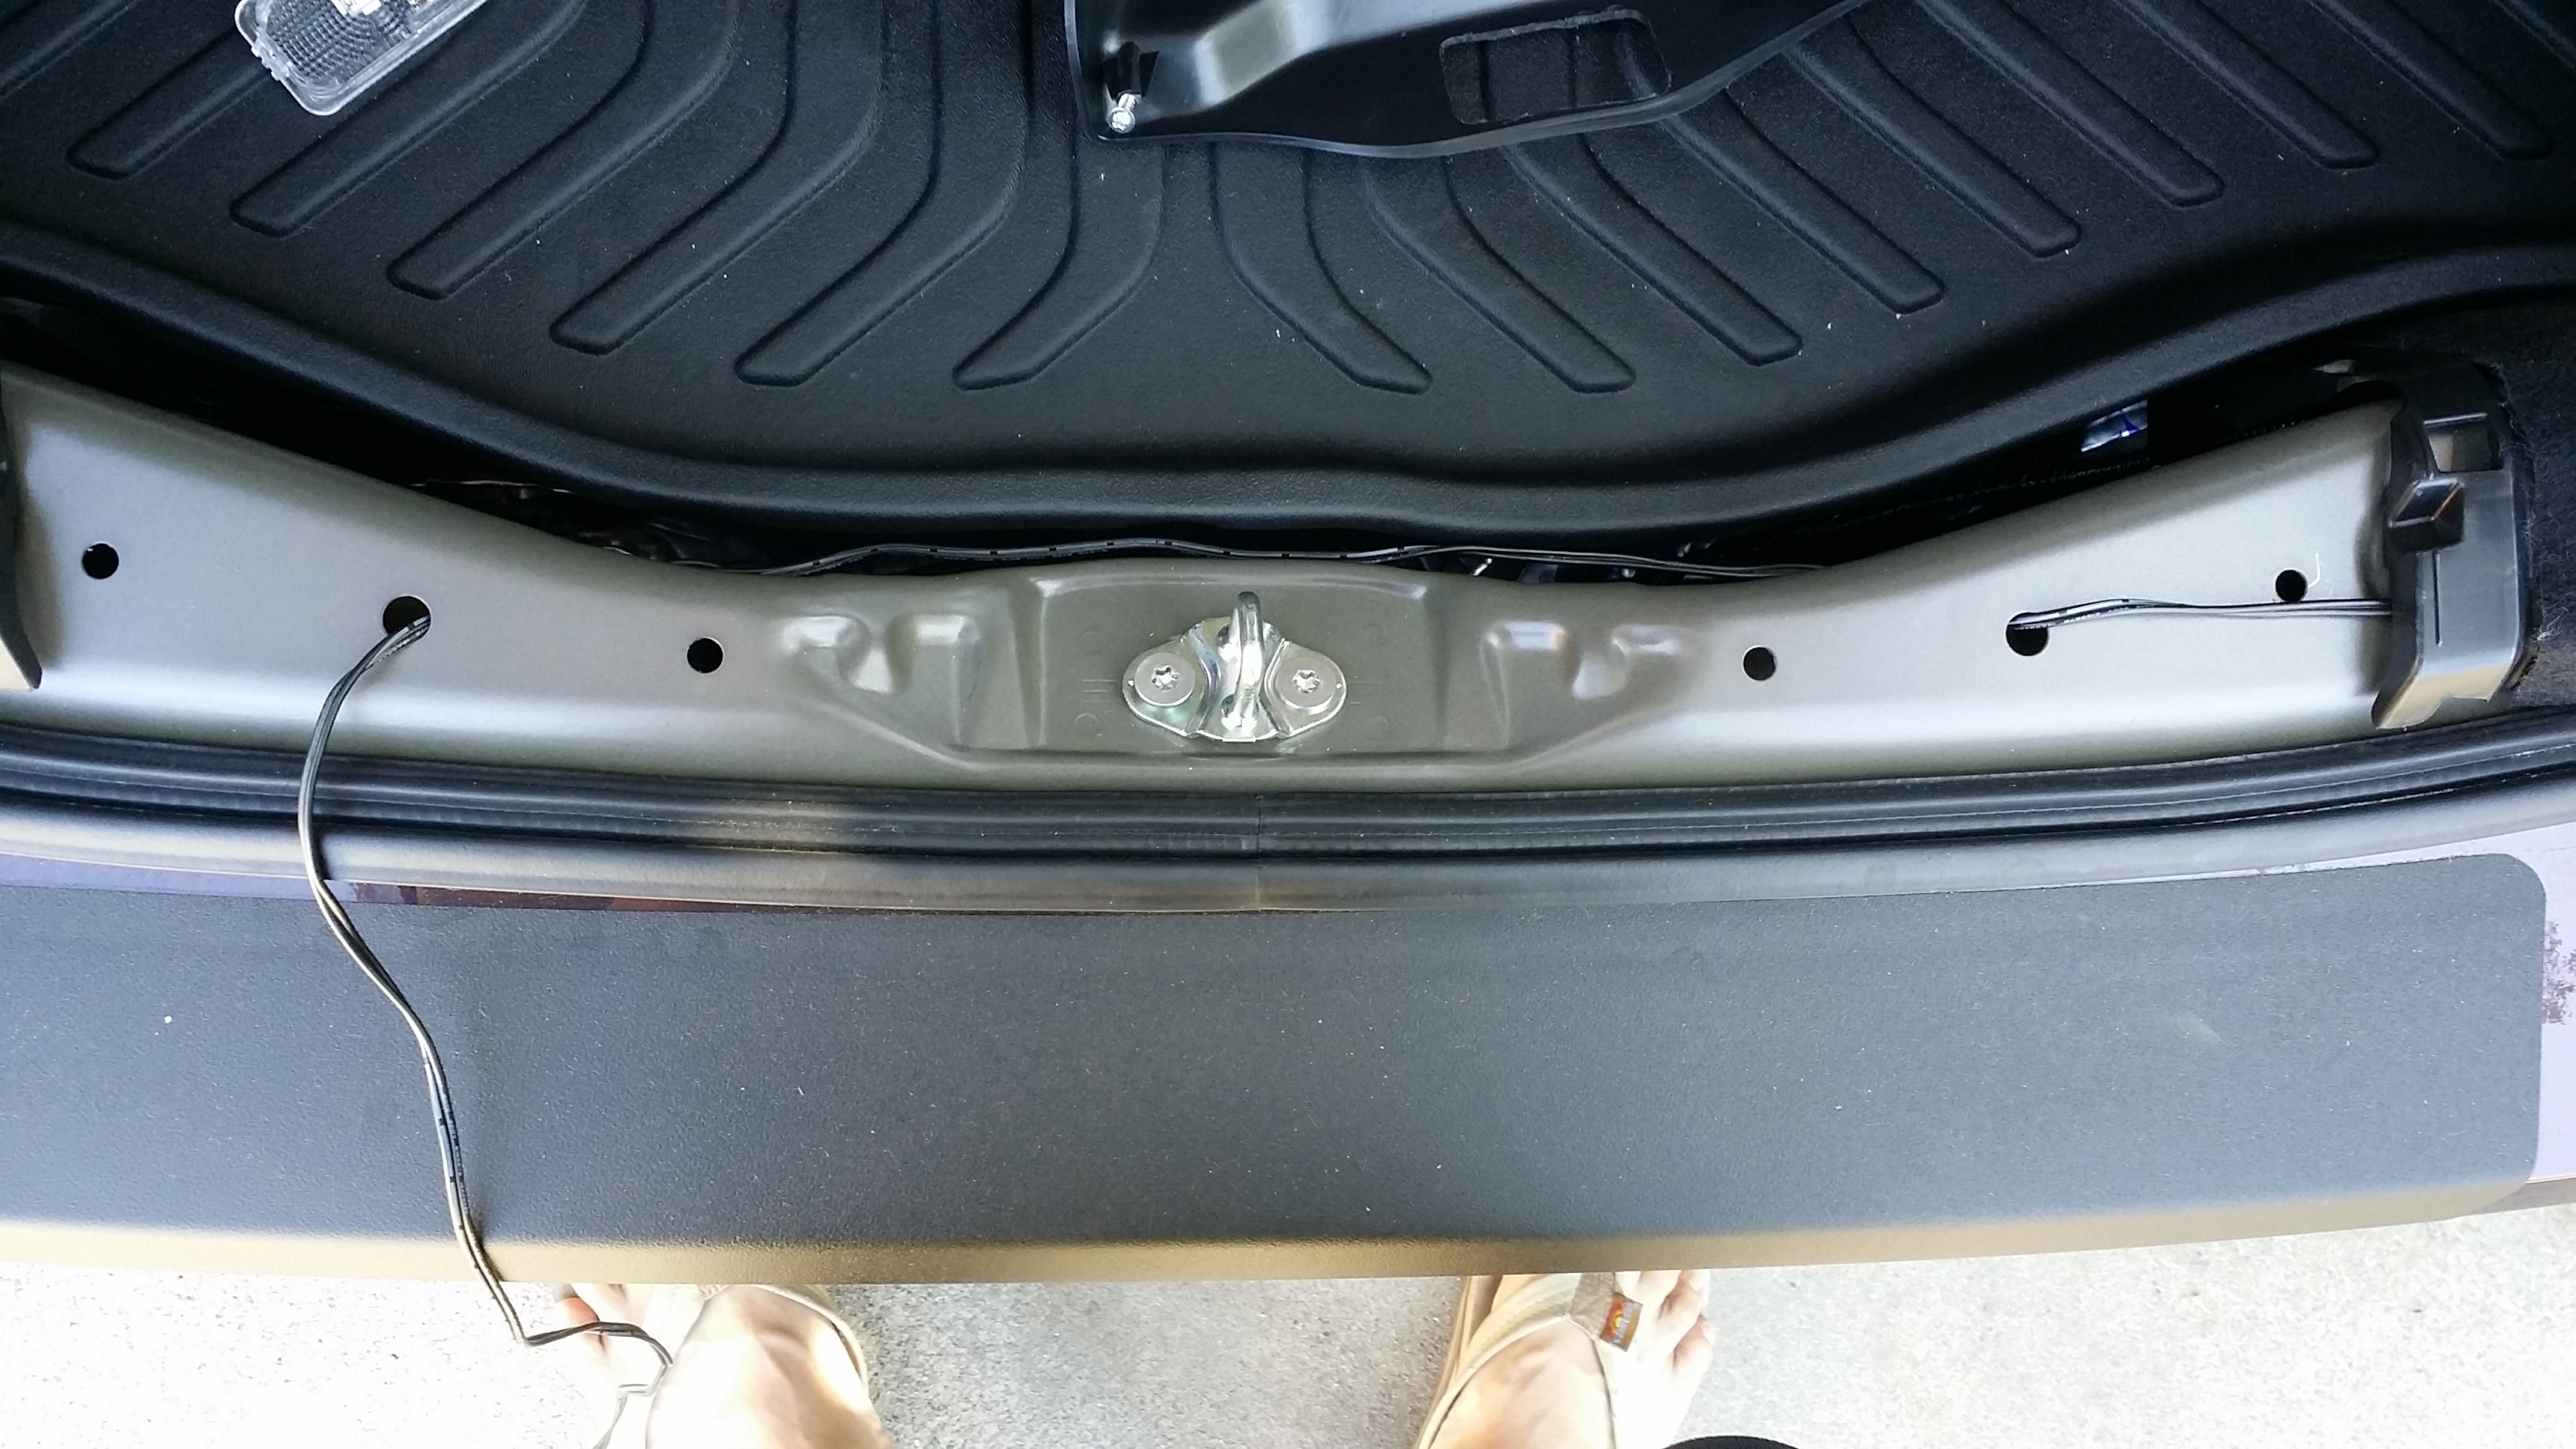
The best place to put those new tapped wires through is the hole that is circled yellow. That hole will allow the wires to go through and into the plastic shroud once you screw it back on. If you are using the OEM lens assembly, you will also have to cut the fabric covering along the dashed orange lines to allow room for the assembly. So just cut and make a flap. Don't have to worry about a "hole" in the fabric since once you put the plastic shroud and screw it back on, it will cover that "hole".
Wired through. You can choose to connect the new tapped wires to the OEM connectors for that "OEM harness look" or just female connectors you can pick up at home depot. They fit fine but a bit snug.
Just reassemble connect everything and the lights should work.
I had an extra trunk light lens assembly but you can use any lamp assembly, and the white LED with 3M sticky tape backing on Amazon works really well too - however I don't recommend attaching them straight on the cloth interior without some form of heat sink since they get really hot.
Those LEDs are REALLY bright but I chose not to use them because they don't fit in the OEM lens assembly. Tangent aside, here goes. Oh btw I took some of these pics backwards.
Lower the rear seats first. You're going to have to pull apart the left side plastic panel in the trunk. Use something flat, slip it under the plastic, pry up, then use your fingers to pry it off slowly. It will also pull part of the interior fabric with it. This is ok.
You will have to remove 7 screws circled in orange. One is hidden by felt tape.
When you have removed the screws, take off the plastic covering.
Place a lens assembly or lamp assembly of your choice on the plastic and mask it with some painter's tape so you know where to cut/dremel.
Dremel or cut off the piece with your favorite stress relief tool. Sand off and make it look pretty. Or try to.
Test fit your assembly to make sure it's a snug fit but also capable of removal.
Now pull back on the other plastic with the stock light. You're going to have to tap the wires there to power up your upcoming new trunk lights. It's the same method as the first step, except you don't have to unscrew anything. Just remove the stock lens assembly, unplug the OEM harness and then tap the wires. Then re-route your new tapped wires to the other side.
The best place to put those new tapped wires through is the hole that is circled yellow. That hole will allow the wires to go through and into the plastic shroud once you screw it back on. If you are using the OEM lens assembly, you will also have to cut the fabric covering along the dashed orange lines to allow room for the assembly. So just cut and make a flap. Don't have to worry about a "hole" in the fabric since once you put the plastic shroud and screw it back on, it will cover that "hole".
Wired through. You can choose to connect the new tapped wires to the OEM connectors for that "OEM harness look" or just female connectors you can pick up at home depot. They fit fine but a bit snug.
Just reassemble connect everything and the lights should work.
#3
09-23-2014, 09:16 AM

Nice!!! Definitely going to look into this.
I do recommend you use LED though. It would look much brighter and cooler looking
I do recommend you use LED though. It would look much brighter and cooler looking
#4
09-23-2014, 11:24 AM
I used the flat LED bulb that u guys recommended but in warm white. That's.... Warm white color... At least to those jtech guys that sell the bulbs on amazon. The other led I listed is super bright. I may swap them out and take a pic to show u guys.

#6
09-23-2014, 01:19 PM

You answered your own question! Remember, they don't really have to provide lights back there at all!

#8
09-24-2014, 12:39 PM
Per you guys suggestion, I swapped out the "warm white" LEDs with the "white" LEDs. I also used the ones I linked up there Lemonbest white LEDs. I had to mod the housings a little bit to fit them in.
I took these around 6 in the afternoon yesterday. When I opened the tailgate this morning at 5, my eyes were complaining they were too bright and my brain was complaining it needed more sleep.
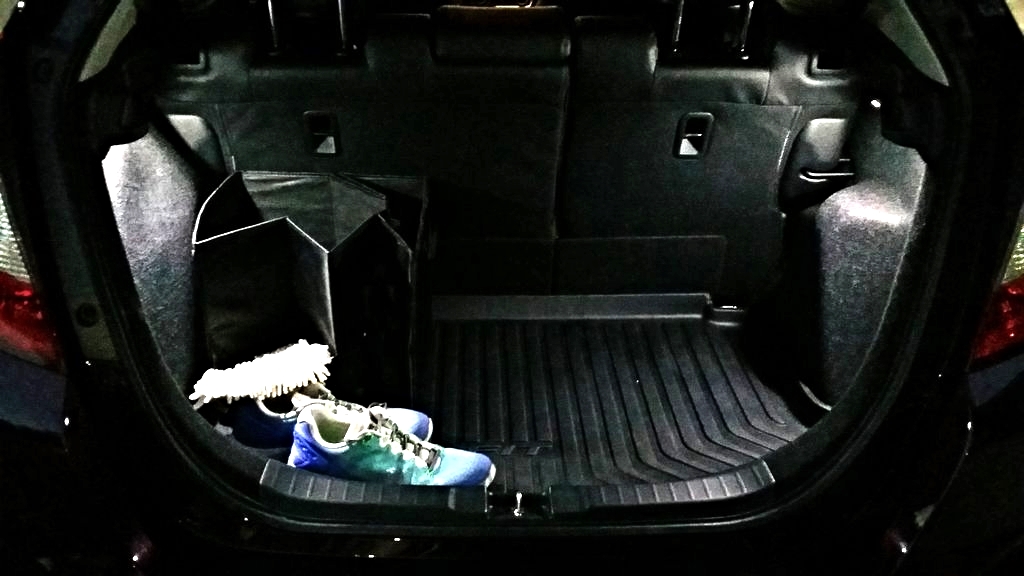
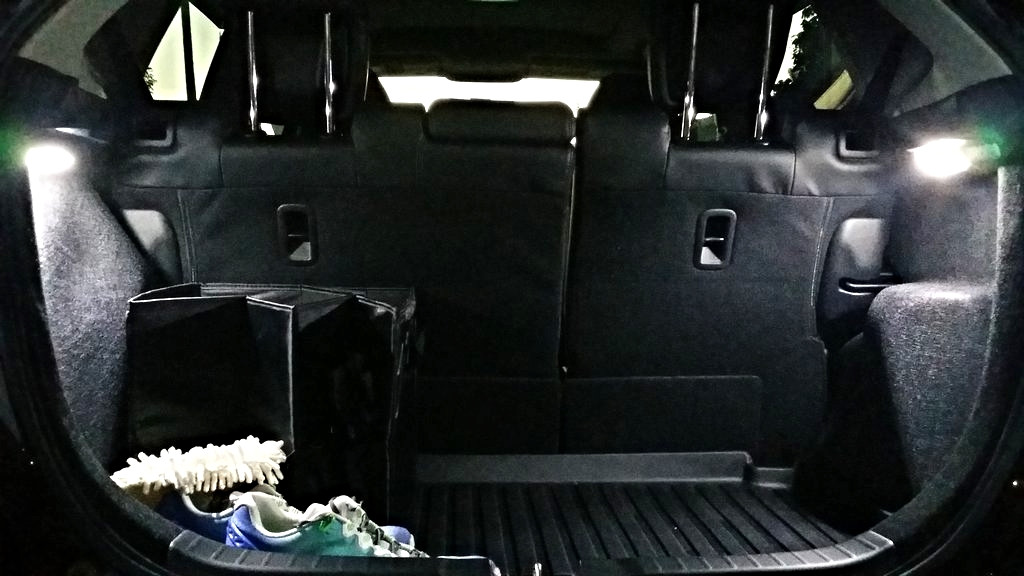
I took these around 6 in the afternoon yesterday. When I opened the tailgate this morning at 5, my eyes were complaining they were too bright and my brain was complaining it needed more sleep.
#10
11-11-2014, 03:31 PM
NORIPWR
What is the part# for the lens?
REply: I used Cargo Light Lens HOnda Part # 34261-S5A-003 so it would be a match to the OEM right side lens. - rttby
What is the part# for the lens?
REply: I used Cargo Light Lens HOnda Part # 34261-S5A-003 so it would be a match to the OEM right side lens. - rttby
Last edited by ROTTBOY; 11-11-2014 at 10:06 PM.


#13
11-13-2014, 06:09 AM

Nice job!
I added the LED to the one light last night, and that throws enough light I don't have to mess with this
Just wanted to add that in doing this mod you might want to use rubber grommets to the two holes the wiring goes through (pic 8) so that somewhere down the line the wiring doesn't wear through and start blowing fuses
#14
11-13-2014, 09:08 AM
Thanks for the info on the lens, I think I will forgo it and just stick the LED light from your Amazon link to the same area you made the cut into the plastic trim. should achieve the same effect without permanently cutting anything.


Thread
Thread Starter
Forum
Replies
Last Post
thedeadpoet000
Fit Interior & Exterior Illumination
6
08-26-2007 01:09 AM

