curt hitch install
#21
 06-17-2010, 12:21 PM


I'm looking at the instructions right now, the PDF link is on the page at
etrailer.com | Curt Trailer Hitch for Honda Fit 2010 - 11064
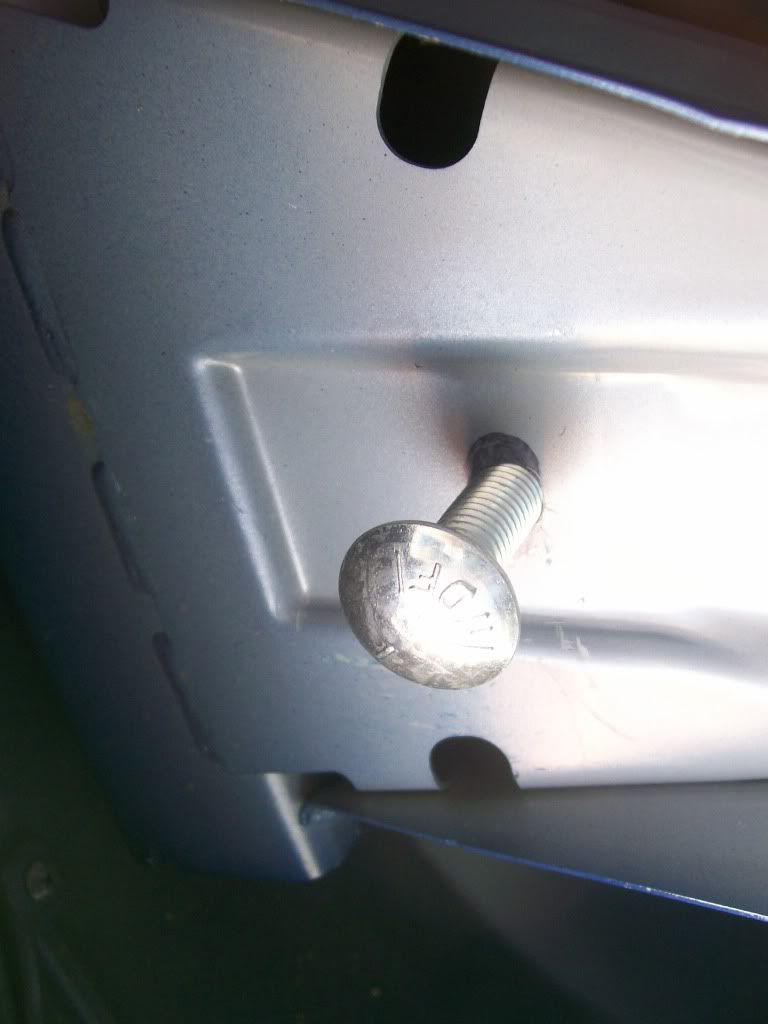
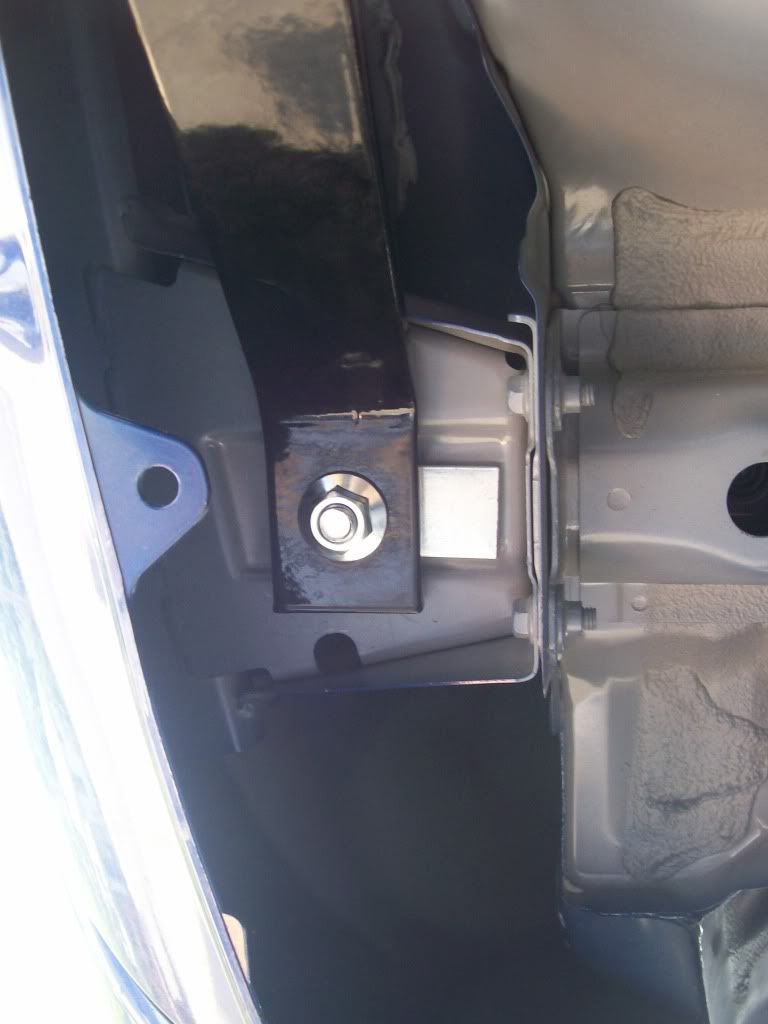
Look at my previously posted photographs of the area of the bumper box that the hitch is mounted to. The mounting points on the left and right bumper box have a recessed stamping that gives it extra strength- and the pair of #7 spacers fills the recess to make a flat mounting point for the Curt hitch- and maintains the shape and integrity of the mounting point.
As you see in the manufacturer's illustration, one plate (part #2) goes inside the passenger side bumper box; one plate (part #3) goes inside the Driver's side bumper box; the pair of plate spacers (part #7, two of them) go between the hitch and the car. The hitch's trunk pan mount plate attaches directly to the trunk pan mount. Notice how, at the trunk pan mount, bolt (#6) goes through washer (#5), through the welded-on hitch plate, through the holes in the trunk pan mount, and secured by the handle-equipped nuts (#4). That's all she wrote! Now notice how the Driver's side mounting progression is: (a) bumper box nut (#8), (b) Curt hitch, (c)SPACER (#7), (d) Honda Fit, (e) spacer (#3), (f) carriage bolt (#1). I know it's probably the most poorly drawn exploded view drawing ever, but those plates won't even fit inside the trunk pan mount to reinforce it, and outside of the trunk pan mount they would serve no purpose.
I have uploaded the PDF of the instructions to my yousendit.com account:
http://download.yousendit.com/dXFYZGVmYWJuSlJFQlE9PQ
etrailer.com | Curt Trailer Hitch for Honda Fit 2010 - 11064
Look at my previously posted photographs of the area of the bumper box that the hitch is mounted to. The mounting points on the left and right bumper box have a recessed stamping that gives it extra strength- and the pair of #7 spacers fills the recess to make a flat mounting point for the Curt hitch- and maintains the shape and integrity of the mounting point.
As you see in the manufacturer's illustration, one plate (part #2) goes inside the passenger side bumper box; one plate (part #3) goes inside the Driver's side bumper box; the pair of plate spacers (part #7, two of them) go between the hitch and the car. The hitch's trunk pan mount plate attaches directly to the trunk pan mount. Notice how, at the trunk pan mount, bolt (#6) goes through washer (#5), through the welded-on hitch plate, through the holes in the trunk pan mount, and secured by the handle-equipped nuts (#4). That's all she wrote! Now notice how the Driver's side mounting progression is: (a) bumper box nut (#8), (b) Curt hitch, (c)SPACER (#7), (d) Honda Fit, (e) spacer (#3), (f) carriage bolt (#1). I know it's probably the most poorly drawn exploded view drawing ever, but those plates won't even fit inside the trunk pan mount to reinforce it, and outside of the trunk pan mount they would serve no purpose.
I have uploaded the PDF of the instructions to my yousendit.com account:
http://download.yousendit.com/dXFYZGVmYWJuSlJFQlE9PQ
Last edited by phogroian; 06-18-2010 at 07:53 AM.
#22
06-17-2010, 09:21 PM

Ah I stand corrected. I see it now. The left side of the instructions is too cluttered to see whats going on.
Like you say though, on the right side of the instructions you clearly see where the line goes through the spacer. Looks like I am gonna have to put it back on the ramps. Must have been my sweaty forehead rubbing my safety glasses making it impossible to see properly.
Like you say though, on the right side of the instructions you clearly see where the line goes through the spacer. Looks like I am gonna have to put it back on the ramps. Must have been my sweaty forehead rubbing my safety glasses making it impossible to see properly.
Last edited by jdubau55; 06-17-2010 at 09:27 PM.

#25
09-07-2014, 10:45 PM

5) After marking where the driver's side mounting bolt will go, remove the hitch and drill it with a 1/2 inch drill (not 17/32 like the instructions say).
6) fish the nuts and reinforcement plates into the frame box with the supplied fish wire. No need to grind open the hole you just made to make it big enough to fit the plate through; there is an opening in the back of the box big enough to fish the hardware in there. Just thread your fish into the hole and out through the back of the box, thread on the reinforcement plate and the carriage bolt, and pull the whole thing into place. Put on another reinforcement plate, THEN the hitch. That's right, you make a reinforcement plate sandwich for your bumper box!
6) fish the nuts and reinforcement plates into the frame box with the supplied fish wire. No need to grind open the hole you just made to make it big enough to fit the plate through; there is an opening in the back of the box big enough to fish the hardware in there. Just thread your fish into the hole and out through the back of the box, thread on the reinforcement plate and the carriage bolt, and pull the whole thing into place. Put on another reinforcement plate, THEN the hitch. That's right, you make a reinforcement plate sandwich for your bumper box!
Just finished installing a curt hitch on a 2014. These are hands down the best instructions on the internet. Imo, the instructions from curt is borderline hack-job, and the 1" hole that etrailer.com suggests cuts into the 'rib' of the frame which I'm not a fan of.(blue fit video)
I followed these instructions but used a step drill (from harbor freight) and drilled a 5/8" hole to allow more room for adjustment/alignment. I'm ocd and wanted the hitch perfectly centered and true to the bumper.
#26
02-08-2016, 10:16 AM

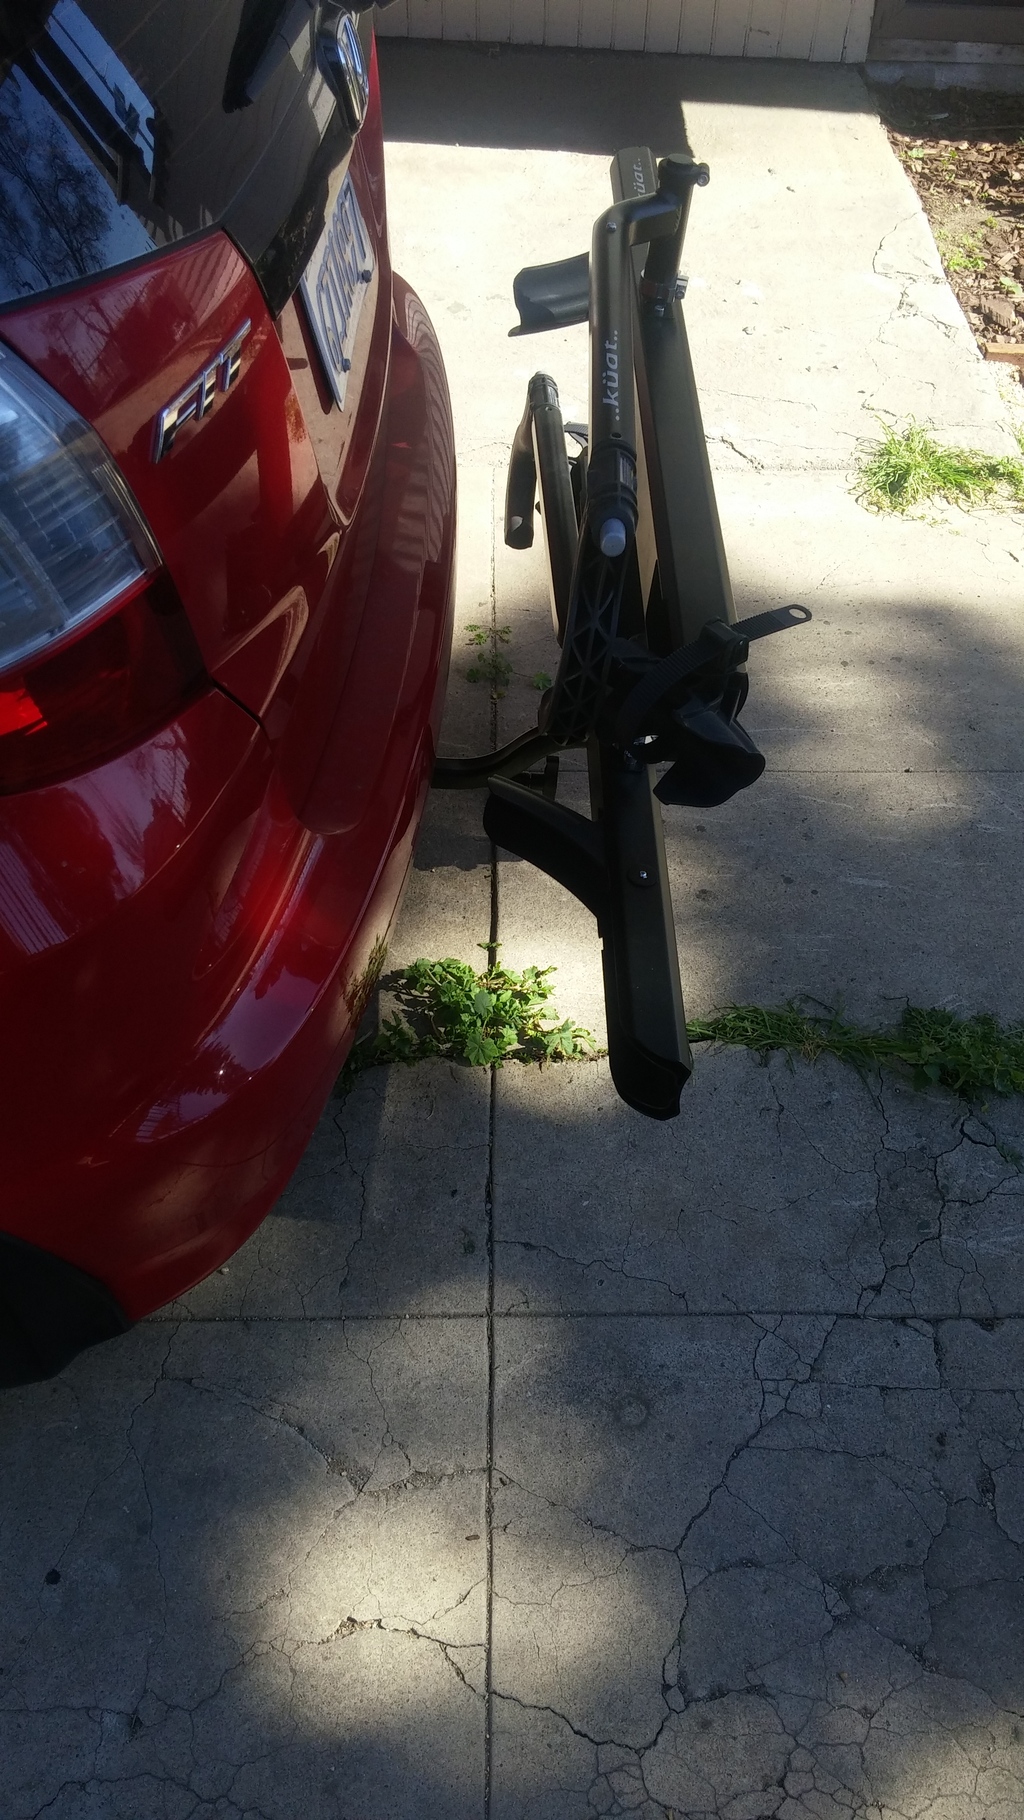
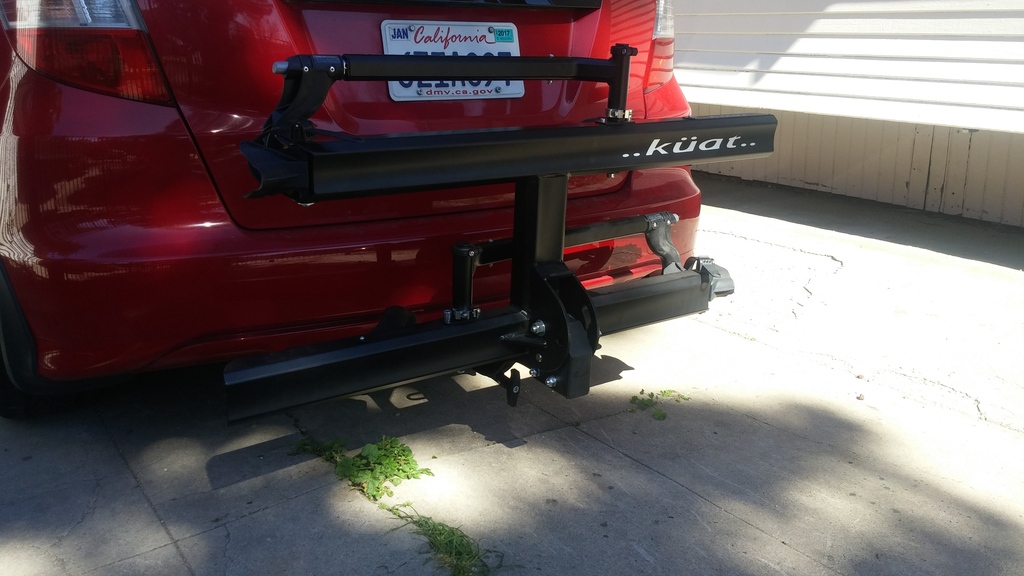
Just to revive this thread, I installed my CURT hitch over the weekend. Super easy to do. I drilled the 1/2" hole with my step bit and to be honest I know the bolt fits through the 1/2" hole but I went up another size to give the bolt some adjustability in order to ensure the hitch went on straight.
Also, the conical washers for the rear brace were terrible. The provided 1/2-13 x 1-1/4" hex bolts would not fit through the conical washer. I tried to bore it out, but could not get it to work properly. I ended up just using a lock and flat washer and some thread lock and that went on smoothly.
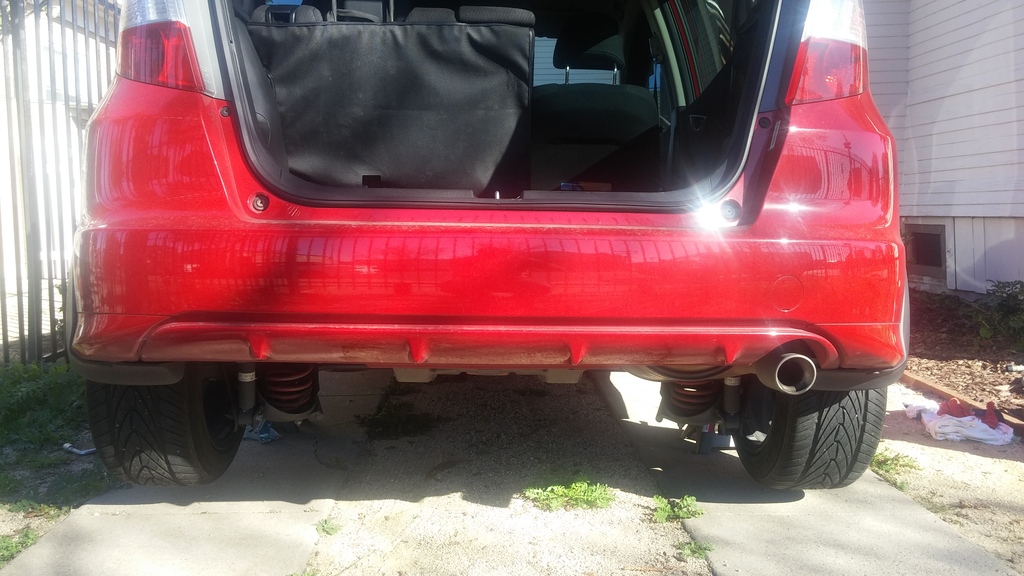
Pics of the hitch before and after and with my Kuat Sherpa 2 bike mount installed.
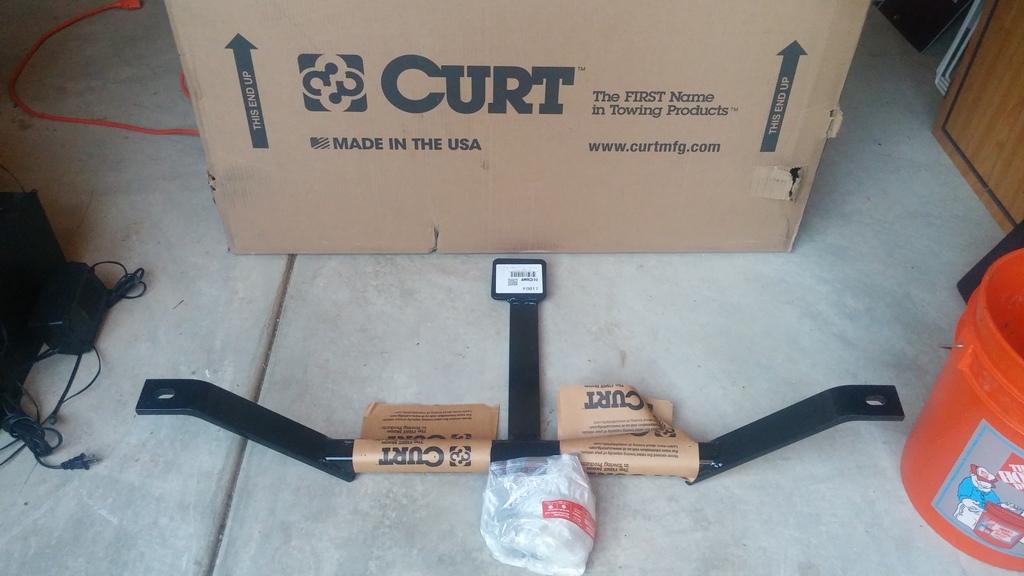

Also, the conical washers for the rear brace were terrible. The provided 1/2-13 x 1-1/4" hex bolts would not fit through the conical washer. I tried to bore it out, but could not get it to work properly. I ended up just using a lock and flat washer and some thread lock and that went on smoothly.
Pics of the hitch before and after and with my Kuat Sherpa 2 bike mount installed.


Last edited by shinjari; 02-08-2016 at 10:55 AM.

Thread
Thread Starter
Forum
Replies
Last Post
Namae Kana
3rd Gen GK Specific Fit Exterior Modifications & JDM Styling Sub-Forum
13
01-10-2022 08:26 PM

