What did you do to your GE fit today?
 02-05-2016, 03:52 PM


Thanks. You should join the club!
Yeah it is. instructions could be more clear, and the PnP harness could be improved. But if you go K-Tuner route, the PnP harness issue i had probably wouldn't happen.
Yeah it is. instructions could be more clear, and the PnP harness could be improved. But if you go K-Tuner route, the PnP harness issue i had probably wouldn't happen.
02-05-2016, 05:14 PM

What's it like to drive with now
How's power and economy
Is that VTEC even stronger now
How's power and economy
Is that VTEC even stronger now
02-05-2016, 05:16 PM


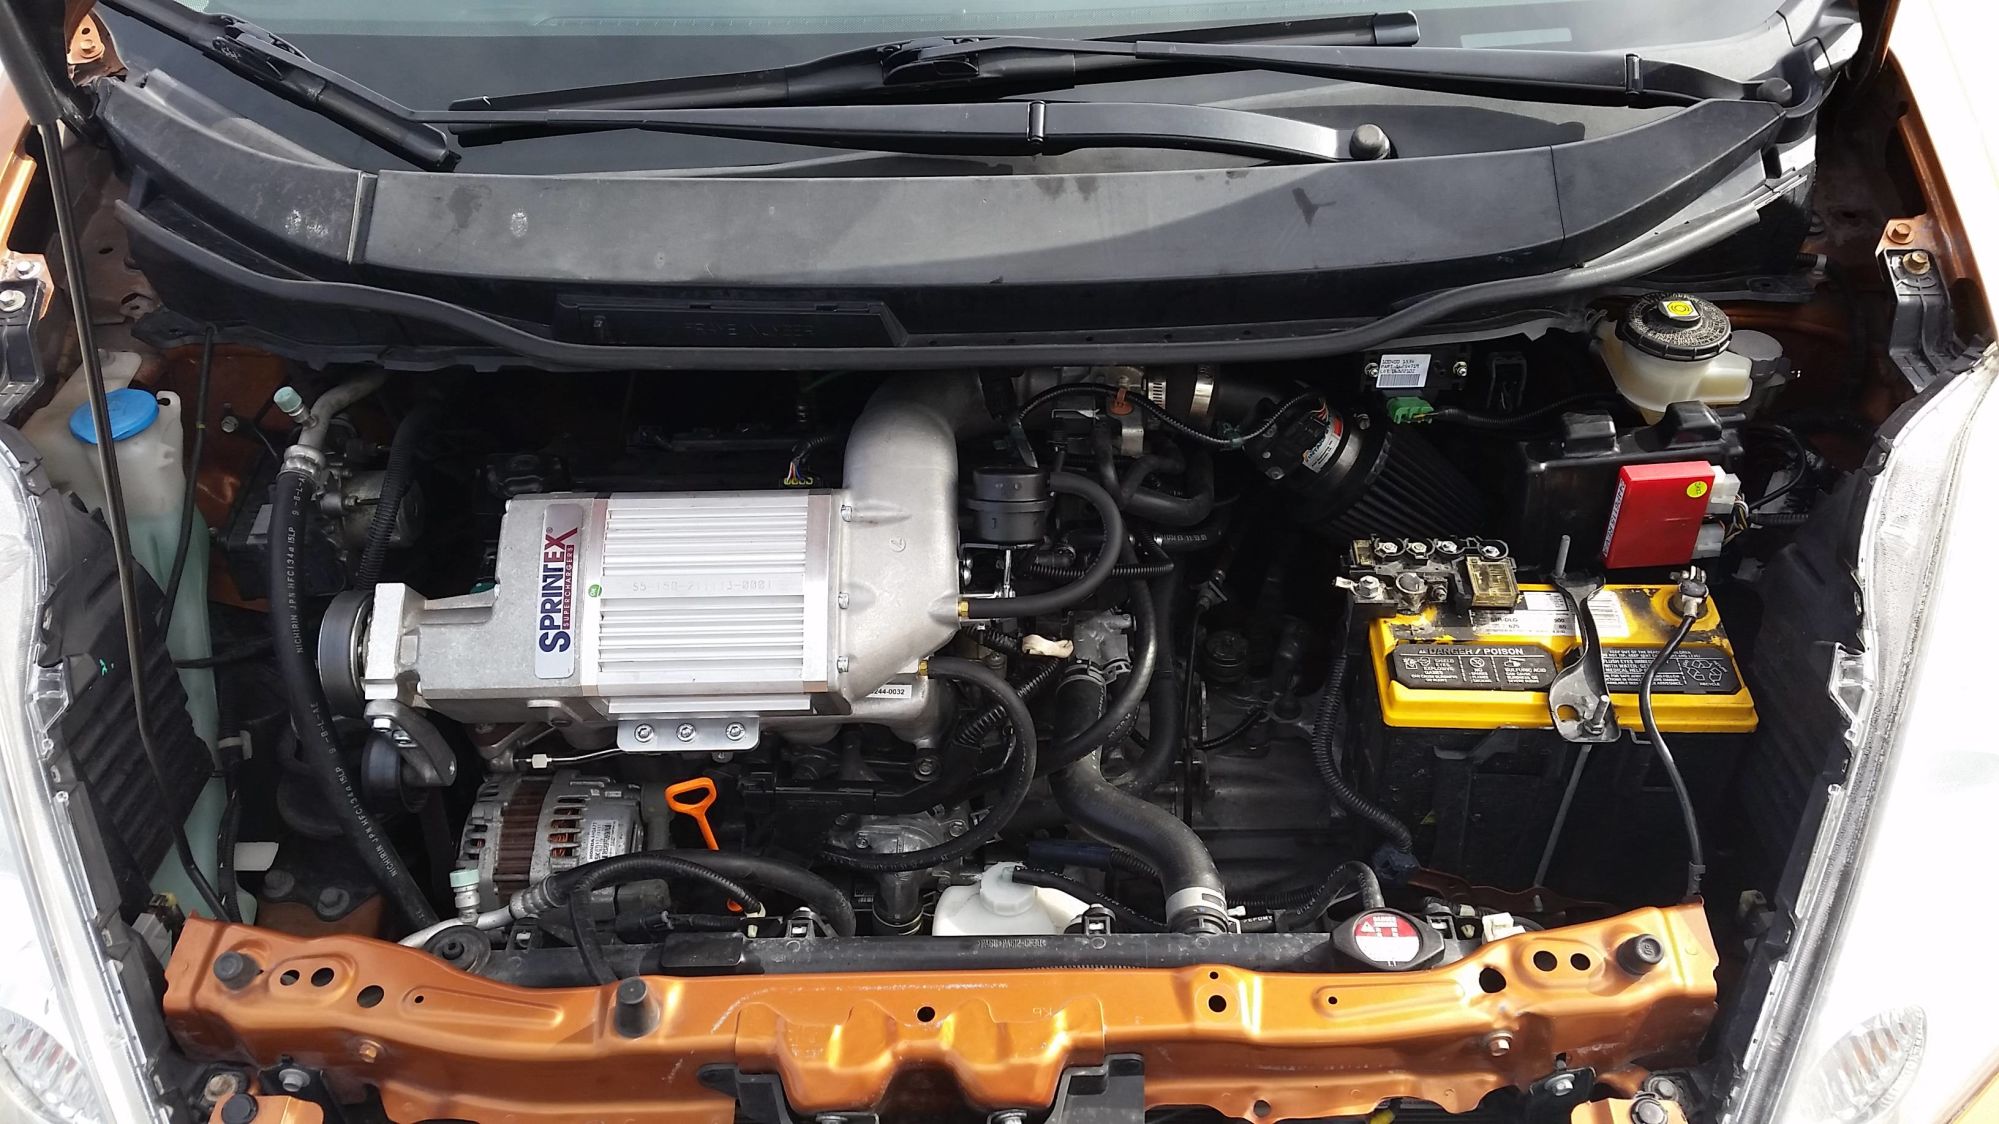
Another Sprintex GE! I wish I had the cash to do something that big.
I did order my EBC greenstuff pads today. Once that comes in, I just need the fluid, and the upgrade will be pretty much ready to go. Whether I do the lines or not depends entirely on whether I get a tax return as good as last year's. Once the brakes are done, I'm going to concentrate on the interior.
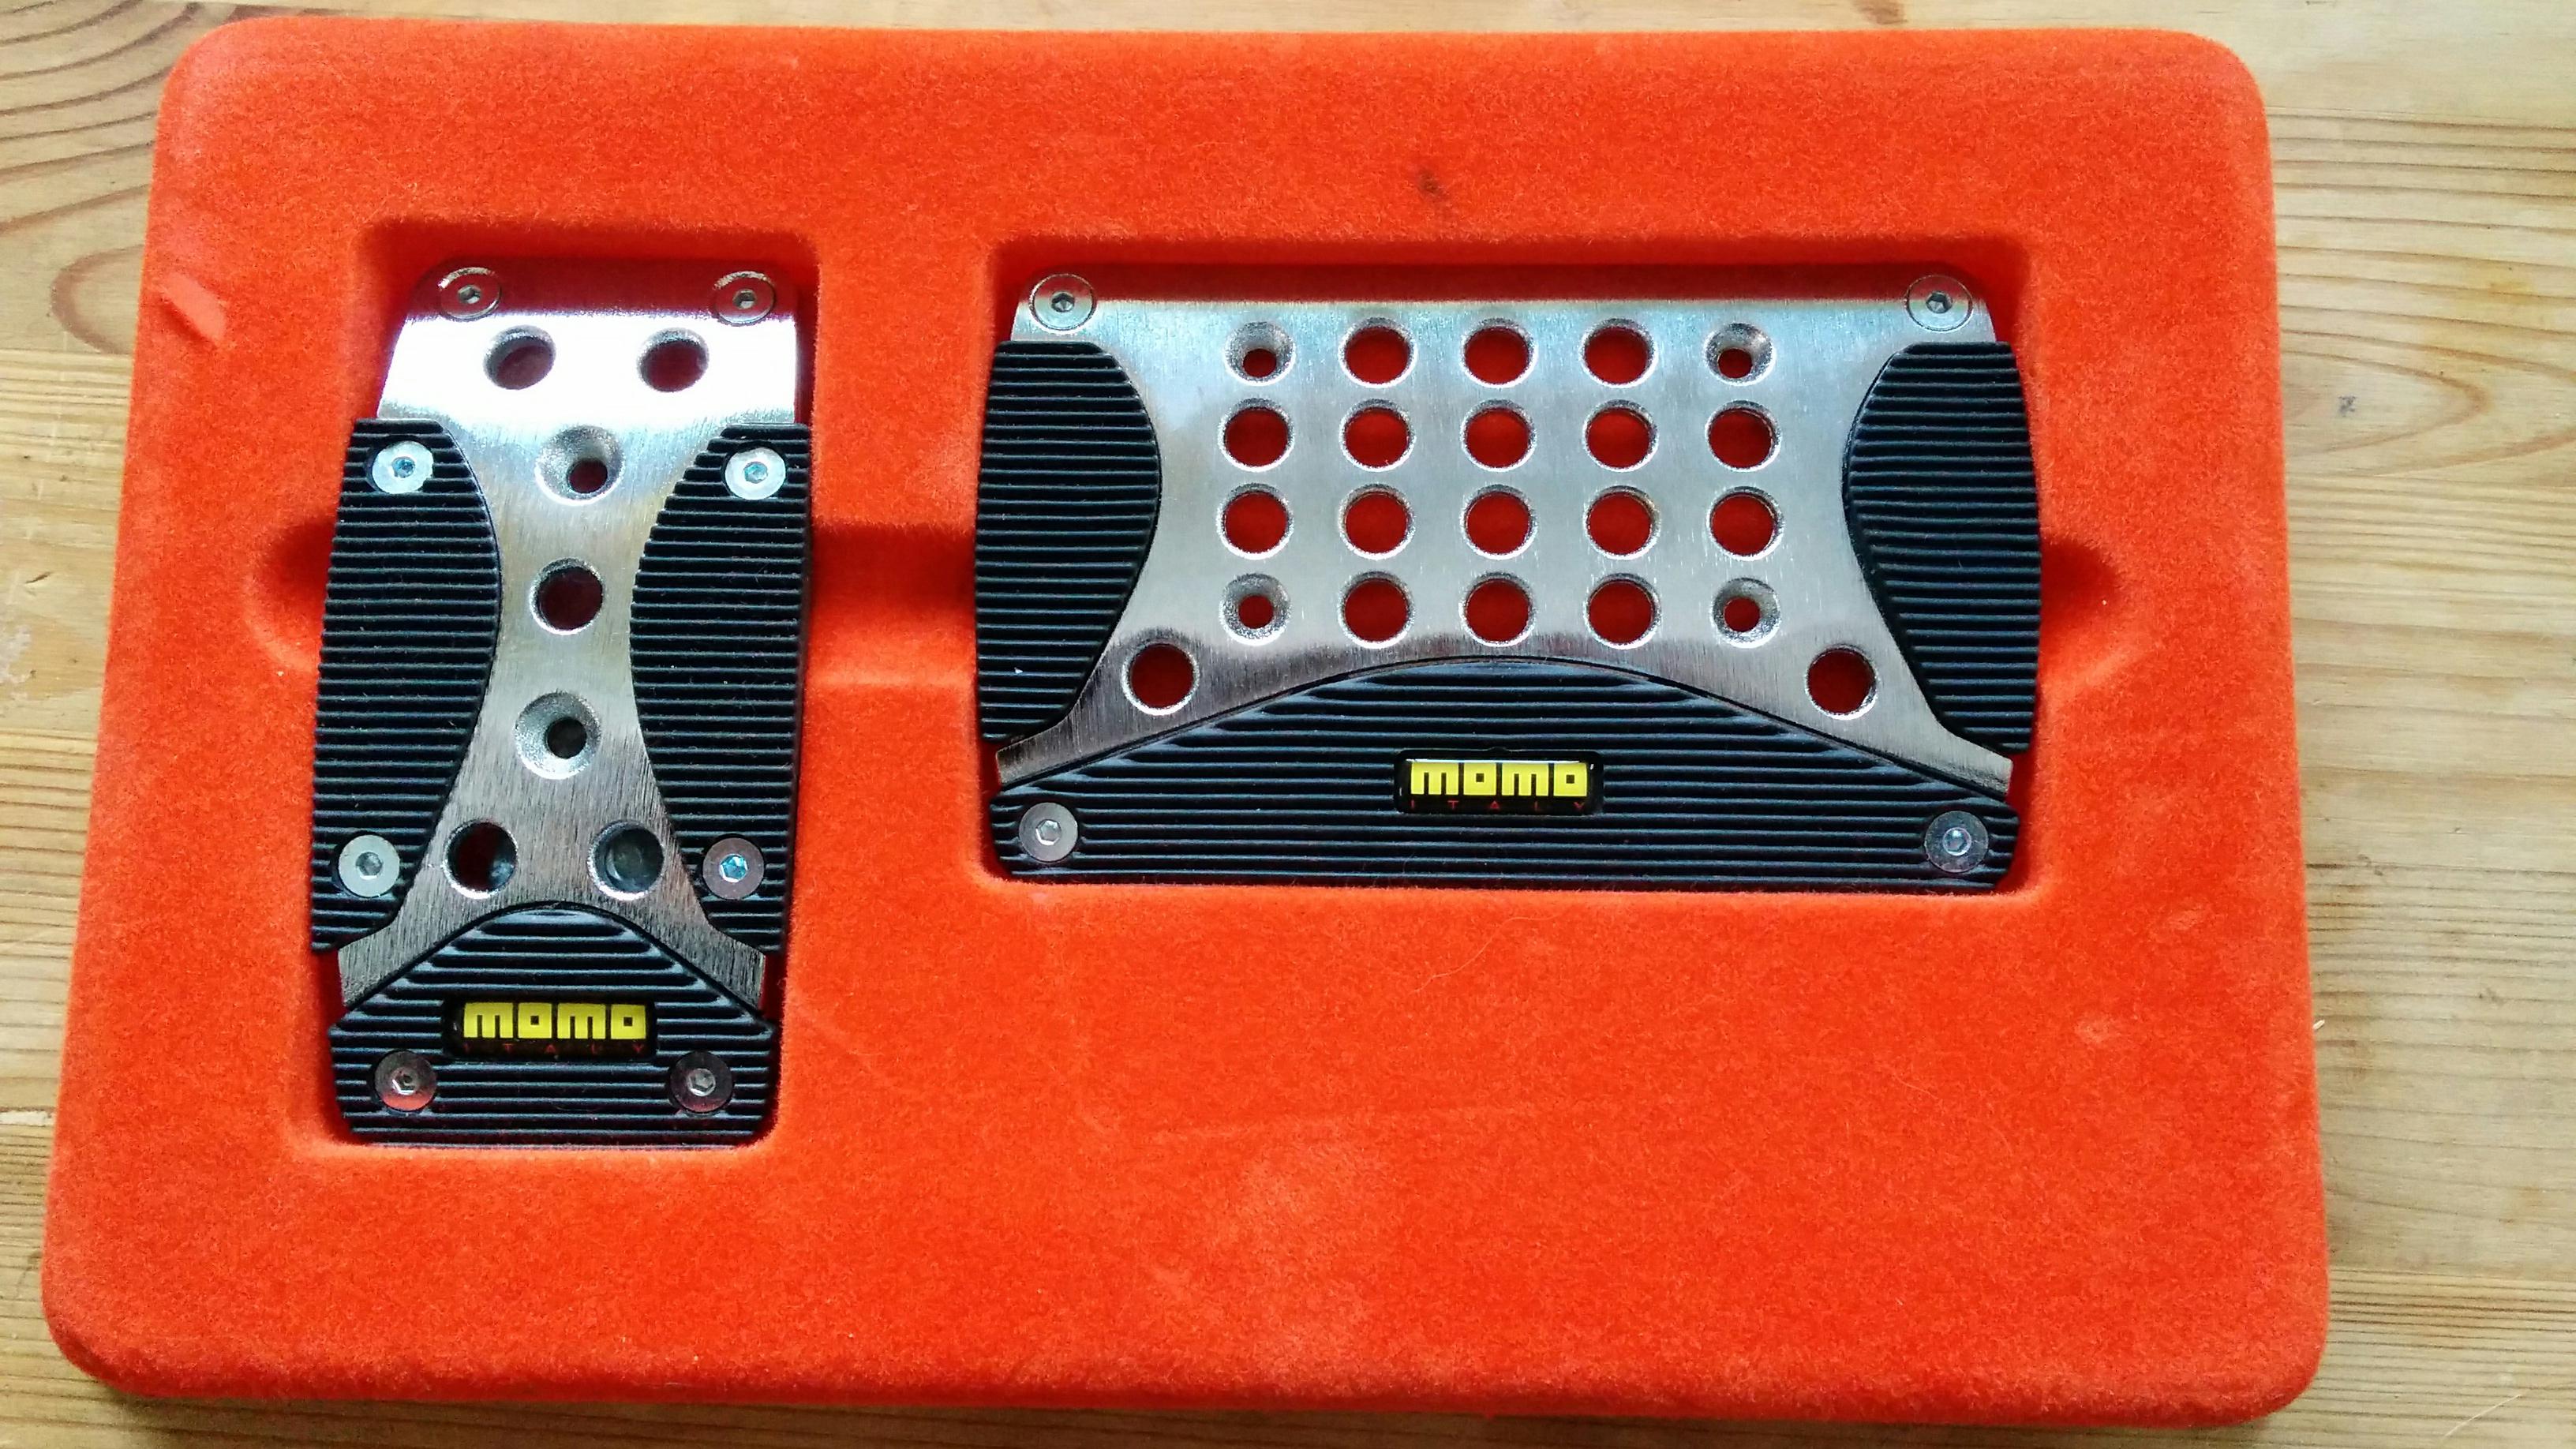
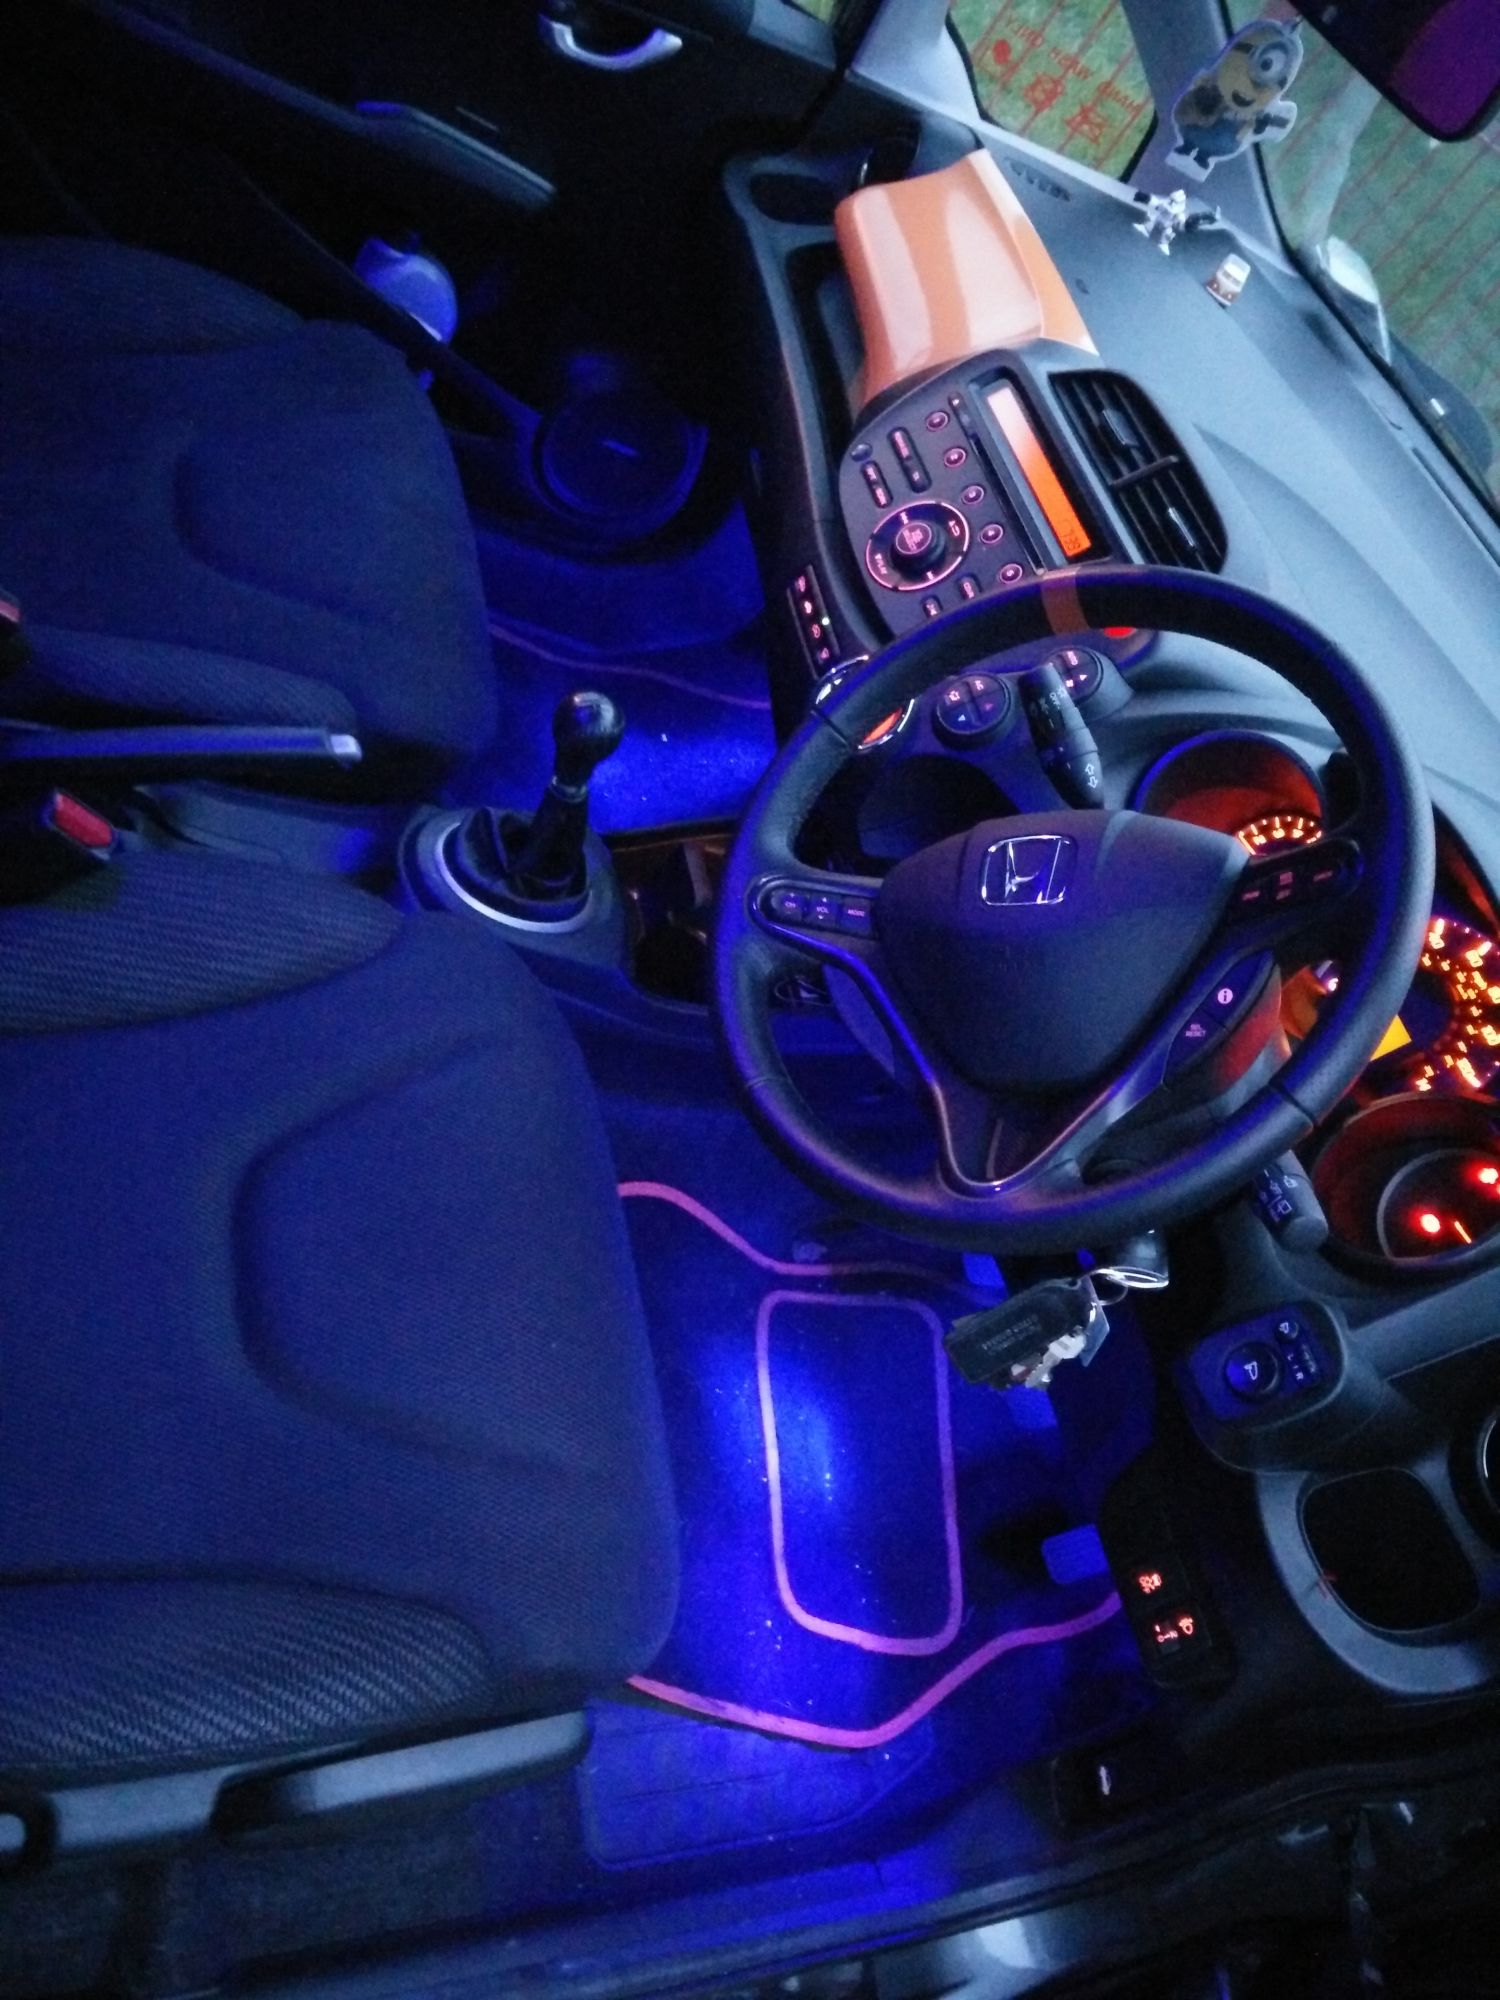
What do you guys think of Momo pedals vs. the Honda sport ones? I forget which ones they are, but they're a discontinued model. I bought them for my last car, and never installed them. Technically, the Momo kit is more reversible than the riveted Honda kit, but requires drilling. I'm going to use a Momo leather shift knob to replace the Honda one. This is what I've got:
I did order my EBC greenstuff pads today. Once that comes in, I just need the fluid, and the upgrade will be pretty much ready to go. Whether I do the lines or not depends entirely on whether I get a tax return as good as last year's. Once the brakes are done, I'm going to concentrate on the interior.
What do you guys think of Momo pedals vs. the Honda sport ones? I forget which ones they are, but they're a discontinued model. I bought them for my last car, and never installed them. Technically, the Momo kit is more reversible than the riveted Honda kit, but requires drilling. I'm going to use a Momo leather shift knob to replace the Honda one. This is what I've got:
02-05-2016, 06:44 PM
Doing heel toe requires more effort though...maybe a lightened flywheel will improve response.
Vtec isn't noticeable to me, probably due to the liner power delivery.
No clue on economy. I'm currently testing it with light boosting and driving sanely.
02-06-2016, 12:40 AM
 #L15a7ivtec
 02-06-2016, 12:50 AM
Wow! Show us a video. 
02-06-2016, 12:51 AM
Is it hard to do? Or just hold at angle, set in water and then remove after 5 seconds?
 02-06-2016, 11:06 AM
Both are good options. I will say the spoon reps will be an easier install. Everyone said the hardest part would be to snake the wires through the door housing, but honestly the hardest thing for me was actually getting the cover to snap into the housing. I ended up breaking a clip in the bottom corner on both covers to get it to fit. Even then the fitment is about 7/10. But then again it was only 100 bucks 
 02-06-2016, 12:35 PM

Banned
So where did you get these?
02-06-2016, 03:08 PM
02-06-2016, 06:03 PM
I wrapped my mirrors and the glove box but due to how the weather and temperatures change in the UK the vinyl went all funny on the edges and peeled so I took the mirror wrap off
02-06-2016, 06:08 PM
Don't really post on here as much as other forums but thought I'd do a bulk load
Here's my handmade headrest covers and oranging interior and engine bay
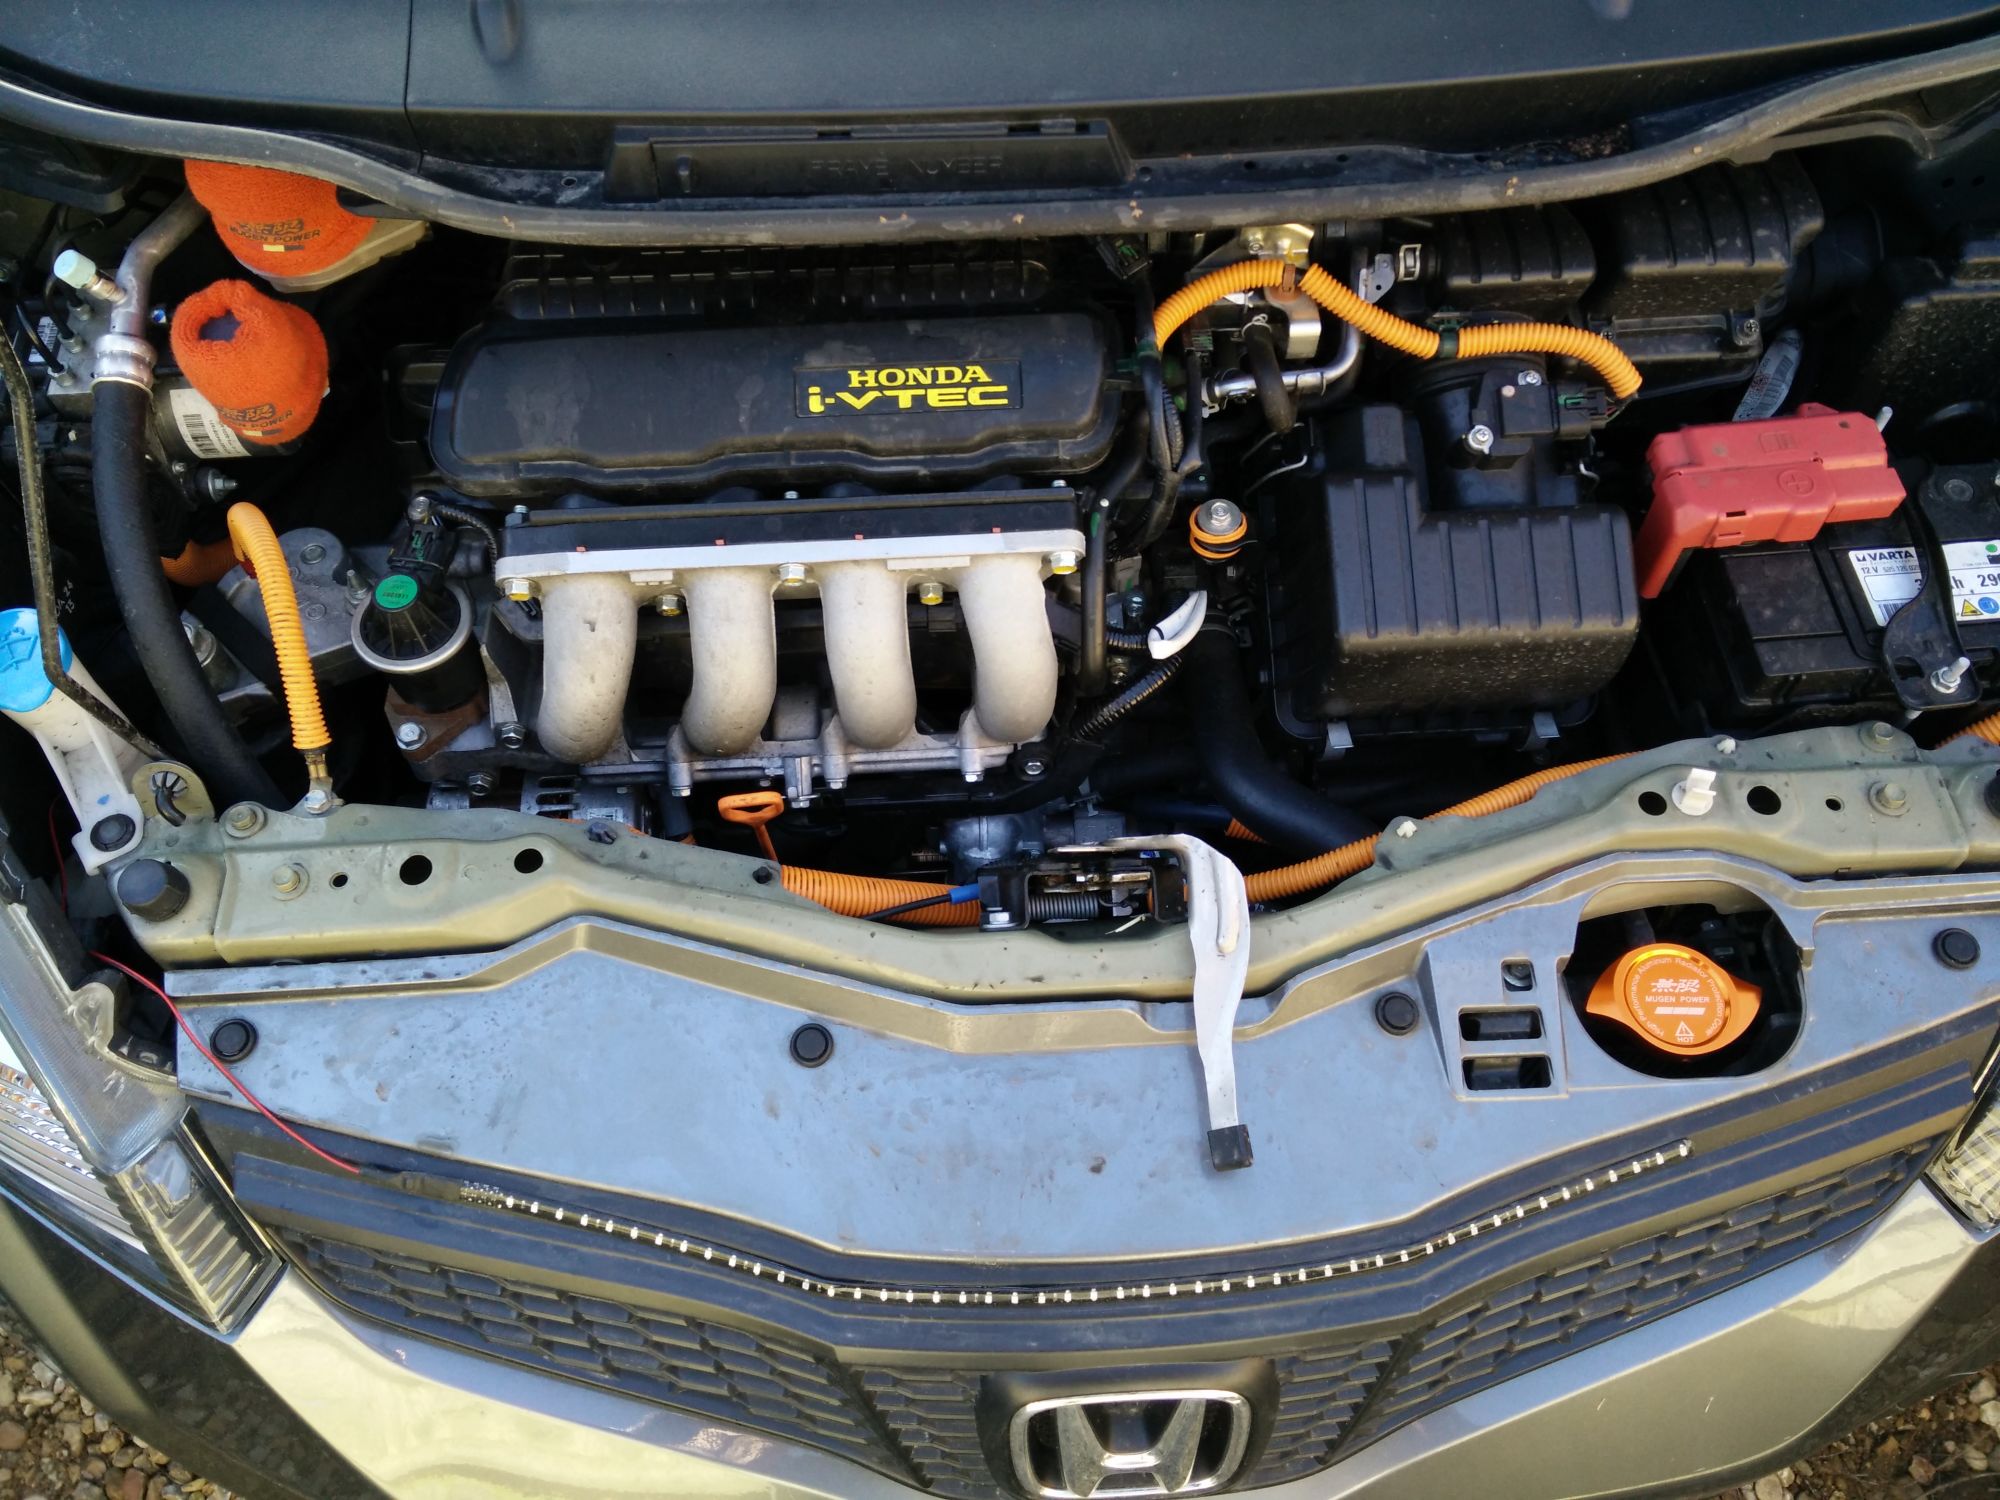
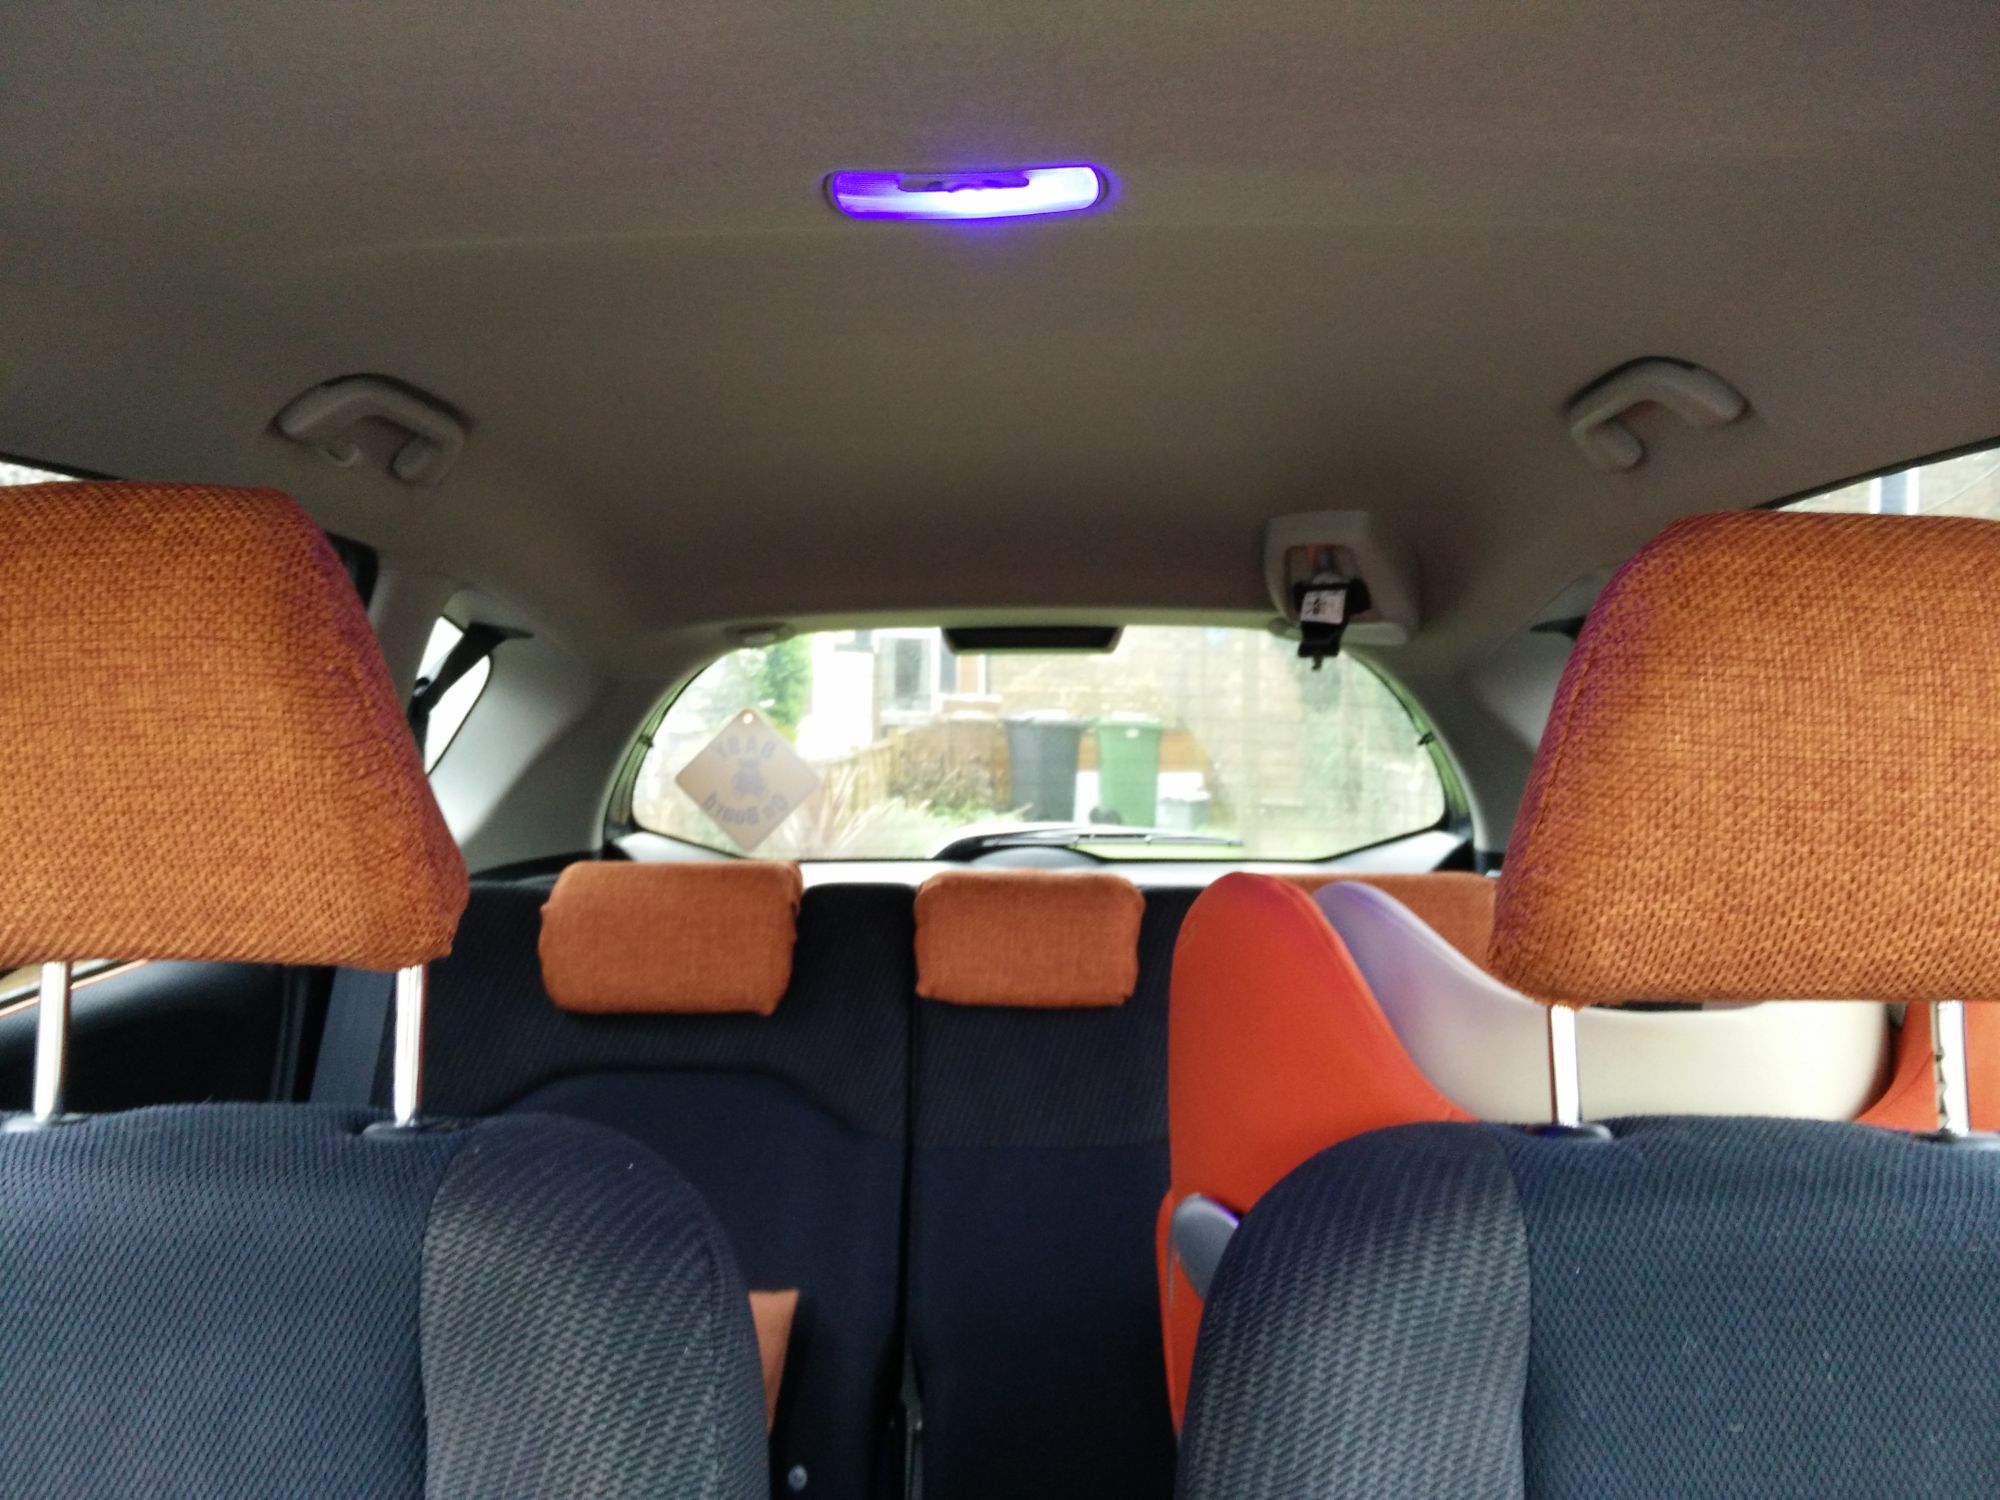
Here's my handmade headrest covers and oranging interior and engine bay
02-06-2016, 09:54 PM


Last edited by cajlog; 02-06-2016 at 10:03 PM.
02-06-2016, 10:59 PM
I installed Tanabe Medallion Touring exhaust on my car. It was the best 150 (not the near 400 new) bux I've spent.
02-07-2016, 12:33 AM
Both are good options. I will say the spoon reps will be an easier install. Everyone said the hardest part would be to snake the wires through the door housing, but honestly the hardest thing for me was actually getting the cover to snap into the housing. I ended up breaking a clip in the bottom corner on both covers to get it to fit. Even then the fitment is about 7/10. But then again it was only 100 bucks
If that's the case I might just do the spoon reps;
02-07-2016, 01:36 AM
 02-07-2016, 02:13 AM
There is one seller from thailand on ebay. its about 99 dollars with shipping. For the price its not bad, but the labor and time is pain in the butt.
I would do it again, don't get me wrong, but just be aware it will take you all day and you will have to work on making the LED covers fit perfectly.
02-07-2016, 06:07 AM
This ain't wrapping but water transfer painting. I don't know much about how it's done only that the "piece" is prepped and sanded before and a cot is applied then submerged in water with painting. After that a clear coat is applied and it has to rest for about 12 hours or more. I'll post pics later of the finished pieces.
02-07-2016, 10:15 AM
I'm sorry I misunderstood your question must've been that I was scrolling on my cellphone, lol .. Well taking the parts off is not that hard, there are plenty of youtube tutorials on how to remove most of them. The hardest one was the Radio Unit, but once you get the hang of it it's pretty easy. The radio unit had to be taken apart completely (that means, all the little screws, circuit boards, buttons, etc--that was the only challenge we had..then putting it together again and making sure all was working BAU).
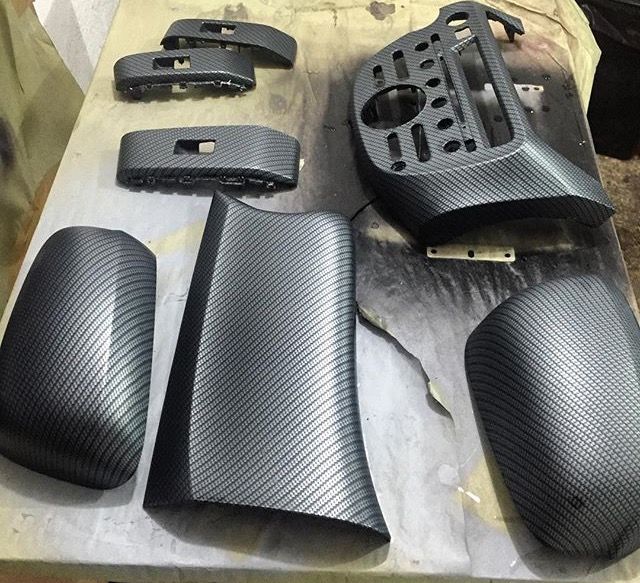
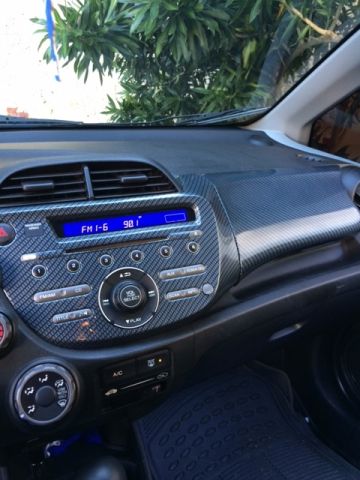
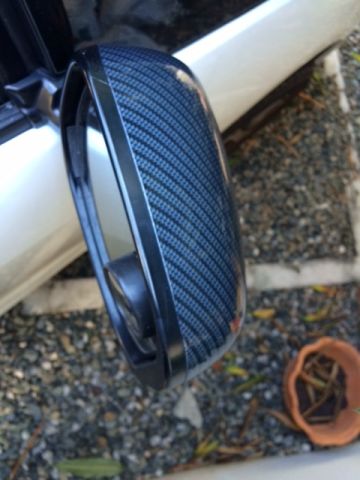
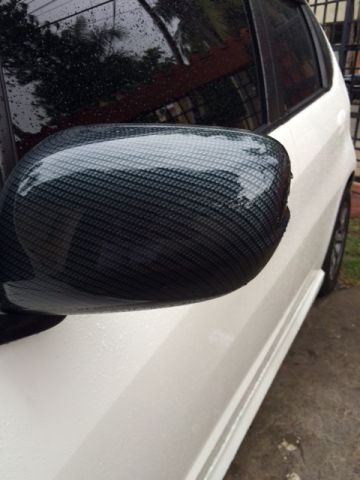
So my waterdipping project is done (for now, I want to do something on the steering wheel soon too, maybe the foglights assembly, but don't want to overcharge the car..plus it is really cheap to have any part done), here are some pictures:
Center Console - Dash Unit + Glovebox
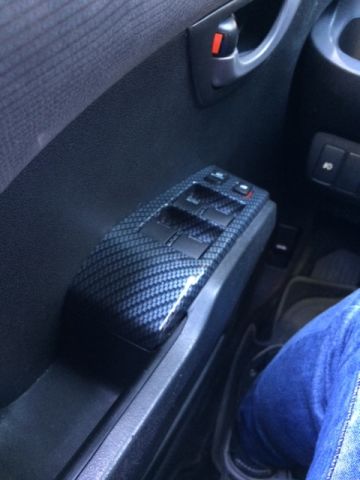
Power Windows Switch Assembly (all for of them)
Rear View Mirrors
At first I wanted to have them covers painted with Tafetta White to better match the whole Sport theme, but then I decided to go ahead and do the CF water dipping on them to have that unique look that actually goes with the personality of the car.. The results were amazing. (These pics were taken on a sunny day and a rainny day, so one of them might look blue-ish and the other black-ish..)
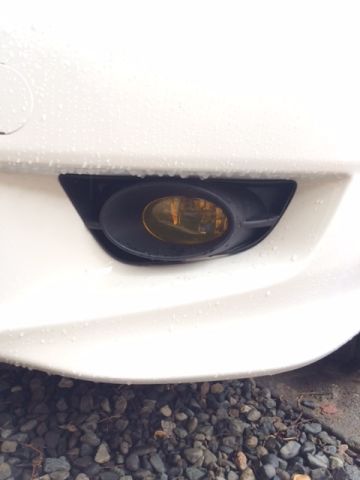
Last but not least, I also installed the JDM FogLight Cover Protectors this week but I forgot to upload here. To install these sheets, you need to take apart your foglight assembly (the plastic part) to access the lens part. Make sure you clean the lens and then apply some water with a spray to both the lens and the JDM sheet (make sure you have your hands wet so you don't leave any fingerprints on the sheet). Eventually there will be some bubbles left behind, what I did was take a credit card and try to remove most bubbles that were showing. However, the heat produced by both the sunlights and the foglight being ON will remove these bubbles at the long run. Did I notice any difference with these protectors ? Yes, the bulbs seems more visible and it gave them a orange-ish color that go well with the parking light bulbs (hehe), also you can notice the yellow lens from apart; looks really nice to be honest.
I'm still waiting for my OEM style spoiler to be ready, I had it done with Tafetta White..thinking doing CF on it would be overkill for the little car for now.
My soon-to-be done projects are: changing the rims, might be getting some red emblems, restore the door panels (all of them are filled with scuff marks-no idea what the previous owner was doing on this car), waxing the car and might be swapping the current muffler.
So my waterdipping project is done (for now, I want to do something on the steering wheel soon too, maybe the foglights assembly, but don't want to overcharge the car..plus it is really cheap to have any part done), here are some pictures:
Center Console - Dash Unit + Glovebox
Power Windows Switch Assembly (all for of them)
Rear View Mirrors
At first I wanted to have them covers painted with Tafetta White to better match the whole Sport theme, but then I decided to go ahead and do the CF water dipping on them to have that unique look that actually goes with the personality of the car.. The results were amazing. (These pics were taken on a sunny day and a rainny day, so one of them might look blue-ish and the other black-ish..)
Last but not least, I also installed the JDM FogLight Cover Protectors this week but I forgot to upload here. To install these sheets, you need to take apart your foglight assembly (the plastic part) to access the lens part. Make sure you clean the lens and then apply some water with a spray to both the lens and the JDM sheet (make sure you have your hands wet so you don't leave any fingerprints on the sheet). Eventually there will be some bubbles left behind, what I did was take a credit card and try to remove most bubbles that were showing. However, the heat produced by both the sunlights and the foglight being ON will remove these bubbles at the long run. Did I notice any difference with these protectors ? Yes, the bulbs seems more visible and it gave them a orange-ish color that go well with the parking light bulbs (hehe), also you can notice the yellow lens from apart; looks really nice to be honest.
I'm still waiting for my OEM style spoiler to be ready, I had it done with Tafetta White..thinking doing CF on it would be overkill for the little car for now.
My soon-to-be done projects are: changing the rims, might be getting some red emblems, restore the door panels (all of them are filled with scuff marks-no idea what the previous owner was doing on this car), waxing the car and might be swapping the current muffler.
02-07-2016, 04:28 PM
Banned
Also I have a general question for everyone: How often do you guys go through (front) tires? I drive fairly aggressively (ex. taking turns hard, accelerating hard, etc) and I seem to burn through some rubber lol. If that's the price I have to pay for a fun car, that's ok, but I was just wondering if you guys experience similar results.