Installing a Parrot Asteroid with Unika Steering Wheel controls
#1
 03-27-2013, 08:55 AM


Installing a Parrot Asteroid with Unika Steering Wheel controls
Sorry for not taking pics during the install, but it was pretty dark in my garage. I'm trying to get a "brain dump" out before I start forgetting things!
This post will detail some of the obstacles I encountered installing the Parrot Asteroid Smart head unit and Unika steering wheel control module in a 2013 Fit Sport. Overall, this should not have been a difficult install, but the lack of documentation and vendor-supplied overly complex wiring harnesses made it a pain. It isn't rocket science, but if you don't know how to use a multi-meter, this probably isn't an install for you.
List of Supplies:
Parrot Asteroid Smart
Parrot Unika
Fit Navigation Dash Trim (77251-TK6-A01ZB)
Fit Navigation brackets (77255-TF0-000)
Fit blank glove box panel (77505-TF0-G00ZA)
Metra Honda Pilot trim kit (95-7861)
Metra Honda antenna adapter (40-HD11?)
Metra Honda wiring kit (70-1729)
Metra VW/Audi car-side wiring kit (71-1784)
M5x12mm pan head screws
Crimp on bullet connectors
I ordered the Asteroid from Crutchfield, who supplied a Metra dash kit, antenna adapter and wiring kit.
As detailed in the general stereo install DIY - the Metra dash kit is light silver and does not match the "dark gun metallic" on the newer Sport models (Crutchfield warns of this when ordering). So, I went with the OEM trim and brackets. Even if the colors had matched, I probably would have spent the extra $65 and gone with a factory piece - it's very sturdy.
Physically installing the Asteroid into the brackets is simple
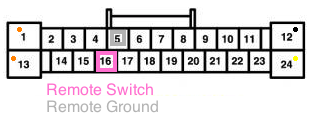
My first observation was that the Metra wiring kit did not have pins to receive the steering wheel controls from the car wiring harness. In general, I dislike tapping and cutting wiring on a brand new car, so I bought a second Metra harness (70-1729) and removed pins from it to insert into the empty #5 and #16 holes in the first harness
The Asteroid comes with an "ISO" connector on the end of it's wiring instead of the bare wires I'm used to. Instead of cutting the ISO connector off the parrot harness, I opted to put a female ISO connector (71-1784) on the end of the Metra connector, creating a Honda<->ISO adapter. It was my (foolish) hope that this would make the install plug and play. For just the Asteroid Smart, it actually worked great, although I did have to switch the +12V constant and +12V switched lines inside the Asteroid harness (Parrot expect this and have bullet connectors inside the harness to make it easy). If you are going to install ONLY the Asteroid Smart and are likely to transfer it to another vehicle, I'd recommend this approach.
So far, so good - the Asteroid looks great, powers up, etc.
Let's make a new glove box input panel
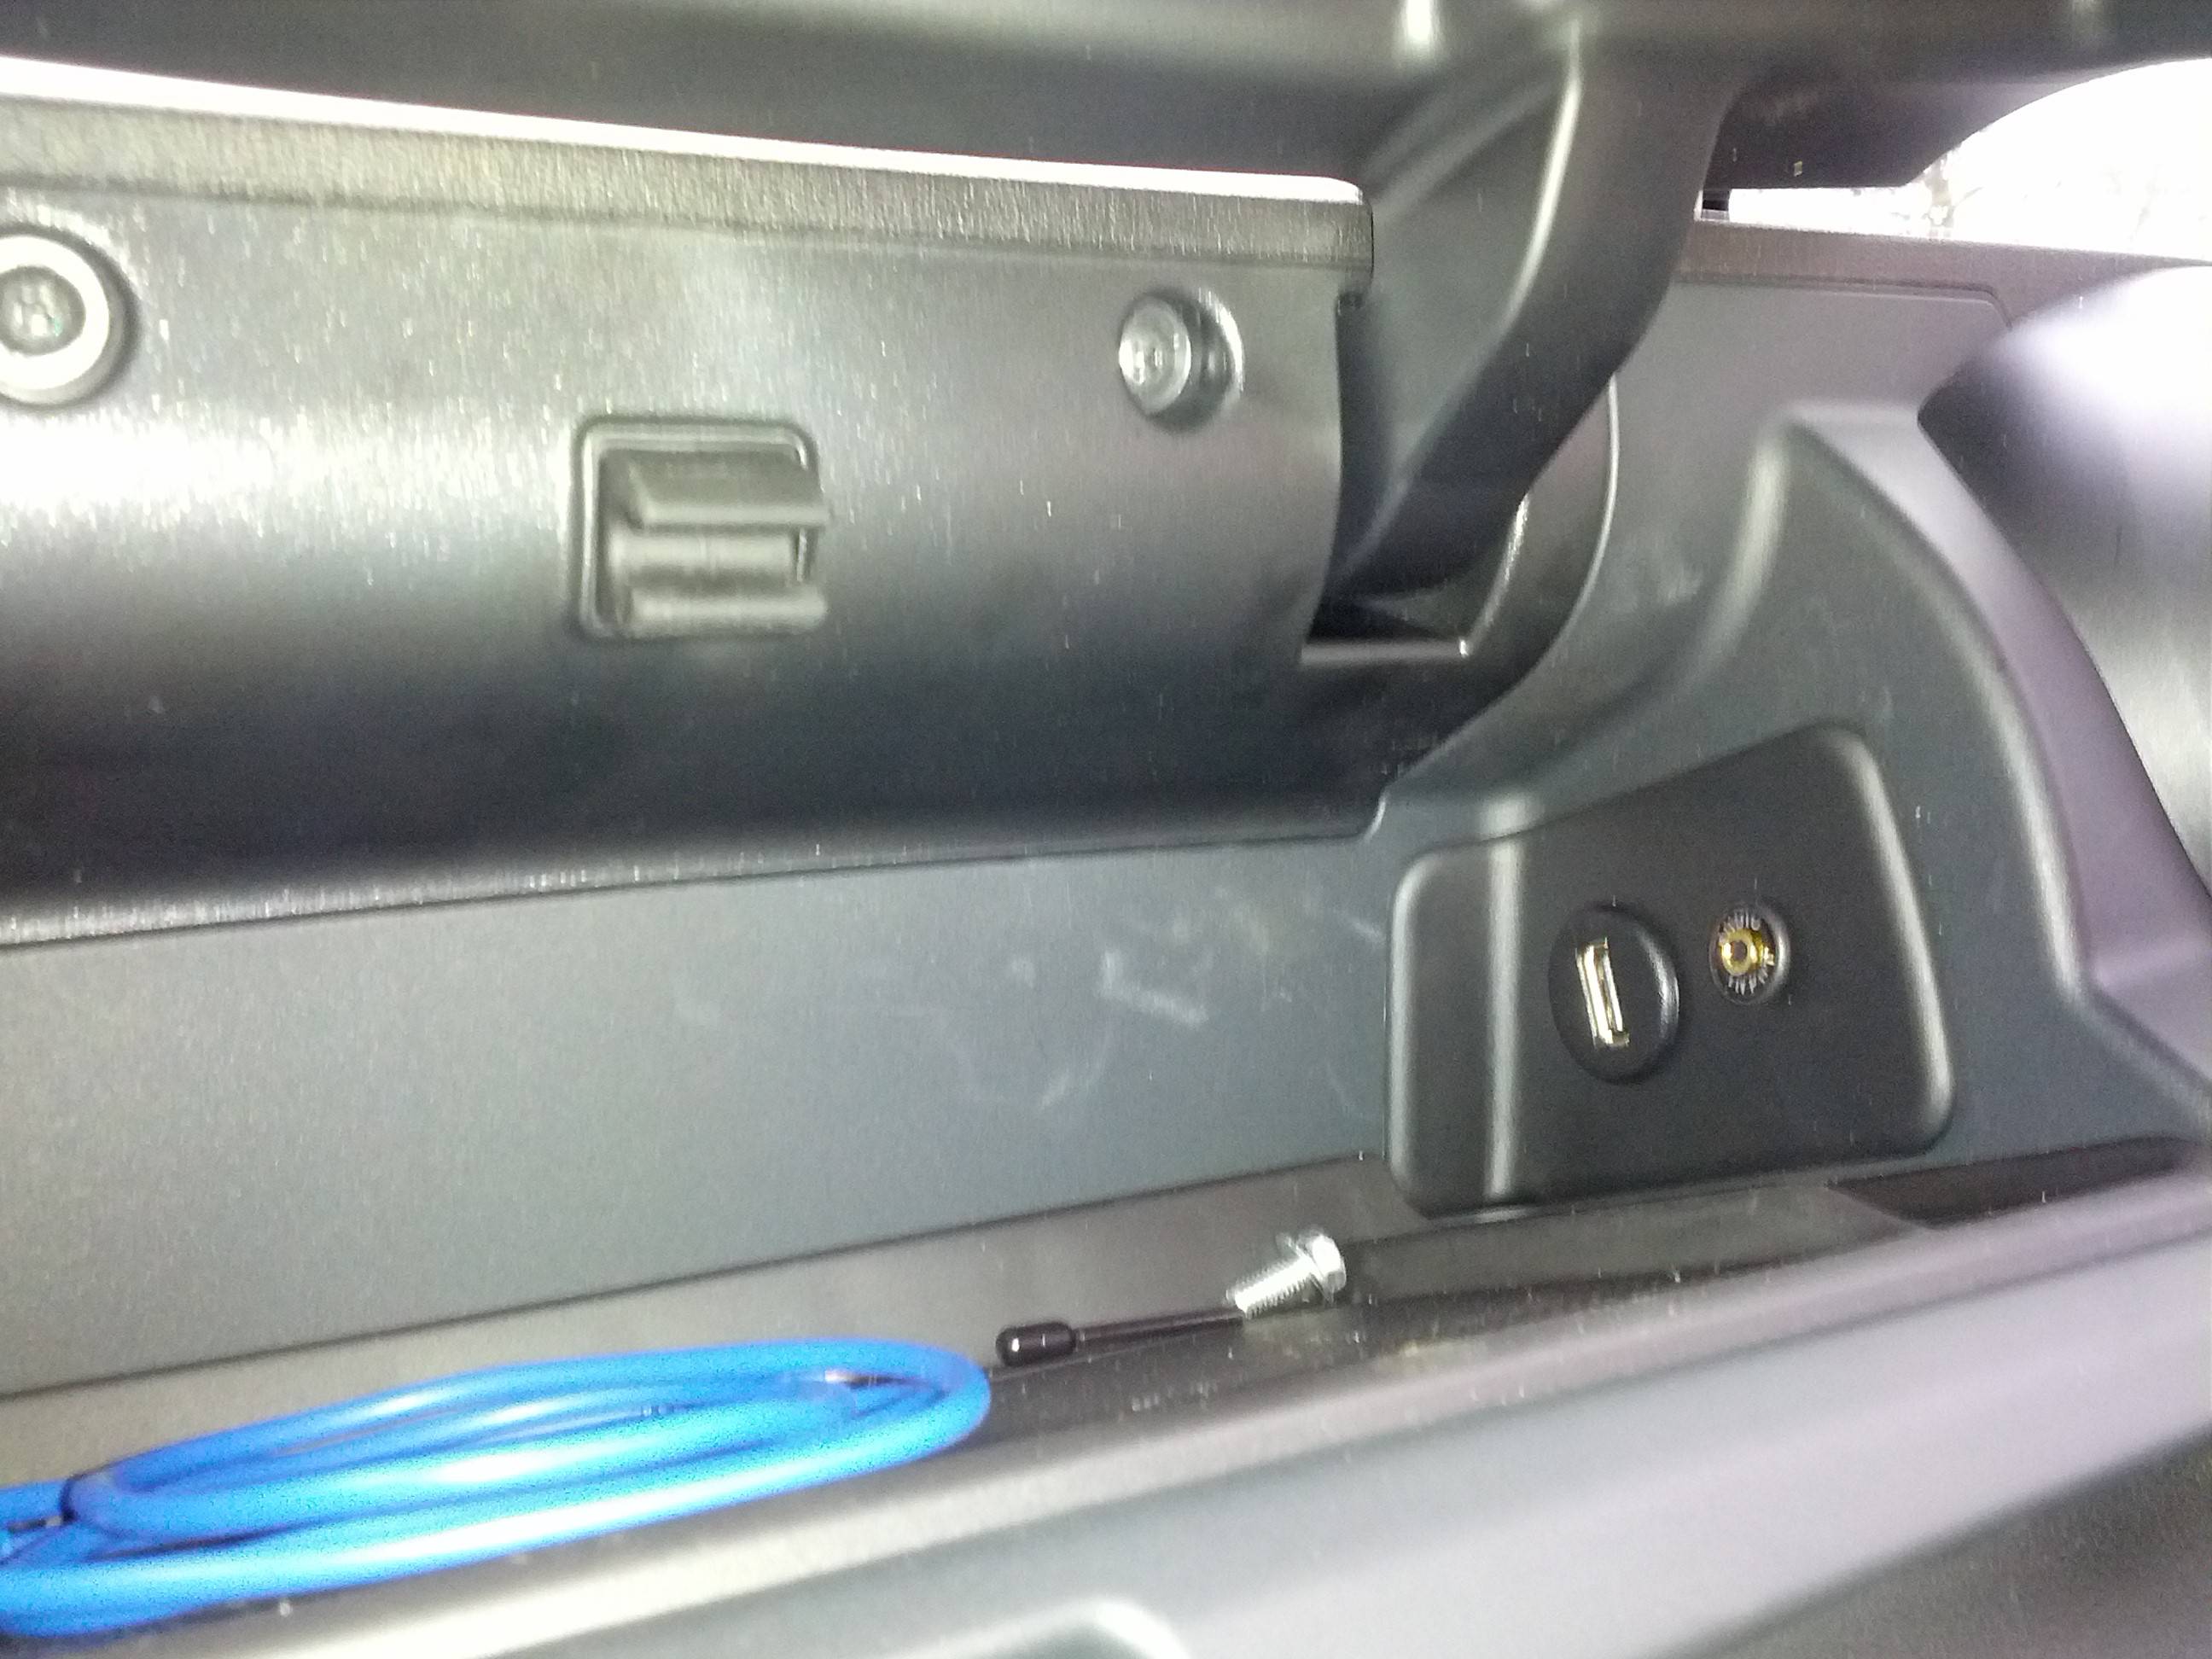
I removed the original glovebox panel and pushed the USB connector out. Just press on the rubber grommet and it comes right out. I left the factory USB connection inside the dash, tucked out of the way.
I then took the blank glove box panel and drilled a 3/4" hole for the USB and a 3/8" hole for the line-in cable. Install both panel mount cables into the panel.
Time to route some cables!
The bluetooth mic is a little hard to describe the routing, but easy to do
Connect the USB cables to the Asteroid and plug connect the wiring harness assembly (don't forget the antenna!). Test everything.
At this point, all the Asteroid specific stuff is done - if you're not installing a Unika, you can reconnect the airbag and hazard connectors (mine were taped together tightly, had to split the tape to reach the new postions) and pop the dash back together.
If you're going to install the Unika, then disconnect the wiring and unplug the peripherals once you've confirmed the Asteroid works.
Here is the closest thing I was able to find to a Fit/Jazz install guide. It helps with some general things, but will not work if followed verbatim.
Unika install note for Civic
The first thing I did was verify that I had correctly identified the remote control resistor network. Connect a multimeter to the Remote Switch and Remote Ground leads you added to the wiring harness (they should be the only two coming from the Metra 70-1729 that are unconnected). Put your meter into resistance mode and press buttons on your steering wheel one at a time - each function should have a unique resistance value. No buttons pressed should be around 10k Ohms(?). If you see that, good work - you're ready to start connecting your Unika. If not, go back and check your pinouts. The steering wheel controls DIY has good info on this.
My first issue was that the "power" side of the Unika harness inserts into half of the ISO plug but the VW/Audio connector is one solid piece, so I ended up splitting the Parrot ISO connector in half so I could insert the Unika power harness inline. In retrospect, this was probably a huge waste of time - it would have been much quicker and cleaner to cut the 4 conductor power connector and tie it directly into the assembly of the Honda/ISO harness adapter I made earlier.
Once I connected the power portion of the harness, no matter what I did, I was never able to get the Unika to control the ignition switched +12V to the Asteroid (Blue+Yellow) - The Asteroid never powered up in this config. After some research, I decided to tap the Unika into the harness's switched +12V line and give up on having the Unika CONTROL the +12V switched to the Asteroid. I assume this feature is useful or needed for other Parrot products that need to wait until the Unika is booted before they should see the switched +12V signal, but the Asteroid does not seem to care - perhaps because it takes a relatively long time (compared to the Unika) to boot or wake.
Here are the connections I made - you can either wire them up directly, or make another "t-tap" connector with some bullet connectors just like the one on the Unika's red wire and insert it on the switched +12v line.
For the resistive controls, I connected:
In resistive mode, the LED blinks red ONCE when you turn the ignition on and when it sees key presses (IF you have the resistive controls wired correctly!). I noticed that the Asteroid was able to see and download code to the Unika prior to the key programming being complete, but, of course, the buttons didn't do anything and the LED status did not change.
Once I got everything connected correctly, I programmed the Unika to recognize the controls on my steering wheel - the Unika does "learn" the resistance values of your keys so if you press your buttons out of order, you'll need to poke the reset button and re-learn them in the correct order. Programming order for non-Navi Sport is:
When the Asteroid boots with the Unika connected, you should be able to go into Settings->Remote and assign the Unika. The Asteroid may flash new firmware to the Asteroid (mine did) and reboot.
If I had to perform this install again, the one thing I would surely do differently would be to try and source a 4 pin connector (or cut the one out of the Unika ISO harness) and wire that directly into the Honda<->ISO adapter cable I made. That would greatly reduce cable clutter and prevent the need to split the Asteroid->ISO harness in half. I have not double checked, but the Unika 4 pin power connector looks very similar to the ATX 4 pin aux power, so perhaps an extension cable would be a useful source of connectors
This post will detail some of the obstacles I encountered installing the Parrot Asteroid Smart head unit and Unika steering wheel control module in a 2013 Fit Sport. Overall, this should not have been a difficult install, but the lack of documentation and vendor-supplied overly complex wiring harnesses made it a pain. It isn't rocket science, but if you don't know how to use a multi-meter, this probably isn't an install for you.
List of Supplies:
Parrot Asteroid Smart
Parrot Unika
Fit Navigation Dash Trim (77251-TK6-A01ZB)
Fit Navigation brackets (77255-TF0-000)
Fit blank glove box panel (77505-TF0-G00ZA)
Metra Honda Pilot trim kit (95-7861)
Metra Honda antenna adapter (40-HD11?)
Metra Honda wiring kit (70-1729)
Metra VW/Audi car-side wiring kit (71-1784)
M5x12mm pan head screws
Crimp on bullet connectors
I ordered the Asteroid from Crutchfield, who supplied a Metra dash kit, antenna adapter and wiring kit.
As detailed in the general stereo install DIY - the Metra dash kit is light silver and does not match the "dark gun metallic" on the newer Sport models (Crutchfield warns of this when ordering). So, I went with the OEM trim and brackets. Even if the colors had matched, I probably would have spent the extra $65 and gone with a factory piece - it's very sturdy.
Physically installing the Asteroid into the brackets is simple
- Take the "wings" from the Metra kit and snap or cut the large tabs off the back of the wings.
- Insert the small tabs on the wings into the corresponding holes on the inside of the trim ring
- Holding the trim ring and wings together, insert into the front of the dash kit - the wings should just fit in between the sides of the bracket
- Remove the four tiny screws from the Asteroid that hold the various mounting brackets in place. Set Asteroid brackets aside - we won't need them.
- Insert the Asteroid Smart into the rear of the bracket and align it with the face of the trim kit
- Fix the assembly in place by putting 4 M5x12mm screws through the brackets and wings and into the side of the Asteroid (stock Asteroid screws are a little too short for a secure fit)
- Transfer the airbag light, hazard switch and vent covers from your original dash trim
My first observation was that the Metra wiring kit did not have pins to receive the steering wheel controls from the car wiring harness. In general, I dislike tapping and cutting wiring on a brand new car, so I bought a second Metra harness (70-1729) and removed pins from it to insert into the empty #5 and #16 holes in the first harness
The Asteroid comes with an "ISO" connector on the end of it's wiring instead of the bare wires I'm used to. Instead of cutting the ISO connector off the parrot harness, I opted to put a female ISO connector (71-1784) on the end of the Metra connector, creating a Honda<->ISO adapter. It was my (foolish) hope that this would make the install plug and play. For just the Asteroid Smart, it actually worked great, although I did have to switch the +12V constant and +12V switched lines inside the Asteroid harness (Parrot expect this and have bullet connectors inside the harness to make it easy). If you are going to install ONLY the Asteroid Smart and are likely to transfer it to another vehicle, I'd recommend this approach.
So far, so good - the Asteroid looks great, powers up, etc.
Let's make a new glove box input panel
I removed the original glovebox panel and pushed the USB connector out. Just press on the rubber grommet and it comes right out. I left the factory USB connection inside the dash, tucked out of the way.
I then took the blank glove box panel and drilled a 3/4" hole for the USB and a 3/8" hole for the line-in cable. Install both panel mount cables into the panel.
Time to route some cables!
- GPS puck fits on top of the dash vent ducts between the ducts and the underside of the dash perfectly. Drop cable down between ducts
- Route upper glove box USB and Line In behind upper glove box
- Optional - route extra cables for thumb drives and USB->MicroUSB for Android debug into lower glove box
The bluetooth mic is a little hard to describe the routing, but easy to do
- Place USB mic on top of rear-view mirror and tuck cable into headliner
- At A-Pillar, pull top of pillar trim back slightly and tuck wire just inside
- Pull back weather strip on A-Pillar and tuck wire just inside A-pillar trim to avoid interfering with airbag
- Remove small "sail shaped" trim panel from end of passenger dashboard
- Carefully push the mic wire through a gap in the trim to the inner glove box - a tape covered coat hanger or flexible grabber or other tool might be useful for this step!
- Route wire behind upper glove box as with USB and audio wires
- Reinstall trim panel and weatherstripping
Connect the USB cables to the Asteroid and plug connect the wiring harness assembly (don't forget the antenna!). Test everything.
At this point, all the Asteroid specific stuff is done - if you're not installing a Unika, you can reconnect the airbag and hazard connectors (mine were taped together tightly, had to split the tape to reach the new postions) and pop the dash back together.
If you're going to install the Unika, then disconnect the wiring and unplug the peripherals once you've confirmed the Asteroid works.
Here is the closest thing I was able to find to a Fit/Jazz install guide. It helps with some general things, but will not work if followed verbatim.
Unika install note for Civic
The first thing I did was verify that I had correctly identified the remote control resistor network. Connect a multimeter to the Remote Switch and Remote Ground leads you added to the wiring harness (they should be the only two coming from the Metra 70-1729 that are unconnected). Put your meter into resistance mode and press buttons on your steering wheel one at a time - each function should have a unique resistance value. No buttons pressed should be around 10k Ohms(?). If you see that, good work - you're ready to start connecting your Unika. If not, go back and check your pinouts. The steering wheel controls DIY has good info on this.
My first issue was that the "power" side of the Unika harness inserts into half of the ISO plug but the VW/Audio connector is one solid piece, so I ended up splitting the Parrot ISO connector in half so I could insert the Unika power harness inline. In retrospect, this was probably a huge waste of time - it would have been much quicker and cleaner to cut the 4 conductor power connector and tie it directly into the assembly of the Honda/ISO harness adapter I made earlier.
Once I connected the power portion of the harness, no matter what I did, I was never able to get the Unika to control the ignition switched +12V to the Asteroid (Blue+Yellow) - The Asteroid never powered up in this config. After some research, I decided to tap the Unika into the harness's switched +12V line and give up on having the Unika CONTROL the +12V switched to the Asteroid. I assume this feature is useful or needed for other Parrot products that need to wait until the Unika is booted before they should see the switched +12V signal, but the Asteroid does not seem to care - perhaps because it takes a relatively long time (compared to the Unika) to boot or wake.
Here are the connections I made - you can either wire them up directly, or make another "t-tap" connector with some bullet connectors just like the one on the Unika's red wire and insert it on the switched +12v line.
- Red on the Unika is connected to the +12v battery line in your harness
- Red+Yellow on the Unika is connected to switched ignition source
- Black on Unika goes to ground
- Blue+Yellow on Unika was taped up and left unconnected.
For the resistive controls, I connected:
- Unika V1 (Pink) to the Remote Switch (#16) in my wiring harness
- Unika V2 (Pink/Gray) and Unika Ground (Gray wire) to each other AND the Remote Ground (#5) from my steering wheel. The instructions did not indicate this was needed, but the Unika did not see button presses until this was done.
In resistive mode, the LED blinks red ONCE when you turn the ignition on and when it sees key presses (IF you have the resistive controls wired correctly!). I noticed that the Asteroid was able to see and download code to the Unika prior to the key programming being complete, but, of course, the buttons didn't do anything and the LED status did not change.
Once I got everything connected correctly, I programmed the Unika to recognize the controls on my steering wheel - the Unika does "learn" the resistance values of your keys so if you press your buttons out of order, you'll need to poke the reset button and re-learn them in the correct order. Programming order for non-Navi Sport is:
- Vol-
- Vol+
- Chan-
- Chan+
- Mode (hold for a few seconds until Unika flashes)
When the Asteroid boots with the Unika connected, you should be able to go into Settings->Remote and assign the Unika. The Asteroid may flash new firmware to the Asteroid (mine did) and reboot.
If I had to perform this install again, the one thing I would surely do differently would be to try and source a 4 pin connector (or cut the one out of the Unika ISO harness) and wire that directly into the Honda<->ISO adapter cable I made. That would greatly reduce cable clutter and prevent the need to split the Asteroid->ISO harness in half. I have not double checked, but the Unika 4 pin power connector looks very similar to the ATX 4 pin aux power, so perhaps an extension cable would be a useful source of connectors
Last edited by fatdoggie; 03-27-2013 at 07:38 PM.

#3
04-04-2013, 10:22 AM
I don't have any pictures of the installation itself, but here are a few "after" shots
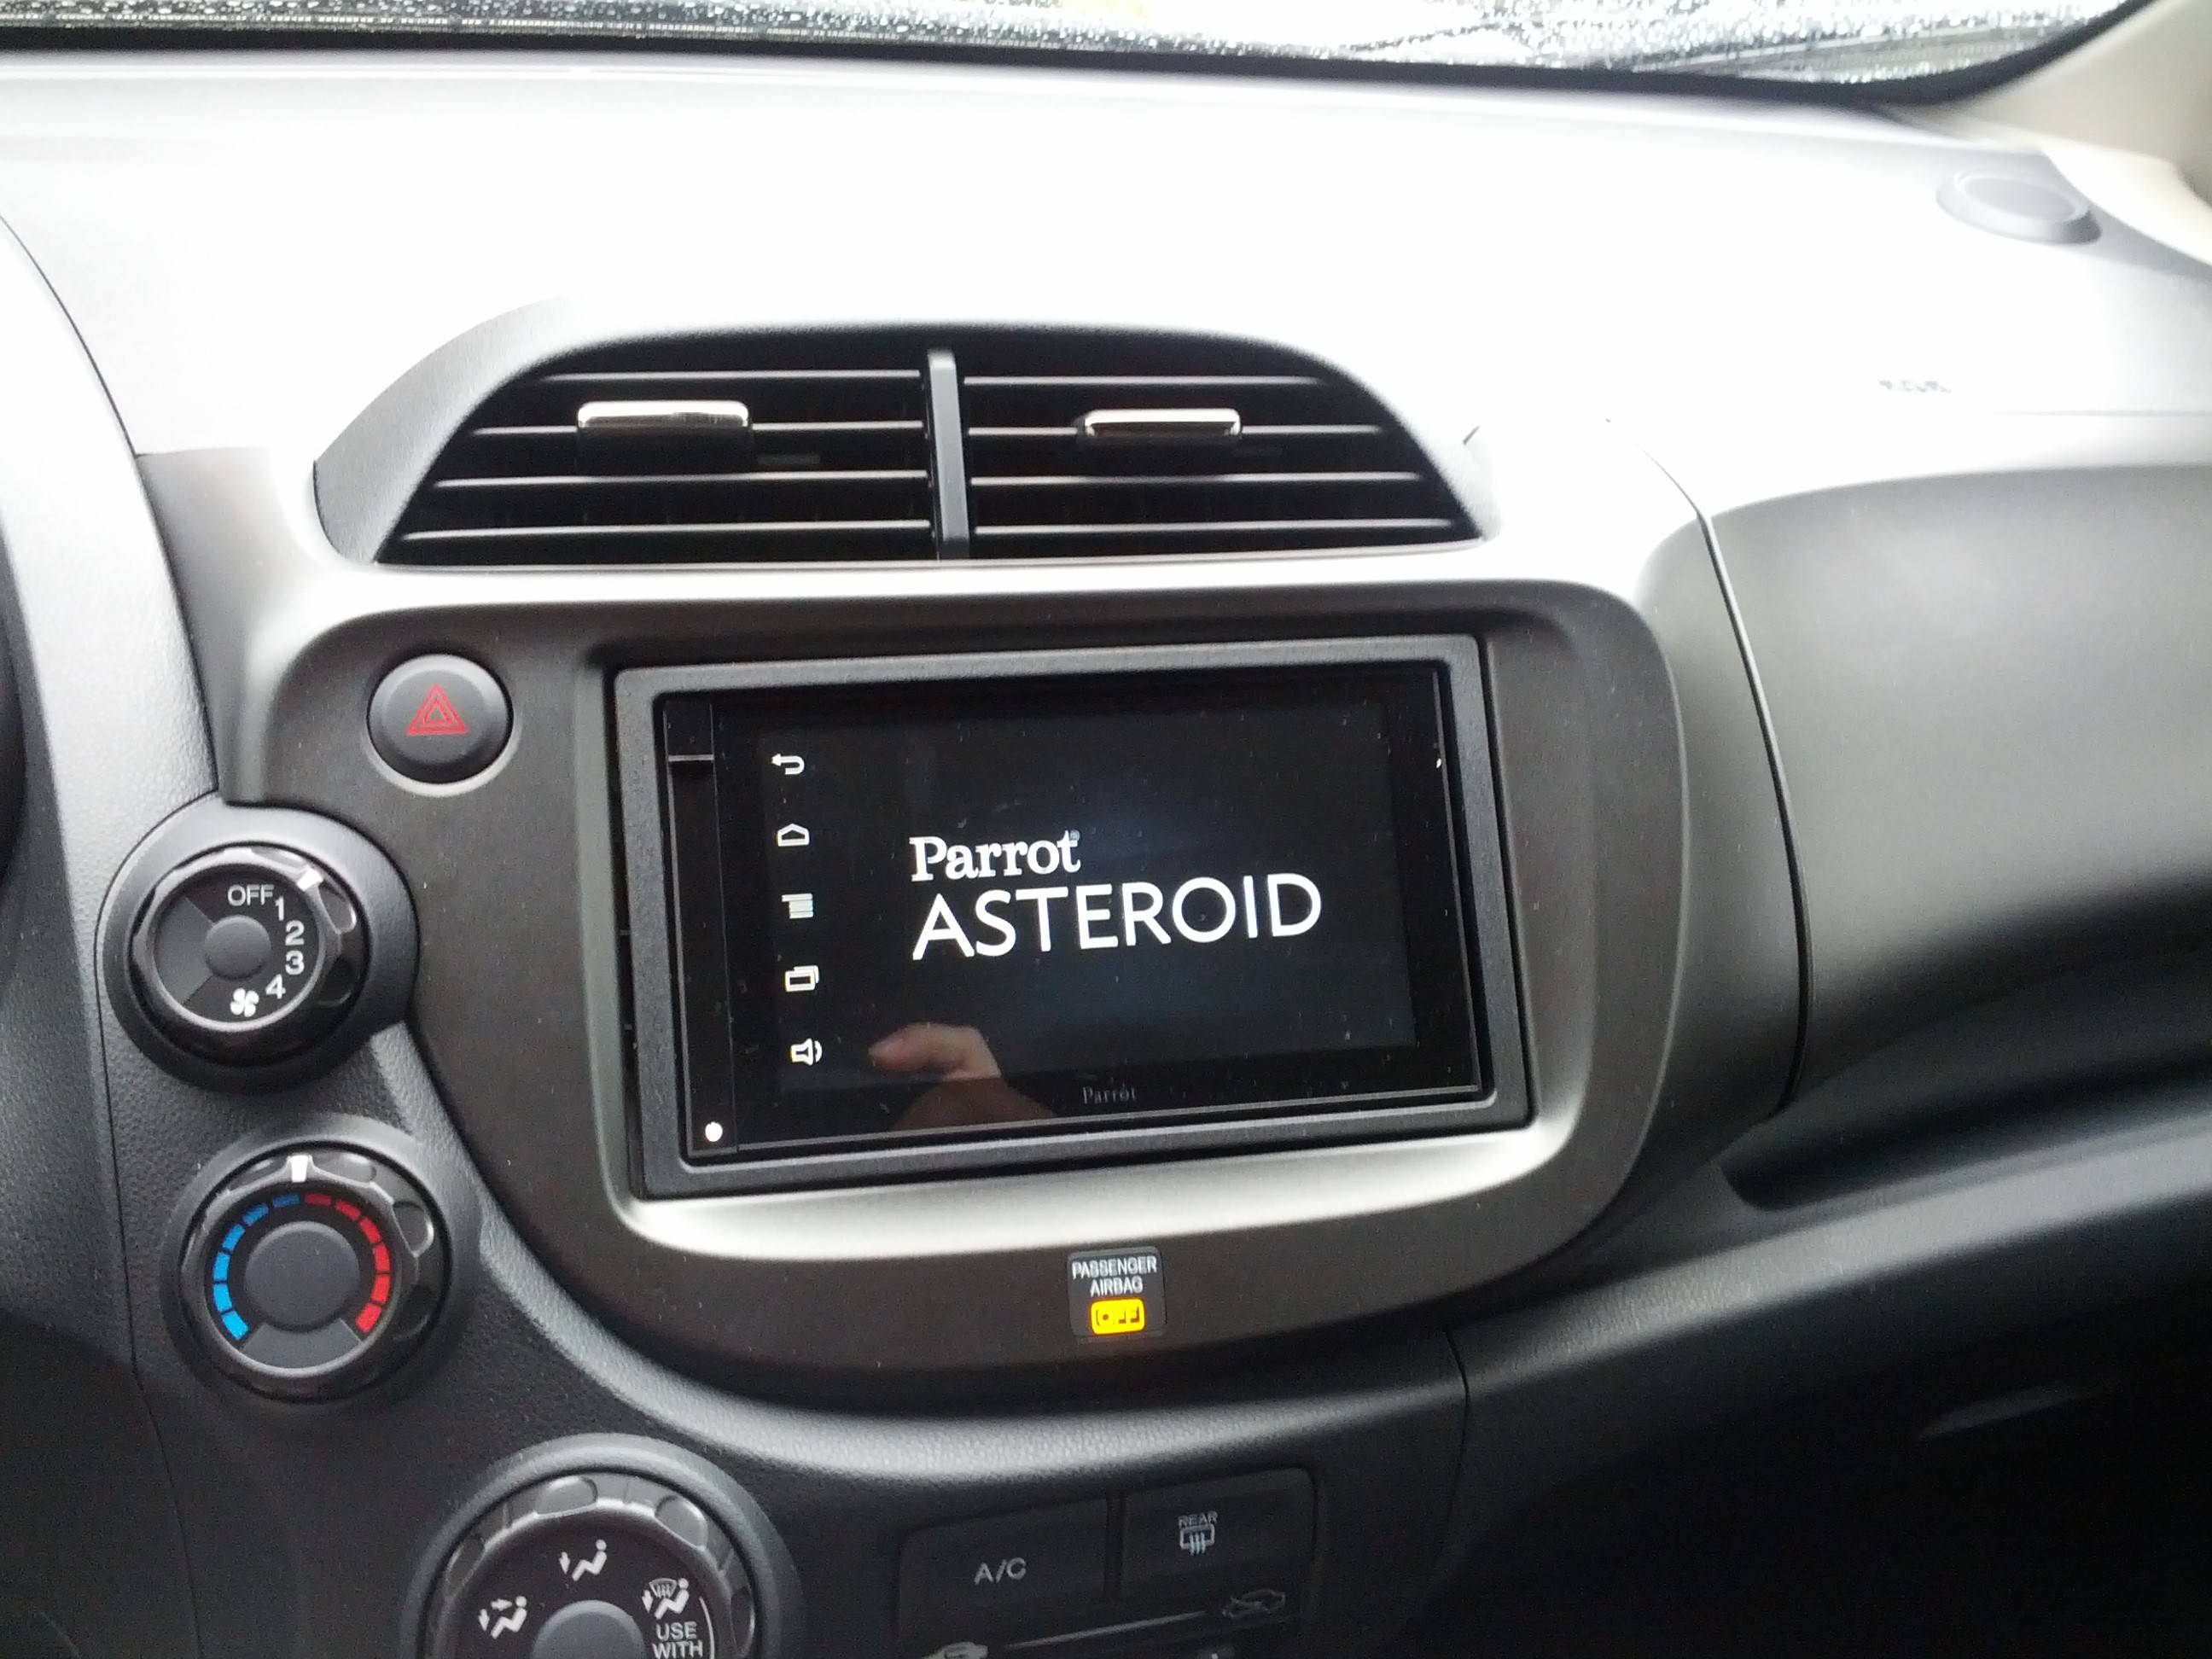
As far as the design aspect goes, the Asteroid Smart is pretty featureless - there is really only one small button and the rest is all touchscreen, so, at least when off, it does seem a little odd given the curves in the rest of the dash. But, any large screen unit will be similar.
Booting up:
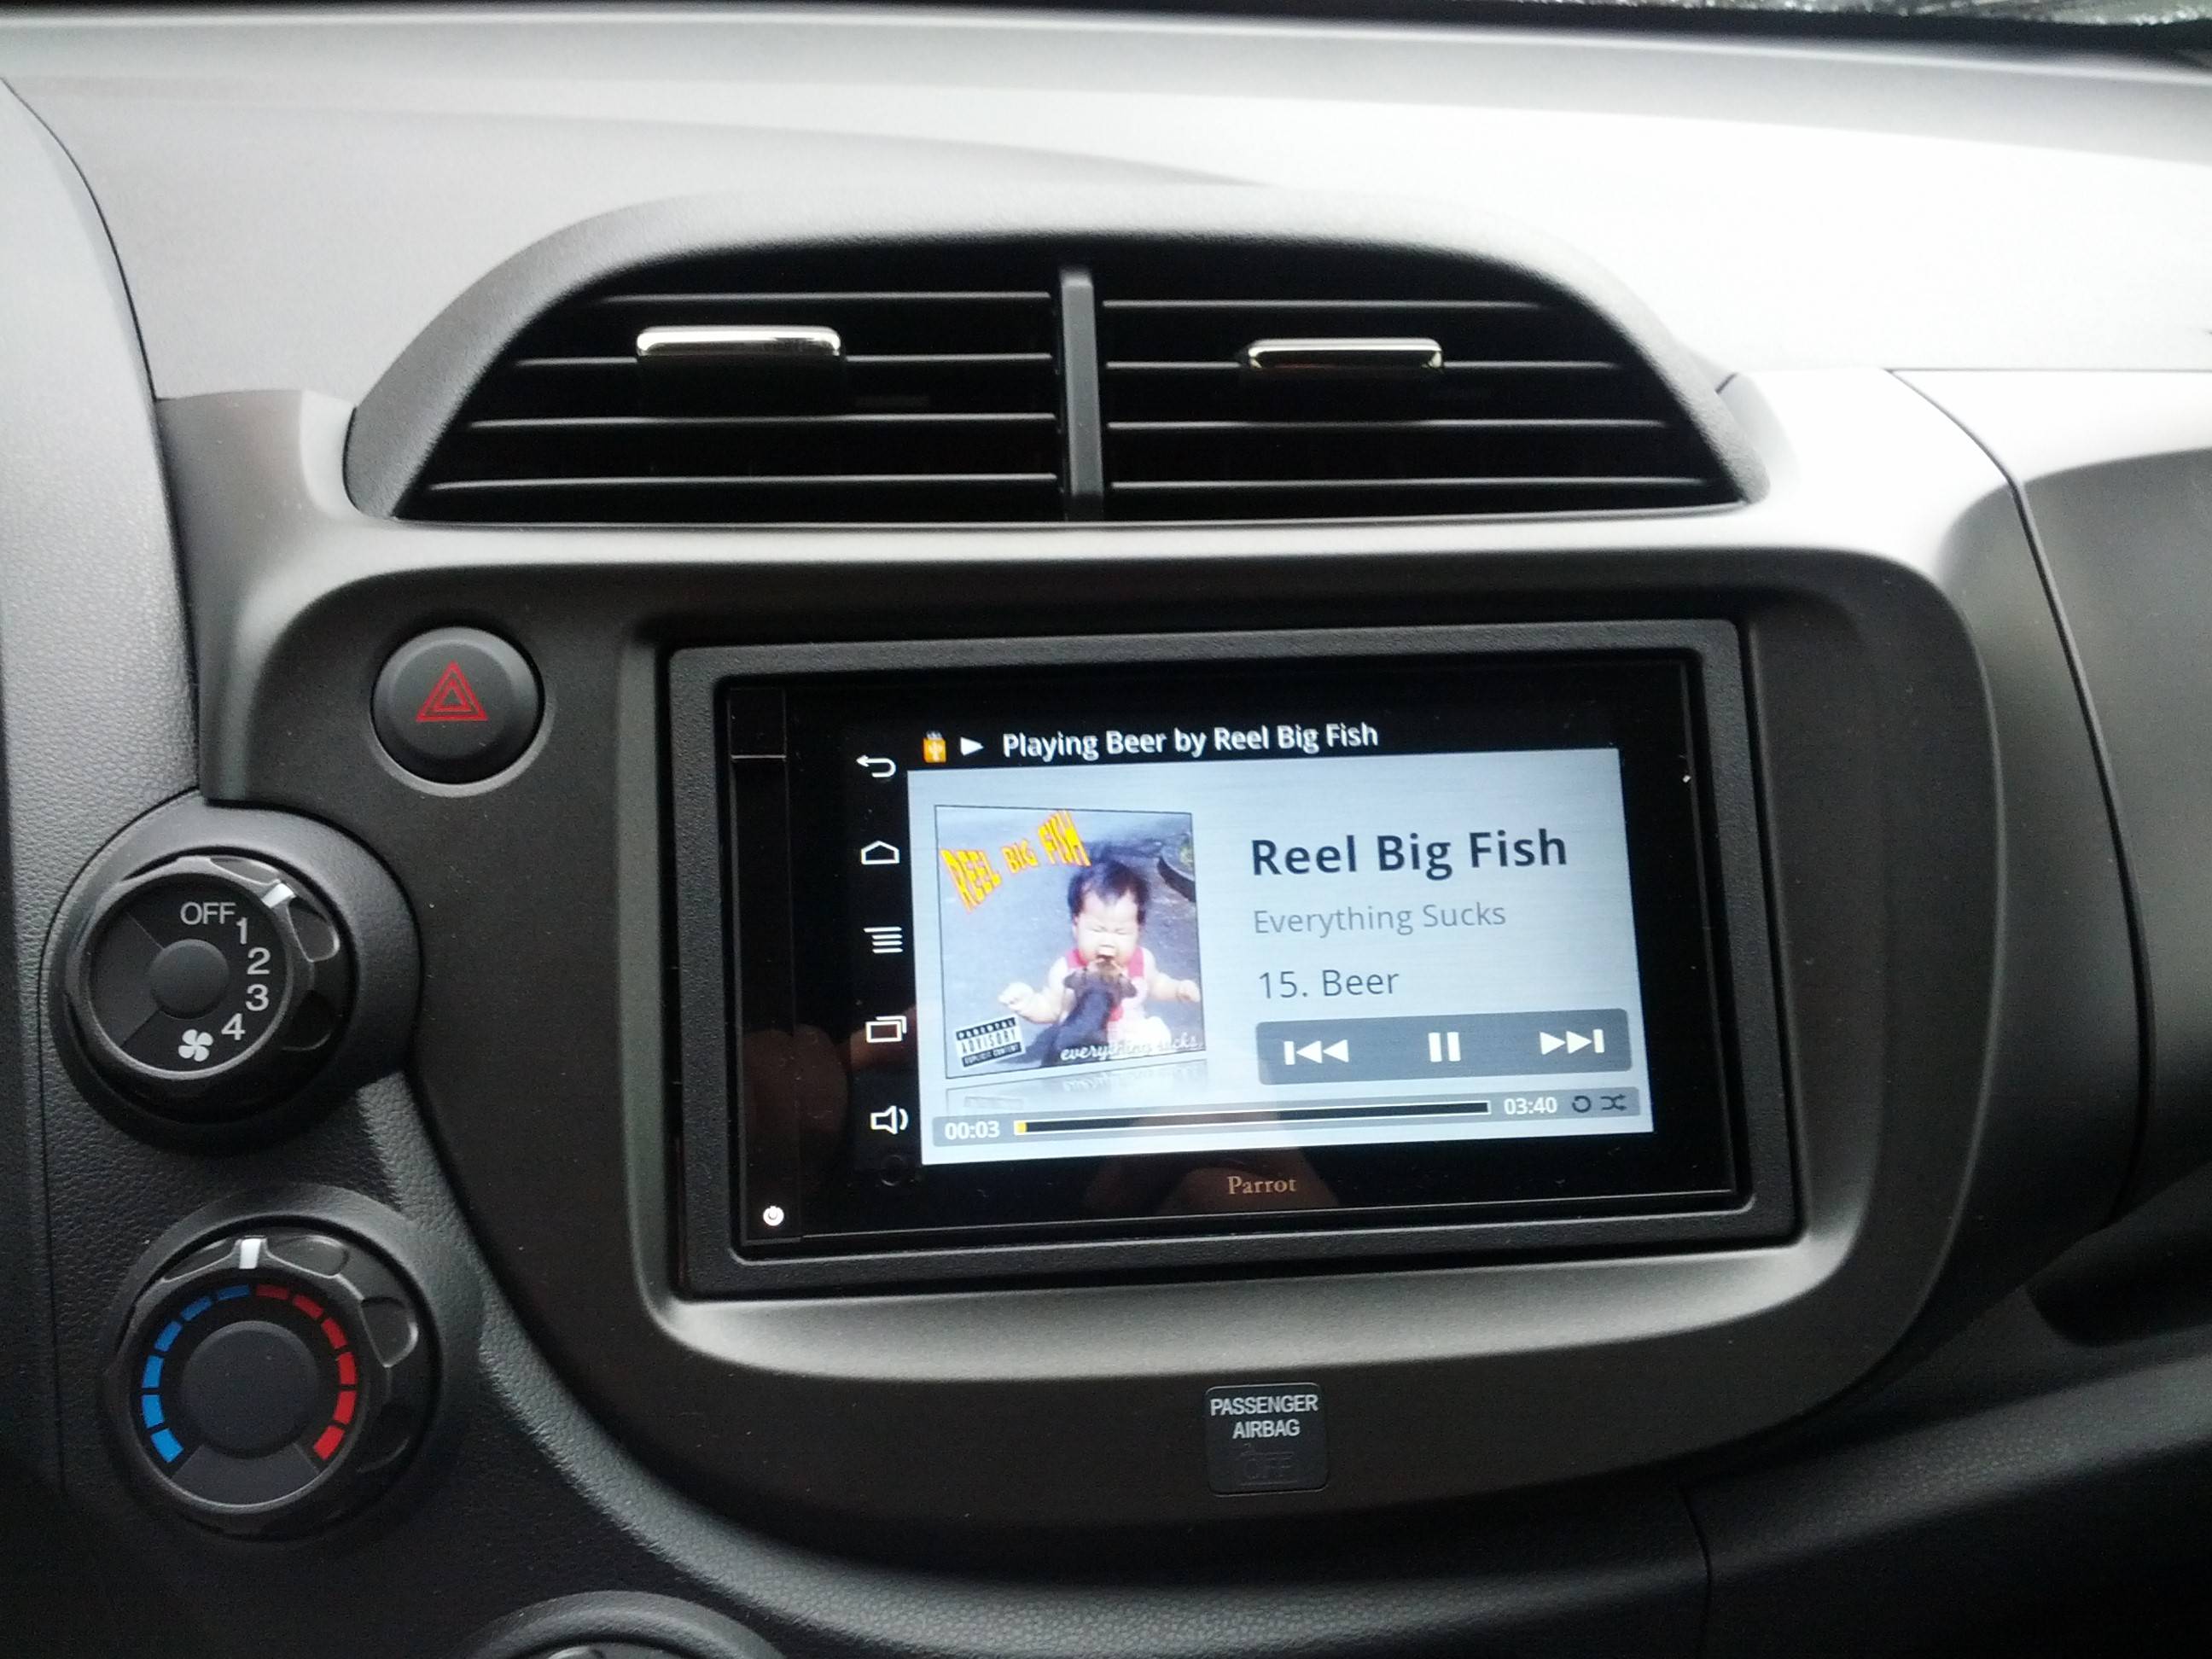
Media Playback:
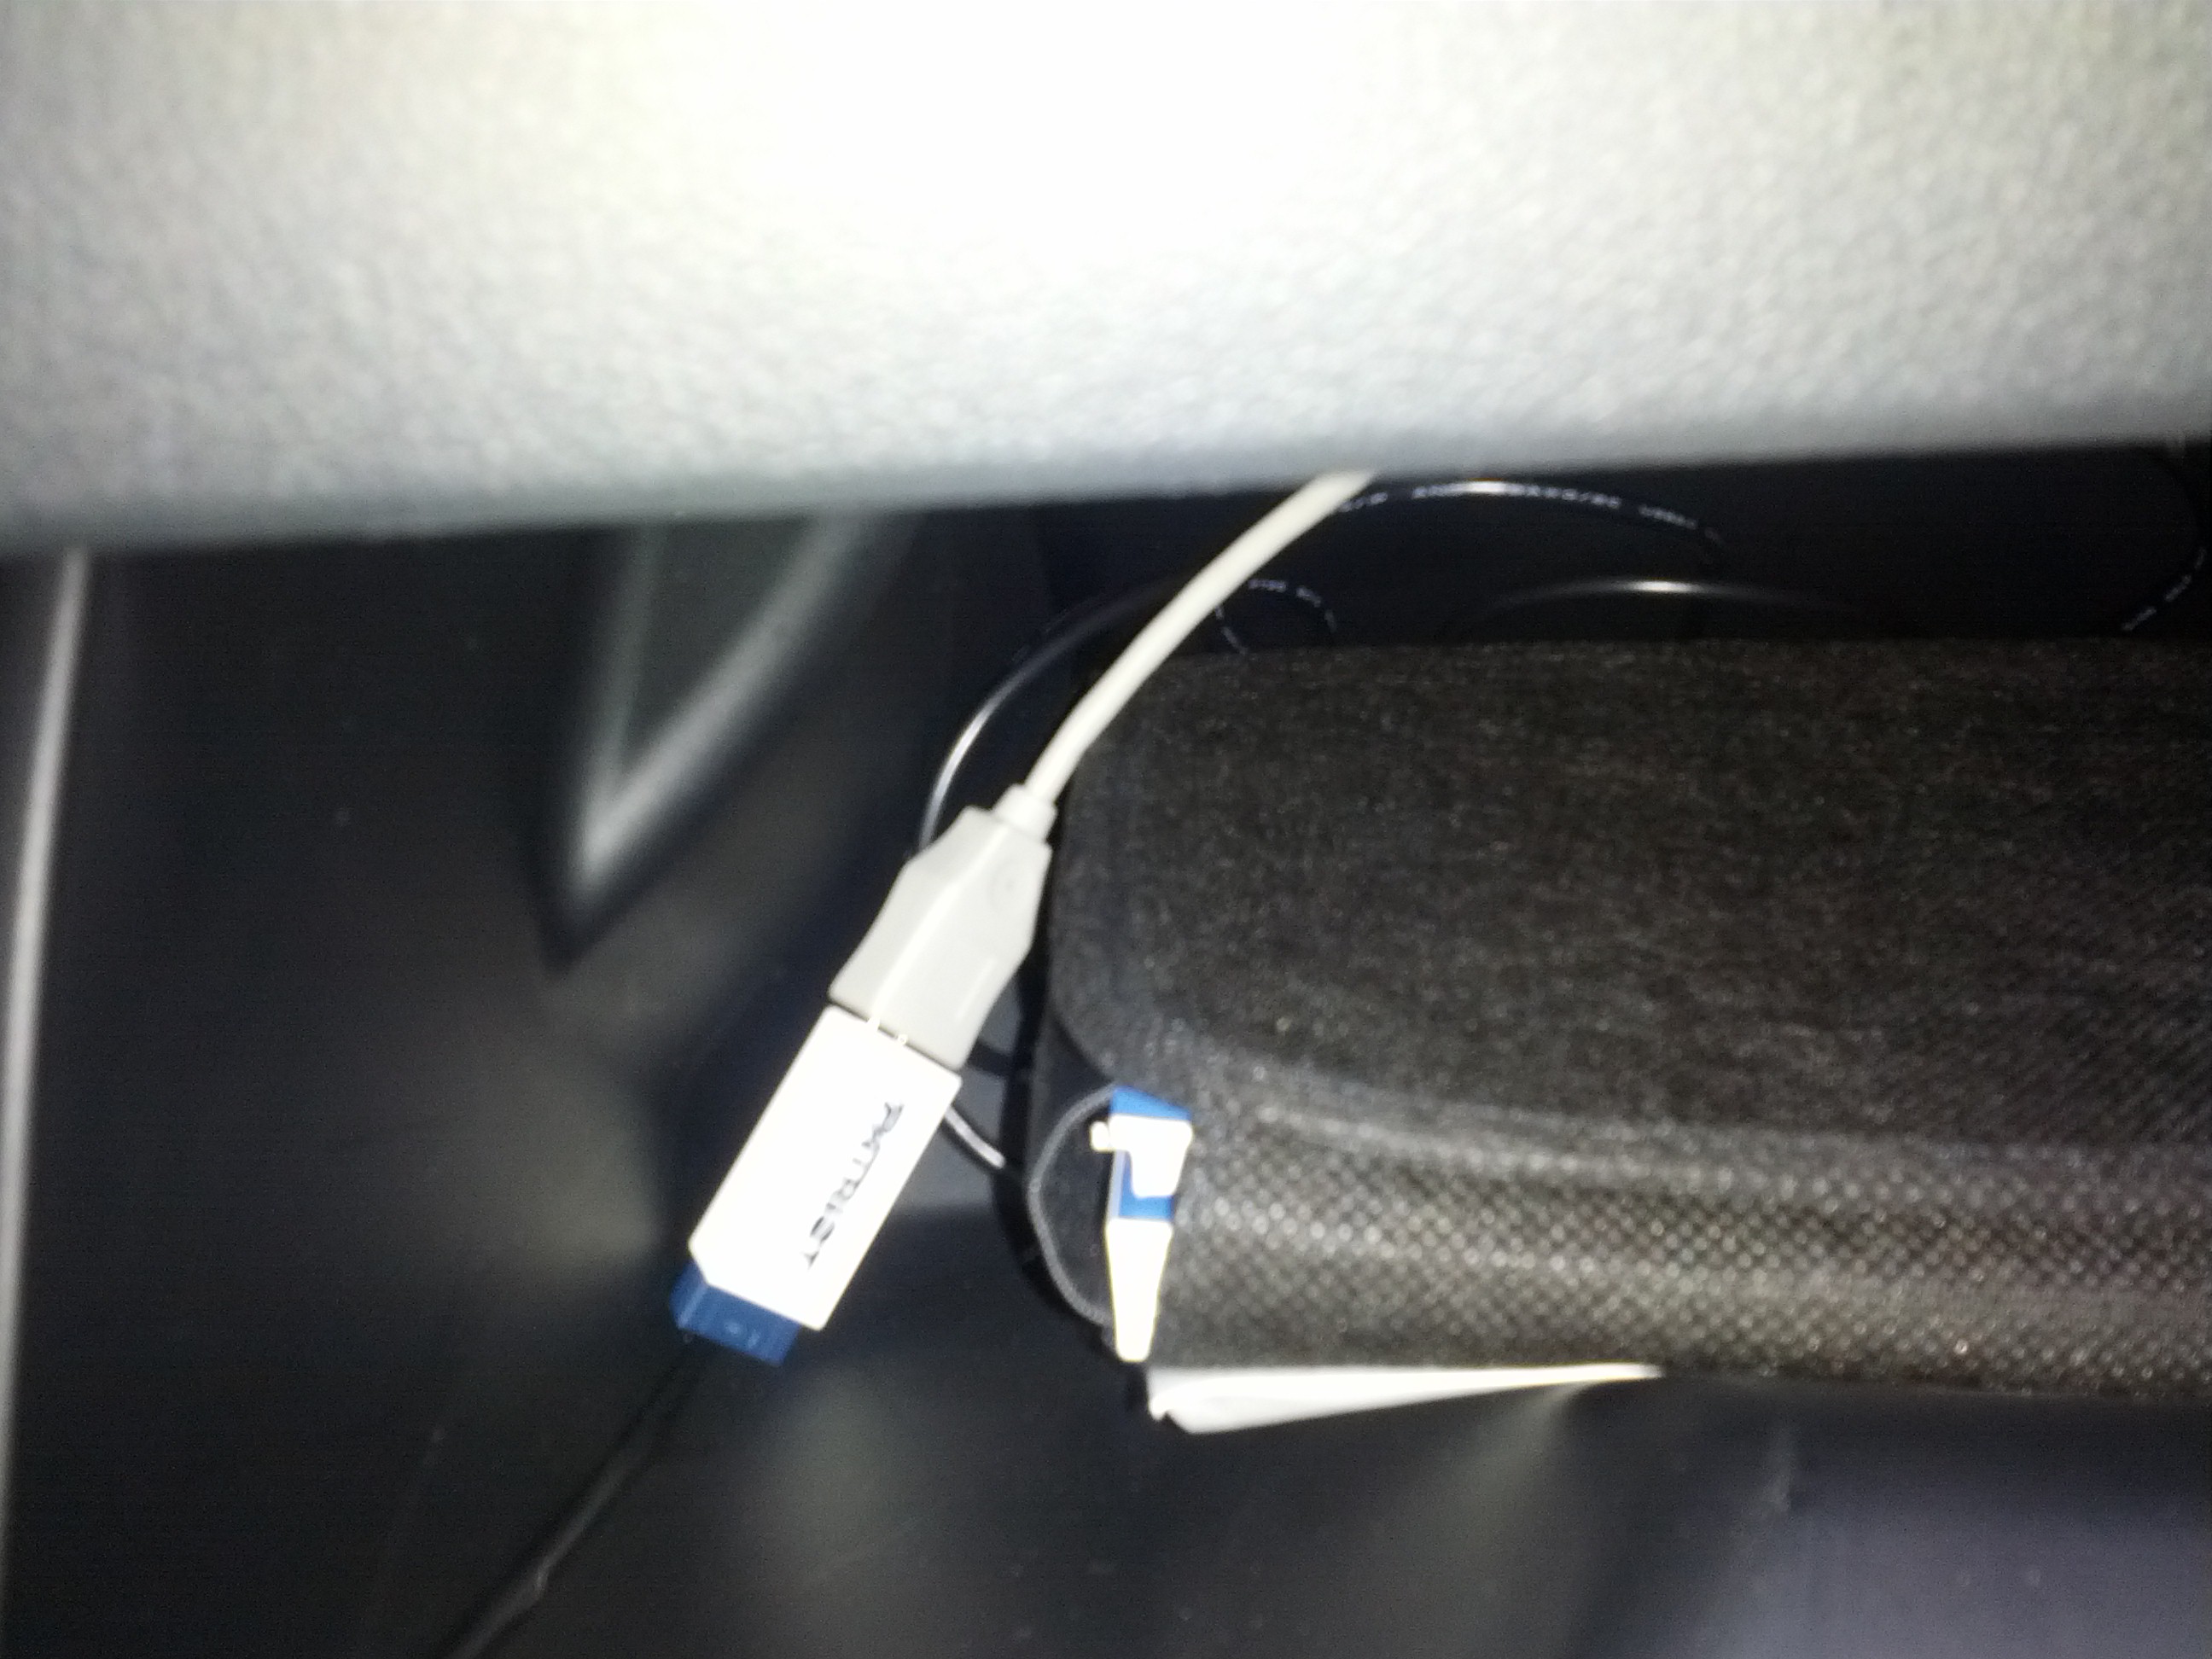
Upper glove box USB and Line In:
Lower glove box USB drive and android debug:
Mic wire routing:
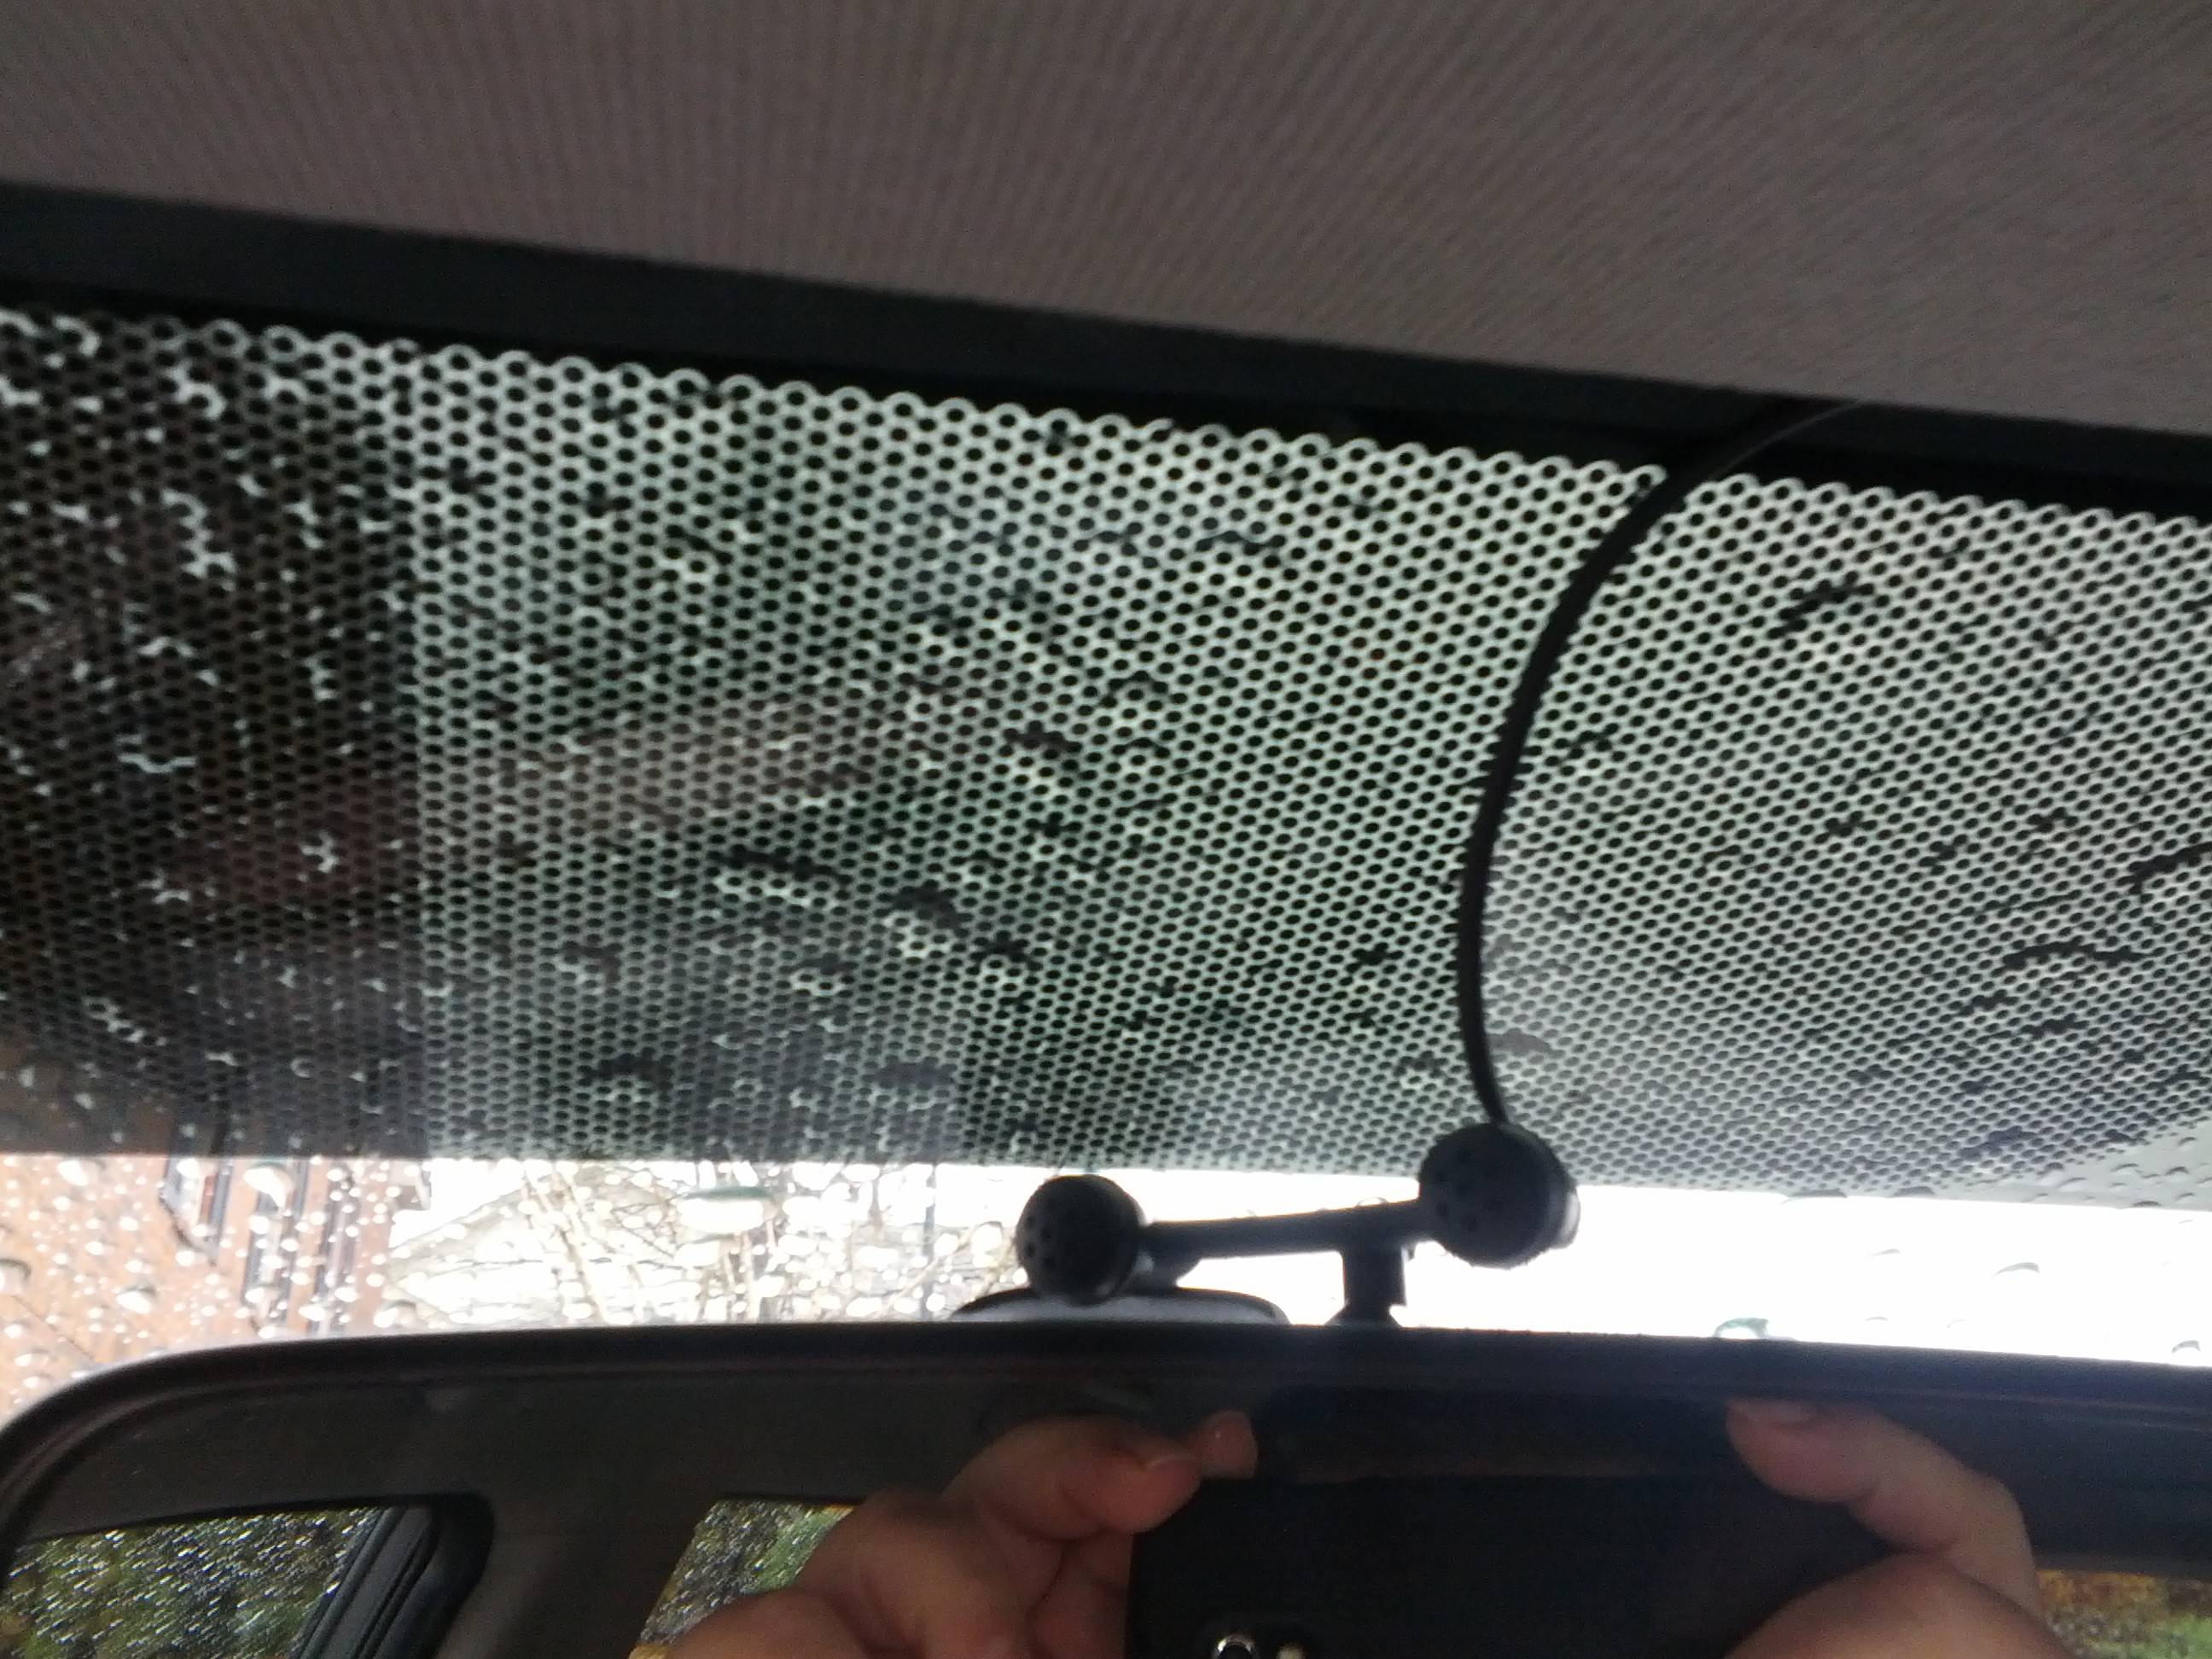
The mic wire routing down the windshield will be cleaned up today when I install a Gentek mirror. This was just a temporary quickie while the parts were being ordered
Overall, I'm very happy with the install. It would be nice if someone made a double DIN mount that matched the Fit Sport interior (or if Honda just used a double DIN for the factory nav!), but the Metra trim ring isn't too bad.
As far as function goes, the bluetooth speaker phone is really fantastic quality and the phonebook sync works great with my Android Galaxy Nexus and my wife's iPhone 5. The voice search for music and phonebook is also very good.
The Asteroid Smart, out of the box, does not have a lot of apps and some side-loaded apps don't work exactly the way you'd want. There is no Google Play market unless you root and do a little work. Internal flash storage space is a bit limited, would be nice to have more room.
As far as the design aspect goes, the Asteroid Smart is pretty featureless - there is really only one small button and the rest is all touchscreen, so, at least when off, it does seem a little odd given the curves in the rest of the dash. But, any large screen unit will be similar.
Booting up:
Media Playback:
Upper glove box USB and Line In:
Lower glove box USB drive and android debug:
Mic wire routing:
The mic wire routing down the windshield will be cleaned up today when I install a Gentek mirror. This was just a temporary quickie while the parts were being ordered
Overall, I'm very happy with the install. It would be nice if someone made a double DIN mount that matched the Fit Sport interior (or if Honda just used a double DIN for the factory nav!), but the Metra trim ring isn't too bad.
As far as function goes, the bluetooth speaker phone is really fantastic quality and the phonebook sync works great with my Android Galaxy Nexus and my wife's iPhone 5. The voice search for music and phonebook is also very good.
The Asteroid Smart, out of the box, does not have a lot of apps and some side-loaded apps don't work exactly the way you'd want. There is no Google Play market unless you root and do a little work. Internal flash storage space is a bit limited, would be nice to have more room.
Last edited by fatdoggie; 04-04-2013 at 11:02 AM.
#5
04-04-2013, 04:18 PM
By the way, what happens when you push turn-off button during listening music for example, is it mute music or just turn-off screen
Also interesting to know, is it possible to create on-the-fly playlists(like on-the-go playlists on ipod)?
Also interesting to know, is it possible to create on-the-fly playlists(like on-the-go playlists on ipod)?
#6
04-04-2013, 04:38 PM
The little power button is really more of a "sleep" switch - you hold it in for a few seconds and the unit goes to sleep.
You can control the volume in the media player with up/down swipes, track +/track - with left and right swipes, pause/play by tapping the center of the screen.
Even with the radio (also part of the media player app) - you use the pause gesture.
If in another application, like GPS, there are media player controls in the notification area.
I don't know if you can do on-the-fly playlists in the stock media app or not - this install was for my wife's car and she won't give it back now .
.
Seriously, I do think I remember seeing something playlist related - I'll take a look and see what I can determine. I'd expect that there will probably be quite a few enhancements and more apps over time as this is still a very new product.
You can control the volume in the media player with up/down swipes, track +/track - with left and right swipes, pause/play by tapping the center of the screen.
Even with the radio (also part of the media player app) - you use the pause gesture.
If in another application, like GPS, there are media player controls in the notification area.
I don't know if you can do on-the-fly playlists in the stock media app or not - this install was for my wife's car and she won't give it back now
. Seriously, I do think I remember seeing something playlist related - I'll take a look and see what I can determine. I'd expect that there will probably be quite a few enhancements and more apps over time as this is still a very new product.
Last edited by fatdoggie; 04-04-2013 at 04:41 PM.

#9
04-13-2013, 10:22 AM
Another factor is that USB is a high-speed digital line and a splice in the data RX/TX pair may very well allow interference into the spliced USB cable due to the interruption in twisted pairs or lack of shielding at the splice. Cars tend to be very electrically noisy places.
Since one of *my* requirements was to have my installation be totally reversible, I opted to make my own input panel in the upper glove box using a blank glove box plate and add a panel mount USB and Aux jack.
Now, if someone could find a source for the socket that the Honda USB cable plugs into, it would be trivial to make an adapter cable, which would be very nice. Perhaps Metra or Scosche would make such a thing if Honda uses this USB connector on lots of vehicles...
Last edited by fatdoggie; 04-13-2013 at 10:25 AM.
#10
05-29-2013, 10:25 AM
I know that Parrot Asteroid Smart require connection to parking break.
@fatdoggie, did you do this? Also can you please take a picture with gps adapter location, because i am thinking where to install it(while waiting for all parts).
@fatdoggie, did you do this? Also can you please take a picture with gps adapter location, because i am thinking where to install it(while waiting for all parts).
Last edited by timsly; 05-29-2013 at 01:09 PM.
#11
05-29-2013, 12:26 PM

I'd like to know if there's any reason to use the Unika over another control interface unit. I'm having this deck installed but the installer wants to use an iDatalink Maestro since that's what he's familiar with. I'm putting in steering controls on my Sport, but I don't have BT controls (considering maybe getting that done too...) so I don't know if it's really important to use a Unika over a Maestro.
#12
05-29-2013, 12:43 PM
I'd like to know if there's any reason to use the Unika over another control interface unit. I'm having this deck installed but the installer wants to use an iDatalink Maestro since that's what he's familiar with. I'm putting in steering controls on my Sport, but I don't have BT controls (considering maybe getting that done too...) so I don't know if it's really important to use a Unika over a Maestro.
#14
05-29-2013, 04:34 PM
The Asteroid isn't as "smart" as the Pioneer and JVC head units that require a microcontroller or relays to override the parking brake connection, so if overriding the parking brake interlock is illegal in your location, please make sure you don't connect those two wires together

As for the GPS adapter, I can't provide a picture without pulling the dashboard apart. There is a nice spot right on top of the two vent ducts above the head unit for the GPS puck, and you can route the USB cable between them and bundle the extra wire up.
There is no metal over the GPS in that location and I have had zero trouble getting a fast GPS lock.
#15
06-07-2013, 09:07 PM
So, I called ADS today (makers of the Maestro), and they confirmed that the Maestro does not work with the Asteroid Smart. So, unless I roll the dice on the Connects2 kit, looks like it's UNIKA or nothing.
#16
10-14-2013, 09:41 PM

I just picked up one of these units and am going to attempt the same install...
Stupid question: How are you removing the pins from the harness? Any new recommendations since you wrote this?
Thanks!
Stupid question: How are you removing the pins from the harness? Any new recommendations since you wrote this?
Thanks!
#17
10-15-2013, 11:38 AM
If you do happen to mess one wire up pulling too hard, don't worry, you have a whole harness full of pins!
Inserting the freed pin into the other harness is simple - just push it in until it locks.
The only thing that I have learned or would do differently is spend a bit more time looking into how the ignition line and the Unika interact. I think there may be some oddity there where perhaps the Unika does not pass the ignition "trigger" until it is fully programmed?
What I see with the ignition bypassing the Unika is that sometimes the Unika will not be detected when the Parrot comes out of sleep. I ASSUME this is because the Unika was not ready and when the Parrot comes out of sleep. If all worked as advertised, the Parrot should wait for the ignition trigger from the Unika (which the Unika delays until it has finished booting?) before it wakes up.
The side effect of this is that occasionally, I have to re-enable the remote in the settings menu. The last software update to the Parrot increased the frequency with which this glitch occurs, but has still not been sufficient for me to justify yanking the dash apart and performing more experiments!
I have considered abandoning the Unika altogether and building my own solution based on the info here: Atomic Cactus � Parrot Asteroid Smart � Steering Wheel Controls Using Arduino � Part 1
#18
10-16-2013, 07:31 PM
Thanks for the detailed reply. Still waiting on some parts, but I'm eager to get started...
You're over my head with building my own Arduino steering wheel interface. Good luck with that - let me know how it goes!
I'll look in the ignition bypassing and let you know my luck. I haven't done a head unit install in years, so this should be fun .
.
I am debating on building my own ISO adapter like you did, or just cutting off the ISO connector. I think it depends on how frustrated I get.
You're over my head with building my own Arduino steering wheel interface. Good luck with that - let me know how it goes!
I'll look in the ignition bypassing and let you know my luck. I haven't done a head unit install in years, so this should be fun
. I am debating on building my own ISO adapter like you did, or just cutting off the ISO connector. I think it depends on how frustrated I get.
#19
10-16-2013, 10:02 PM
Thanks for the detailed reply. Still waiting on some parts, but I'm eager to get started...
You're over my head with building my own Arduino steering wheel interface. Good luck with that - let me know how it goes!
I'll look in the ignition bypassing and let you know my luck. I haven't done a head unit install in years, so this should be fun.
I am debating on building my own ISO adapter like you did, or just cutting off the ISO connector. I think it depends on how frustrated I get.
You're over my head with building my own Arduino steering wheel interface. Good luck with that - let me know how it goes!
I'll look in the ignition bypassing and let you know my luck. I haven't done a head unit install in years, so this should be fun
. I am debating on building my own ISO adapter like you did, or just cutting off the ISO connector. I think it depends on how frustrated I get.
If you're just going to stuff the Parrot Asteroid in, then the ISO harness doesn't add much.
As far as the actual install - it's mostly plug and play and is pretty easy - there is tons of room inside the Fit's dash for everything and fishing the USB cables into the upper and lower glovebox was really easy.
The worst part was popping out the original factory stereo without marring the dash plastics. I used plastic trim tools and covered anyplace that I was prying against with blue painters tape to minimize scratching.
#20
10-27-2013, 08:59 PM

Thanks for the post and details on the install, I've finished my own following your instructions very closely and I'm very happy with it.
PS appreciate the tip for linking the extra ground from the parrot to the brake lead from the parrot as a bypass-but is there any electrical risk from doing so?
PS appreciate the tip for linking the extra ground from the parrot to the brake lead from the parrot as a bypass-but is there any electrical risk from doing so?
Last edited by moodster; 11-04-2013 at 11:49 PM.

