Trunk dome light project
#1
 10-16-2015, 01:39 AM


Trunk dome light project
This is possibly the most useful add-on i have done yet. I got this little hatchback because i needed a car that was all-round cheap to own, and can support my lifestyle which involves having the rear seats folded flat at all times, using the cargo area. this means i use the rear trunk area intensely, and since i keep surfboards along the right side blocking the piss poor rear lighting, i am left in the dark when i need to access the many different things i keep back there. so i started searching the web for overhead dome lights that affix directly to the headliner, that also has a stock look to what you might see in the honda fit. alas, i found the dome light assembly of a 2011 hyundai accent, with a clip-in mount. And that is where this project begins...
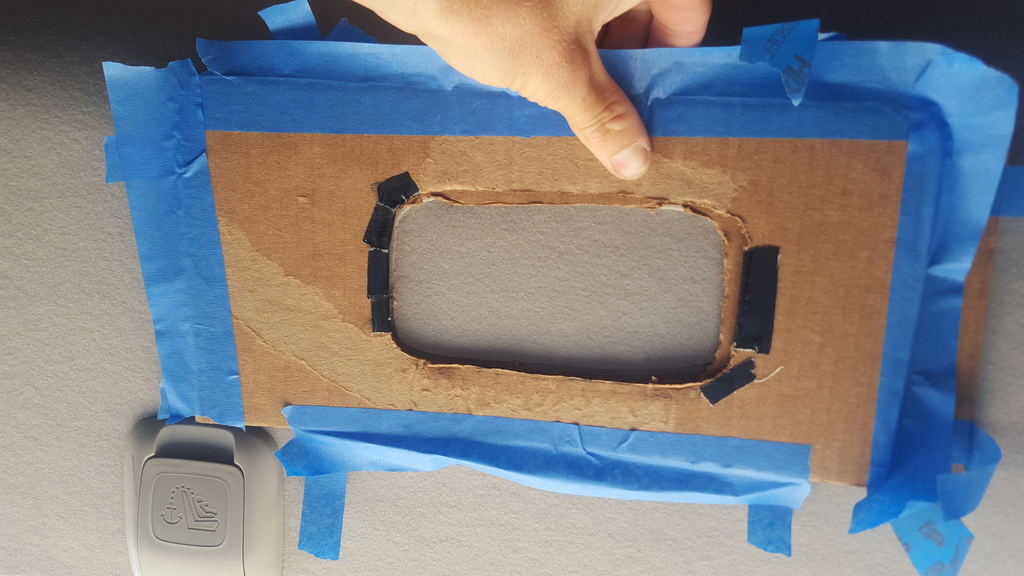
start by making a template for the hole you will eventually cut into your headliner:


second, prep the wiring so the dome light will work in the "off" and "door" position.
the hot wire is the brownish wire, and the ground wire (which the door switch is connected to) is the white wire. I used red for my hot line, and white for ground. pop out the existing rear cargo light assembly exposing the wiring:
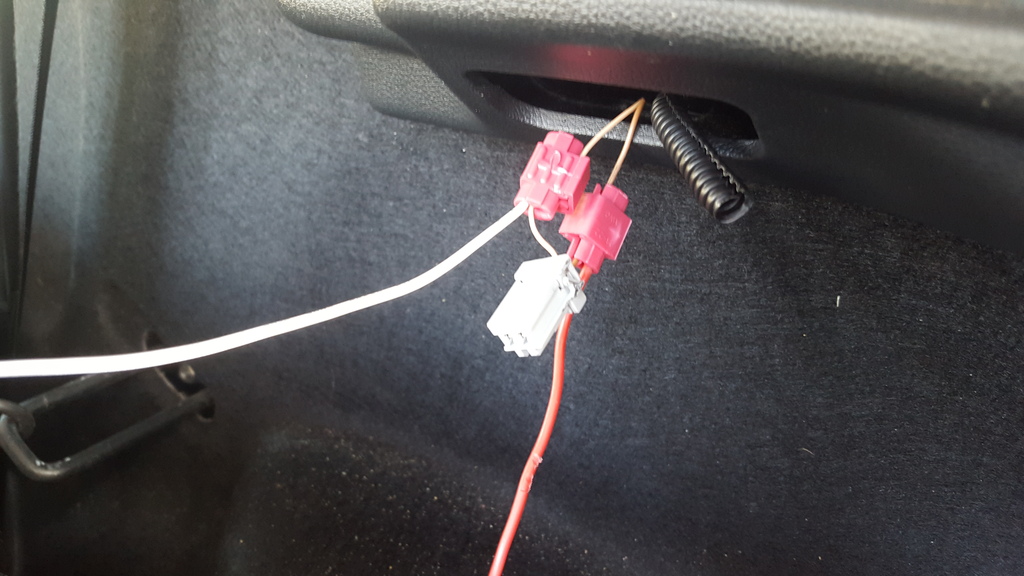
make sure the wiring works correctly; the following photo shows the hot line in, and ground for the "door" position out. how you connect the wiring to the hyundai prongs is up to your creativity:

If everything works at this point, go ahead and run the wiring up into the ceiling. all the plastic pulls off with clips, enough to run these wires. just ensure theyre long enough to run where you intend on placing the light.
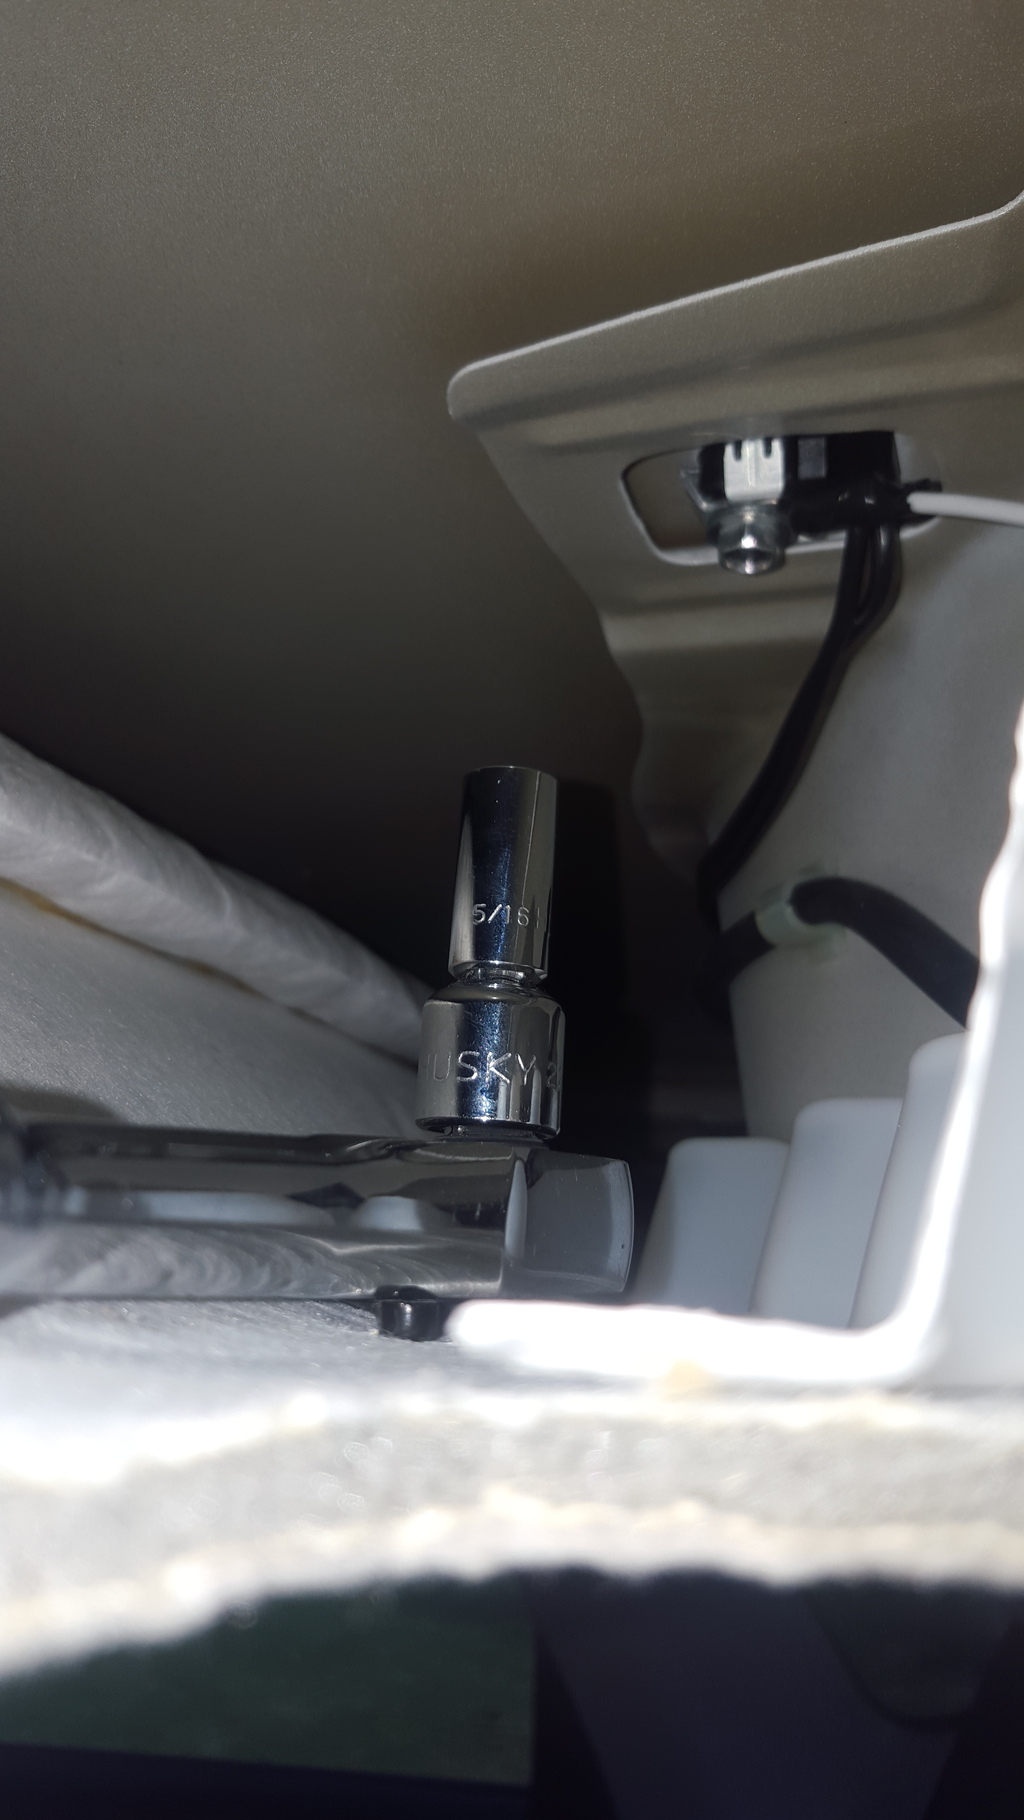
Following is the location i chose, where there is plenty of room between the headliner and metal to fit the light. it's the driver side forward of the latch system recovery point. you might be able to go dead center in front of the of the latch system connection, but it is risky because of the antenna. where i placed it was the safe bet:
use a sharp utility blade to cut the hole:

there is plastic that also has to be cut out... not too hard though:


now, run the wires out through the hole, and make sure everything works. the may need to close and open the hatch because the door switch in the hatch is on a time and with shut off even if its correctly connected:

this is a good time to make fine adjustments to the hole you made so the light makes a snug fit.
now you gotta run the ground for the always "on" position. it's the only left over prong on the light assembly left. i connected the ground to the antenna up inside, above the headliner:
now just make sure all the wiring is connected, pop the light in, and you got yourself an awesome, stock-looking, FUNCTIONAL, dome light.

Ive had the light in for a few days now and it blows my mind i went this long without quality lighting back there. i strongly recommend this addition.
start by making a template for the hole you will eventually cut into your headliner:


second, prep the wiring so the dome light will work in the "off" and "door" position.
the hot wire is the brownish wire, and the ground wire (which the door switch is connected to) is the white wire. I used red for my hot line, and white for ground. pop out the existing rear cargo light assembly exposing the wiring:

make sure the wiring works correctly; the following photo shows the hot line in, and ground for the "door" position out. how you connect the wiring to the hyundai prongs is up to your creativity:

If everything works at this point, go ahead and run the wiring up into the ceiling. all the plastic pulls off with clips, enough to run these wires. just ensure theyre long enough to run where you intend on placing the light.
Following is the location i chose, where there is plenty of room between the headliner and metal to fit the light. it's the driver side forward of the latch system recovery point. you might be able to go dead center in front of the of the latch system connection, but it is risky because of the antenna. where i placed it was the safe bet:

use a sharp utility blade to cut the hole:

there is plastic that also has to be cut out... not too hard though:


now, run the wires out through the hole, and make sure everything works. the may need to close and open the hatch because the door switch in the hatch is on a time and with shut off even if its correctly connected:

this is a good time to make fine adjustments to the hole you made so the light makes a snug fit.
now you gotta run the ground for the always "on" position. it's the only left over prong on the light assembly left. i connected the ground to the antenna up inside, above the headliner:

now just make sure all the wiring is connected, pop the light in, and you got yourself an awesome, stock-looking, FUNCTIONAL, dome light.

Ive had the light in for a few days now and it blows my mind i went this long without quality lighting back there. i strongly recommend this addition.


#3
11-06-2015, 11:02 PM
Nope, not at all... I did make sure to cut the hole small so it's a pretty tight fit; too tight really. But at least this way it won't fall out.
#5
11-07-2015, 12:22 PM
I don't know what the wattage is... it's whatever a 2006-11 accent uses. As far as lumens goes, it's about as bright as the middle dome light, which is plenty of light for me without being blinding. I'm not a big fan of the led light thing myself. From what I've seen, they're too bright and an uncomfortable color temperature. Though that's just my opinion though.


Thread
Thread Starter
Forum
Replies
Last Post
fittle sticks
Fit Interior & Exterior Illumination
6
11-06-2015 11:14 PM