TofuShop's Build Thread - (BBS, Clazzio, Morimoto, etc) *Picture Heavy*
#41
 06-16-2016, 11:13 PM


thanks guys
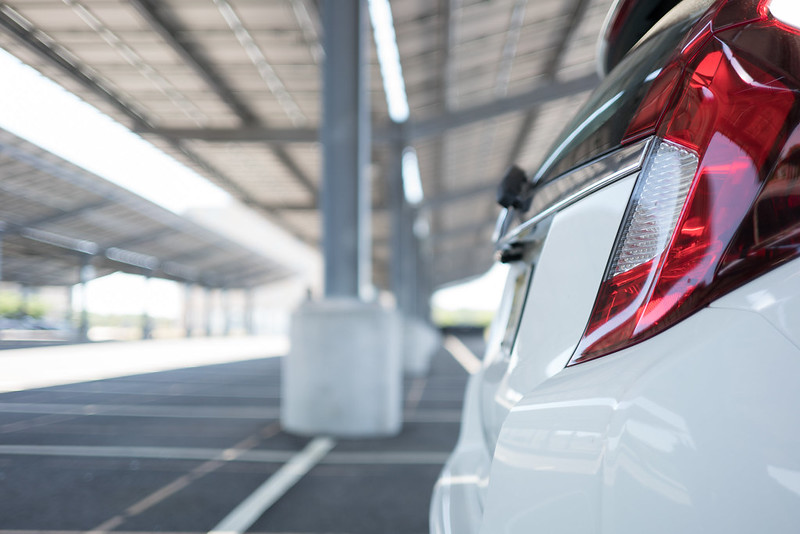
the rear is stock, nothing going on back there.. yet. but i have an idea in my head im toying with
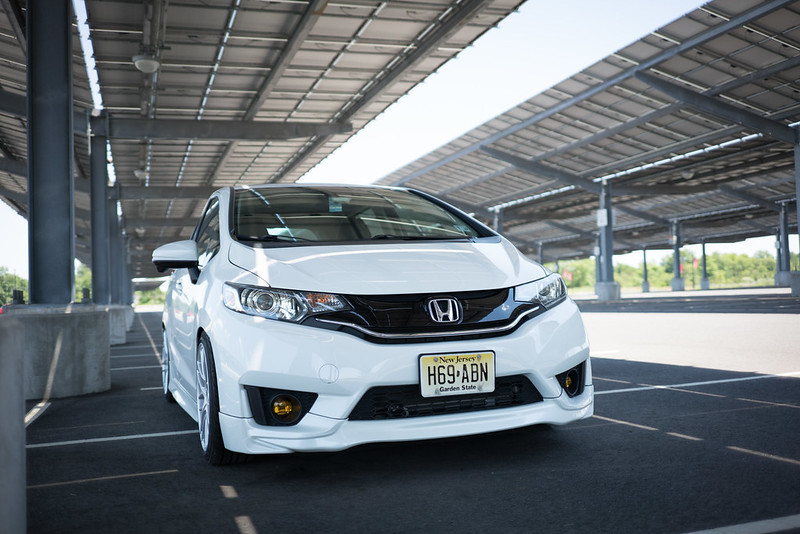
unfortunately, when i did the retrofit at my brother's house, his driveway is sloped, so my cutoff is crooked (left side is higher than right). i need to figure out a way to re-adjust my horizontal cutoff when i get a chance. otherwise, cutoff is very sharp and light output is amazing
the rear is stock, nothing going on back there.. yet. but i have an idea in my head im toying with
unfortunately, when i did the retrofit at my brother's house, his driveway is sloped, so my cutoff is crooked (left side is higher than right). i need to figure out a way to re-adjust my horizontal cutoff when i get a chance. otherwise, cutoff is very sharp and light output is amazing
#42
06-17-2016, 01:30 AM

So you didn't use the rear bumper lip that came with the kit? Was the fitment that bad?
#43
06-17-2016, 12:08 PM
fitment is so-so, but can be made to fit (same issue with the front and sides). but the main issue is it hangs in the way of the Tanabe axleback. you would have to do some significant trimming. also, i think it would probably end up burning/melting over time unfortunately


#45
06-27-2016, 10:28 AM

Looks awesome! Wish I had that much money to throw at my Fit! College kid problems.....
What is this plan you have for the rear end? I've been thinking about a different light, where the running light is two strips running vertically on the part of the red that does nothing, and then somehow working that into the main brake light too (if any of that makes sense).
Also, what kind of attachments did you use for your projector retrofit to convert to a single filament bulb with the shutter creating the low/high beams? Been trying to figure it out, since I have some projectors sitting in my garage.
Last edited by esnave09; 06-27-2016 at 10:30 AM.

#47
06-28-2016, 12:14 AM

All projectors are "single filament". The cutoff is determined by a shield. When you flick to highbeams or flash to pass, the shield is lifted by an electric motor to remove the cutoff and hence, give the beam more distance throw.
Typically, you would wire the stock harness highbeam wire to the motor.
In essence, the bulbs are always on, at full power, with a shield that flips up to give more light/highbeam effect.
This is assuming that the original OEM setup used a dual filament bulb for both beams.
#48
07-03-2016, 03:30 AM
Looks awesome! Wish I had that much money to throw at my Fit! College kid problems.....
What is this plan you have for the rear end? I've been thinking about a different light, where the running light is two strips running vertically on the part of the red that does nothing, and then somehow working that into the main brake light too (if any of that makes sense).
Also, what kind of attachments did you use for your projector retrofit to convert to a single filament bulb with the shutter creating the low/high beams? Been trying to figure it out, since I have some projectors sitting in my garage.
What is this plan you have for the rear end? I've been thinking about a different light, where the running light is two strips running vertically on the part of the red that does nothing, and then somehow working that into the main brake light too (if any of that makes sense).
Also, what kind of attachments did you use for your projector retrofit to convert to a single filament bulb with the shutter creating the low/high beams? Been trying to figure it out, since I have some projectors sitting in my garage.
i used the morimoto retrofit kit which includes all parts u need to mount the projector and wire it up. i used the two diy projector threads in the exterior section as guidance actually. they are excellent sources of info with pictures. my only additional advice (applies to anyone with hids) is to mount your ballasts as far forward and away from your ecu as possible. either use the battery as a barrier or mount it behind the bumper under the beam. reason being is that the ballasts release a 'shock' when you cycle the hids on whichs affects the ecu causing the car to stumble and almost stall. very dangerous while driving.
also see action jackson's post below with a deeper explanation
All projectors are "single filament". The cutoff is determined by a shield. When you flick to highbeams or flash to pass, the shield is lifted by an electric motor to remove the cutoff and hence, give the beam more distance throw.
Typically, you would wire the stock harness highbeam wire to the motor.
In essence, the bulbs are always on, at full power, with a shield that flips up to give more light/highbeam effect.
This is assuming that the original OEM setup used a dual filament bulb for both beams.
Typically, you would wire the stock harness highbeam wire to the motor.
In essence, the bulbs are always on, at full power, with a shield that flips up to give more light/highbeam effect.
This is assuming that the original OEM setup used a dual filament bulb for both beams.


#53
09-10-2016, 12:14 AM
The stock emblem is held down by two rivets inside the steering wheel. You can pry it off with a screw driver then snip the back of it out and try to remove it. Disconnect your battery as you'll be pushing on the horn alot
#54
09-10-2016, 09:57 PM
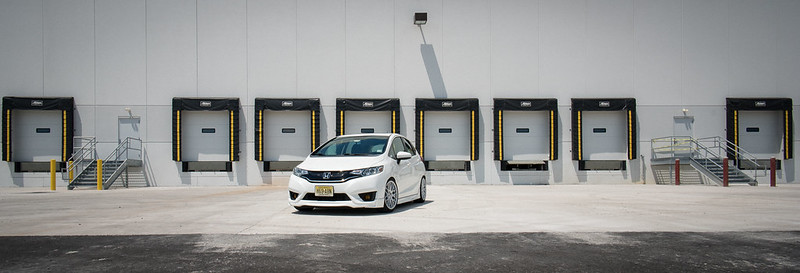
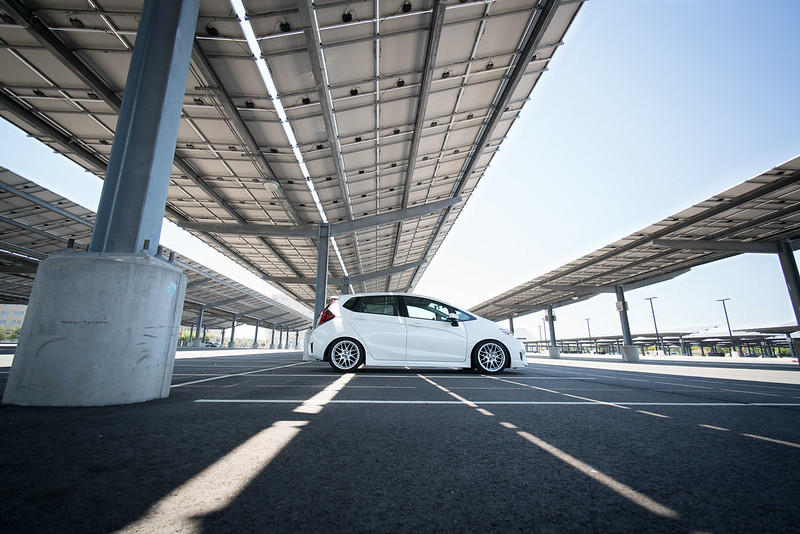
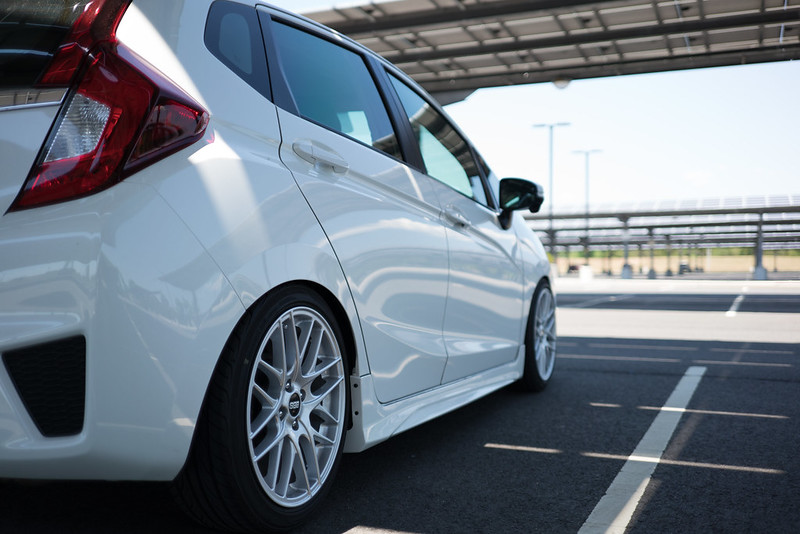
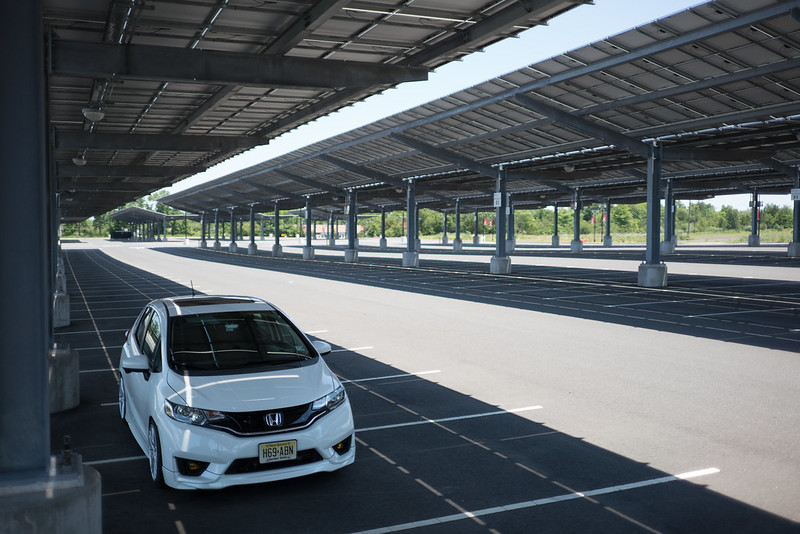
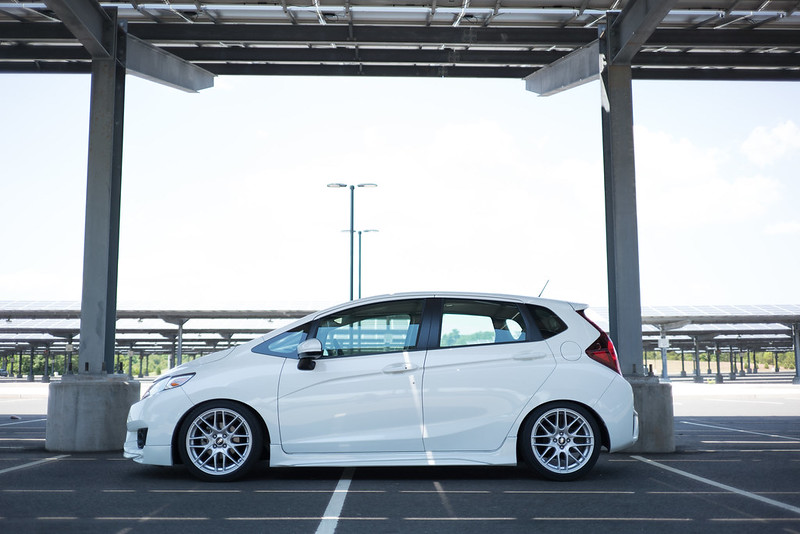
Did some work on my car last weekend and this weekend. Finally installed the Koni STRs + Ground Controls last weekend. The car is STIFF now and handles amazing. Very flat in hard corners and rotates very well. But it is a bit bouncy. Not recommended if you drive your car alot, but since i barely put any miles on it, i don't mind. Rates are 420 lb front and 430 lb rear. Looking forward to doing some twisties in the mountain and auto cross again.
Also installed the Tanabe axleback finally. Sounds GREAT. Thread with video and my review here:
https://www.fitfreak.net/forums/3rd-...ml#post1354031
Also installed the Tanabe axleback finally. Sounds GREAT. Thread with video and my review here:
https://www.fitfreak.net/forums/3rd-...ml#post1354031
Last edited by TofuShop; 01-23-2018 at 09:53 PM.
#55
10-08-2016, 12:29 AM
Did some work on my car last weekend and this weekend. Finally installed the Koni STRs + Ground Controls last weekend. The car is STIFF now and handles amazing. Very flat in hard corners and rotates very well. But it is a bit bouncy. Not recommended if you drive your car alot, but since i barely put any miles on it, i don't mind. Rates are 420 lb front and 430 lb rear. Looking forward to doing some twisties in the mountain and auto cross again.
Also installed the Tanabe axleback finally. Sounds GREAT. Thread with video and my review here:
https://www.fitfreak.net/forums/3rd-...ml#post1354031
Also installed the Tanabe axleback finally. Sounds GREAT. Thread with video and my review here:
https://www.fitfreak.net/forums/3rd-...ml#post1354031
Any reason why you went with an axel back instead of a catback? Or does Tanabe not make a catback for these cars?
Also love your build. This is what makes the Fits so cool. When they are tastefully modded like this.

#56
10-09-2016, 03:43 PM
The Tanabe (and other exhausts available) are axleback portions only. I have a Spoon B-Pipe on order but the wait time is approximately 8-10 weeks from Japan.
#57
10-09-2016, 05:27 PM

nice build! I've been lurking this forum and really like your lathework shift knob! How hot does it get when you leave the car in the sun? I was eyeing their copolymer one, but thought 100grams was too light.
#58
10-10-2016, 11:35 PM
I think since my knob is brushed and flame burnt, it kind of helps in dissipating the heat. I had a shiny metal knob in another car, and that one got REALLY hot. Surprisingly, even when i park in direct sun all day in the summer, the knob is hot for a few seconds but cools off very quickly. I've never had an issue where i had to sit and wait a long time before driving in the summer. I also leave the moonroof shade cover open all year round.