Action Jackson's tinkering


#122
 08-28-2018, 10:55 PM
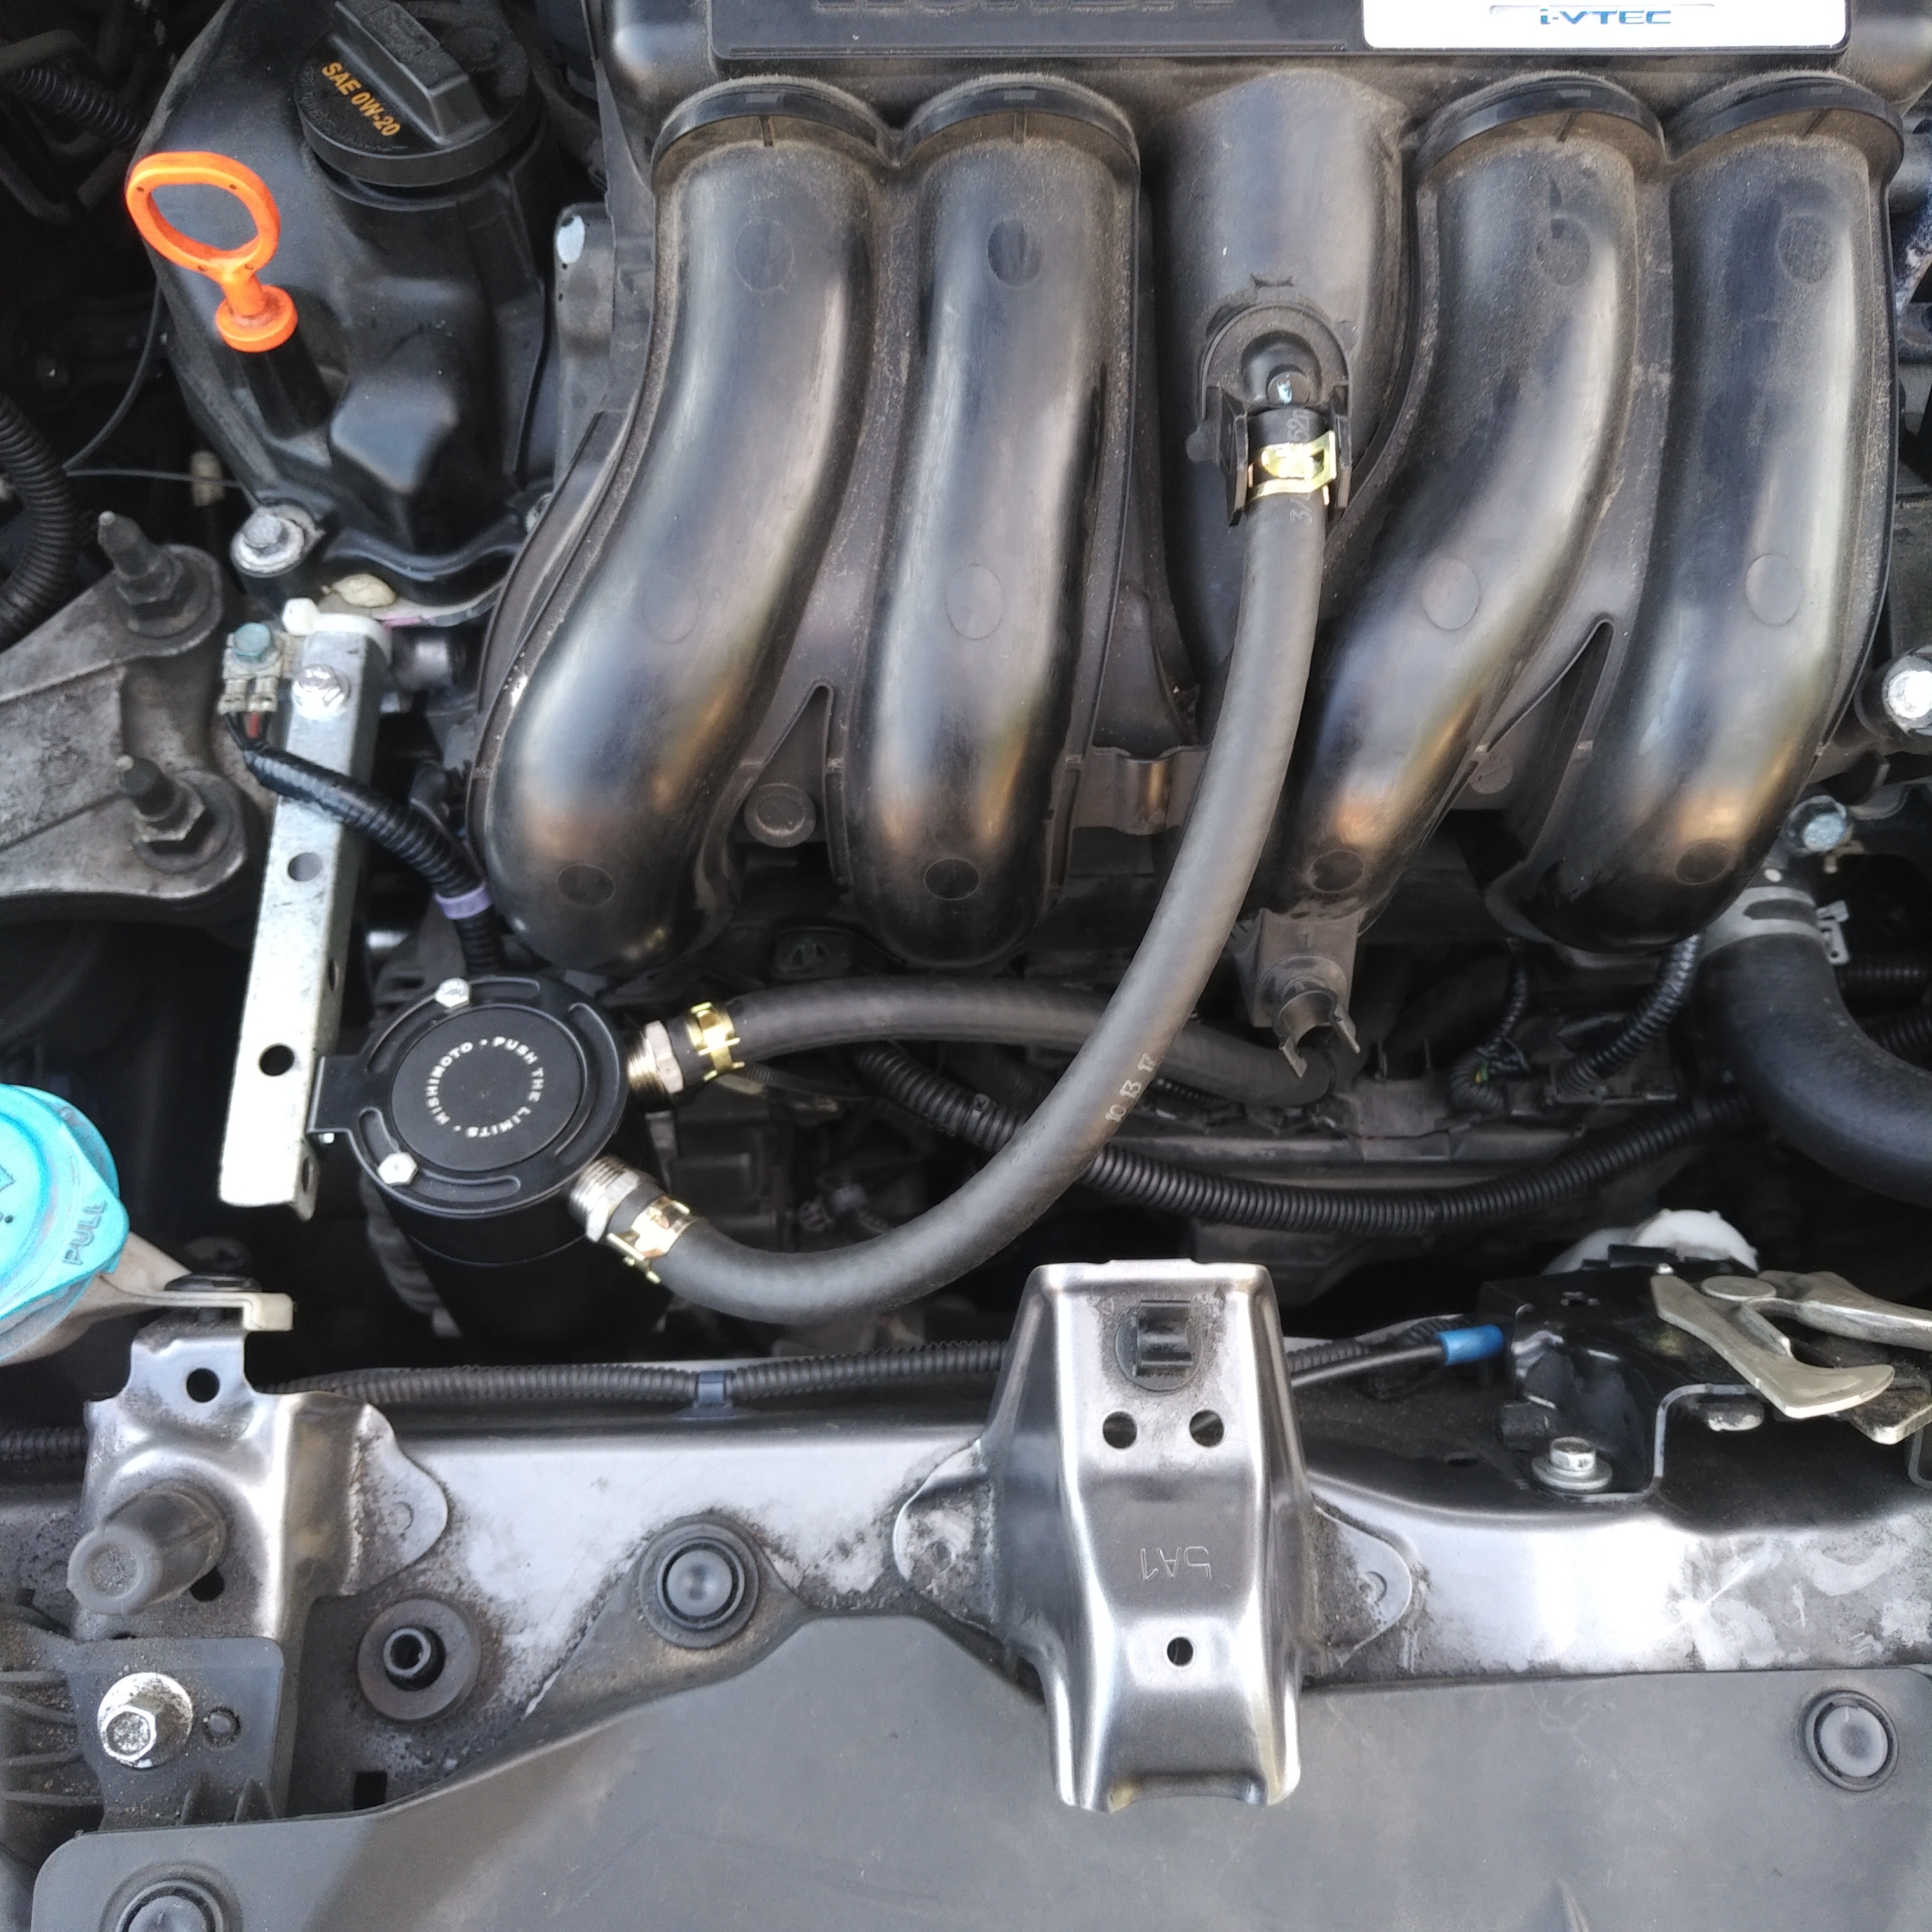
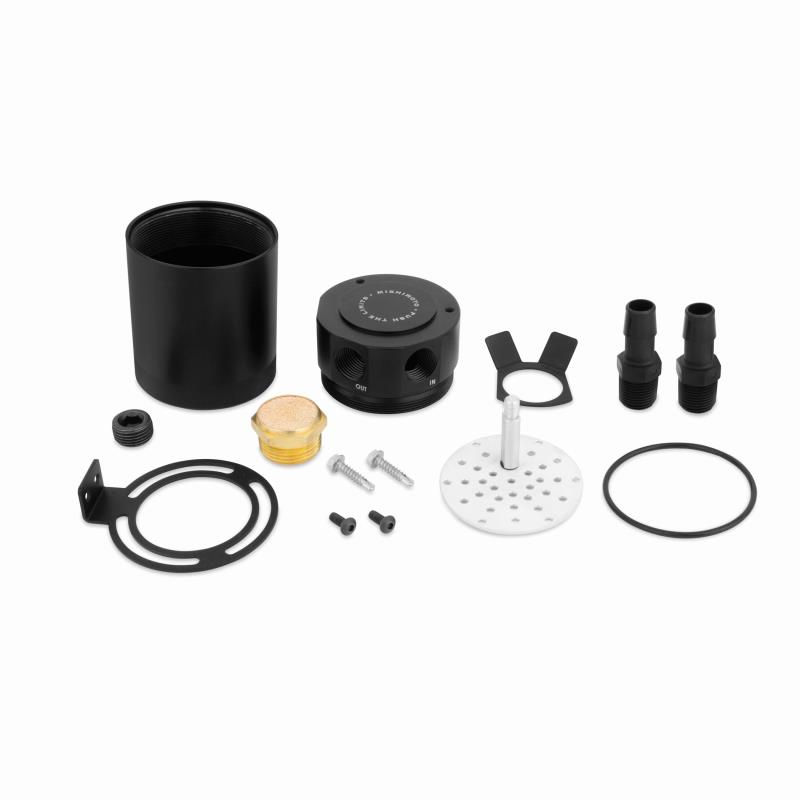
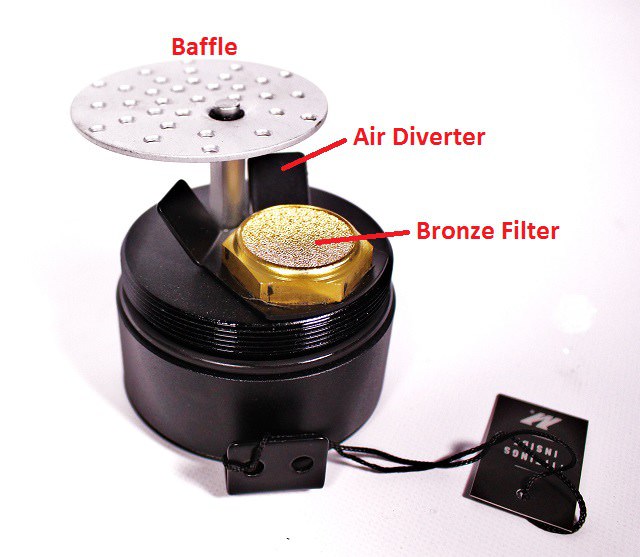
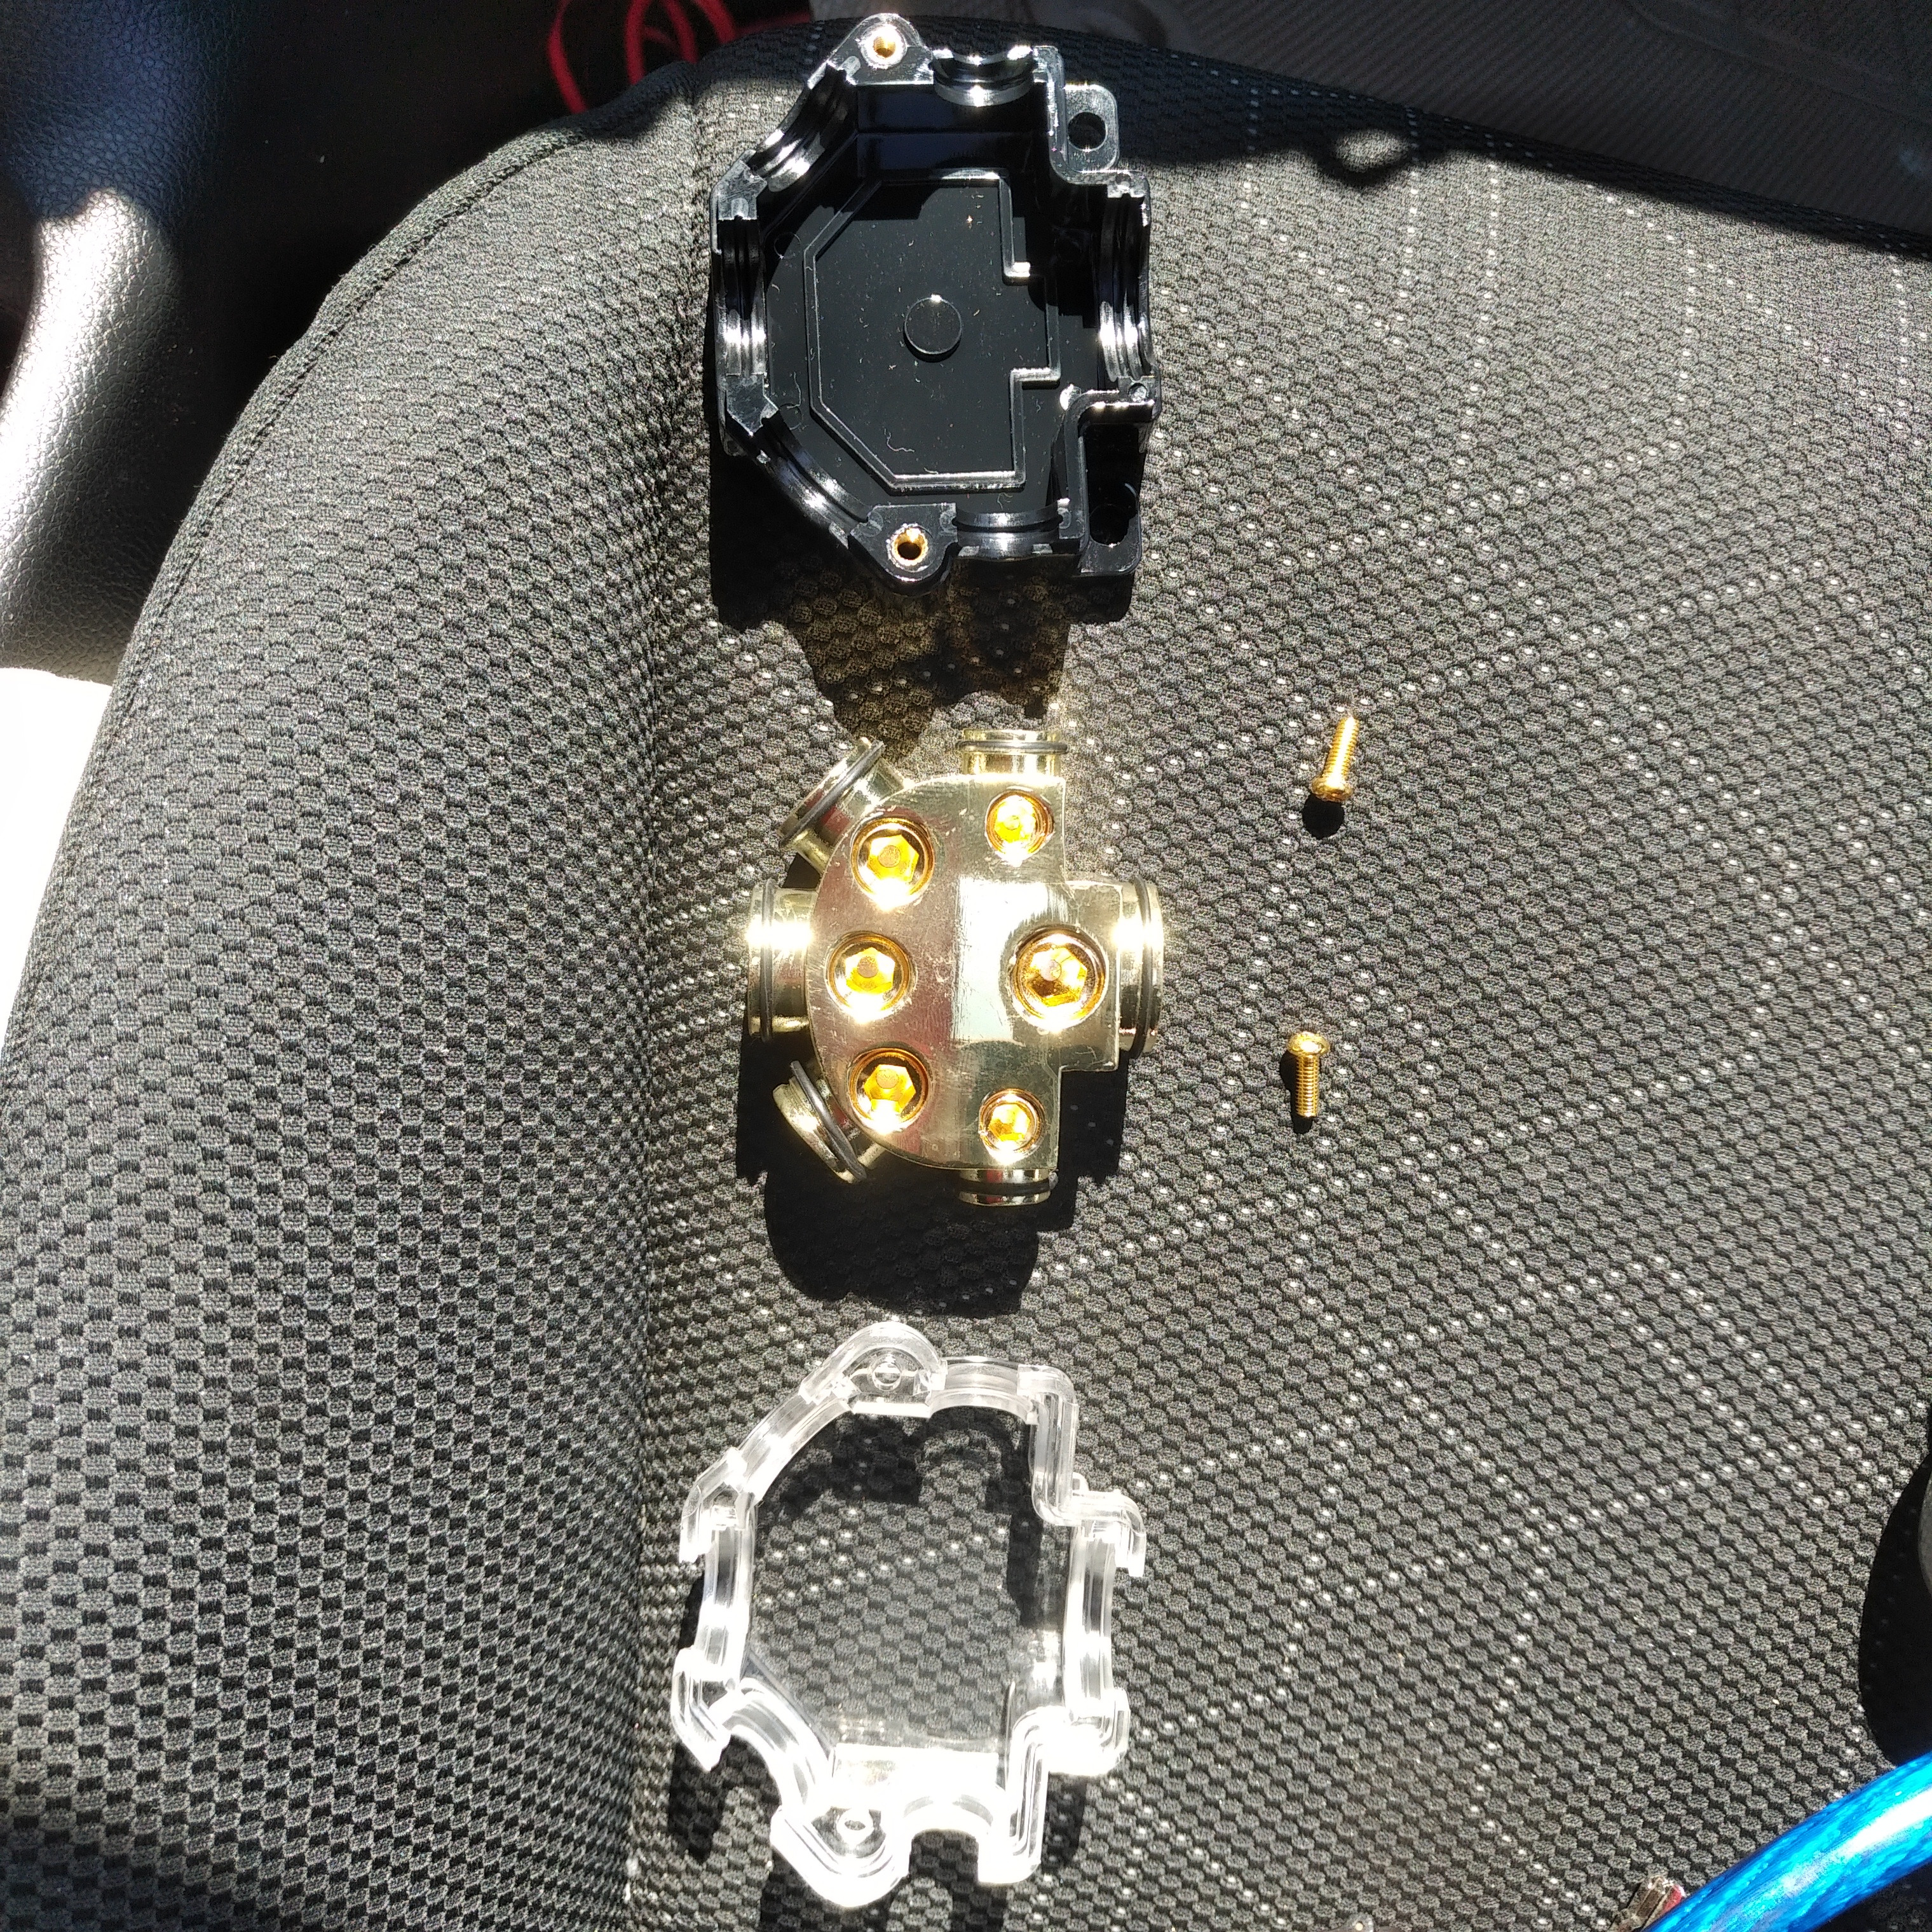
Mishimoto compact 2 port baffled oil catch can. Replaced cheap plastic hose fittings with stainless ones.
#123
08-28-2018, 11:08 PM

#127
09-04-2018, 02:56 PM
The only parts that they skimped on were the fittings and the anchoring screws, plus the holder screws. I replaced all of those.
#128
09-04-2018, 06:34 PM


Audio System Upgrade Path
1. Stock everything
- added Kicker 11HS8 Hideaway powered sub
2. Stock "everything"
- Kicker 11HS8 Hideaway powered sub
- added Boston Acoustics S60 components
- upgraded audio speaker wires to 14 gauge
3. Stock "everything"
- Kicker 11HS8 Hideaway powered sub
- Boston Acoustics S60 components
- added Audio Control LC7i
- added Kenwood KAC M3004 amp
4. Stock head unit
- Kicker 11HS8 Hideaway powered sub
- Boston Acoustics S60 components
- Audio Control LC7i
- Kenwood KAC M3004 amp
- added Pyramid W54 Midbass in rear
5. Stock head unit
- Kicker 11HS8 Hideaway powered sub
- Boston Acoustics S60 components
- Audio Control LC7i
- Kenwood KAC M3004 amp
- Pyramid W54 Midbass in rear
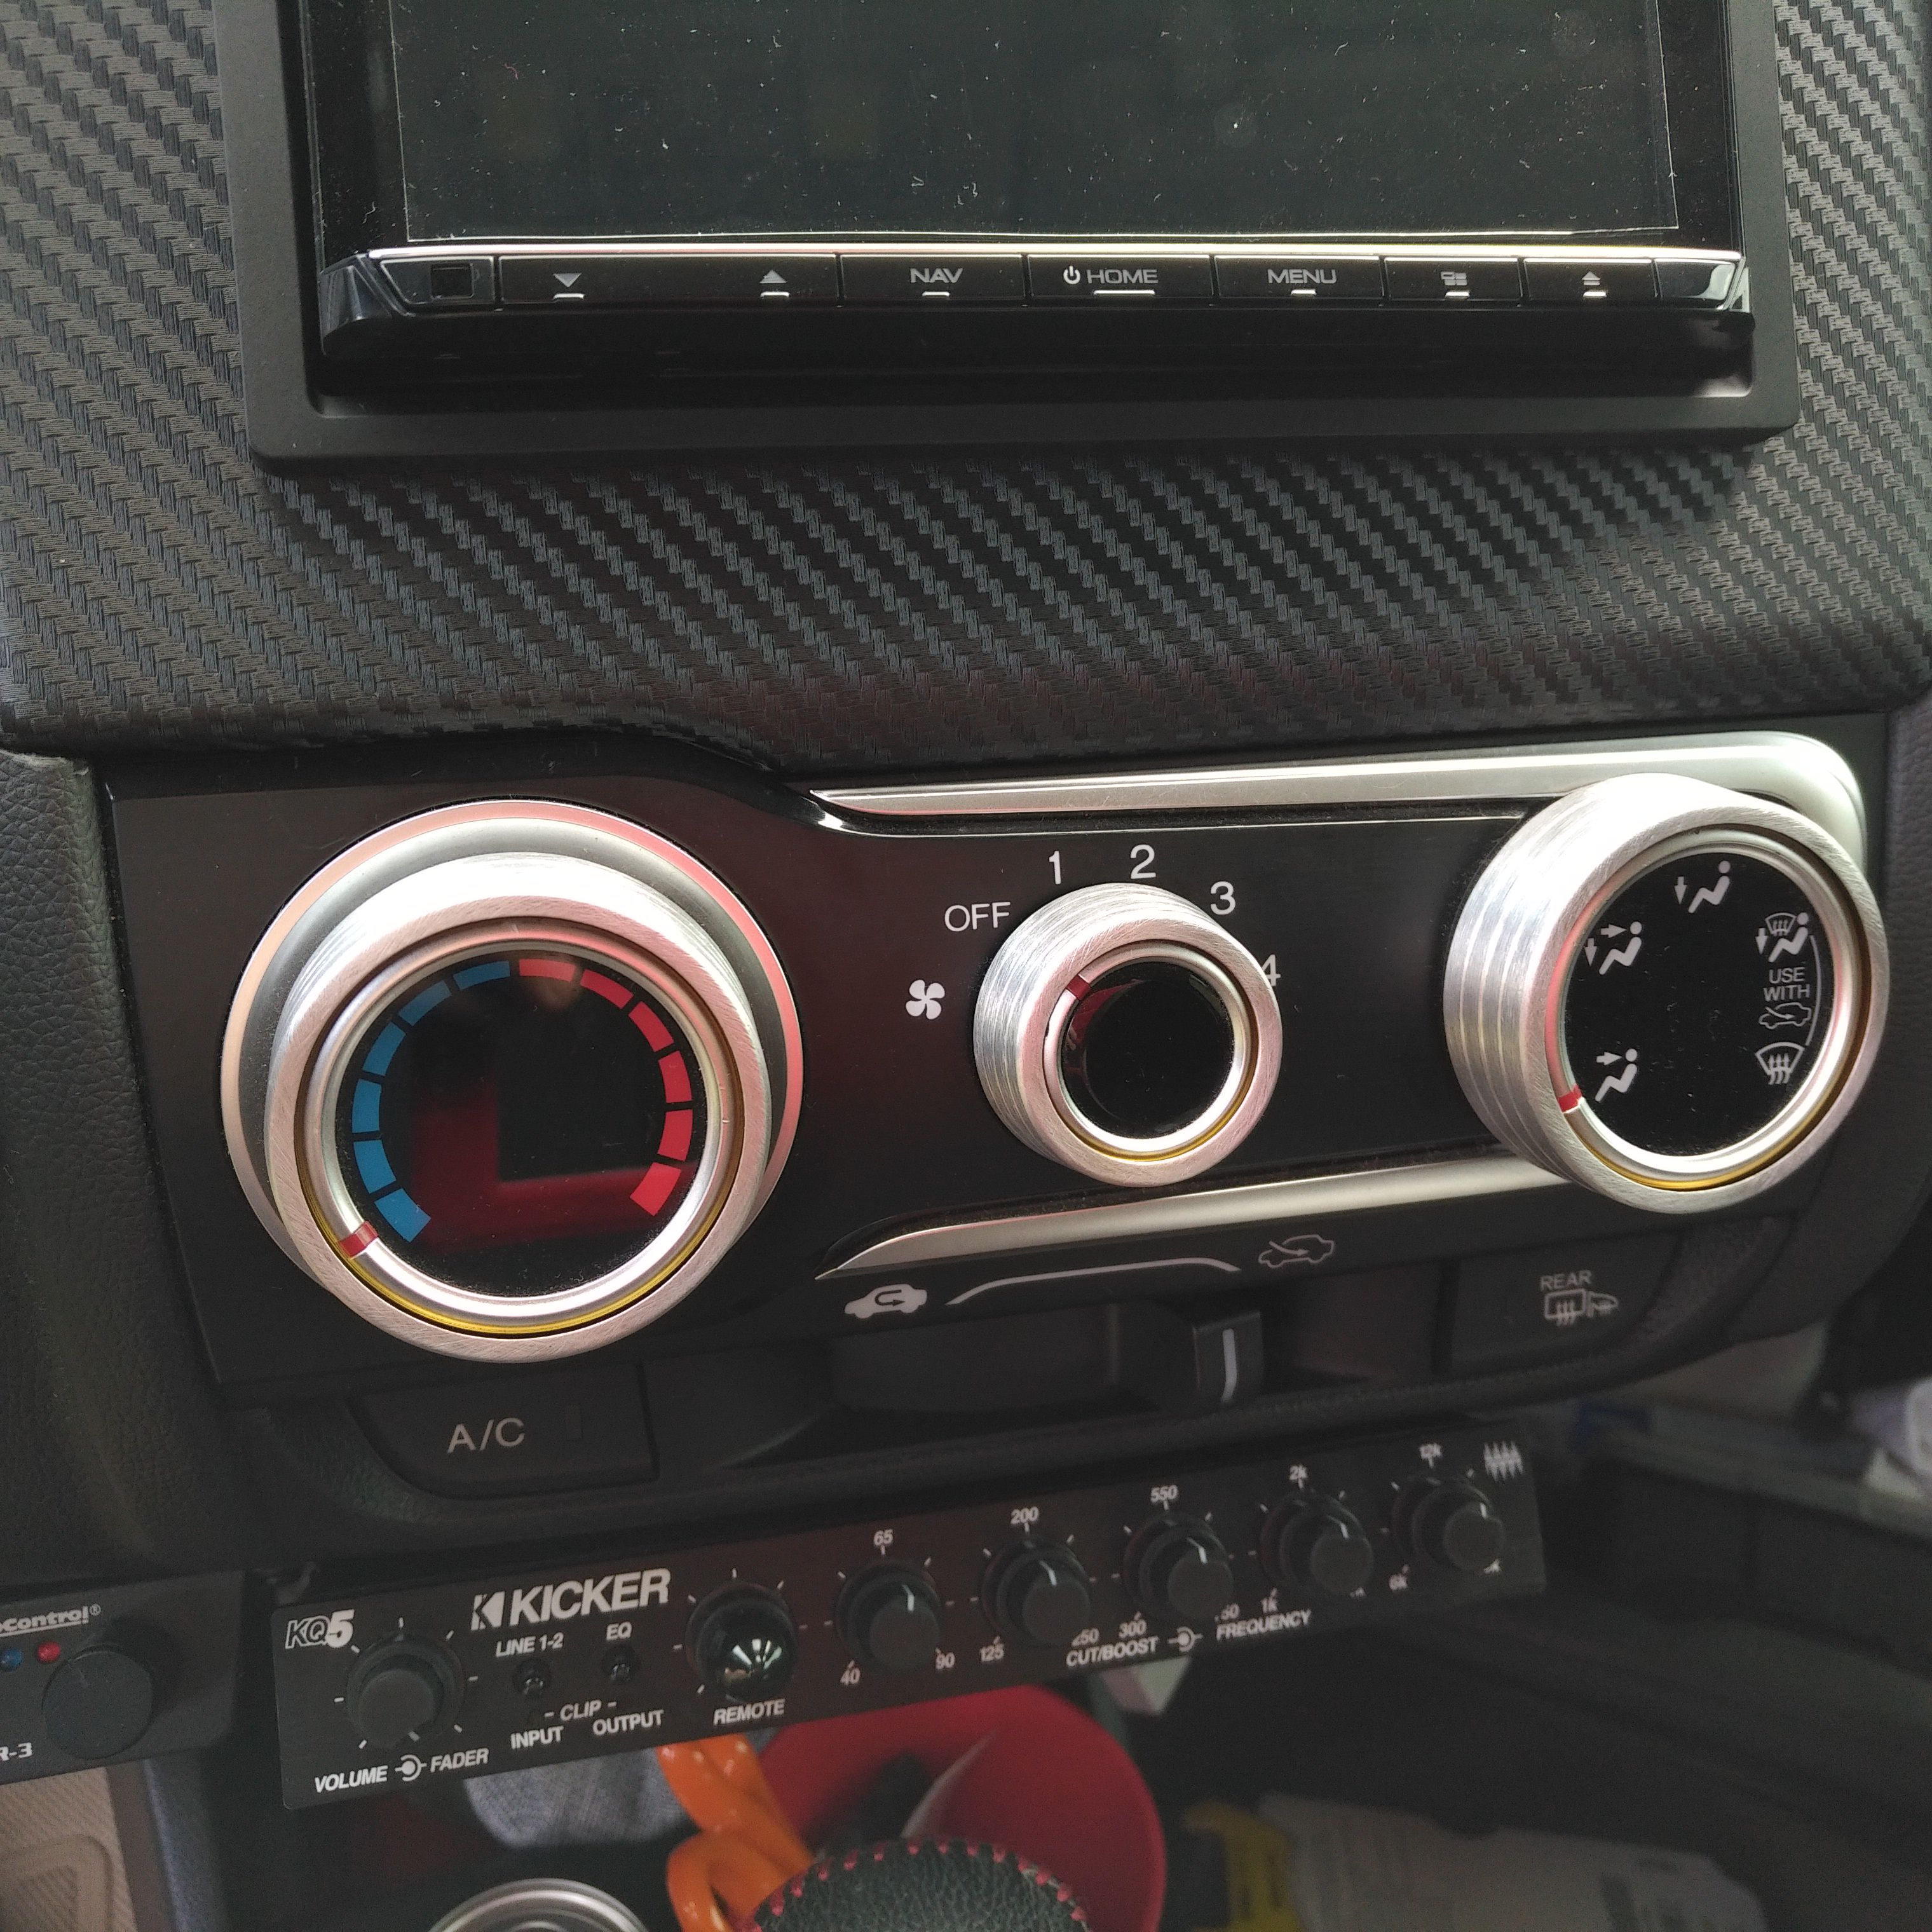
- added Kicker KQ5 parametric equalizer
6. Stock head unit
- Kicker 11HS8 Hideaway powered sub
- Boston Acoustics S60 components
- Audio Control LC7i
- Kenwood KAC M3004 amp
- Kicker KQ5 parametric equalizer
- removed Pyramid W54 Midbass
- added Rockford Fosgate PPS4-6 in rear
7. Stock head unit
- Kicker 11HS8 Hideaway powered sub
- Audio Control LC7i
- Kenwood KAC M3004 amp
- Kicker KQ5 parametric equalizer
- removed Rockford Fosgate PPS4-6
- switched out from the fronts Boston Acoustics S60 woofers in rear
- added Morel Maximus 602 components in front
8. Stock head unit
- Kicker 11HS8 Hideaway powered sub
- Audio Control LC7i
- Kenwood KAC M3004 amp
- Kicker KQ5 parametric equalizer
- removed Morel Maximus 602's
- removed Boston Acoustics S60 woofers
- added Morel Ultra Tempo 602 components
- added Morel Tempo Ultra 602 Integra
9. Stock head unit
- Kicker 11HS8 Hideaway powered sub
- Audio Control LC7i
- Kicker KQ5 parametric equalizer
- Morel Ultra Tempo 602 components
- Morel Tempo Ultra 602 Integra
- bridged Kenwood KAC M3004 amp for rears
- added and bridged Fusion Powerplant FP504 amp for fronts
10. Stock head unit
- Kicker 11HS8 Hideaway powered sub
- Audio Control LC7i
- Kicker KQ5 parametric equalizer
- Morel Ultra Tempo 602 components
- Morel Tempo Ultra 602 Integra
- removed Kenwood KAC M3004 amp
- removed Fusion Powerplant FP504 amp
- added Audio Control D-4.800 Amp
11. Stock head unit
- Audio Control LC7i
- Kicker KQ5 parametric equalizer
- Morel Ultra Tempo 602 components
- Morel Tempo Ultra 602 Integra
- Audio Control D-4.800 Amp
- removed Kicker 11HS8 Hideaway powered sub
- added Sony XM-GS100 mono amp
- added JL Audio CS110RG-W1v2 sub
12. Stock head unit
- Audio Control LC7i
- Kicker KQ5 parametric equalizer
- Morel Ultra Tempo 602 components
- Morel Tempo Ultra 602 Integra
- Audio Control D-4.800 Amp
- Sony XM-GS100 mono amp
- removed JL Audio CS110RG-W1v2 sub
- added Kicker 40TCWRT82 sub
13. Stock head unit
- Audio Control LC7i
- Kicker KQ5 parametric equalizer
- Morel Ultra Tempo 602 components
- Morel Tempo Ultra 602 Integra
- Audio Control D-4.800 Amp
- Sony XM-GS100 mono amp
- Kicker 40TCWRT82 sub
- Sound deadened car
14. Kenwood DNX694S
- Morel Ultra Tempo 602 components
- Morel Tempo Ultra 602 Integra
- Audio Control D-4.800 Amp
- Sony XM-GS100 mono amp
- Kicker 40TCWRT82 sub
- removed stock head unit
- removed Audio Control LC7i
- removed Kicker KQ5 parametric equalizer
- added Kenwood DNX694S head unit
15. Kenwood DNX694S
- Morel Ultra Tempo 602 components
- Morel Tempo Ultra 602 Integra
- Audio Control D-4.800 Amp
- Sony XM-GS100 mono amp
- Kicker 40TCWRT82 sub
- removed Kenwood DNX694S head unit
- added Kenwood DNX995S head unit
16. Kenwood DNX995S
- Morel Ultra Tempo 602 components
- Morel Tempo Ultra 602 Integra
- Audio Control D-4.800 Amp
- Sony XM-GS100 mono amp
- Kicker 40TCWRT82 sub
- added Kicker KQ5 Parametric equalizer.
17. Kenwood DNX995S
- Morel Ultra Tempo 602 components
- Morel Tempo Ultra 602 Integra
- Audio Control D-4.800 Amp
- Sony XM-GS100 mono amp
- Kicker KQ5 Parametric equalizer
- removed Kicker 40TCWRT82 sub
- added Kicker L7 QB8 sub
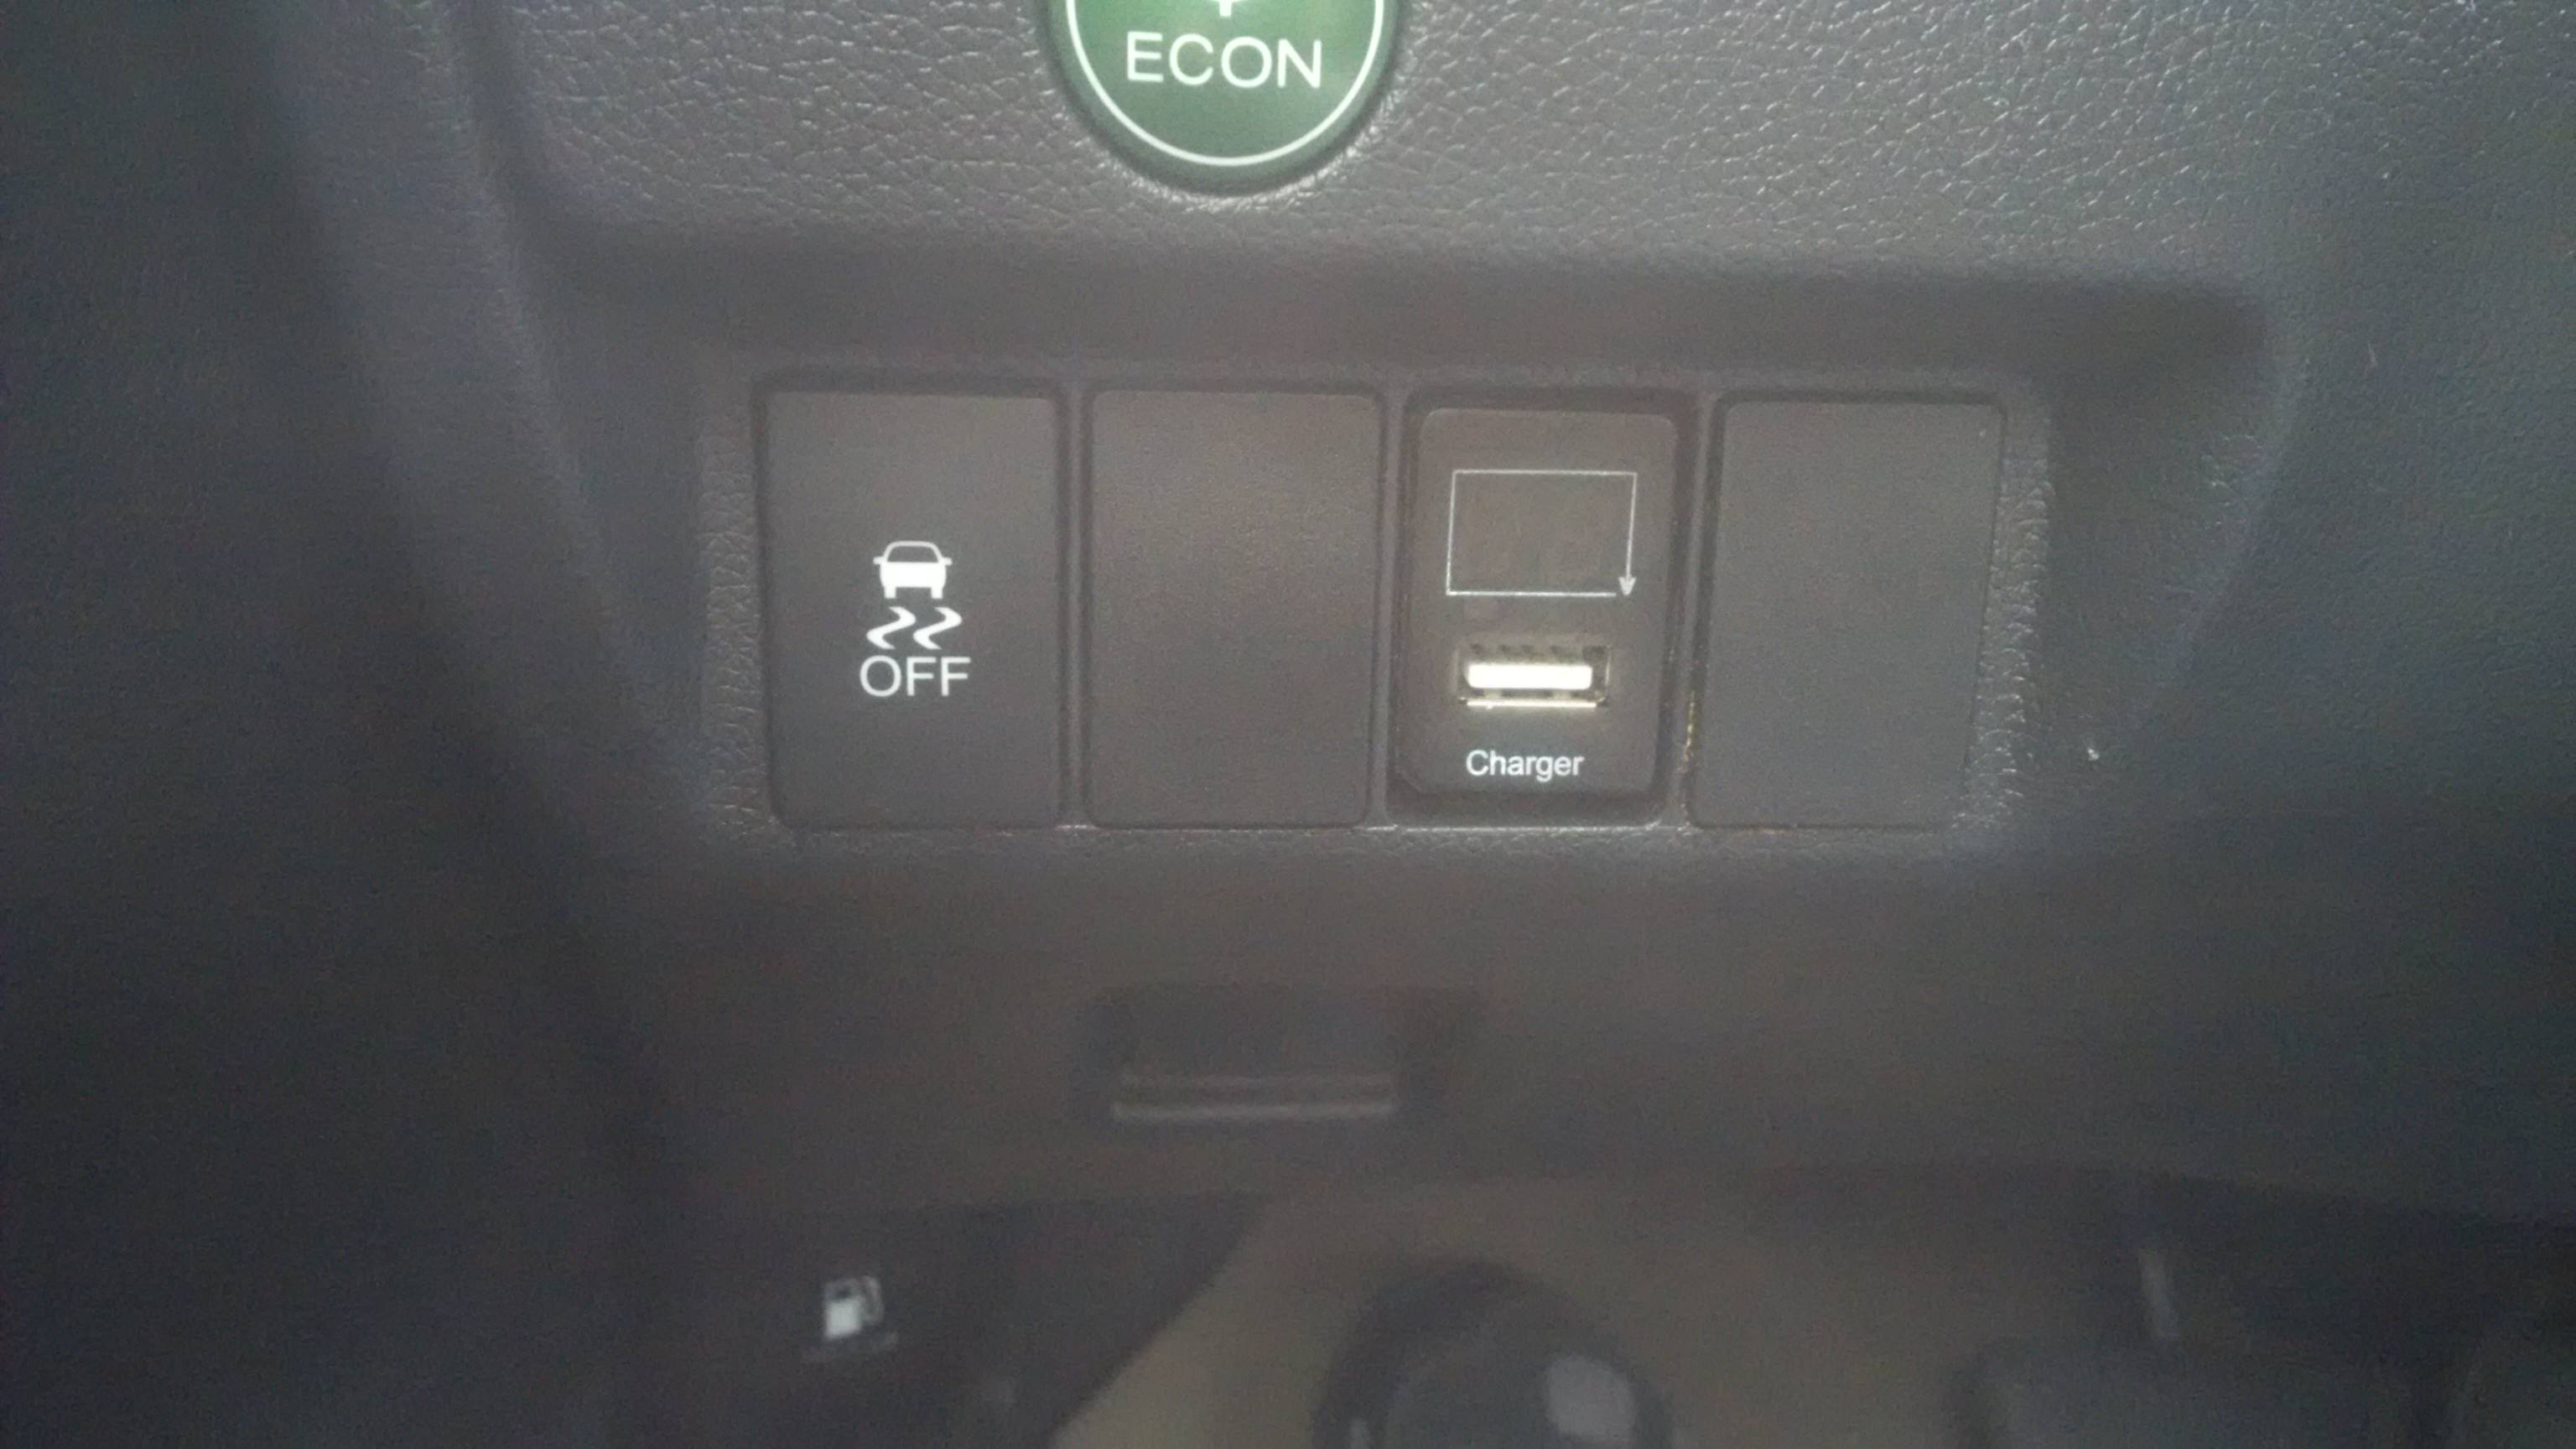
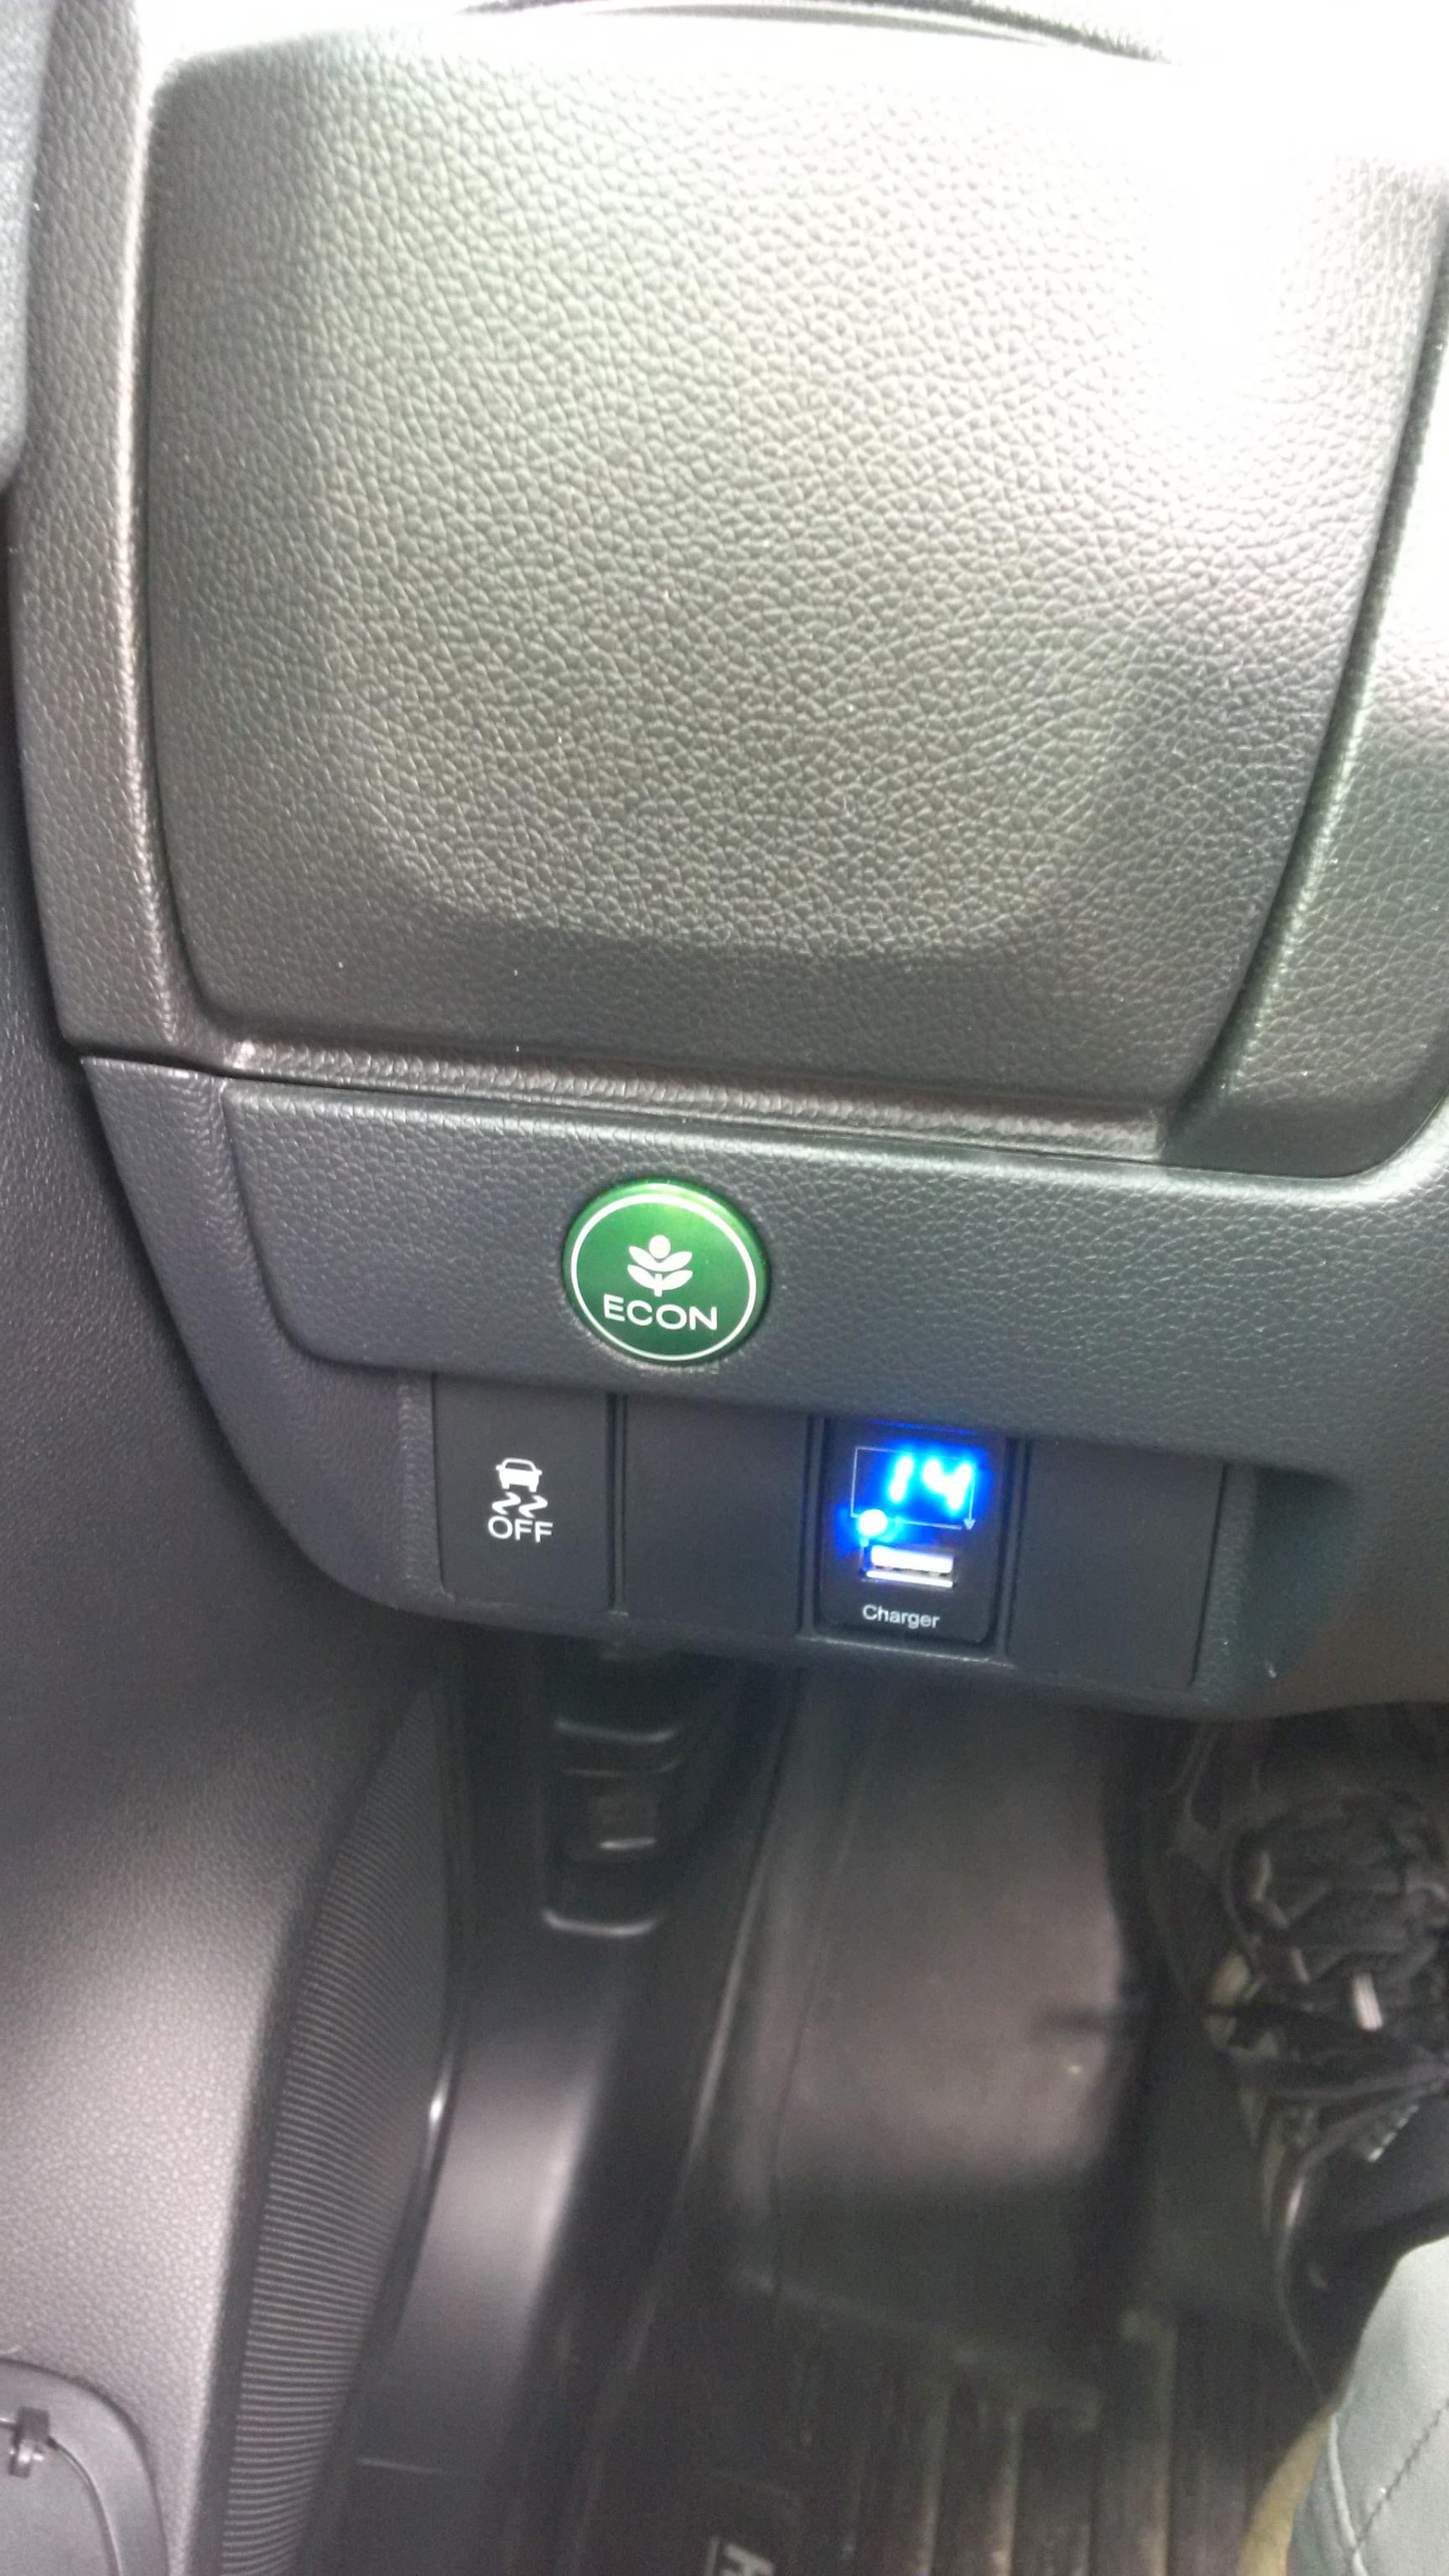
PS: As above and managed to retain the factory USB/HDMI ports and have them interface with the head unit.
18. Kenwood DNX995S
- Morel Ultra Tempo 602 components
- Audio Control D-4.800 Amp
- Sony XM-GS100 mono amp
- Kicker KQ5 Parametric equalizer
- removed Morel Tempo Ultra 602 Integra from rear doors
- added Kicker CompRT 43CWRT671 to try to use as mid bass @2ohms. Did not perform as expected so I reversed everything.
19. Kenwood DNX995S
- Morel Ultra Tempo 602 components
- Audio Control D-4.800 Amp
- Sony XM-GS100 mono amp
- Kicker KQ5 Parametric equalizer
- removed Morel Tempo Ultra 602 Integra from rear doors
- added Sony XS-GS1621 to the rear doors
20. No changes to audio system.
Removed Axxess steering wheel adapter.
Installed idatalink maestro rr radio interface and
idatalink maestro HO2 steering wheel harness
21. Kenwood DNX995S
- Morel Hybrid 63
- Audio Control D-4.800 Amp
- Sony XM-GS100 mono amp
- Kicker KQ5 Parametric equalizer
removed Morel Tempo Ultra's
installed Morel Hybrid 63
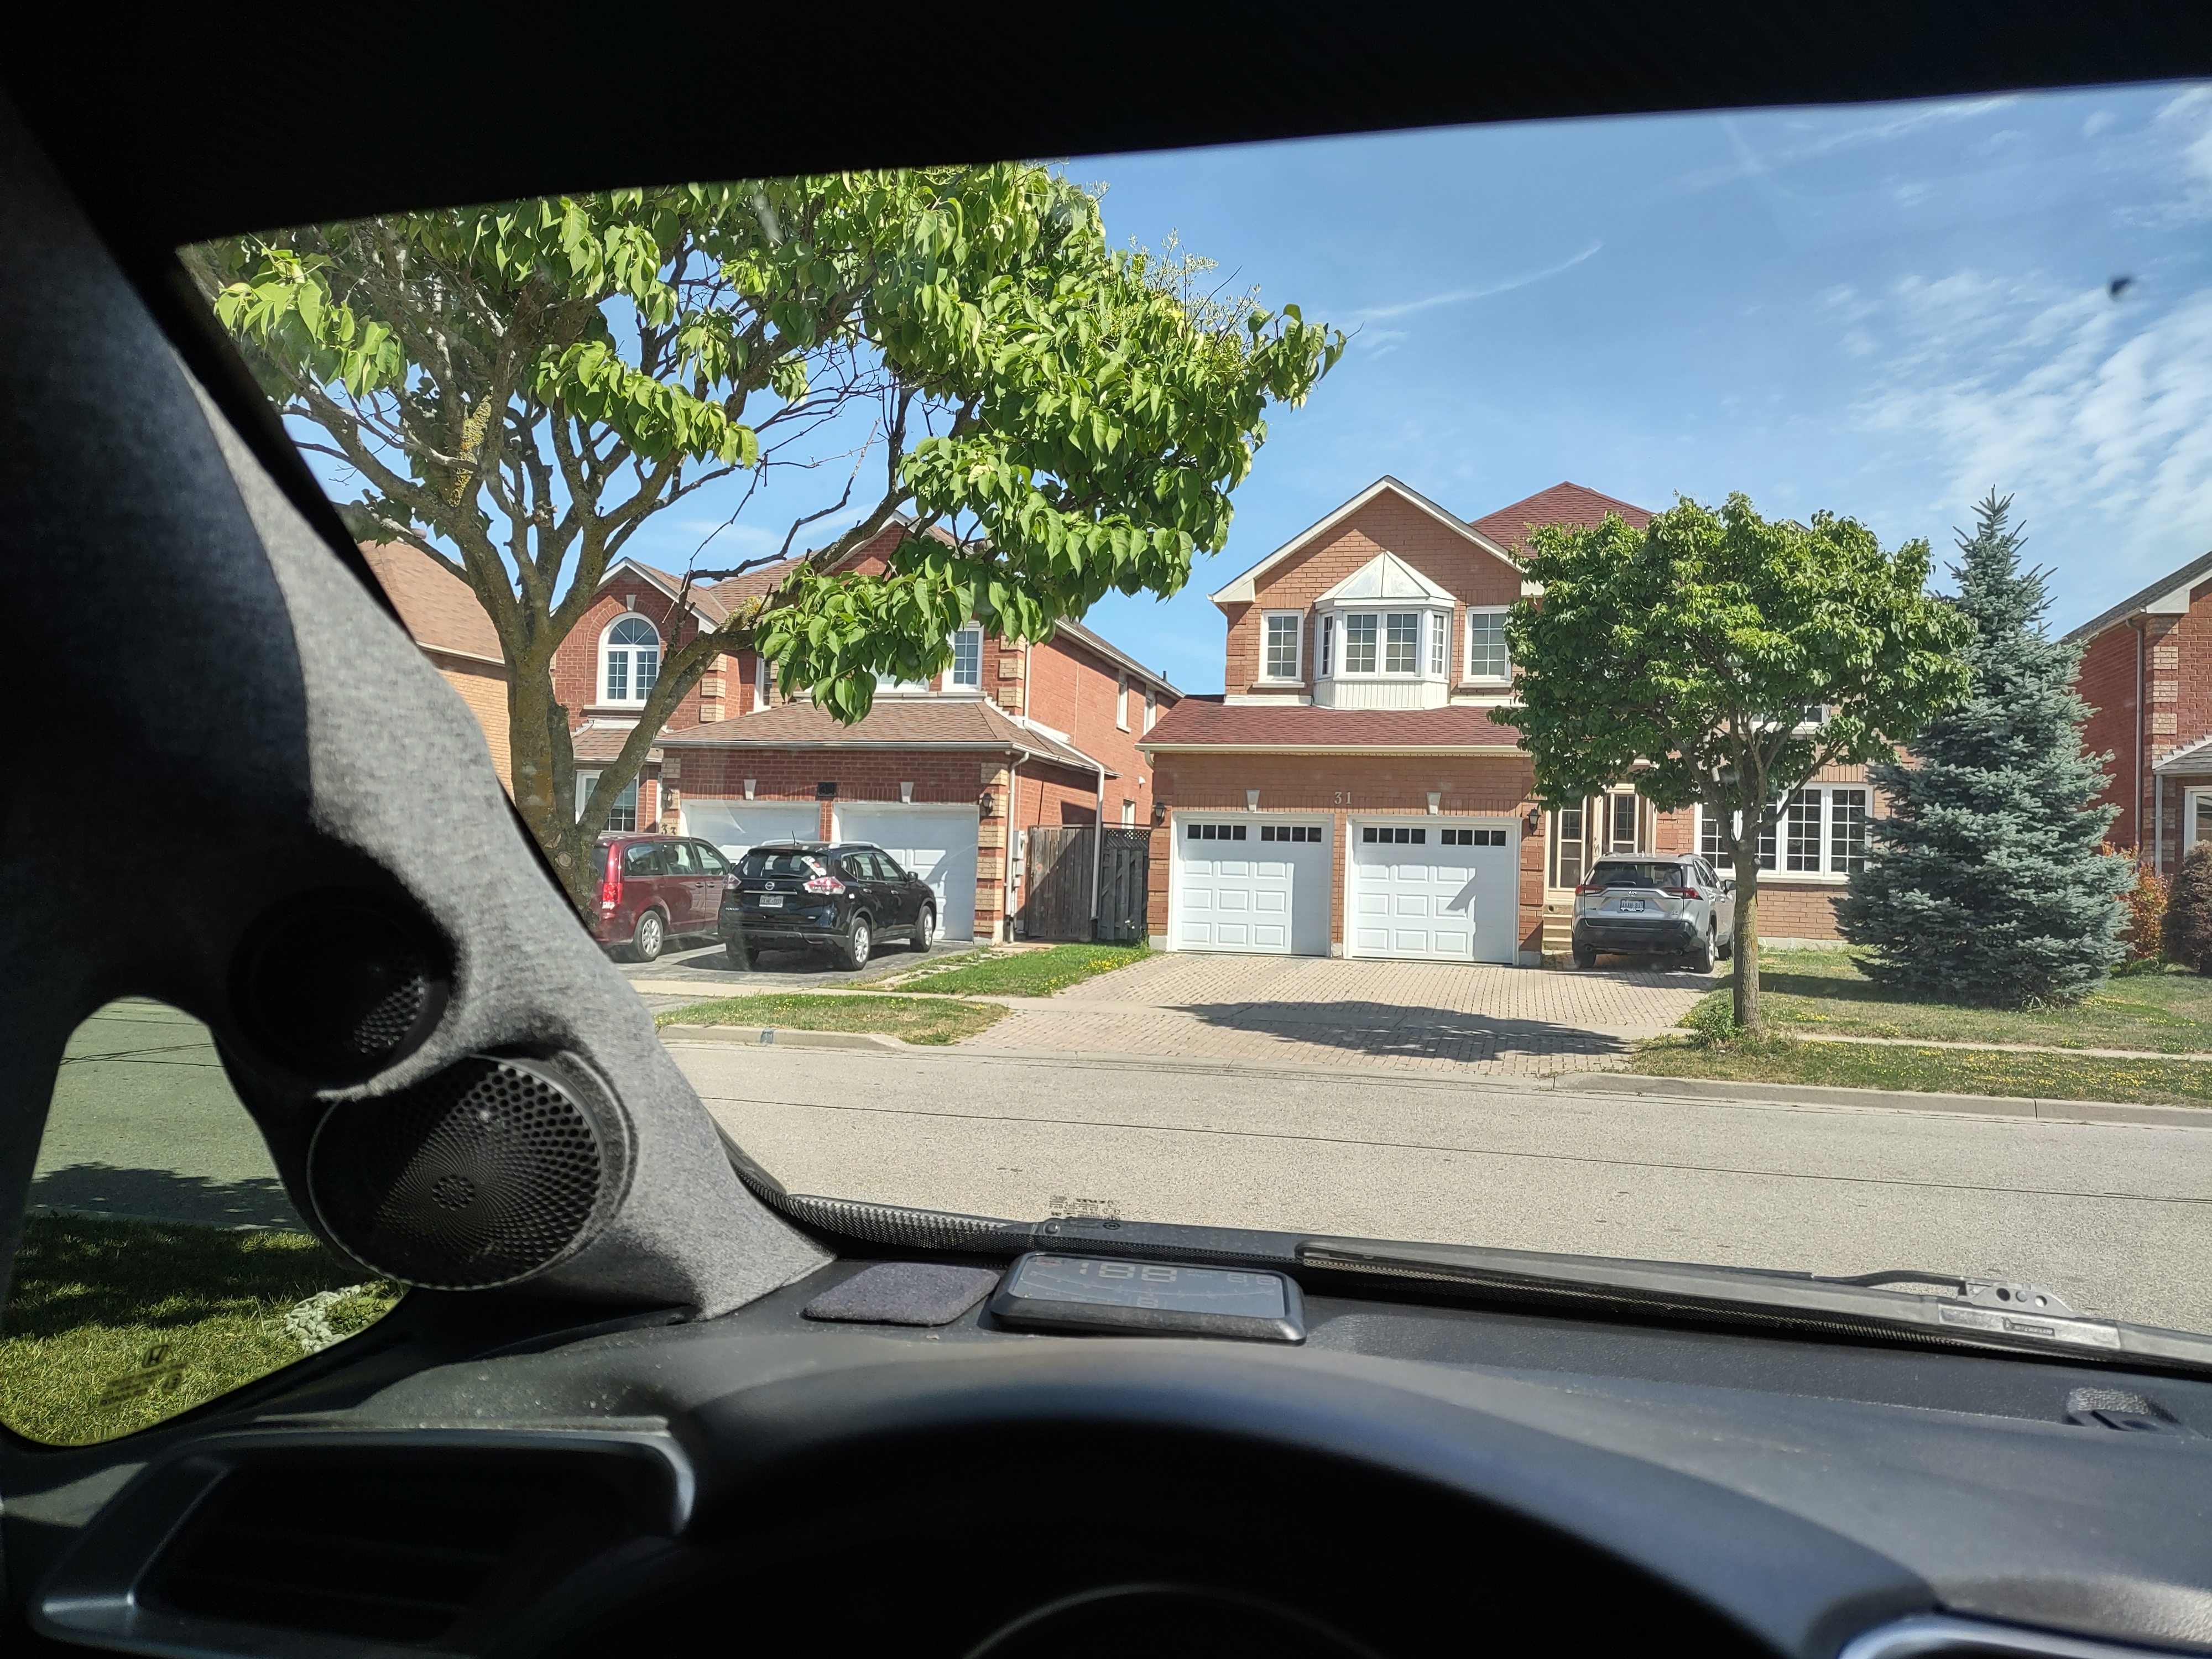
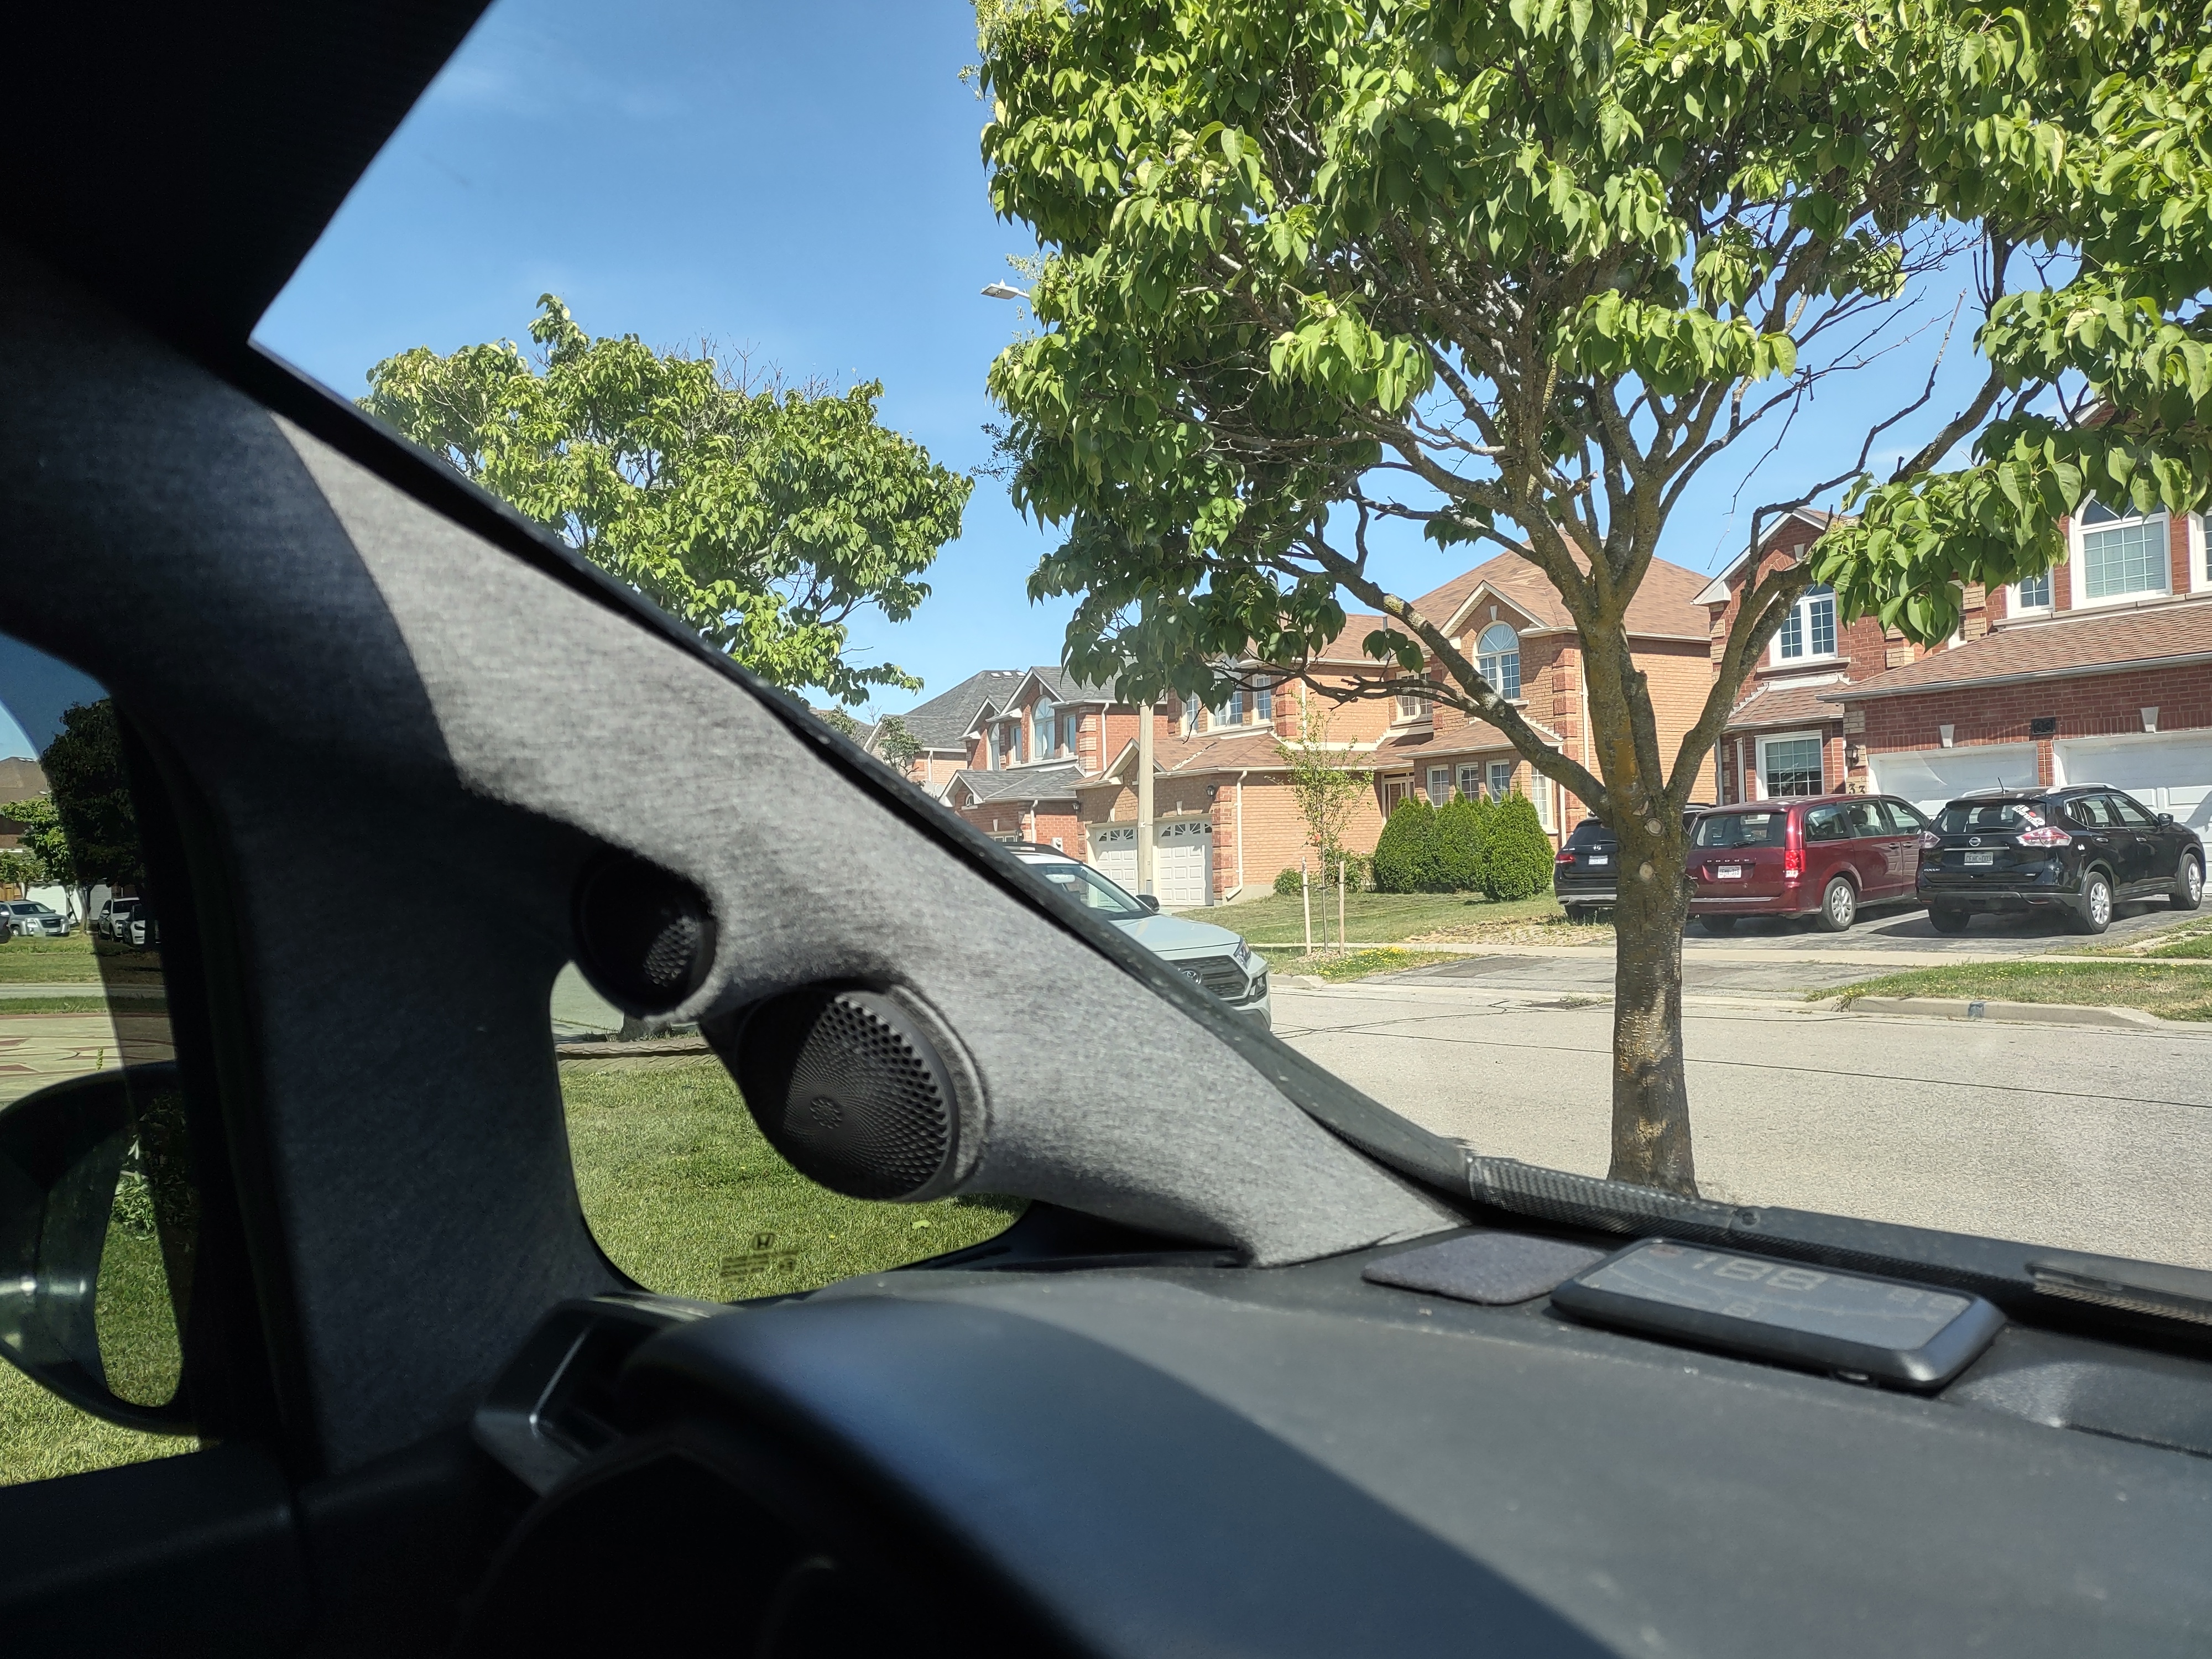
fashioned A pillar speaker pods using generic pods.
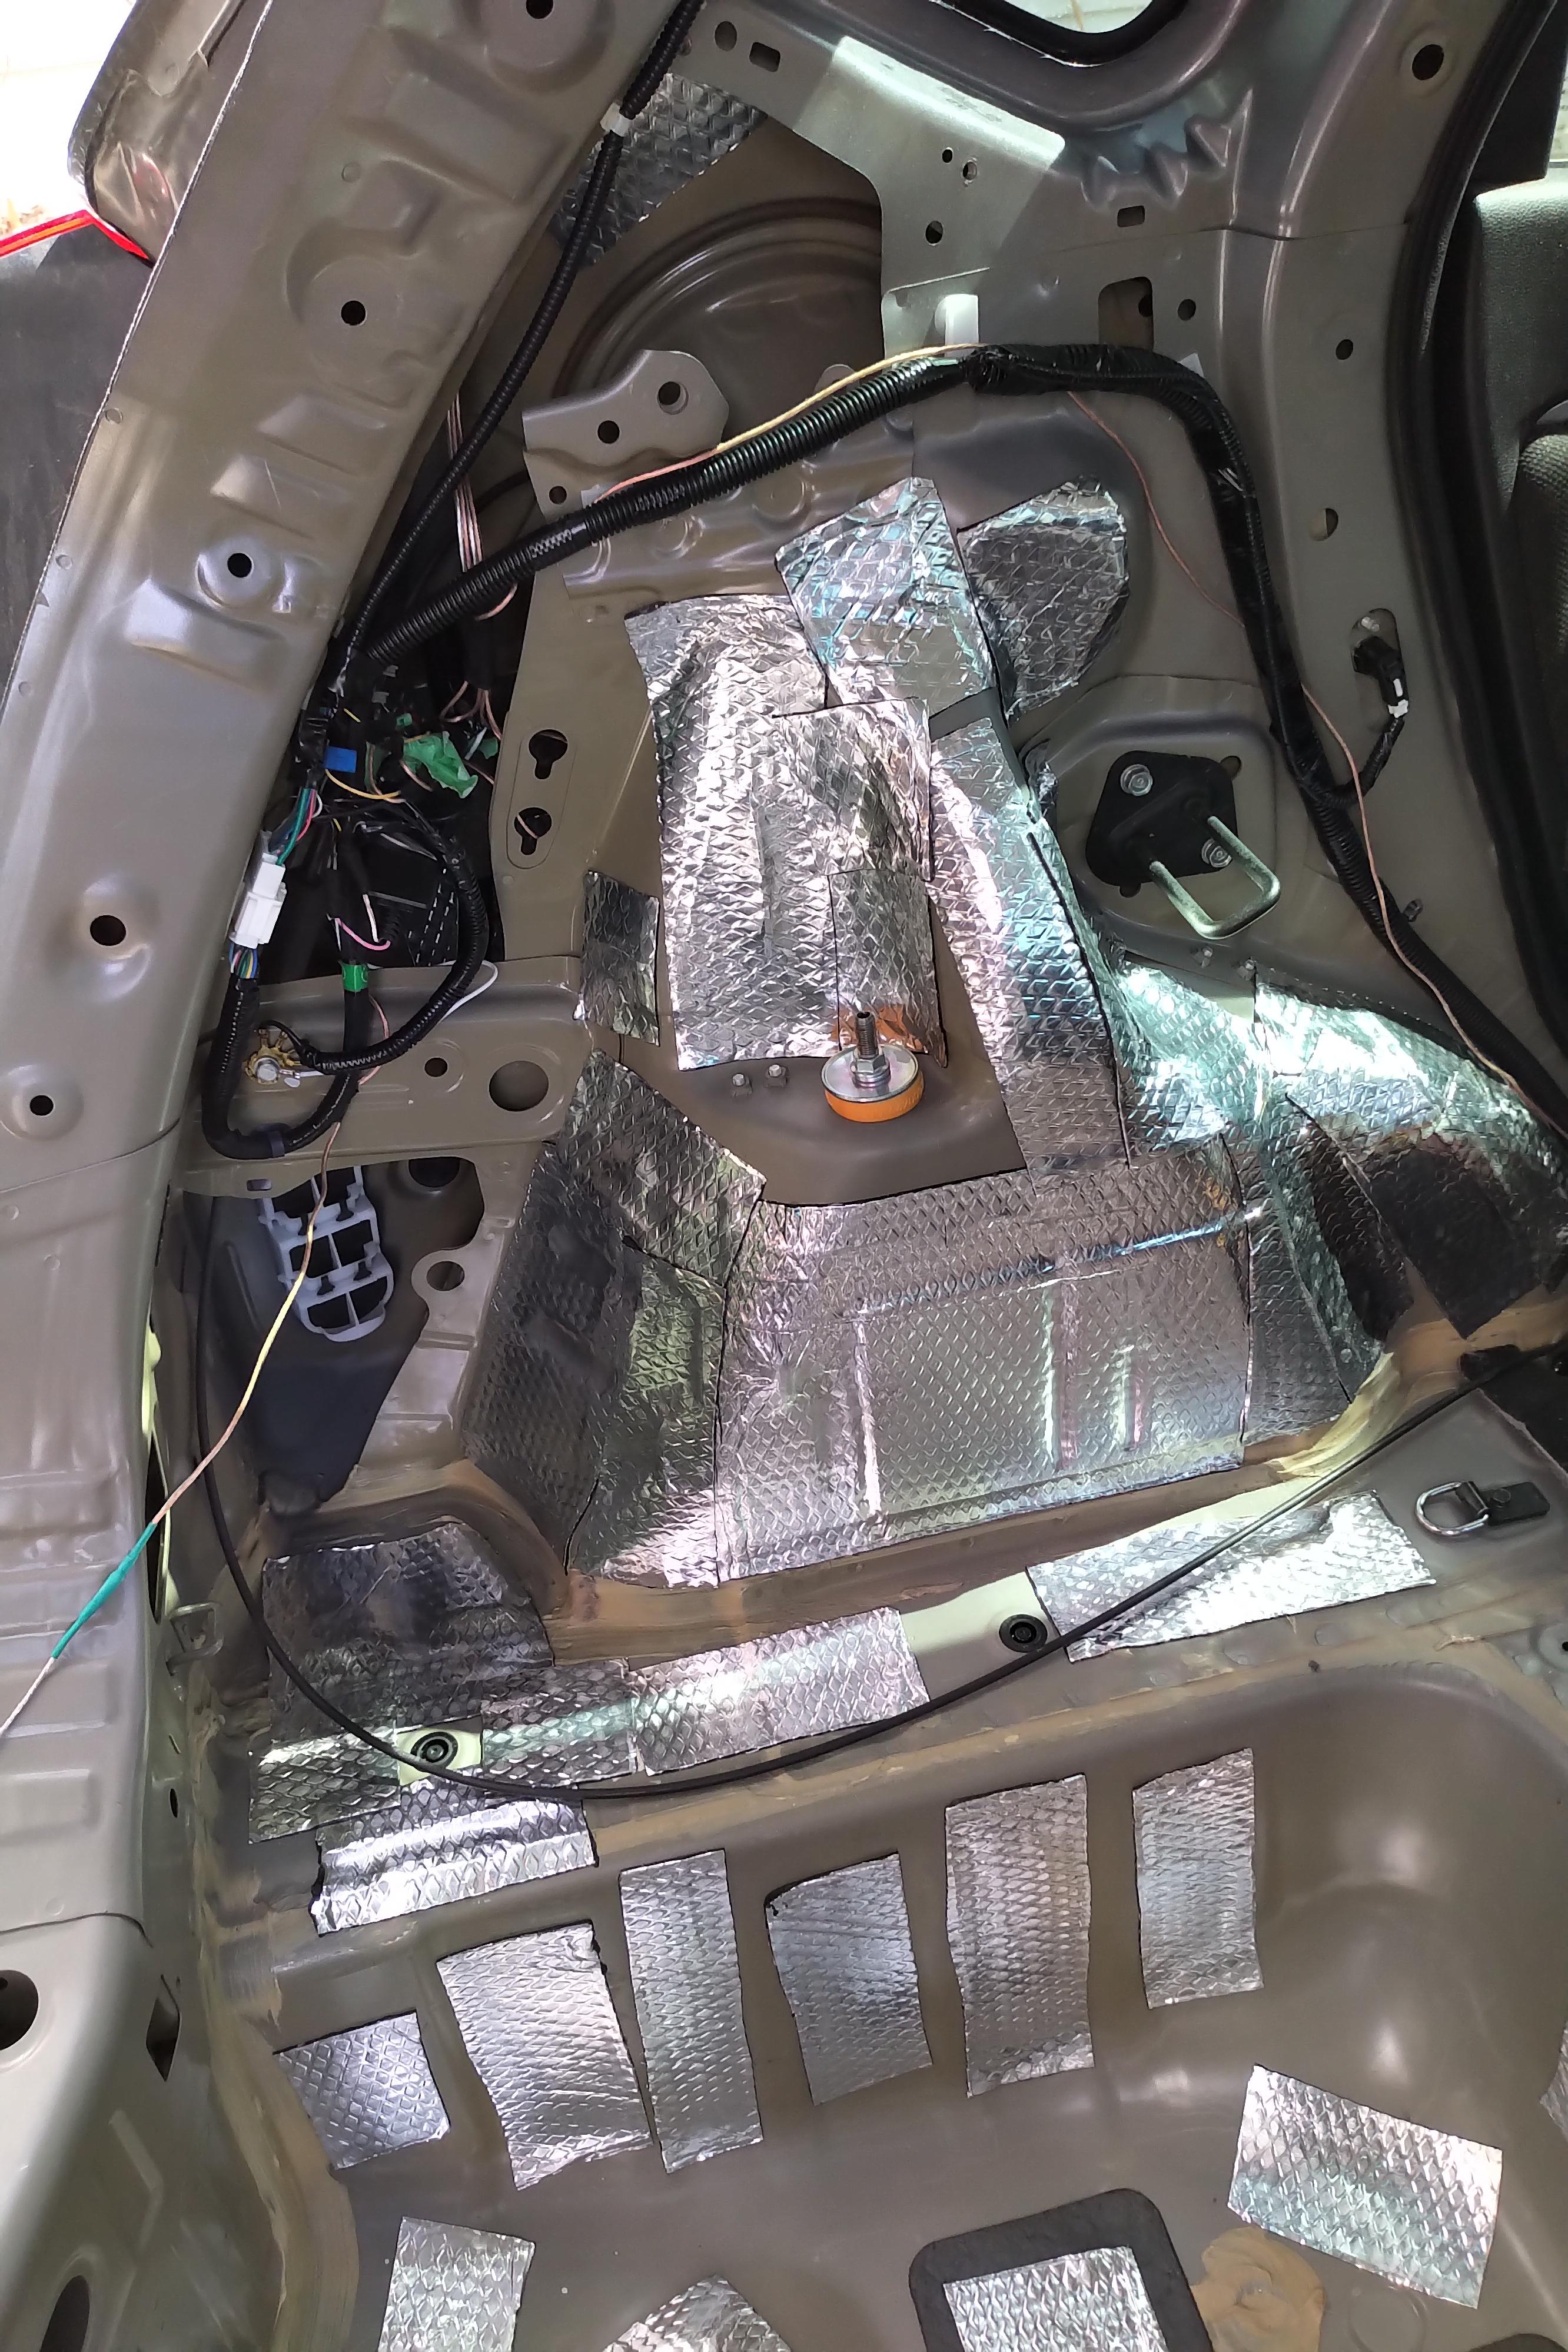
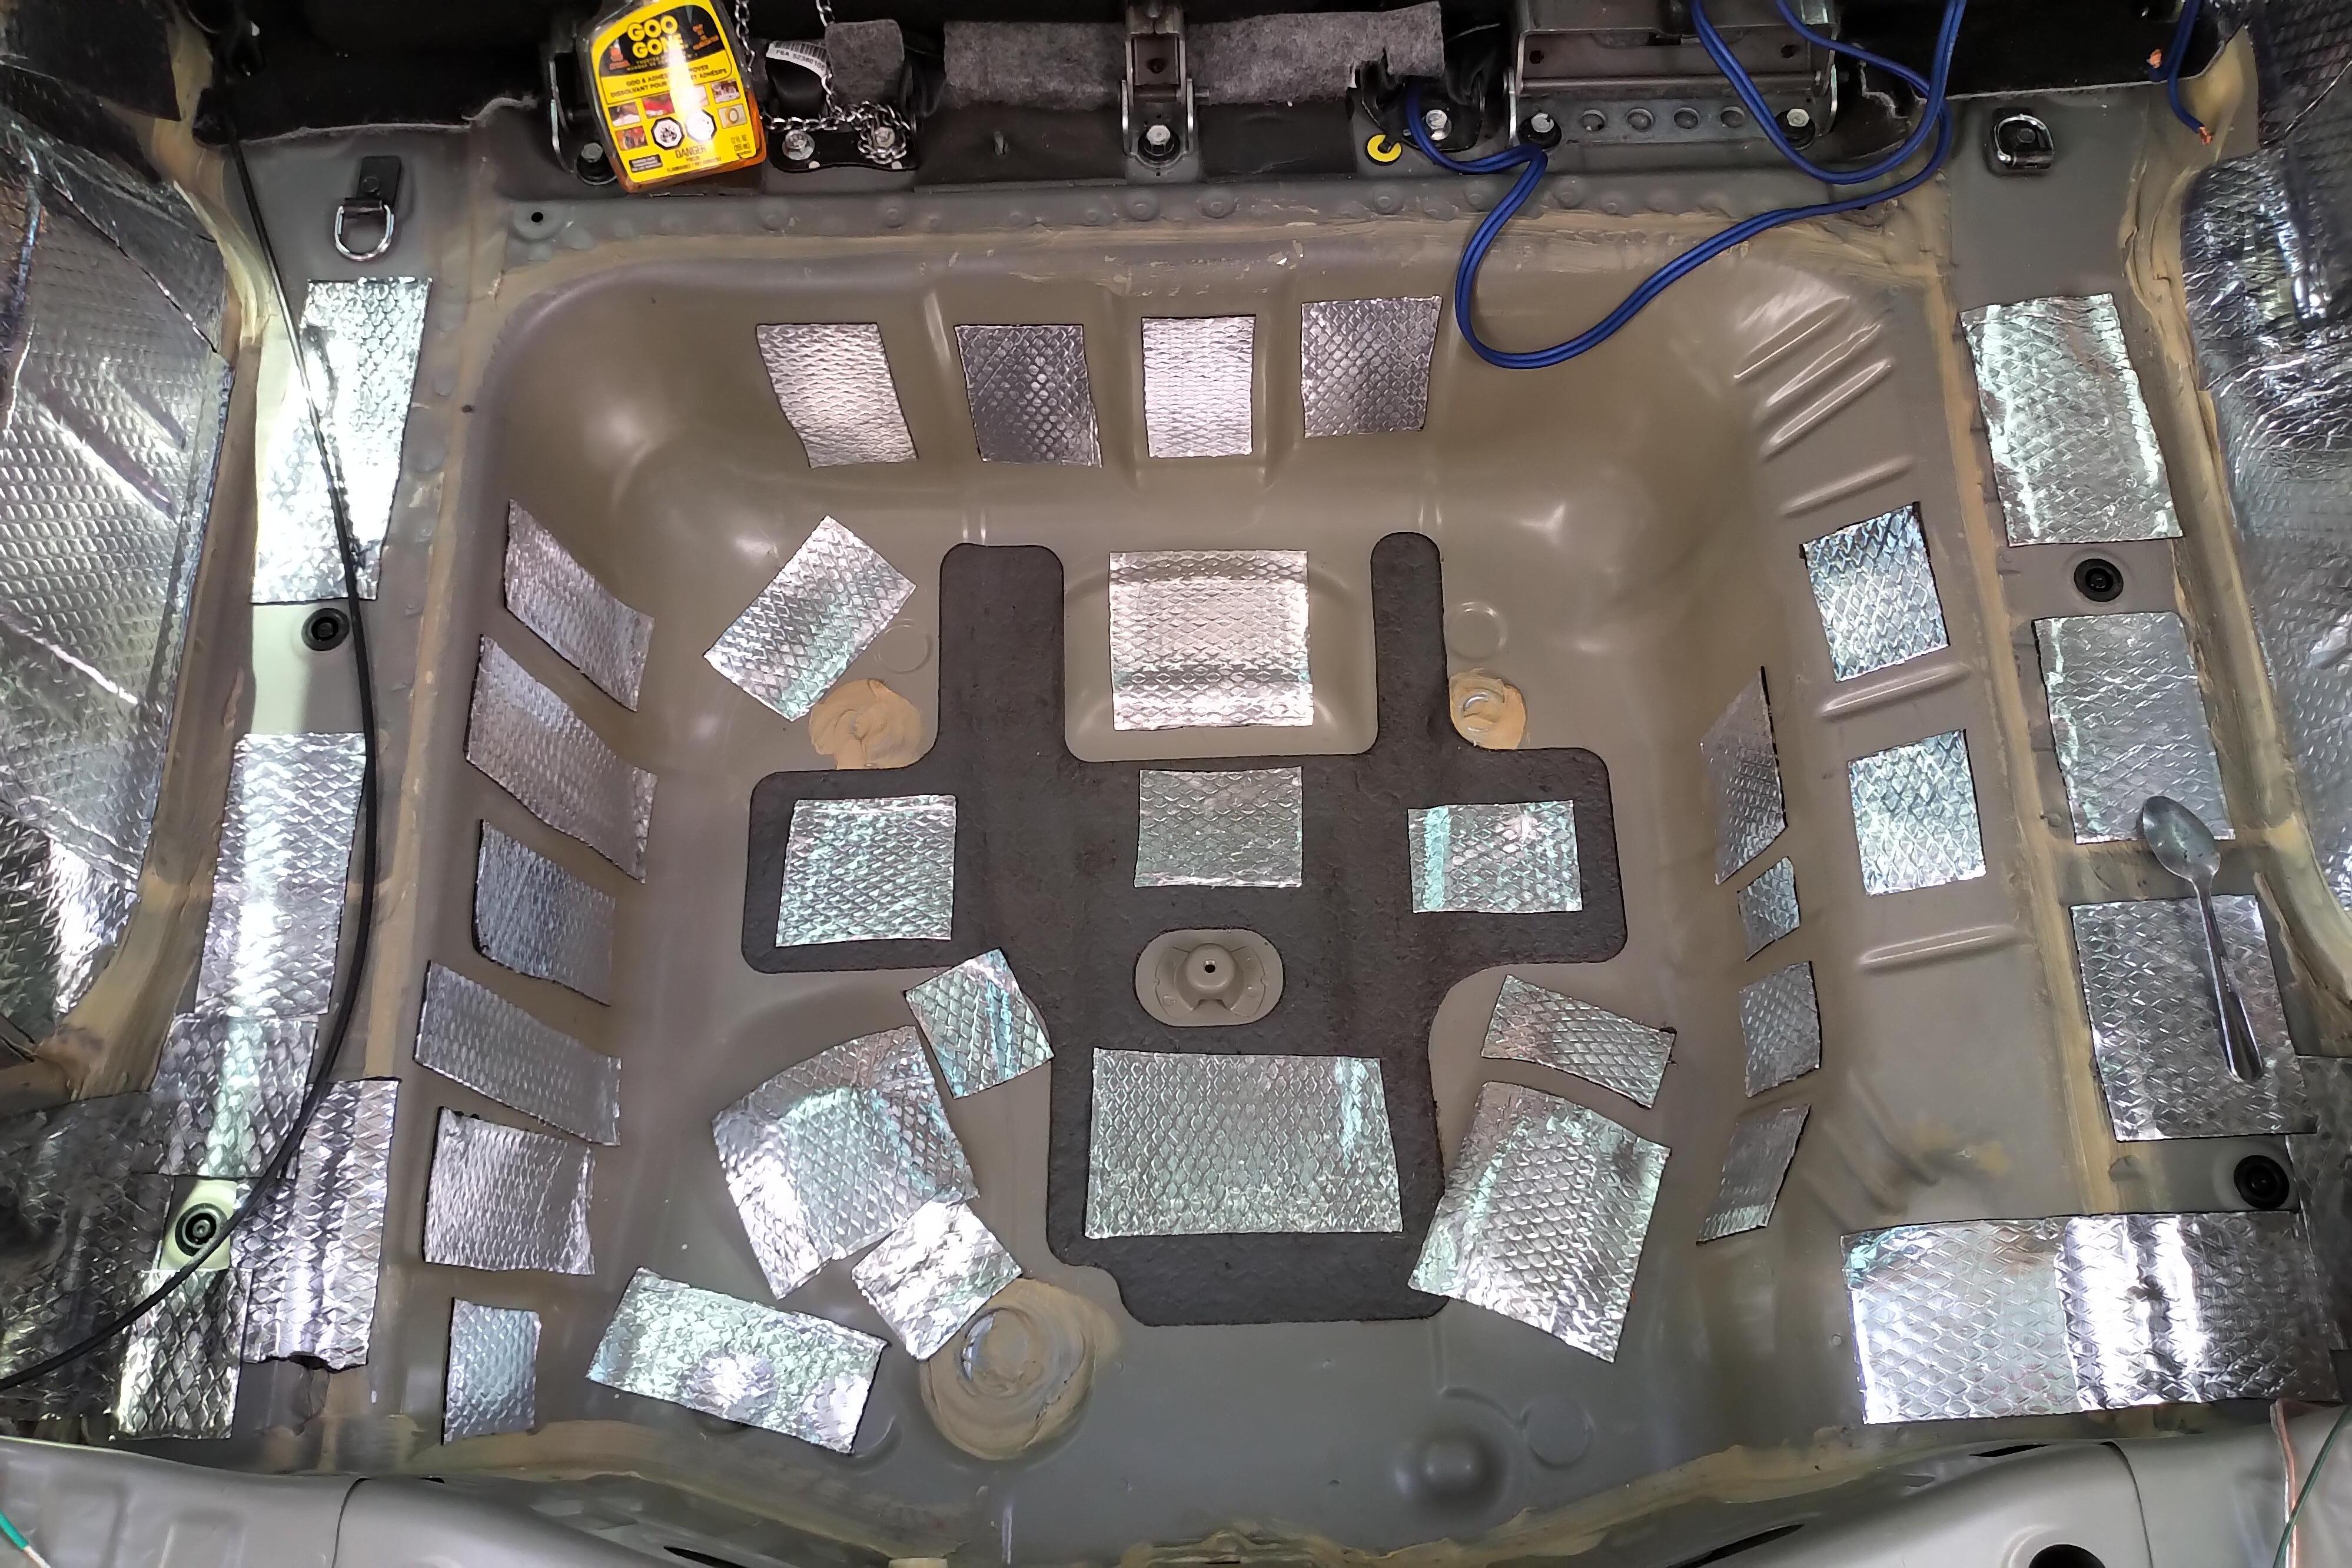
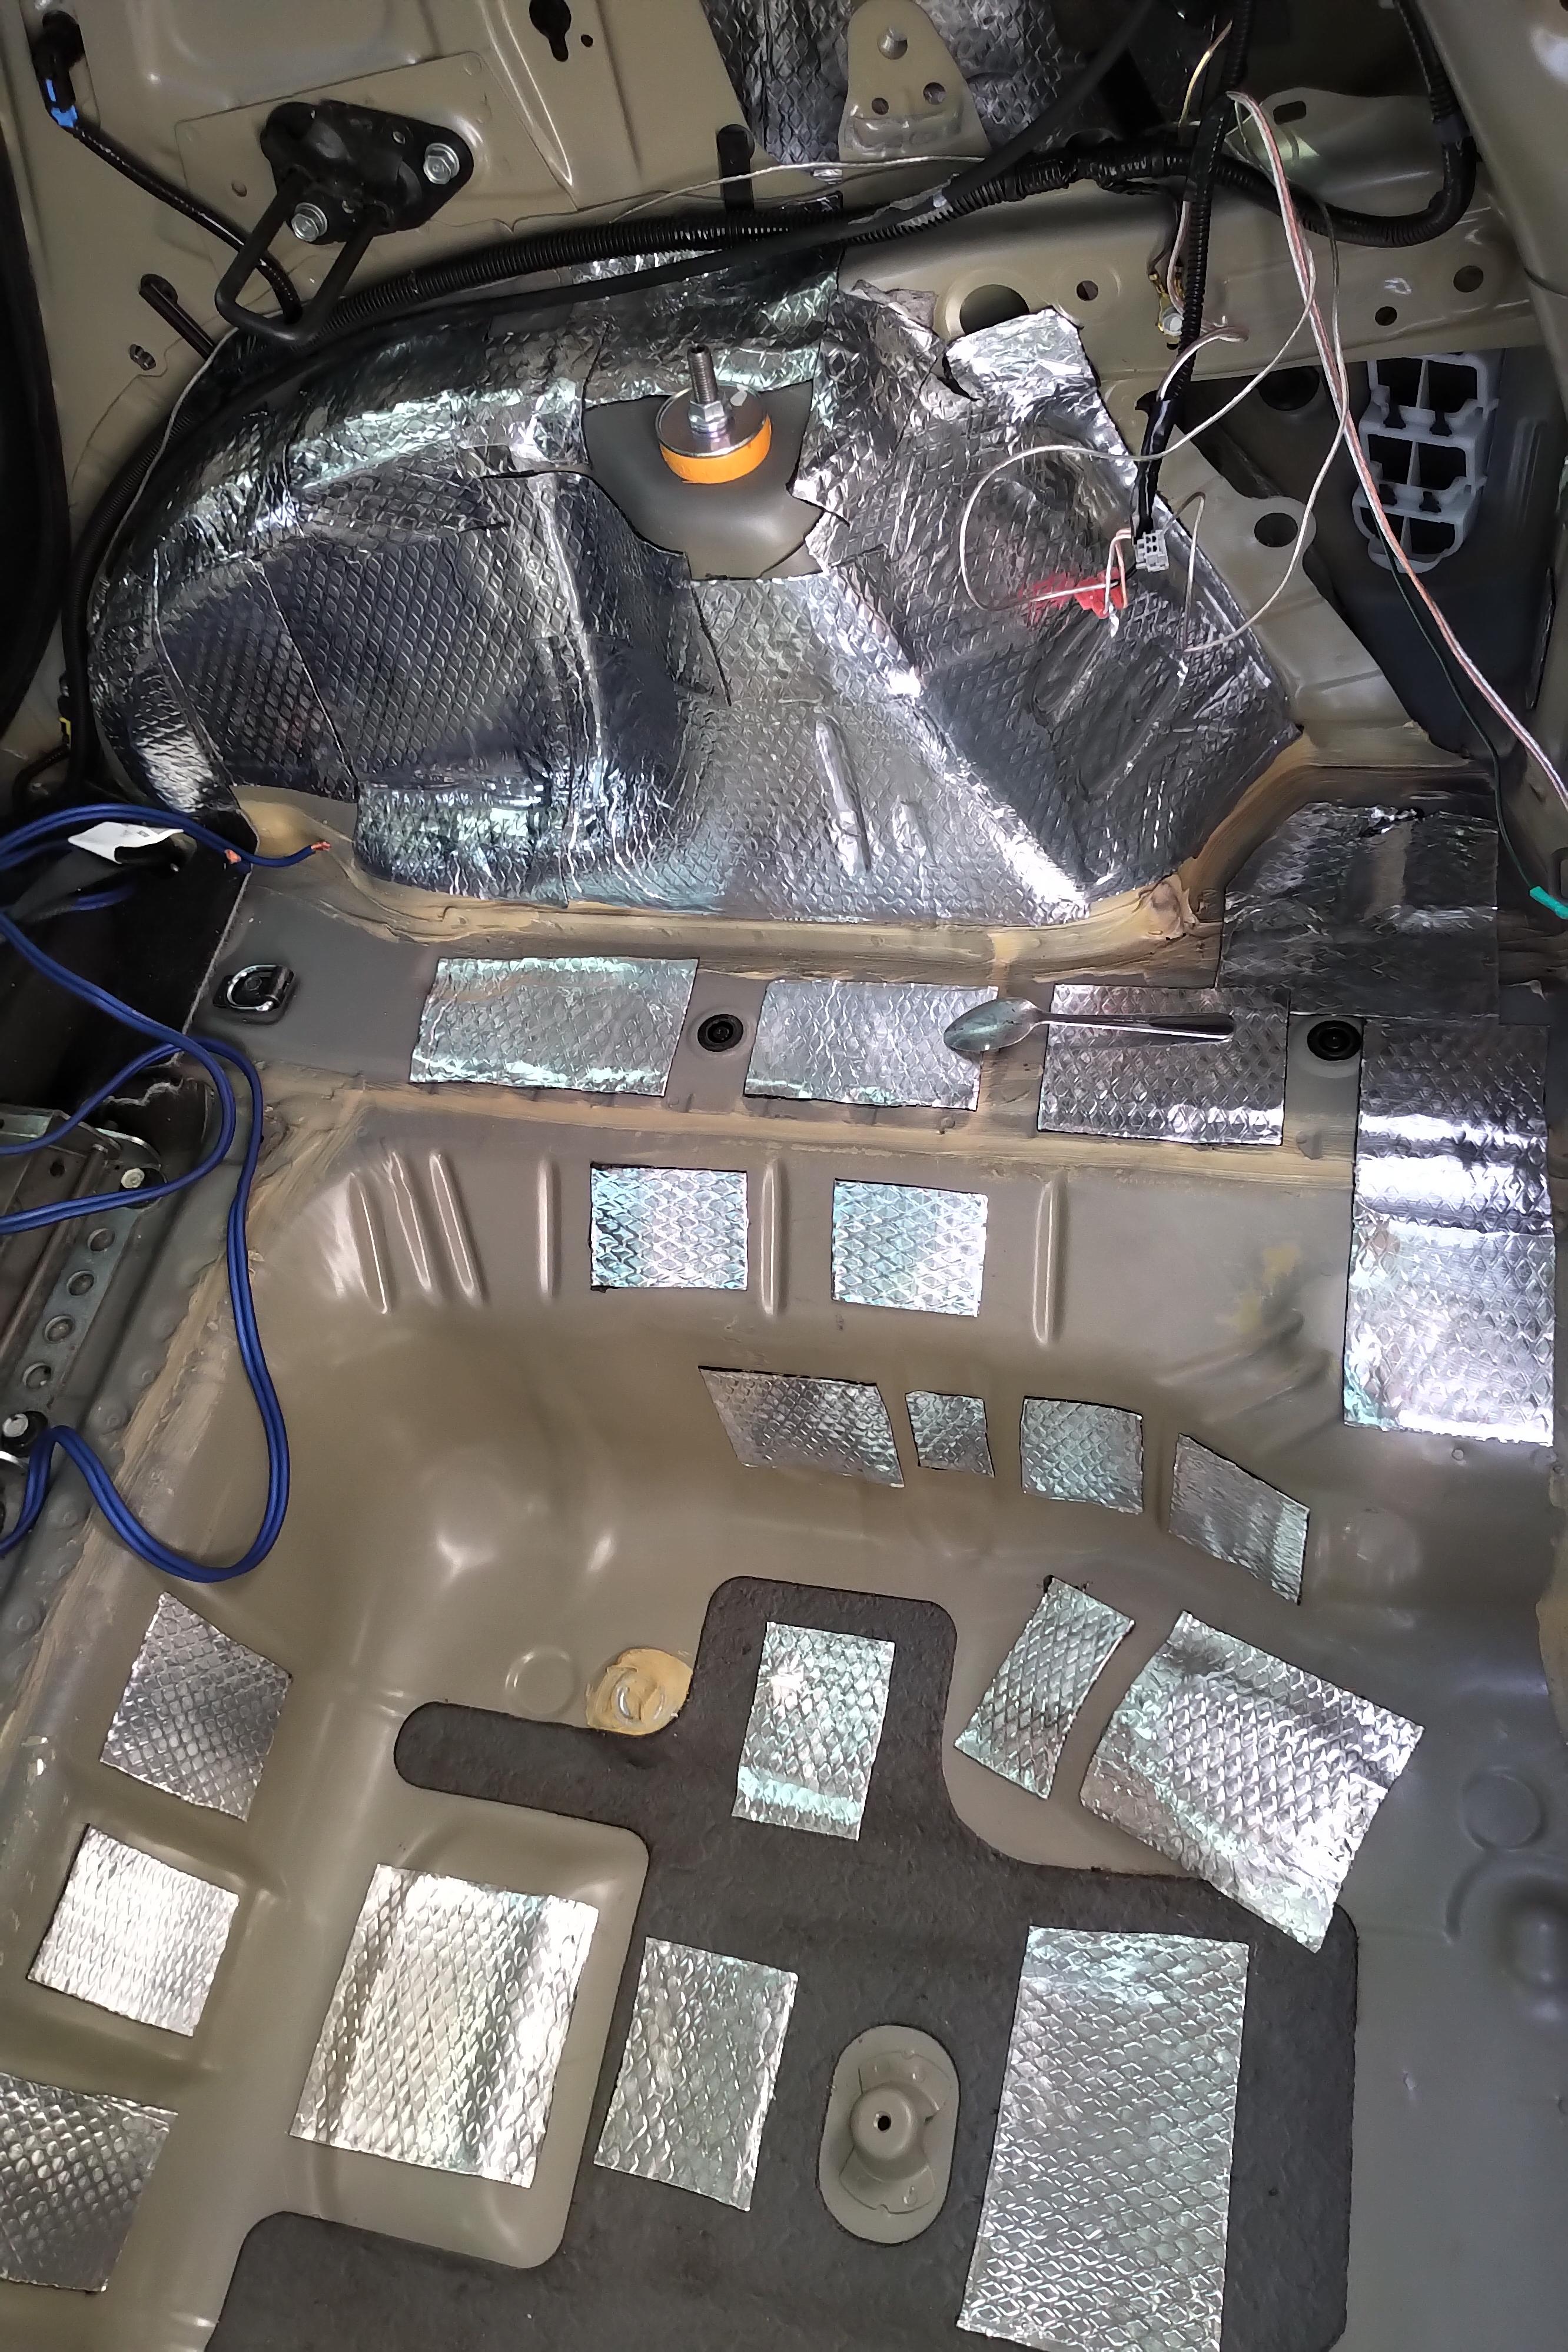
Sound Deadening Upgrade Path
Stage 1
Doors:
- Noico 80mil CLD tiles 90% coverage on outside door skins. 70% coverage inside doors.
- Noico 170 CCF 8x8 inch on outside door skin just behind speakers. Took advice from : http://www.raamaudio.com/pages/How%252dTo.html
Floor:
- CLD tiles 90% coverage. Rear seating area floors 100% coverage (too tinny for my tastes)
- CCF 100% coverage
Roof
- double layer of CLD 90% coverage
- CCF 100% coverage
Sunroof sliding cover:
- CLD 80% coverage
- CCF 100% coverage
- Roberts 3mm superfelt underlayment 100% coverage
Spare tire well
- CLD 25 to 30% coverage
- CCF 100% coverage
- Roberts 3mm superfelt underlayment on top of CCF.
Rear strut/quarter section:
- CLD 80% coverage
- CCF 90% coverage
Rear seats:
- Roberts 3mm superfelt underlayment stuffed in back of seats.
Dash:
- previously stuffed with eggcrate foam, denim blanket, Robert's superfelt 3mm underlayment.
Front Wheel Well:
- 6 coats of Asphault spray (makes zero difference)
Results : great reduction to noise and vibration. Noise from motor and tires much more apparent.
Stage 2:
Rear Hatch:
- CLD 25% coverage
- CCF 80% coverage
Front A/B pillar:
- CLD 25% coverage
- CCF 50% coverage
Doors:
- CLD on inside doorskin upped to 80% coverage
- CCF on inside doorskin 85% coverage
Result : almost no difference in noise reduction in front. A little bit more clearer bass coming from the rear sub.
Stage 3:
CLD on front cowl 80% coverage.
Result : only a slight reduction on engine noise.
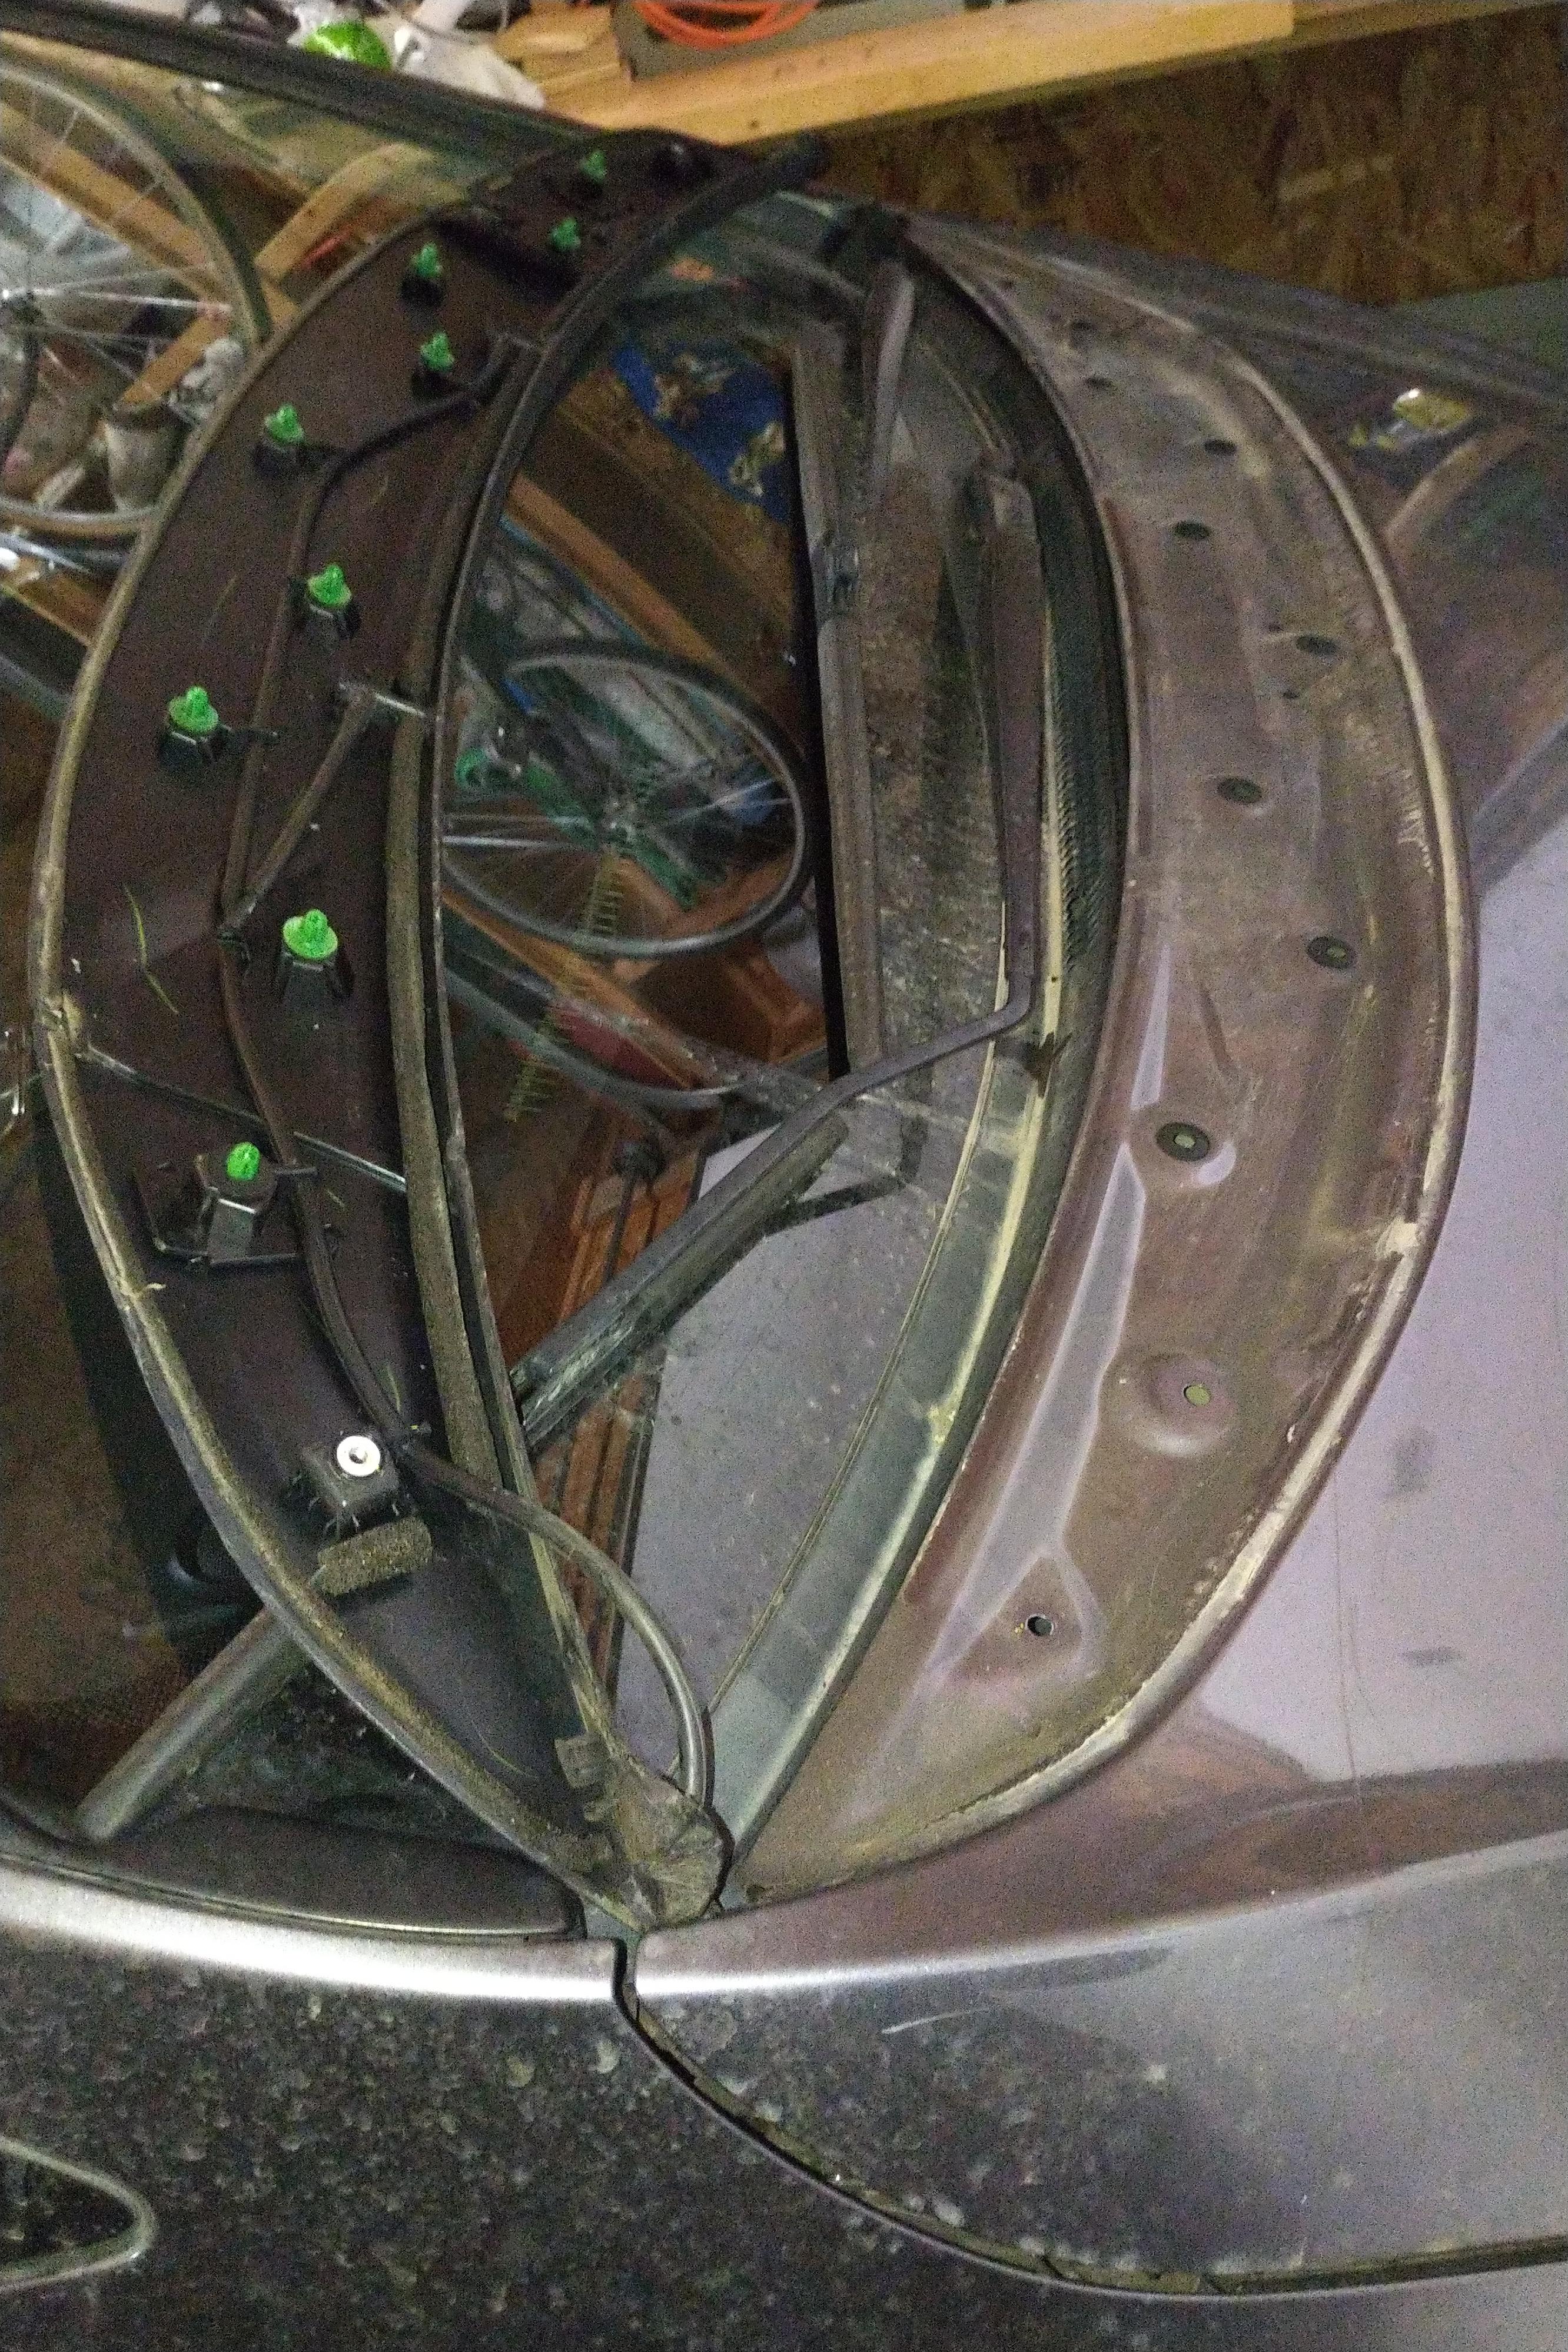
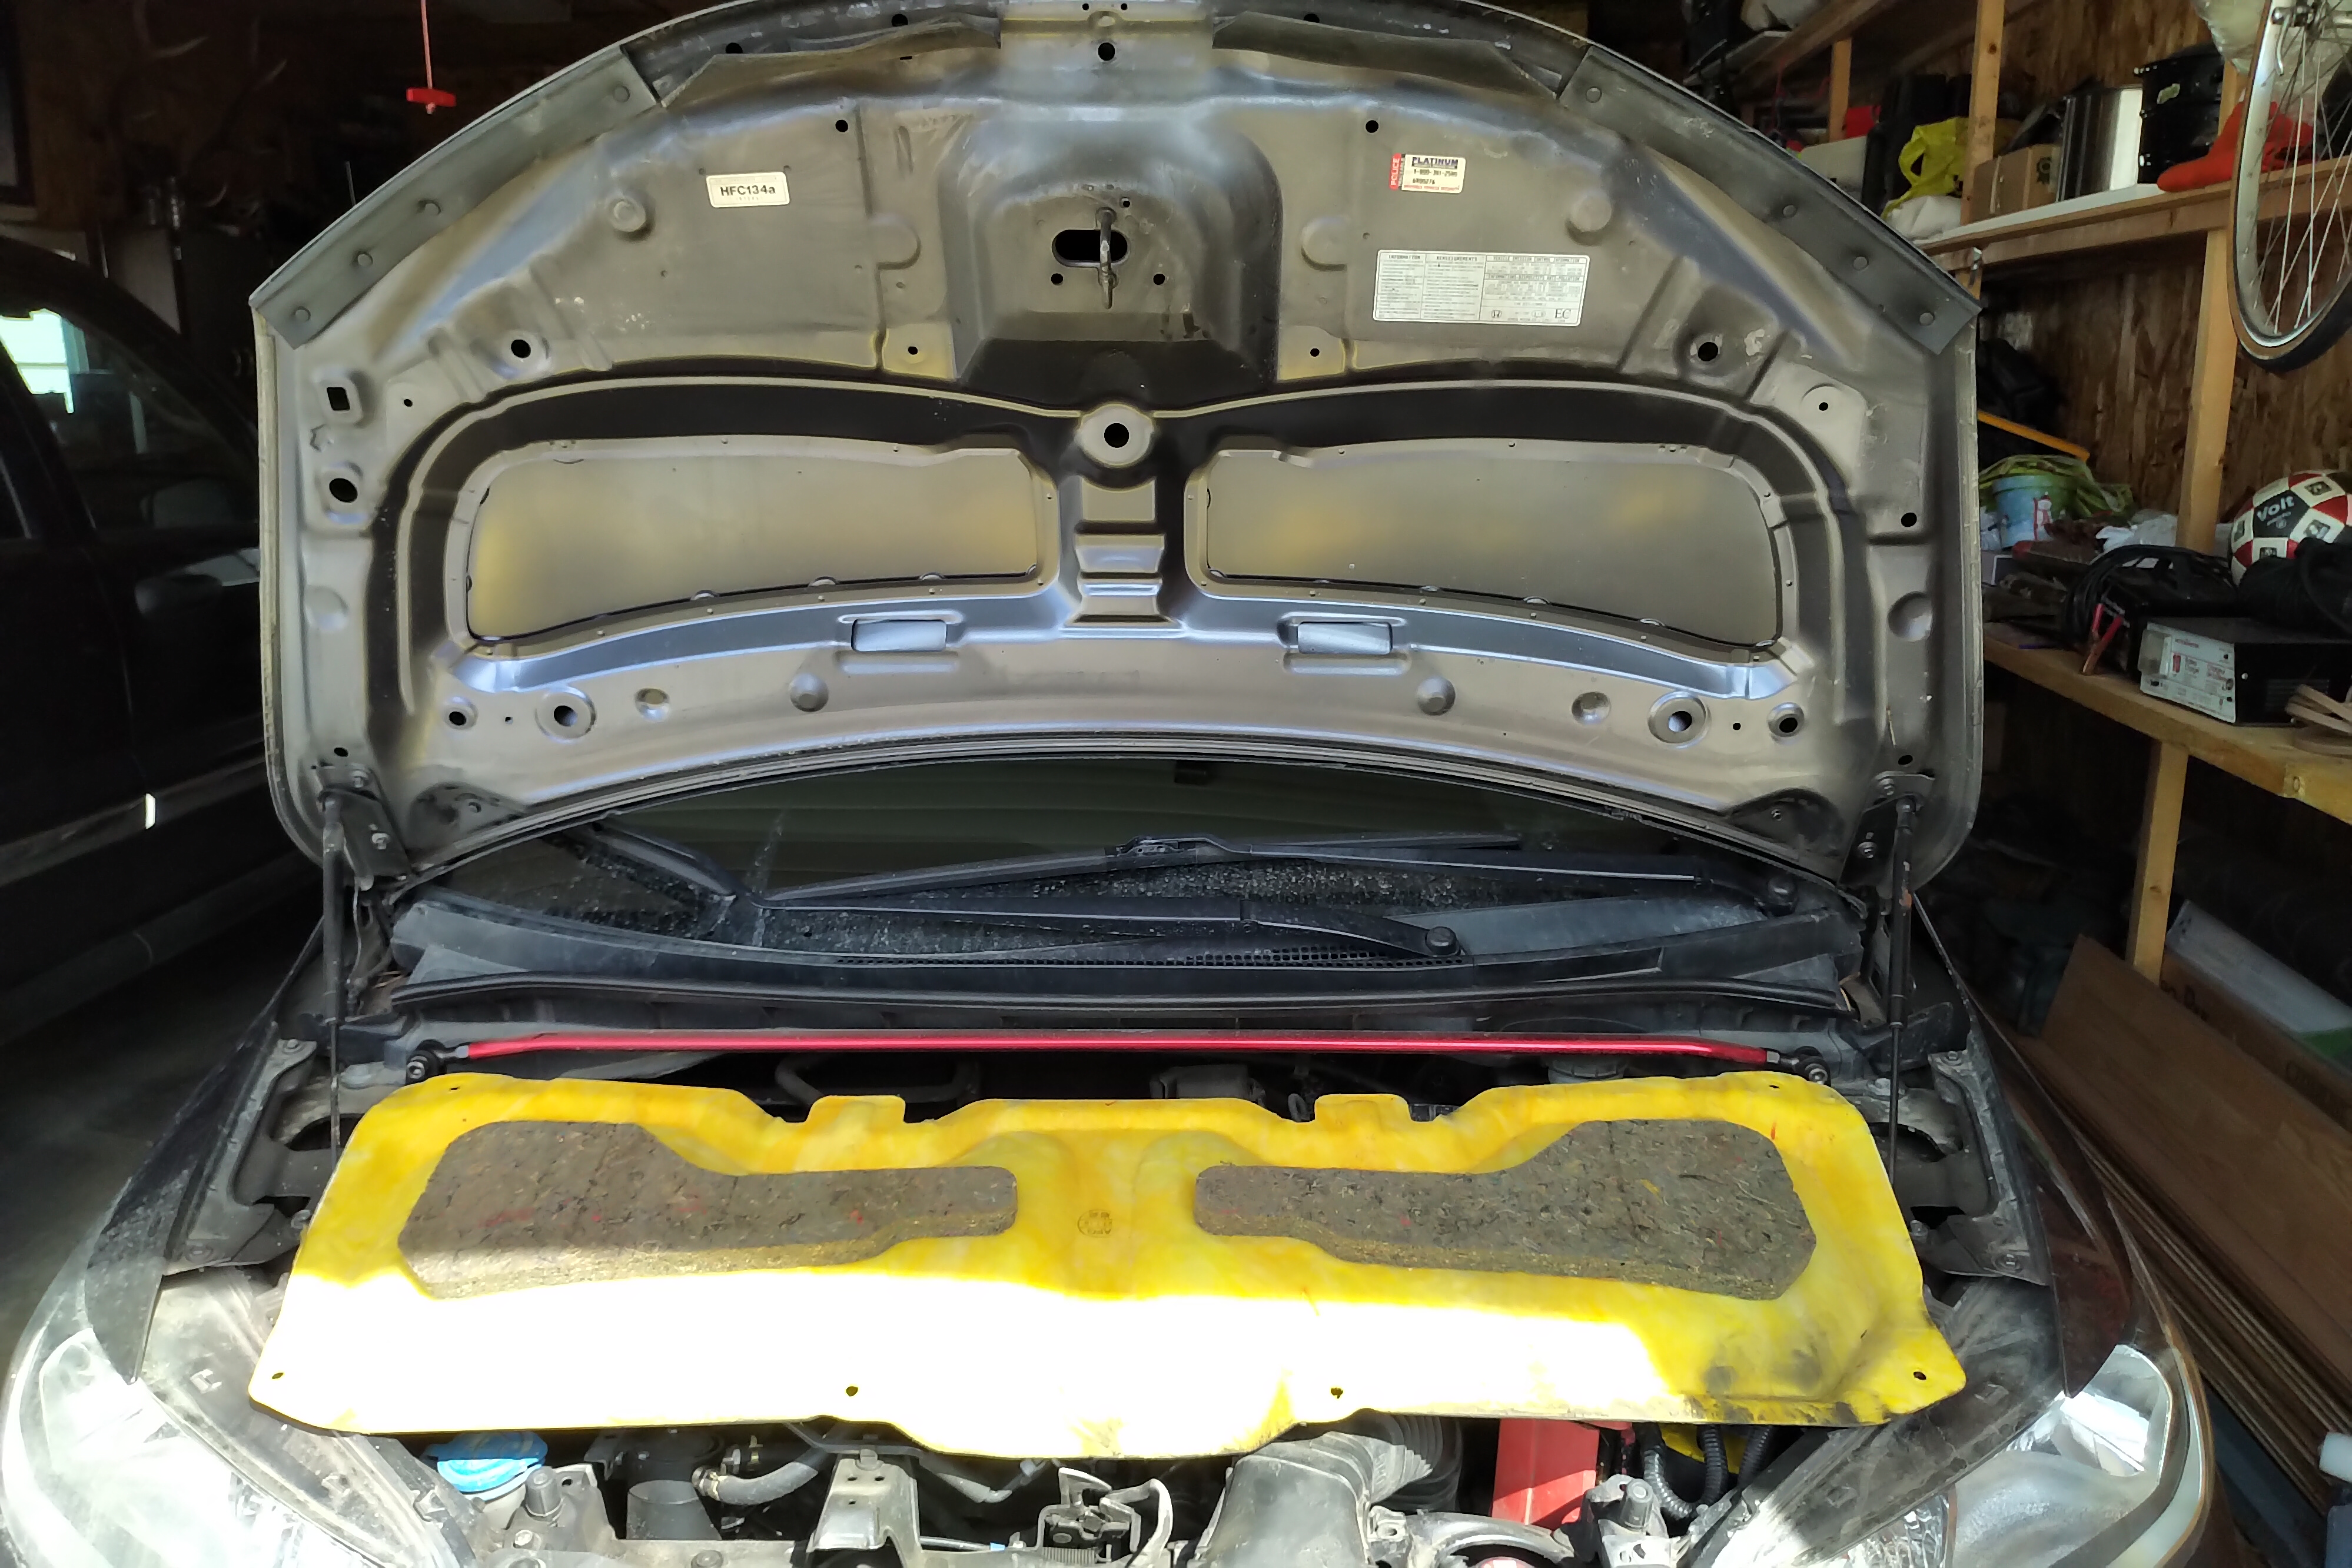
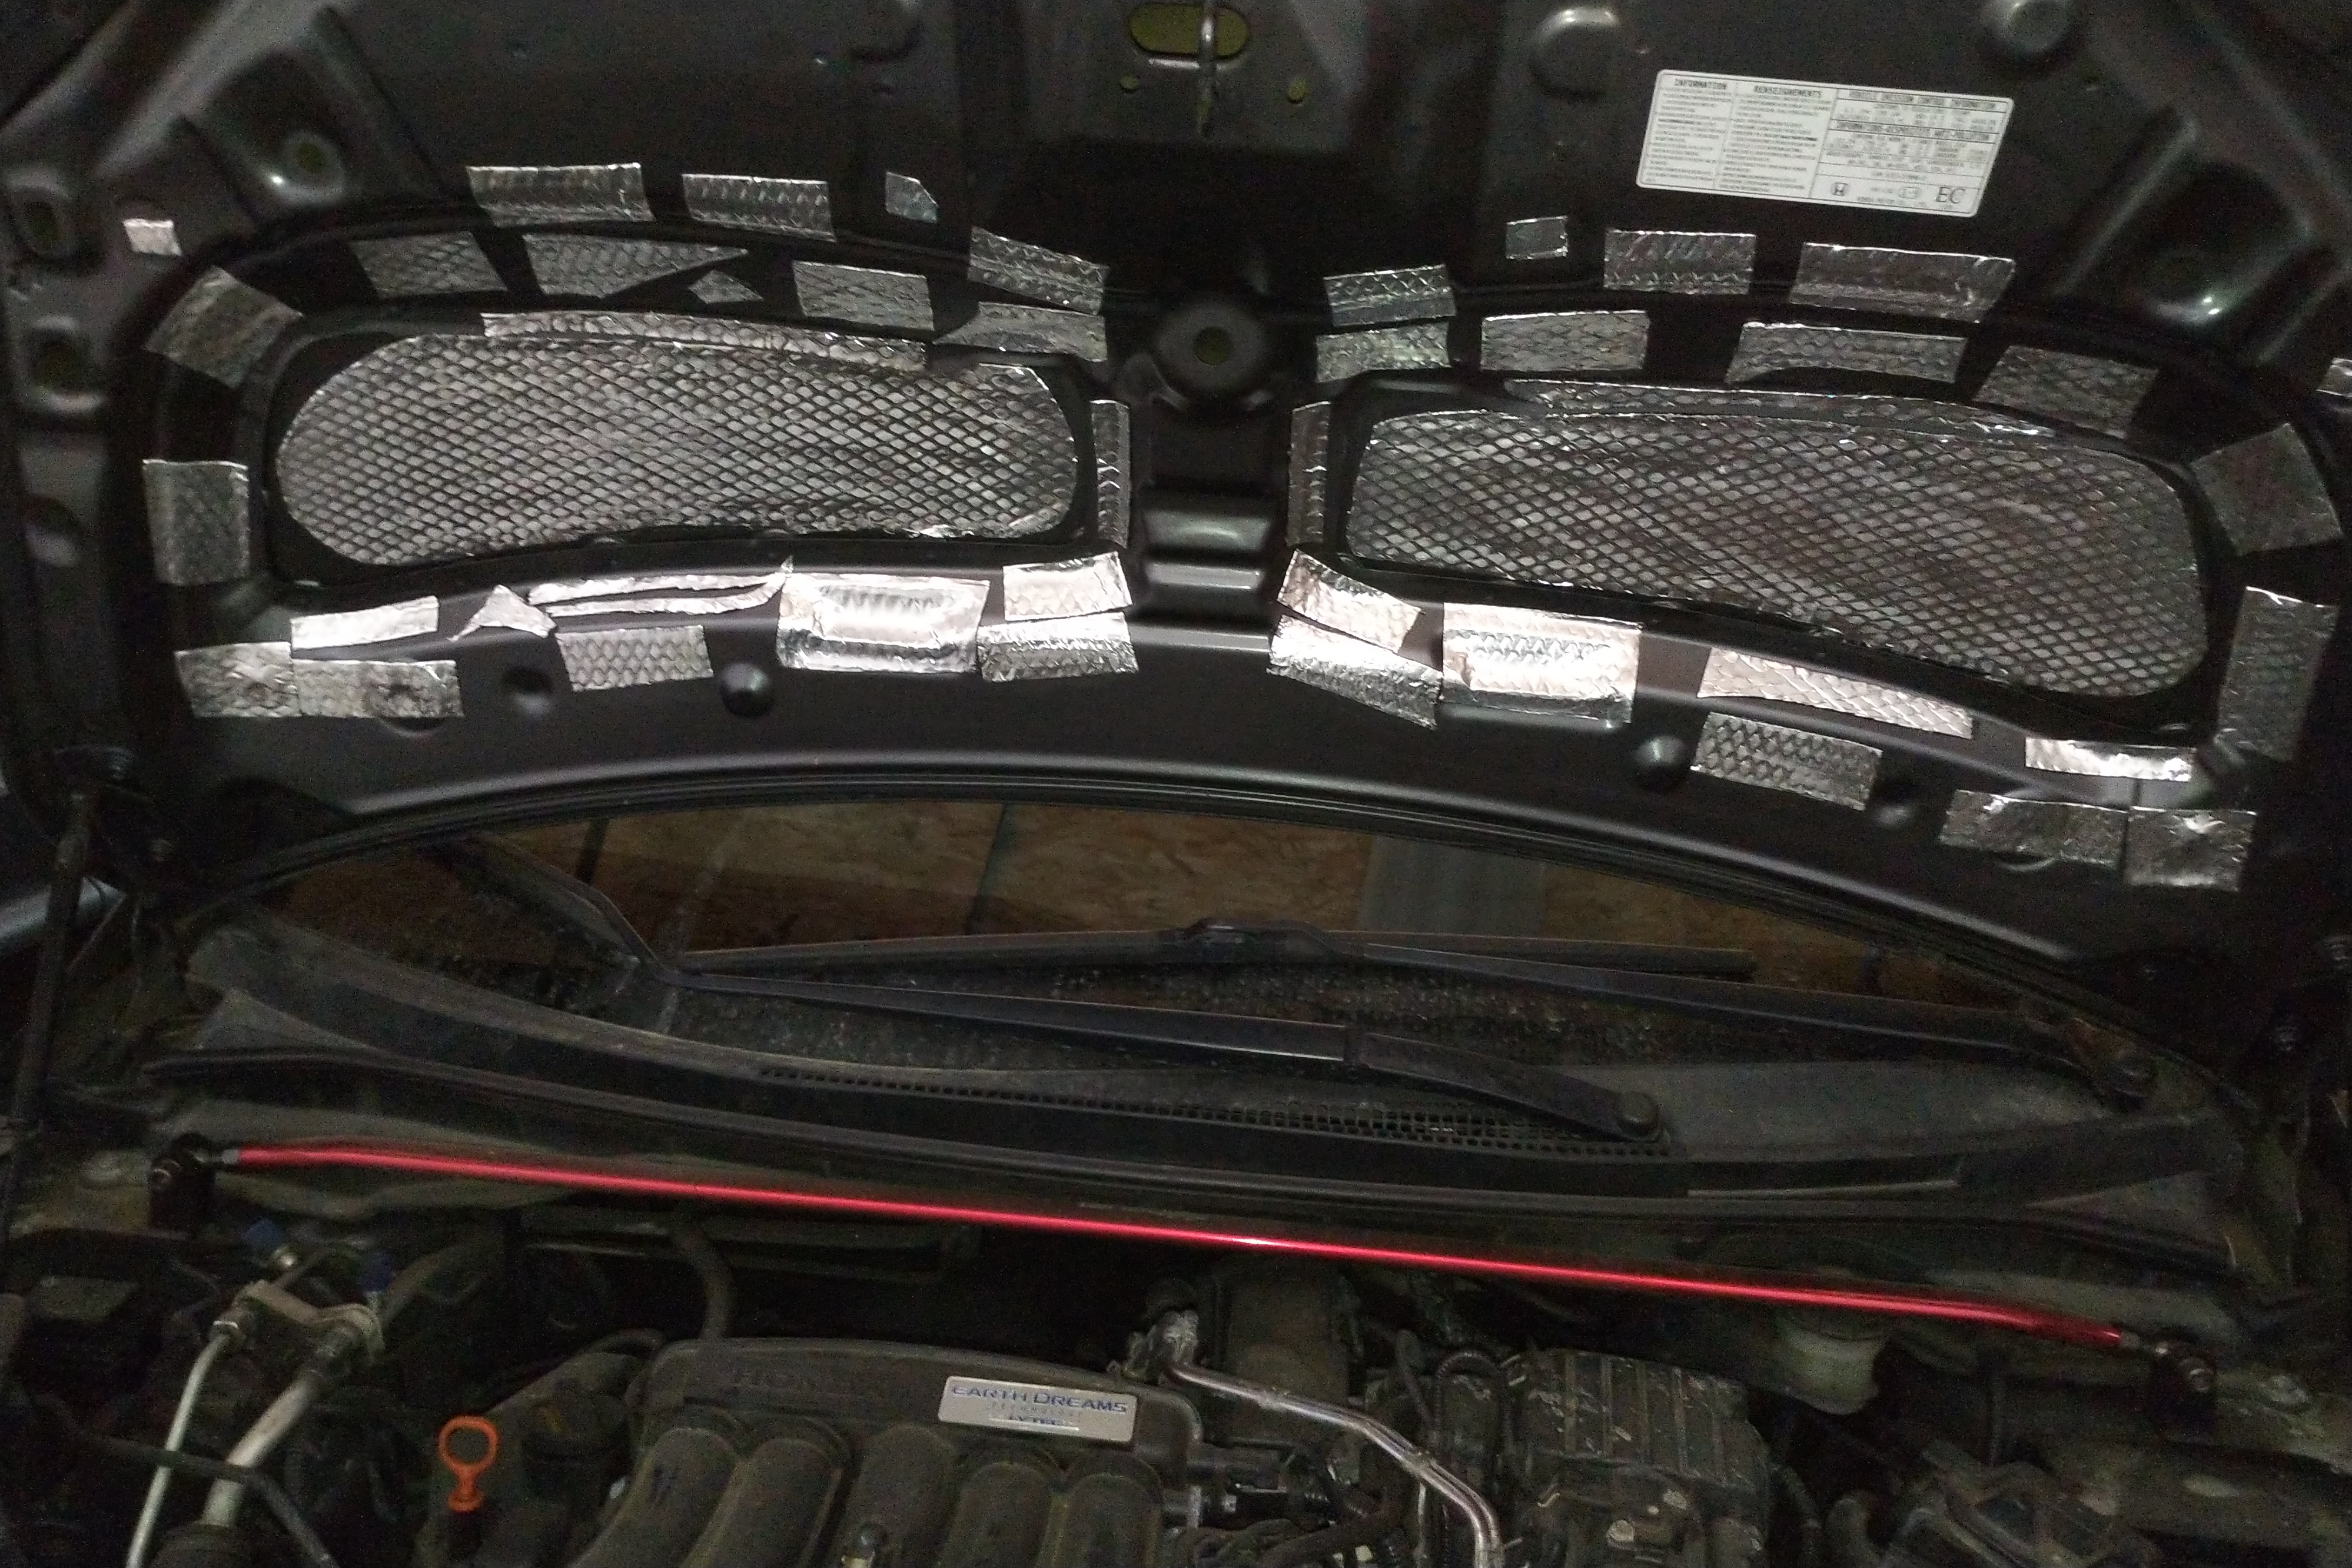
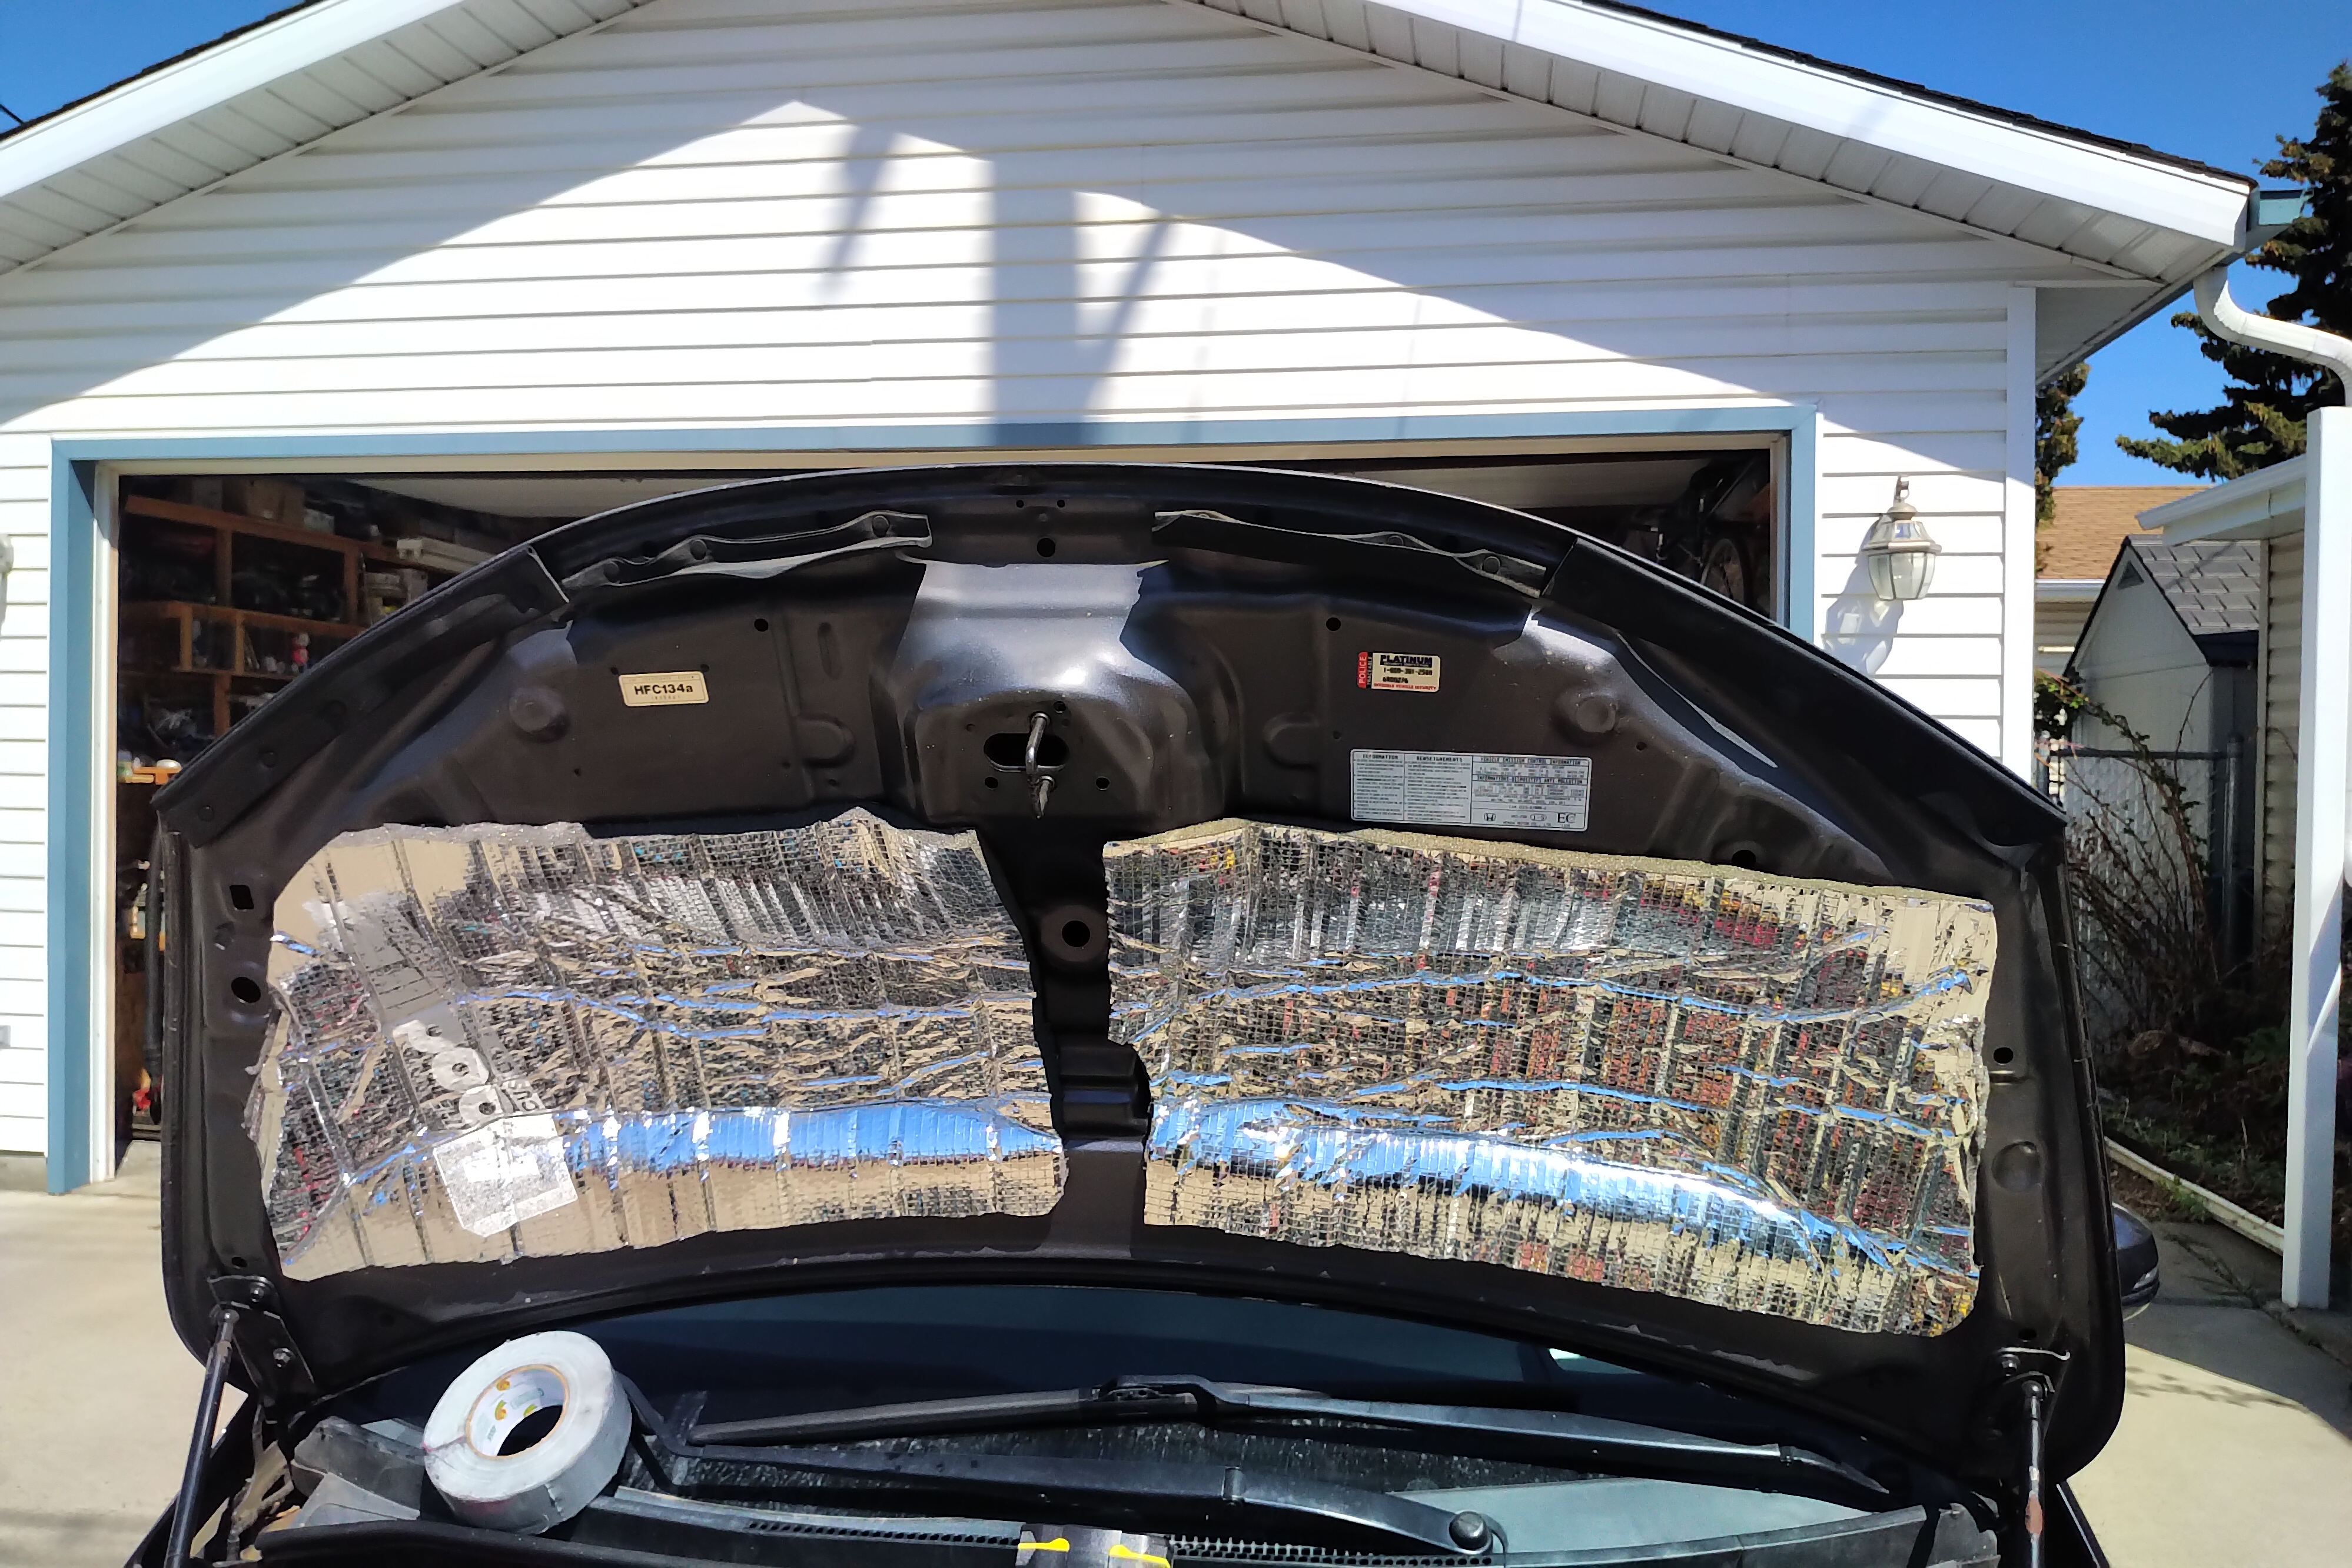
Stage 4:
OEM hood padding removed.
CLD applied to 30% of hood.
Dynamat Hoodliner applied over CLD tiles.
Result: Dramatic reduction in engine noise, especially on the highway.
Drove 3200 km with Michelin X-Ice3's 185/60/15. Noise was reduced significantly but car still subject to wind noise. No roof rack.
Stage 5
Added mass loaded vinyl to floors and high up into firewall.
Drove 3200 km with Kumho Solus HA31 185/55/16 and a Yakima Loadwarrior cargo basket with a load in a bag barely extending over top of carrier's edge.
At 80 to 100kph, the interior is very, very quiet. Barely any road noise (depending on road surface) and hardly any wind noise. Safe to consider the car is pretty quiet.
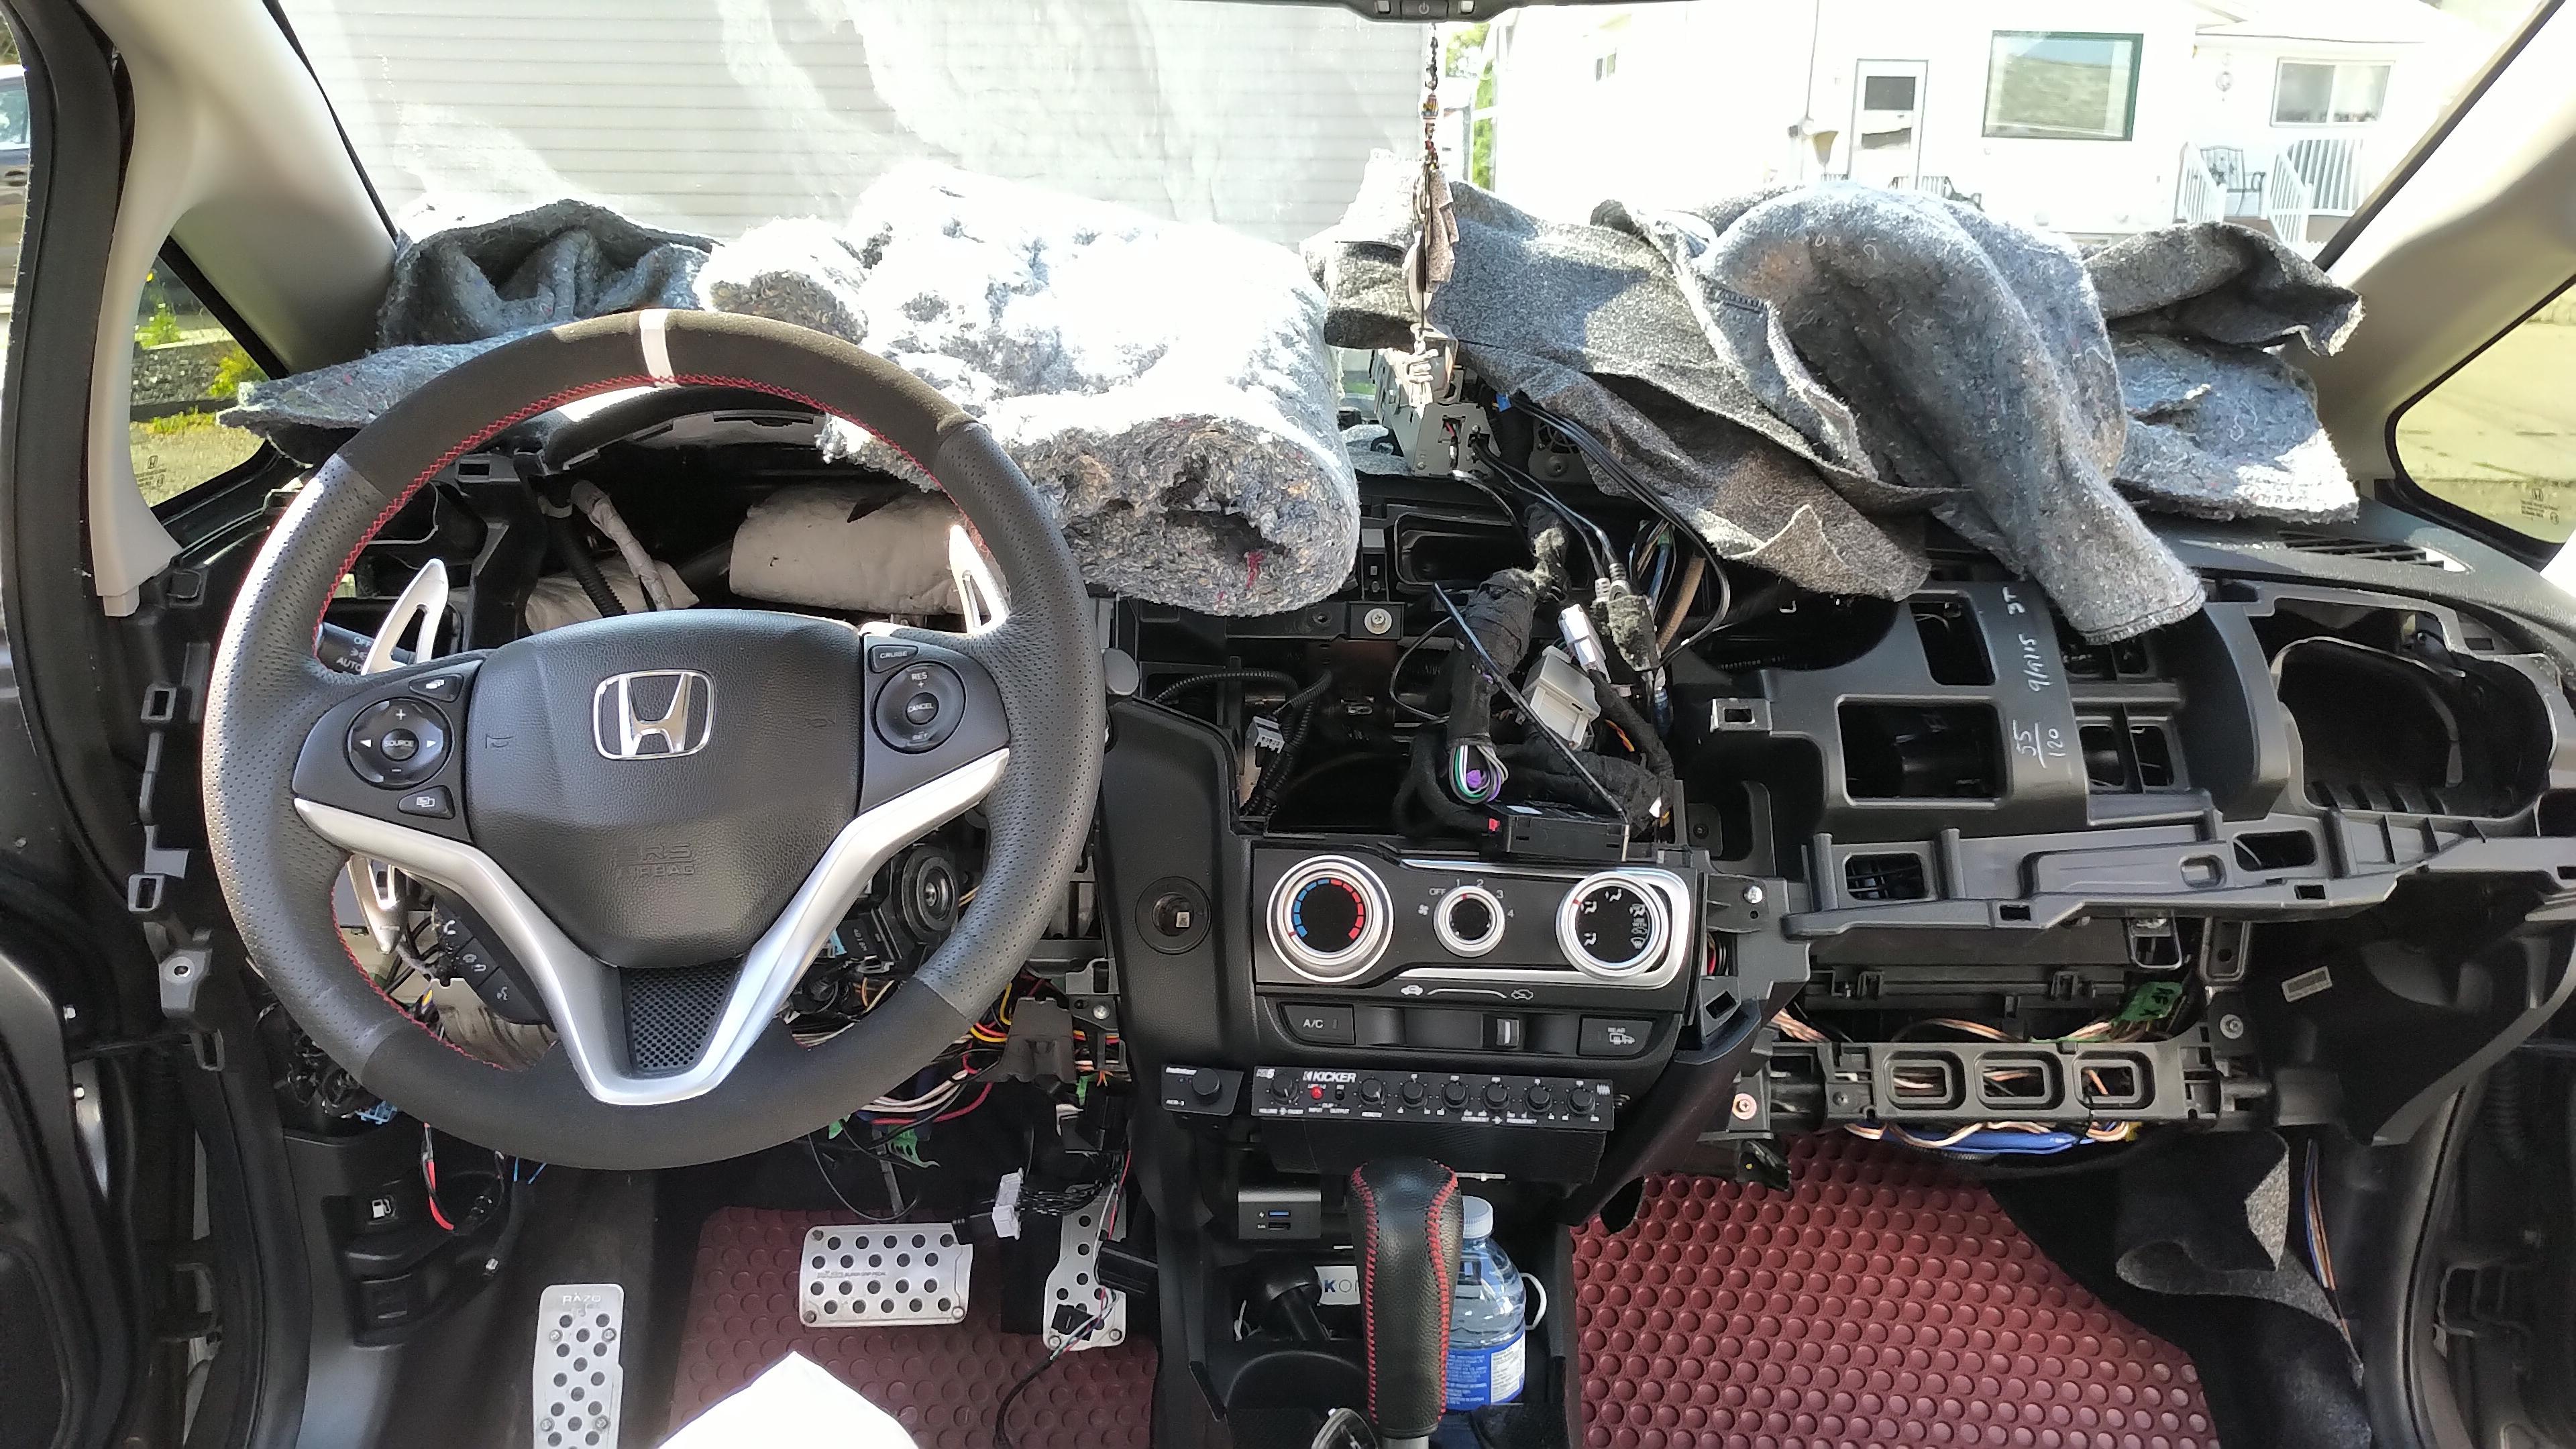
Stage 6
Removed eggcrate foam from dash. Used Technofloor 3mm recycled rubber as cheap MLV. Added Climaloc recycled denim insulation along with existing recycled denim blanket.
Stage 7
After driver's door repair, doubled up on Noico CLD on all doors.
Not much change to road noise. Cabin a tiny bit quiete but can hear midbass and details better.
Stage 8
Removed hatch CCF.
Doubled up on Noico CLD.
Stage 9
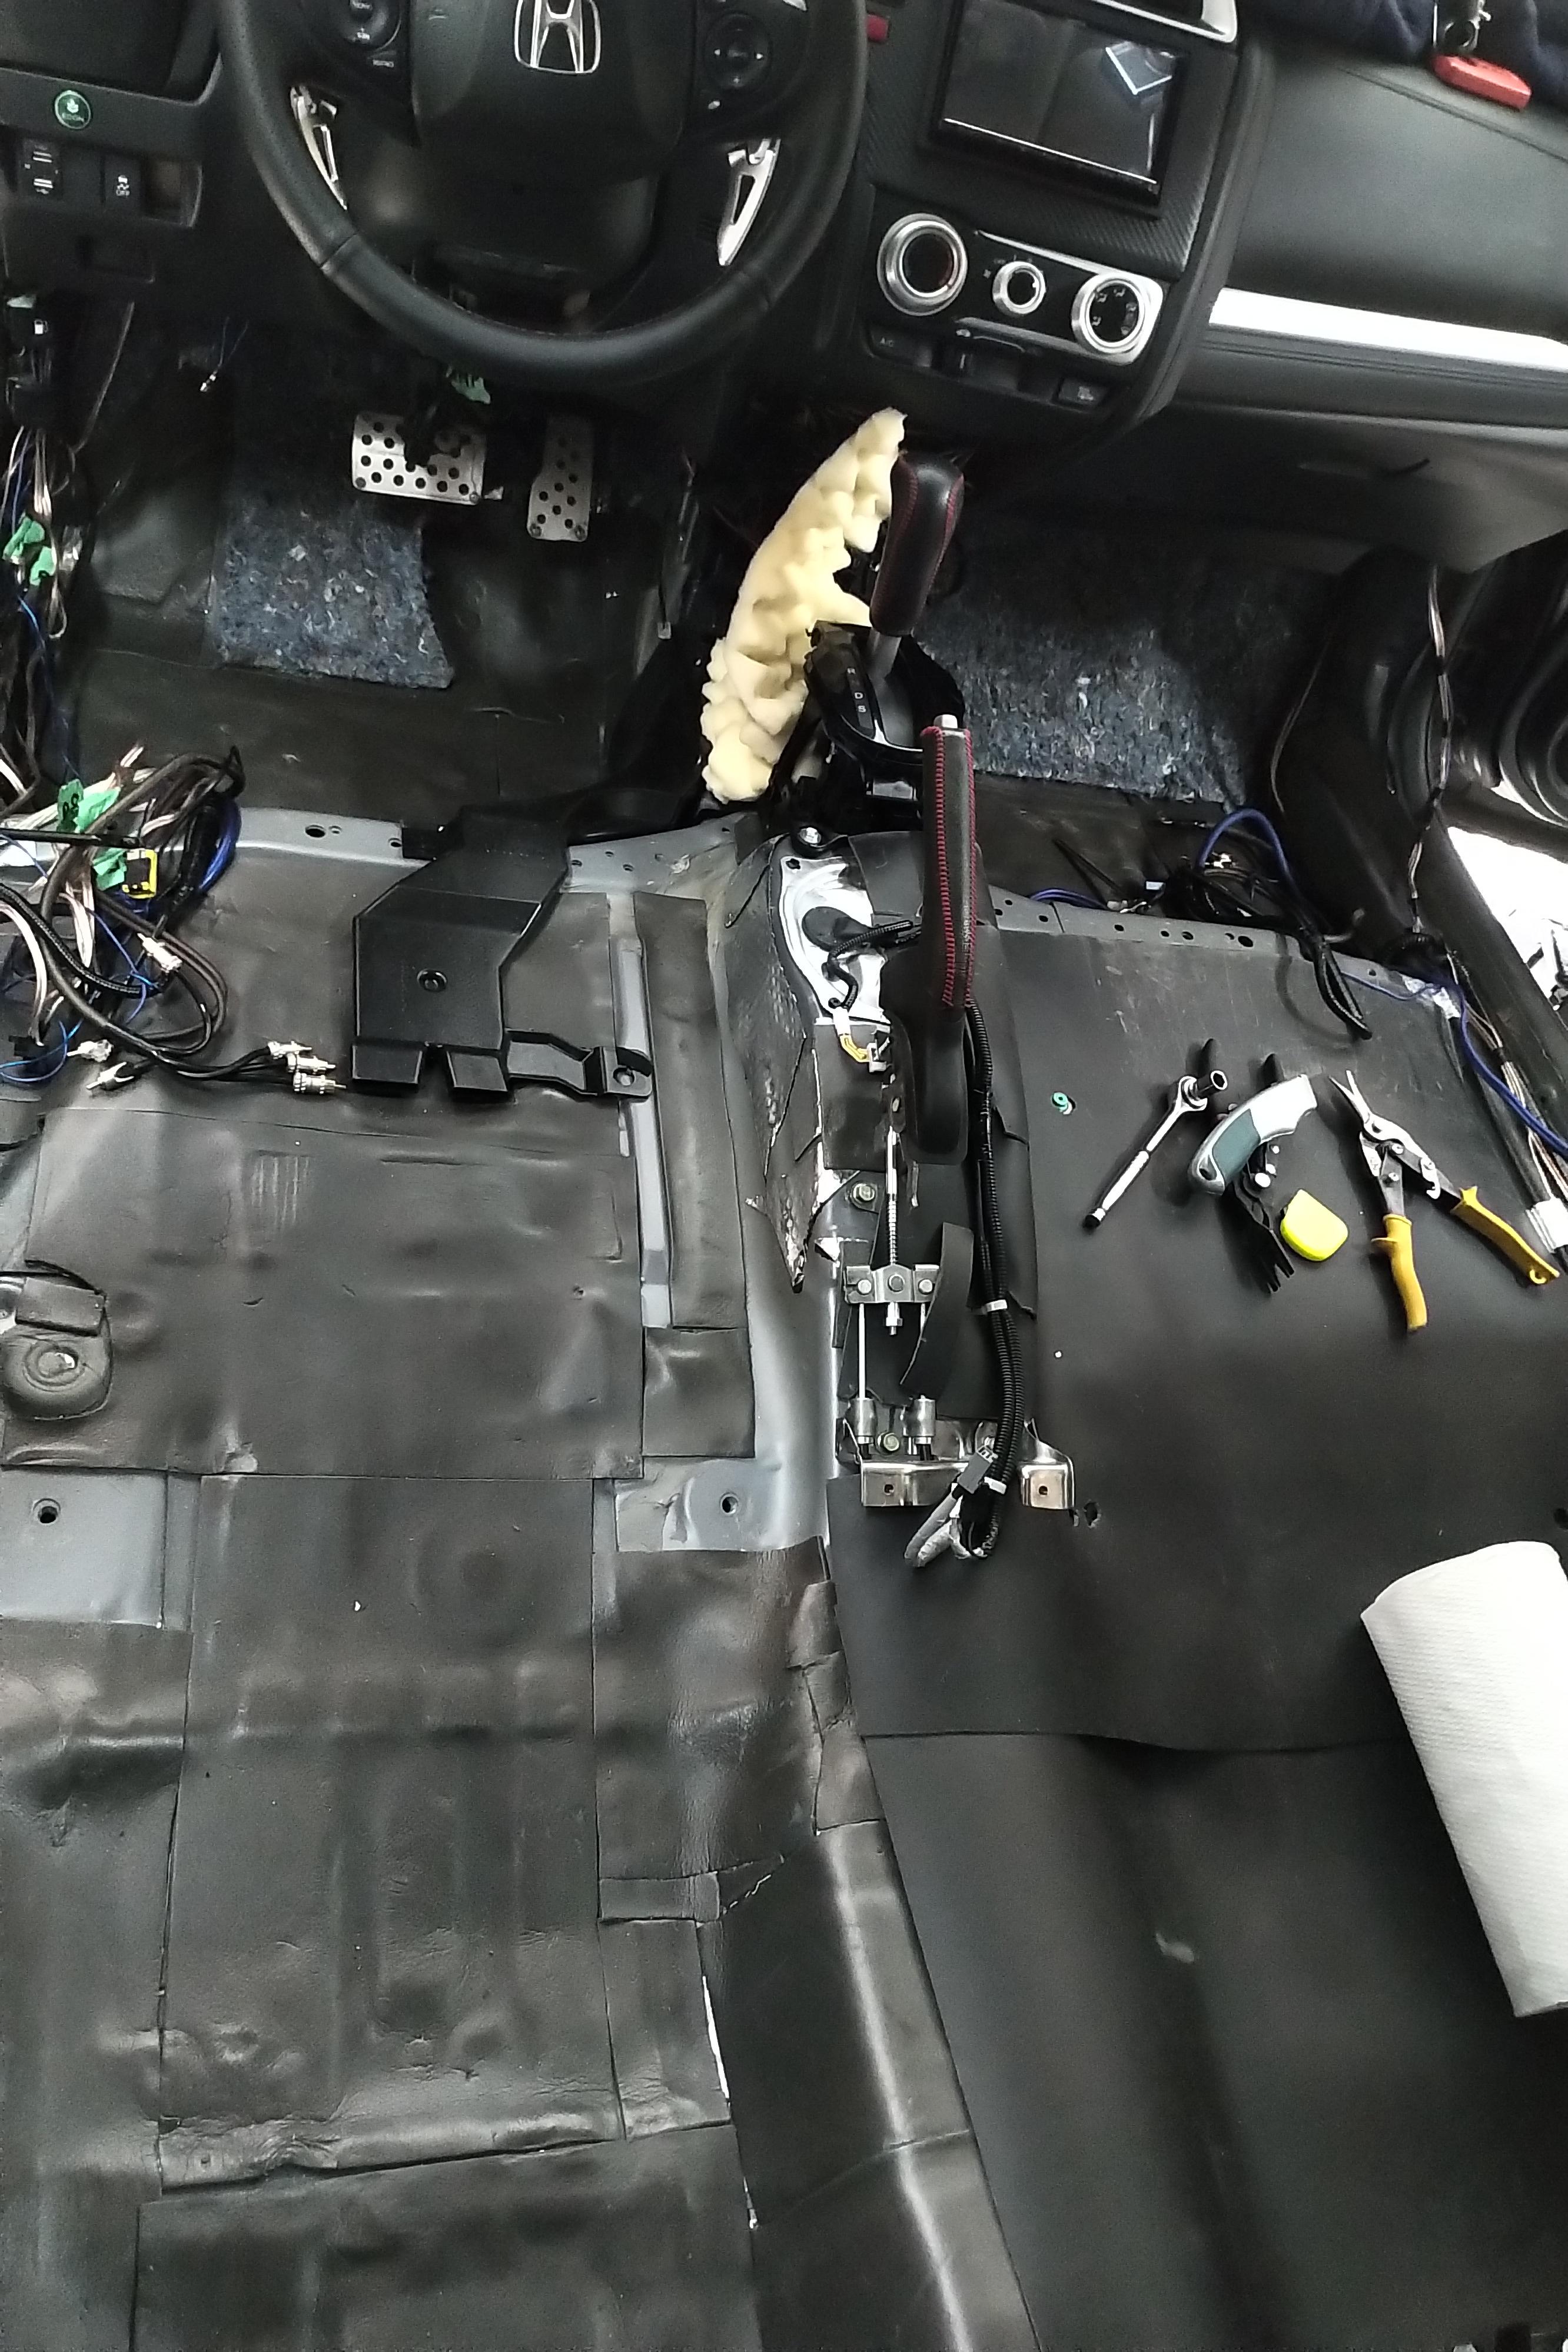
Removed all cabin floor CCF.
Double layer of Noico tiles and Kilmat tiles. Both 80mil.
Stage 10
Removed all door CCF.
Double layer of Noico tiles on inner door skin 80mil.
Stage 11
Removed all CCF from vehicle.
Triple layer of Noico CLD on roof.
Last edited by Action Jackson; 08-13-2022 at 03:52 PM.
#135
03-03-2019, 10:33 AM
#136
03-03-2019, 11:00 AM

#138
03-03-2019, 11:06 AM
#139
03-03-2019, 11:13 AM
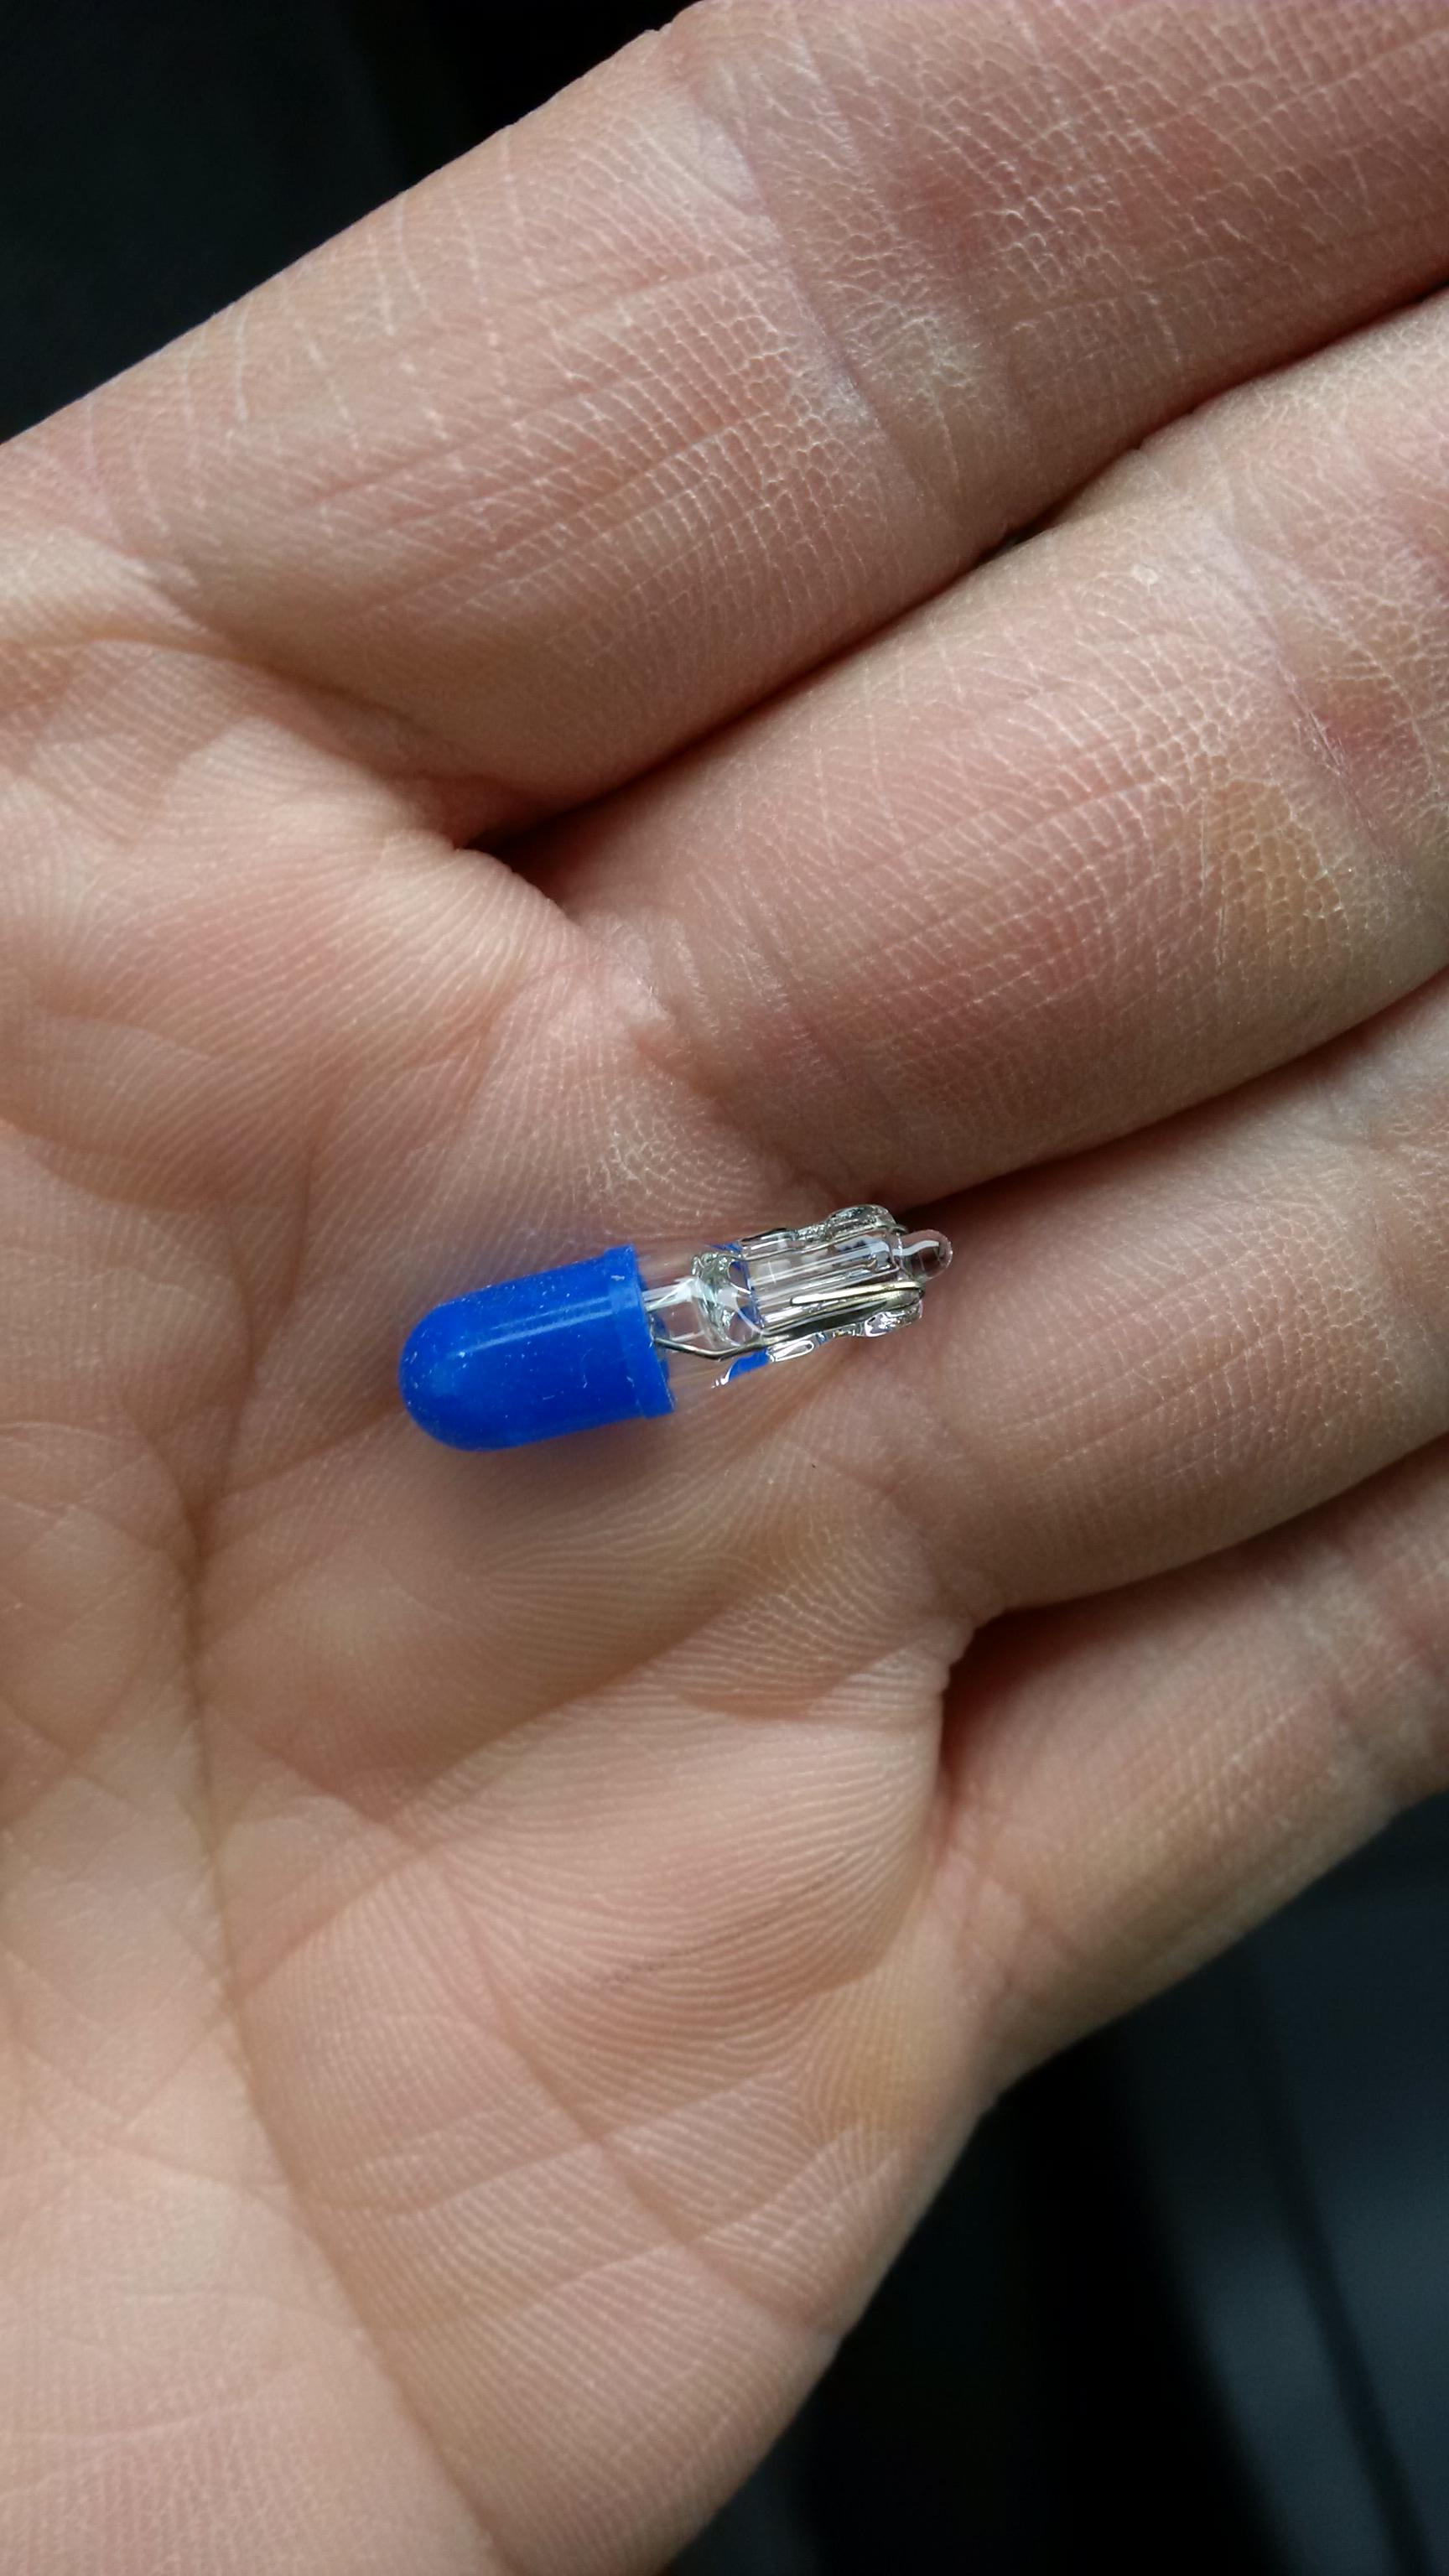
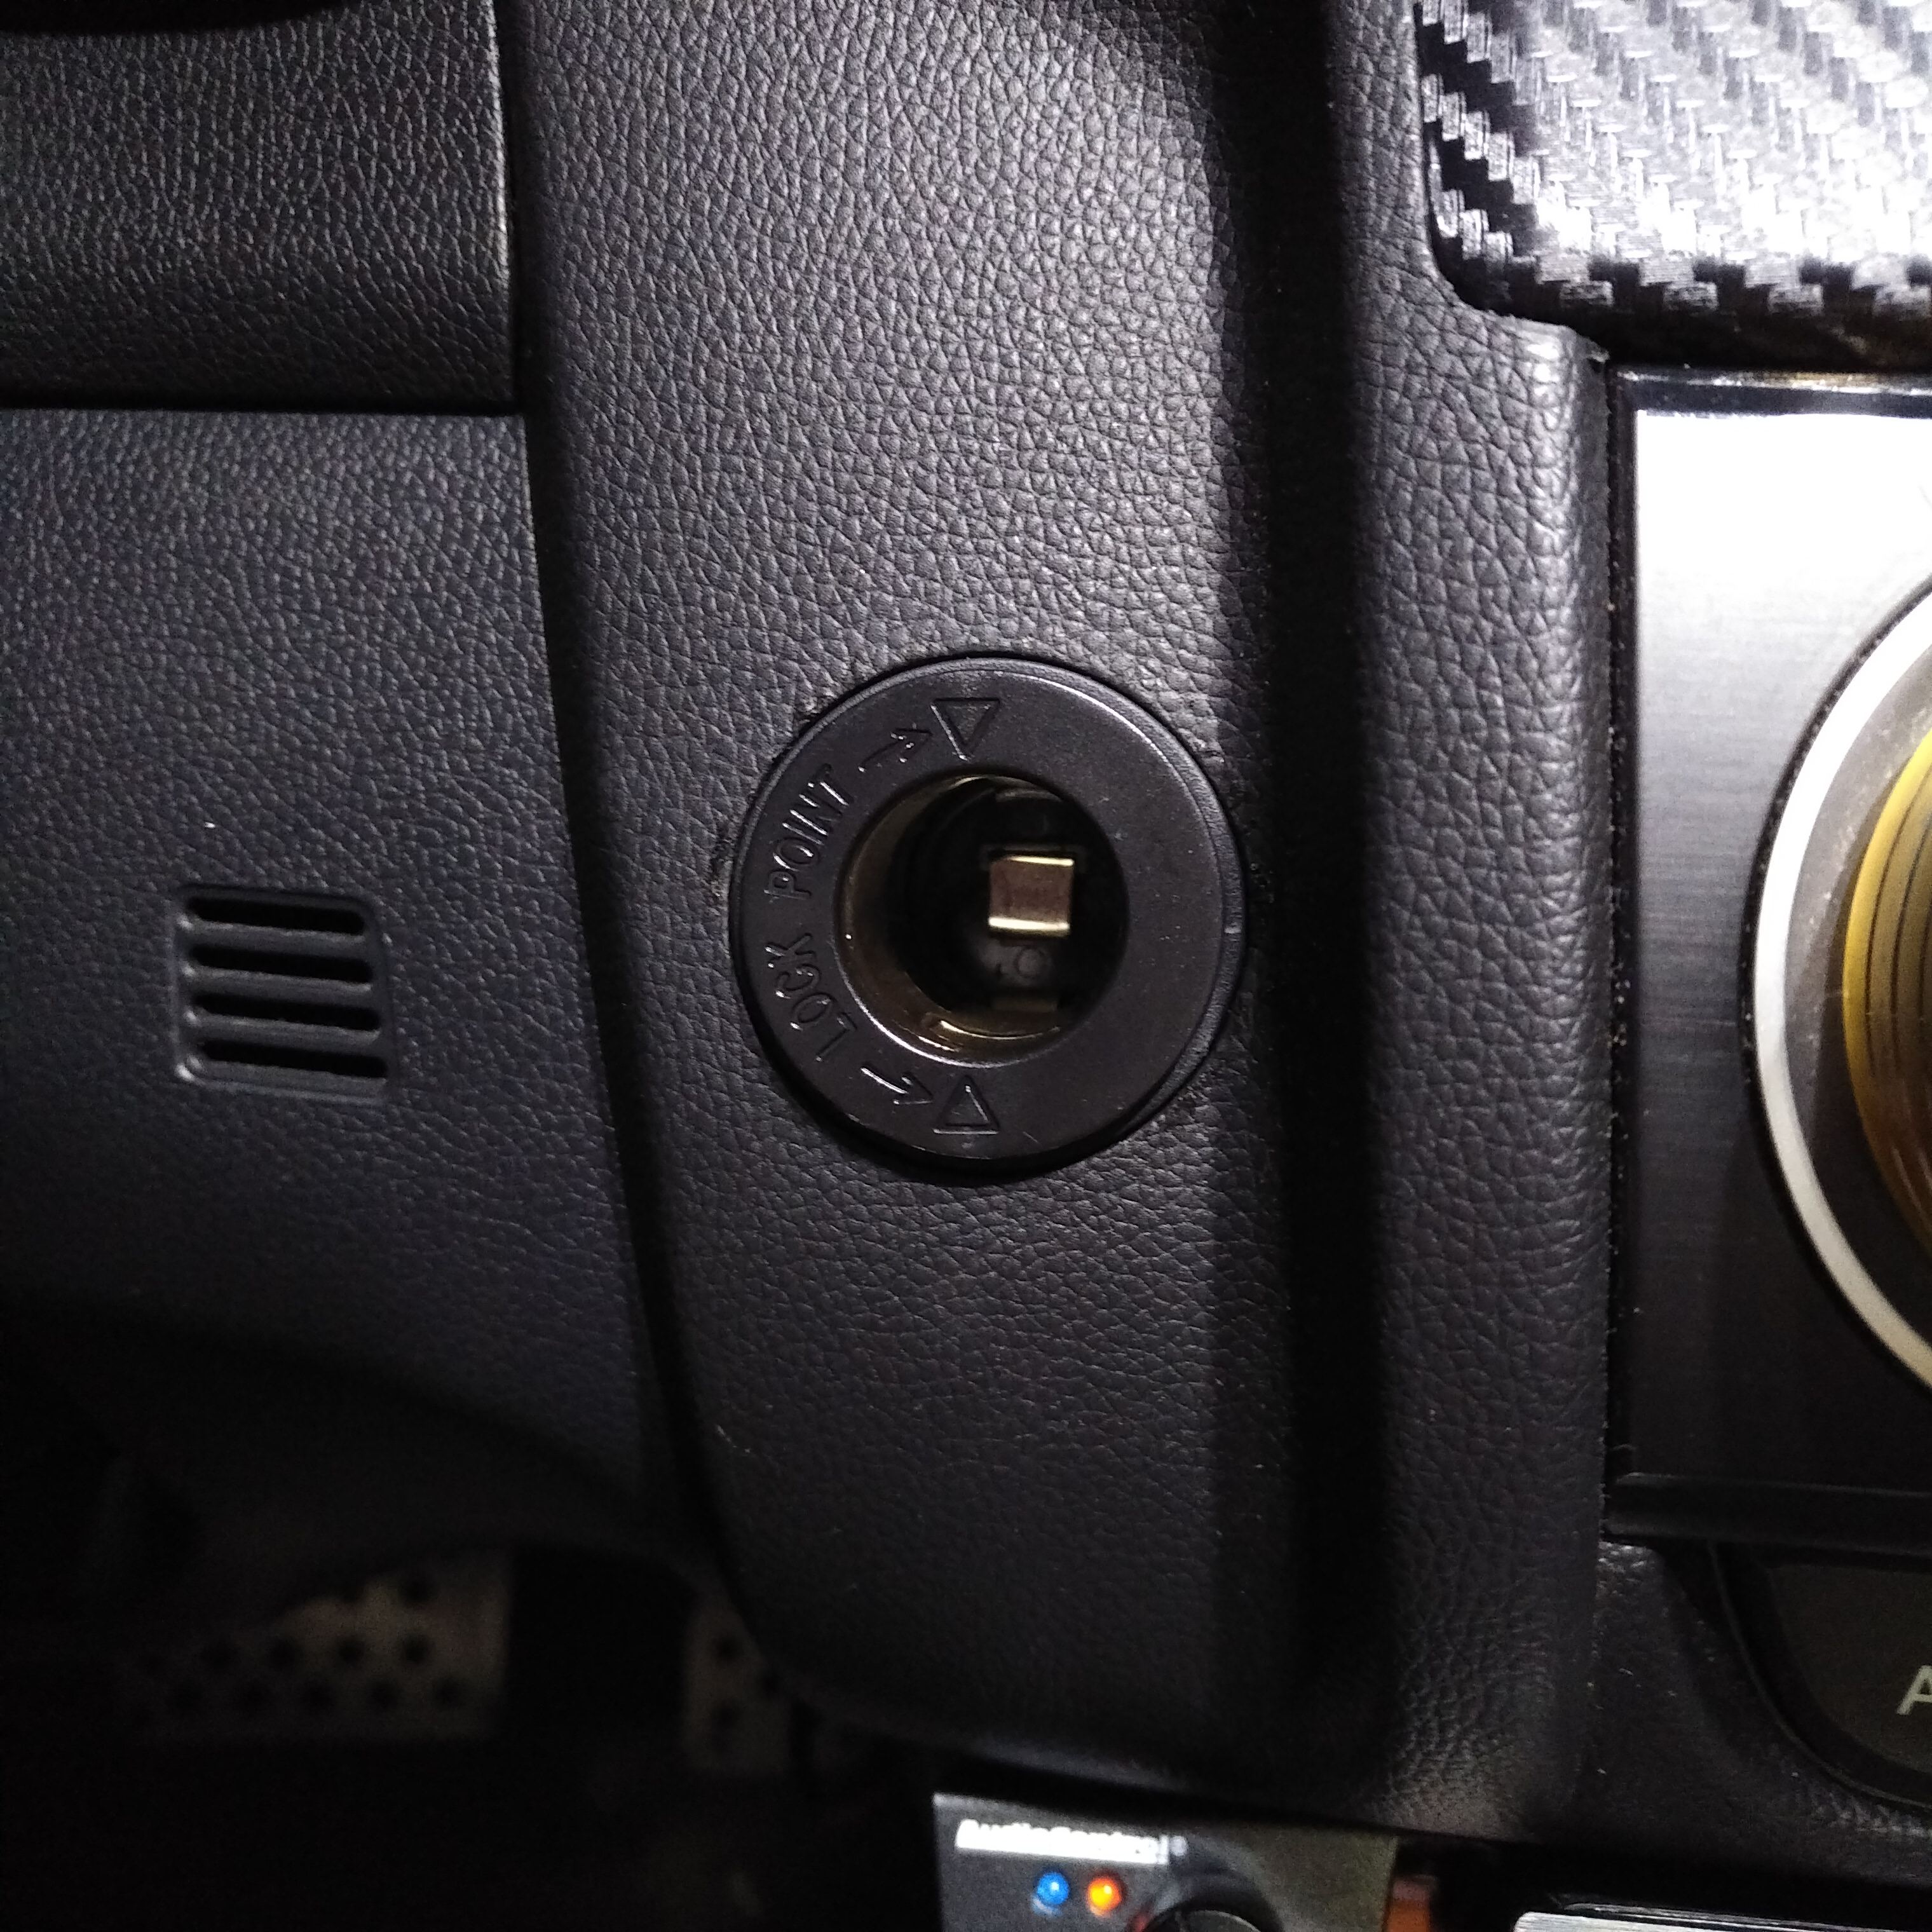
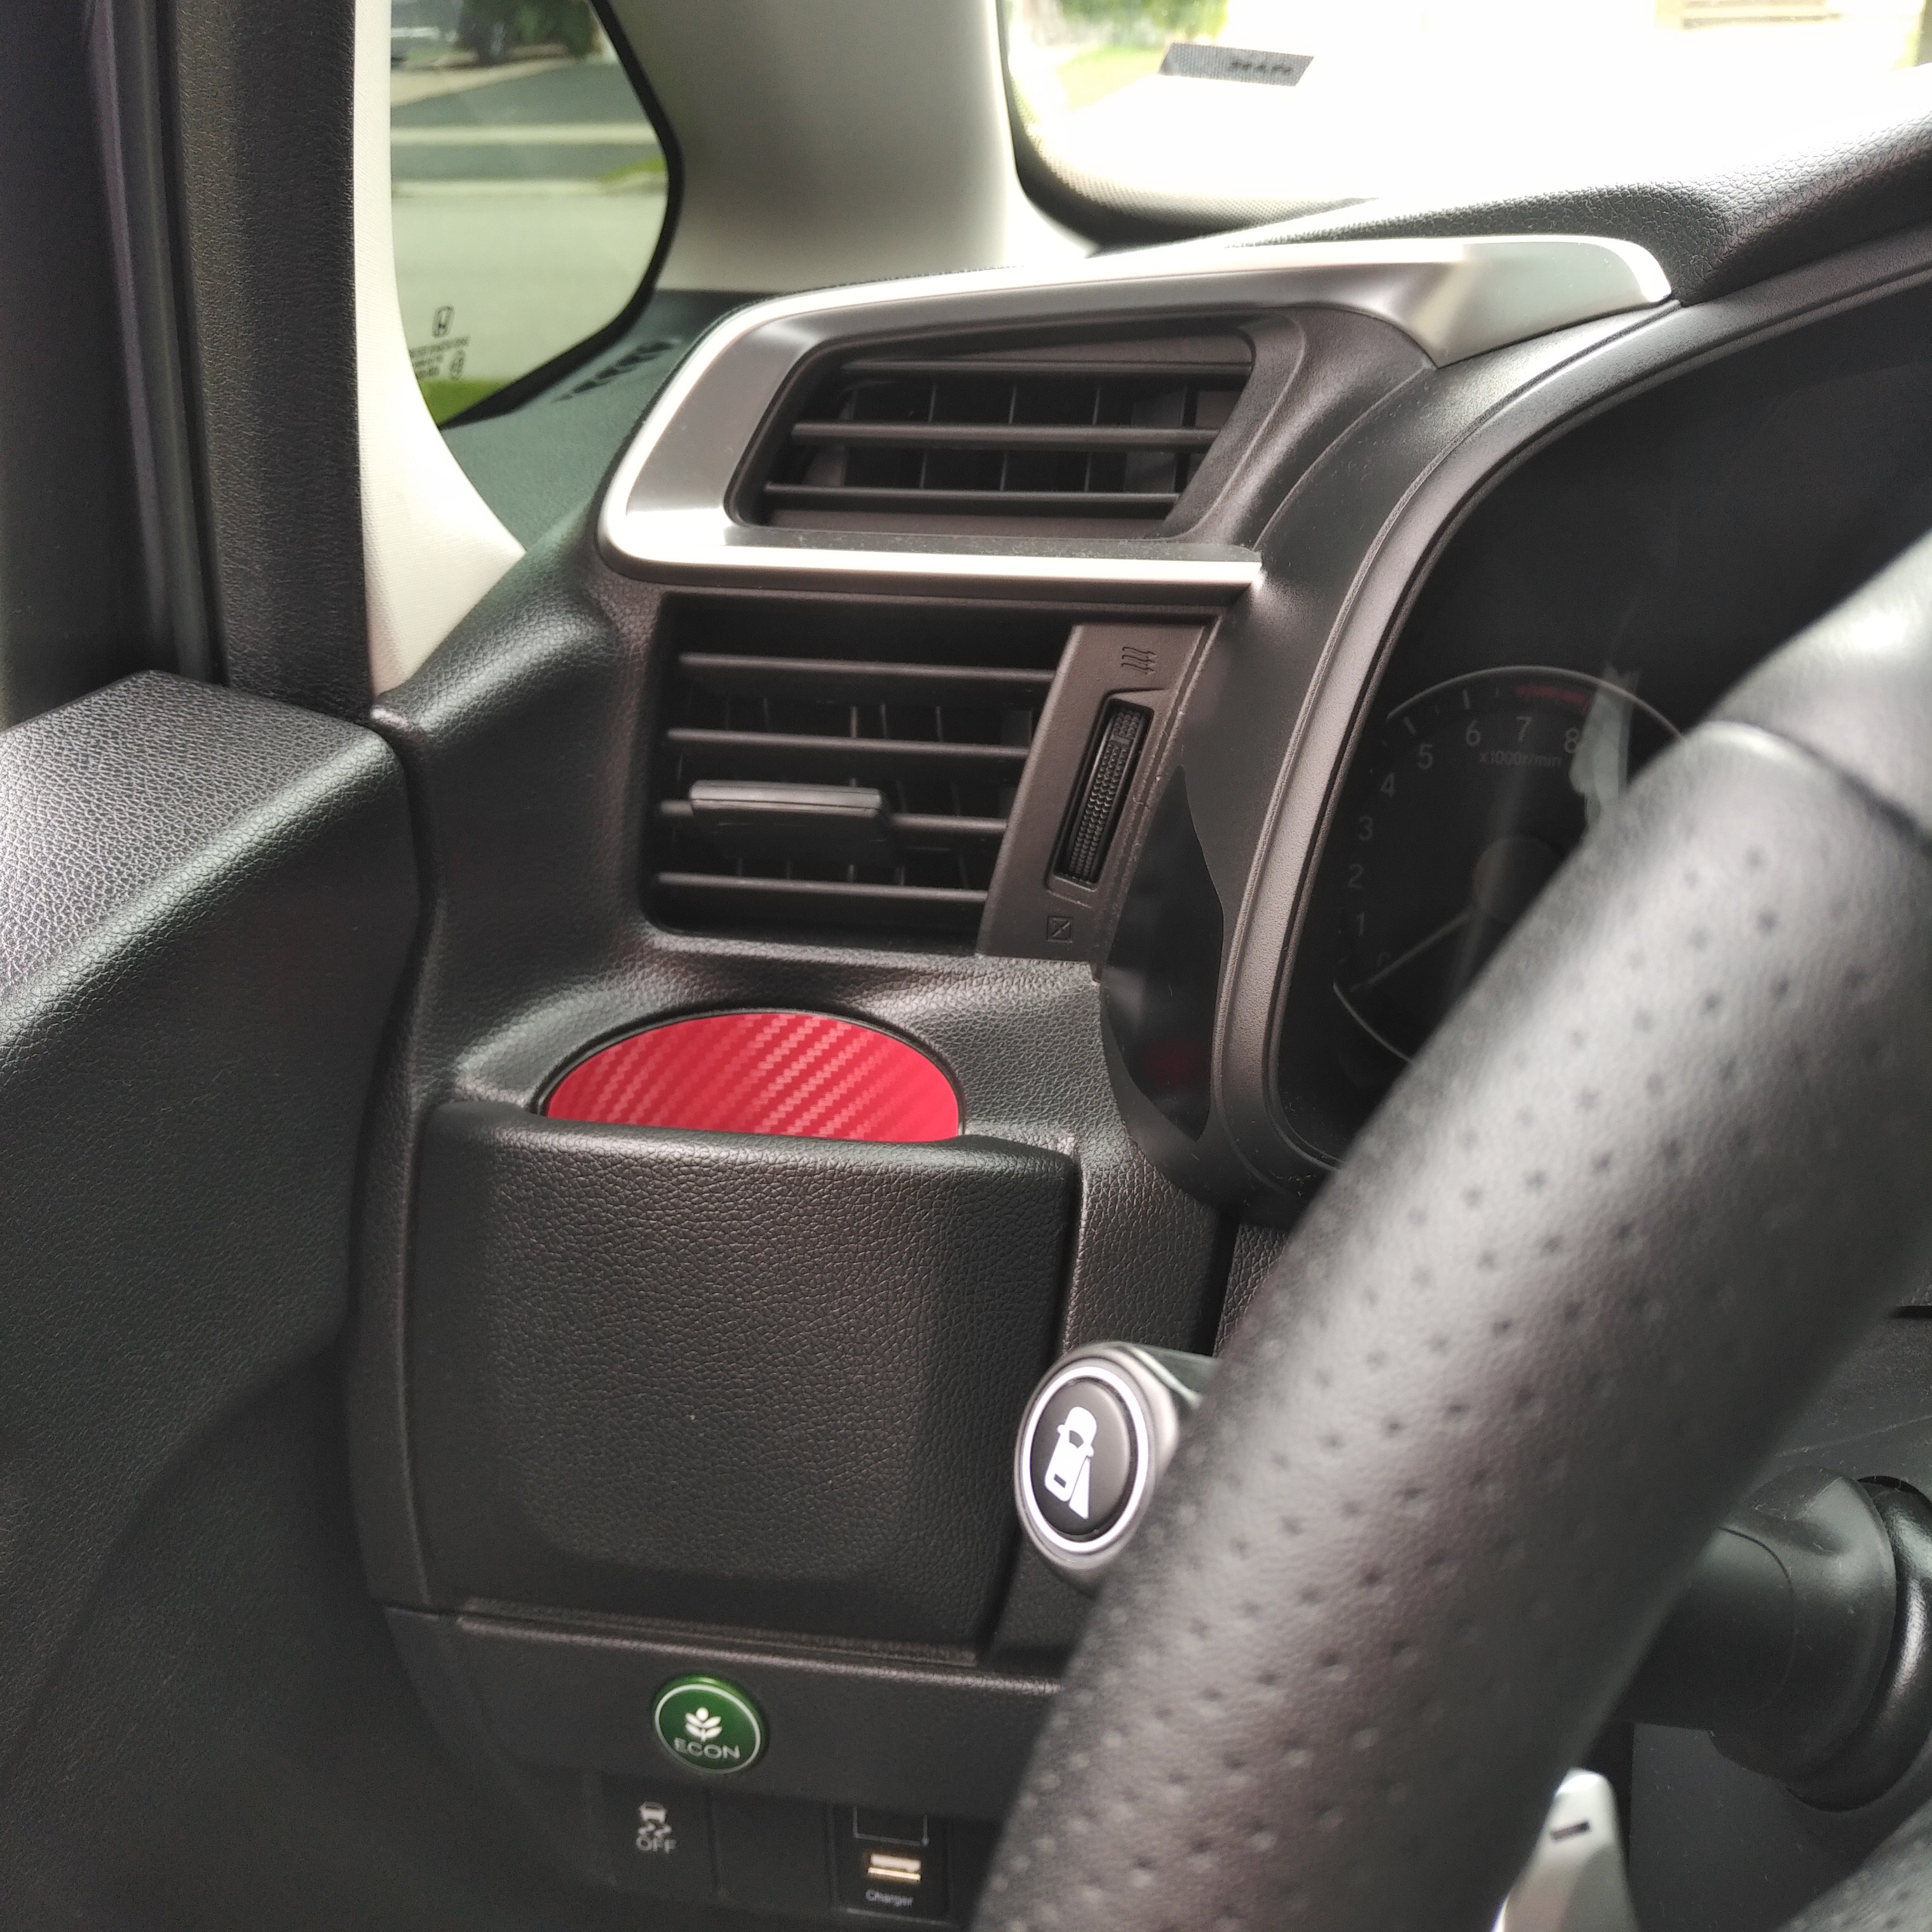
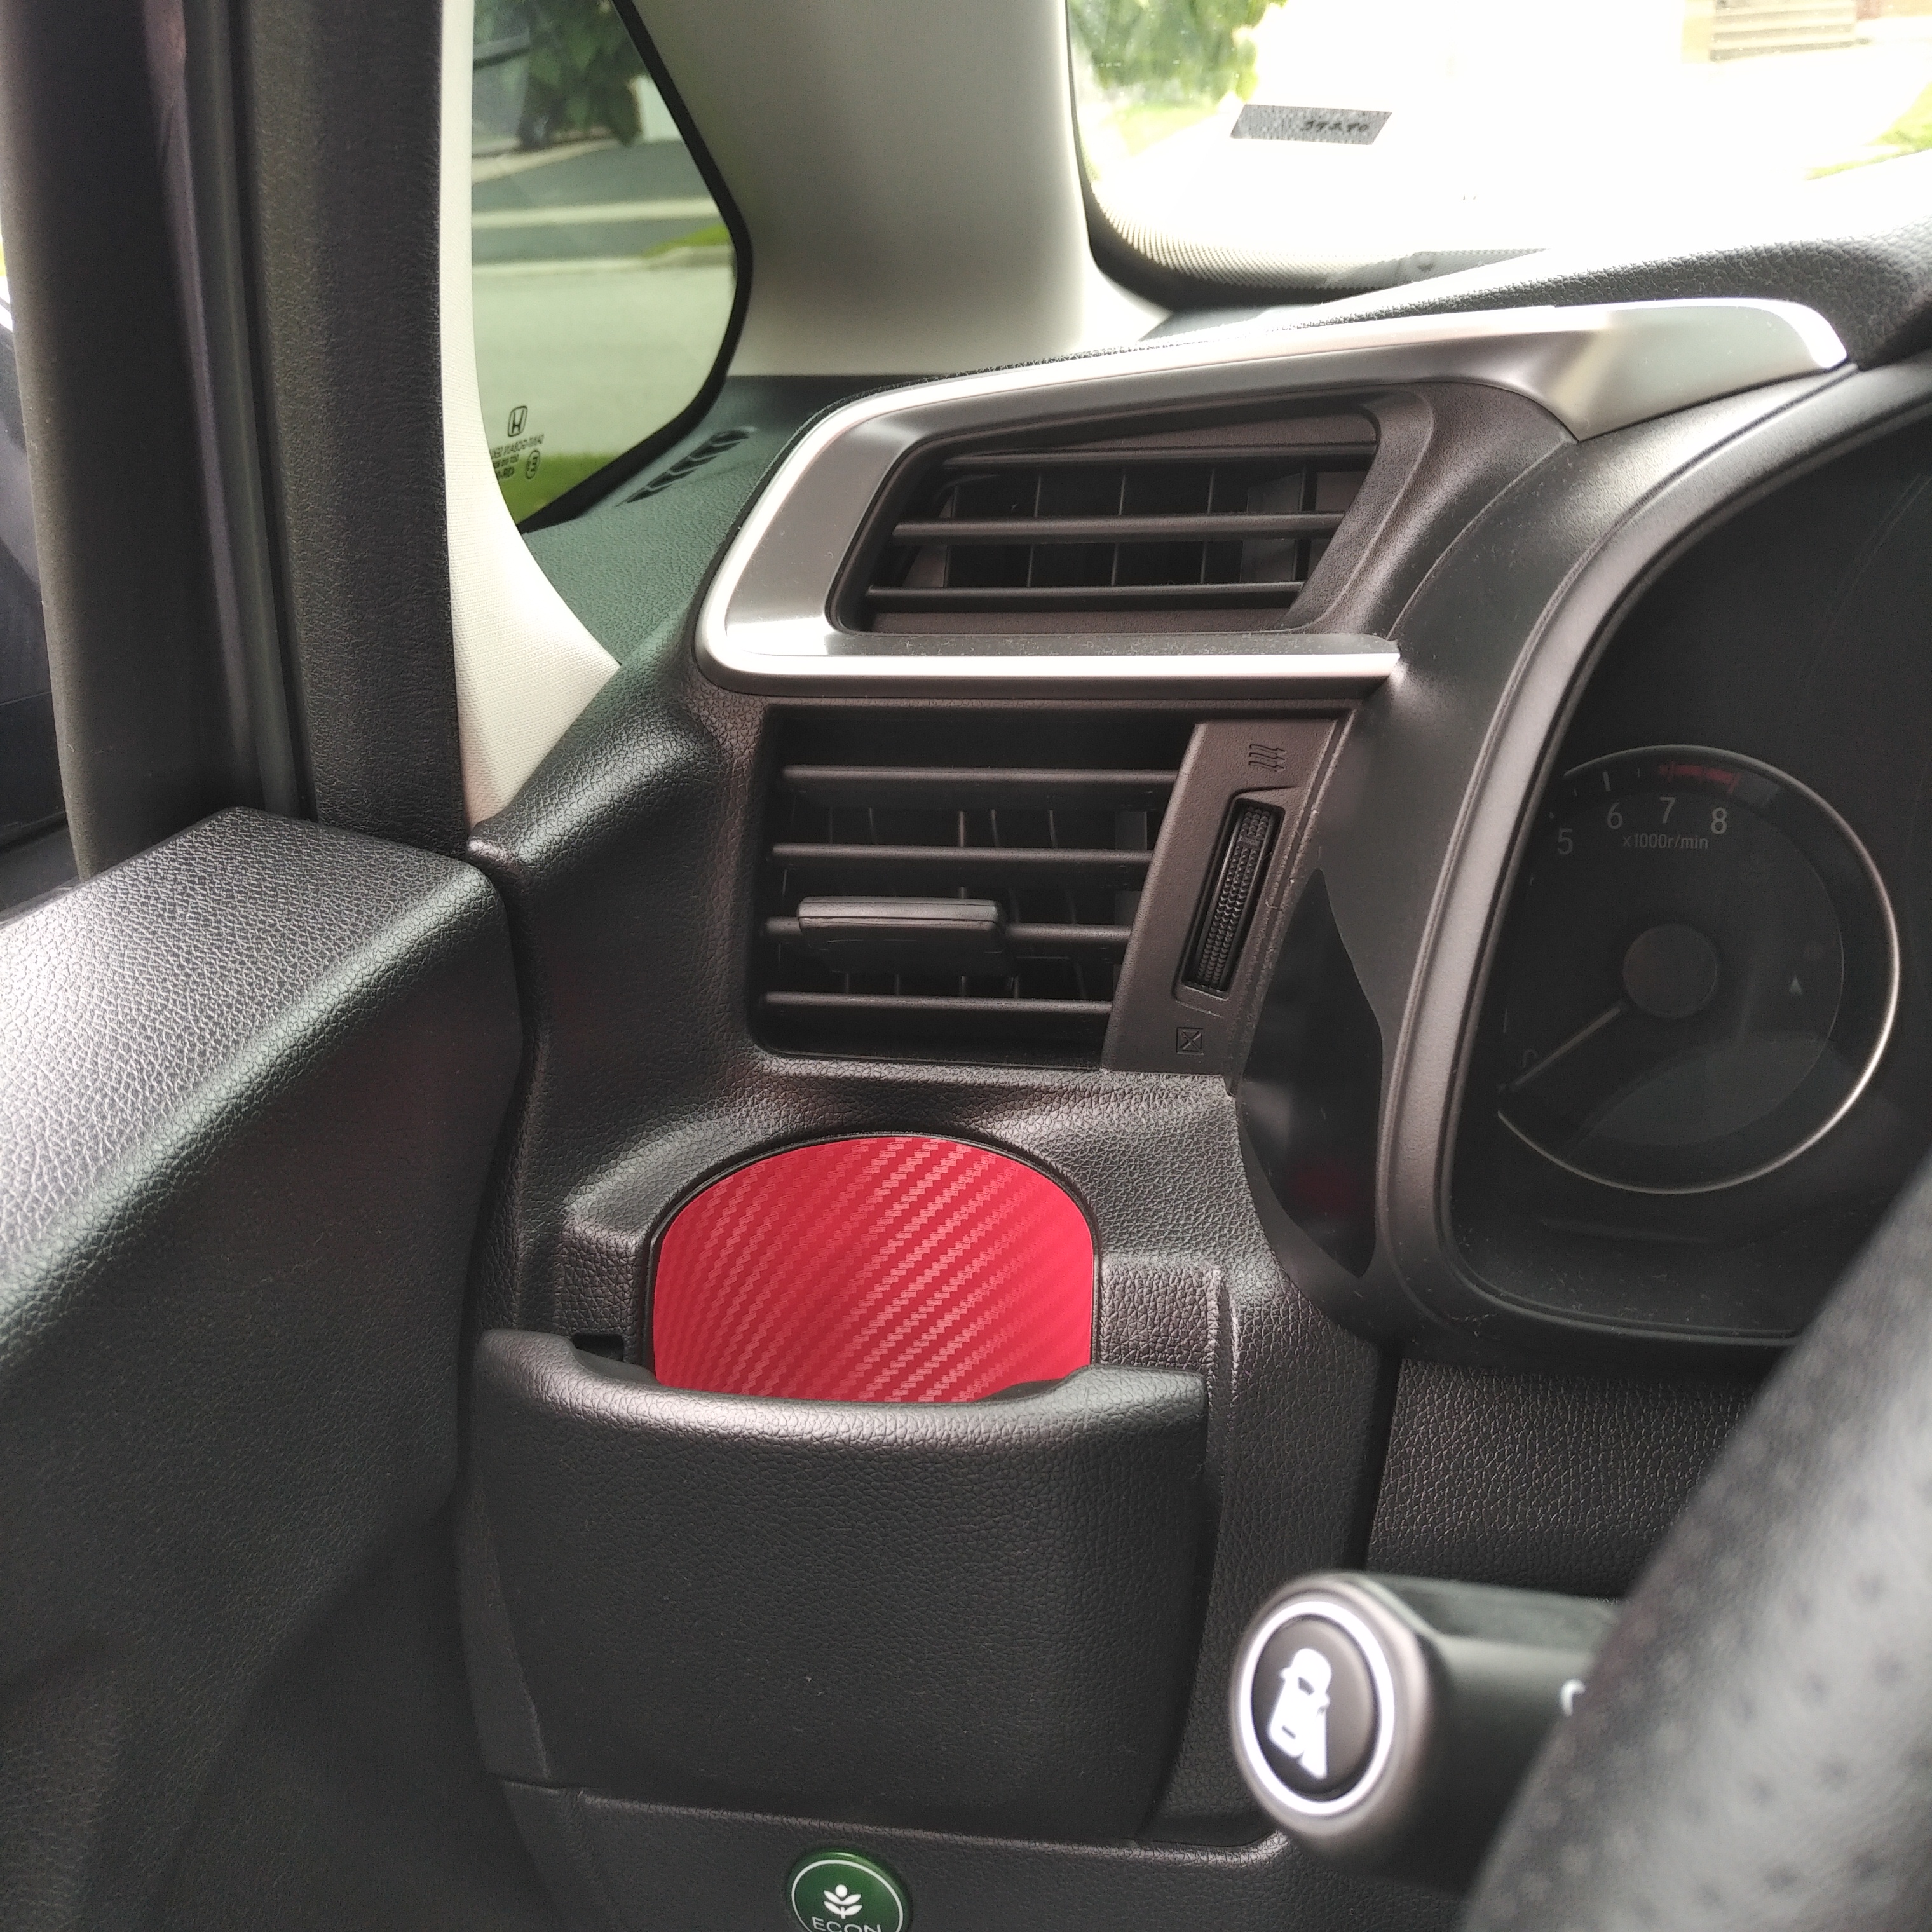
This is the bulb that is under the HVAC controls. The dull one that lights up overhead of the cupholders/storage.

