*Warning! Rated OMG!* 2004 Black 350z Full detail + touch up
#1
 05-03-2010, 04:42 PM

Join Date: Jun 2009
Location: Knoxville TN
Posts: 365
*Warning! Rated OMG!* 2004 Black 350z Full detail + touch up
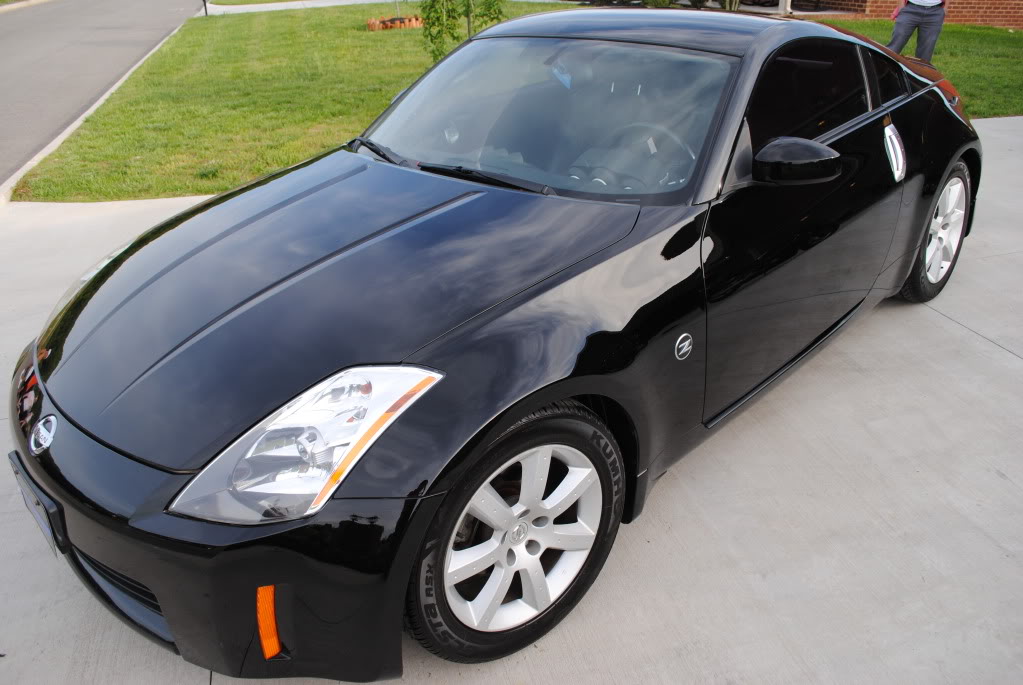
This 2004 350z was a very special job because it belongs to a family that is very dear to me. This car was purchased back in 08 as a suprise for the Father of the Family, who has now passed away. The 350Z was the fathers Dream car and he only had the car 4 months before his passing.
here is a video of the family giving him the 350z.
YouTube - Surprising Dad With 350Z
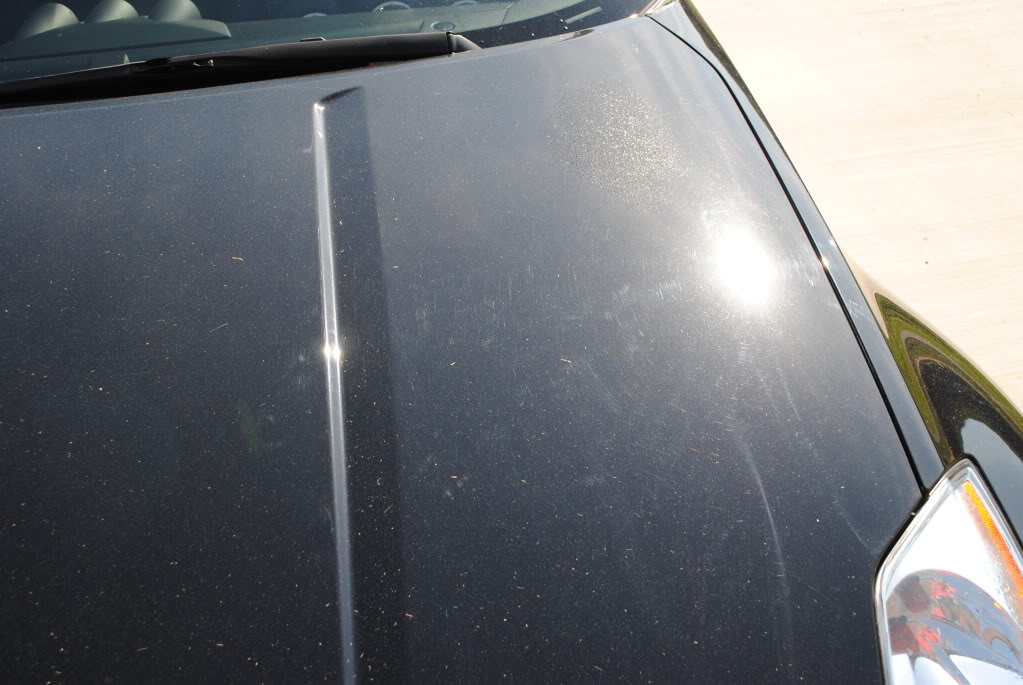
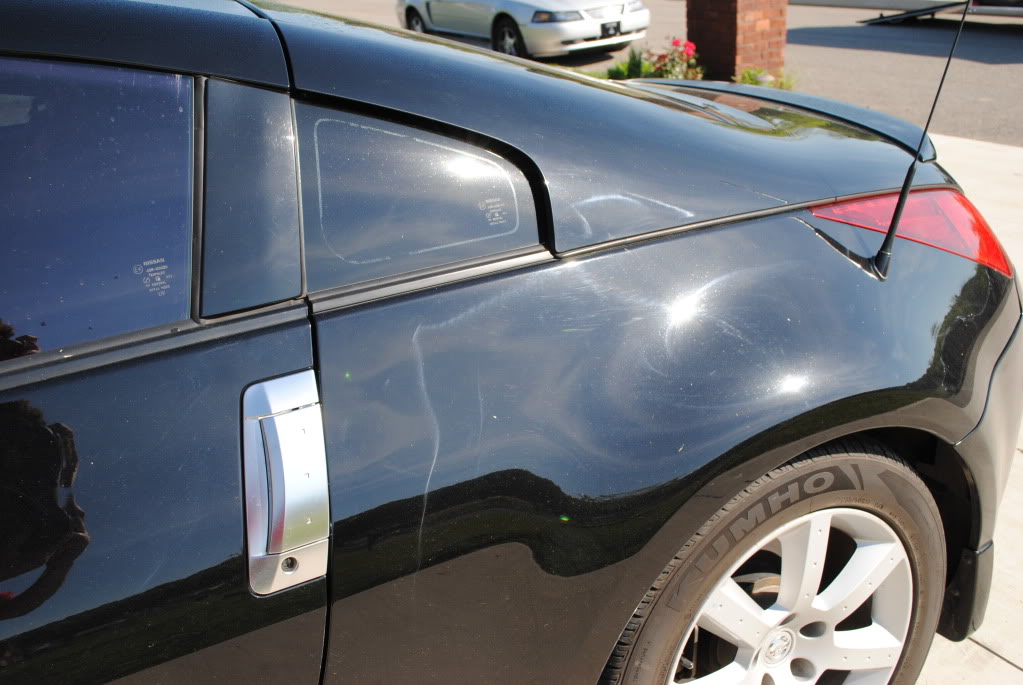
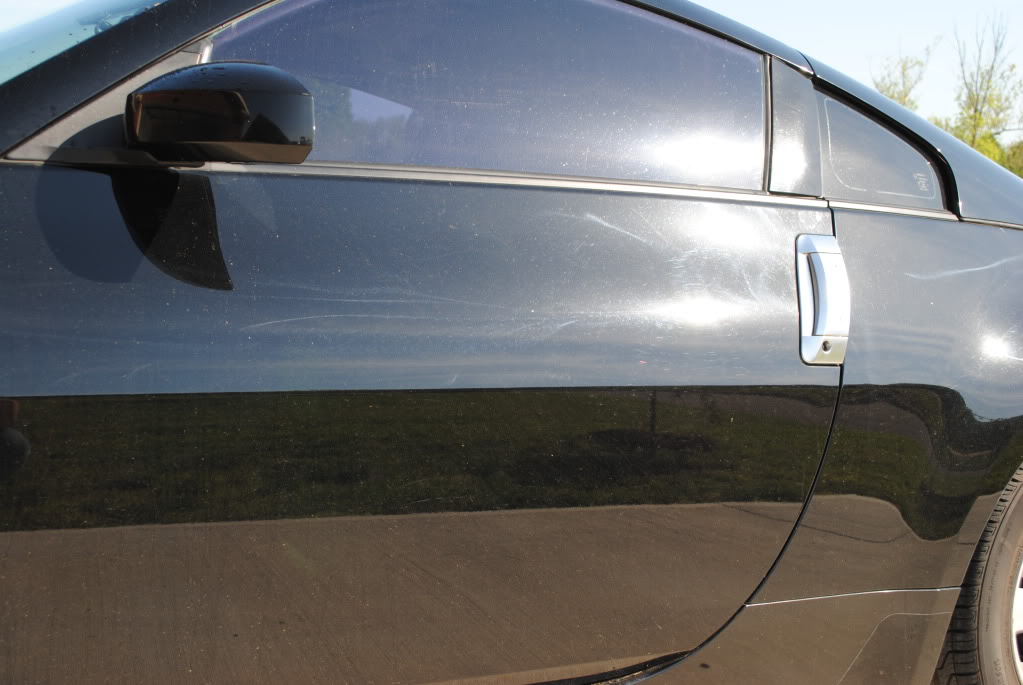
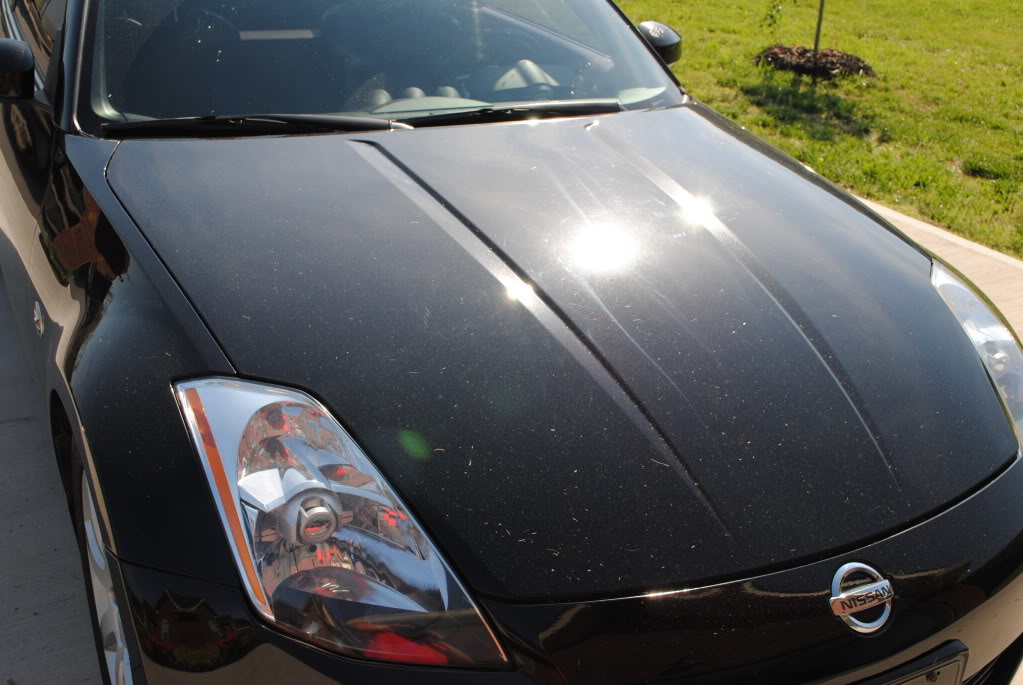
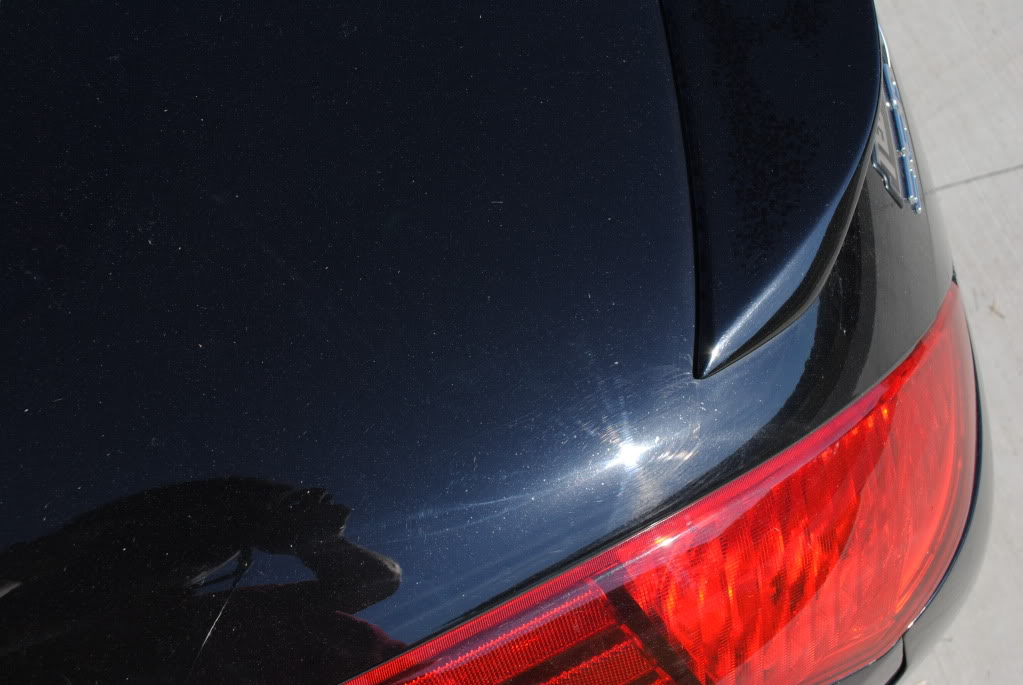
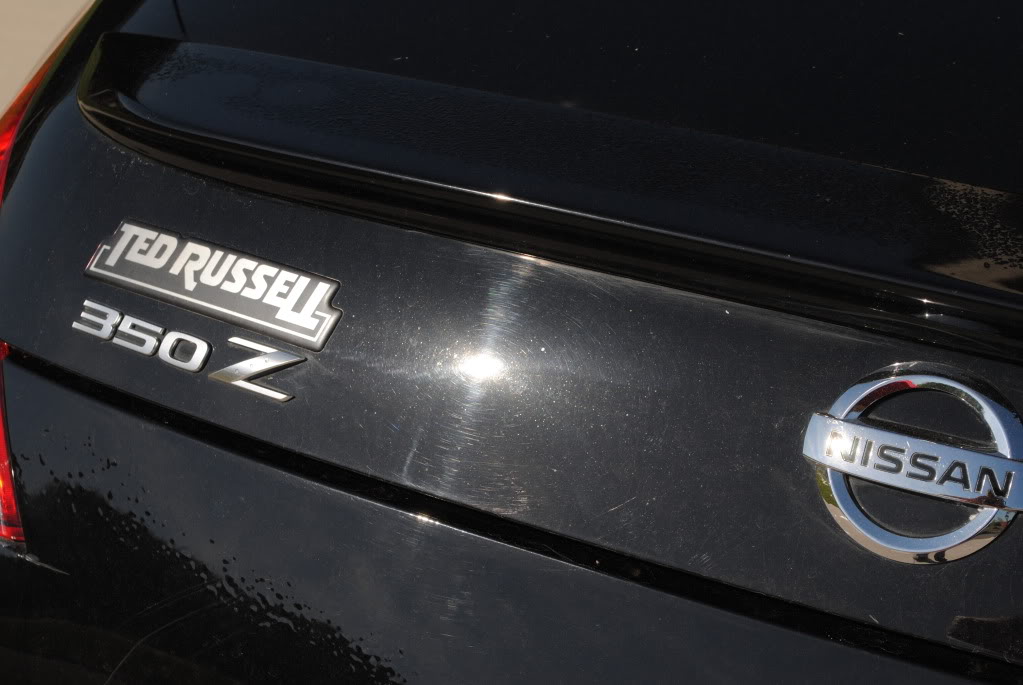
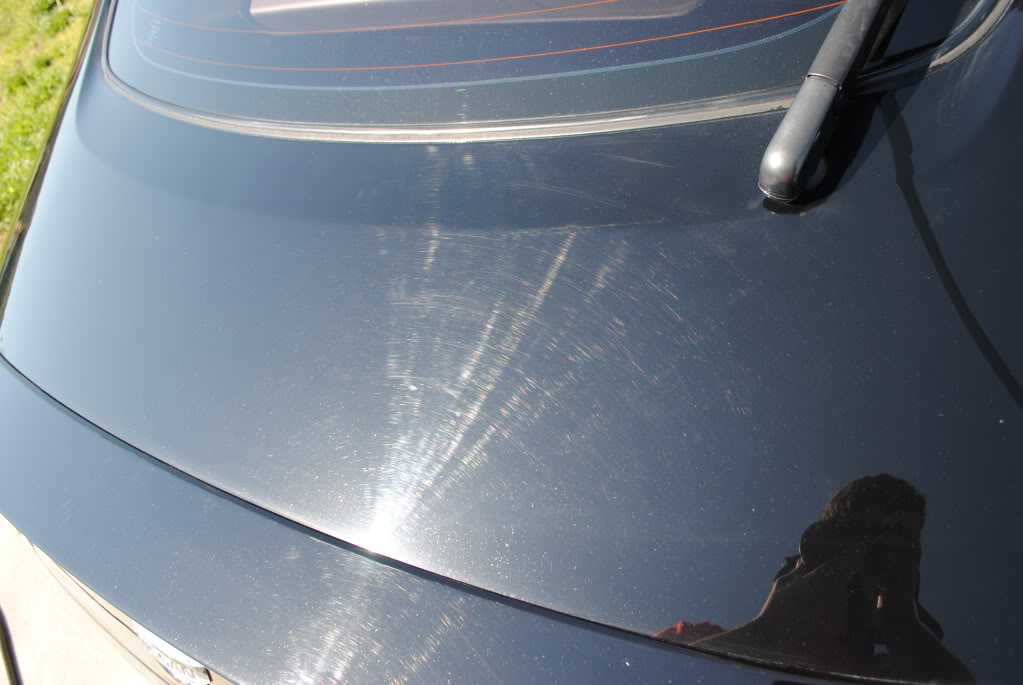
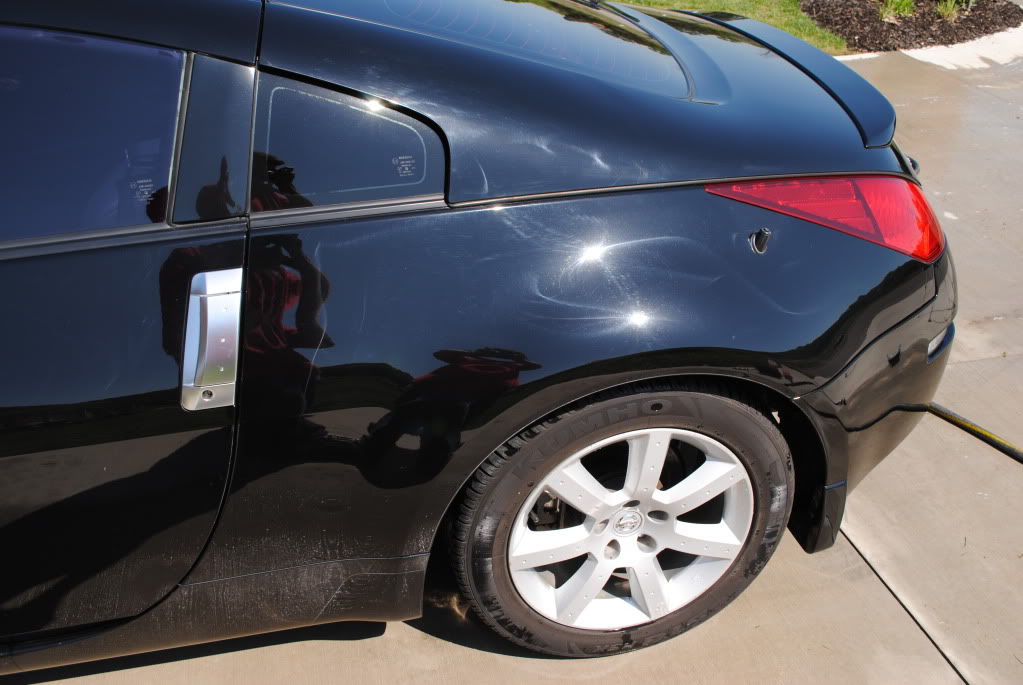
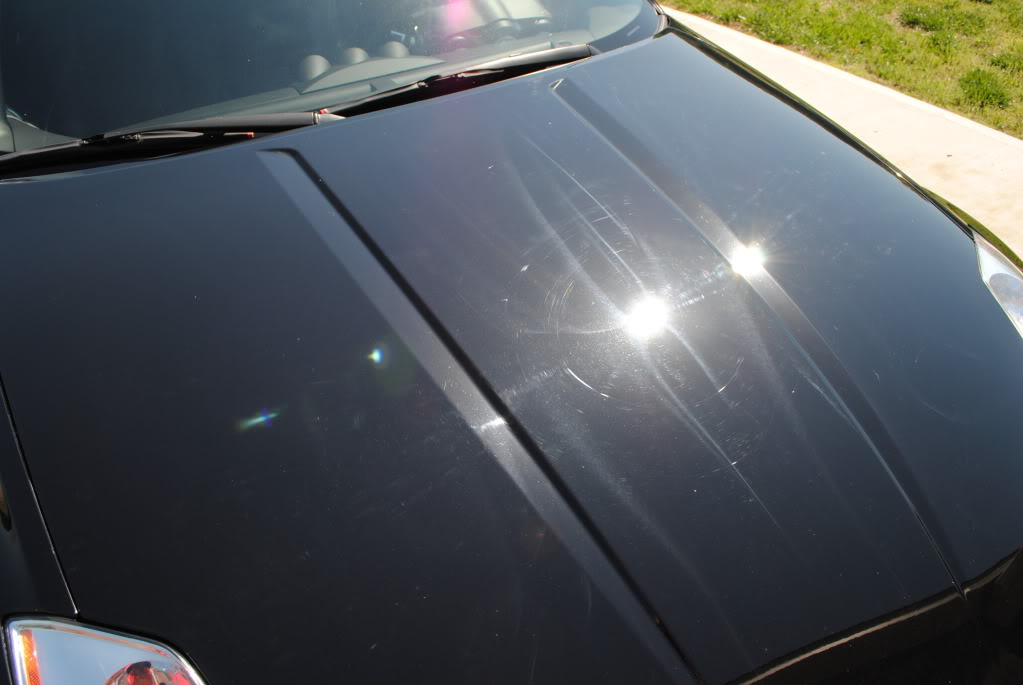
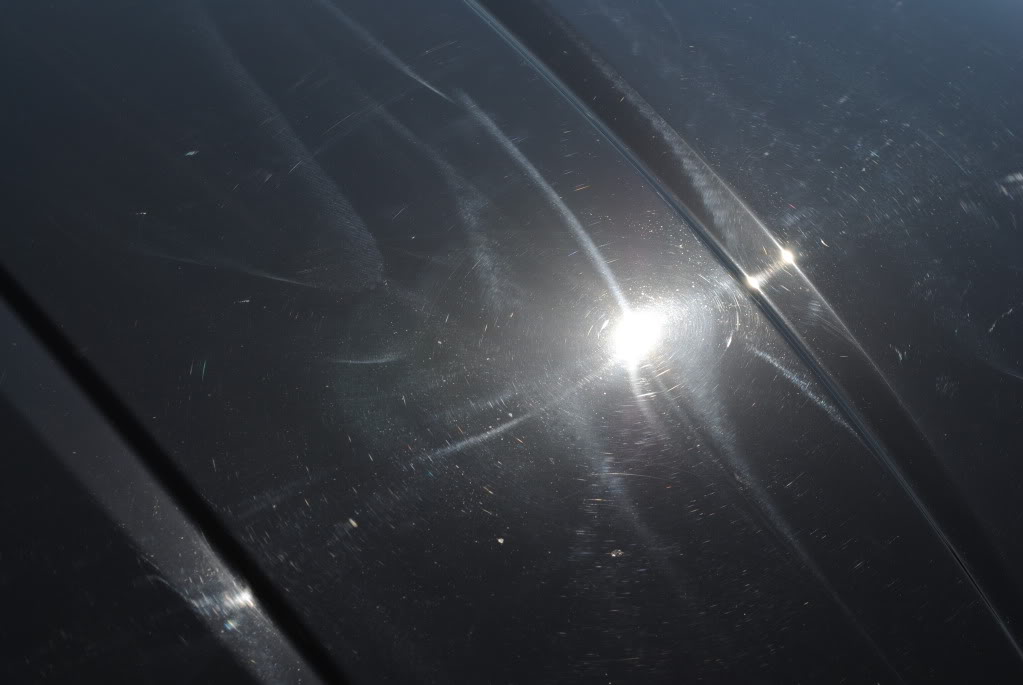
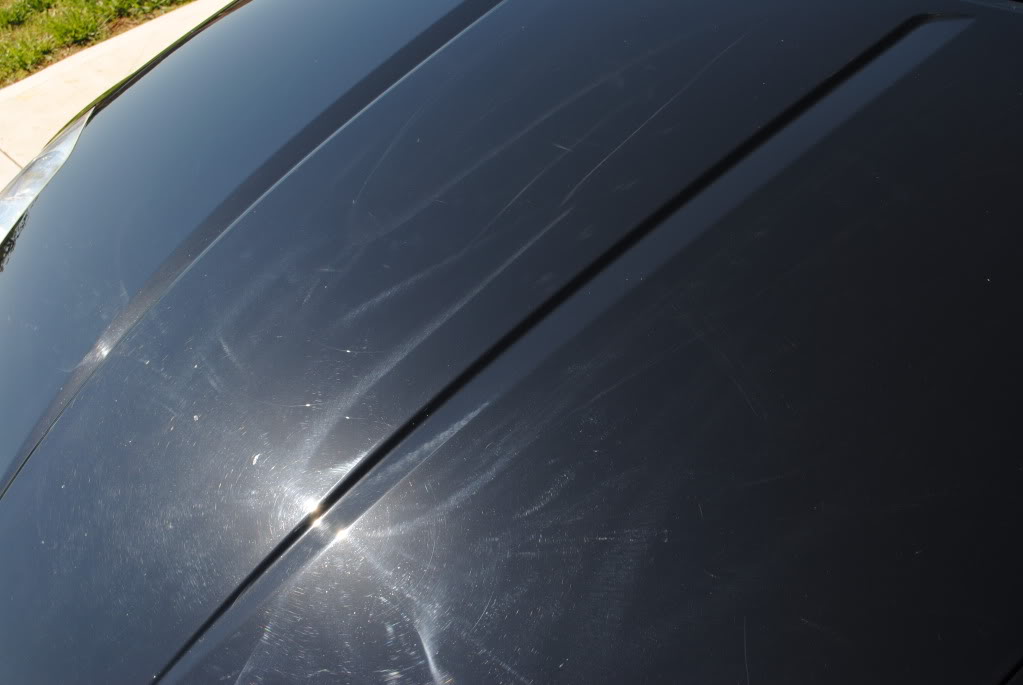
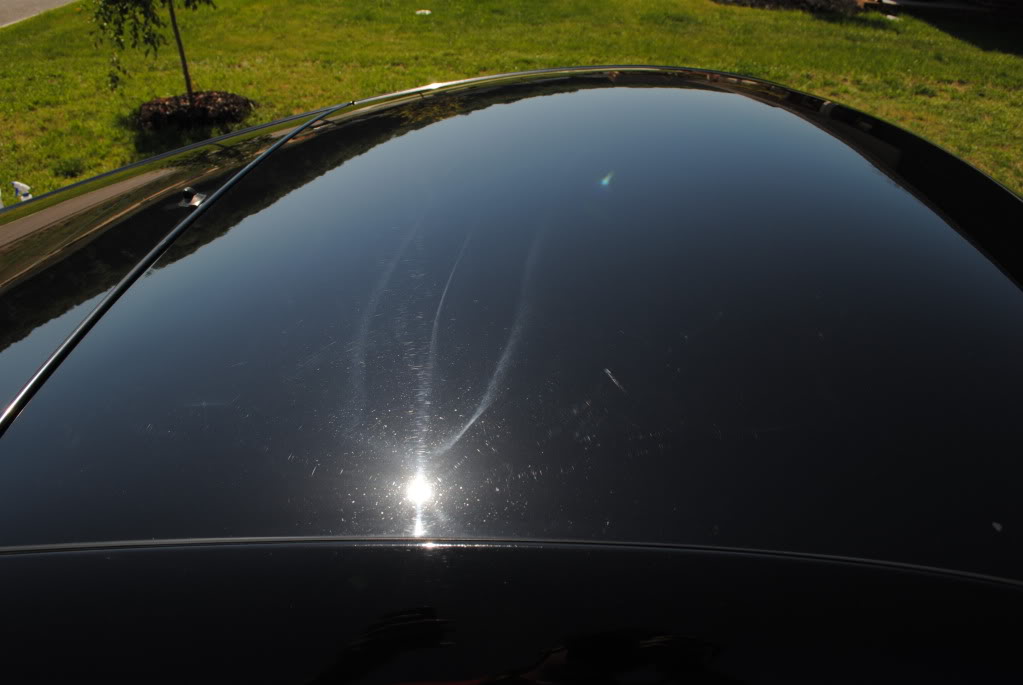
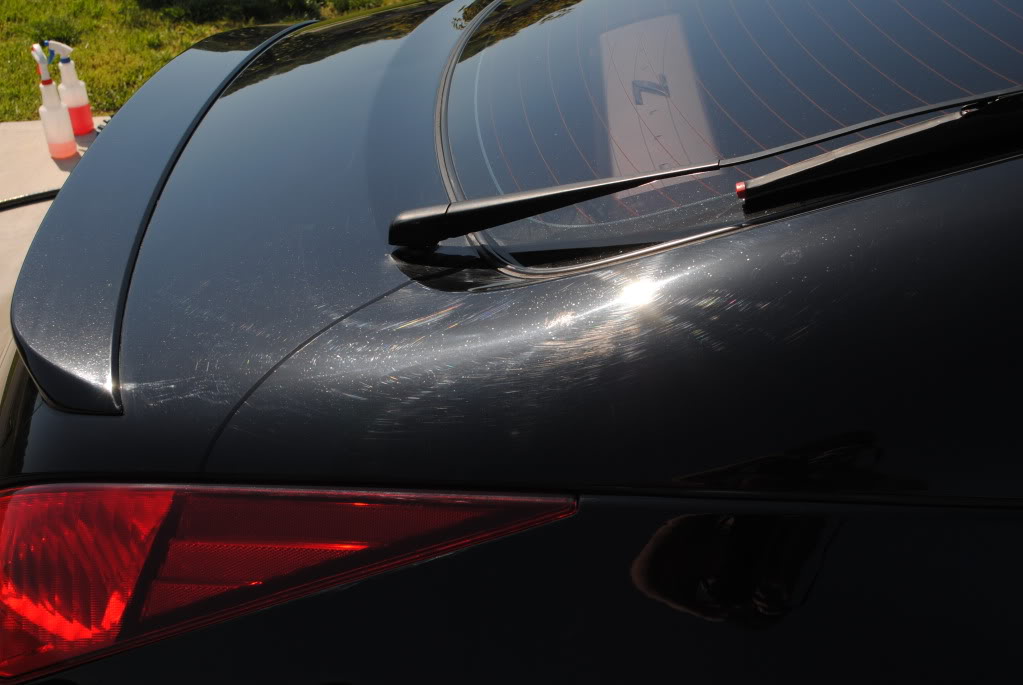
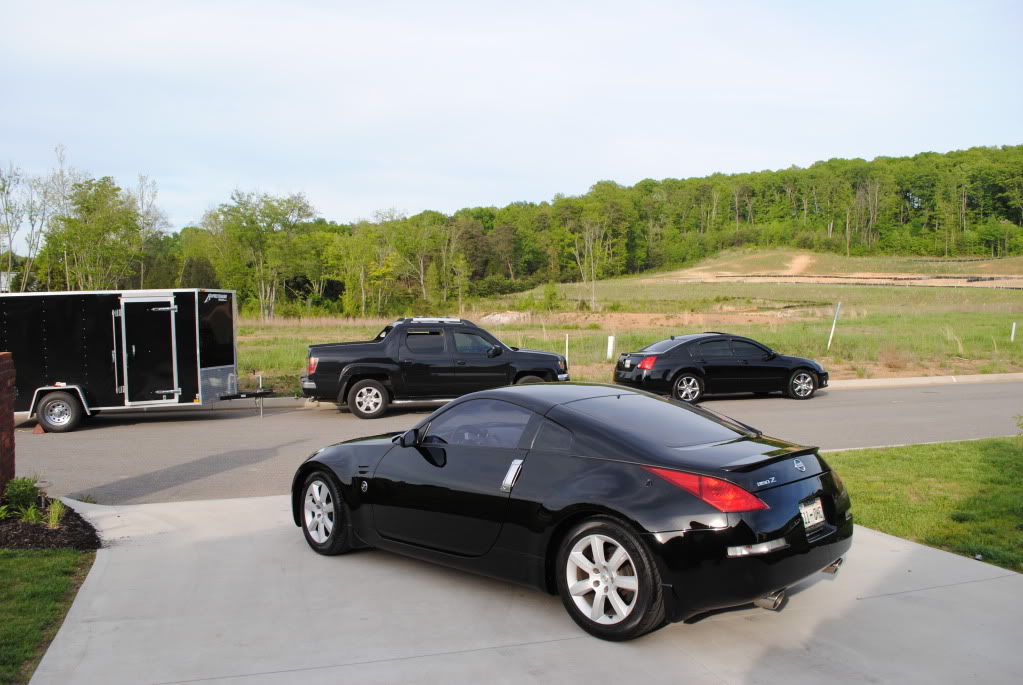
Now this car had been severely neglected, and needed A LOT of attention. This job took over 15 hours non stop to complete. This is what I pulled up to. (*Warning images may not be subtable for children under the age of 18*)
So my Weapons of Choice for Washing
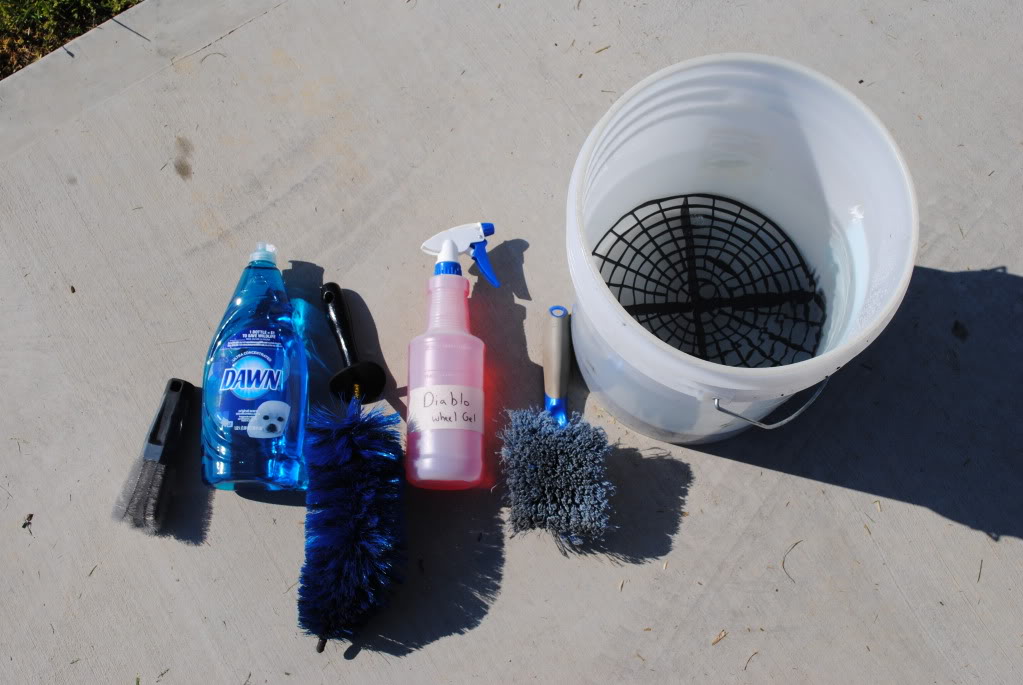
5 gal bucket
Dawn soap (Highly concentrated)
Grit gaurd
100% sheep skin wash mitt
Ez Detail brush
misc brush
lugnut brush
Chemical Guys Diablo Wheel Gel 3:1 ratio
Automagic Fine blue clay
Clay lube used was the soapy water.
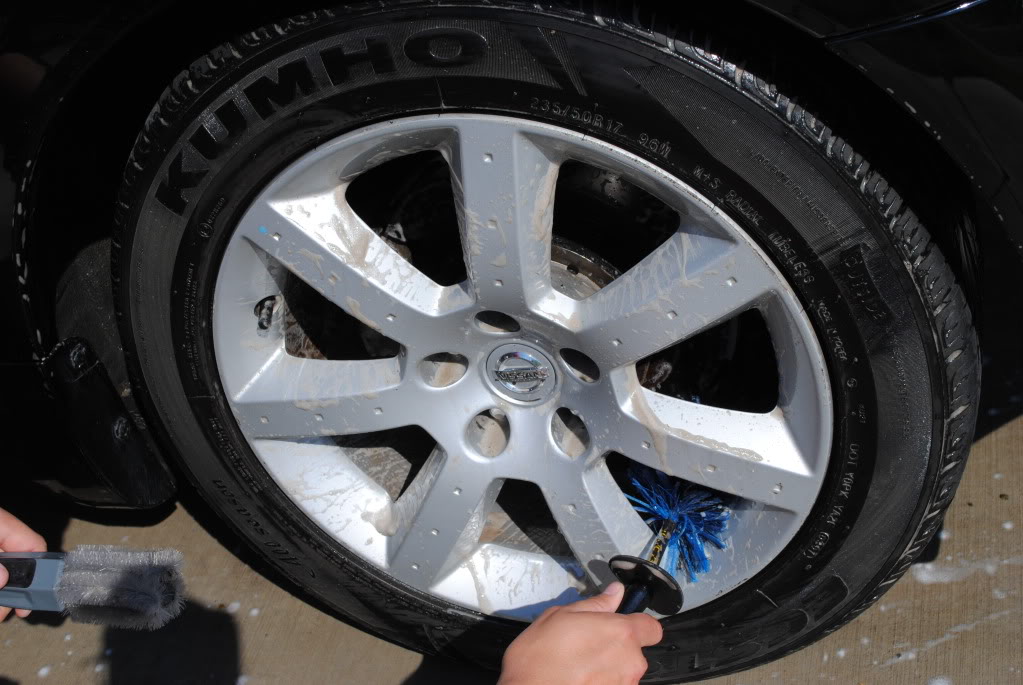
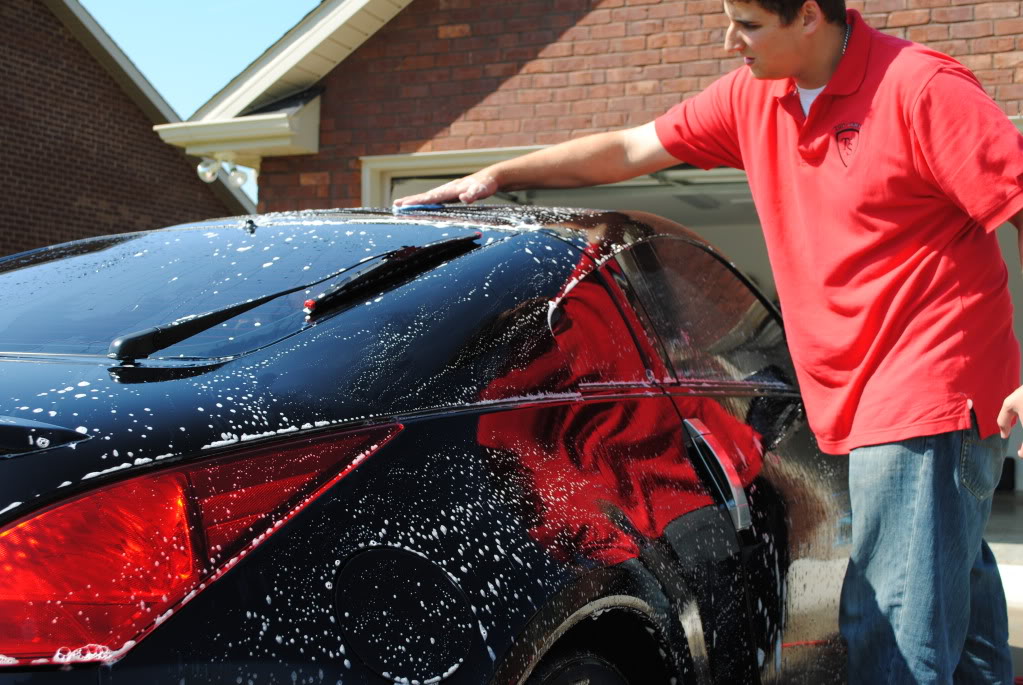
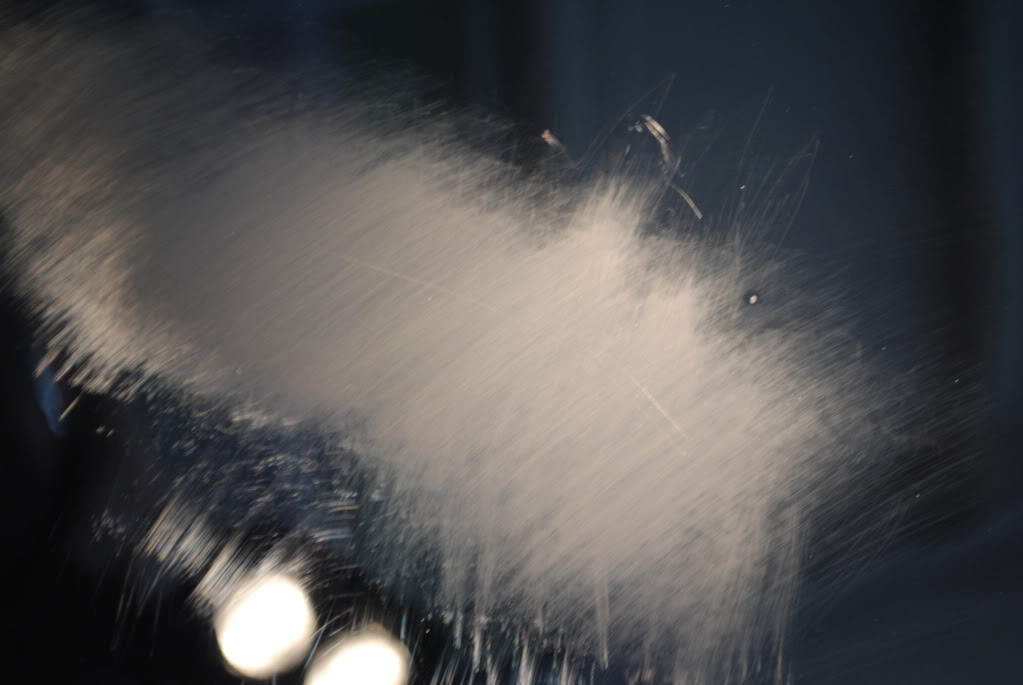
I began washing the car with Highly concentrated Dawn soap to strip off ALL wax (if there was any), haha j/k. (kinda) anyways. here are a few shot of me washing, cleaning the wheels and claying.

Continued below......
After the rinse there was no beading of the water and none of it was rolling off! that's what you are looking for!
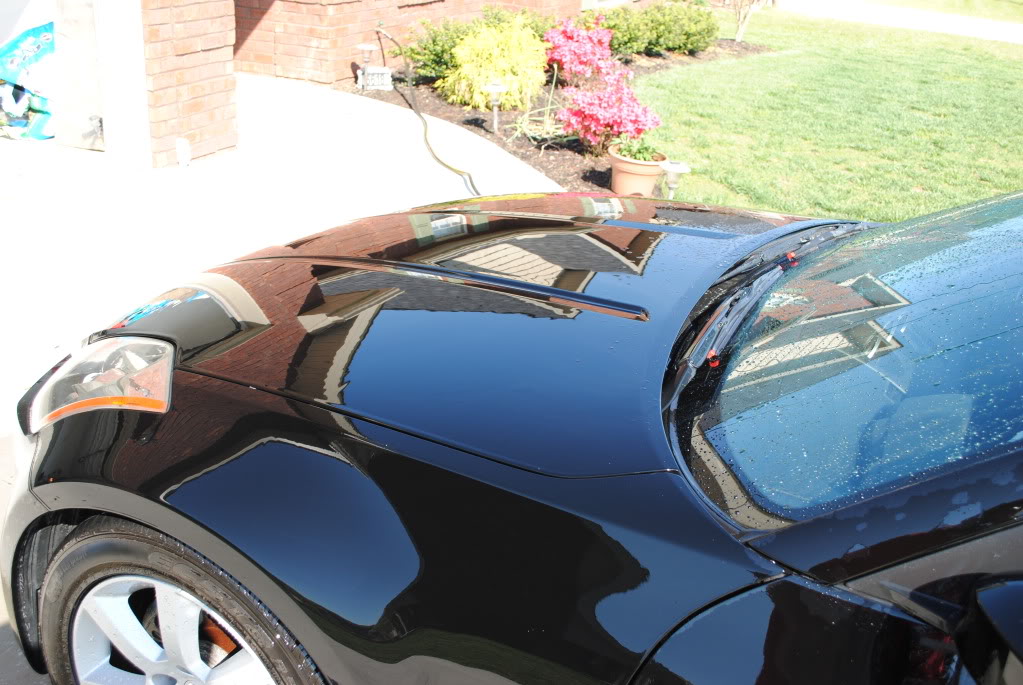

So now the Tru Surface was revealed!
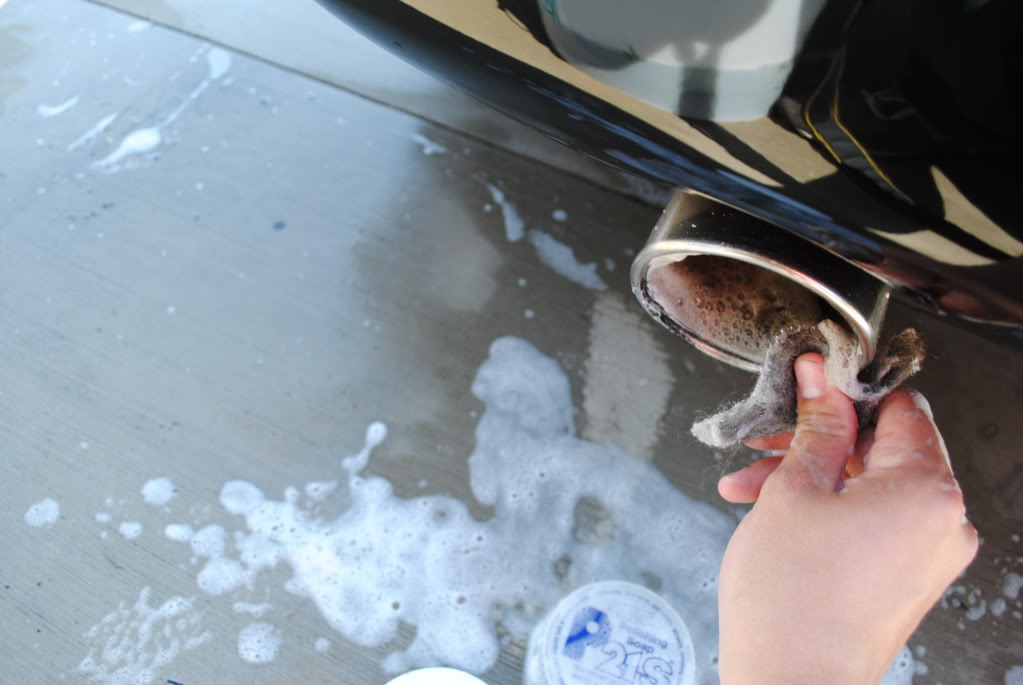
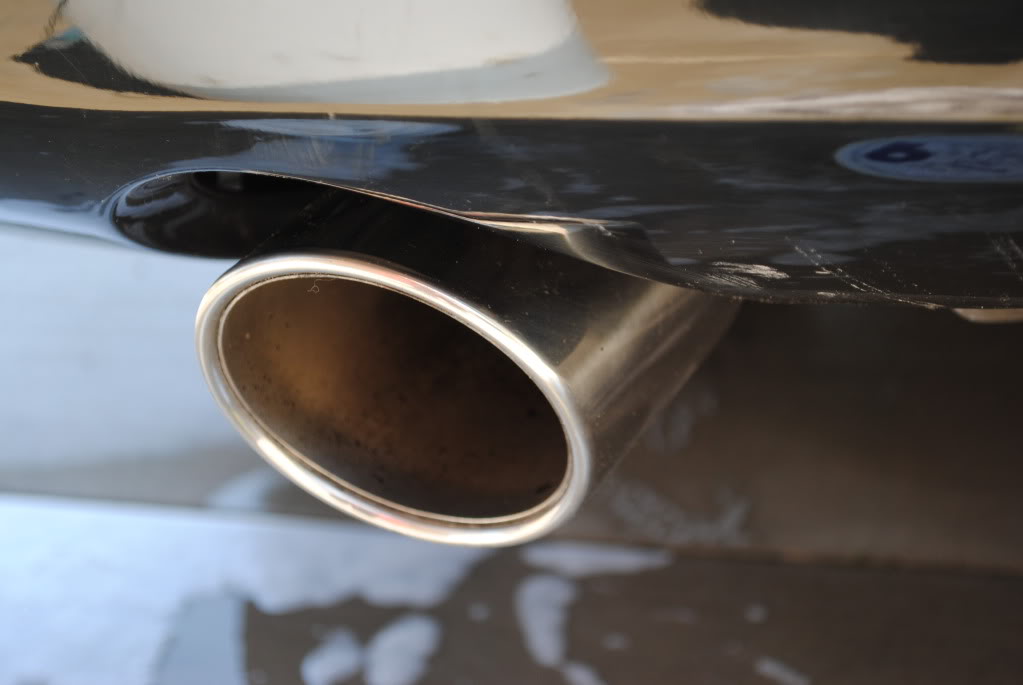
I used P21s polishing Soap on the exhaust tips with some #0000 steel wool.
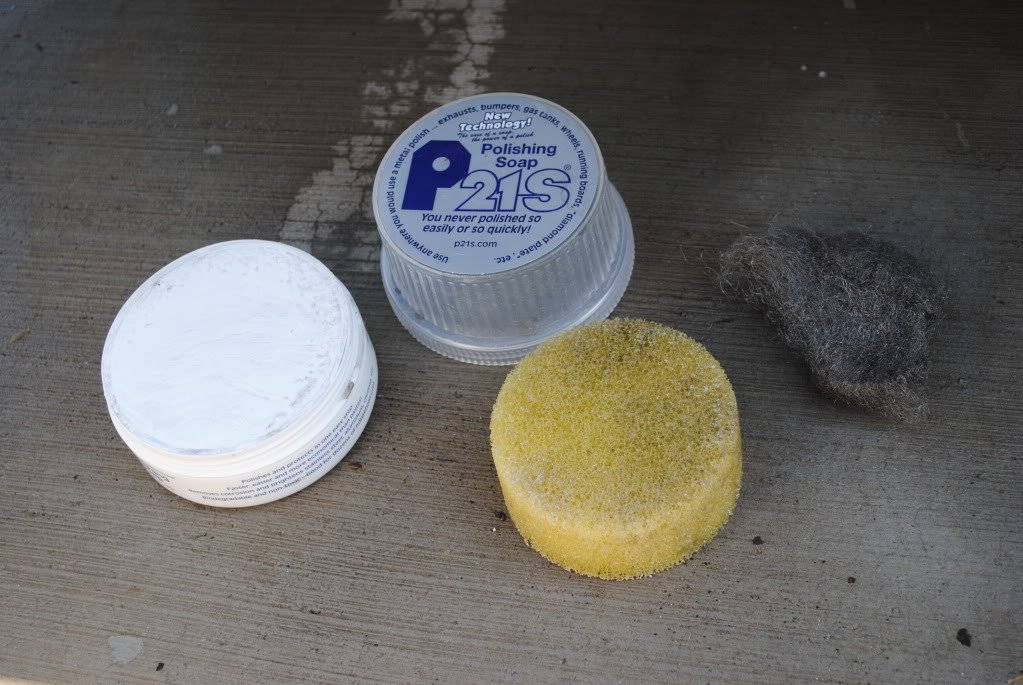
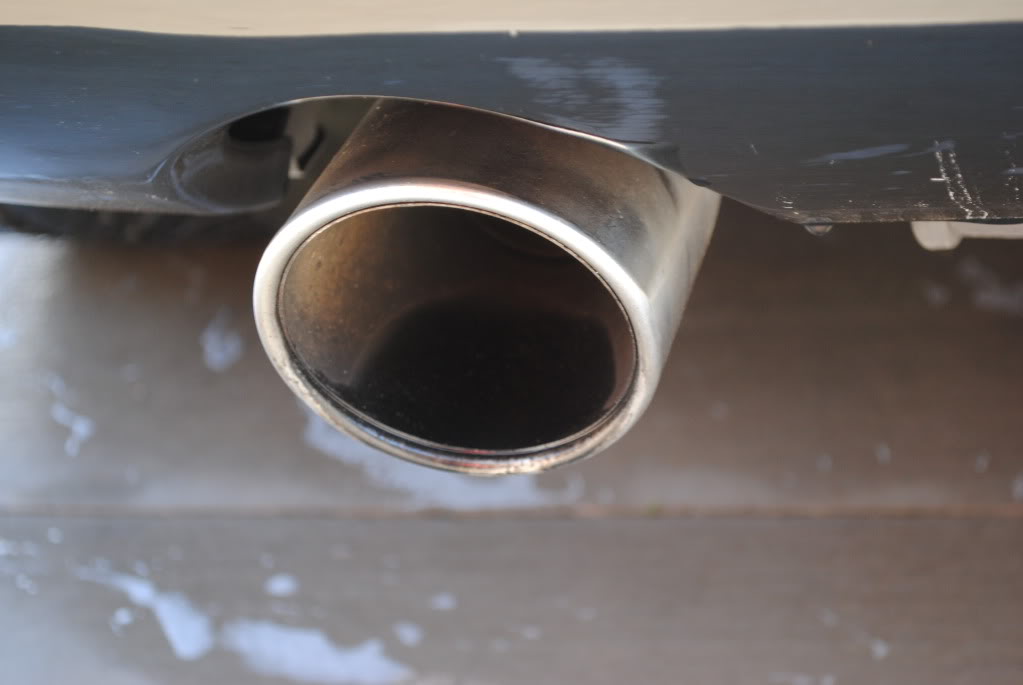
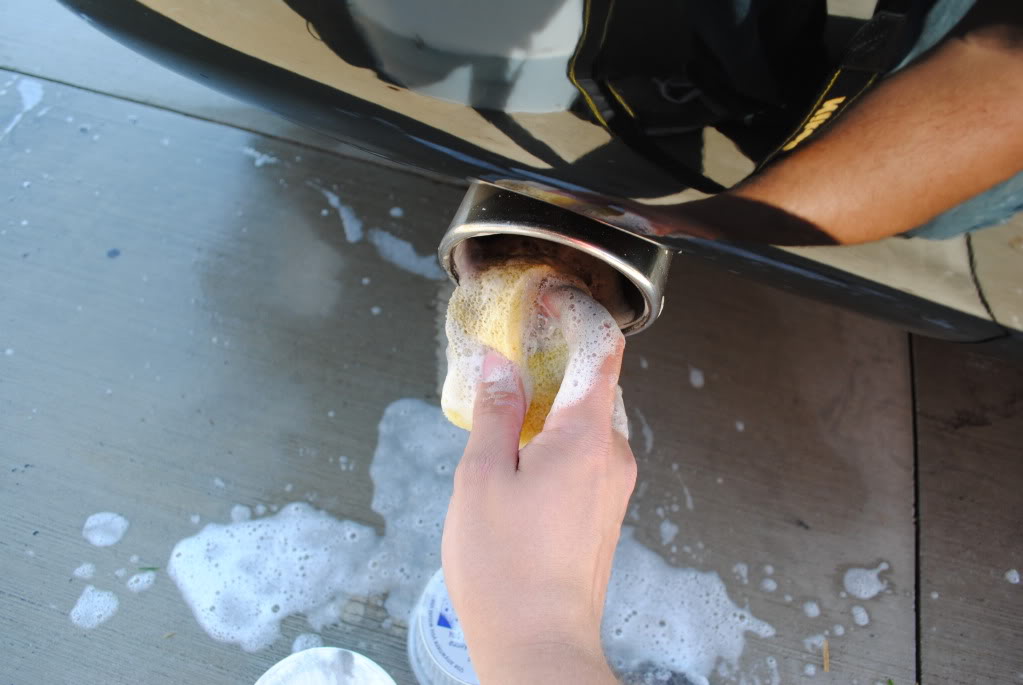
Some of the black soot stains wouldn't come off, thats what the steel wool was for
Now for the paint correction.
I took my paint thickness measurements
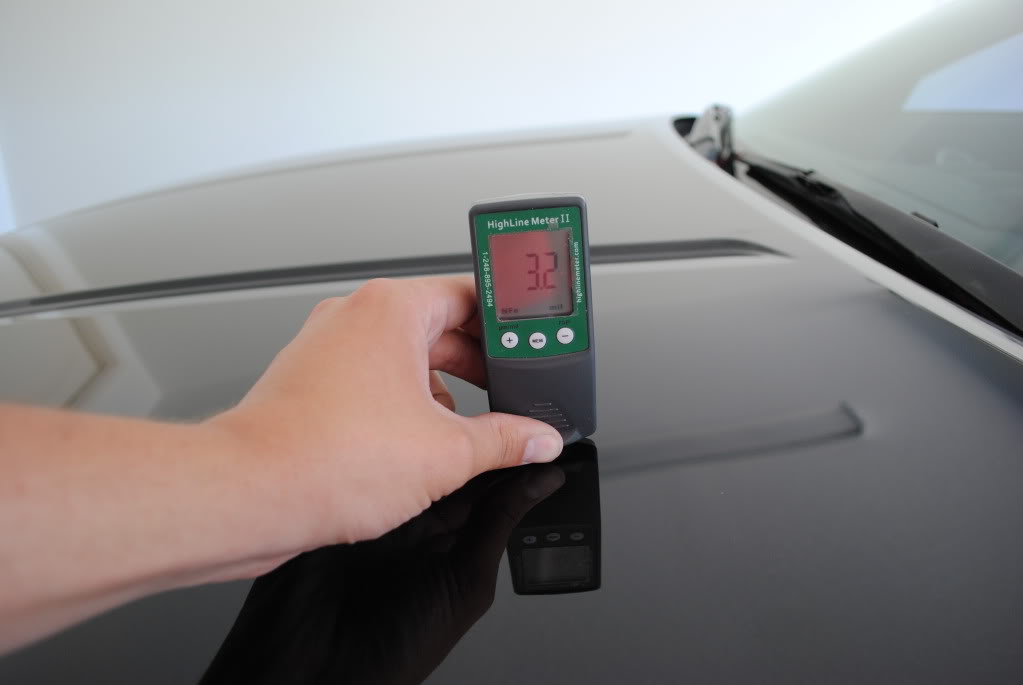
pretty low. but this Z had been buffed on before. So I knew to be extra careful
I done a few test spots and ended up going with the Good Ol' Rotary w/ Megs W66 backing plate with LC purple foamed wool pad and Meguiars M105 compound.
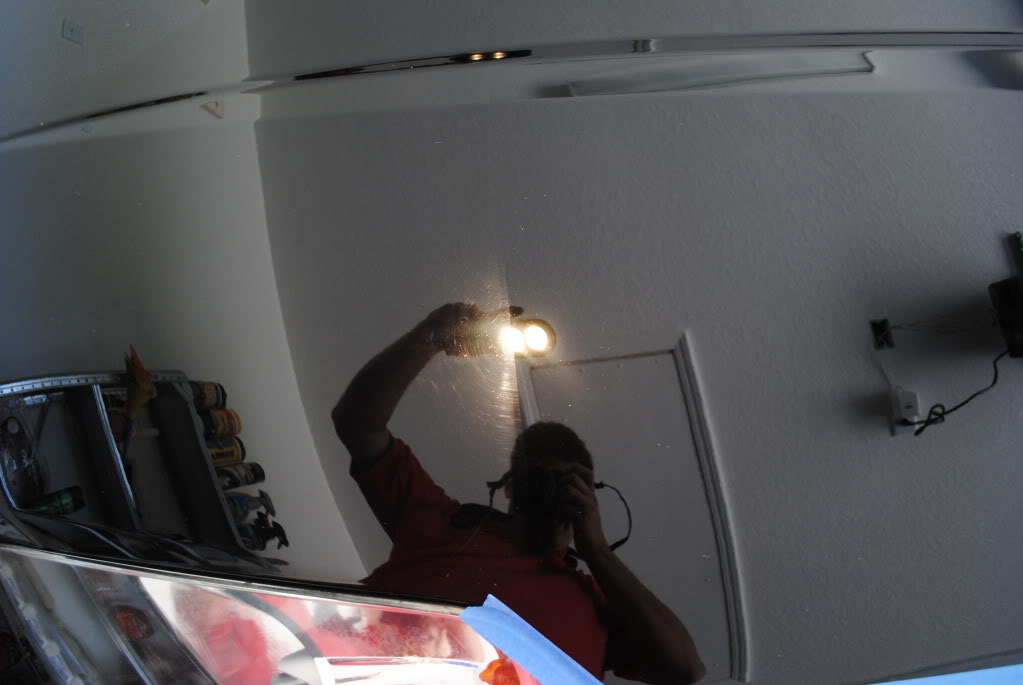
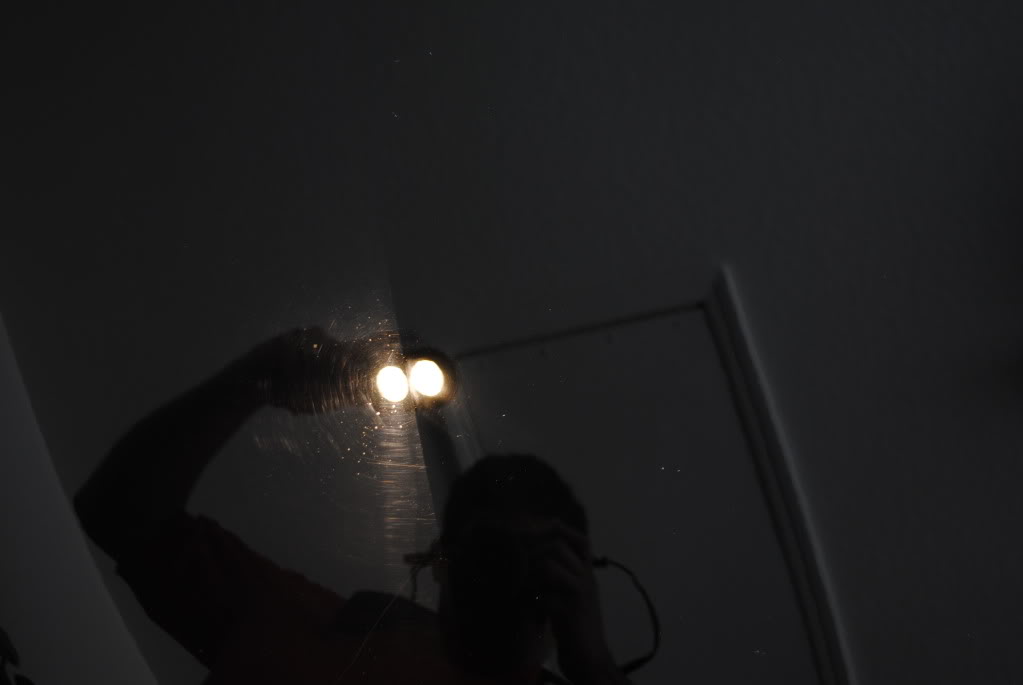
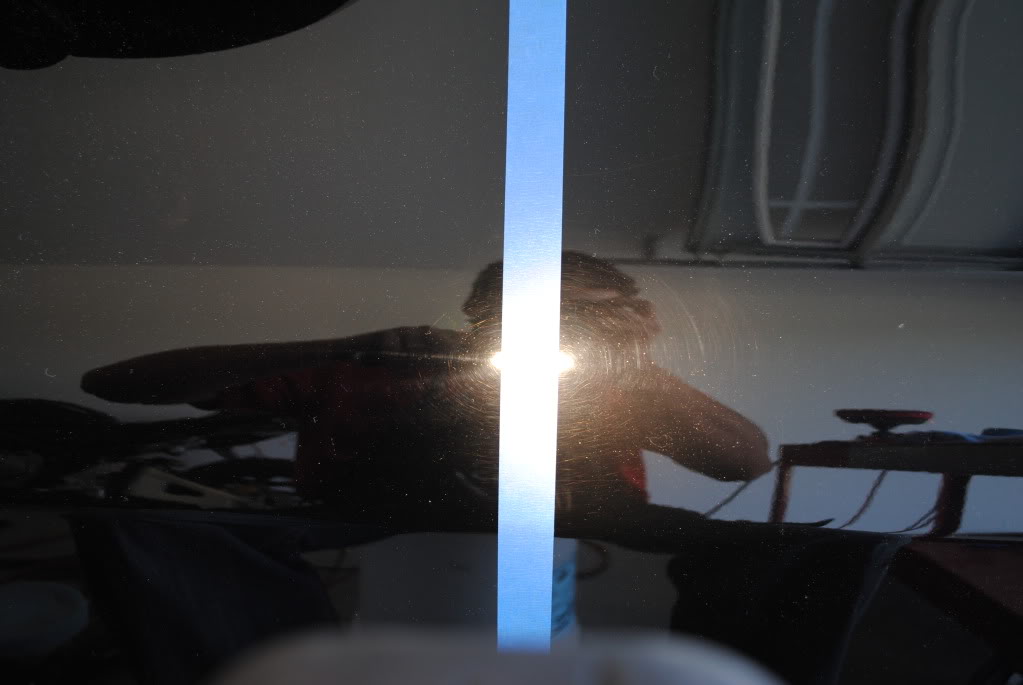
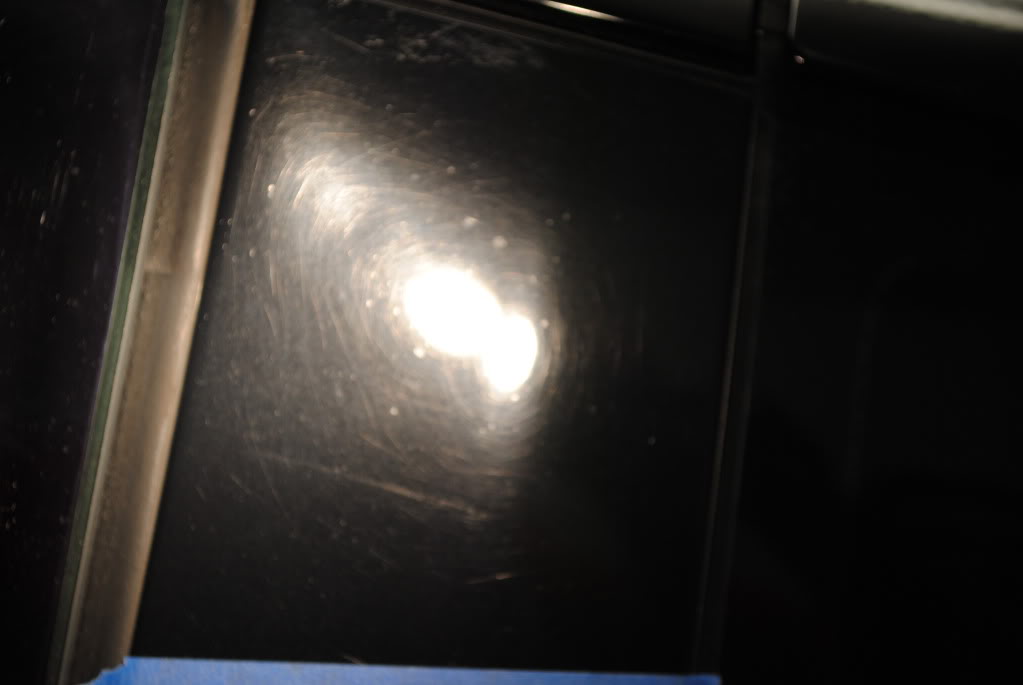
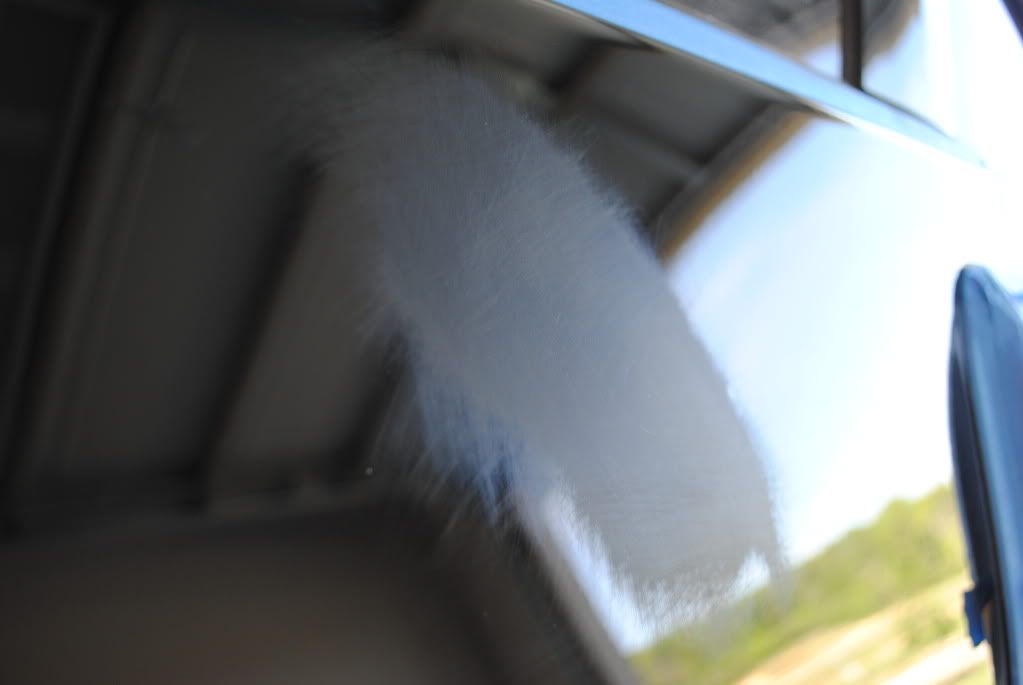
Here is a before
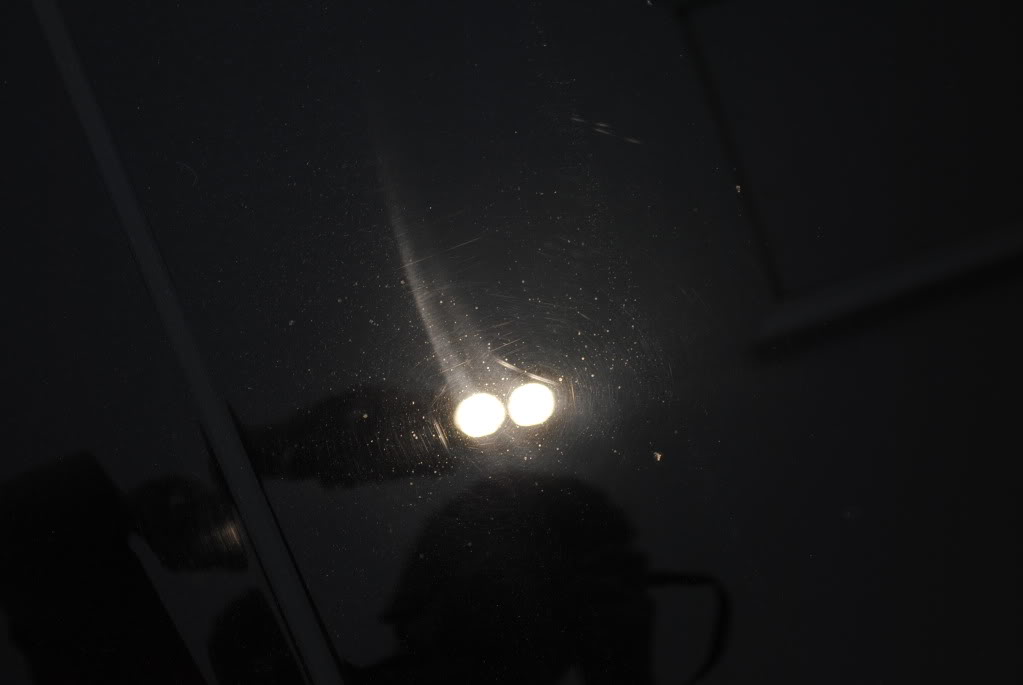
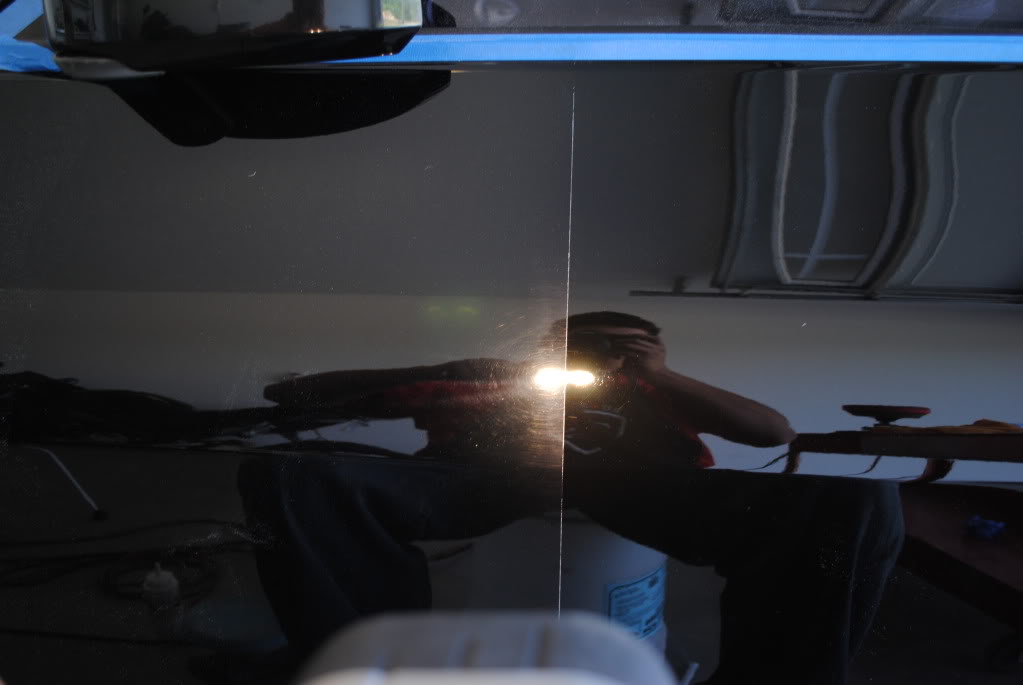
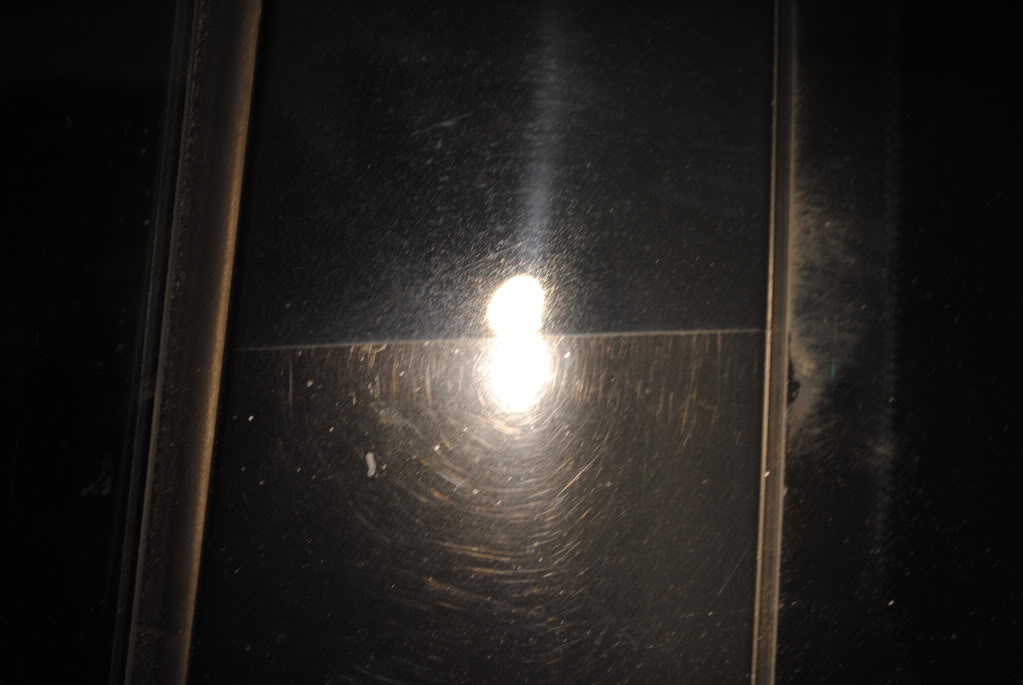
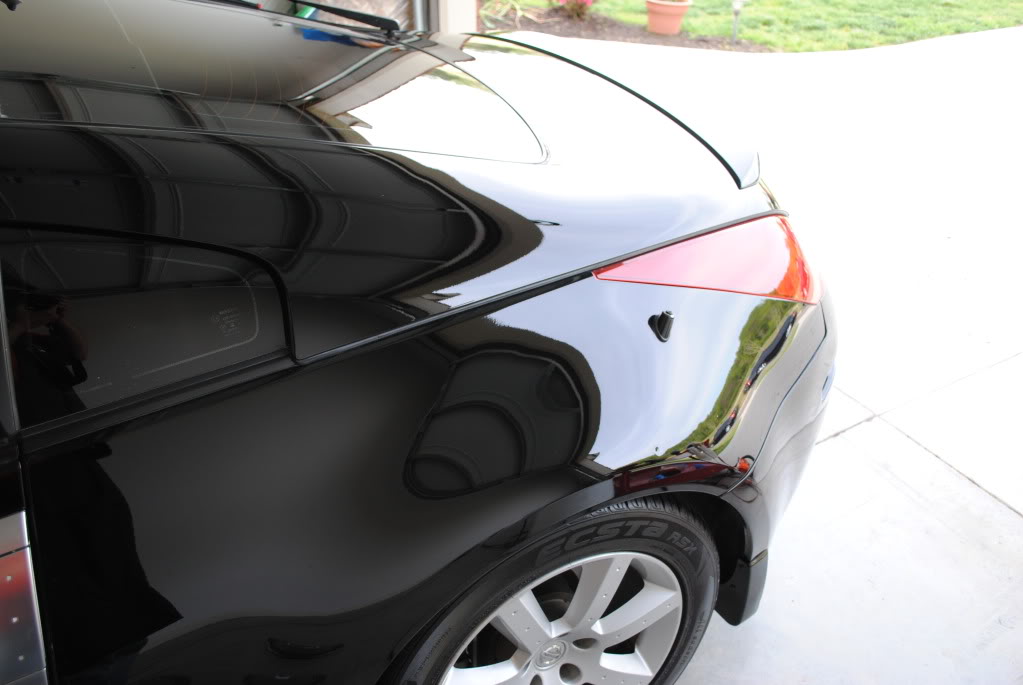
Here is a after

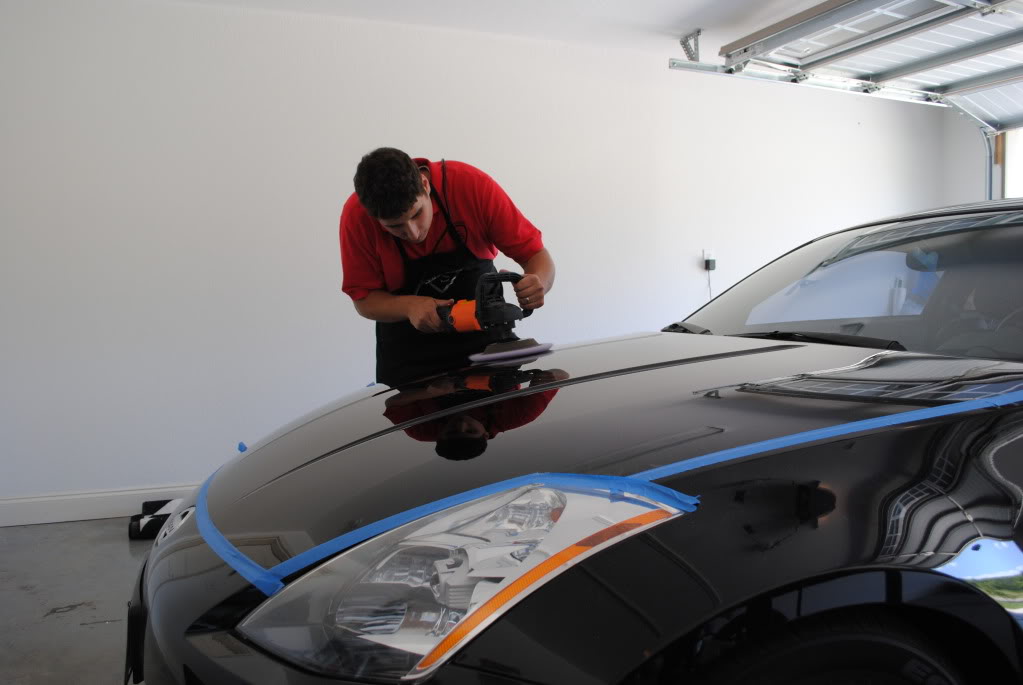
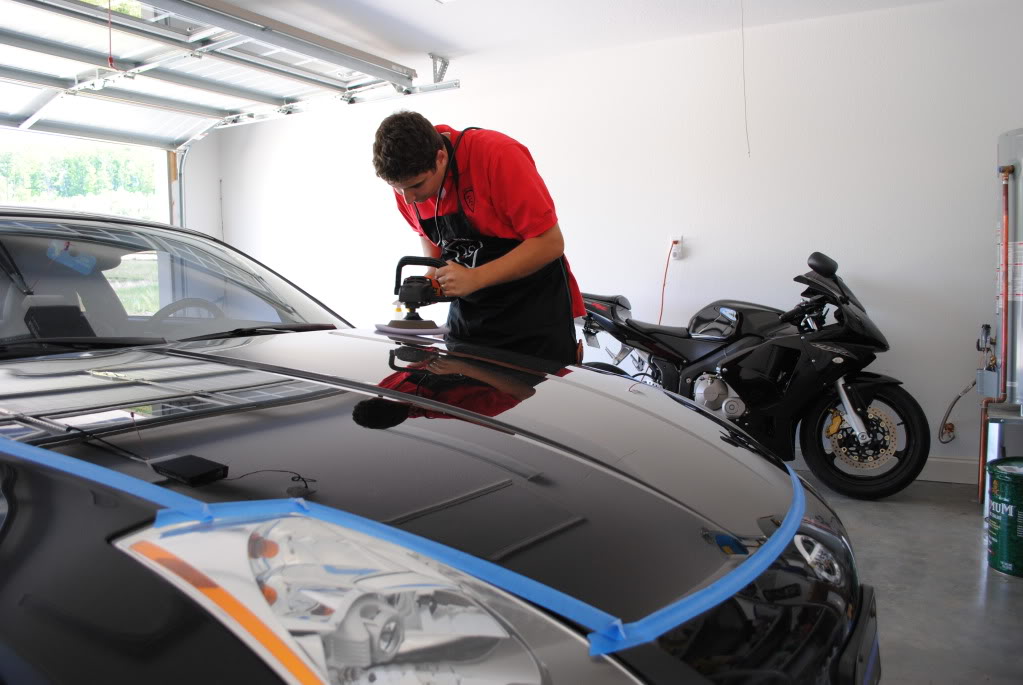
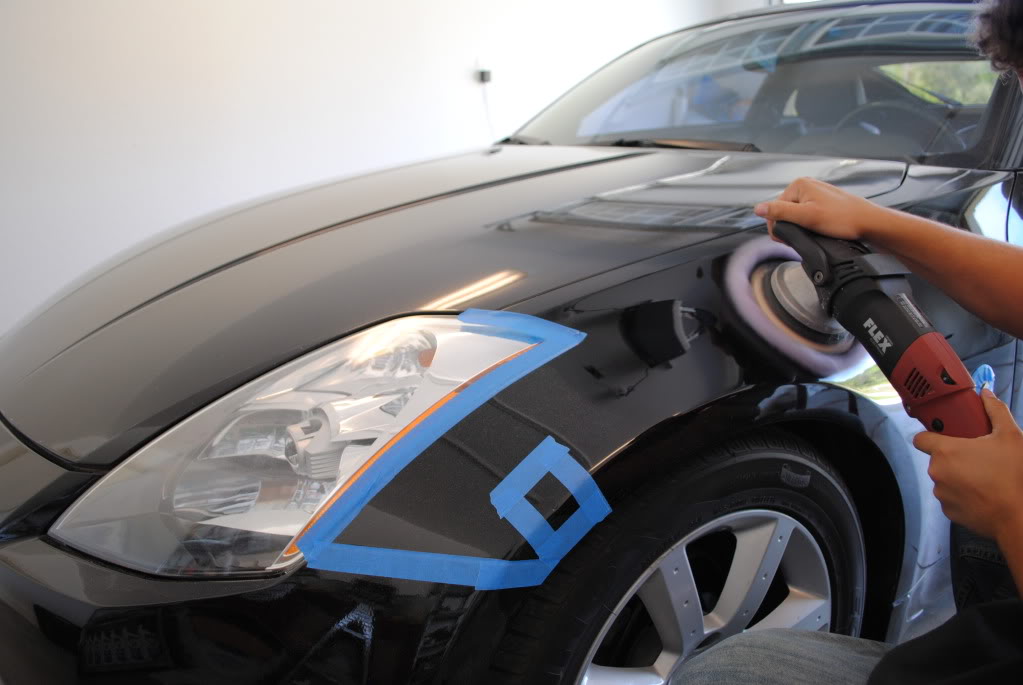
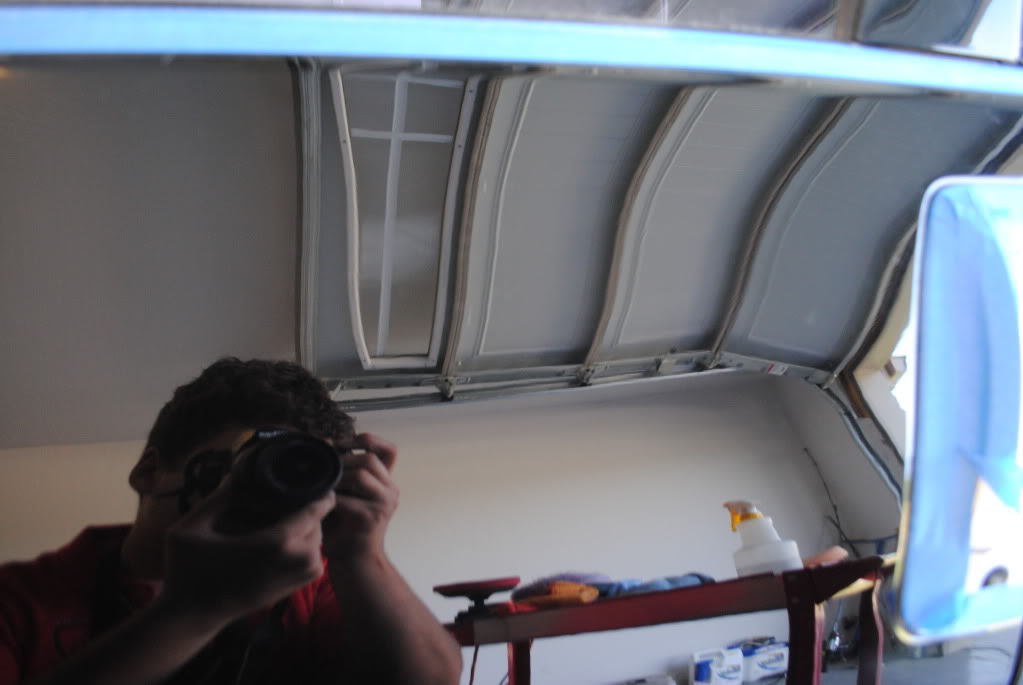
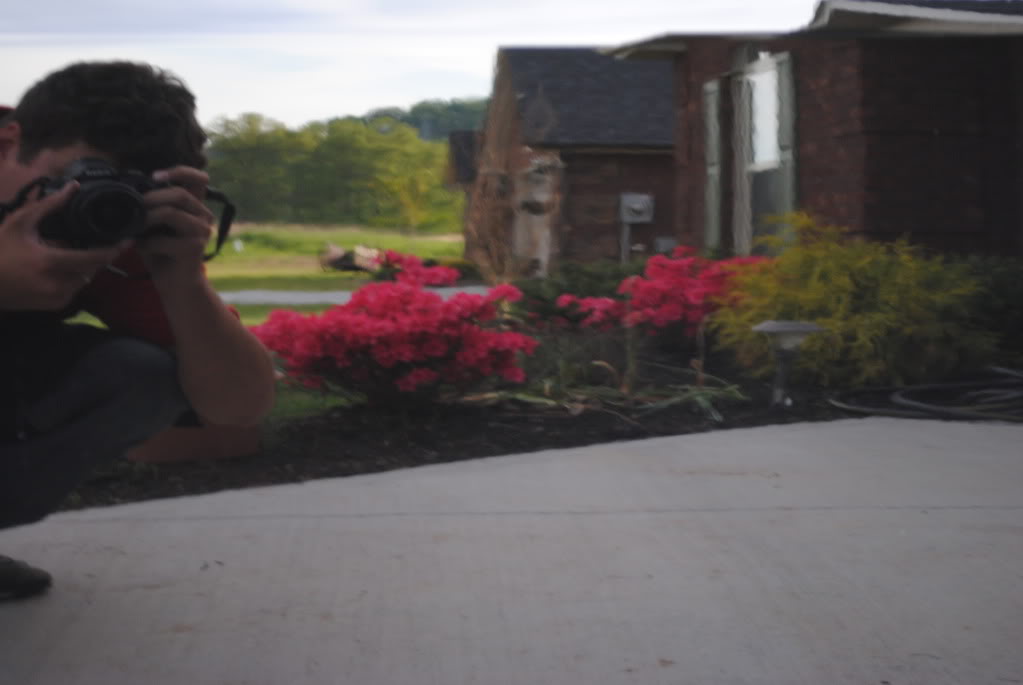
here is Mr. TruShine himself in action!
(TruShine Apron Shot)

Does that Motorcycle look familiar?
Now for some touch-up
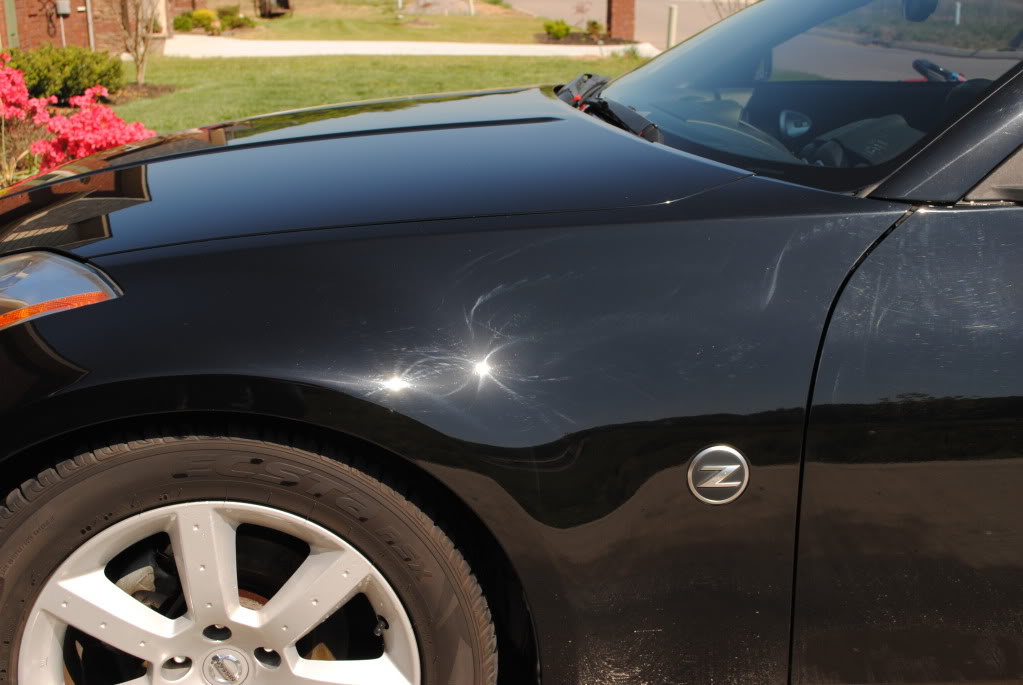
The Front fender had a rock chip that was starting to Rust, I first began by taking a razor blade and flaking away all of the paint that was flaking off and then I scraped all of the rust away as much as I could. Just try to scrape off as much as you can until you dont see any more.
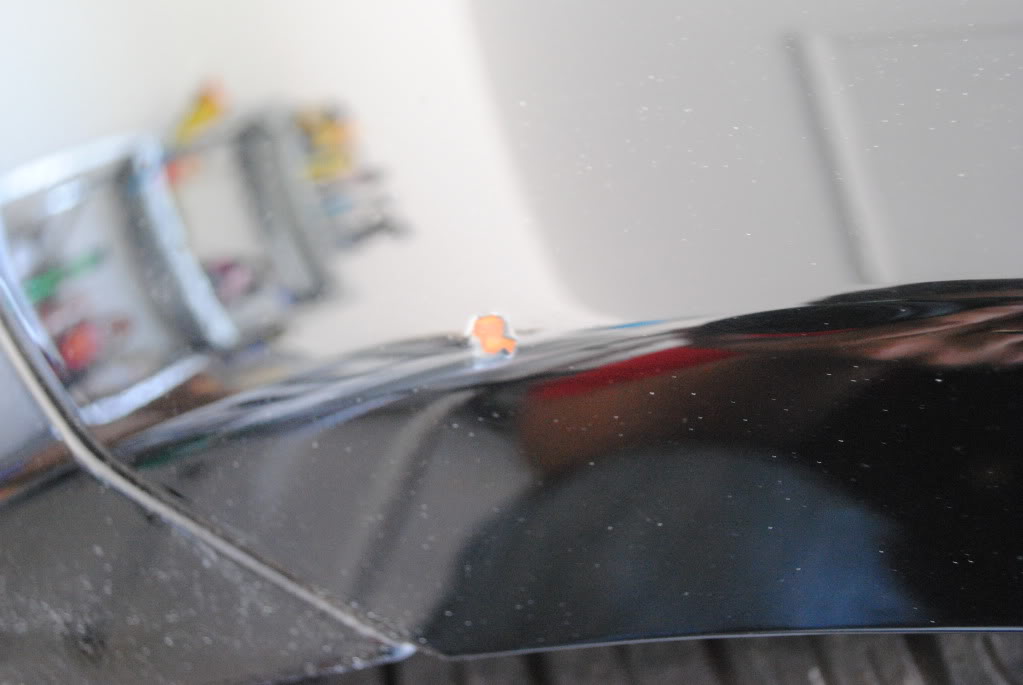
Then it turned into this ( bare shiny metal)
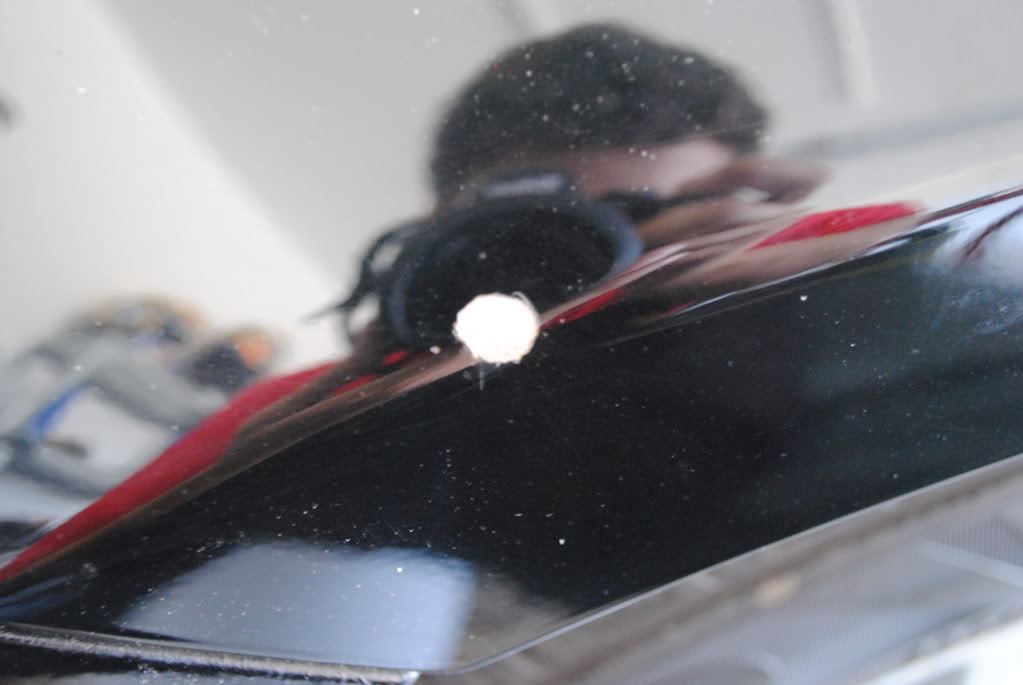
Then I dabbed some of the Dupli-Color 2in1 touch up paint into the chip letting it dry for about 10-15 until it hardened.
After the paint dries it seeps into the chip and settles down. Somtimes you only have to apply paint once but in this case I had to put down 2 layers.
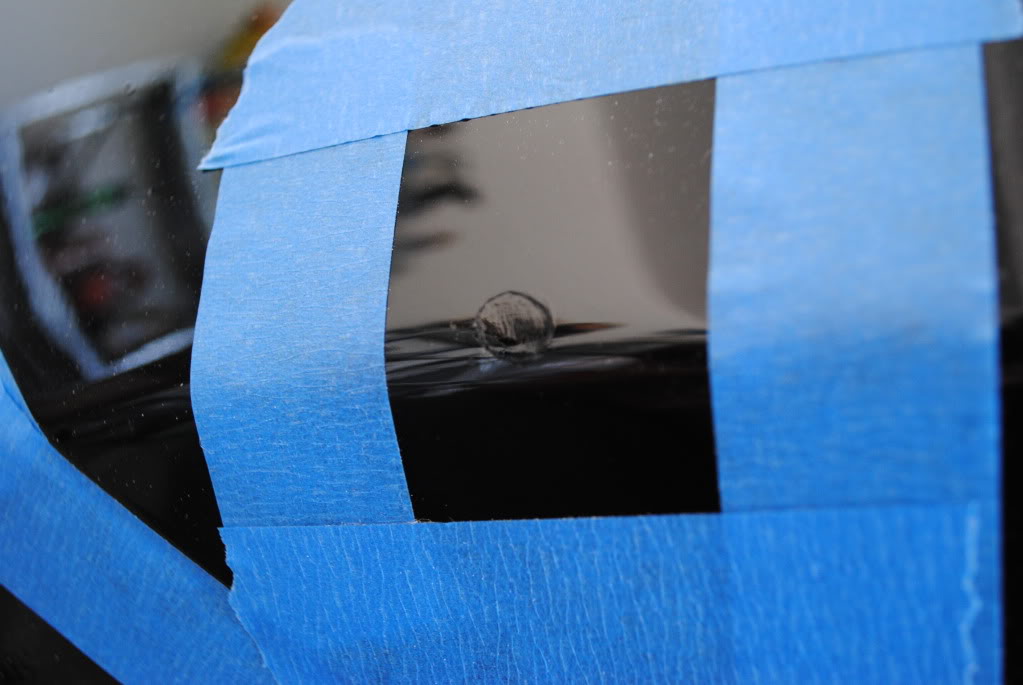
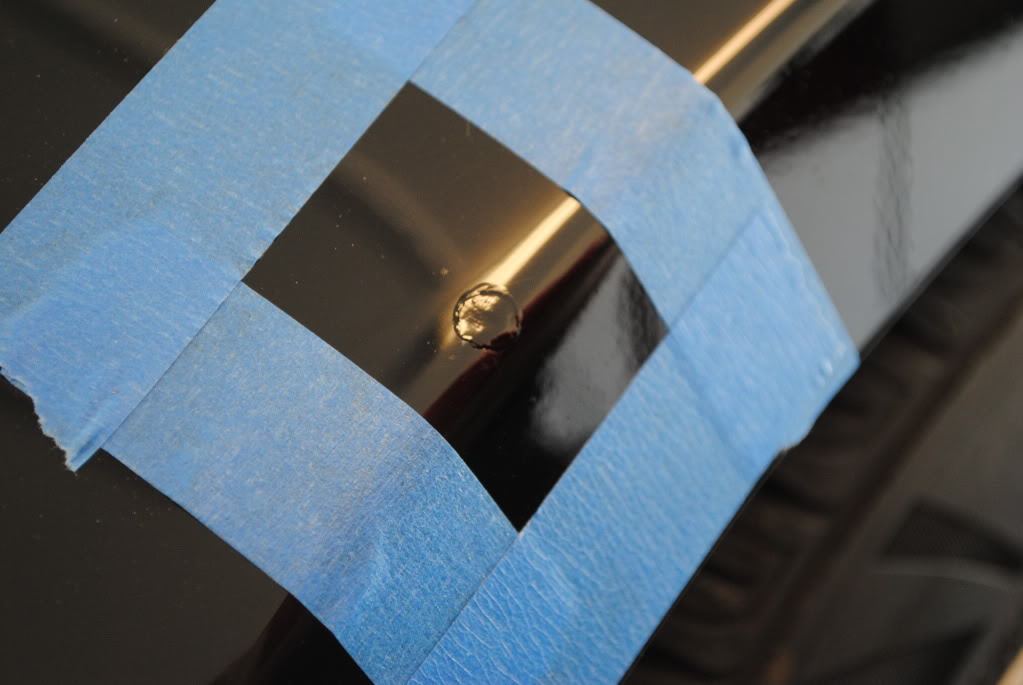
I taped arround this so I have a clean wetsand area, you can tell in the pics how much it settled into the chip
I worked on the panel while the touch up was drying.
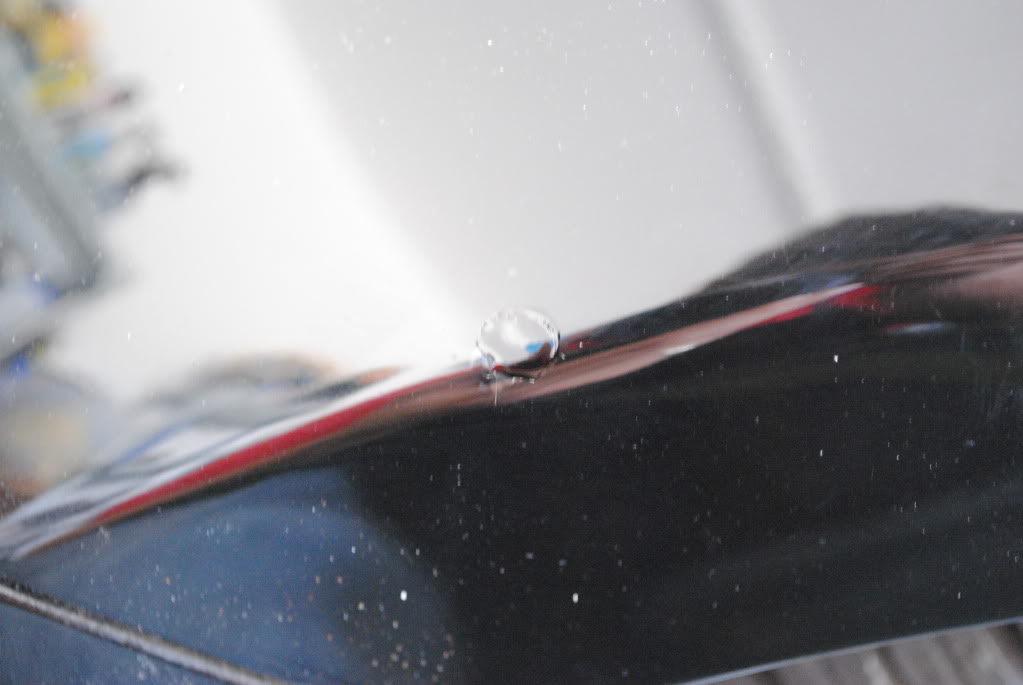
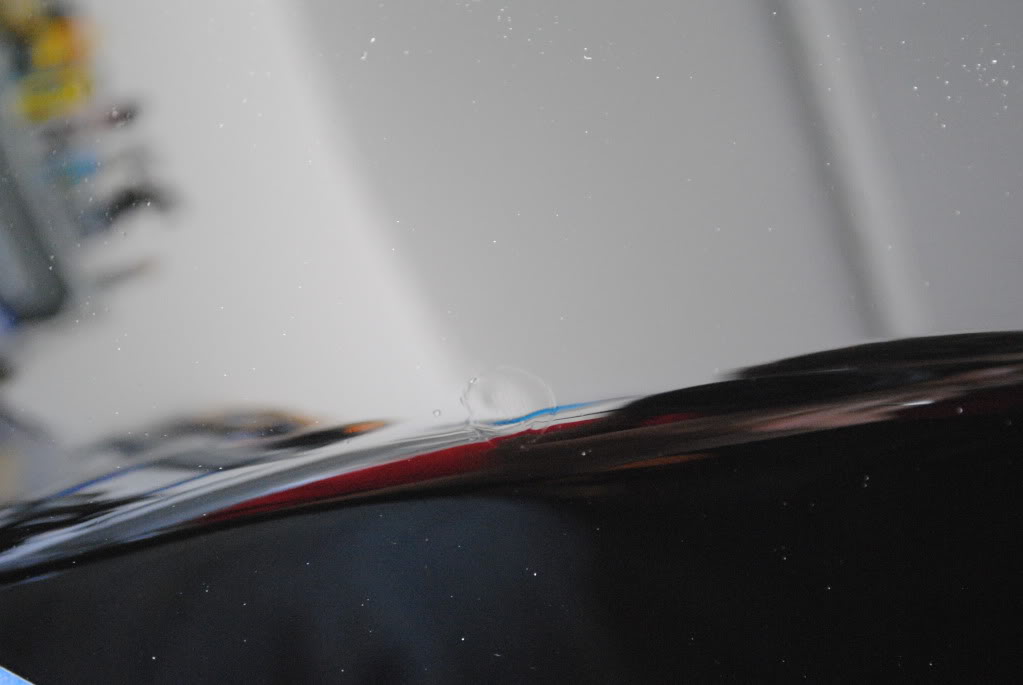
after the second coat of touch up It turned out like this
Then After it was Fully Dried I wet sanded with 2000 grit paper and here is what it looked like

After that I buffed it out with my flex and here is the Final Outcome (not %100 but close)
and Walaaaaa!!
So back to the Paint Correction
And here are the pillar pieces
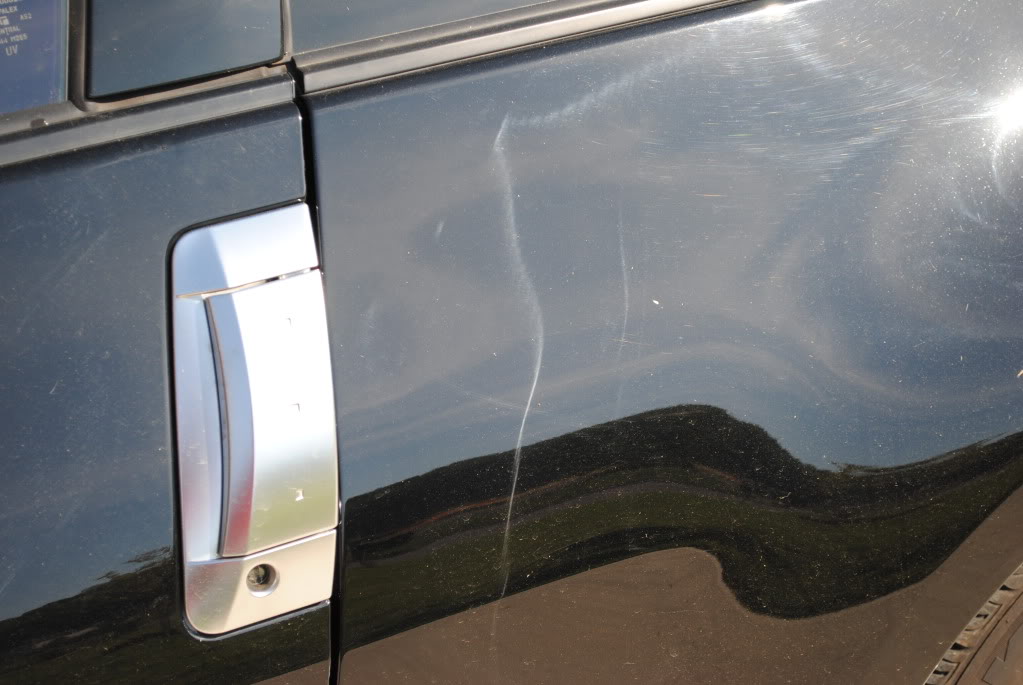
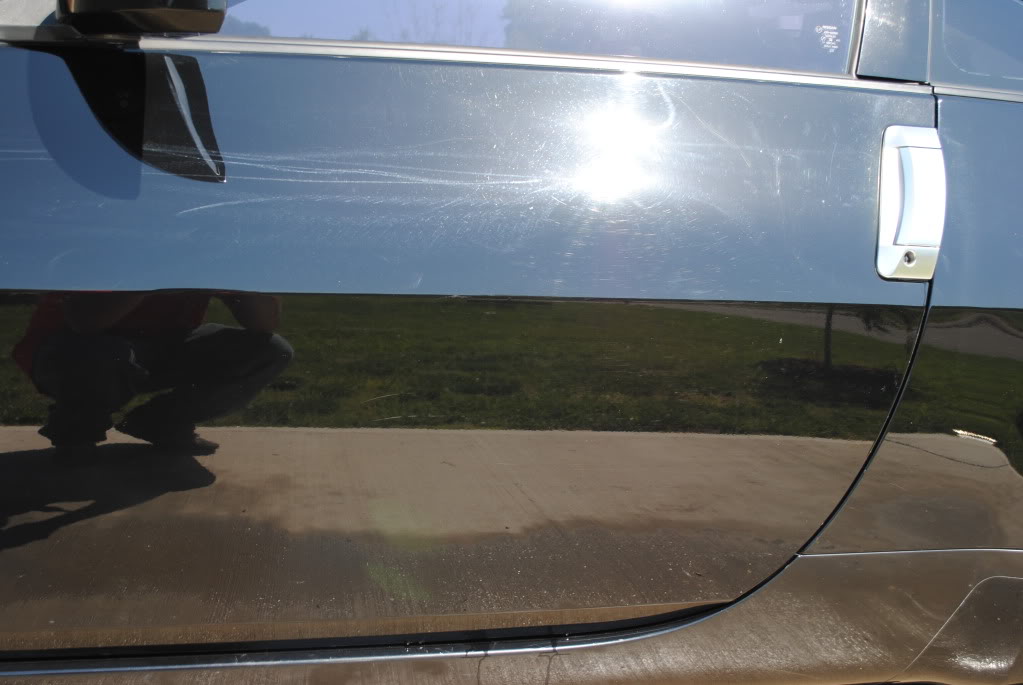
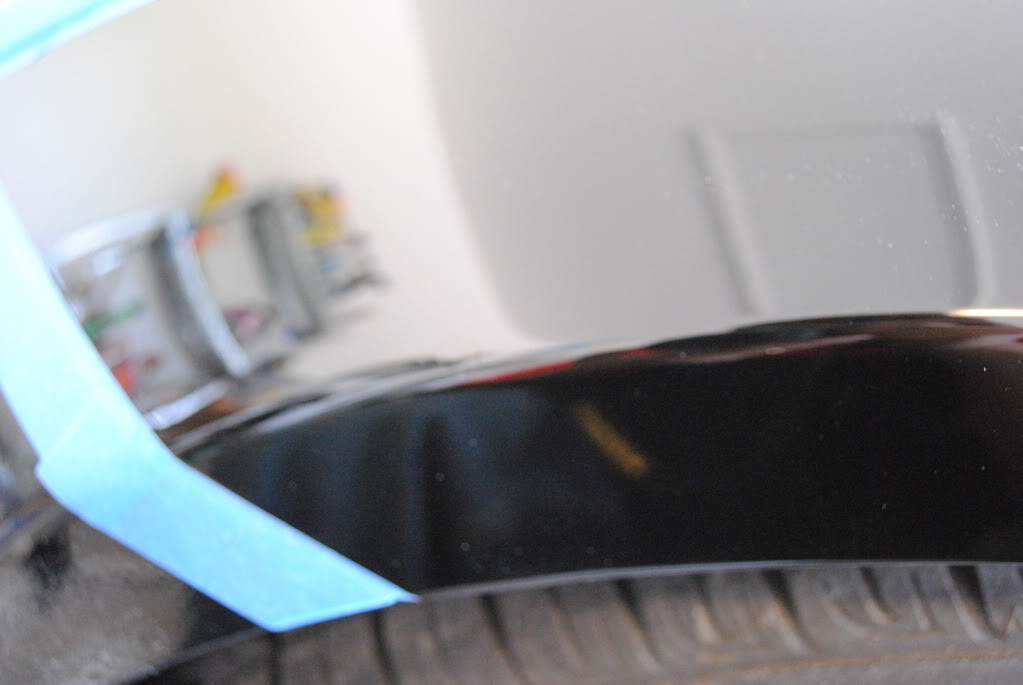
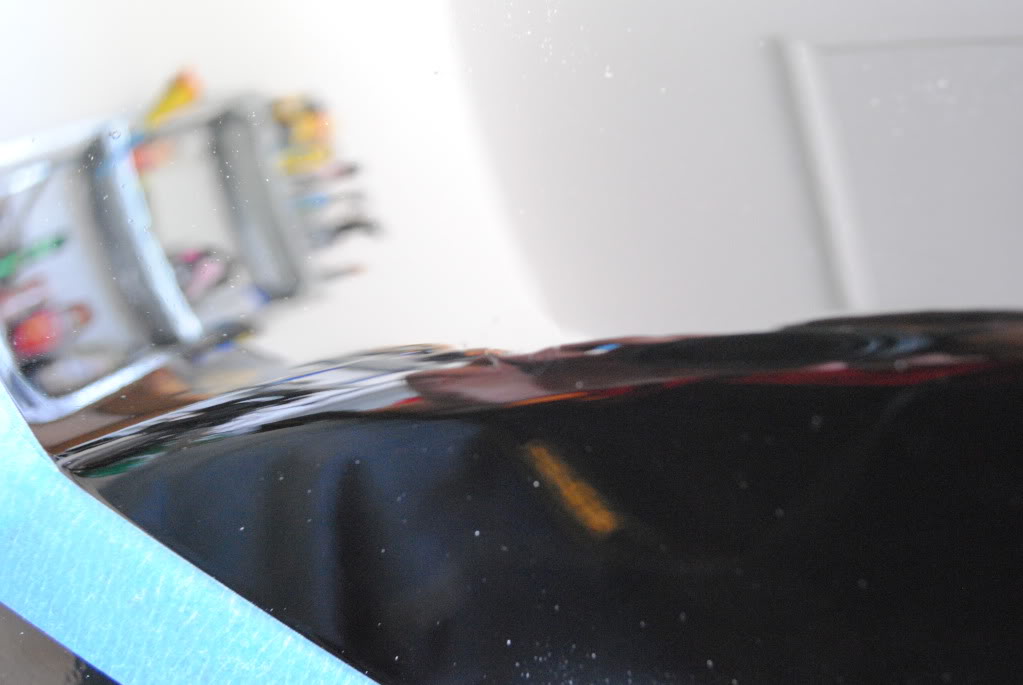
Here was another Deep scratch that Needed to be Wet sanded on.
look closely in the wetsanded area
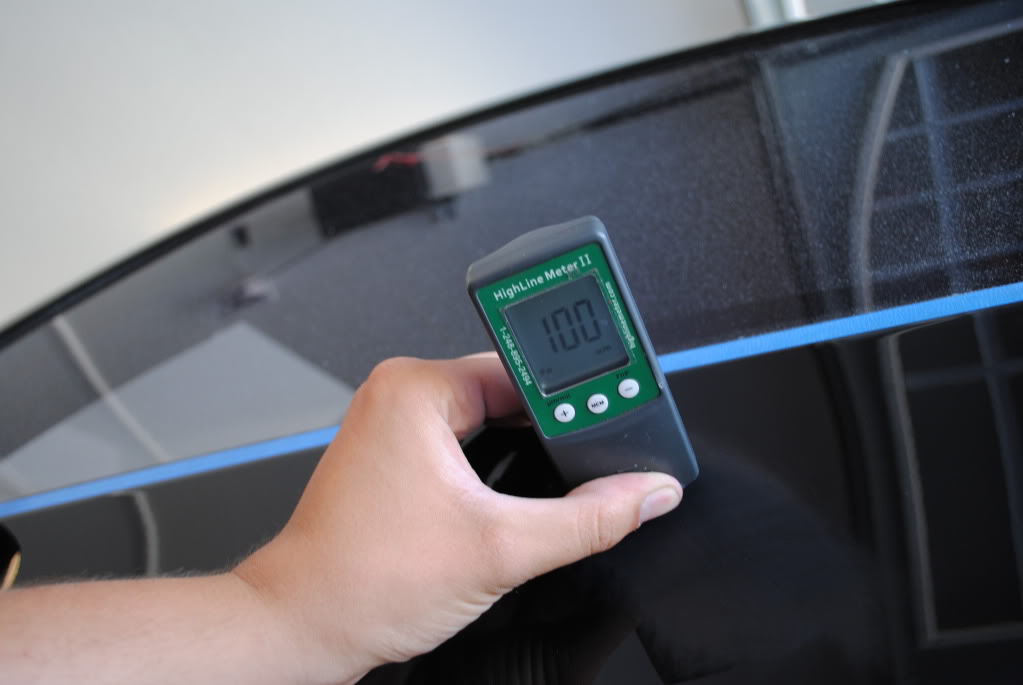
I took during PTG readings to see how many microns I wetsanded off
I started with a little over 107 microns and after Sanding the scratch away completely i ended up with only 100 microns
But no more scratches
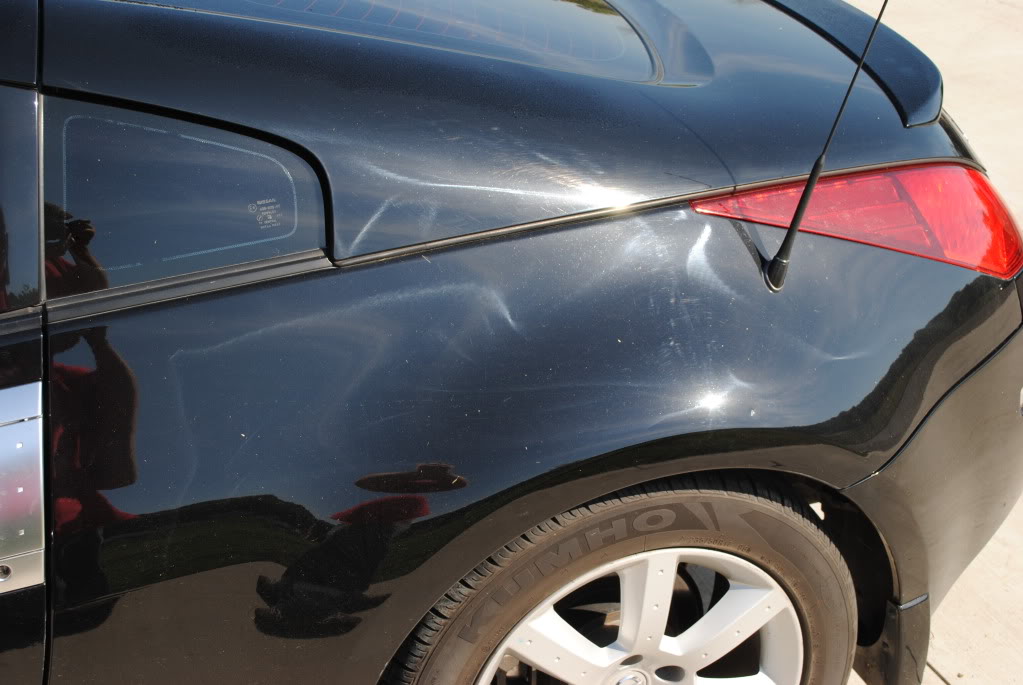
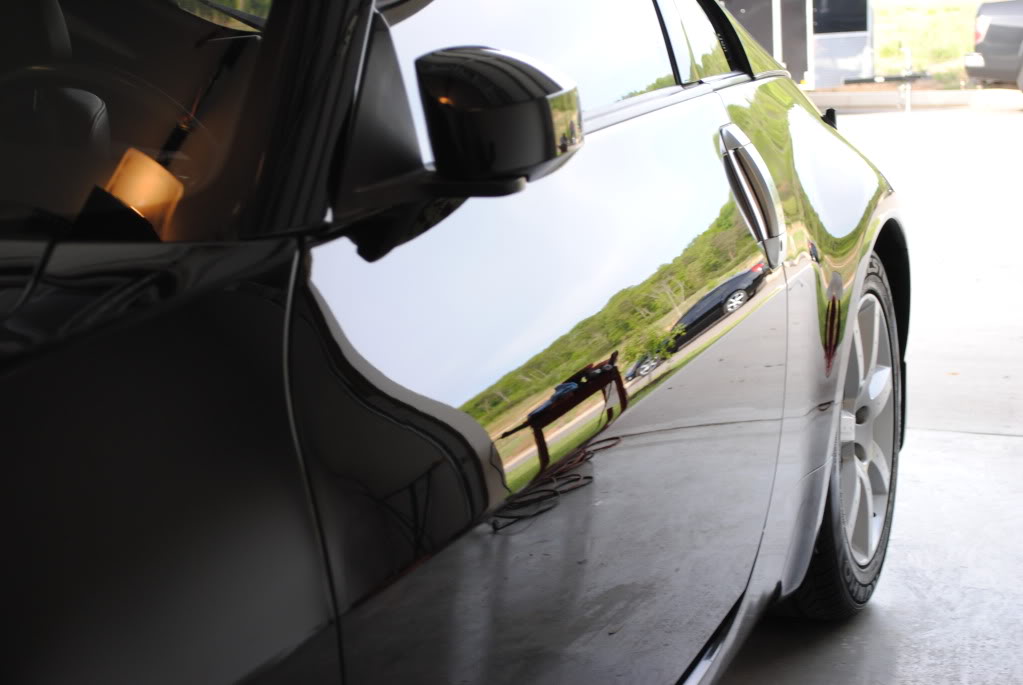
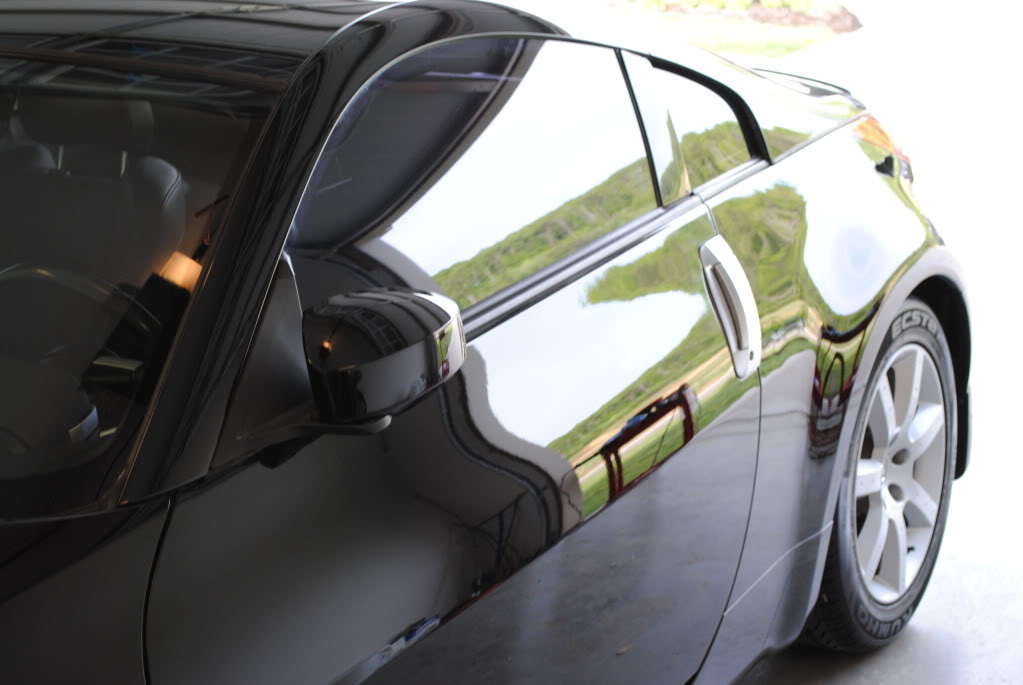
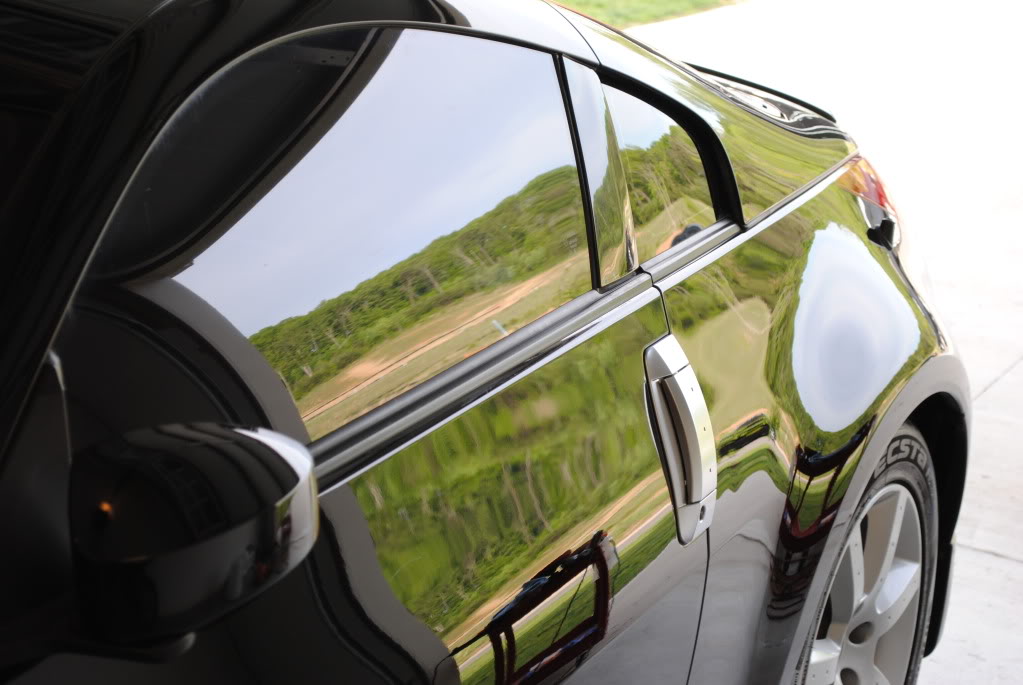
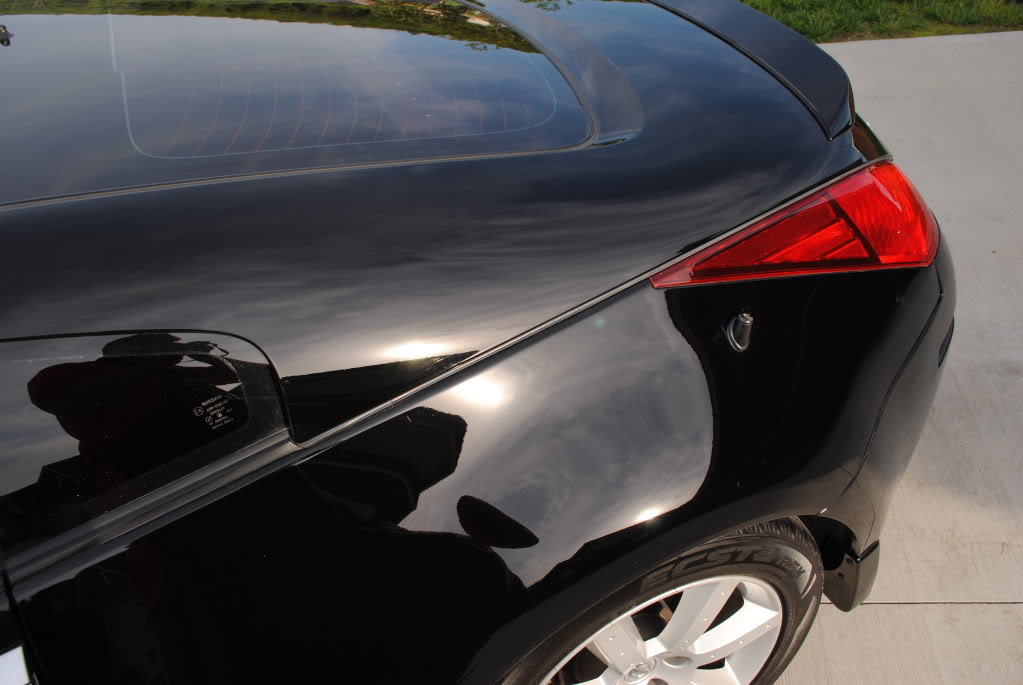
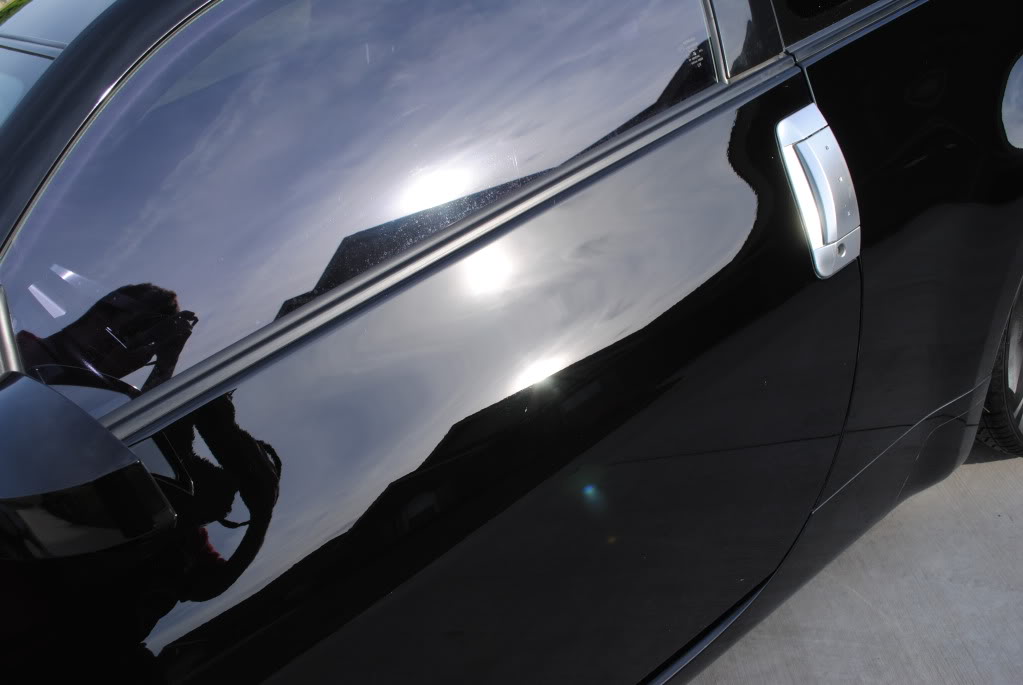
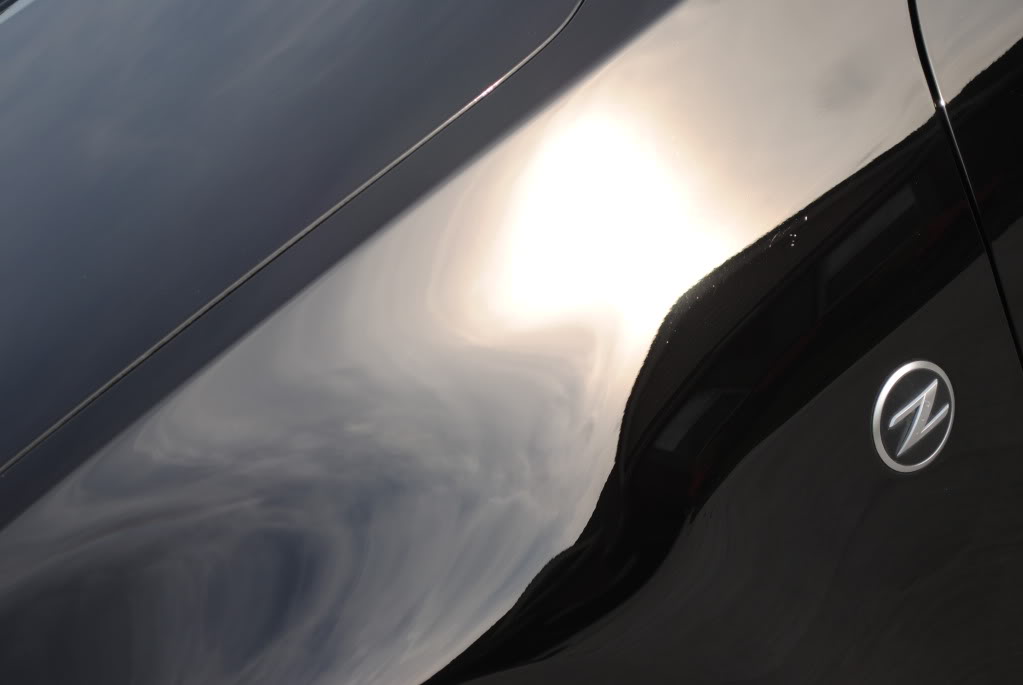
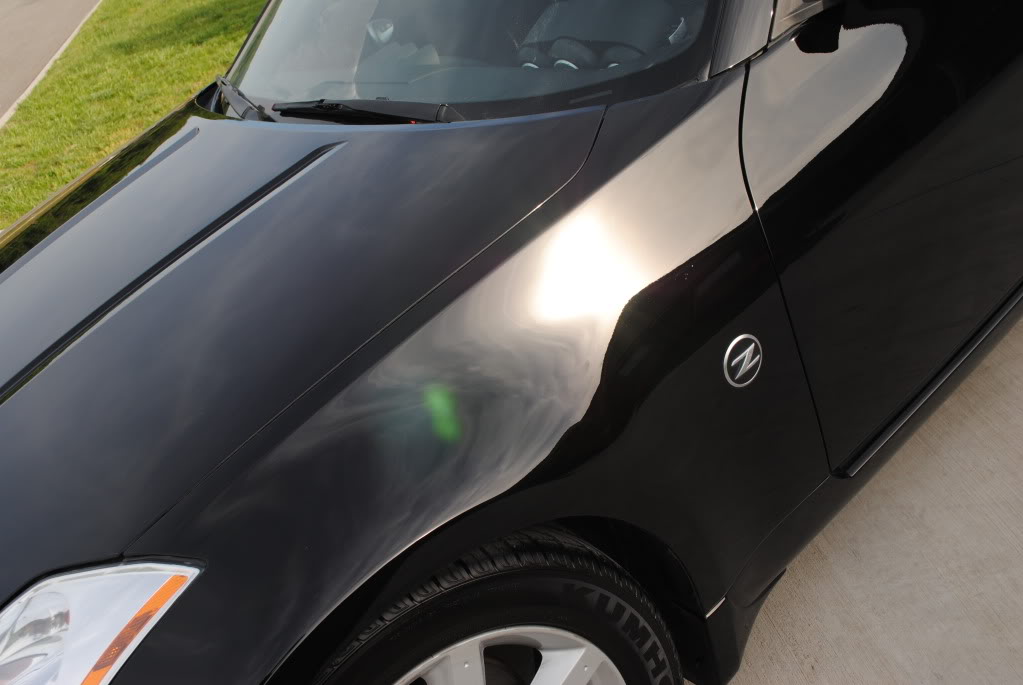
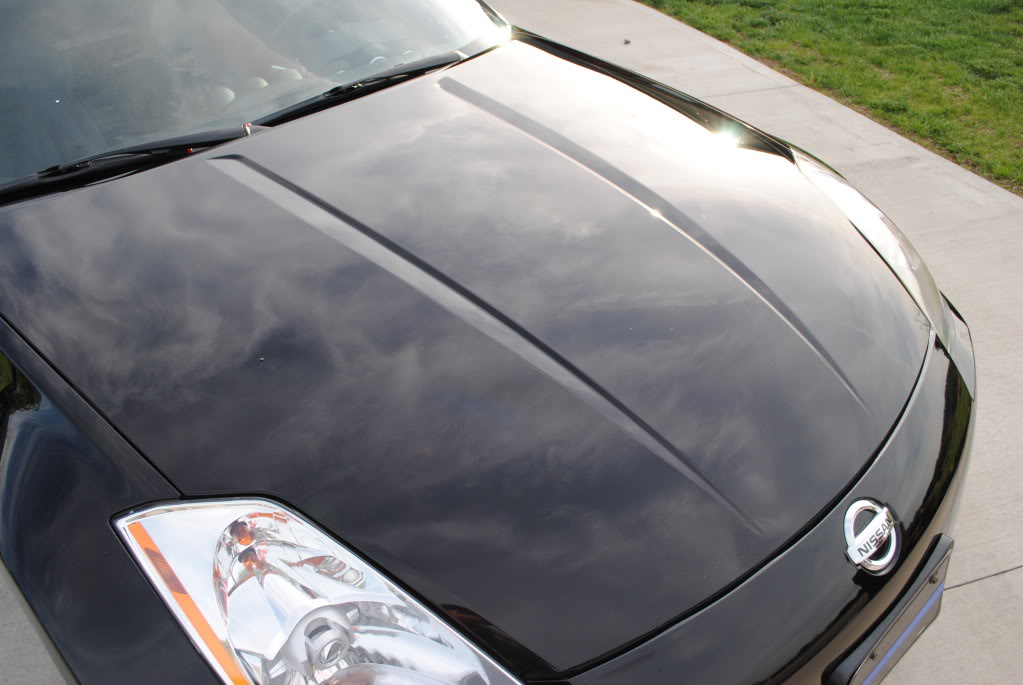
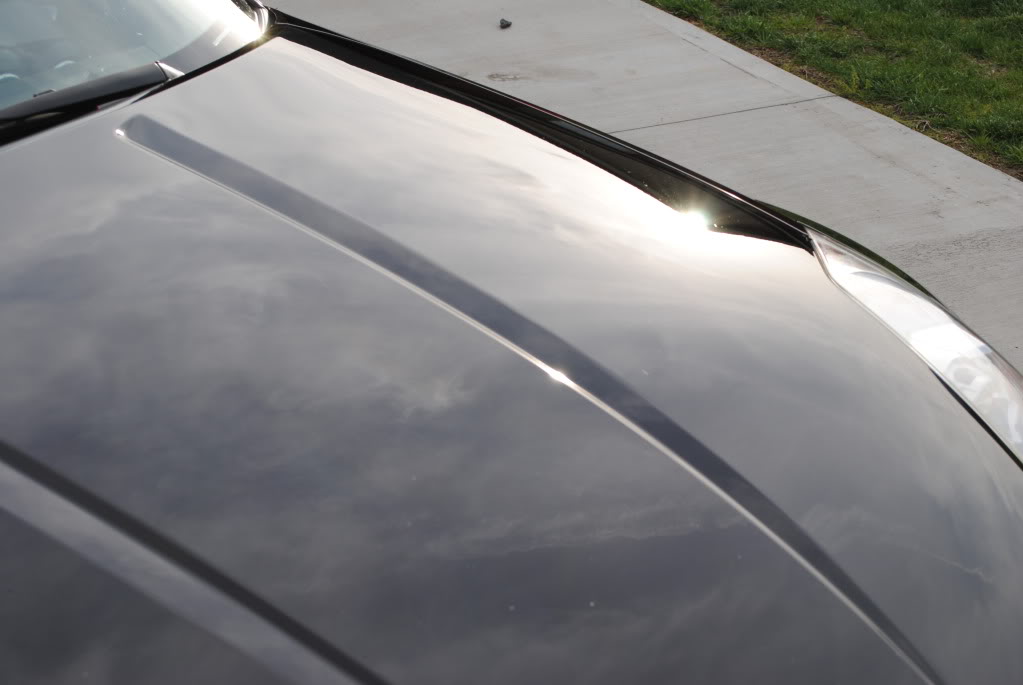
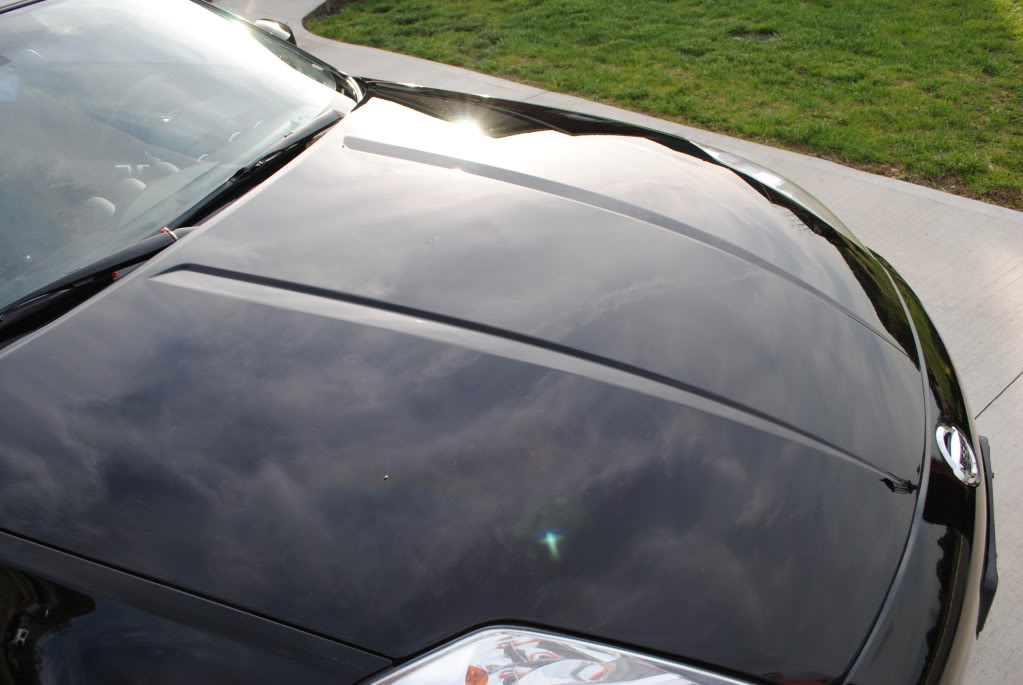
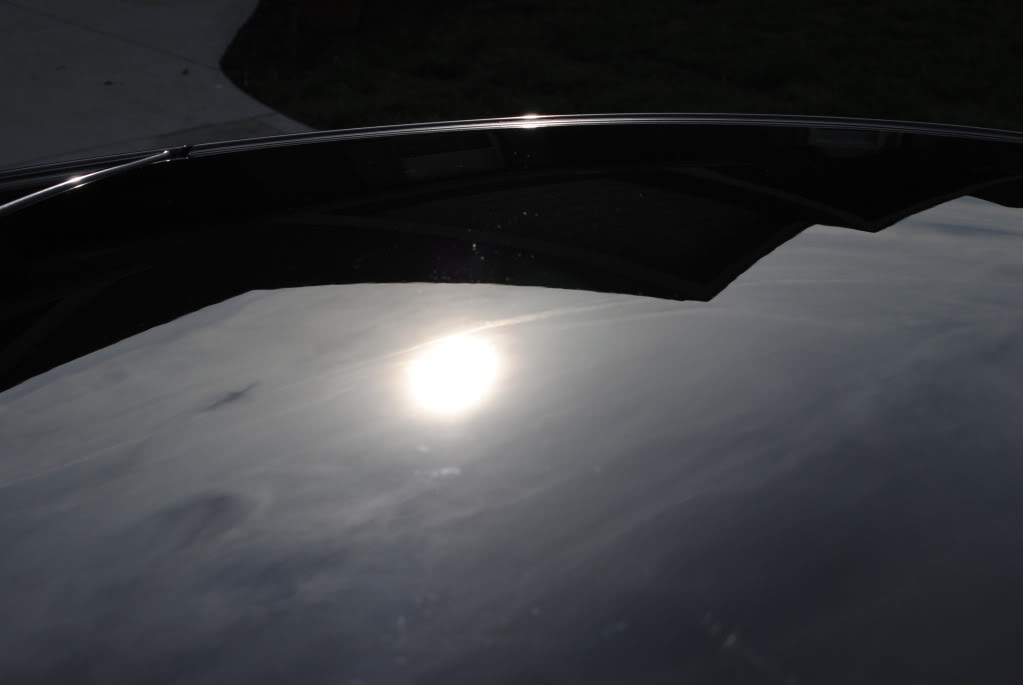
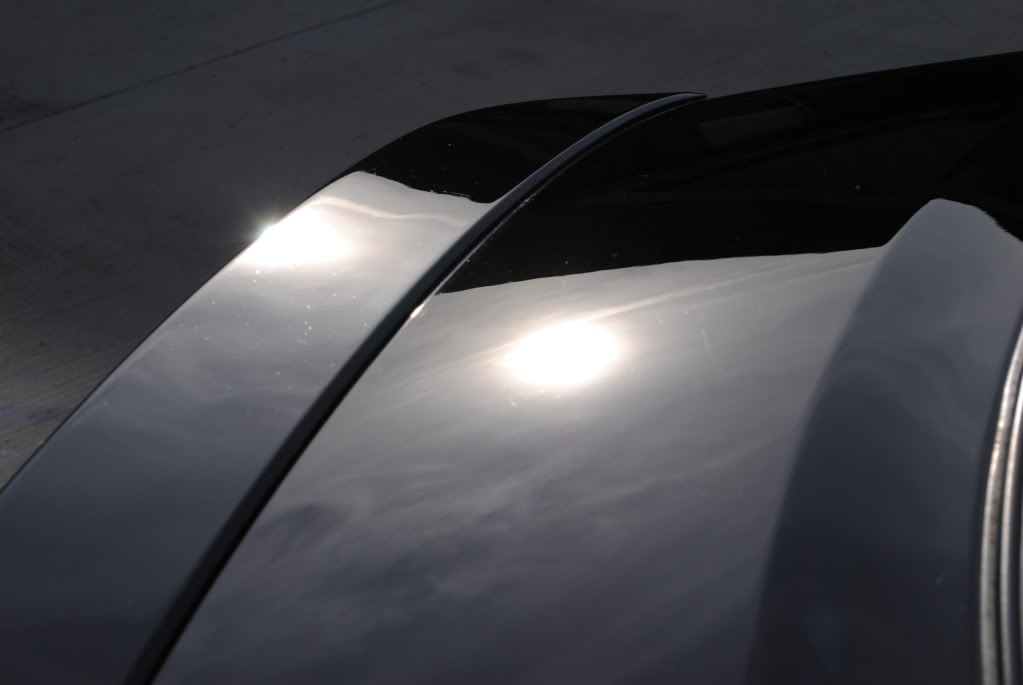
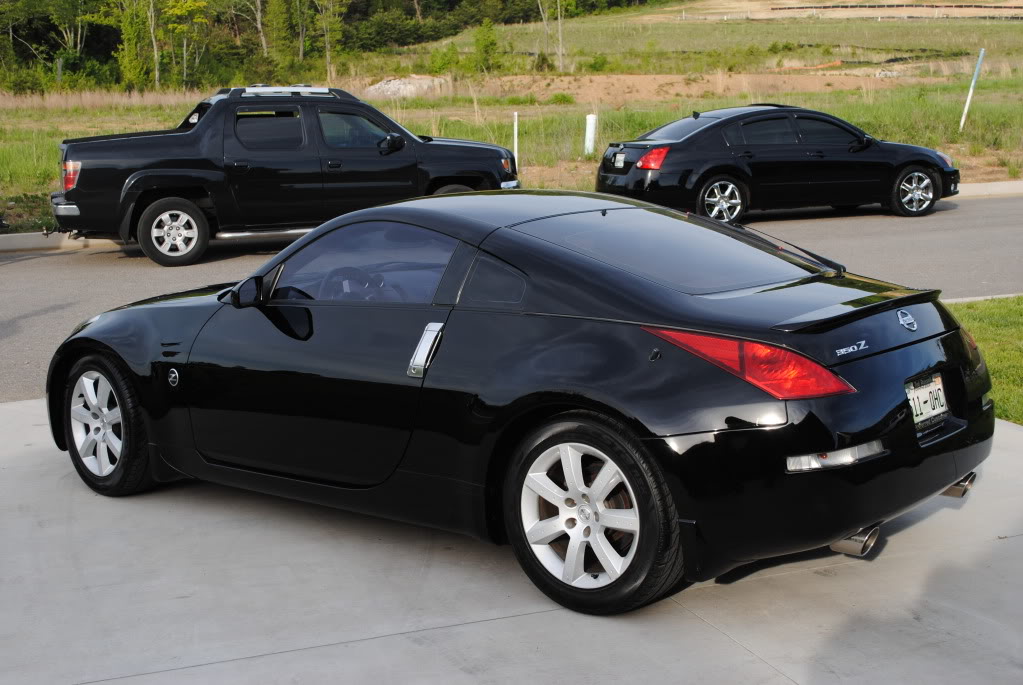
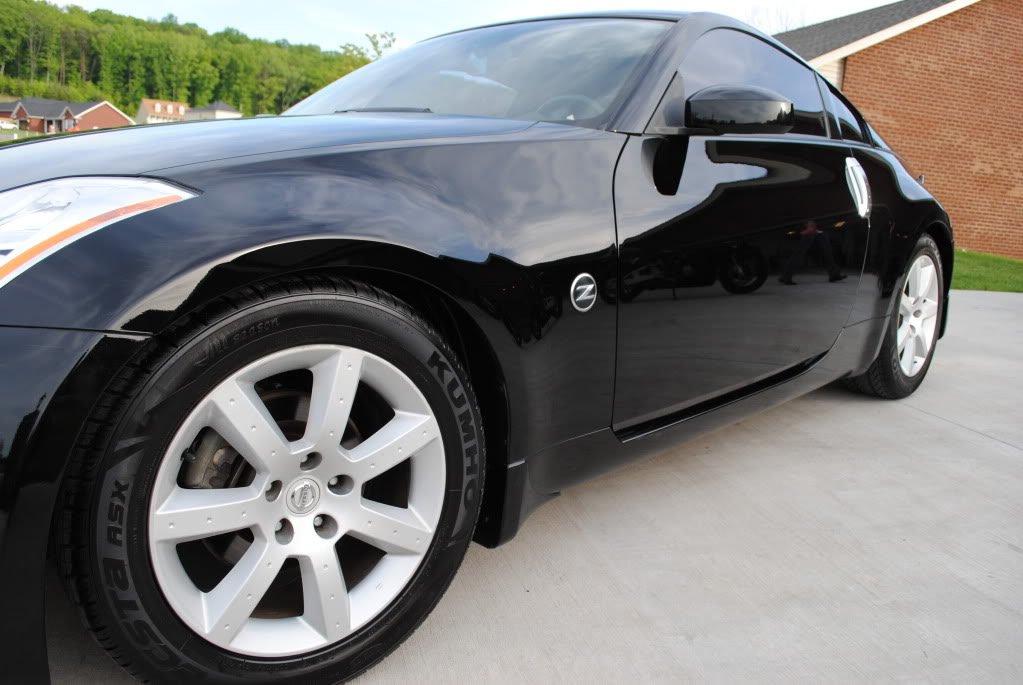
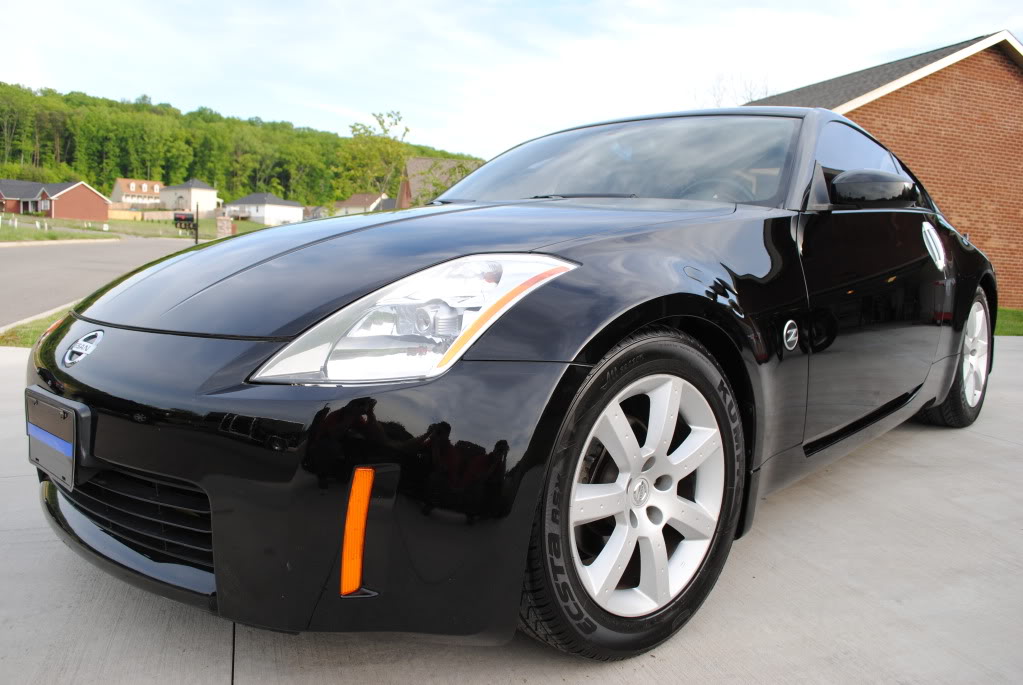
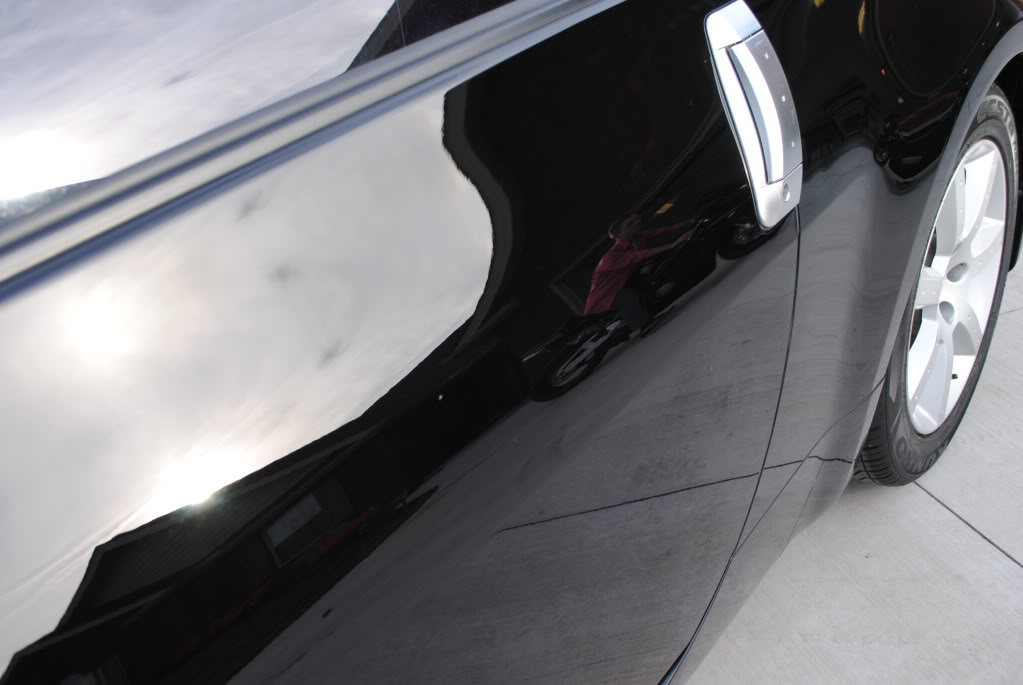
OK so after 9 hours into it, I finished the Driver side. I wanted some good Sun Shots but I knew It would be Dark before I got completly finished So here are some Wet and Succulent Sun Shots of the Driver Side. I didn't finish the car until Midnight.
The Final Sealant was Black Fire Wet Diamond
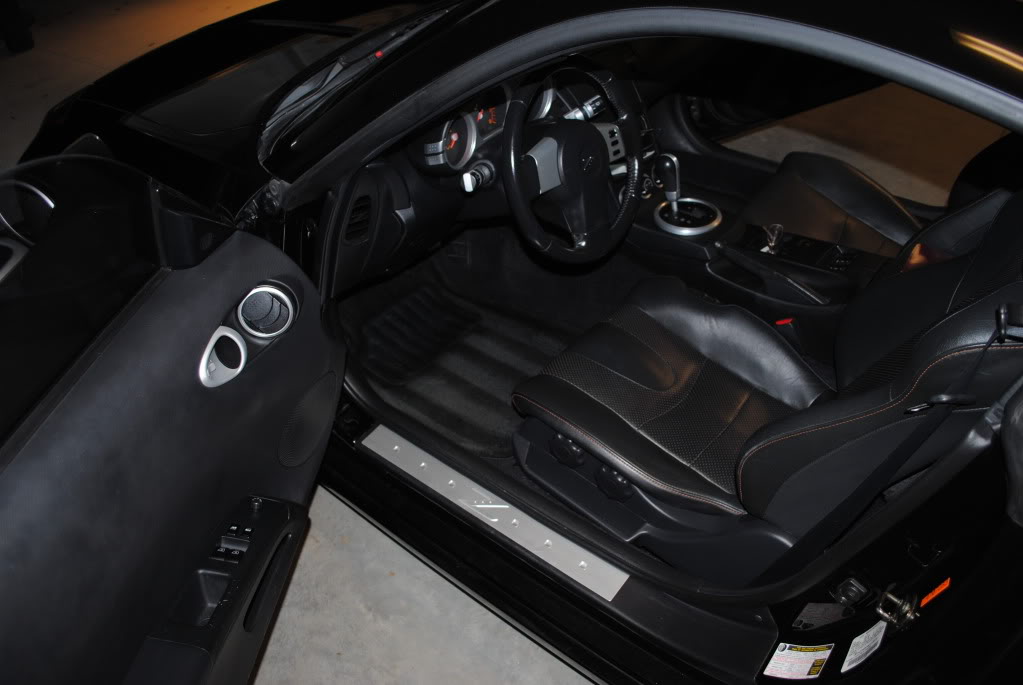
A quick cleaning of the interior was done too.
Before:
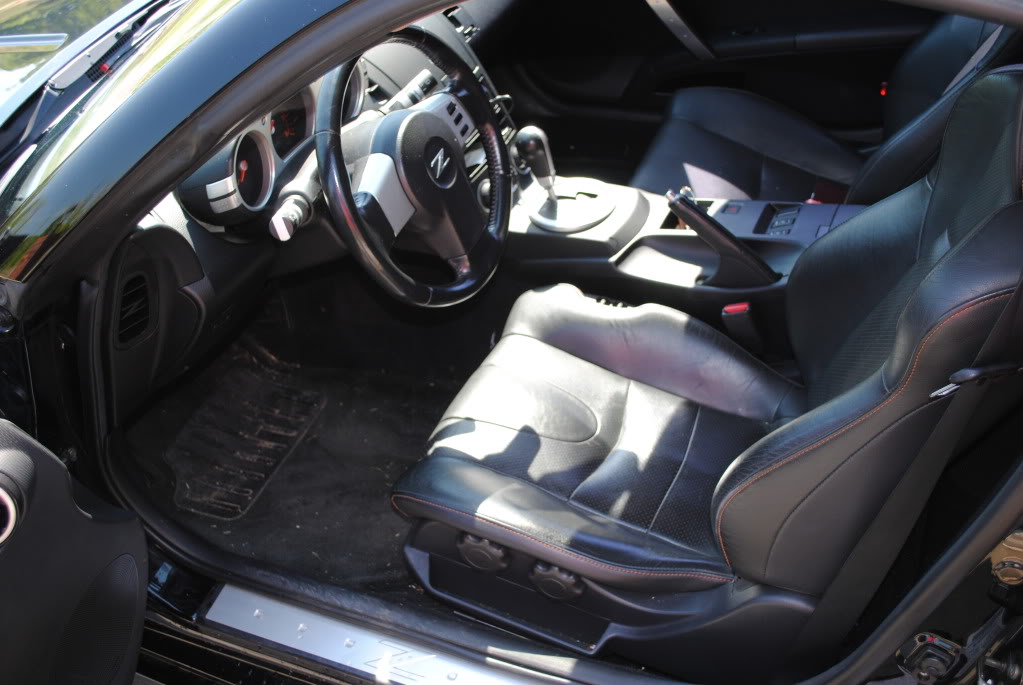
After:
Thank you for Viewing and don't forget to check out that video of their father recieving his dream car. thanks
here is a video of the family giving him the 350z.
YouTube - Surprising Dad With 350Z
Now this car had been severely neglected, and needed A LOT of attention. This job took over 15 hours non stop to complete. This is what I pulled up to. (*Warning images may not be subtable for children under the age of 18*)
So my Weapons of Choice for Washing
5 gal bucket
Dawn soap (Highly concentrated)
Grit gaurd
100% sheep skin wash mitt
Ez Detail brush
misc brush
lugnut brush
Chemical Guys Diablo Wheel Gel 3:1 ratio
Automagic Fine blue clay
Clay lube used was the soapy water.
I began washing the car with Highly concentrated Dawn soap to strip off ALL wax (if there was any), haha j/k. (kinda) anyways. here are a few shot of me washing, cleaning the wheels and claying.
Continued below......
After the rinse there was no beading of the water and none of it was rolling off! that's what you are looking for!
So now the Tru Surface was revealed!
I used P21s polishing Soap on the exhaust tips with some #0000 steel wool.
Some of the black soot stains wouldn't come off, thats what the steel wool was for
Now for the paint correction.
I took my paint thickness measurements
pretty low. but this Z had been buffed on before. So I knew to be extra careful
I done a few test spots and ended up going with the Good Ol' Rotary w/ Megs W66 backing plate with LC purple foamed wool pad and Meguiars M105 compound.
Here is a before
Here is a after
here is Mr. TruShine himself in action!
(TruShine Apron Shot)
Does that Motorcycle look familiar?
Now for some touch-up
The Front fender had a rock chip that was starting to Rust, I first began by taking a razor blade and flaking away all of the paint that was flaking off and then I scraped all of the rust away as much as I could. Just try to scrape off as much as you can until you dont see any more.
Then it turned into this ( bare shiny metal)
Then I dabbed some of the Dupli-Color 2in1 touch up paint into the chip letting it dry for about 10-15 until it hardened.
After the paint dries it seeps into the chip and settles down. Somtimes you only have to apply paint once but in this case I had to put down 2 layers.
I taped arround this so I have a clean wetsand area, you can tell in the pics how much it settled into the chip
I worked on the panel while the touch up was drying.
after the second coat of touch up It turned out like this
Then After it was Fully Dried I wet sanded with 2000 grit paper and here is what it looked like
After that I buffed it out with my flex and here is the Final Outcome (not %100 but close)
and Walaaaaa!!
So back to the Paint Correction
And here are the pillar pieces
Here was another Deep scratch that Needed to be Wet sanded on.
look closely in the wetsanded area
I took during PTG readings to see how many microns I wetsanded off
I started with a little over 107 microns and after Sanding the scratch away completely i ended up with only 100 microns
But no more scratches
OK so after 9 hours into it, I finished the Driver side. I wanted some good Sun Shots but I knew It would be Dark before I got completly finished So here are some Wet and Succulent Sun Shots of the Driver Side. I didn't finish the car until Midnight.
The Final Sealant was Black Fire Wet Diamond
A quick cleaning of the interior was done too.
Before:
After:
Thank you for Viewing and don't forget to check out that video of their father recieving his dream car. thanks


#14
05-05-2010, 05:49 PM
Join Date: Jun 2009
Location: Knoxville TN
Posts: 365
Thanks everyone for all the kind words, I love my job and my life, getting to transform all kinds of cool cars and giving them a new lease on life.
This one was arround $300
This one was arround $300
#15
05-05-2010, 06:57 PM
WOw! The guru strikes again! Another one beautifully done, Rock. Are there any socal members that are also detailing gurus? =] I could use one. and Sorry about your friends passing. =[
#16
05-05-2010, 07:35 PM
(626) 792-2225


#20
05-06-2010, 10:29 PM
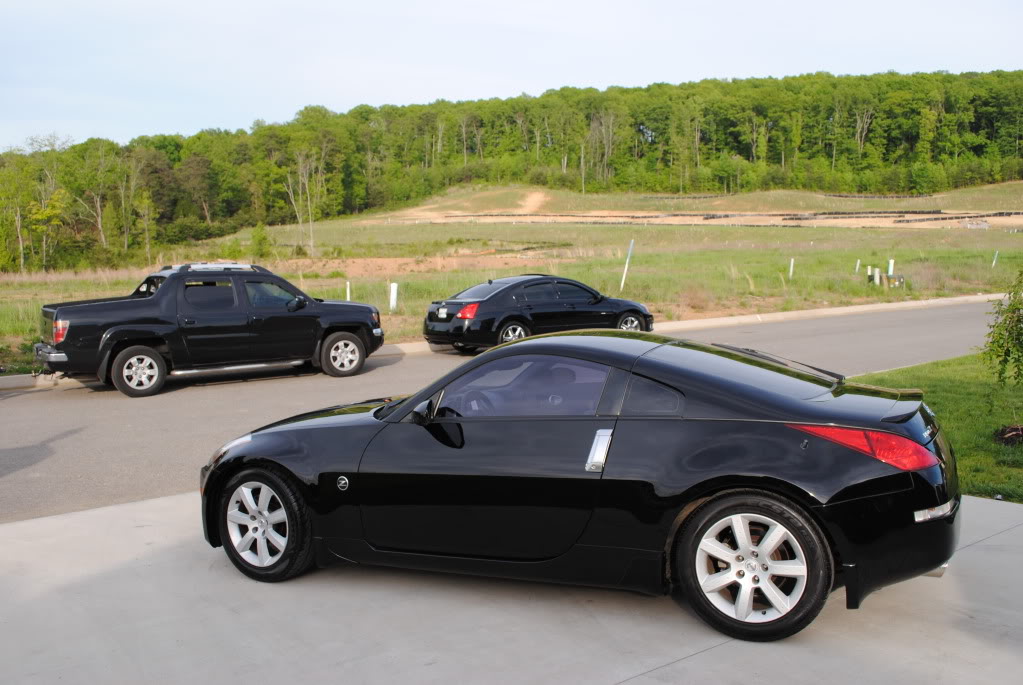
Great before and after pics. Amazing job. The video was very touching. Is the Rideline with the trailer yours? Is that trailer full of detail equipment? If so, Wow!
David - Dallas, TX
07 Honda Fit Sport
10 Nissan Cube SL
00 Nissan Xterra
91 Nissan NX2000 (sold )
)
David - Dallas, TX
07 Honda Fit Sport
10 Nissan Cube SL
00 Nissan Xterra
91 Nissan NX2000 (sold
)

