Ferrari 458 Italia Paint Correction by Tru Shine Detailing
#1
 06-03-2011, 01:33 PM

Join Date: Jun 2009
Location: Knoxville TN
Posts: 365
Ferrari 458 Italia Paint Correction by Tru Shine Detailing
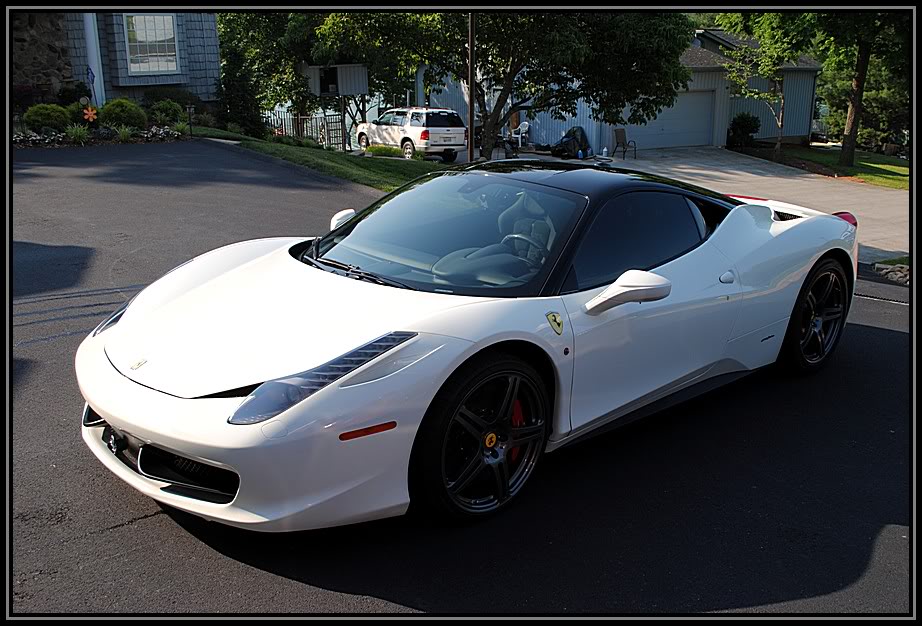
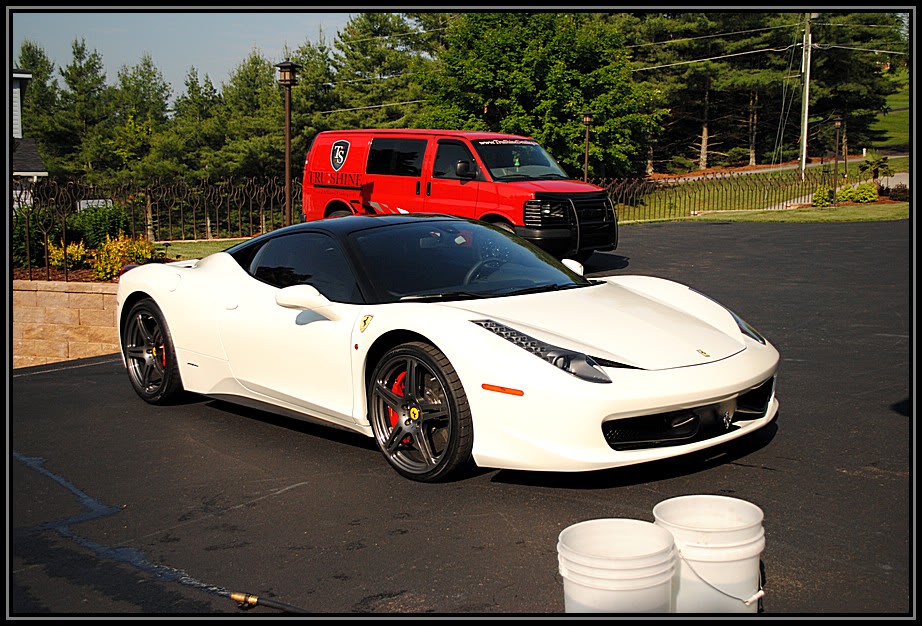
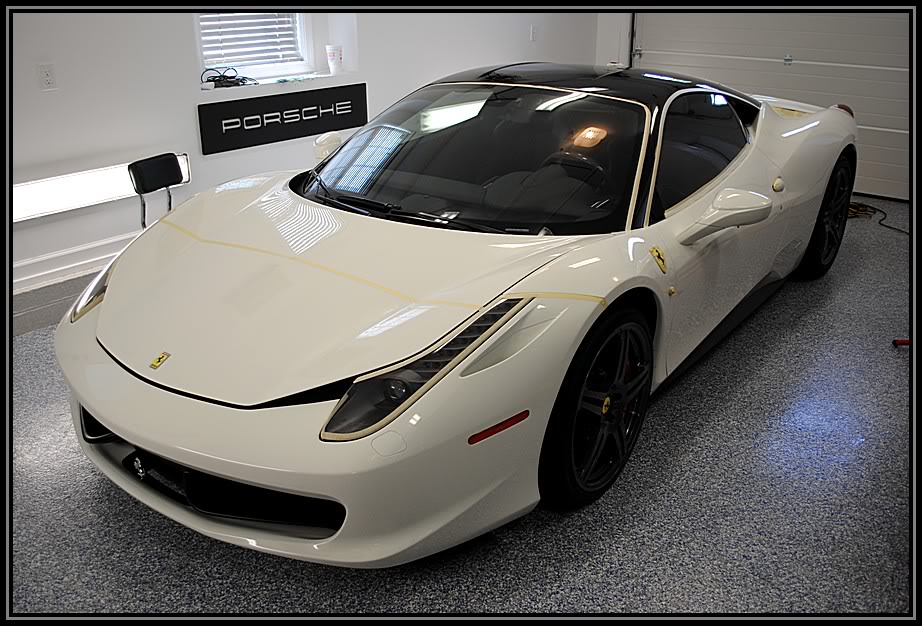
I was invited up to Bristol VA by my good friend David Purser of Unique Mobile Detailing to help work on this Ferrari 458 Italia. Surprisingly, with only 600 miles on the car, these cars do not get delivered to the customer in perfect condition. There were lots of paint defects and sand scratches and buffer trails all over the car. This car received a full paint correction and a quick interior clean up, so with that being said, let's get this write up going.
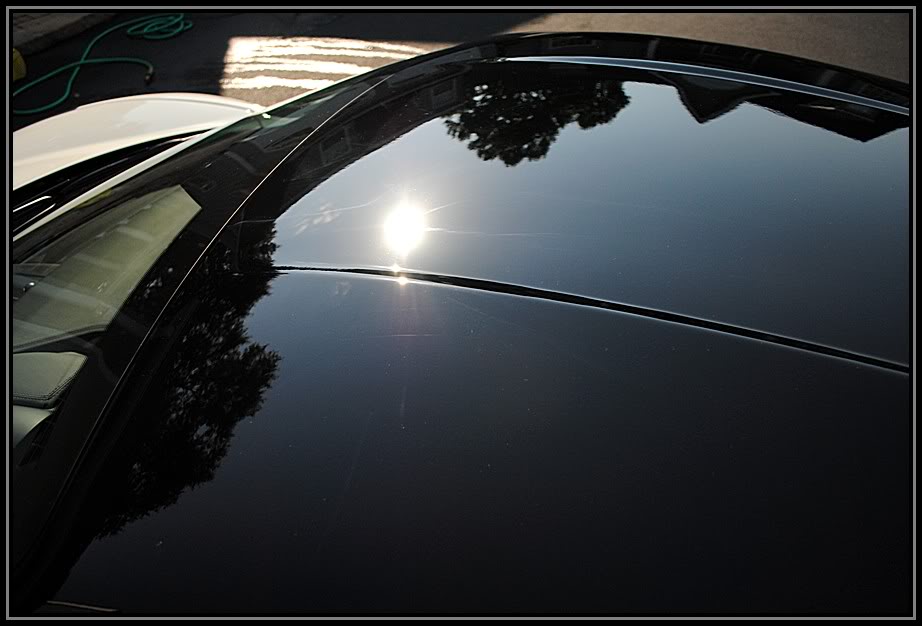
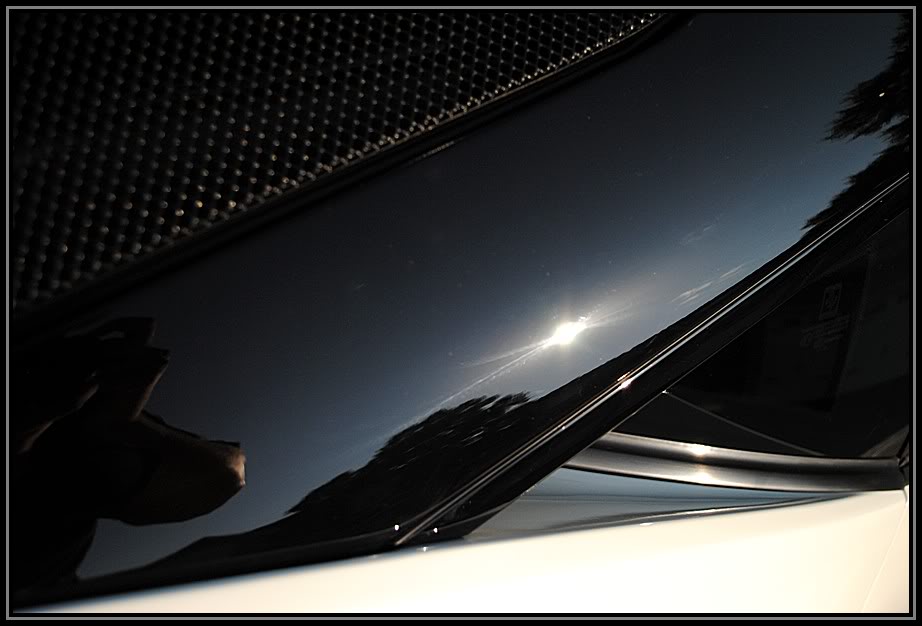
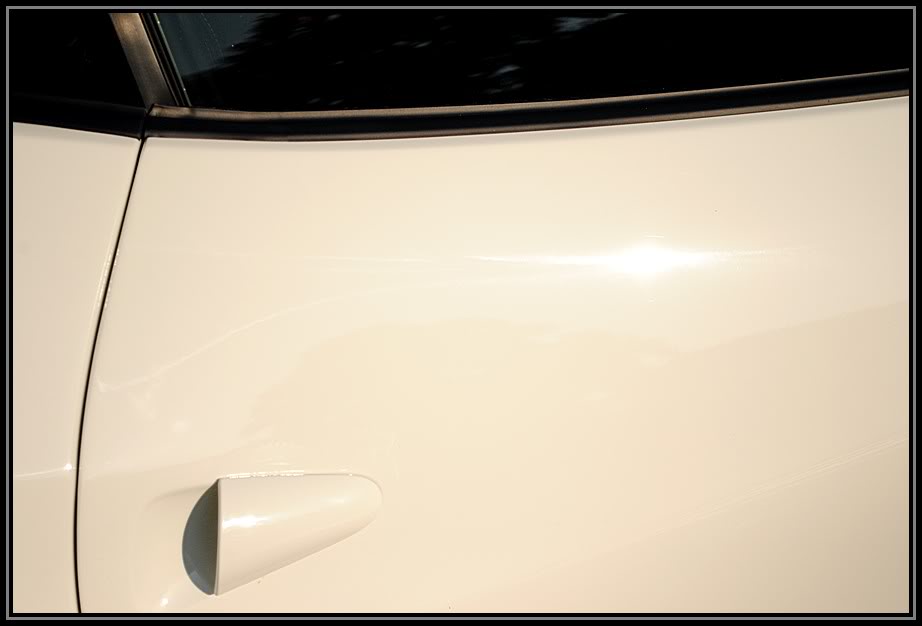
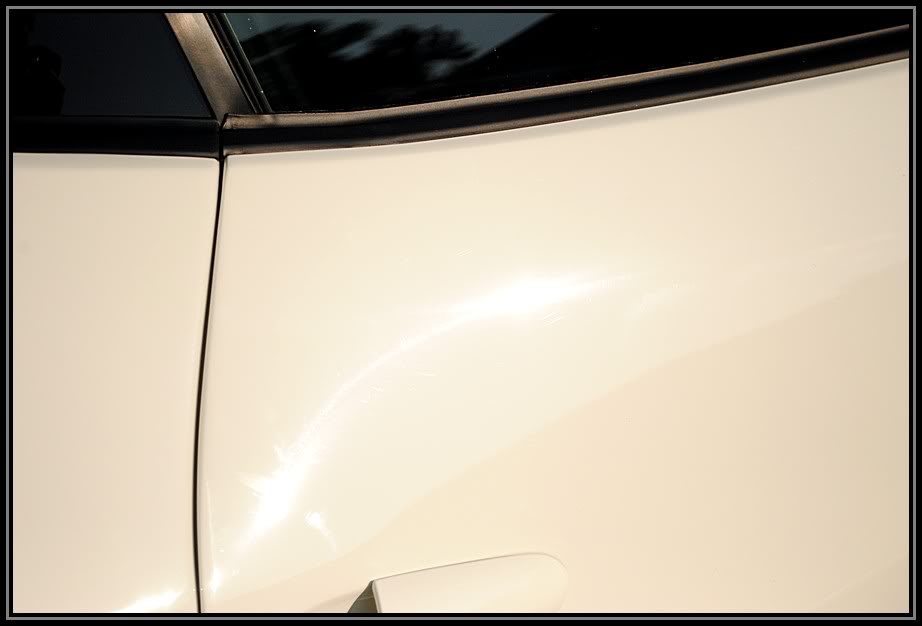
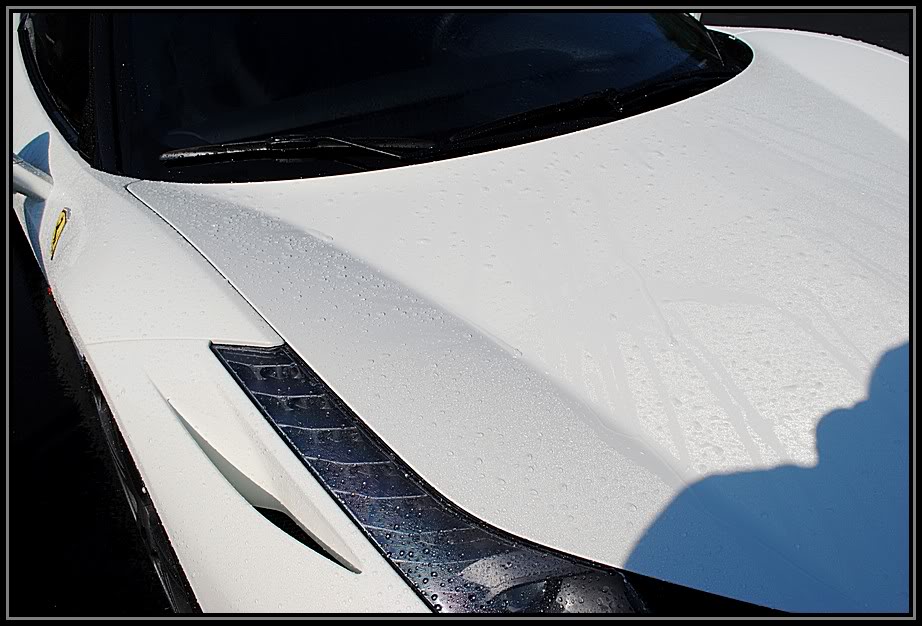
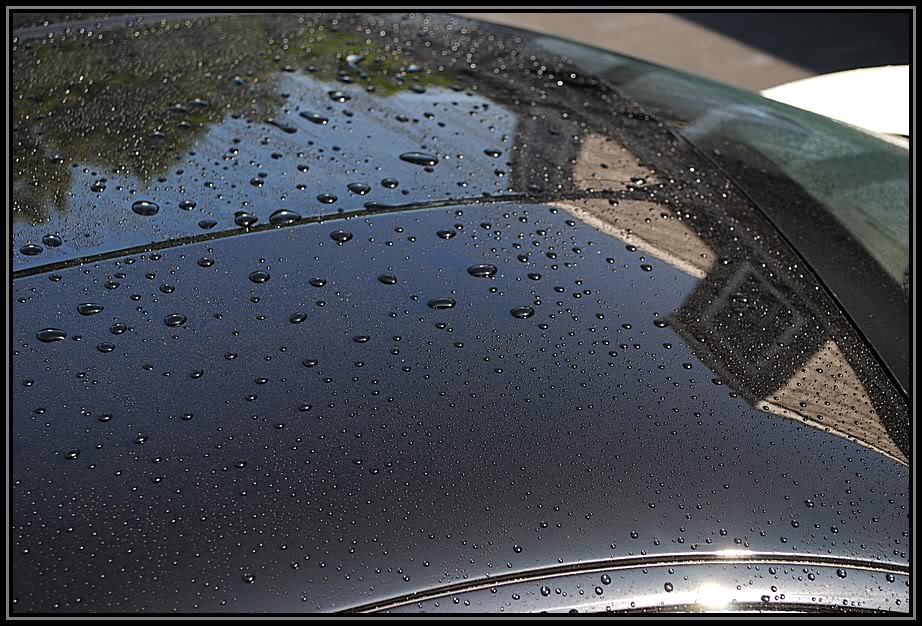
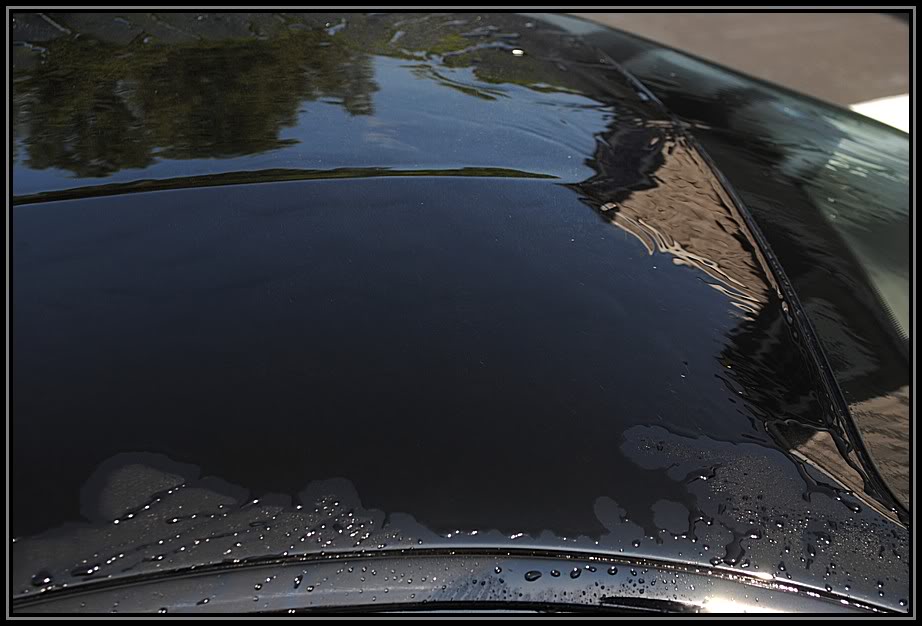
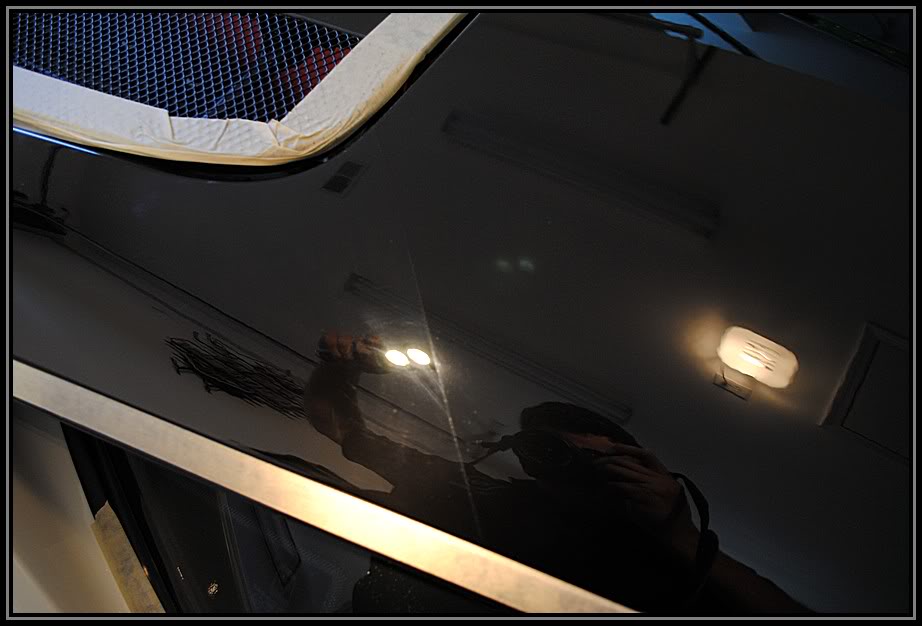
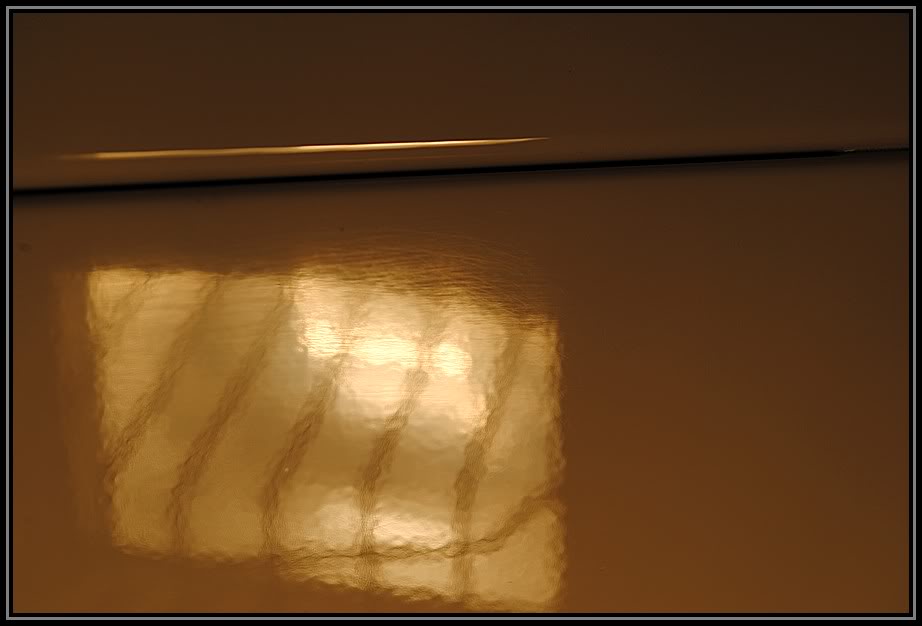
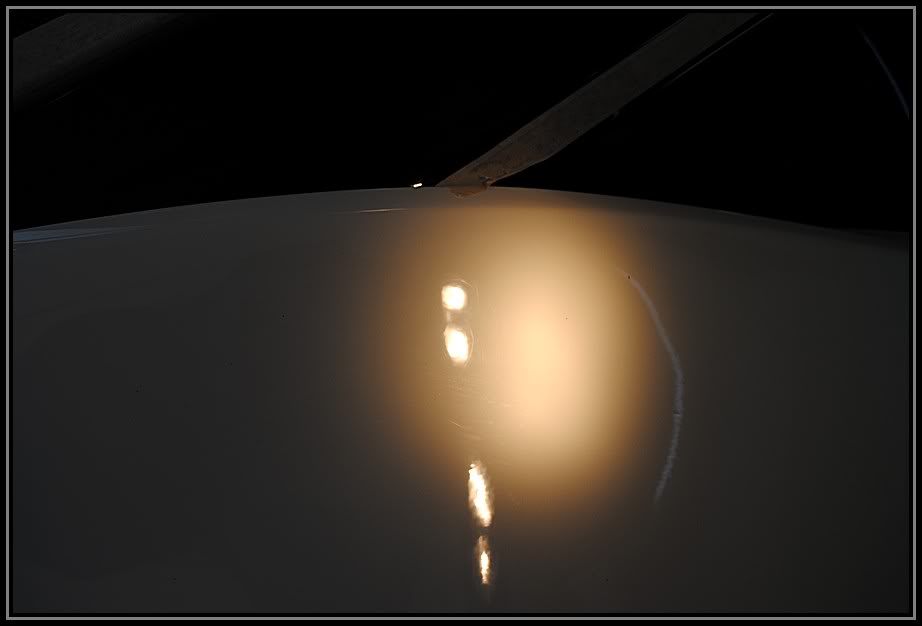
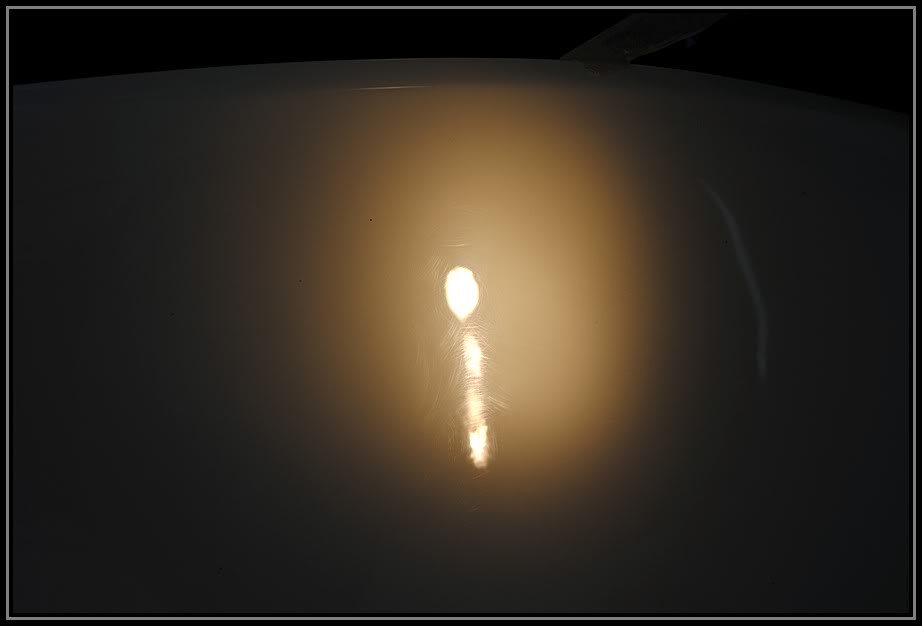
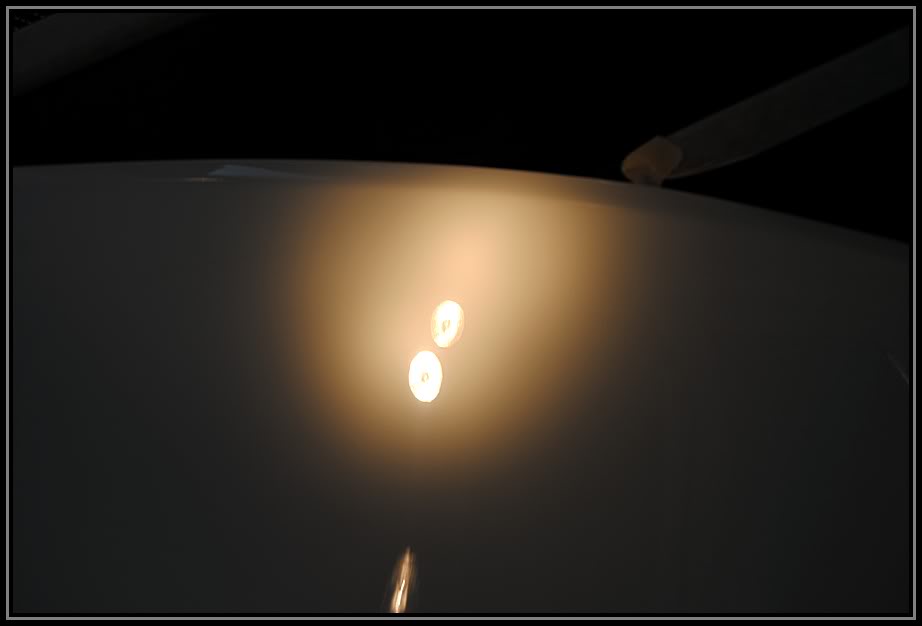
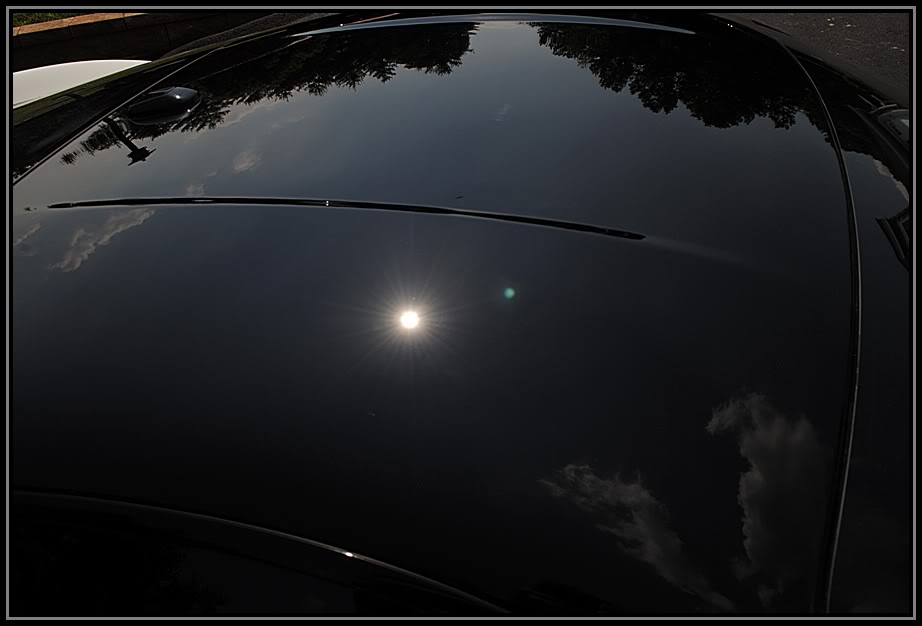
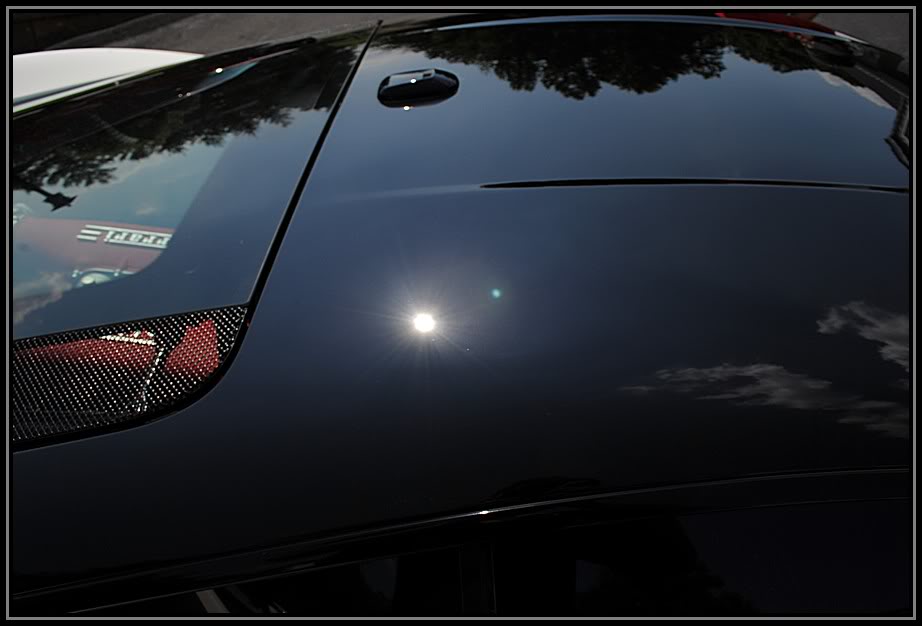
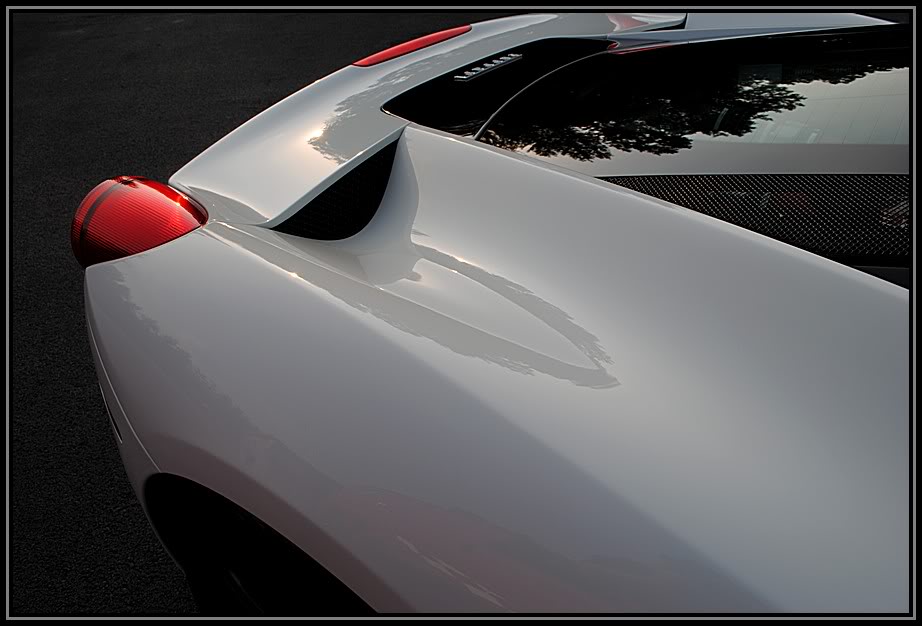
We pulled the car outside to see what exactly we were working with. In these pics you can see all of the holograms and buffer trails not only on the black, but you can see them on the while also.
buffer trails on the roof
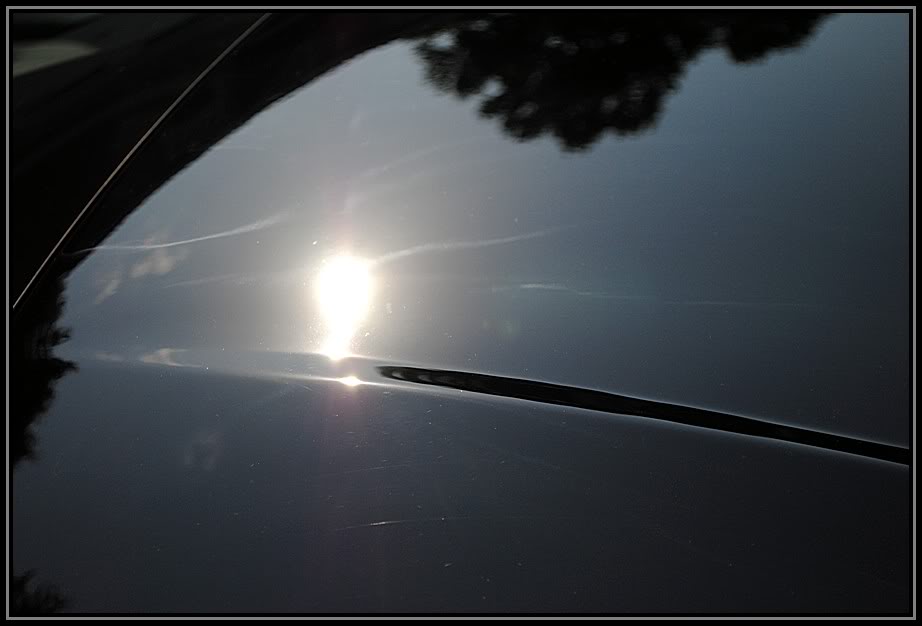
also on and around the doors
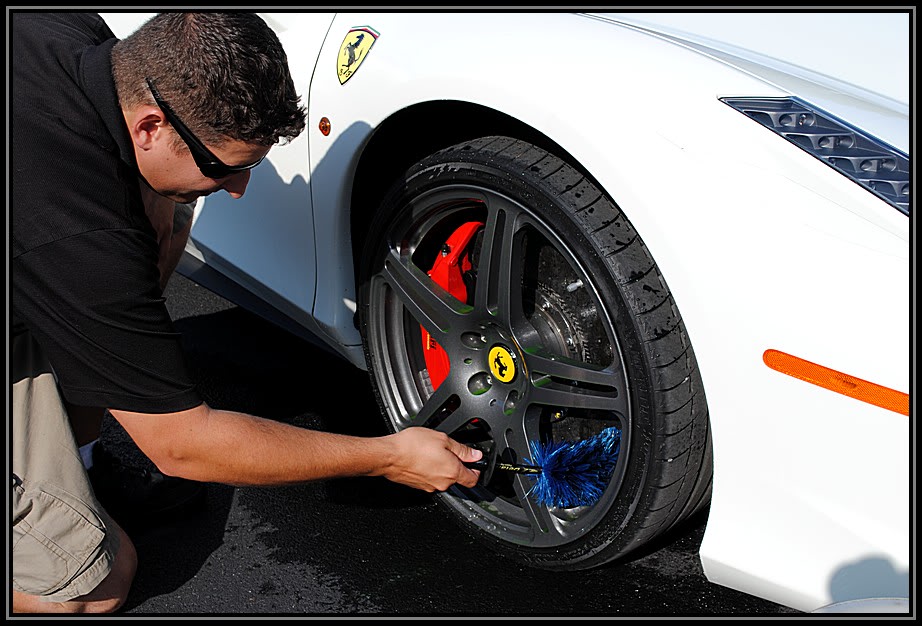
So for the Wash process, it's always good to start with cleaning the wheels first. This will help prevent water from just setting on the paint surface increasing the chances of causing water spots on the paint and glass.
First the wheels were pre-rinsed to dislodge and loose debris
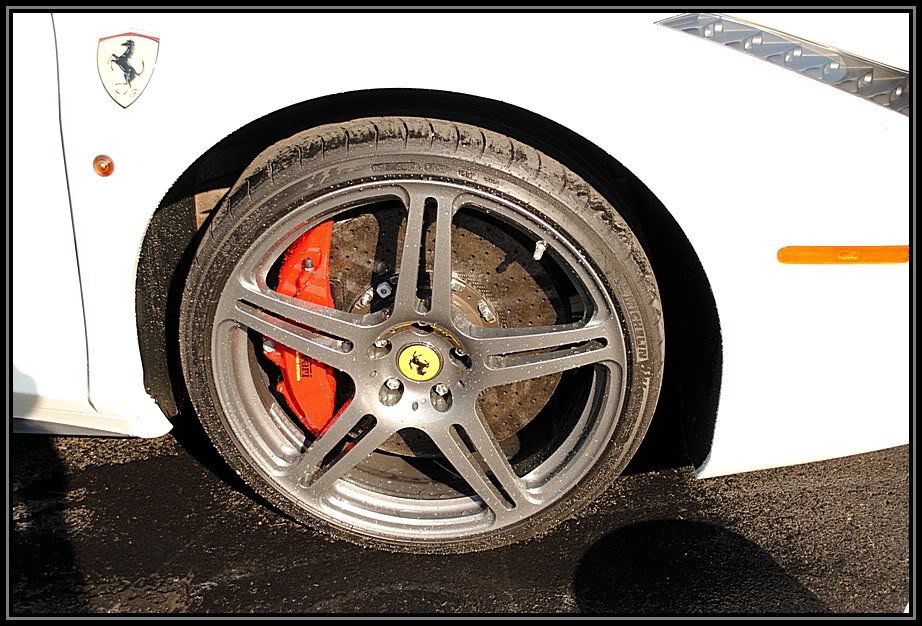
Then we Used some Sonax Full Effect wheel cleaner to clean the wheels. This is a pH balanced wheel cleaner that is safe for all types of wheels and brakes and when sprayed on the wheels, it will activate with the iron particles and turn to a red color letting you know it is working.

after the wheel cleaner was left to dwell for a few minutes, we then agitated them with various wheel brushes such as the EZ detail brush and the Swissvax brush to get deep into the wheels and all the tight areas.

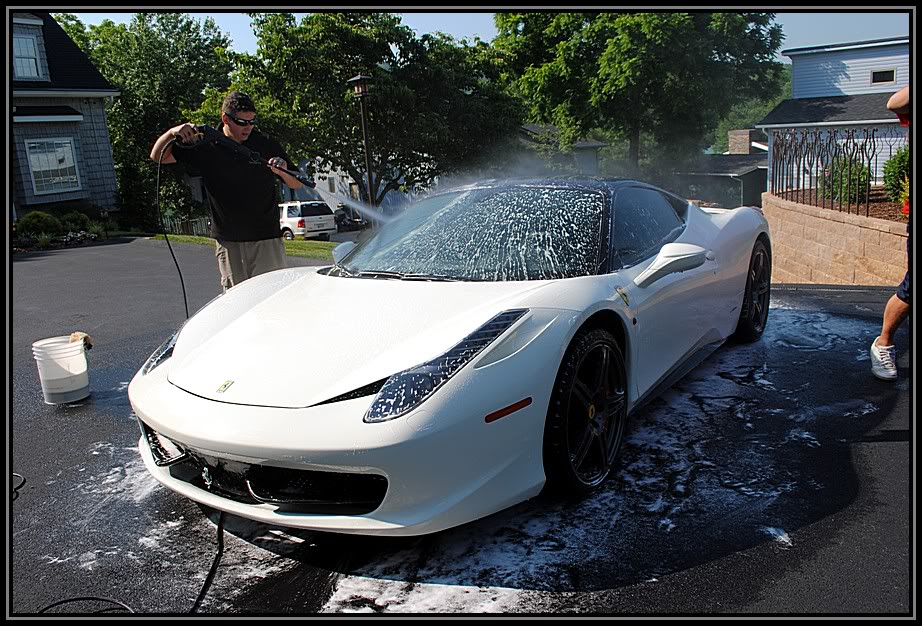
Next we pre-rinsed the car down making sure that all loose debris were knocked off, this helps make sure your not grinding anything into the paint when washing.
as you can tell from the water beading, there was some type of protection on the car, so it is a important step to remove all of this, so we will get a Tru correction later when the car is buffed on.
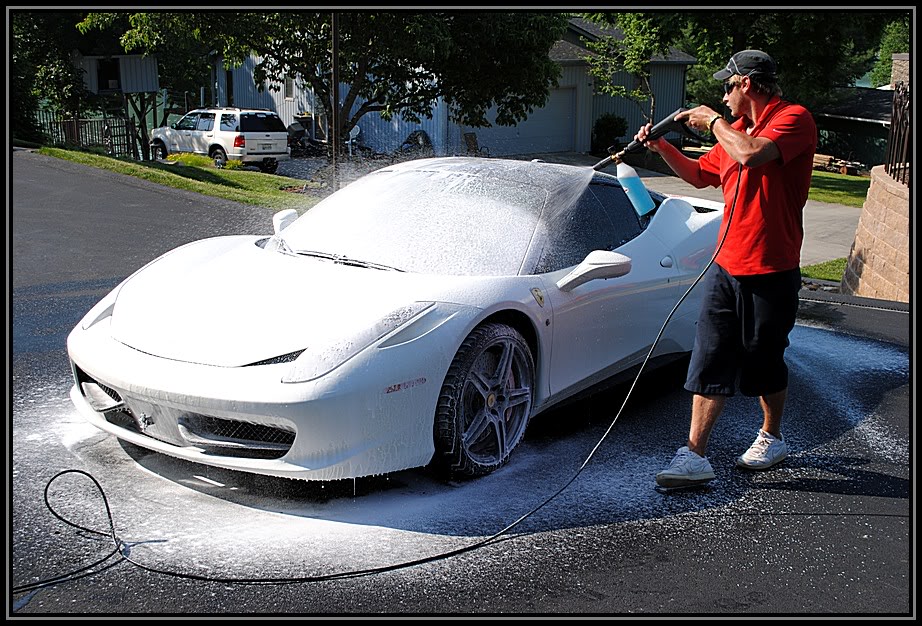
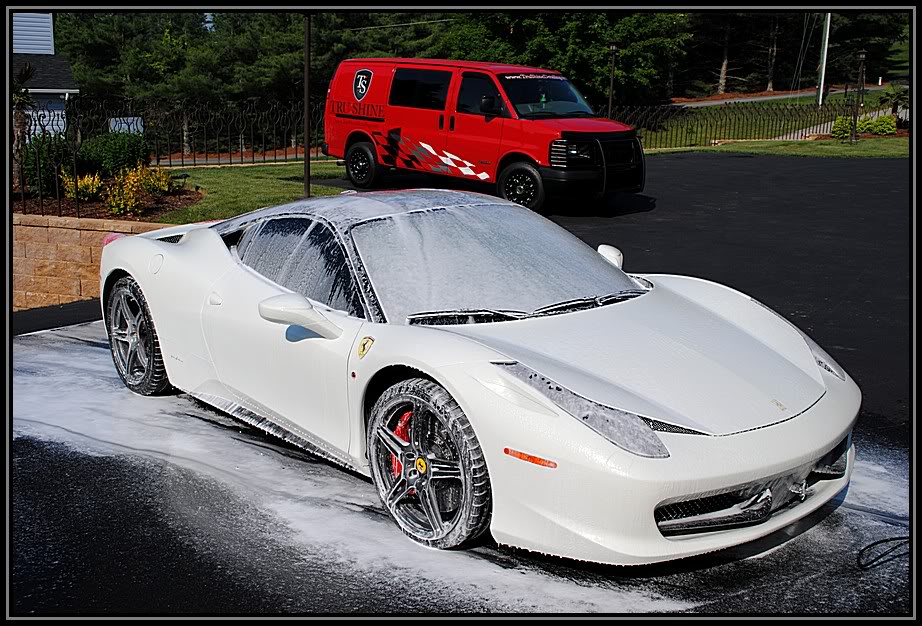
To strip the protection off of the car, we used a mixture of Dawn Ultra concentrate and some Degreaser mixed in the Foam canon.
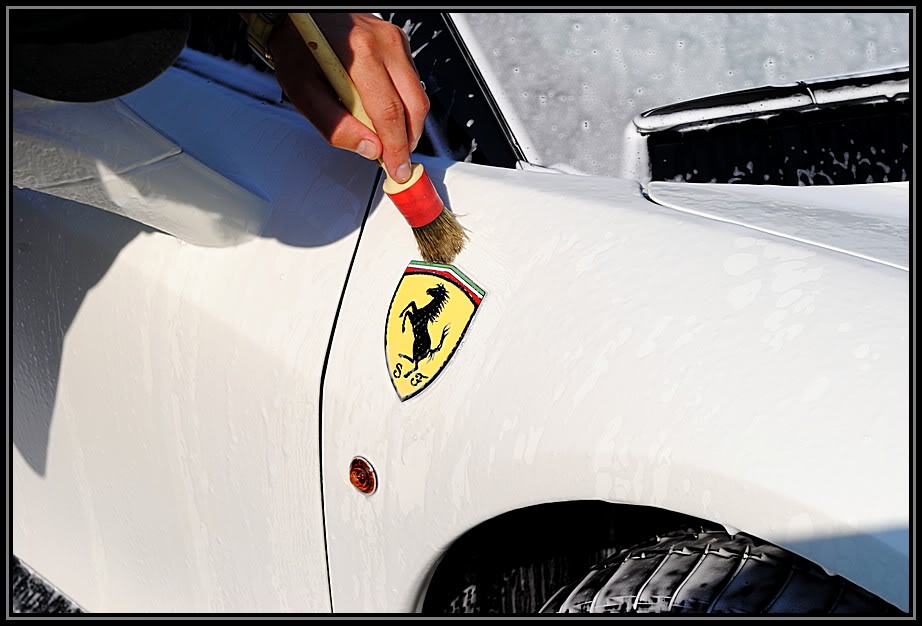
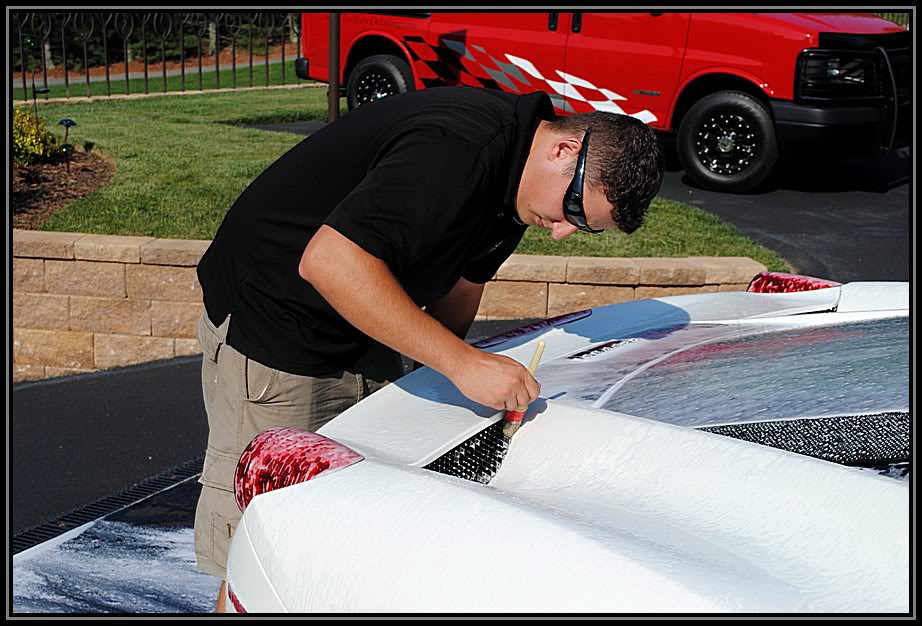
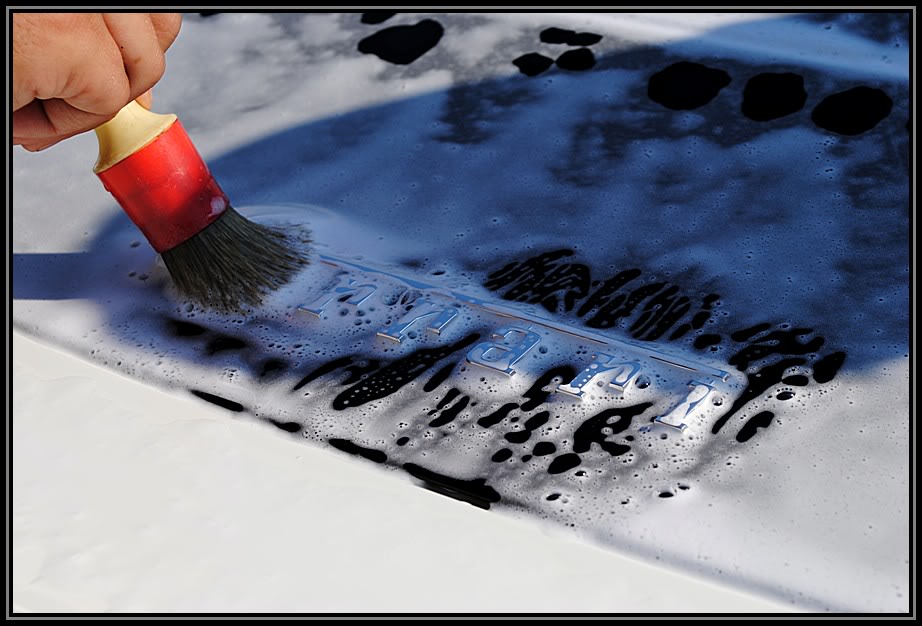
Then all crevices were agitated
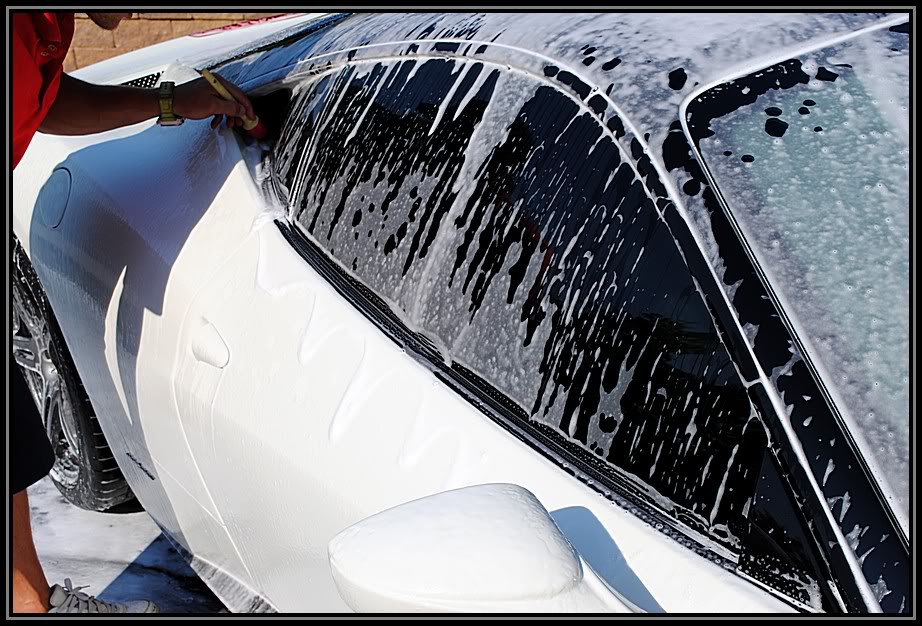
Then the car was washed using 100% sheep skin wash mitts and the two bucket method with Grit Guards in the each bucket.

Then the car was rinsed
but beading was still there, So we gave it one more foam bath with extra foam this time letting it dwell for a short time
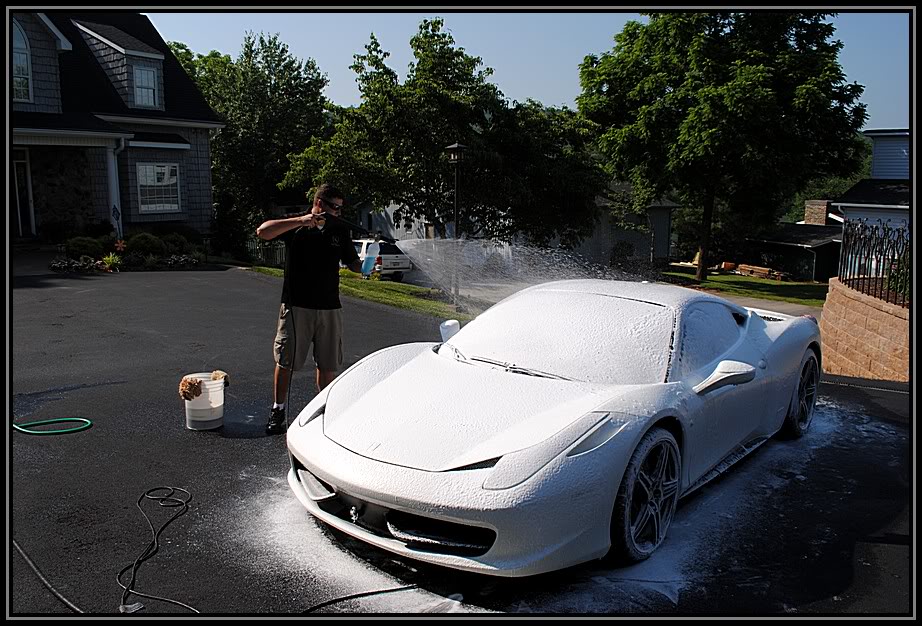
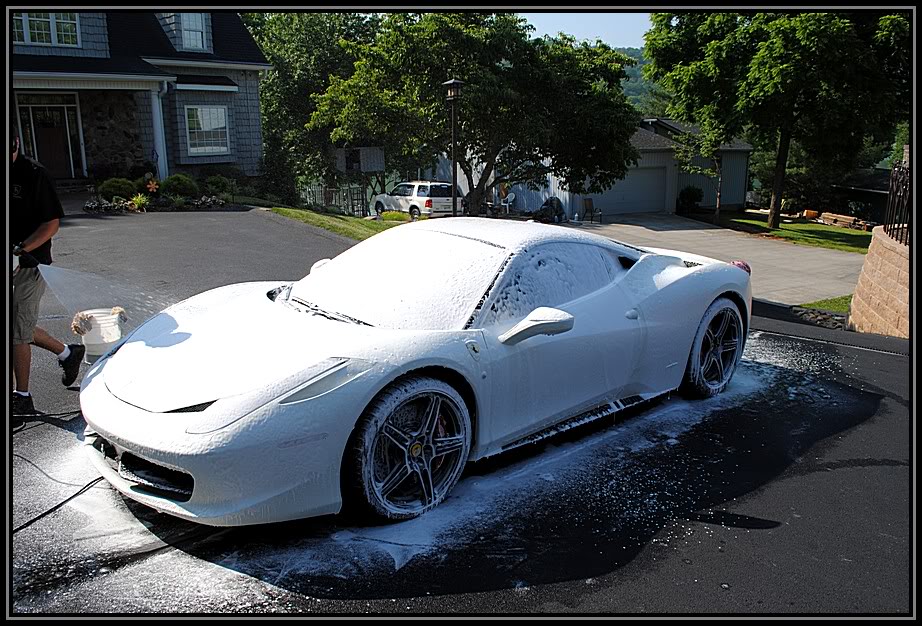
This time we got what we were looking for, no water beading
Next we pulled the car back into the garage
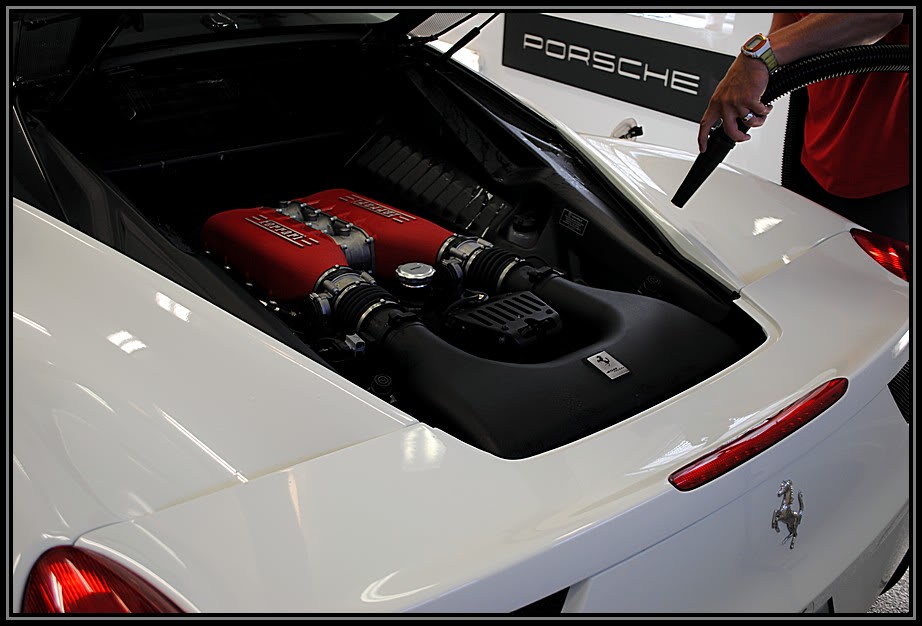
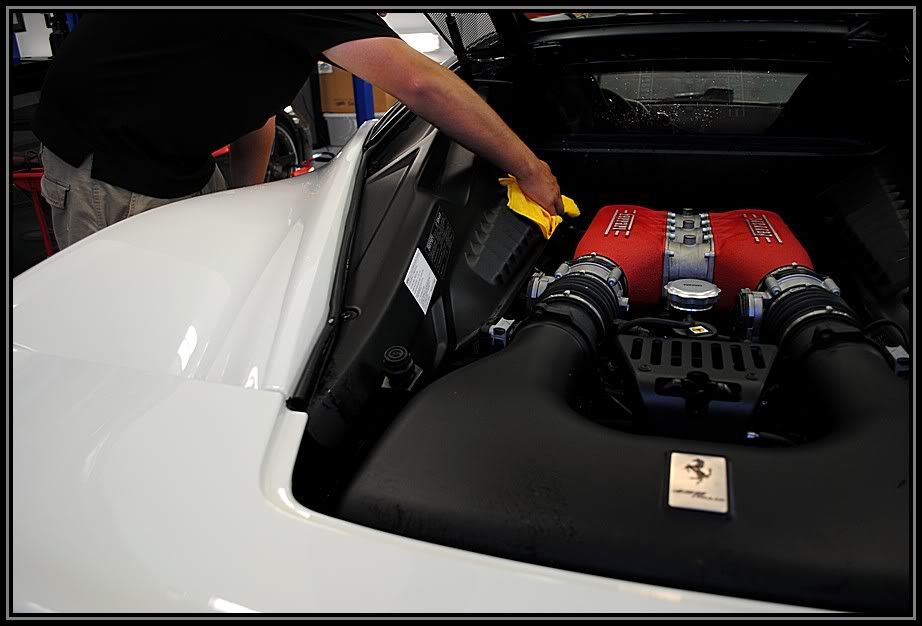
While David was using the Metro Air Force Blaster to get all of the water out of the cracks and crevices, I dried off the car using a micro fiber towel.
Next we clayed the car using Clay Magic Blue Fine Clay
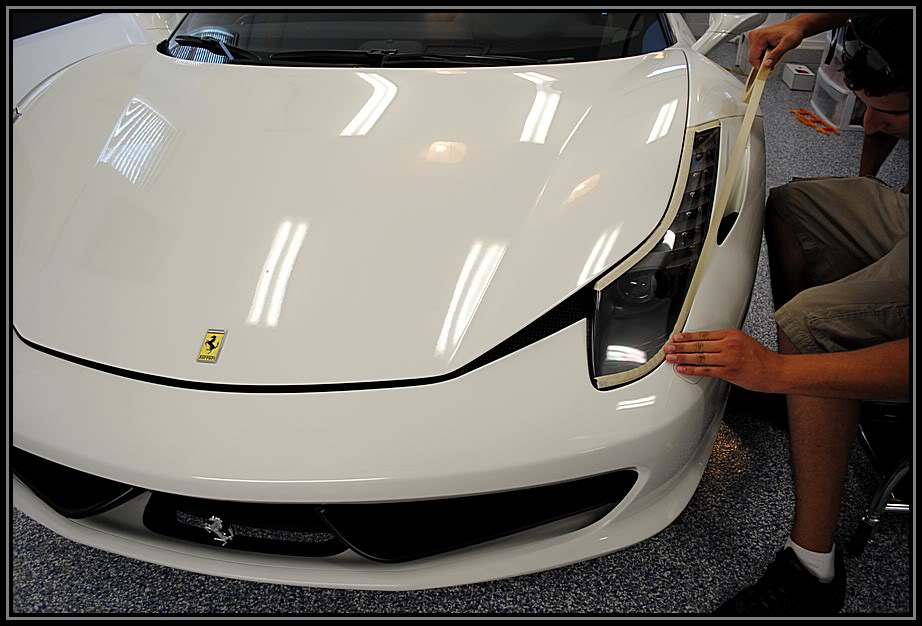
Then we began to tape it up
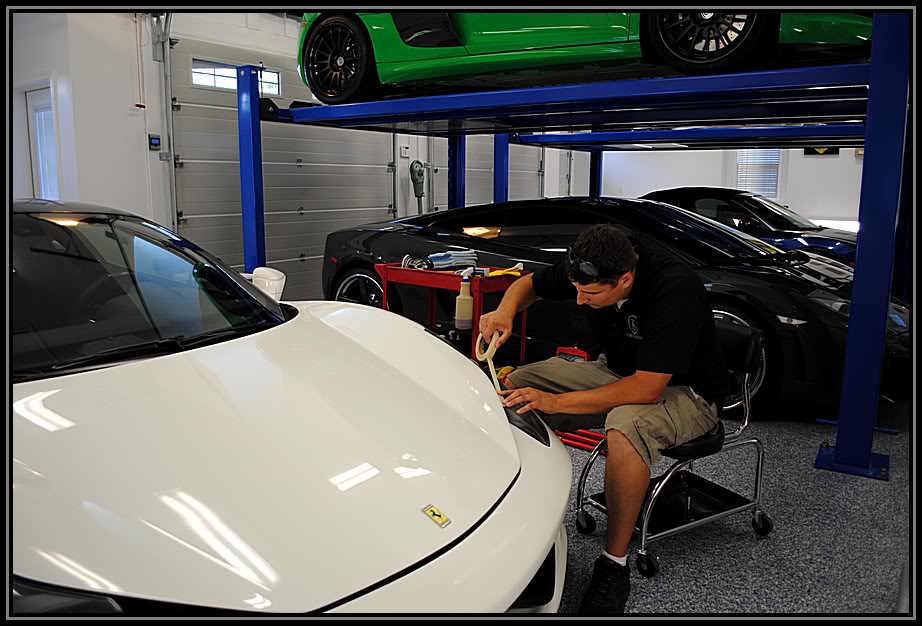
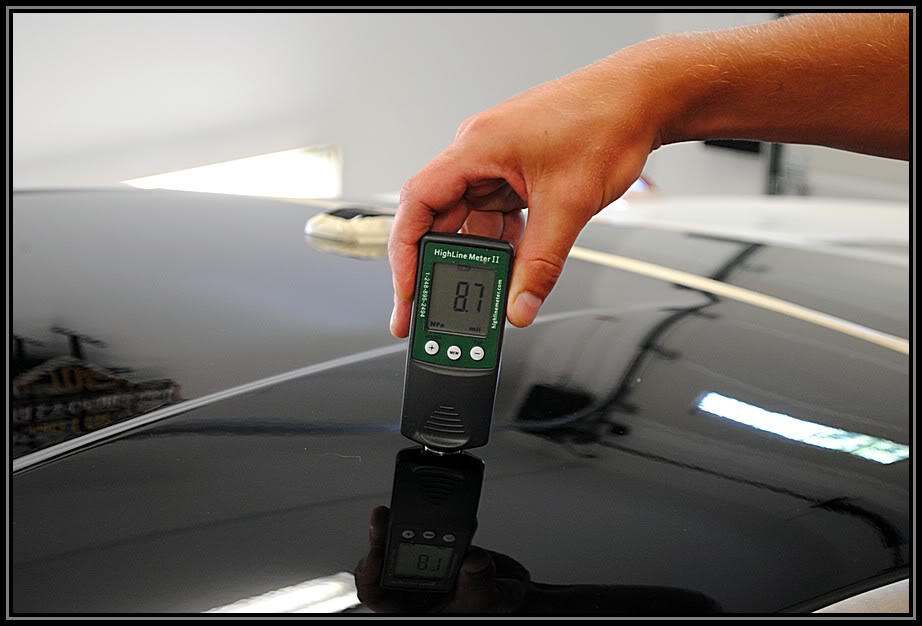
Just to make sure the paint was safe and thick enough to buff on, we took Paint thickness measurements all over the car, The average was about 9mils thick all over. which let us know we had plenty of room to work with.

Now that she is all taped up, we can began
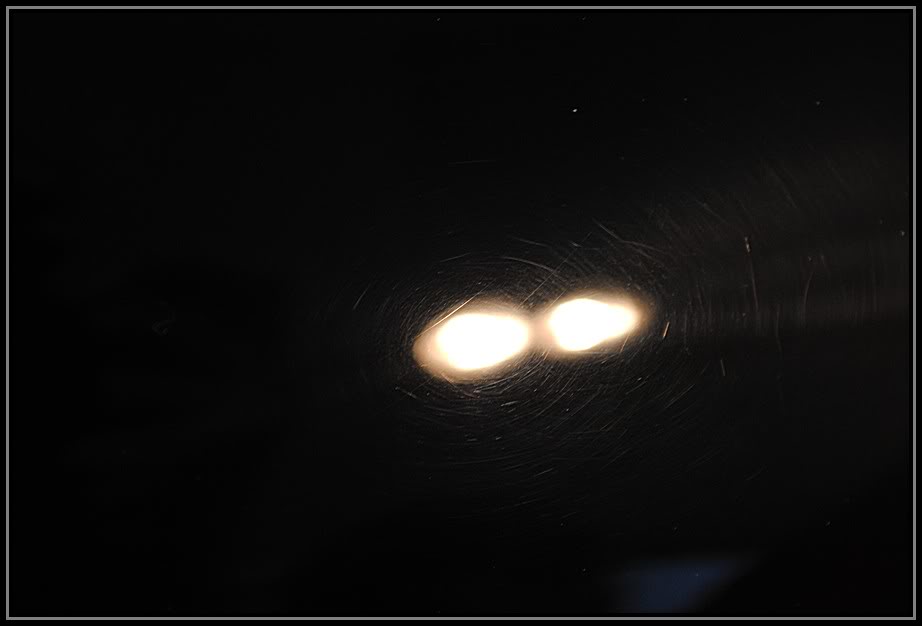
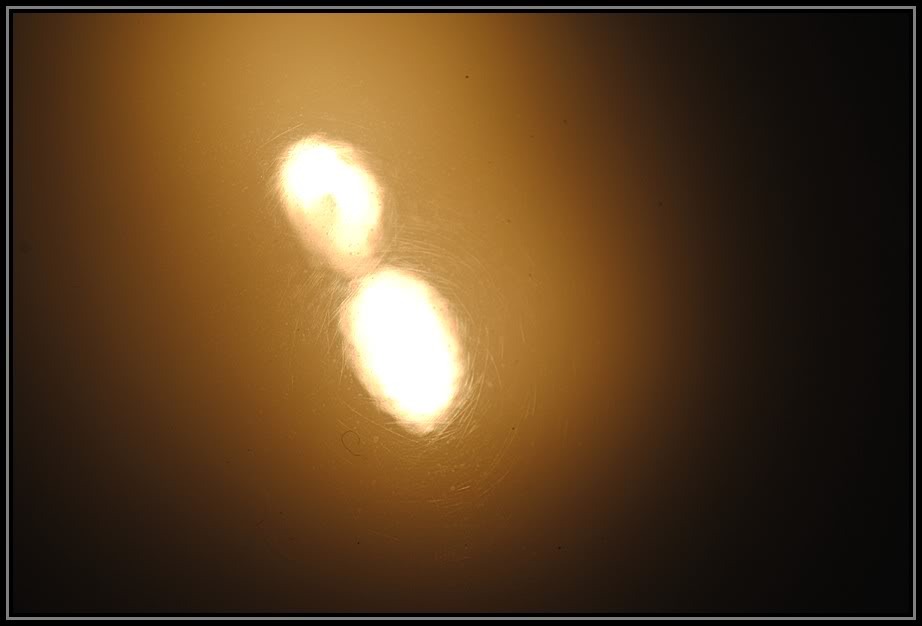
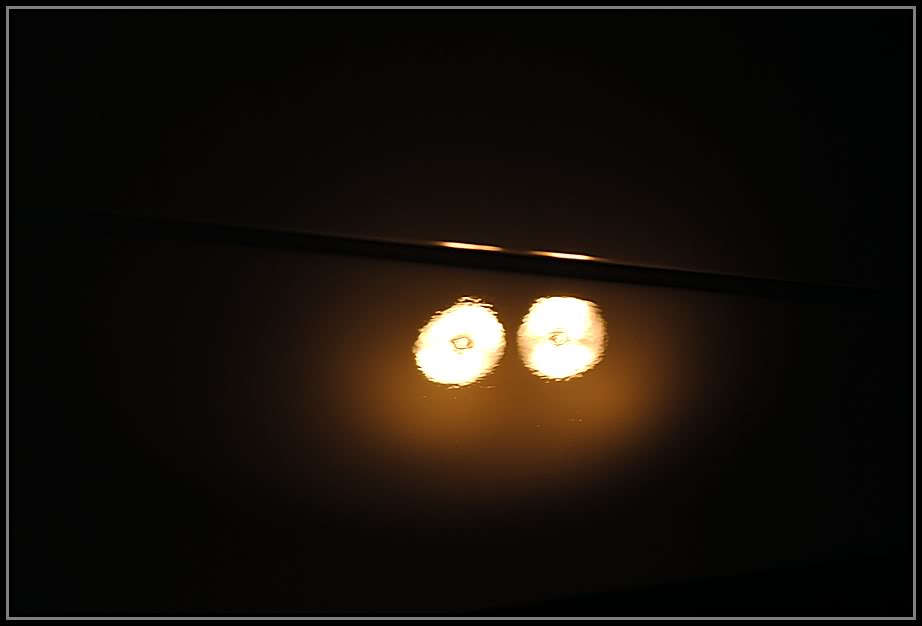
here are some of the swirls and defects found using our Brinkmans Swirl finder light.
Testing out the new Meguiars DA system (Which worked amazingly)
great correction was achieved
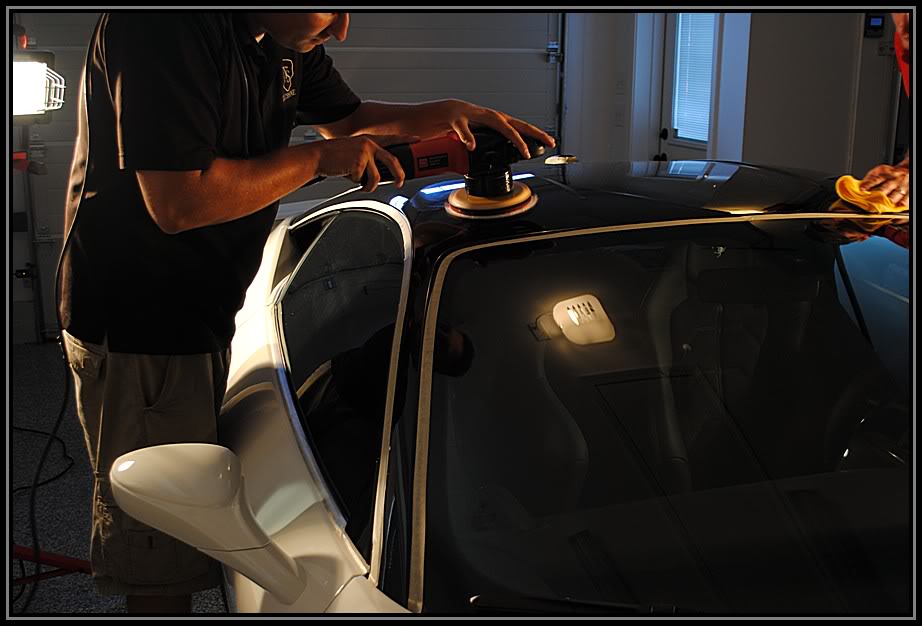
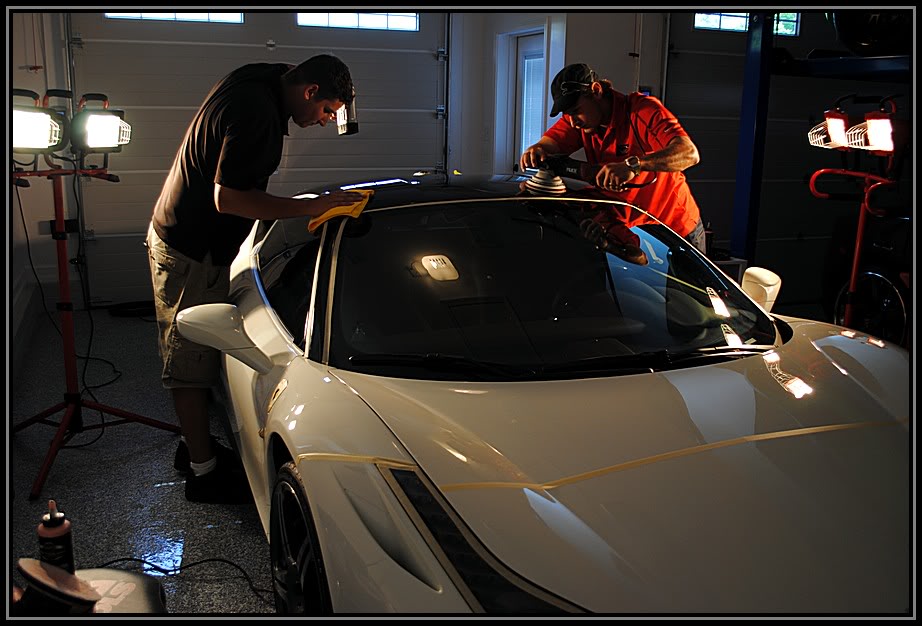
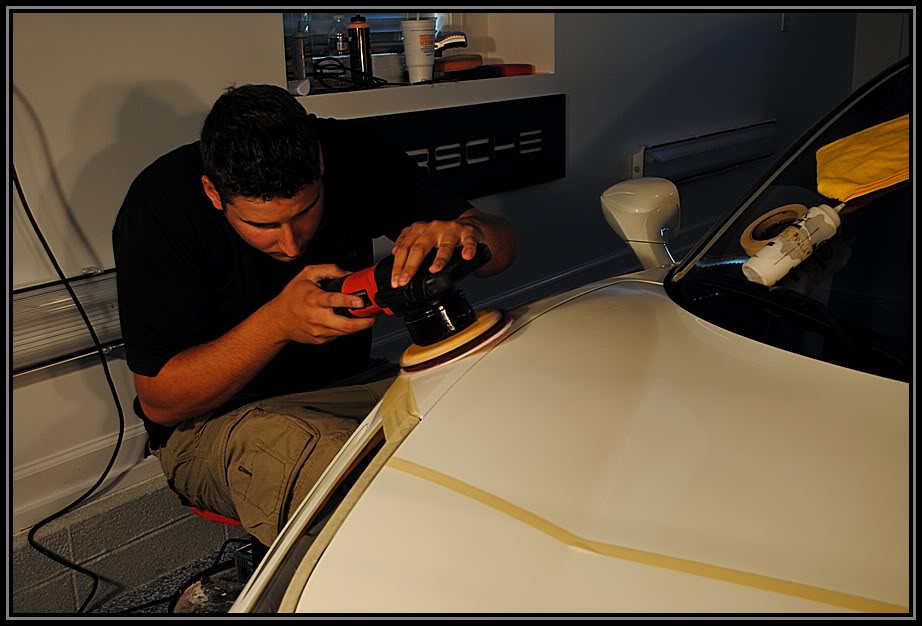
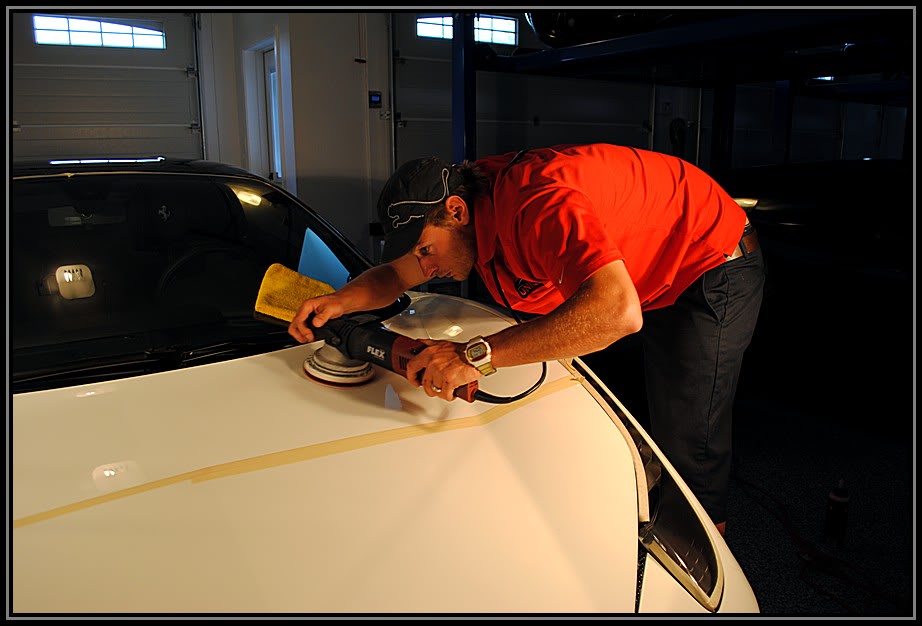
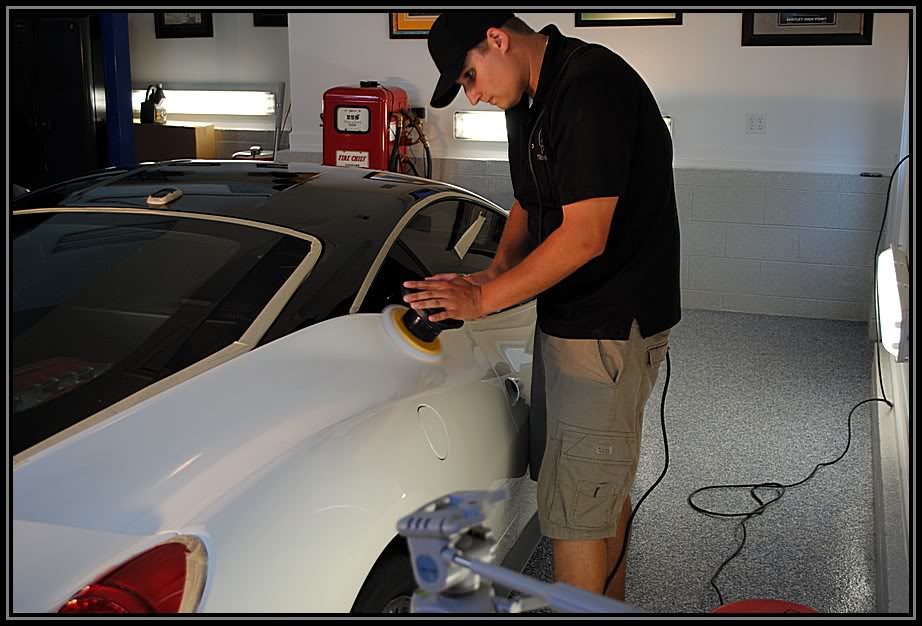
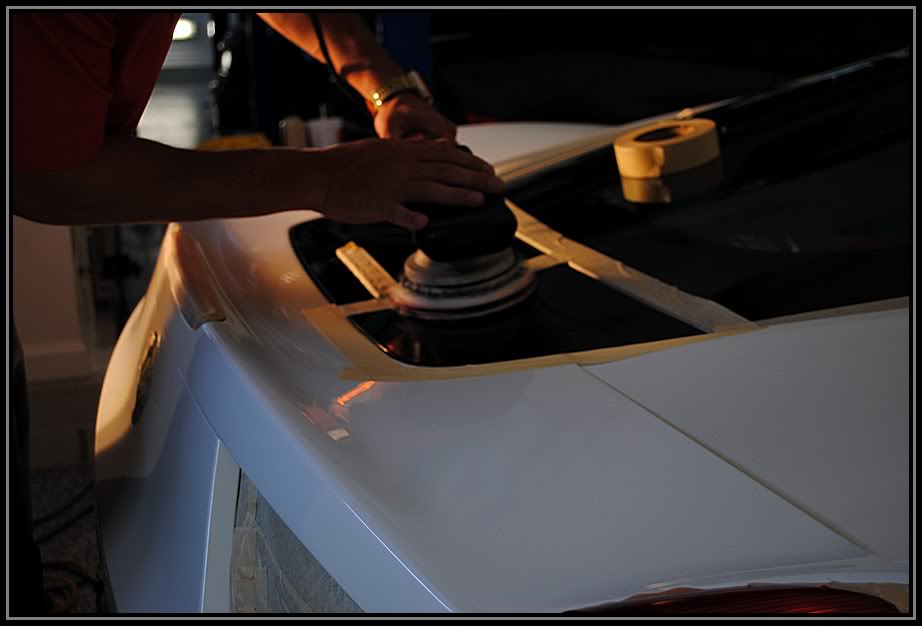
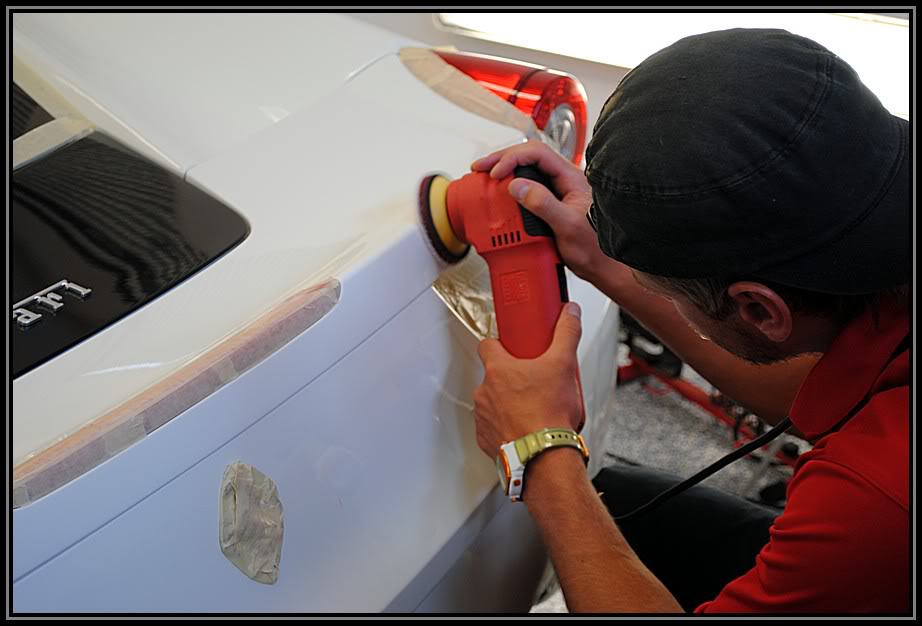
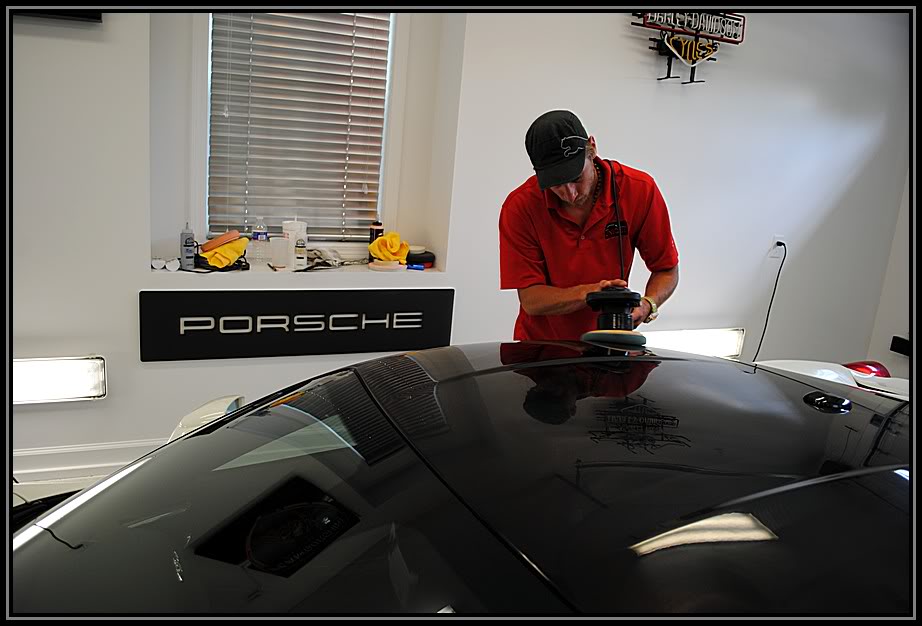
For the Correction process, I used the Griot's 6in DA with the Meguiars DA system and David chose the Flex 3401.
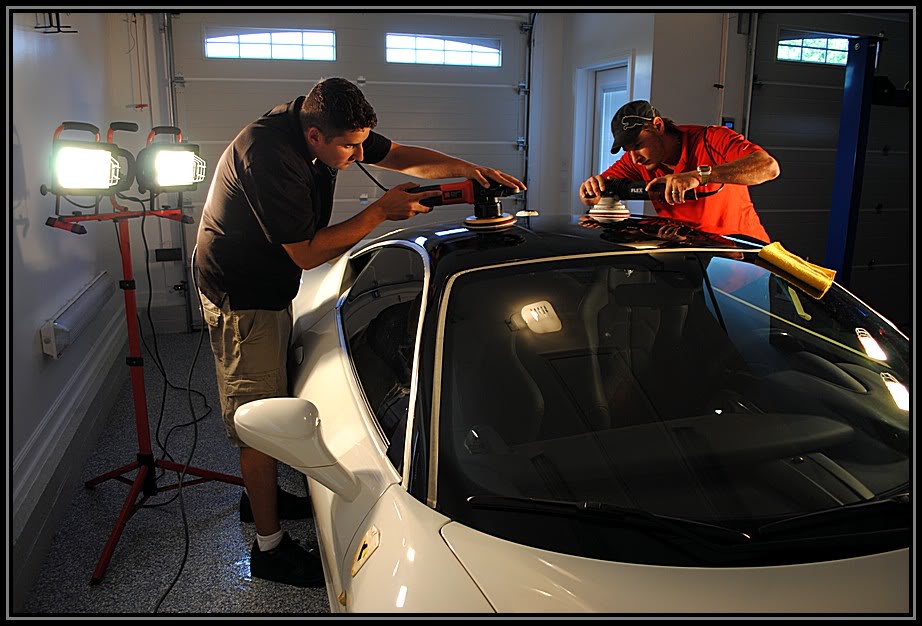
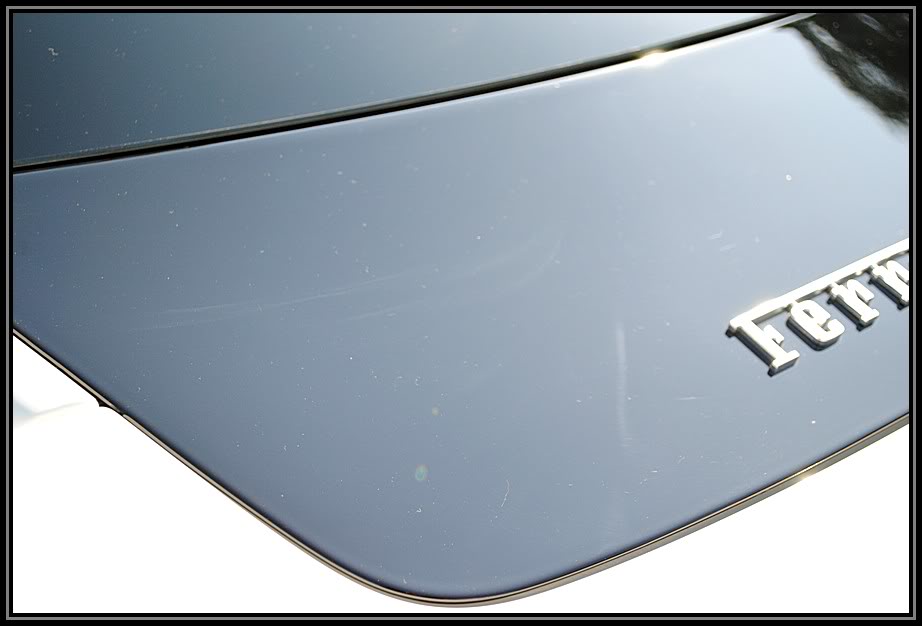
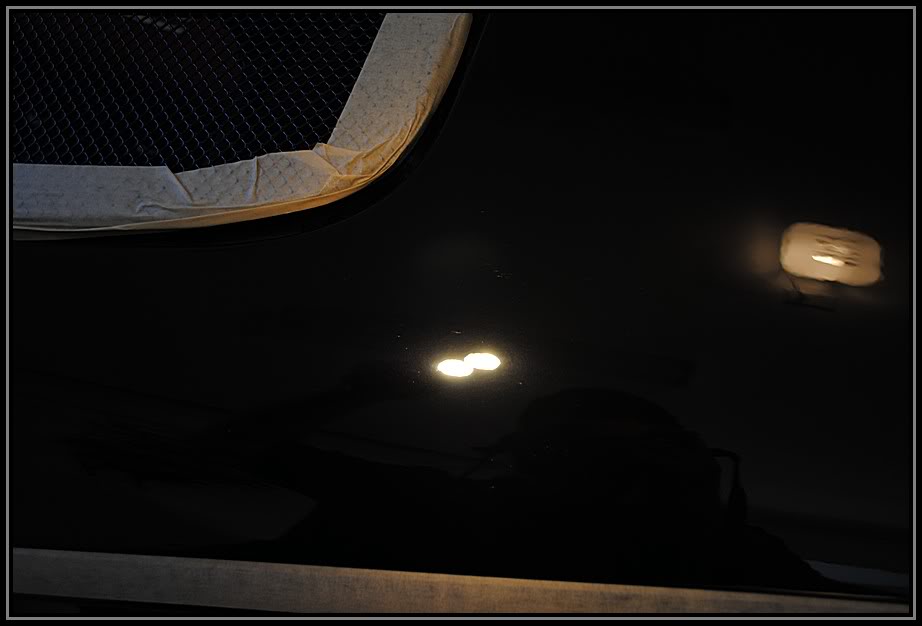
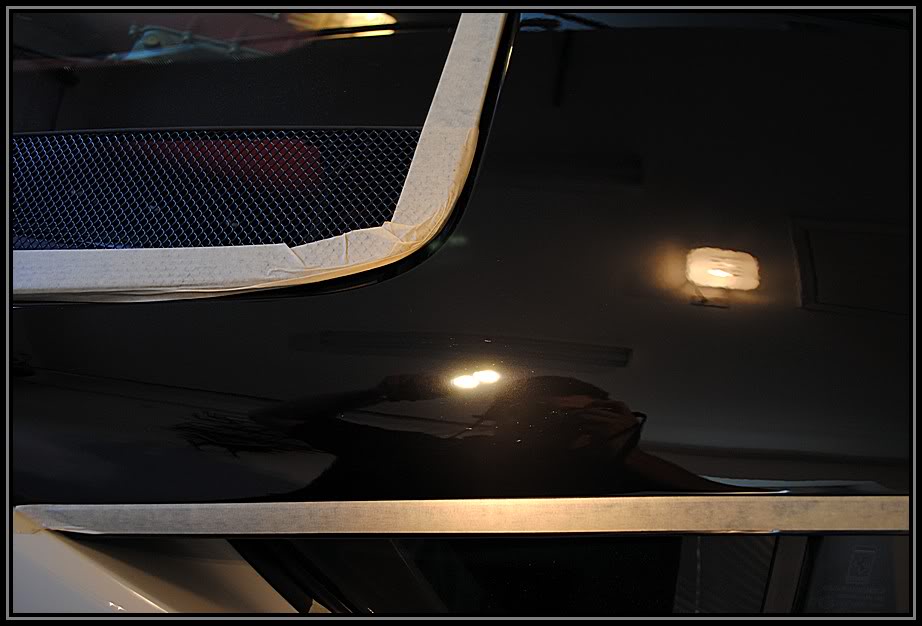
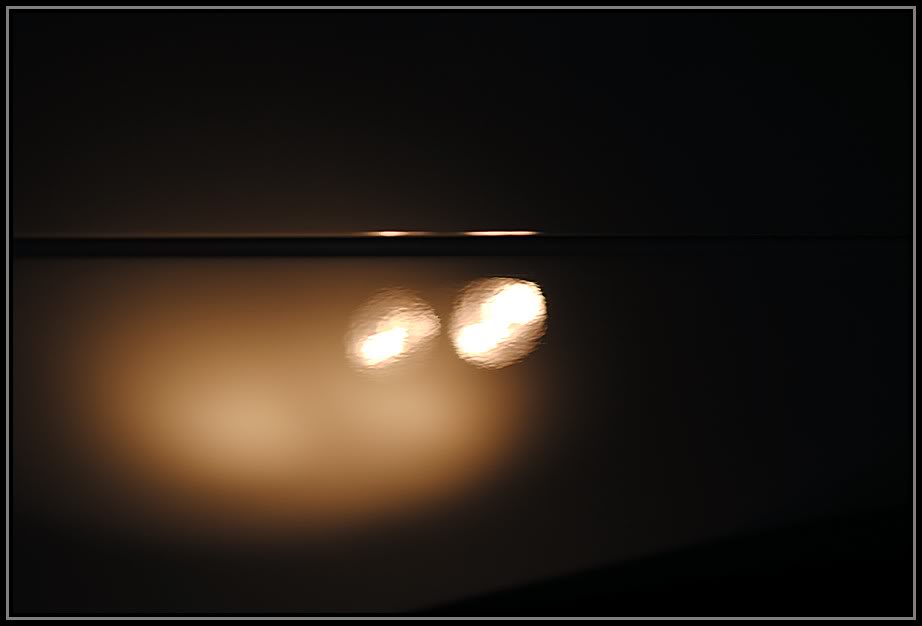
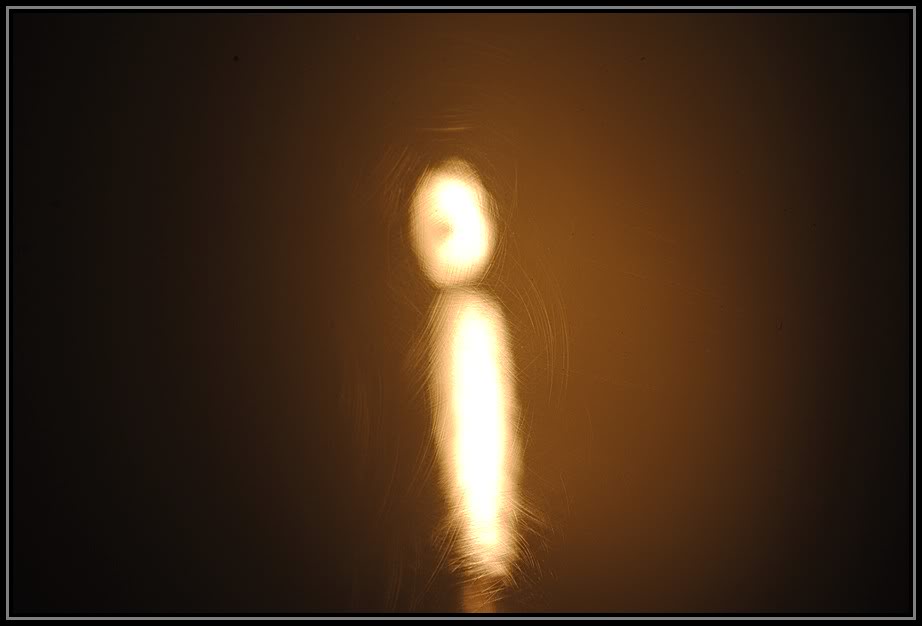
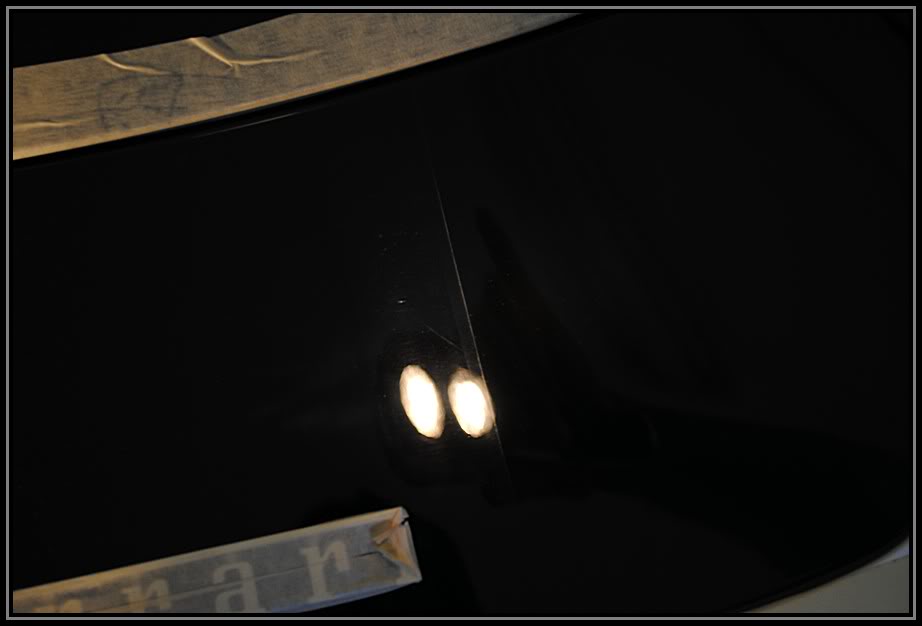
here are some more of the buffer trails and holograms that came from the factory....

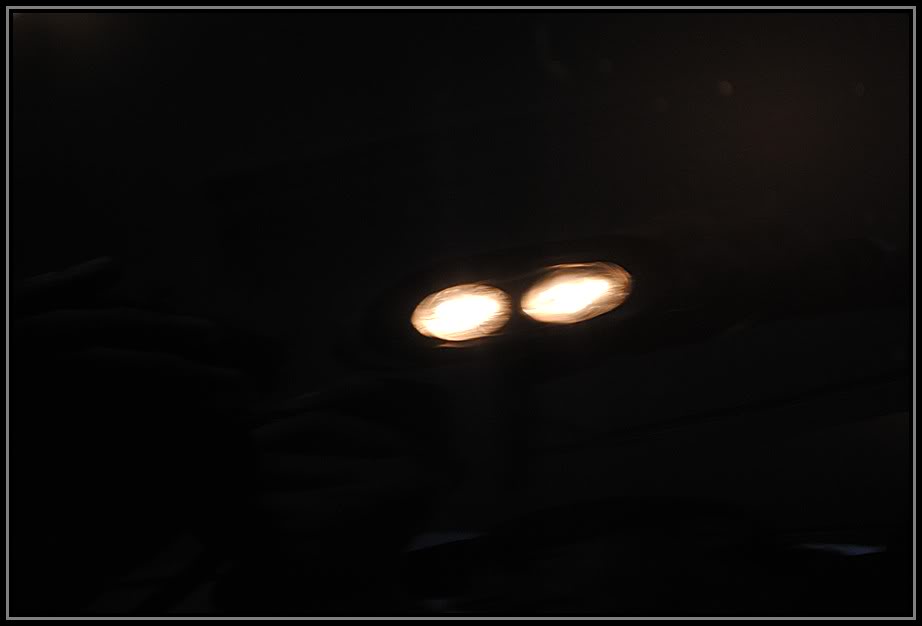
here is a hard to see 50/50 shot
and here it is after the cutting disc and D300
we had the music going and we were getting in the zone!
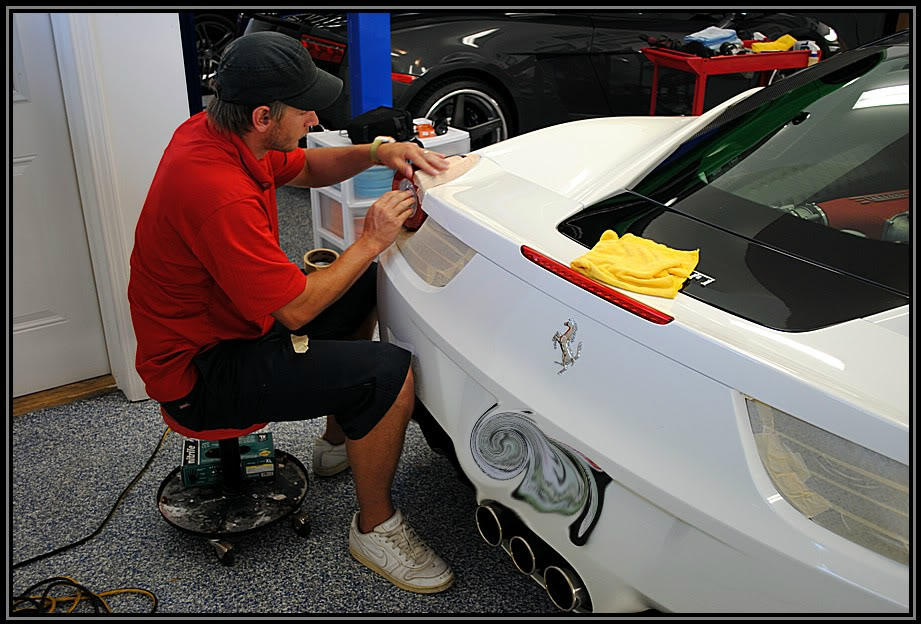
Here are some sand scratches left behind from the factory. These were on the rear lower side skirt on the passenger side.
After being buffed out.
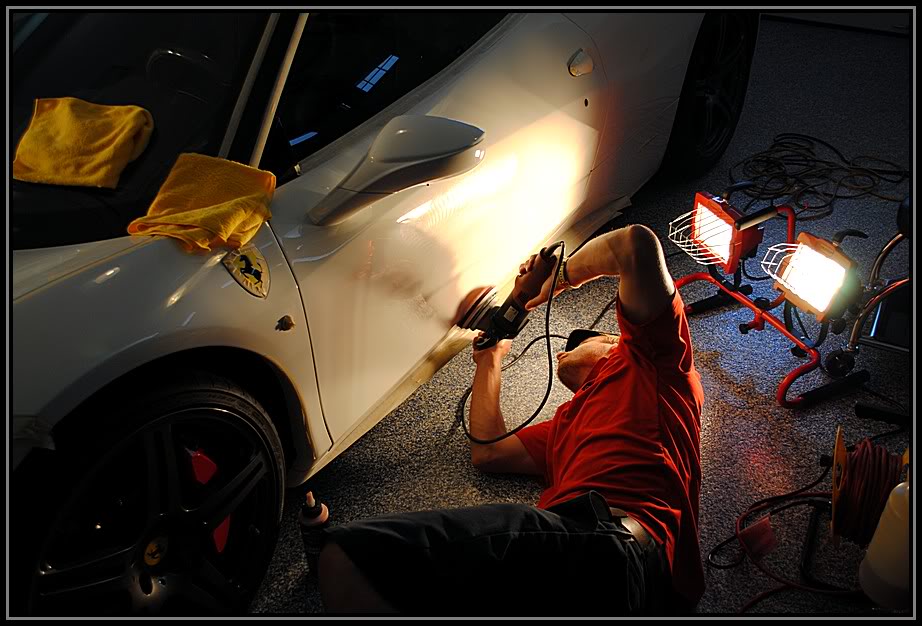
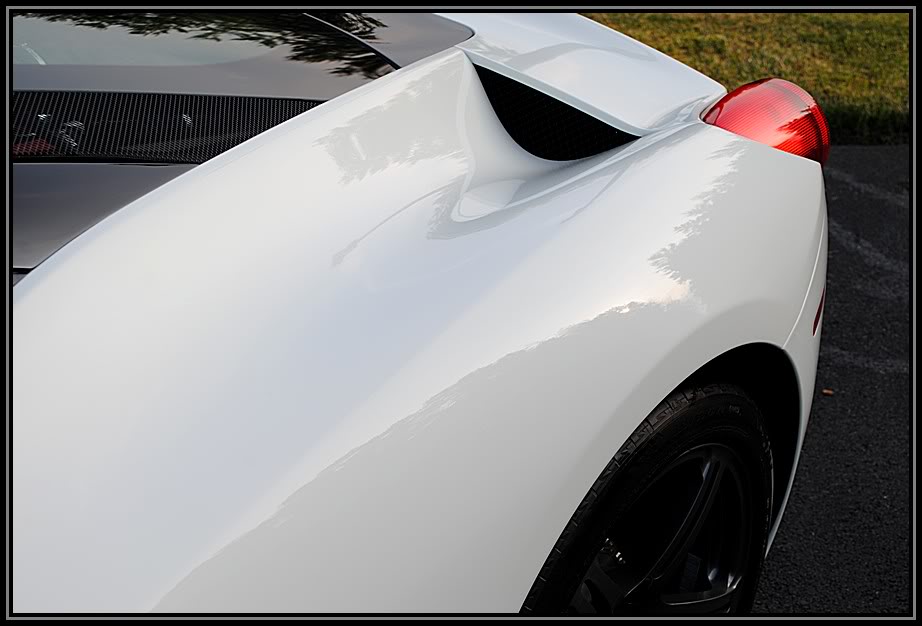
The rear quarter panel had some really bad sand marks
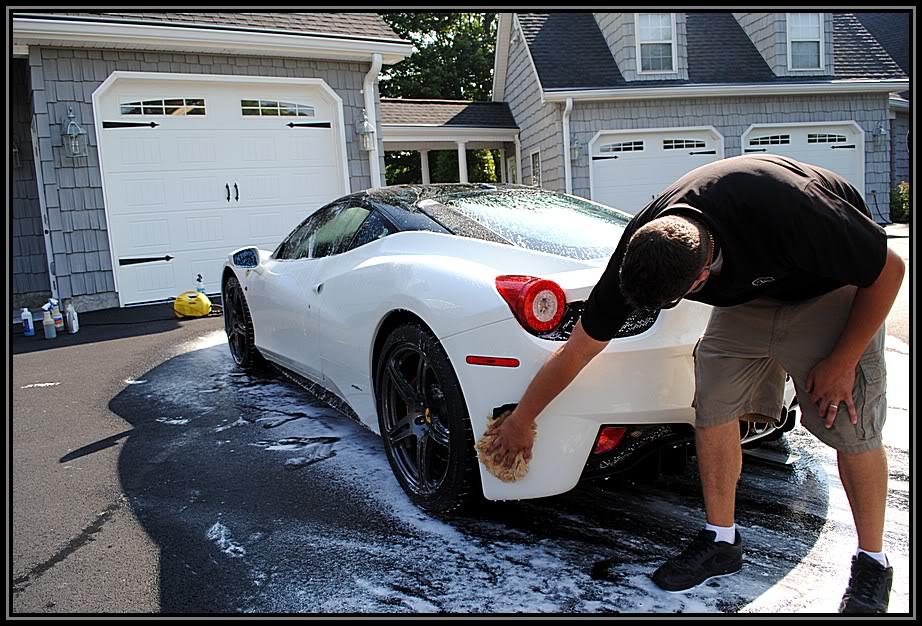
I had to use the Surbuff pad and Meguiars M105 to remove the heavier sand marks.
While i was doing that, David was working on the rear
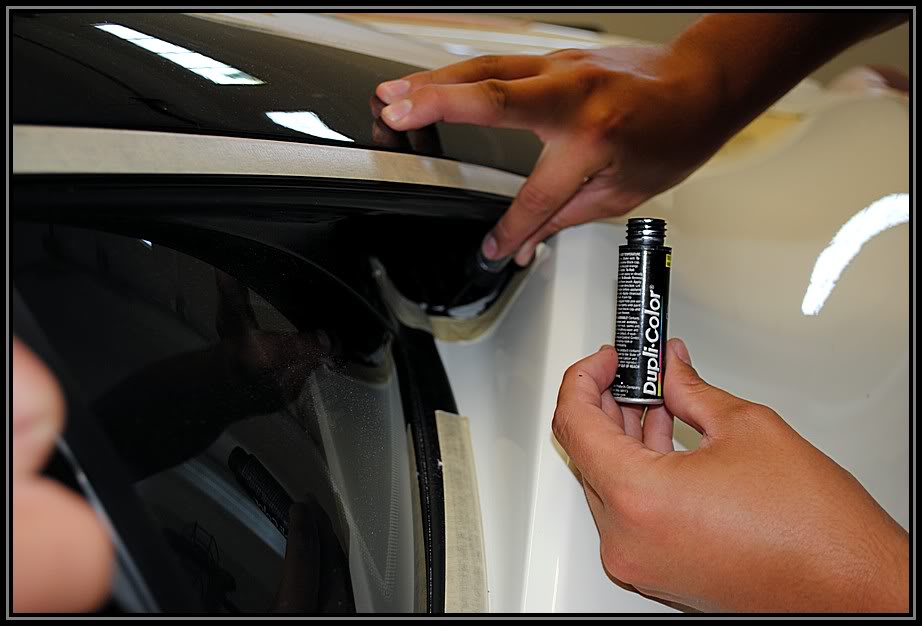
The owner had asked us if we could do anything about some paint flaking off near the rear air vent
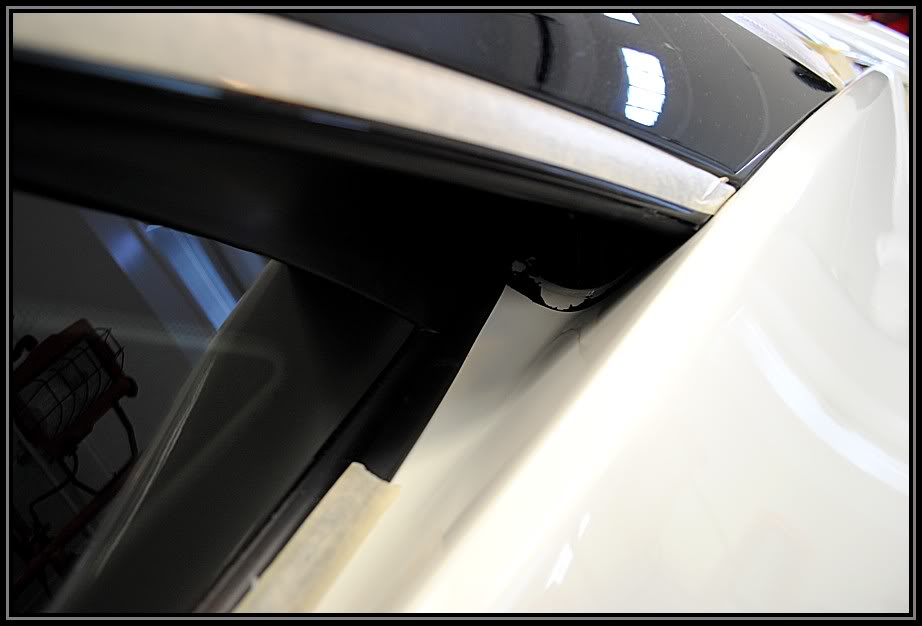
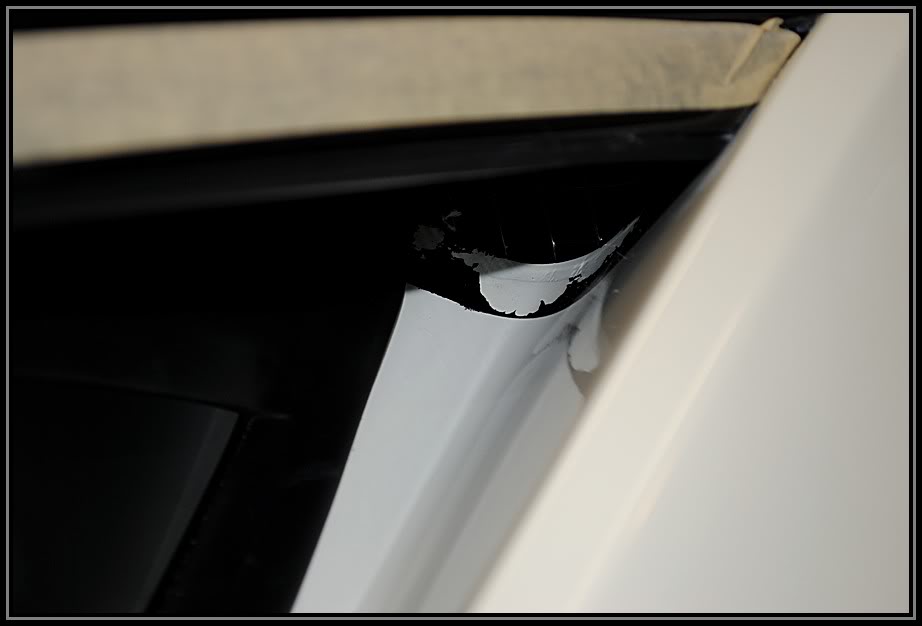
The passenger side was fine but the driver side flaked off a little bit for some reason. This is what it is saposed to look like
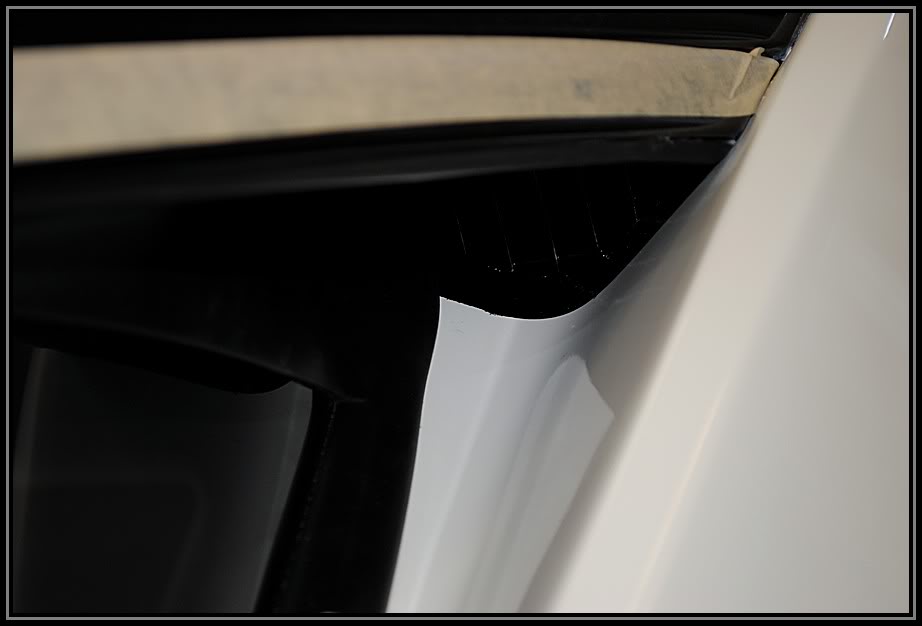
So to fix it, I taped off a straight line and added some black touch up paint.
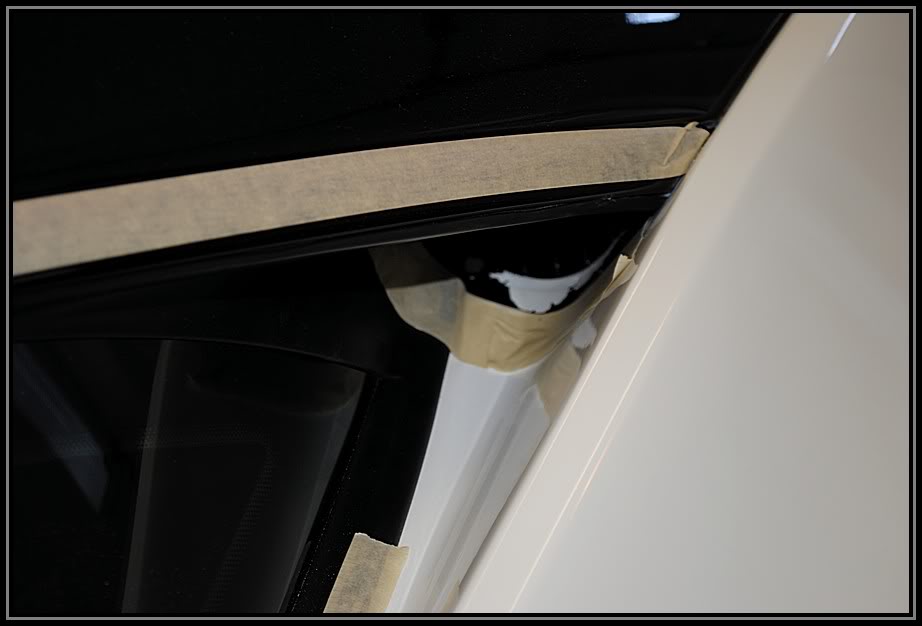
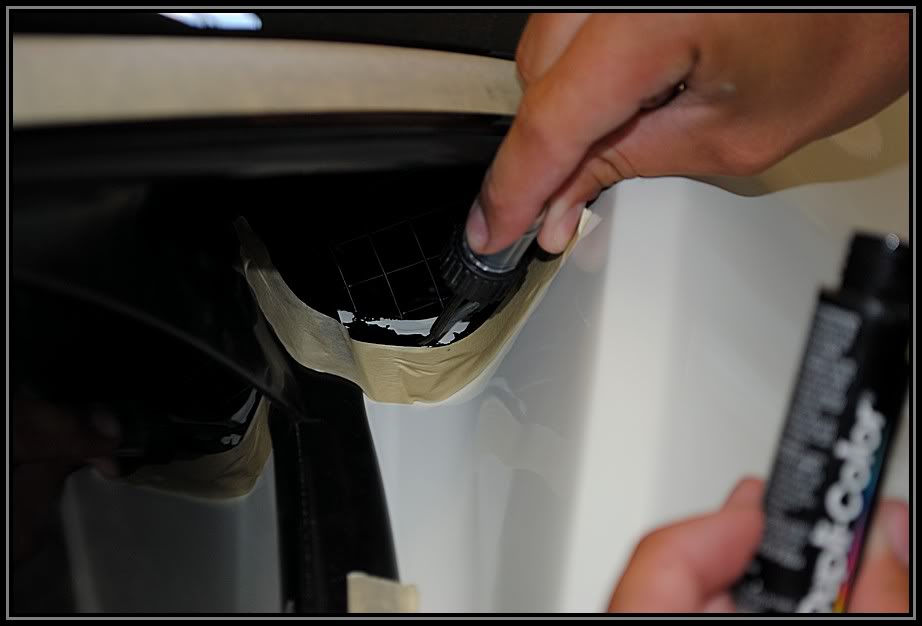
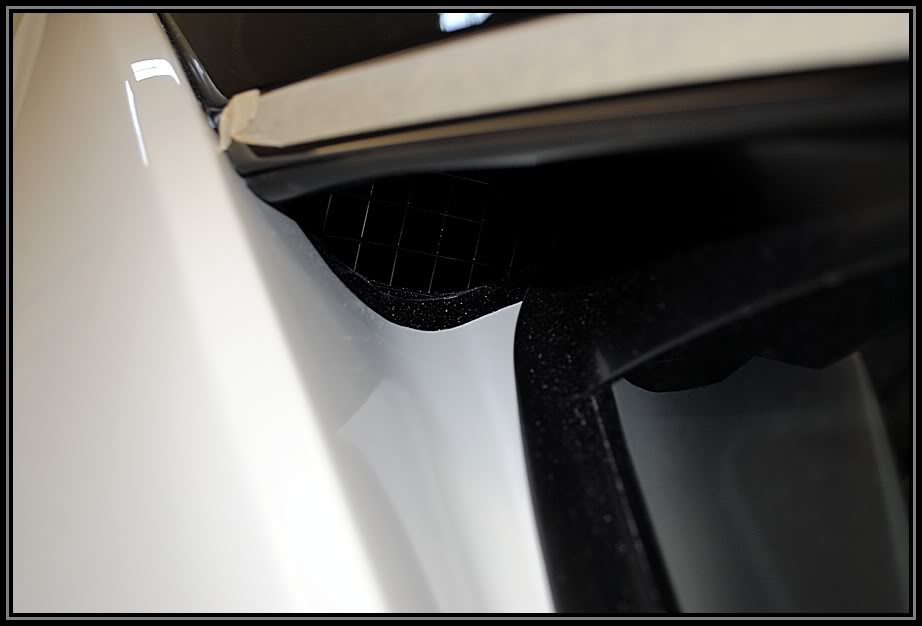
Then removed the tape......and walla! Cant even tell a difference.
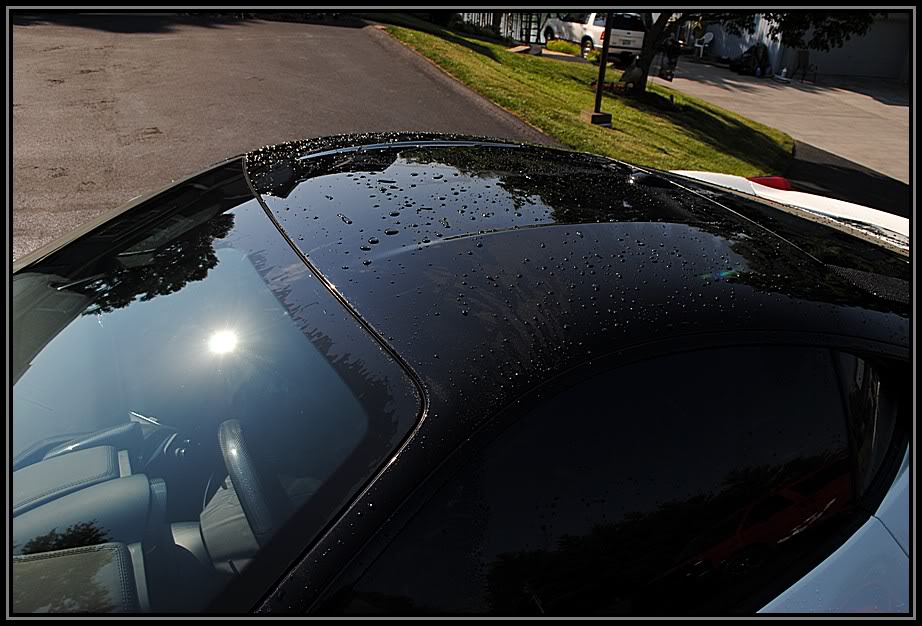
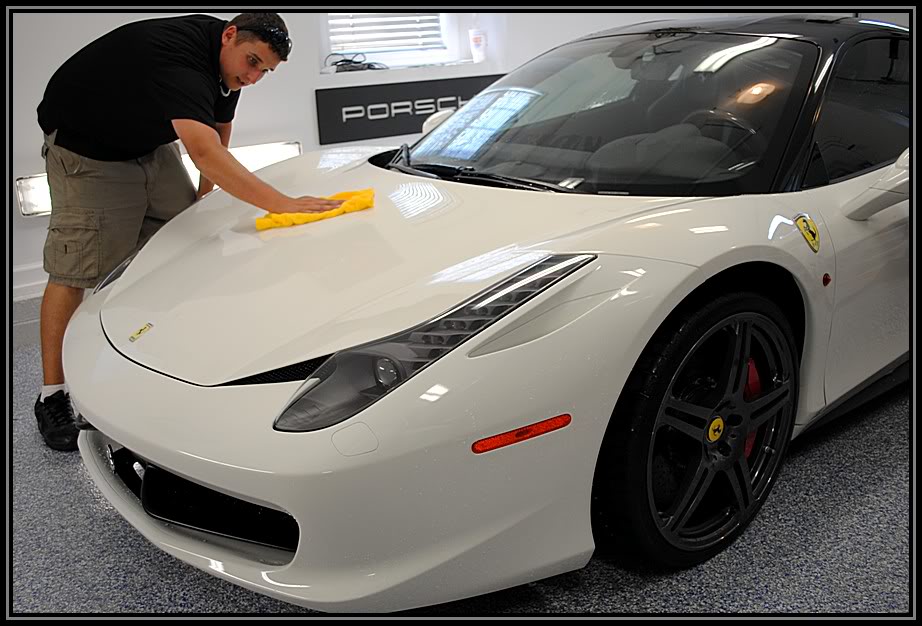
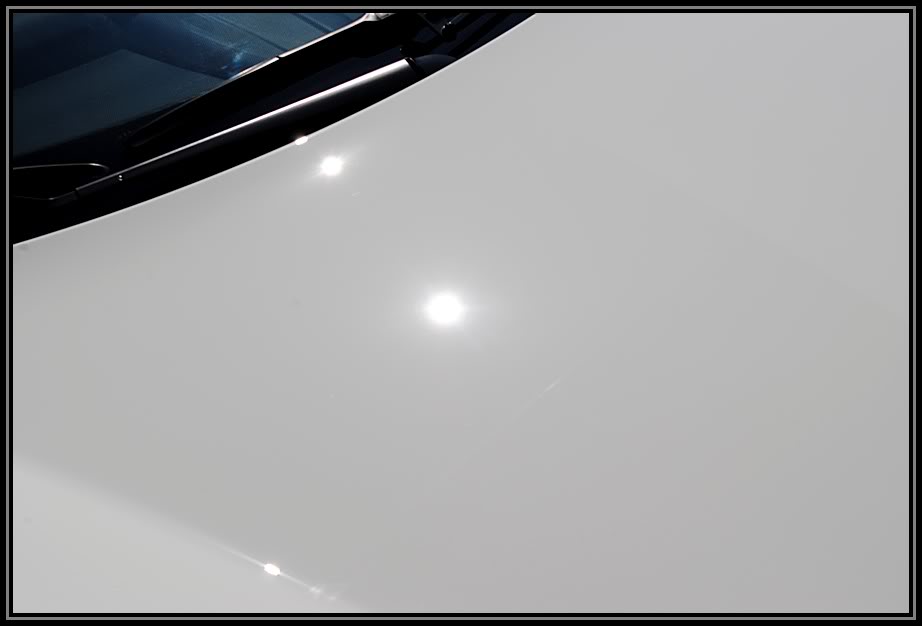
After the Polishing stage, We pulled the car out side to check it over.

Then we brought it back inside and applied some Black Fire Wet Diamond on a Blue LC pad
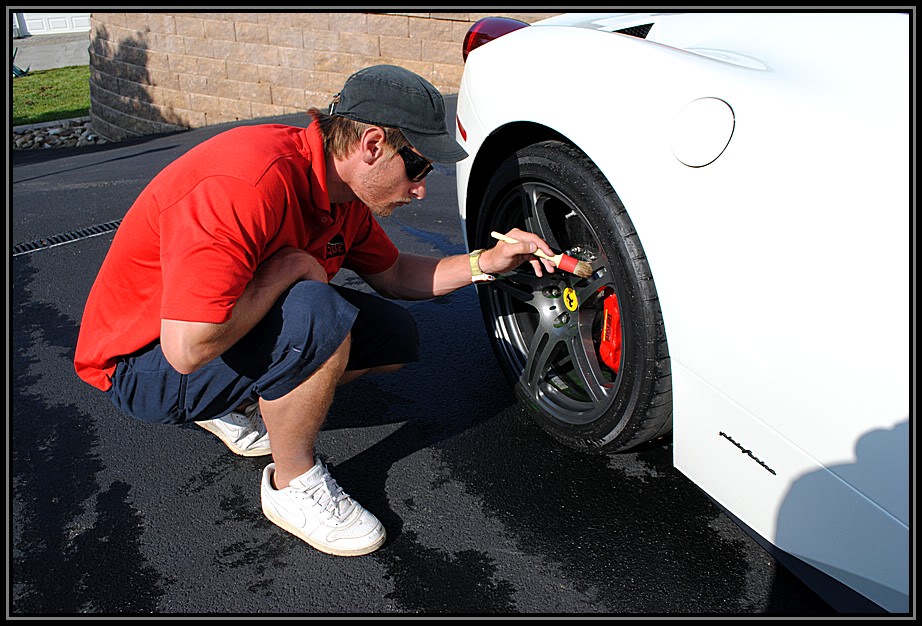
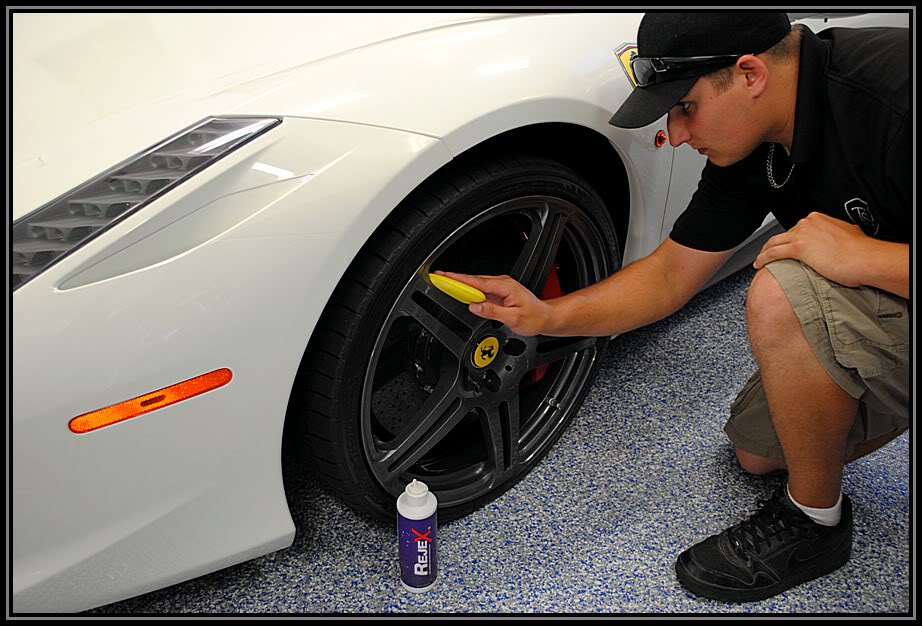
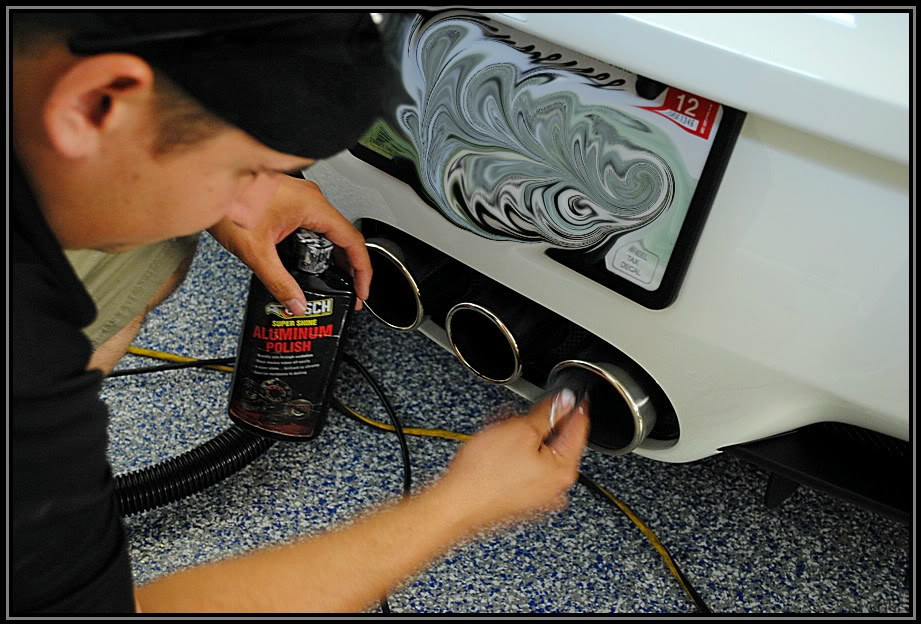
While David was Doing that, I applied some Rejex to the wheels.
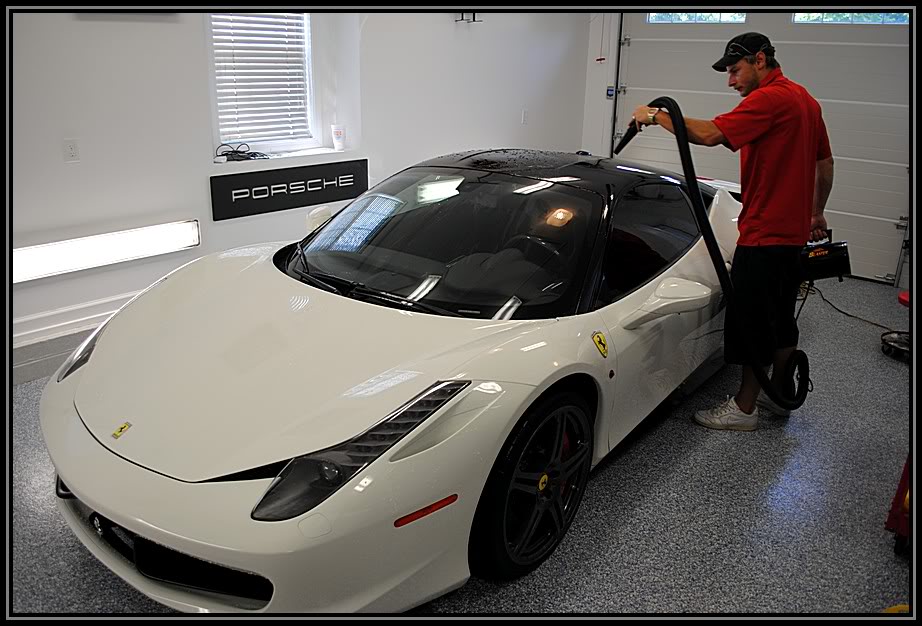
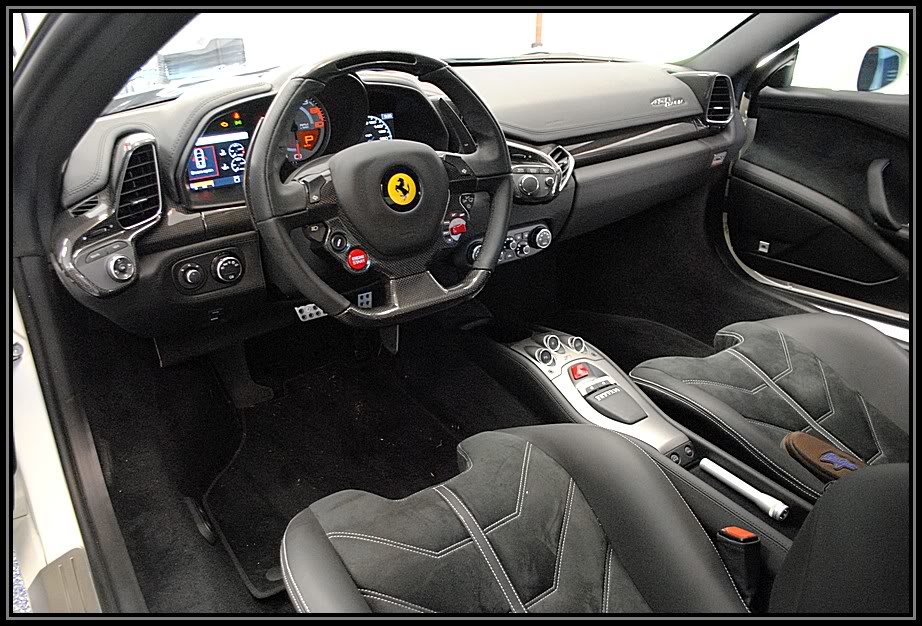
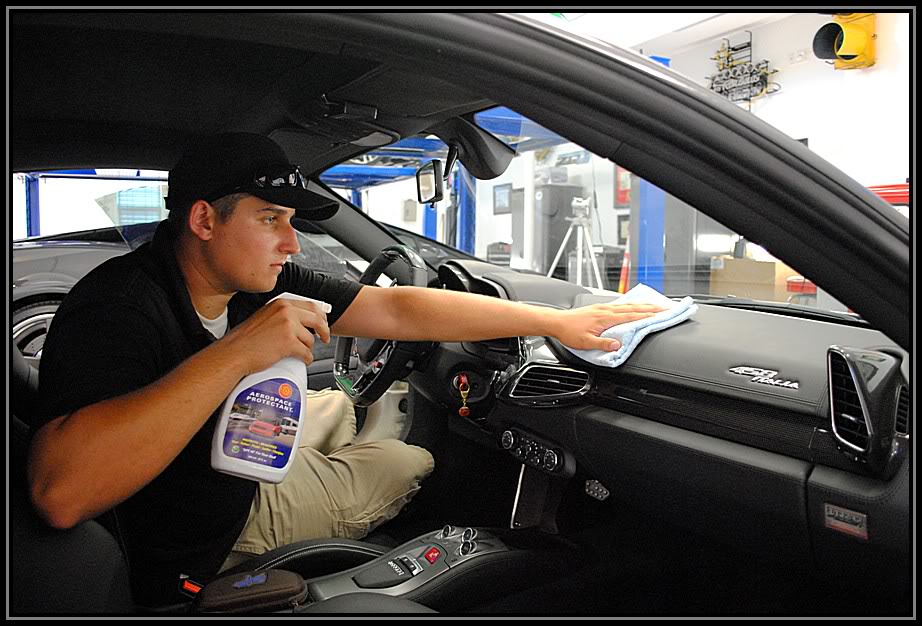
We left the BFWD to cure for a bit while we cleaned up the inside, we did a quick Vacum and Wipe down with some 303

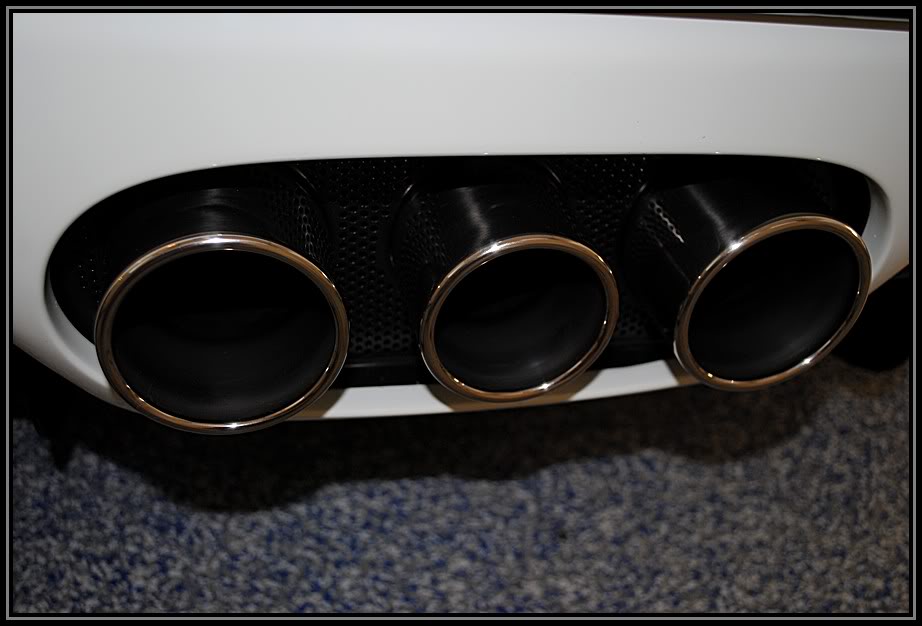
Then it was time to wipe off the BFWD and polish on the tips
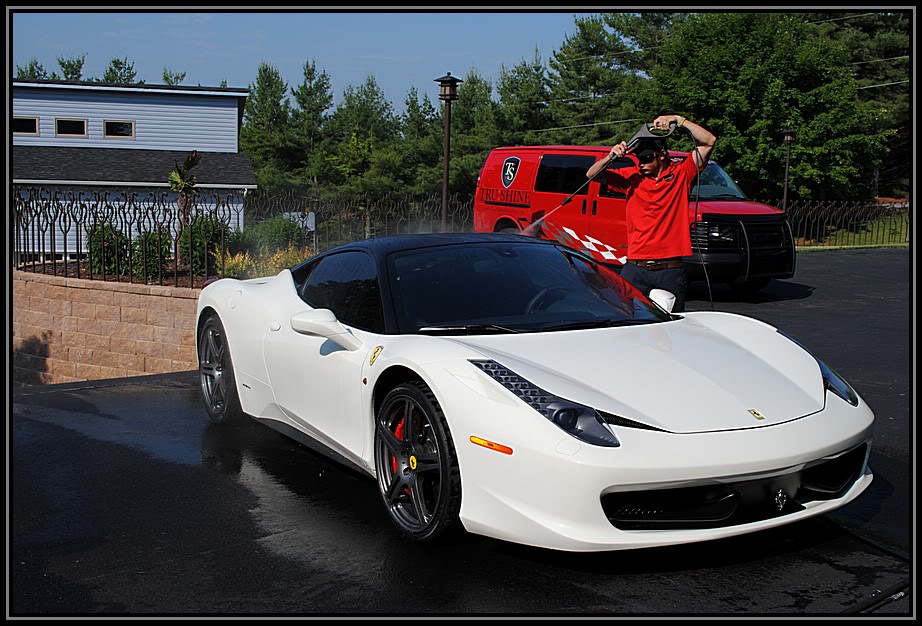
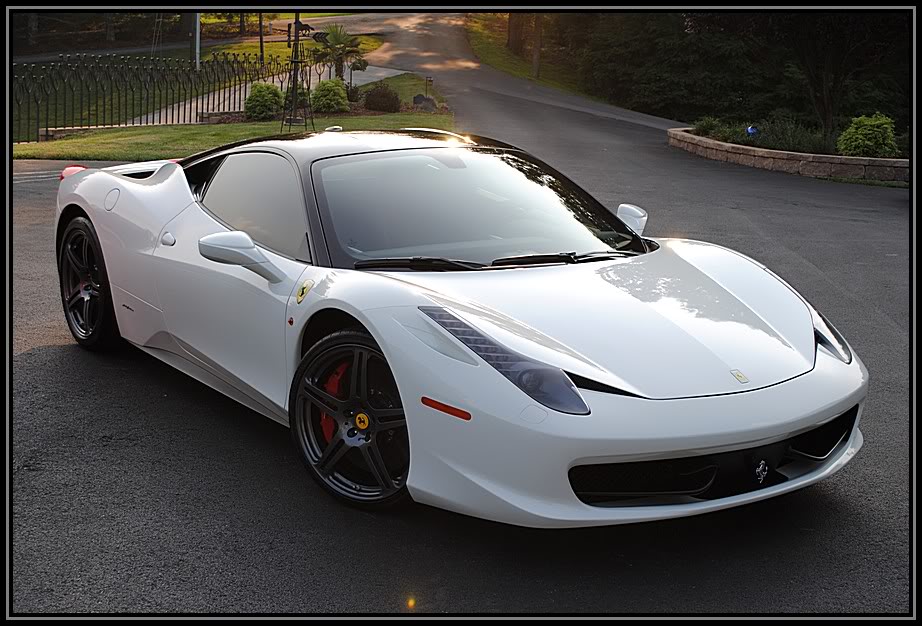
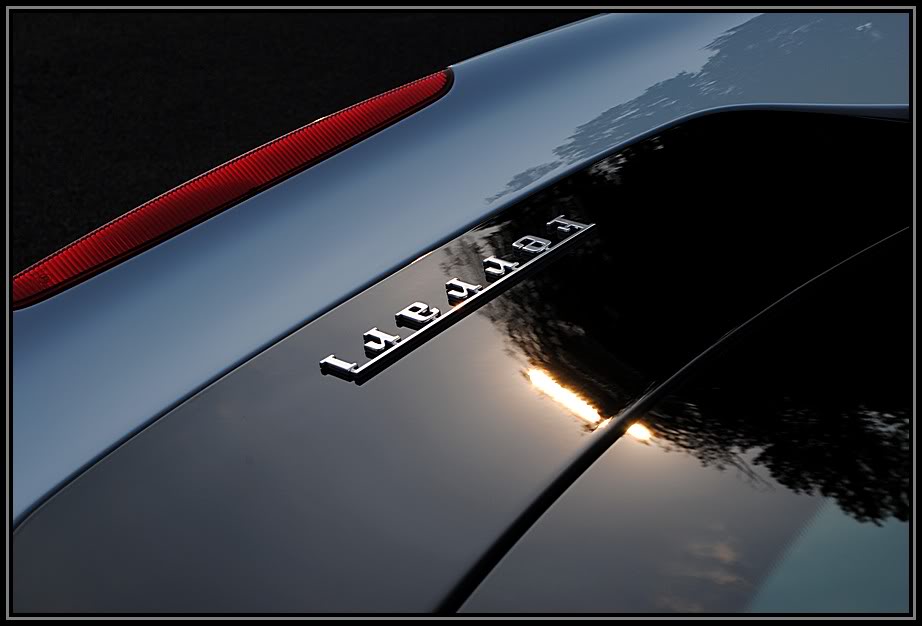
Then backed it out for the Final Pics.
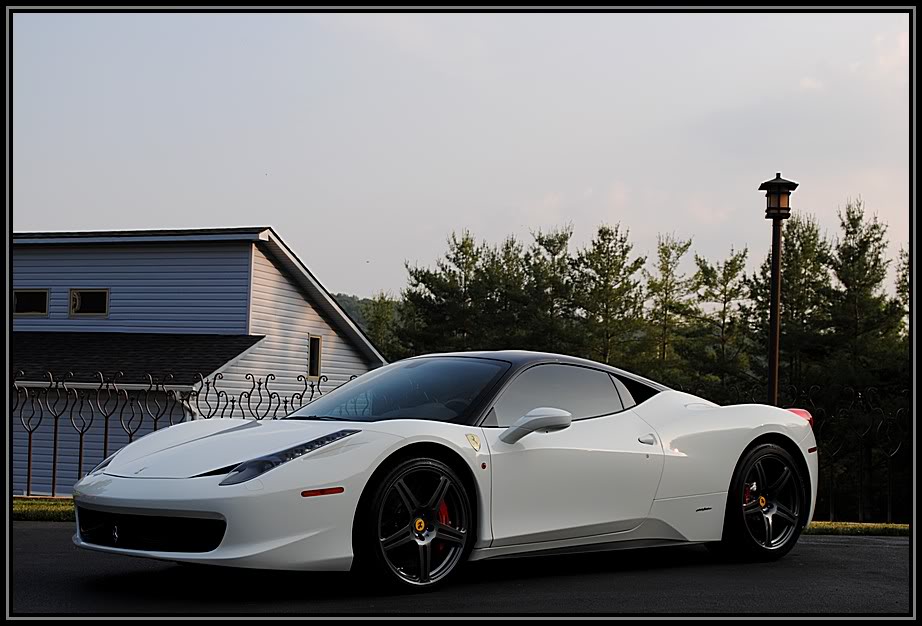

Bonus pics:
The Boss is home!
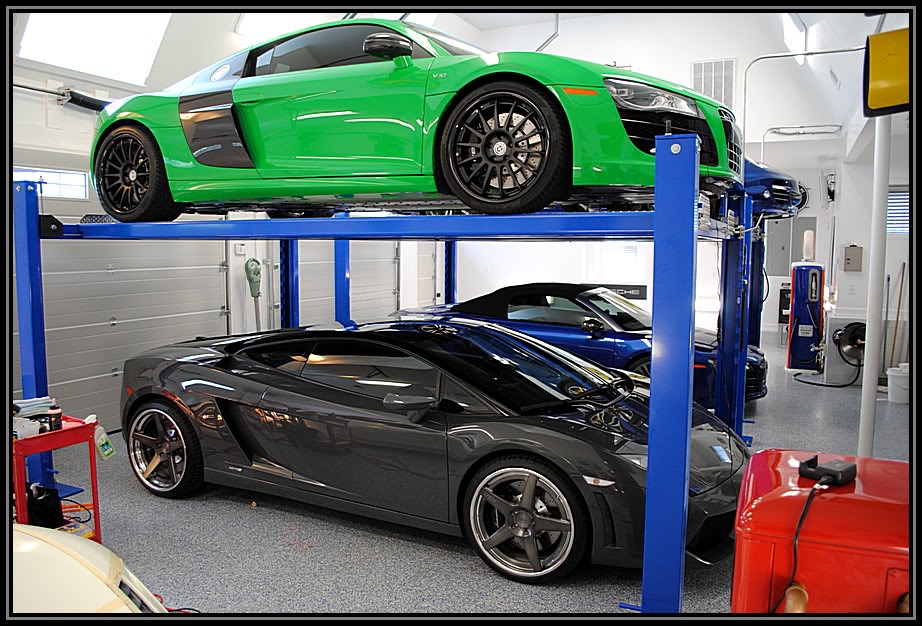
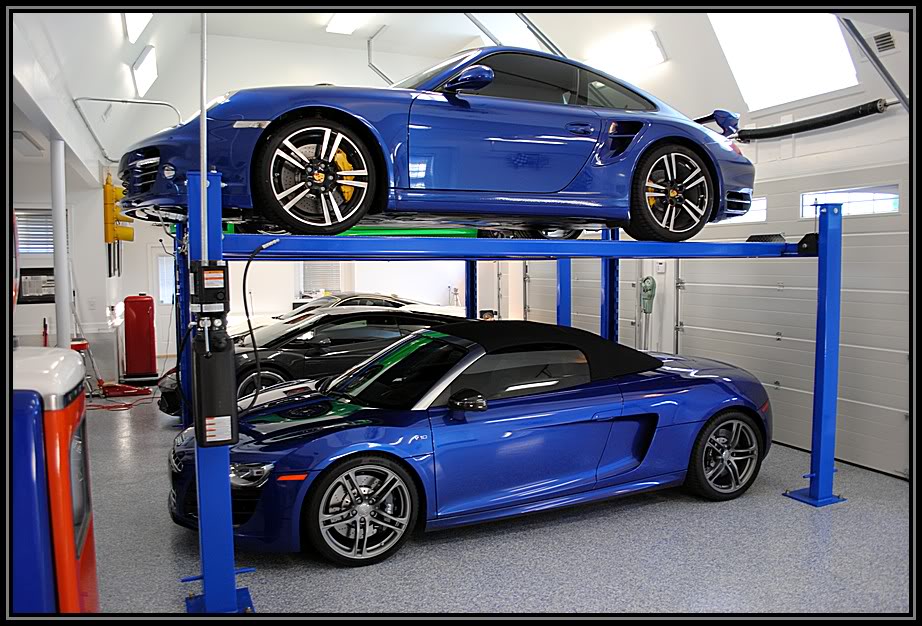
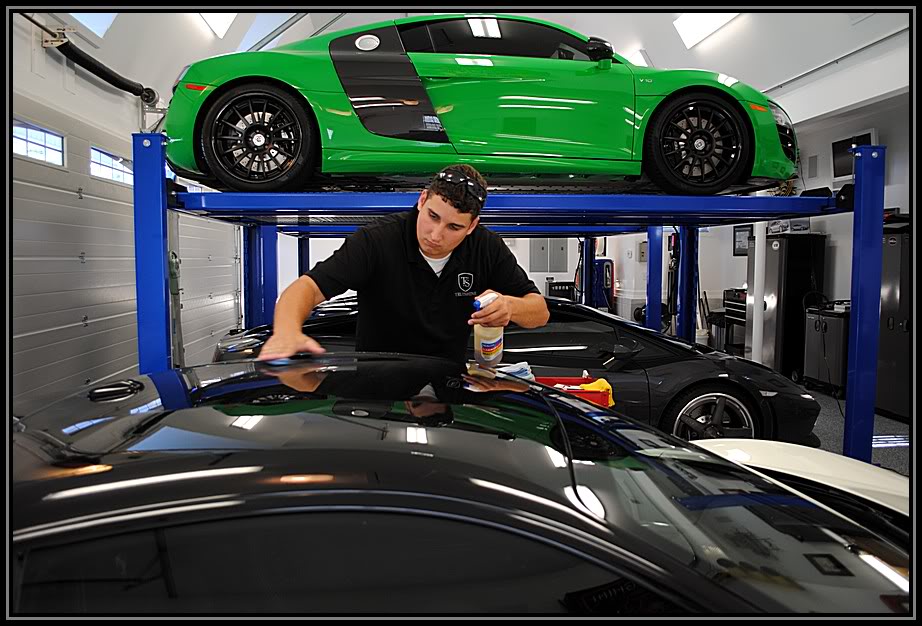
Thanks For Viewing, and Stay tuned for some 911 turbo and R8 Spyder action.....


#6
06-05-2011, 02:42 AM
Amazing work as always! 
I have two detailing related questions for you...
1) The exterior B-pillars on my Fit have gotten a few scratches on them and I'm not quite sure on what items/tools/techniques to use to buff them out mostly due to them having a satin black finish.
What would you recommend doing to restore the pillars without affecting the satin finish?
2) On the exhaust of my uncle's E60 535i and his F10 535I, the exhaust tips become heavily stained with a thick coating of black smut that is very tough to remove with Zaino's car wash and a microfiber car wash sponge. This is even more an issue with the E60 due to the butterfly valve in one of the 2 exhaust pipes remains closed during normal driving until either wide open throttle or VANOS is active. So usually one tip will be as clean as a whistle while the other would be filthier than a Taco Bell restroom.
What would you recommend using and doing to remove the smut as well as prevent it from sticking onto the exhaust tips again?
Last edited by Hootie; 06-05-2011 at 02:45 AM.
#7
06-05-2011, 05:21 AM
I think I've seen him cleaning dirty exhaust tips with a fine steel wool in previous posts.
For the b-pillar you might try mothers back to black or buff it out with a polish. Haven't tried either so don't take my word for it though.
For the b-pillar you might try mothers back to black or buff it out with a polish. Haven't tried either so don't take my word for it though.
#8
06-05-2011, 11:17 AM
I'm starting to wonder if auto manufacturers go through this process before photographing their models for advertising, or if they just do a simple wax job. I think it would be interesting to approach an auto manufacturer with this proposition.
#9
06-21-2011, 01:32 PM
Join Date: Jun 2009
Location: Knoxville TN
Posts: 365
hey guys, sorry it took so long to get back, I dont get on FF much because I sold my fit and I have been crazy busy.
you can take #0000 steel wool and polish to the exhuast tips, and for the satin trim. I am not 100% sure one what you are asking?
you can take #0000 steel wool and polish to the exhuast tips, and for the satin trim. I am not 100% sure one what you are asking?
#10
06-21-2011, 06:03 PM
 And I'll have to try the steel wool and polish out.
As for the satin B-pillars (the panels between the front and rear door's windows in my signature), I was wondering if there was a way to remove scratches from the pillars without the damaging (glossing up in other words) the satin finish?
#11
07-06-2011, 09:59 PM
I haven't been around the TID forums and I've been stale on cars of late since I'm re-doing my entire house and my work area is full of siding and insulation. Glad to see your still working on some beauties! How the hell do you get these customers? I've been trying forever!

Thread
Thread Starter
Forum
Replies
Last Post
Fallen_Rock
Fit DIY: Repair & Maintenance
11
11-29-2011 09:22 AM
Fallen_Rock
Fit DIY: Repair & Maintenance
8
03-09-2011 08:29 PM
Fallen_Rock
For Sale / Want To Buy / Classified Ads for USED Fit Items
5
07-19-2009 12:24 PM