DIY: A/C Delete
#1
 06-10-2014, 11:24 PM


DIY: A/C Delete
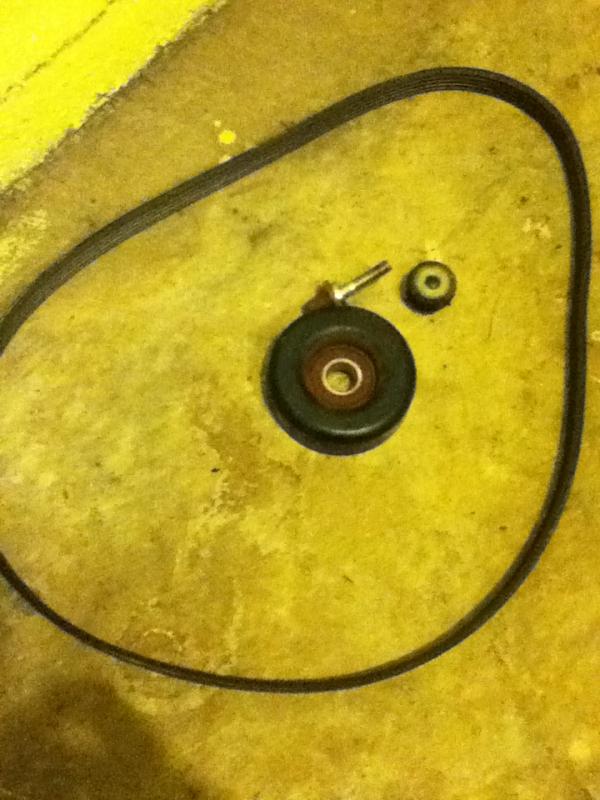
I am removing my A/C from my 2007 Fit because it has not worked since I got the car in Dec 2013 and we have short summers here so it is not really needed. AFAIK the a/c system does not rob any or very little hp when the system is turned off, it just spins a bearing. It will save some weight after it is removed: 26.83 lbs. The idler pulley should also not be too parasitic as it is also spinning a bearing. It does have a bit of weight to it however 0.82 lbs and is heavier than the alternator pulley, so there could be some power to be gained. You will see in the diagrams below that the water pump pulley has less contact in the non-A/C models and also might be less parasitic.
Main Steps
1. Remove Idler Pulley and Switch Belts.
2. Have refrigerant removed at a garage with an A/C recovery/recharge station. This stuff can irritate your eyes, nose and throat and should not be inhaled, duh!
3. Remove A/C related components from engine bay
4. Remove A/C components from inside
Belts:
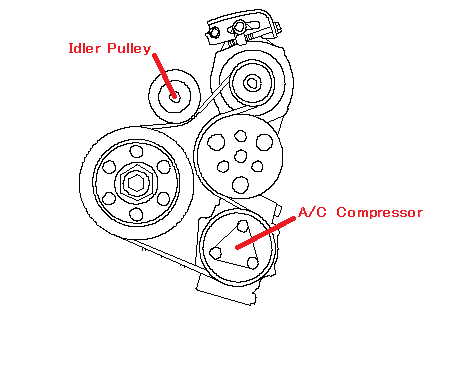
A/C model comes with 45" belt and uses an idler pulley as seen below.
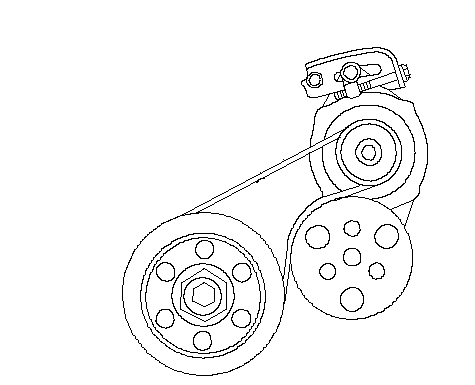
No A/C models (US Base and Canadian DX) have a belt length of 34" and do not use the idler pulley.
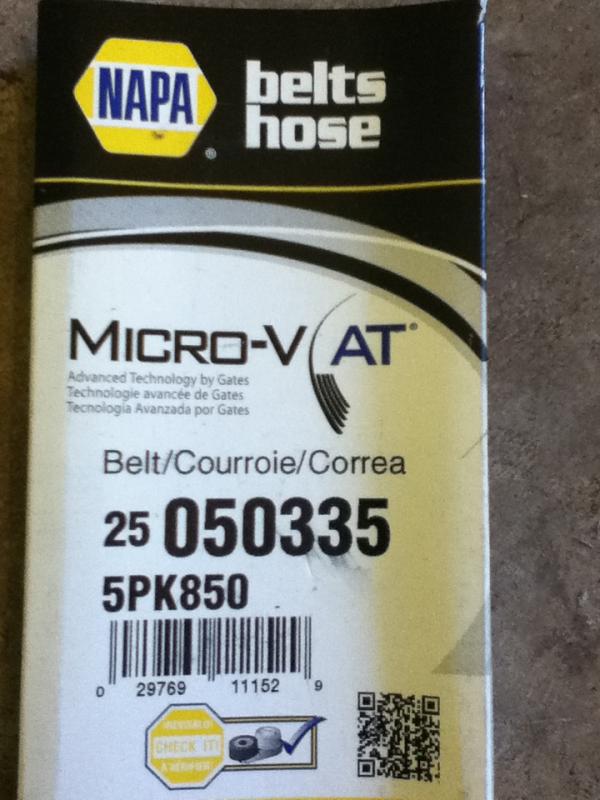
This is the belt I bought:
1. Remove Idler Pulley and Switch Belts
Loosen but do not remove the passenger side wheel nuts and jack up the passenger side of the vehicle, placing wheel chokes on the driver's side rear tire. Place a jack stand under a sturdy part of the subframe, such as just behind the subframe connecting bolt.
Remove the wheel and remove the splash guard via these two plastic tabs seen here:
I also removed the front bumper to access the alternator pivot bolt, described later. And it needs to be removed to access the condenser.
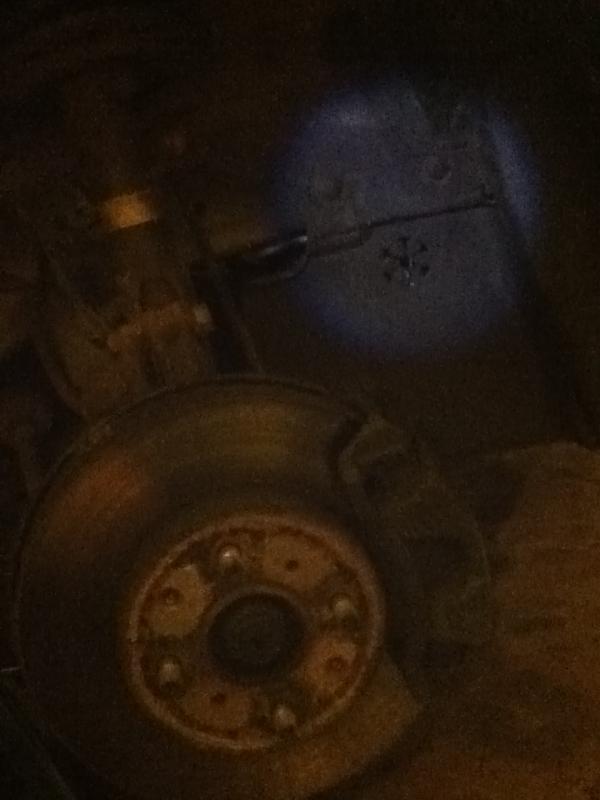
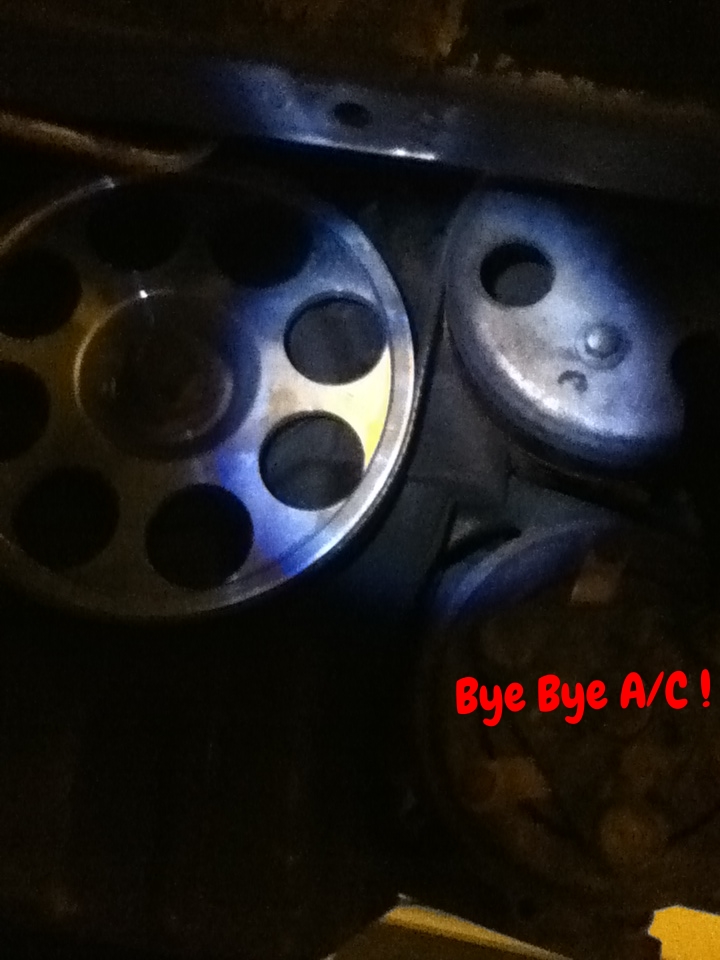
The idler pulley seen below, may be easier to remove from the bottom.
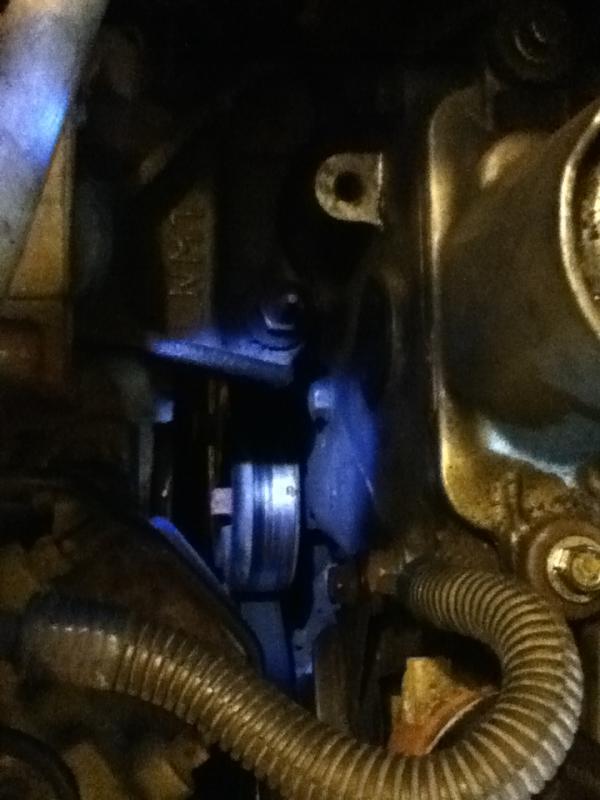
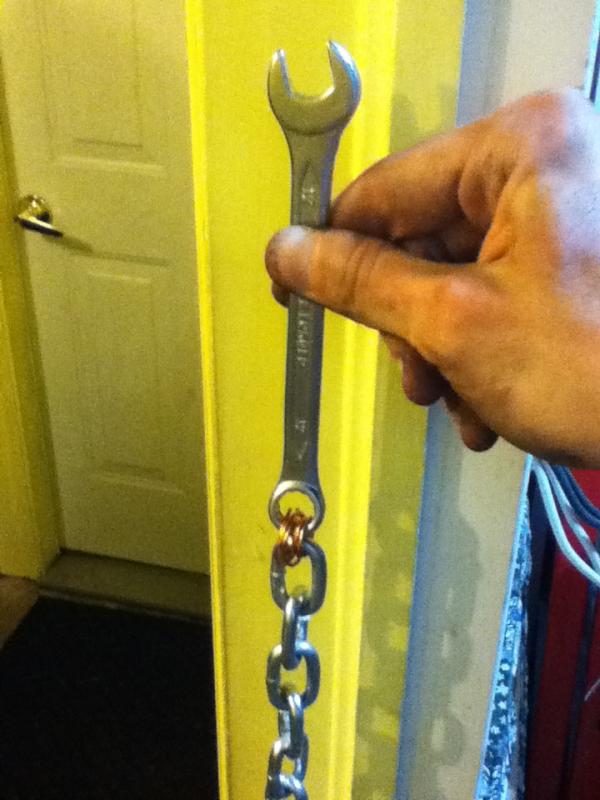
It's a tight squeeze and I was able to break loose the idler pulley bolt from the top using 12 mm wrench attached to a chain. Then I unscrewed the bolt from the bottom using just the 12 mm wrench (Makes a great weapon!):
Once the idler pulley bolt is off, the pulley and belt can be removed:
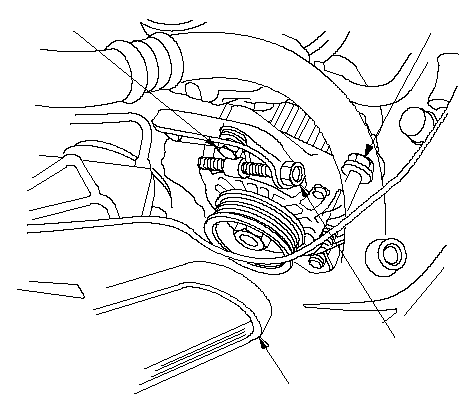
Next you'll want to loosen the bolts on the alternator to make enough room to slide the new belt on.
The "B" bolt can be reached more easily from the bottom after the splash guard is off. It was also easier to remove the front bumper for me. The alternator will not move until A and B are loosened. The alternator loosens from the belt when C bolt is turned counterclockwise and tightens against the belt when turned clockwise.
Once the belt is on, turn C bolt clockwise to tighten up the belt. You'll also feel a good amount of tightness on bolt C when its at a good tension. Run the car for 5 mins to check for slippage. Better to have it to loose and slip then too tight and wearing on your accessories. Marvel as the belt now no longer operates the idler pulley or AC!
2. Have r134a refrigerant removed from the system
I read all kinds of stories of people doing this themselves to save money. To me it wasn't worth the risk to my health, the car's paint and the ozone layer. Have a shop do it and it'll be 40-$50 well spent.
3. Remove A/C Components from the Engine Bay
Condenser
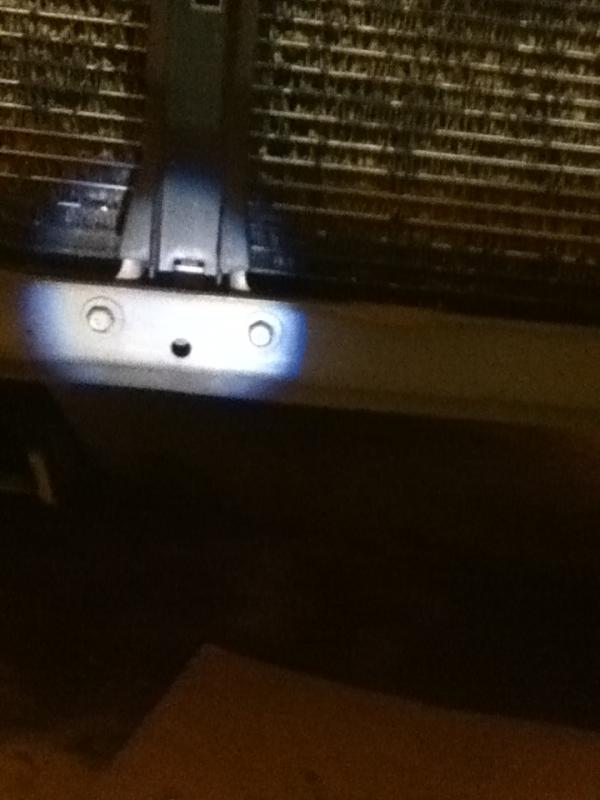
Removing the condenser first will allow better access to the mounting bolts of the compressor. Remove the mounting bolts on top left and right.
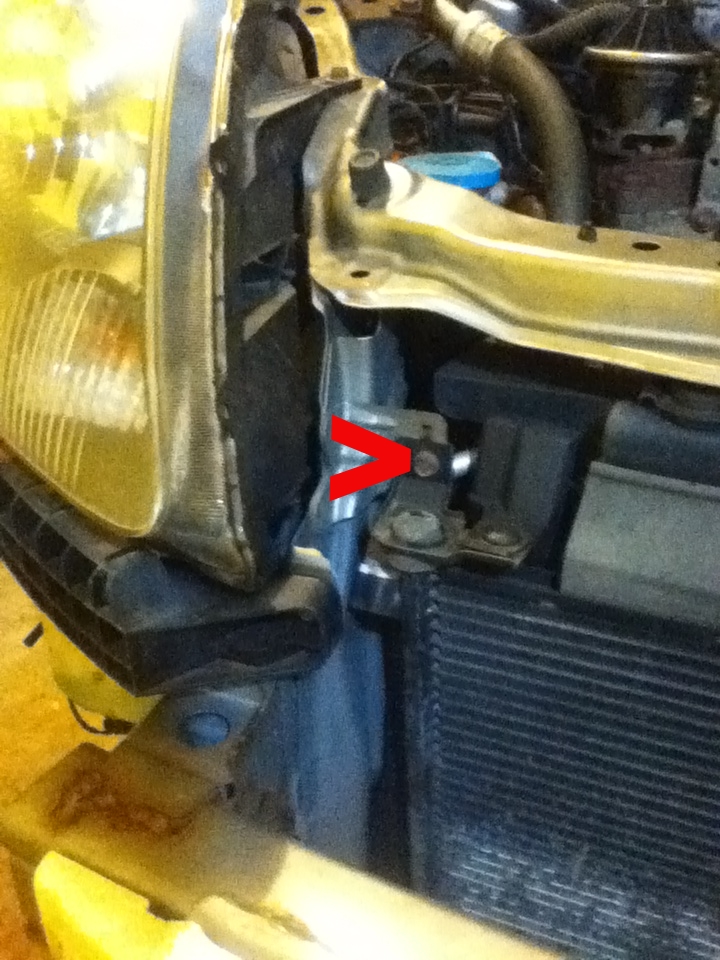
And the top and bottom mounting bolts for holding on the hood latch. This will allow removal of the condenser after the lines are disconnected.
Top.
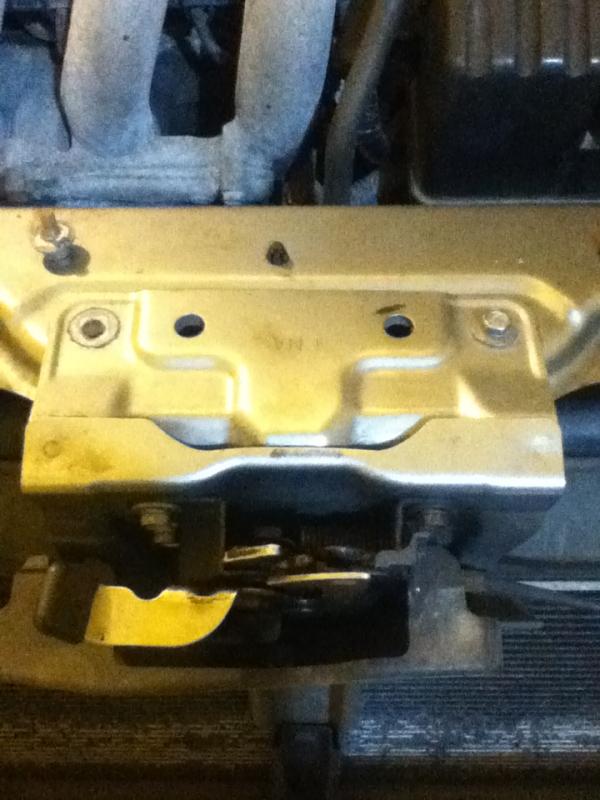
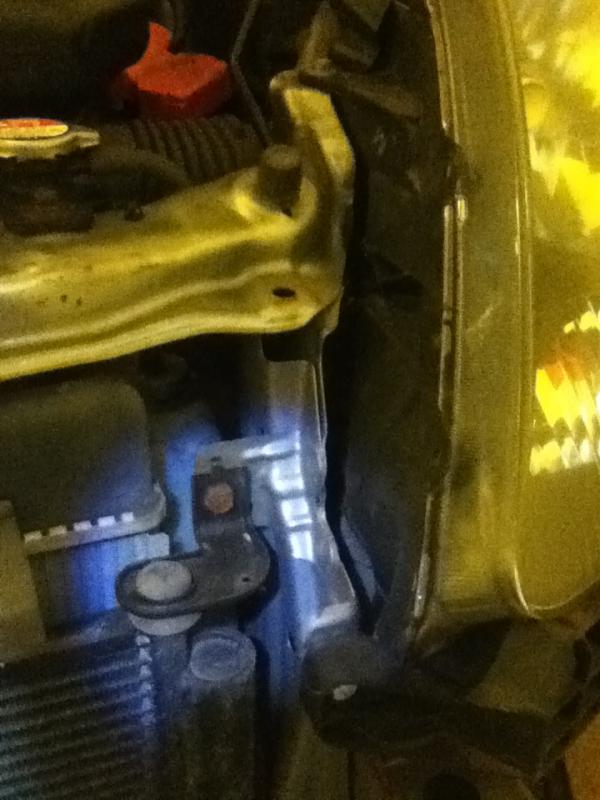
Bottom.
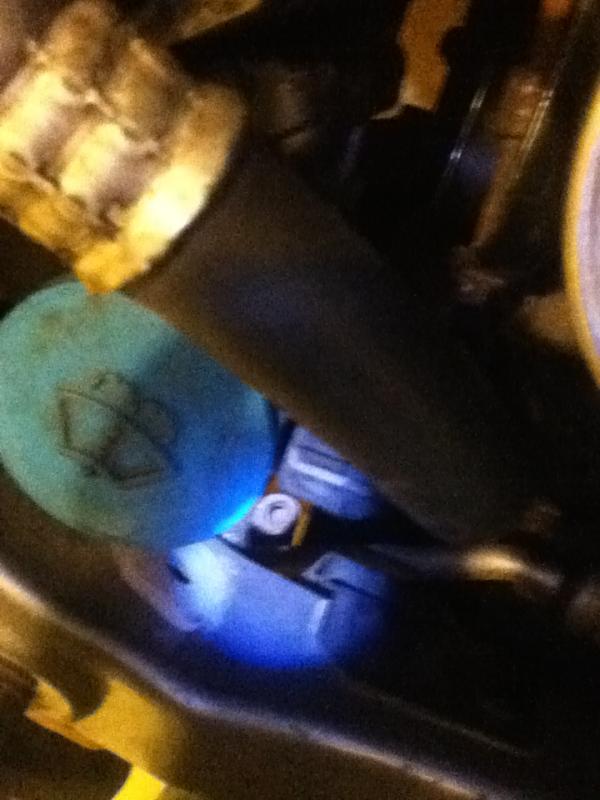
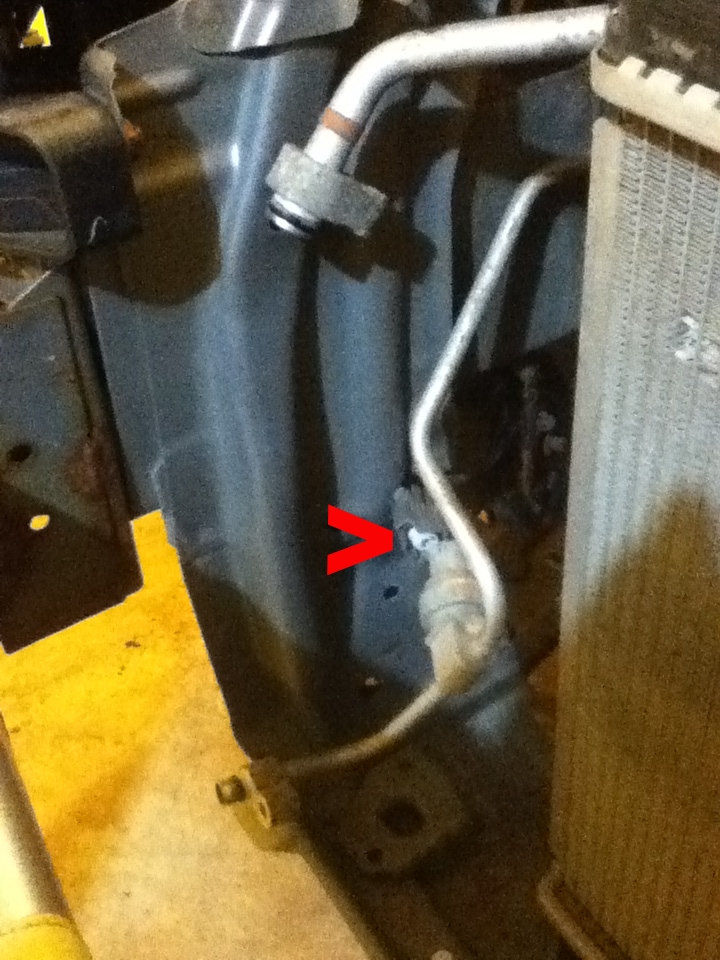
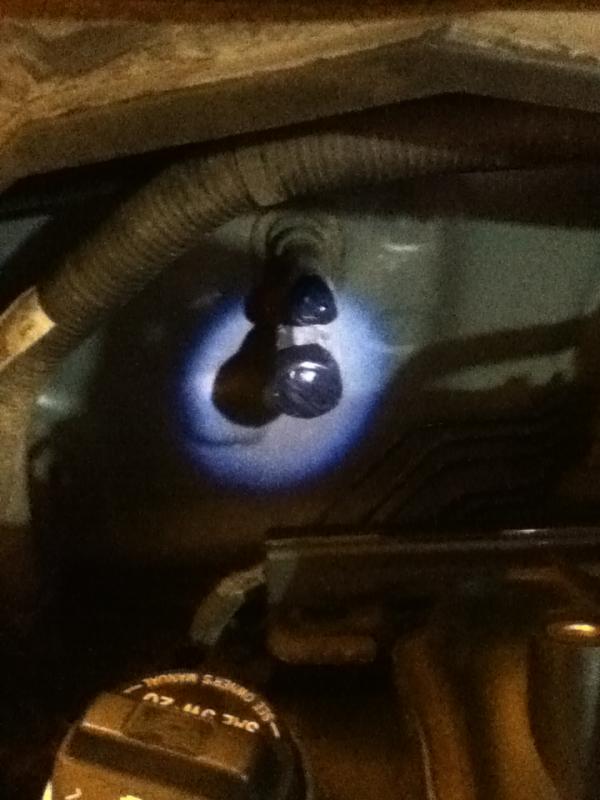
There is a refrigerant line on the top and bottom, passenger's side. If I remember correctly these require a deep 12 mm socket.
They take a bit of muscle to remove once the bolts are off. Here is the top one before and after disconnecting.
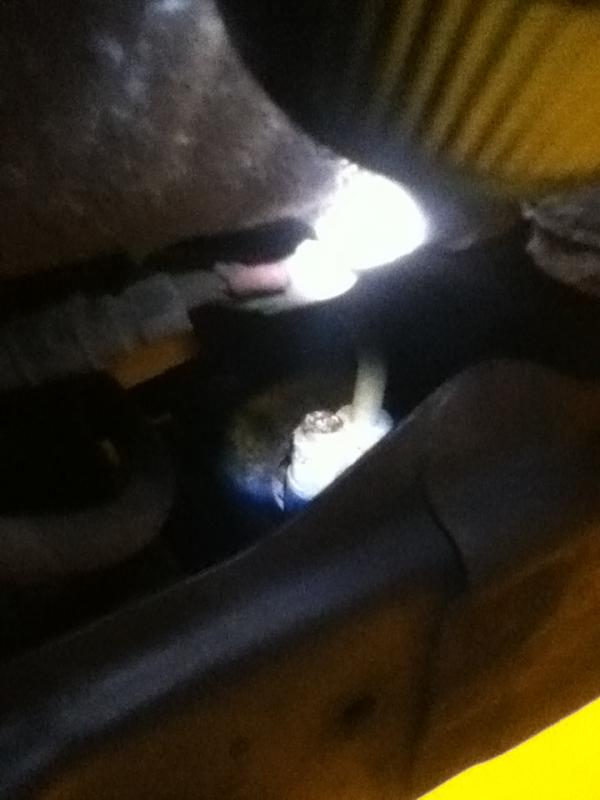
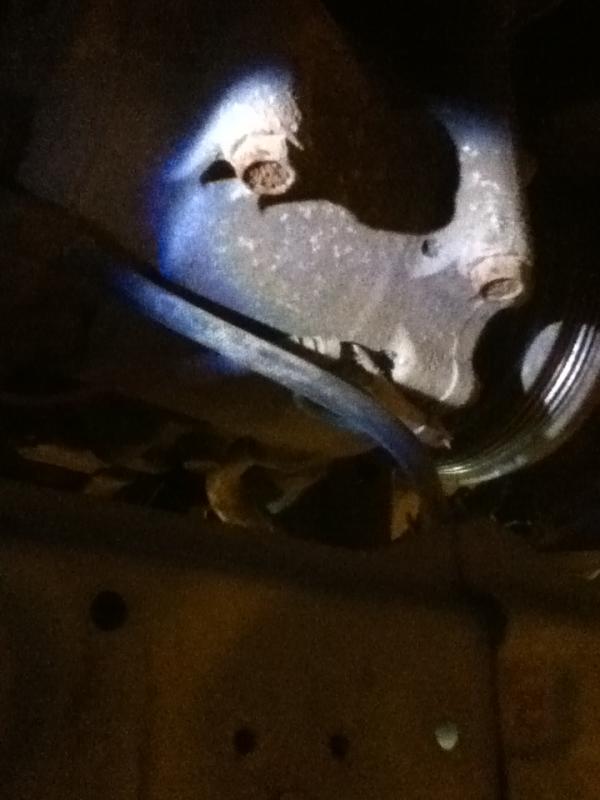
And the bottom line, viewed from underneath the car, looking up and forward.
This harness clip needs to be disconnected.
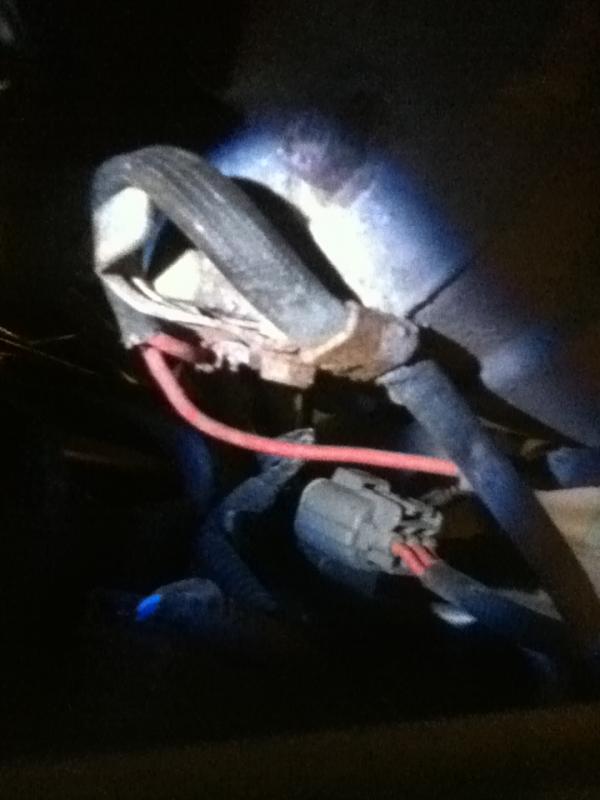
Also disconnect this one while you are at it.
Then the condenser can be removed!

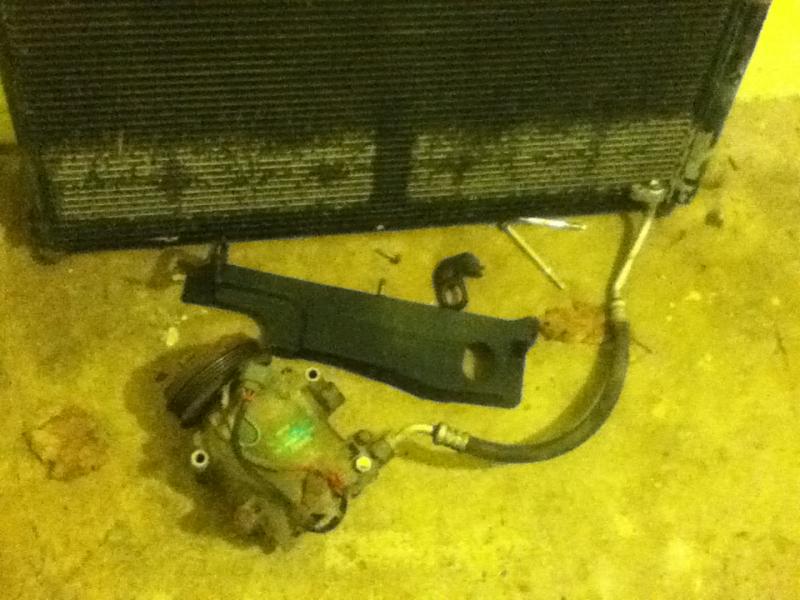
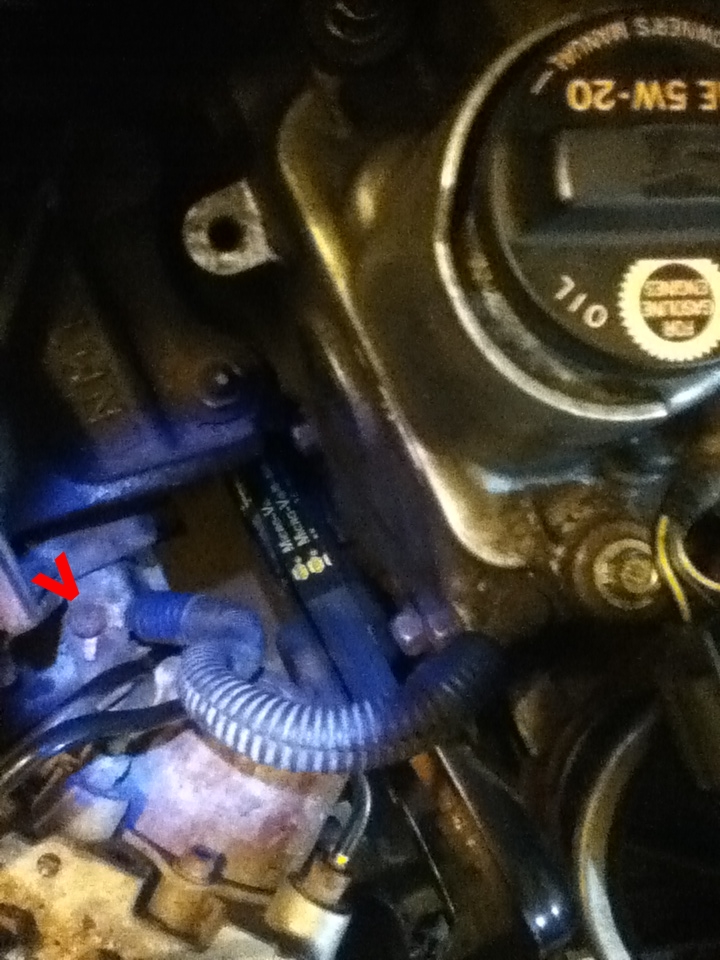
Compressor
This is the beefiest part of the A/C system weighing somewhere around 13.5 lbs or so. It was too heavy to weigh accurately on my digital scale. There are 4 mounting bolts. The 2 top ones are accessed more easily after the condenser is removed. The bottom ones will be removed underneath the car. Only the refrigerant line nearest the passenger side needs to be disconnected.

Bottom mounting bolts.
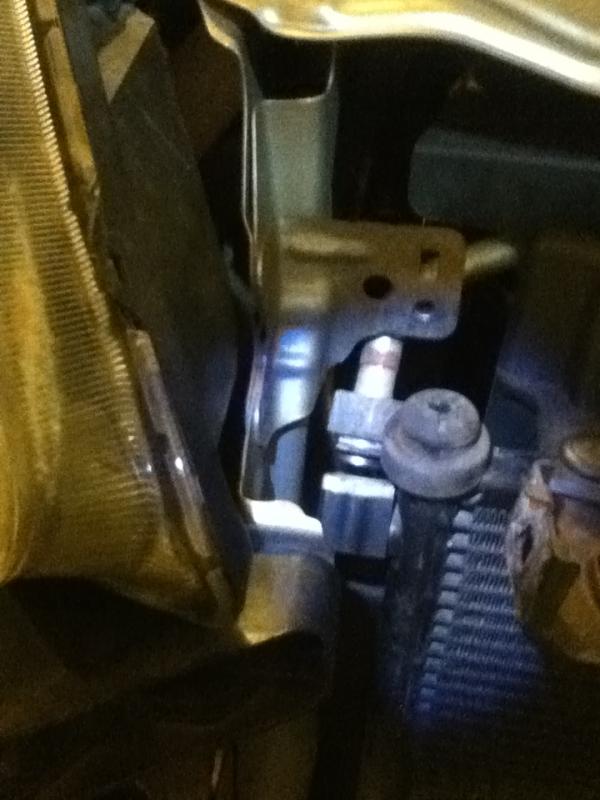
Top Passenger Side mounting bolt...easily removed with the condenser out of the way. The Driver's side bolt can be removed patiently with a
wrench since the radiator fan is in the way.

And now the compressor is out!
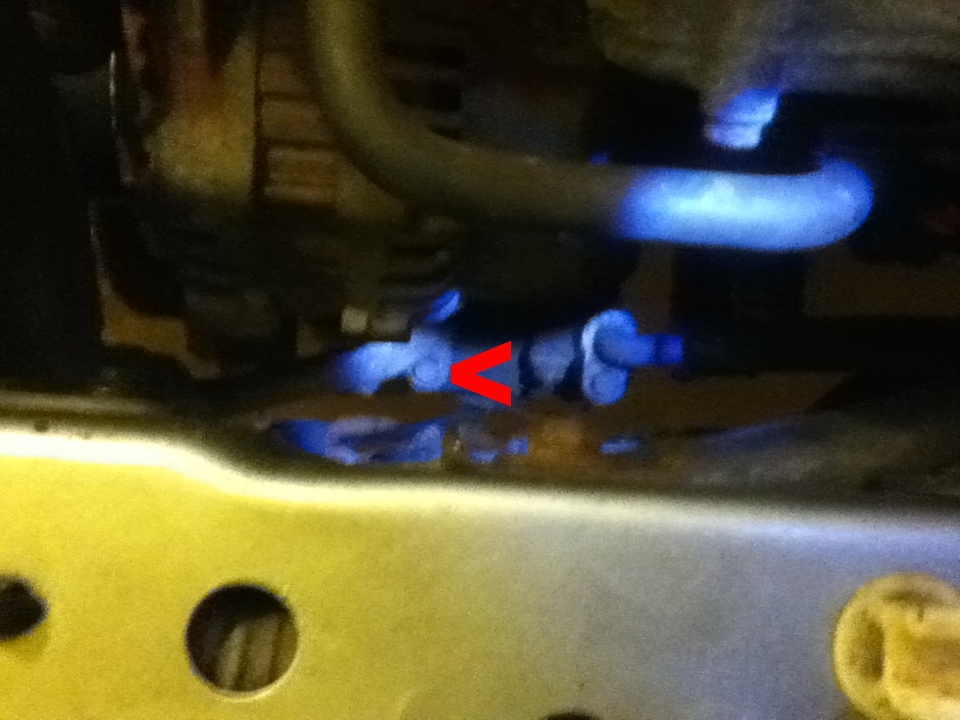
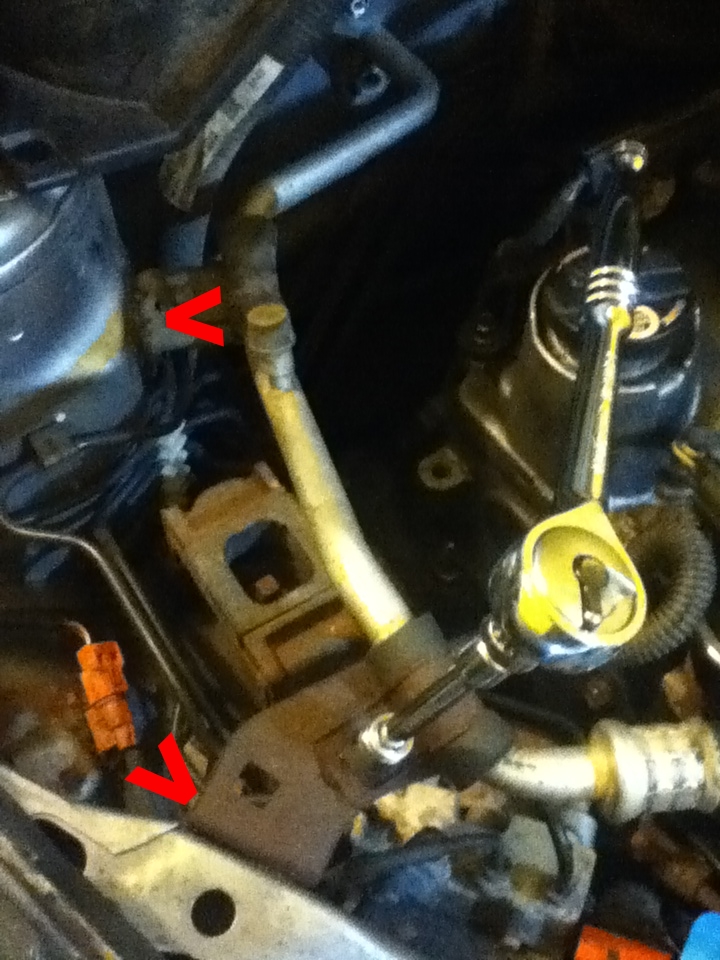
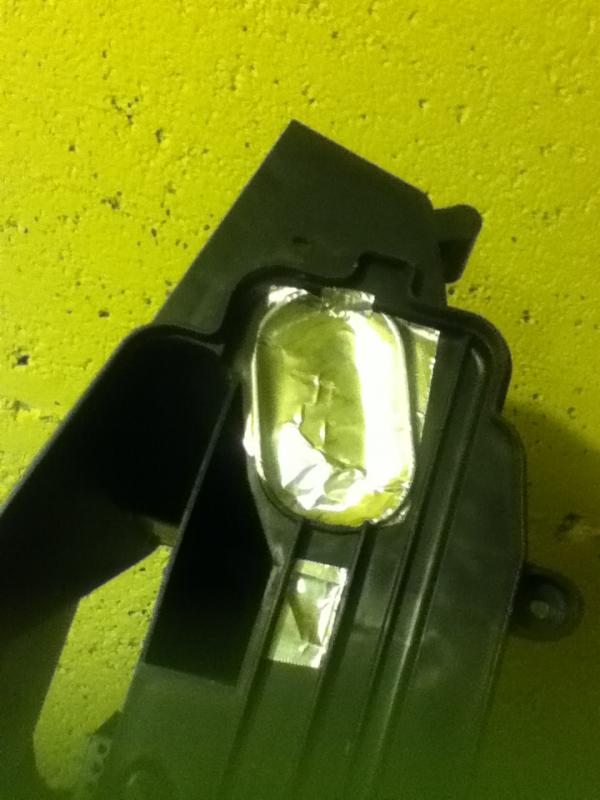
Refrigerant Lines
The lines are fairly easy to remove, except at these 2 points. I ended up digging out the hacksaw, it was late and I lost patience...lol.

Taped them off temporarily.
These ugly rusted brackets can be completely removed. There is a ground connection on the front-most bracket that I relocated to the ABS module mounting point.

Don't need these R134A stickers anymore!
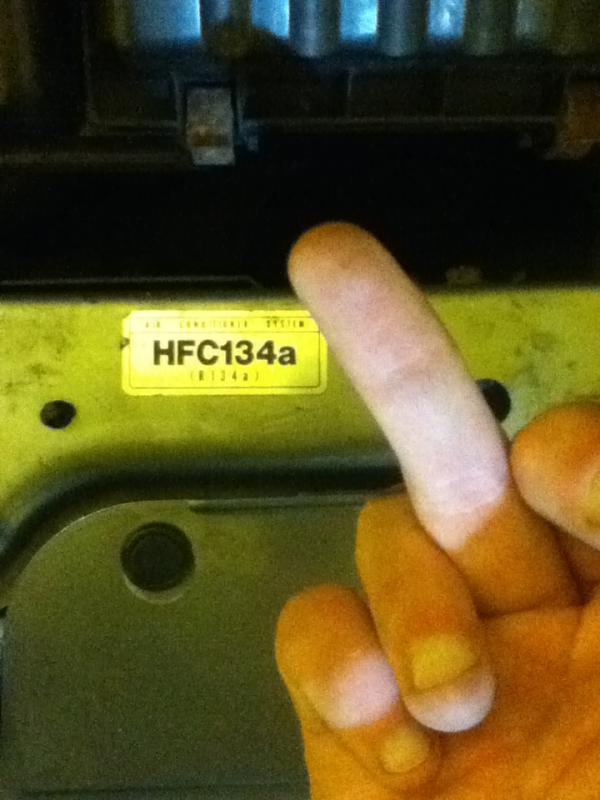
Thumbs up for sweaty summer travelling!
That's it for the engine bay gear.
4. Remove A/C Components from the Interior
The stuff left to remove now is the interior part of the refrigerant lines, a plastic line cover, an expansion bracket, the evap core and a plastic evap core end cap.
To access the evap core and lines we must remove:
1)The undercover below the glove compartment. I believe it is held in place with 2 clips at the front.
2)The glovebox: Leave it closed and remove the 2 mounting screws underneath, then open it and squeeze the sides towards each other to release from the dash.
3)The blower unit: This has 2 metal brackets, one at the bottom and one at the top right that need to be removed (very awkward to reach, also the bracket needs to be removed from the side of the core itself or it won't slide out) . Also 3 mounting screws/bolts and a couple harnesses to unclip. Then it can be shifted to the right to detach itself from the heater duct.
4)The refrigerant lines and expansion bracket: It has 2 awkward mounting bolts that take a 4 mm hex key. I inserted the long end of the key into the screw and used a ratchet extension like a cheater bar for more leverage. I used a small pry bar to get the lines disconnected from the expansion bracket. The expansion bracket is simply pulled off by hand. The firewall rubber gasket can be removed and the hole sealed with aluminum tape on both sides.
4)The heater duct: It has 5 mounting screws and a clip to detach. Remove this to finally expose the evap core.
And there you have it!
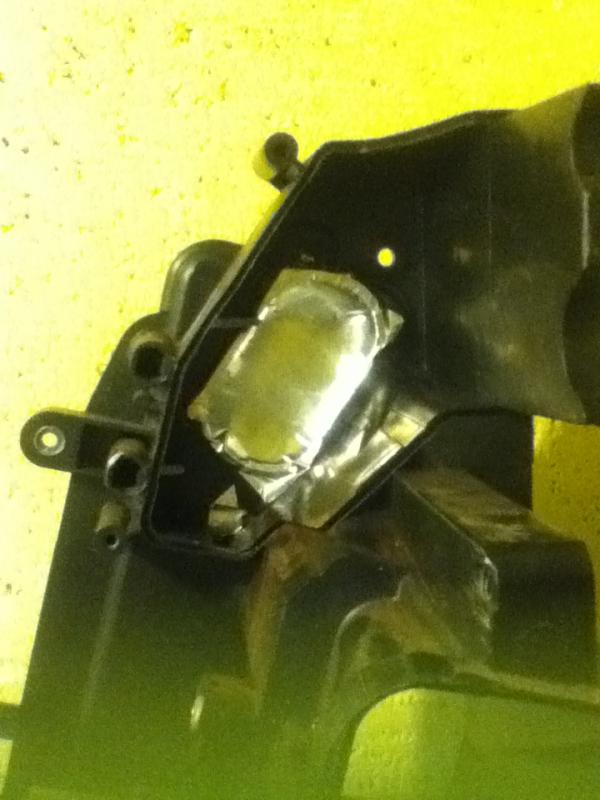
The heater duct is now left with a hole where the expansion bracket was. I sealed it on both sides with aluminum tape. Now the heat won't escape through the hole.
Now why don't we finalize this whole process by replacing the rear defroster and A/C switch assembly with it's non A/C equivalent?
1. Since we already have the glovebox and undercover removed, locate the colored control cables for the recirc, blower type and temperature controls. Unhook the loops, unscrew the bracket for the temp control cable fastener (it won't just unclip), and unclip the other 2 cables from their brackets. This allows the stereo and heater controls to be removed.
2. Locate the single screw in the bottom center of the plastic below the heater controls. Unscrew it and pull down on the center. The 2 sides are held in by clips so pull down the center enough to get a flat head screw driver under each side to pry and unclip them. Unclip the 2 harness plugs once they are exposed underneath.
3. Now you will be able to see the 2 mounting bolts which can be seen inwards and upwards from each side under the heater controls and in behind the stereo somewhat. I used a philips head screw driver to remove these. Use a flashlight and you will see them up underneath.
4. Now the tricky part. There stereo is held in by clips that must be pushed from front to back with a socket wrench. I started with the top right clip and got enough leverage to pull the rest of it off from the front.
5. Once this stereo is removed the rear defrost/A/C switch can be unplugged from the harness, and then slid out of the unit. Snap the new one in place, plug it in and put everything back in. Now you are officially done!
Main Steps
1. Remove Idler Pulley and Switch Belts.
2. Have refrigerant removed at a garage with an A/C recovery/recharge station. This stuff can irritate your eyes, nose and throat and should not be inhaled, duh!
3. Remove A/C related components from engine bay
4. Remove A/C components from inside
Belts:
A/C model comes with 45" belt and uses an idler pulley as seen below.

No A/C models (US Base and Canadian DX) have a belt length of 34" and do not use the idler pulley.

This is the belt I bought:

1. Remove Idler Pulley and Switch Belts
Loosen but do not remove the passenger side wheel nuts and jack up the passenger side of the vehicle, placing wheel chokes on the driver's side rear tire. Place a jack stand under a sturdy part of the subframe, such as just behind the subframe connecting bolt.
Remove the wheel and remove the splash guard via these two plastic tabs seen here:

I also removed the front bumper to access the alternator pivot bolt, described later. And it needs to be removed to access the condenser.
The idler pulley seen below, may be easier to remove from the bottom.

It's a tight squeeze and I was able to break loose the idler pulley bolt from the top using 12 mm wrench attached to a chain. Then I unscrewed the bolt from the bottom using just the 12 mm wrench (Makes a great weapon!):

Once the idler pulley bolt is off, the pulley and belt can be removed:

Next you'll want to loosen the bolts on the alternator to make enough room to slide the new belt on.
The "B" bolt can be reached more easily from the bottom after the splash guard is off. It was also easier to remove the front bumper for me. The alternator will not move until A and B are loosened. The alternator loosens from the belt when C bolt is turned counterclockwise and tightens against the belt when turned clockwise.

Once the belt is on, turn C bolt clockwise to tighten up the belt. You'll also feel a good amount of tightness on bolt C when its at a good tension. Run the car for 5 mins to check for slippage. Better to have it to loose and slip then too tight and wearing on your accessories. Marvel as the belt now no longer operates the idler pulley or AC!

2. Have r134a refrigerant removed from the system
I read all kinds of stories of people doing this themselves to save money. To me it wasn't worth the risk to my health, the car's paint and the ozone layer. Have a shop do it and it'll be 40-$50 well spent.
3. Remove A/C Components from the Engine Bay
Condenser
Removing the condenser first will allow better access to the mounting bolts of the compressor. Remove the mounting bolts on top left and right.


And the top and bottom mounting bolts for holding on the hood latch. This will allow removal of the condenser after the lines are disconnected.
Top.

Bottom.

There is a refrigerant line on the top and bottom, passenger's side. If I remember correctly these require a deep 12 mm socket.
They take a bit of muscle to remove once the bolts are off. Here is the top one before and after disconnecting.


And the bottom line, viewed from underneath the car, looking up and forward.

This harness clip needs to be disconnected.

Also disconnect this one while you are at it.

Then the condenser can be removed!

Compressor
This is the beefiest part of the A/C system weighing somewhere around 13.5 lbs or so. It was too heavy to weigh accurately on my digital scale. There are 4 mounting bolts. The 2 top ones are accessed more easily after the condenser is removed. The bottom ones will be removed underneath the car. Only the refrigerant line nearest the passenger side needs to be disconnected.


Bottom mounting bolts.

Top Passenger Side mounting bolt...easily removed with the condenser out of the way. The Driver's side bolt can be removed patiently with a
wrench since the radiator fan is in the way.

And now the compressor is out!

Refrigerant Lines
The lines are fairly easy to remove, except at these 2 points. I ended up digging out the hacksaw, it was late and I lost patience...lol.

Taped them off temporarily.

These ugly rusted brackets can be completely removed. There is a ground connection on the front-most bracket that I relocated to the ABS module mounting point.


Don't need these R134A stickers anymore!

Thumbs up for sweaty summer travelling!

That's it for the engine bay gear.
4. Remove A/C Components from the Interior
The stuff left to remove now is the interior part of the refrigerant lines, a plastic line cover, an expansion bracket, the evap core and a plastic evap core end cap.
To access the evap core and lines we must remove:
1)The undercover below the glove compartment. I believe it is held in place with 2 clips at the front.
2)The glovebox: Leave it closed and remove the 2 mounting screws underneath, then open it and squeeze the sides towards each other to release from the dash.
3)The blower unit: This has 2 metal brackets, one at the bottom and one at the top right that need to be removed (very awkward to reach, also the bracket needs to be removed from the side of the core itself or it won't slide out) . Also 3 mounting screws/bolts and a couple harnesses to unclip. Then it can be shifted to the right to detach itself from the heater duct.
4)The refrigerant lines and expansion bracket: It has 2 awkward mounting bolts that take a 4 mm hex key. I inserted the long end of the key into the screw and used a ratchet extension like a cheater bar for more leverage. I used a small pry bar to get the lines disconnected from the expansion bracket. The expansion bracket is simply pulled off by hand. The firewall rubber gasket can be removed and the hole sealed with aluminum tape on both sides.
4)The heater duct: It has 5 mounting screws and a clip to detach. Remove this to finally expose the evap core.
And there you have it!

The heater duct is now left with a hole where the expansion bracket was. I sealed it on both sides with aluminum tape. Now the heat won't escape through the hole.


Now why don't we finalize this whole process by replacing the rear defroster and A/C switch assembly with it's non A/C equivalent?


1. Since we already have the glovebox and undercover removed, locate the colored control cables for the recirc, blower type and temperature controls. Unhook the loops, unscrew the bracket for the temp control cable fastener (it won't just unclip), and unclip the other 2 cables from their brackets. This allows the stereo and heater controls to be removed.
2. Locate the single screw in the bottom center of the plastic below the heater controls. Unscrew it and pull down on the center. The 2 sides are held in by clips so pull down the center enough to get a flat head screw driver under each side to pry and unclip them. Unclip the 2 harness plugs once they are exposed underneath.
3. Now you will be able to see the 2 mounting bolts which can be seen inwards and upwards from each side under the heater controls and in behind the stereo somewhat. I used a philips head screw driver to remove these. Use a flashlight and you will see them up underneath.
4. Now the tricky part. There stereo is held in by clips that must be pushed from front to back with a socket wrench. I started with the top right clip and got enough leverage to pull the rest of it off from the front.
5. Once this stereo is removed the rear defrost/A/C switch can be unplugged from the harness, and then slid out of the unit. Snap the new one in place, plug it in and put everything back in. Now you are officially done!
Last edited by devmail; 03-24-2017 at 04:05 PM.
#4
06-11-2014, 07:42 PM
I ordered the belt from NAPA, the code is 5PK850 and cost me $27 after tax. Or you can just ask for a 5 rib belt that is 34" long. PartSource or AutoZone should have them too.
No place seems to carry belts for the base or Canadian DX model. They all list the 45" long A/C belt.
No place seems to carry belts for the base or Canadian DX model. They all list the 45" long A/C belt.
#5
06-12-2014, 11:39 PM
Well I did Momma Earth a solid today and had the A/C system evacuated today at a garage and it cost me $45. I just finished pulling all the ac stuff out from the engine bay and the total weight savings including approx 1 lb r134a is 23.47 lbs. I'll have pics up when I can documenting the removal. After that I may attempt removing the ac related stuff from under the dash.
#8
06-13-2014, 12:50 PM
Much of the above is why I was excited to see this done. There will come a time in my car's life where this will happen, but not anytime soon, it's nice to have a preview. Thanks OP.
#9
06-13-2014, 01:36 PM
We've had unusually cool weather down here, but it would have to be a lot cooler to make me consider driving a car without AC.. Us old guys can't handle being without it.

#12
06-14-2014, 10:01 PM
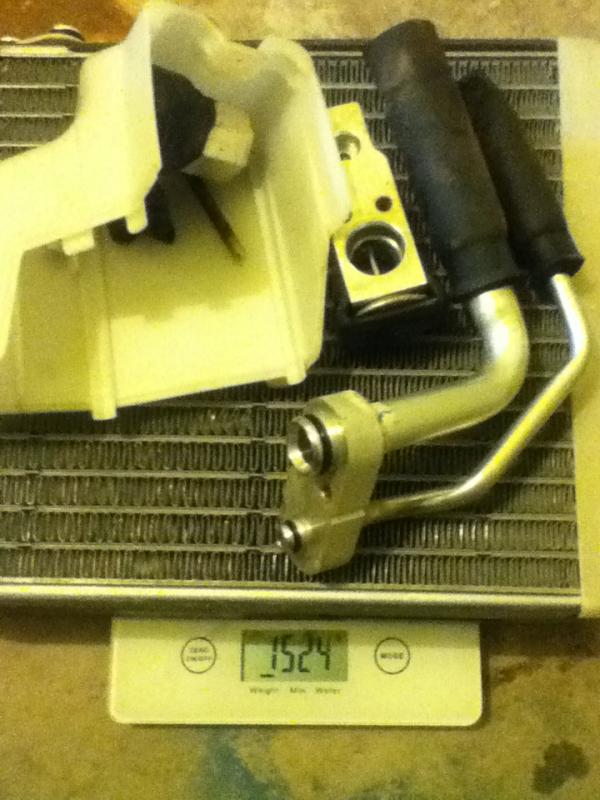
Tonight I removed the evap unit, the rest of the A/C lines and cover, brackets and bolts and the total came to 1524 g or another 3.36 lbs. I was also able to remove more firewall mat since in order to get the evap core out, you need to remove the glove box, undercover, blower unit and heater duct.
Also my AVG KPL has reached 9.99.
Also my AVG KPL has reached 9.99.
Last edited by devmail; 06-14-2014 at 10:48 PM.
#13
06-14-2014, 10:35 PM
Awesome mod. All you need to do is remove the heater core and air box/venting.
Note: the front defogger uses your AC system to clear your windshield when it fogs also. (for the daily drivers who are mulling over this mod)
Note: the front defogger uses your AC system to clear your windshield when it fogs also. (for the daily drivers who are mulling over this mod)
#14
06-18-2014, 10:26 AM
AVG KPL is now 10.00 and staying there.
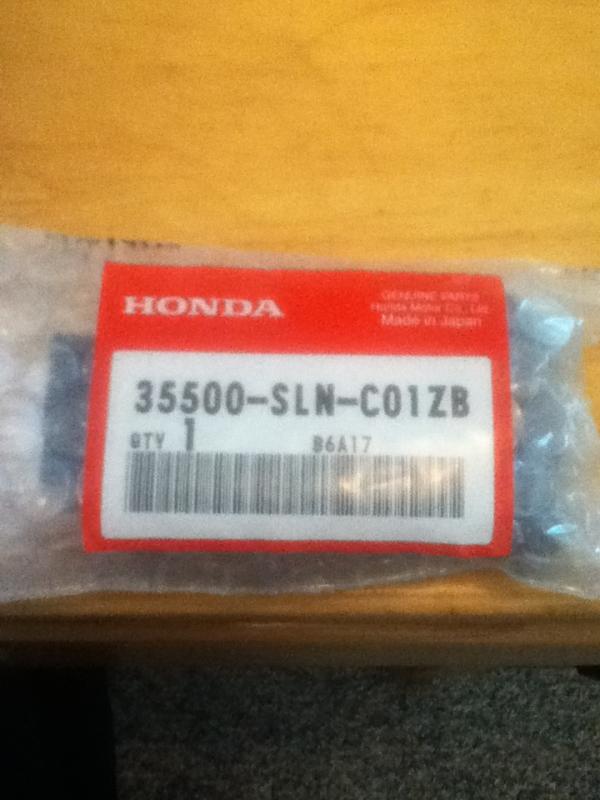
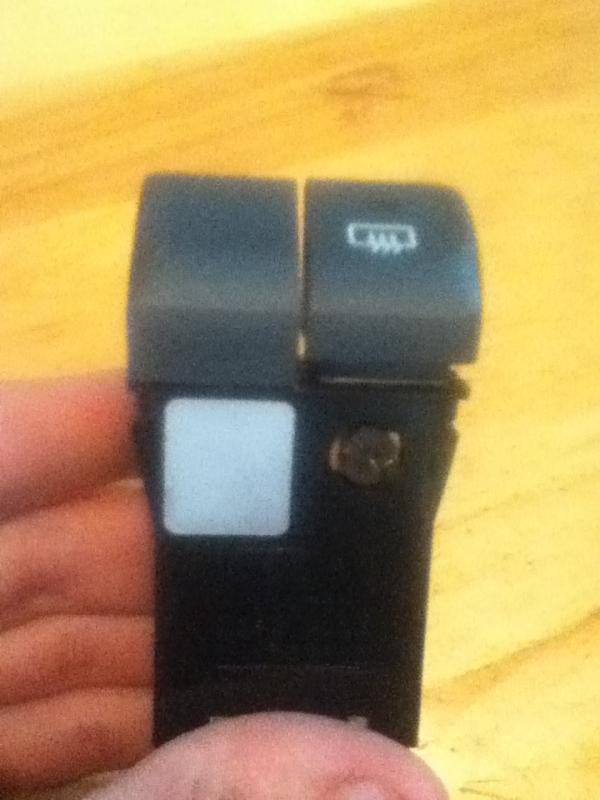
I ordered the DX/base model rear defrost switch with blank button (where the a/c button is on the other models) to make this a FULL a/c delete. Will update with pictures as it's done.
I ordered the DX/base model rear defrost switch with blank button (where the a/c button is on the other models) to make this a FULL a/c delete. Will update with pictures as it's done.
#15
06-18-2014, 10:30 AM


Thread
Thread Starter
Forum
Replies
Last Post
im the fit
Fit Engine Modifications, Motor Swaps, ECU Tuning
8
05-22-2015 08:52 PM

