
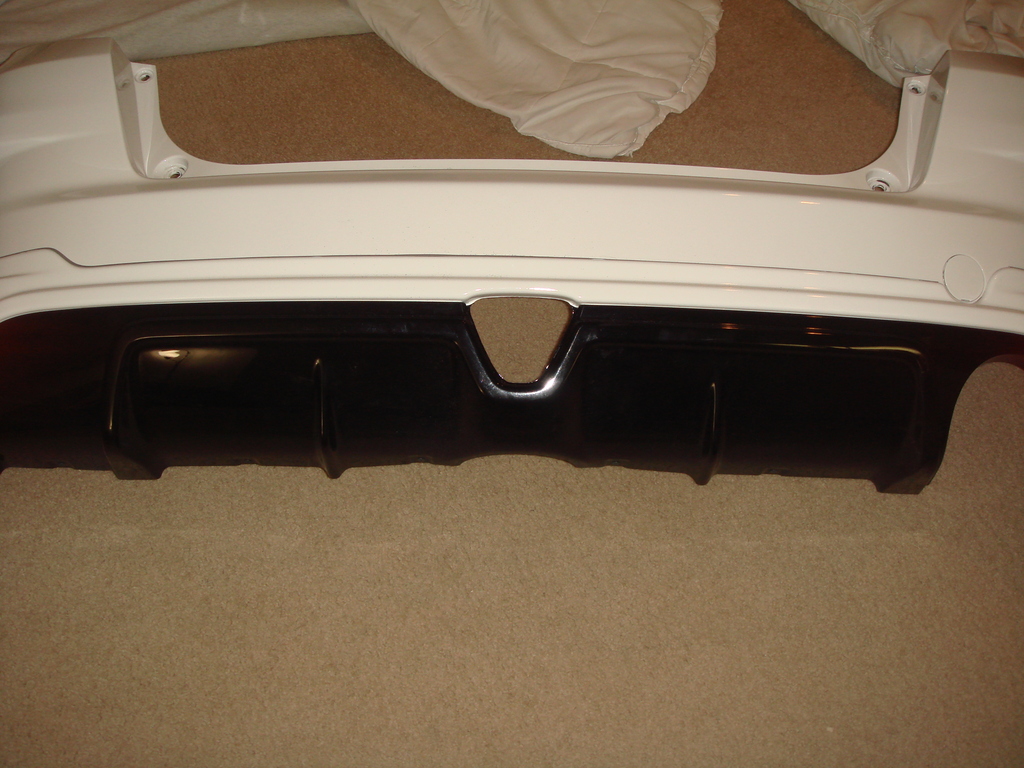
My JDM Fit RS Mugen Rear Under Spoiler

My JDM Fit RS Mugen Rear Under Spoiler
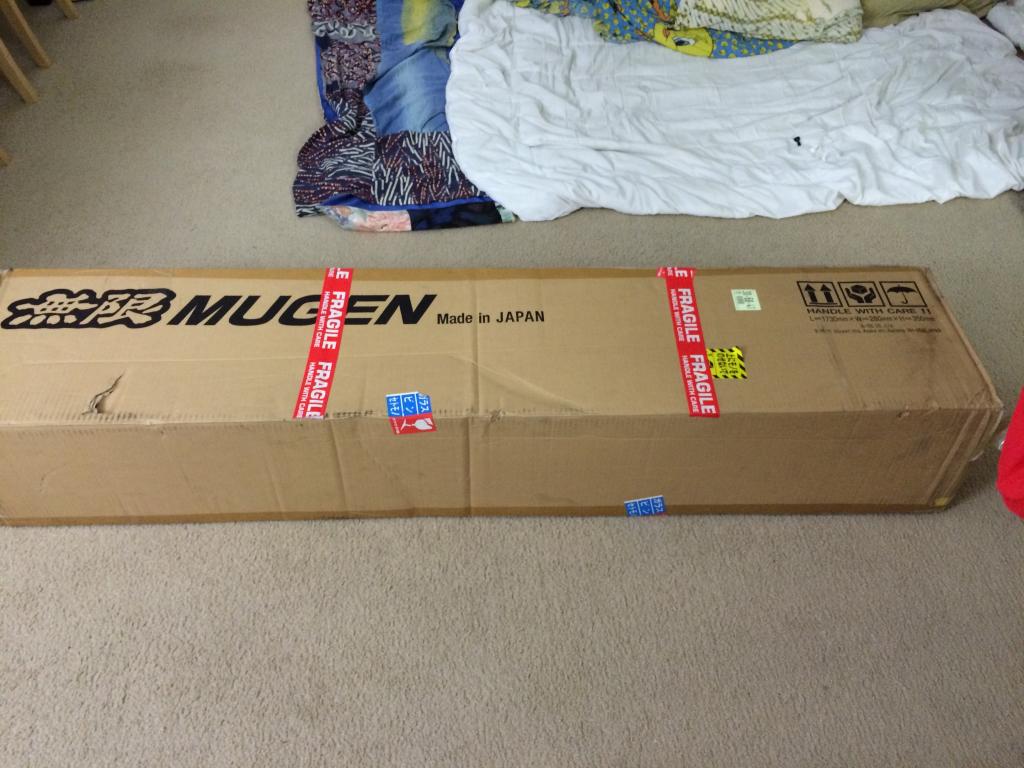
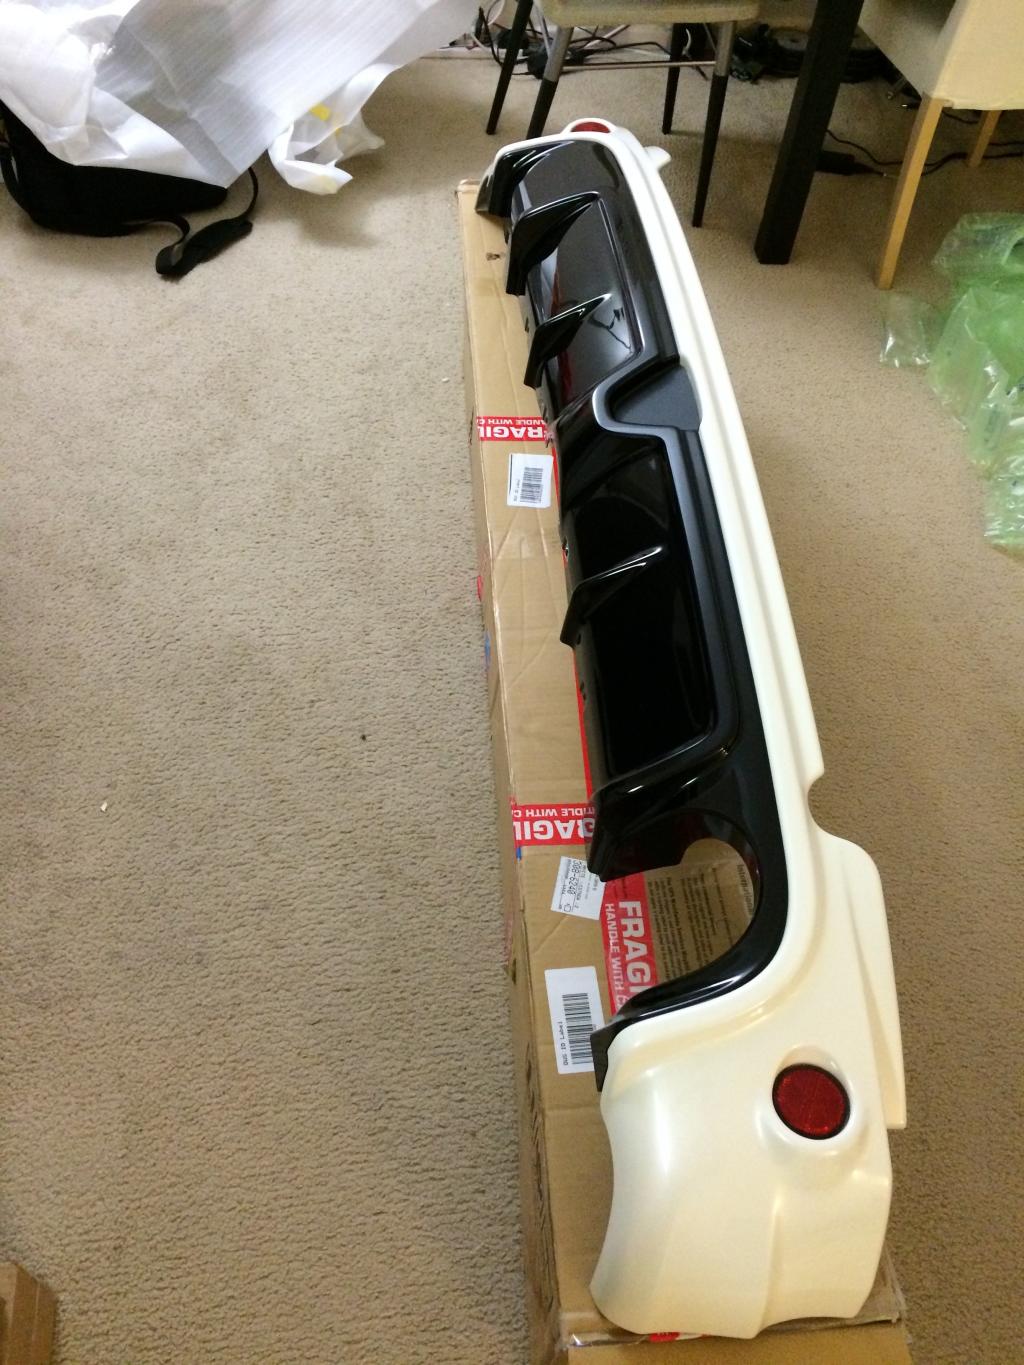
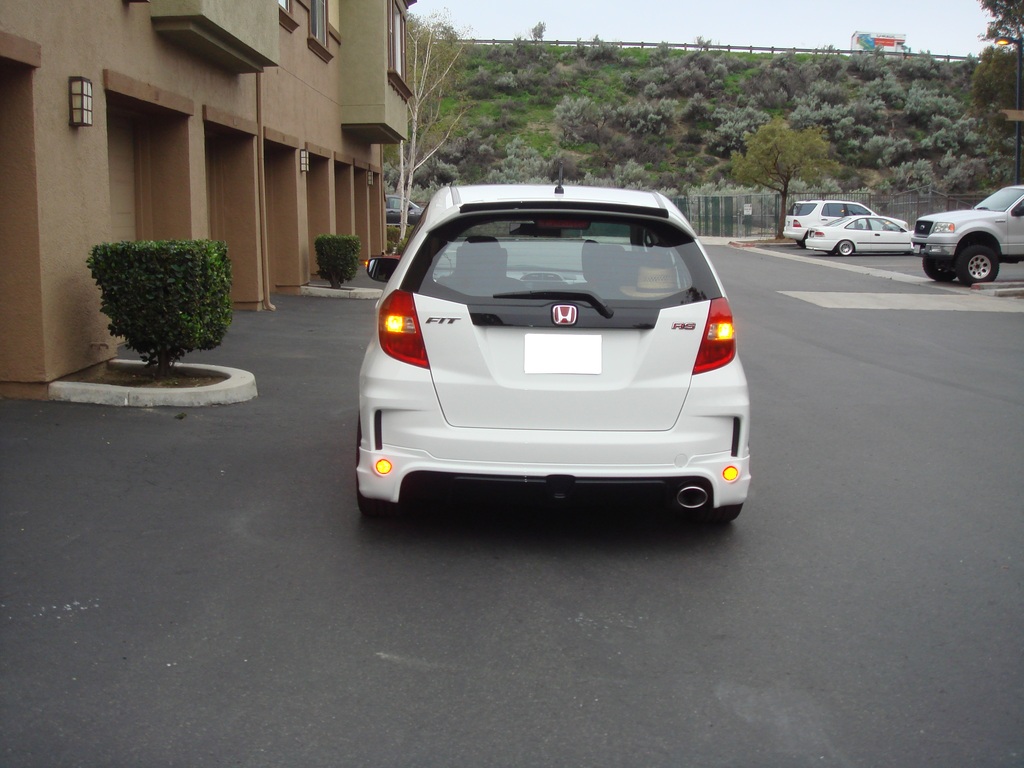
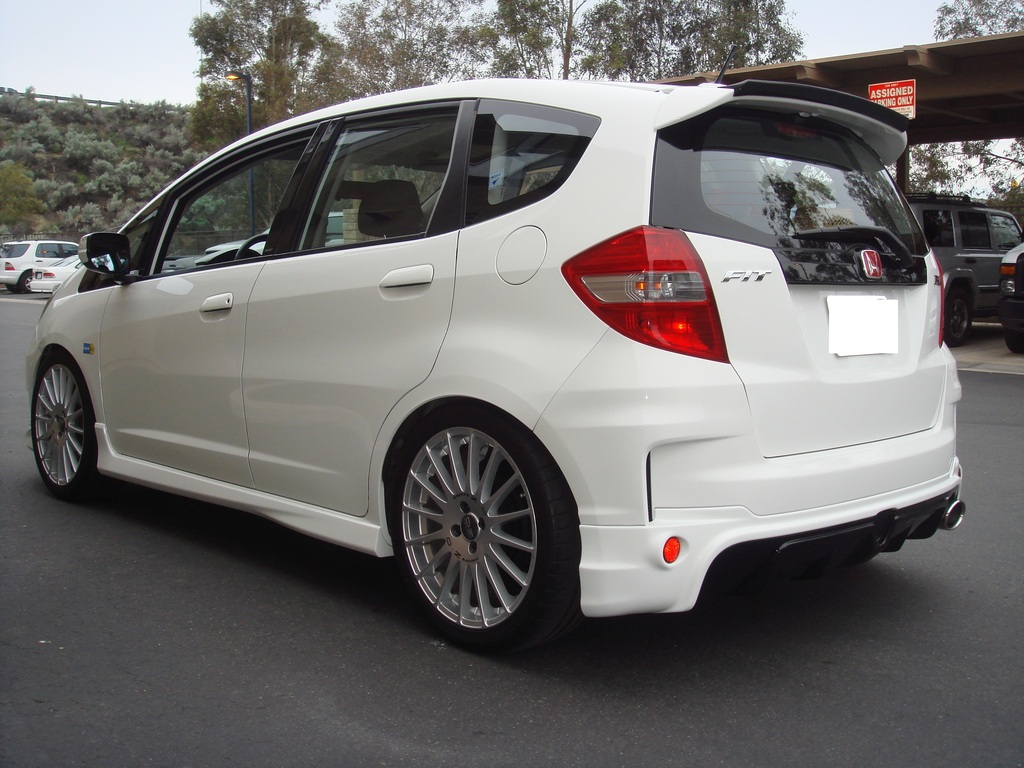
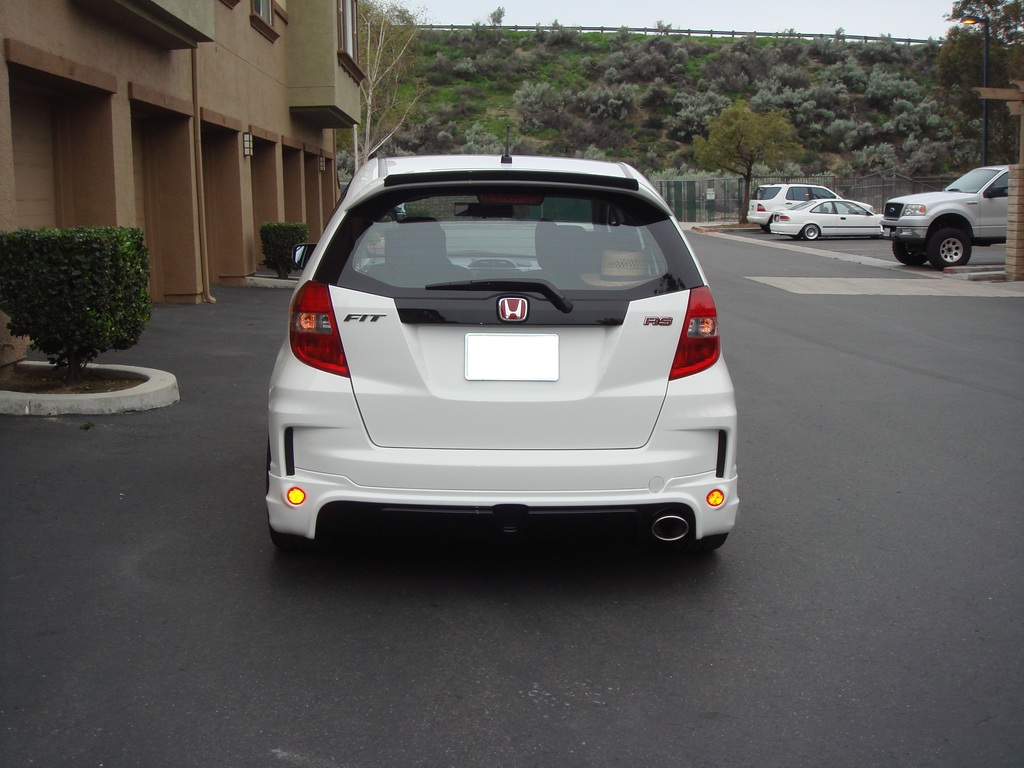
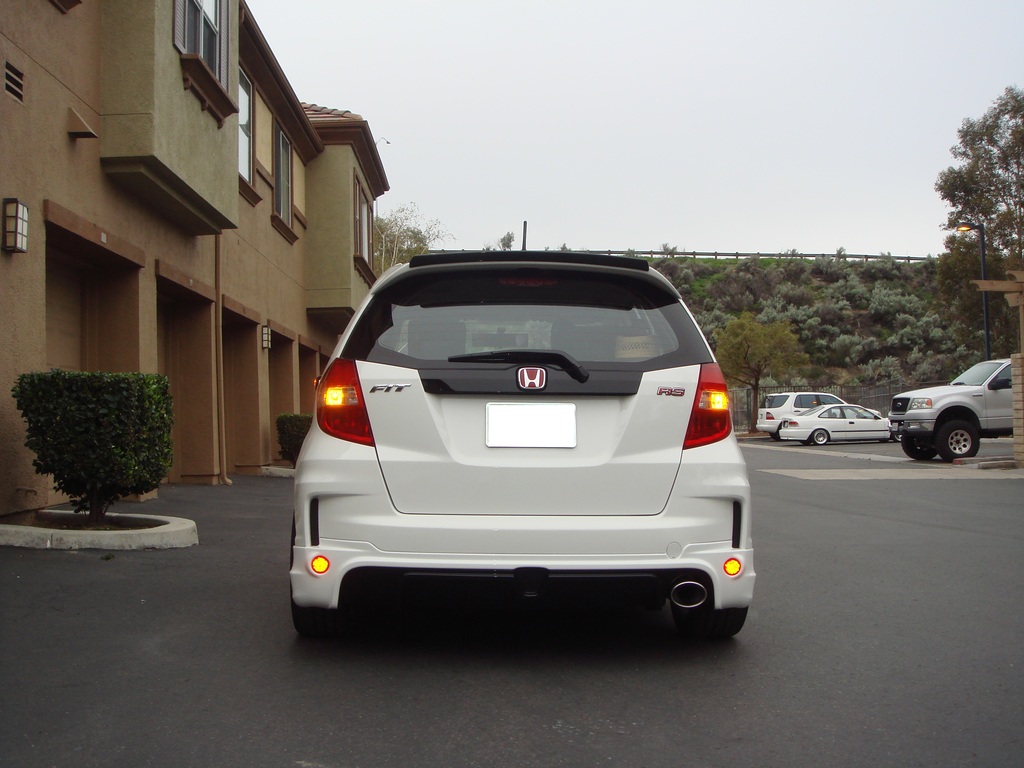
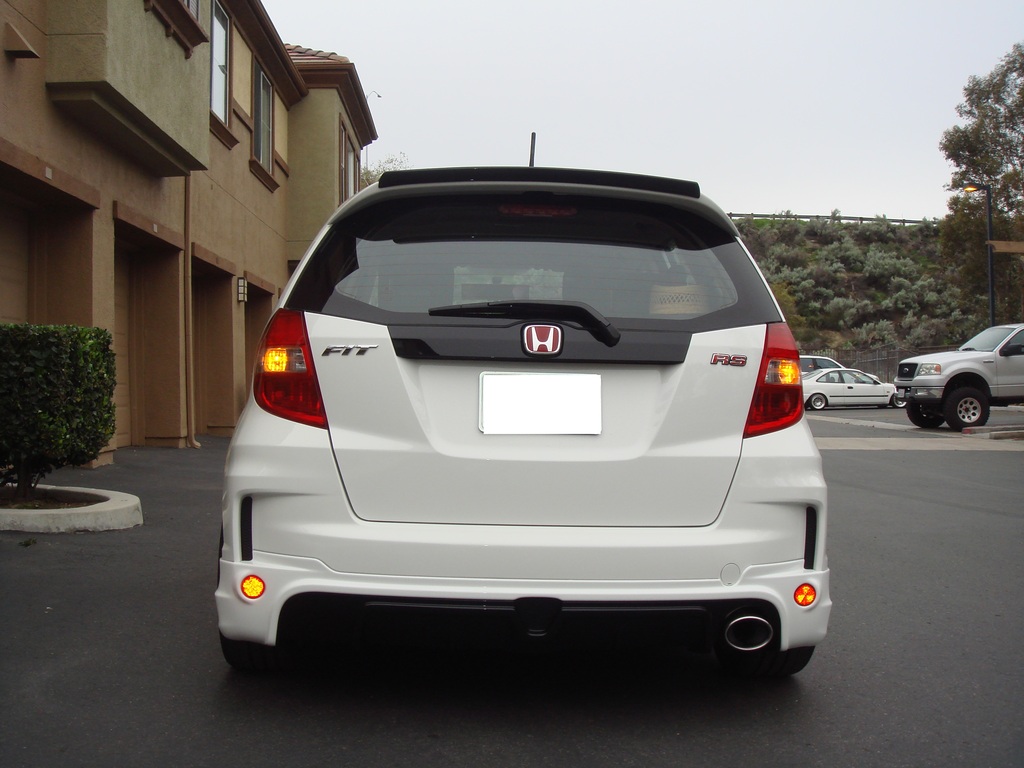
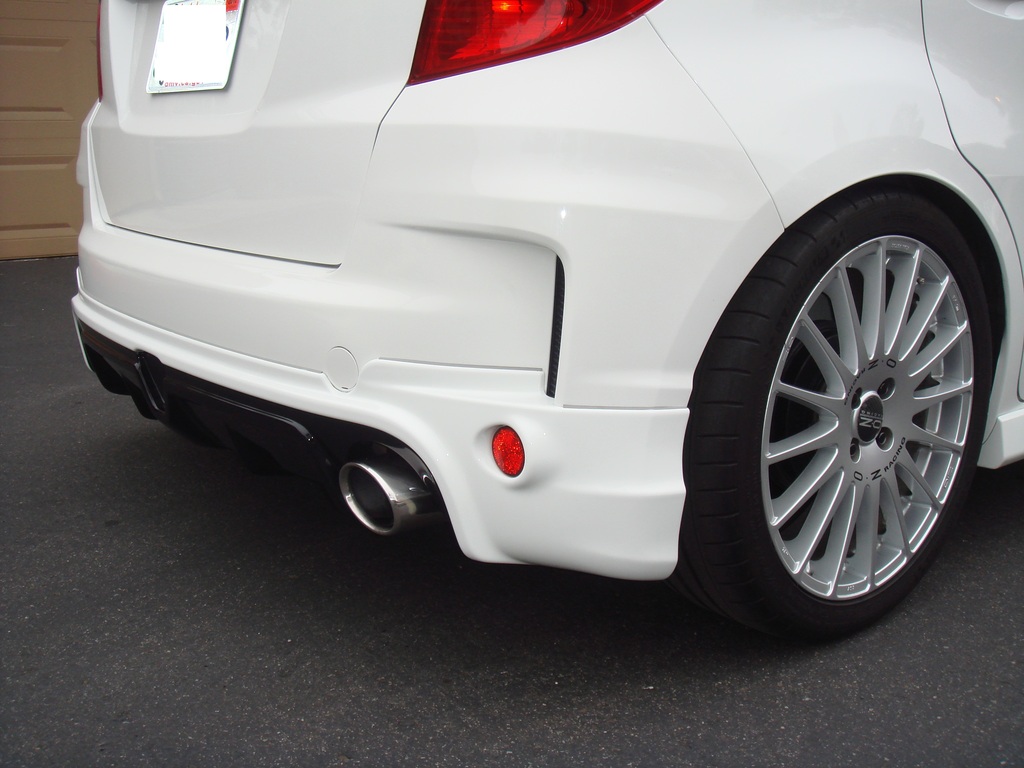
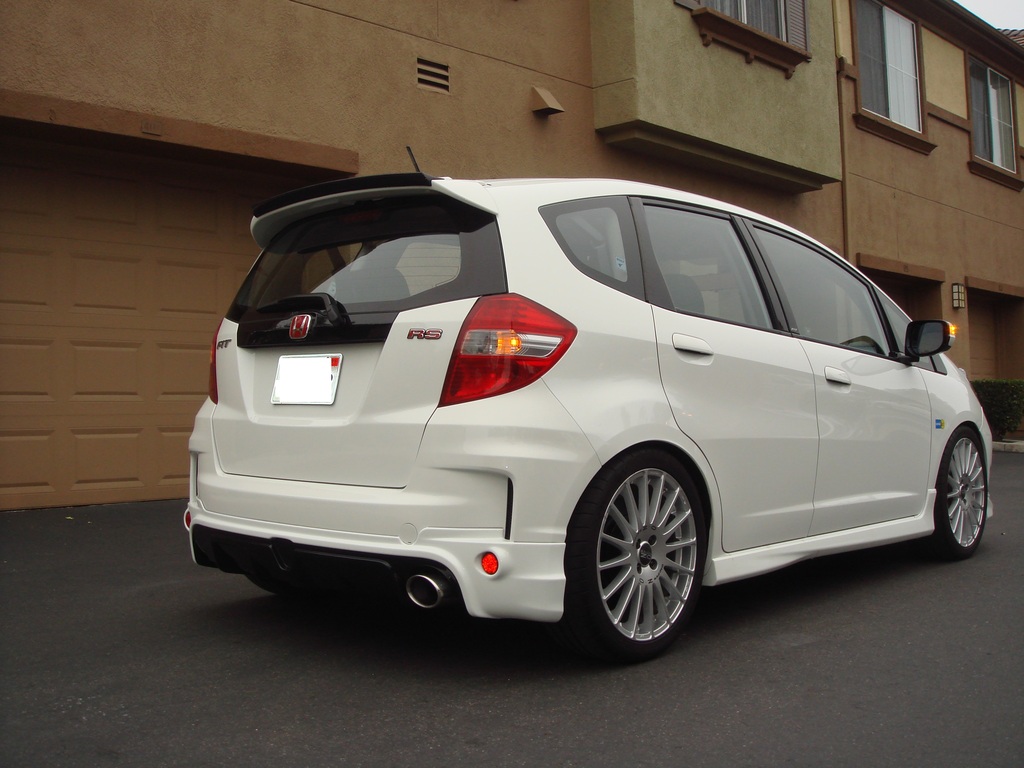
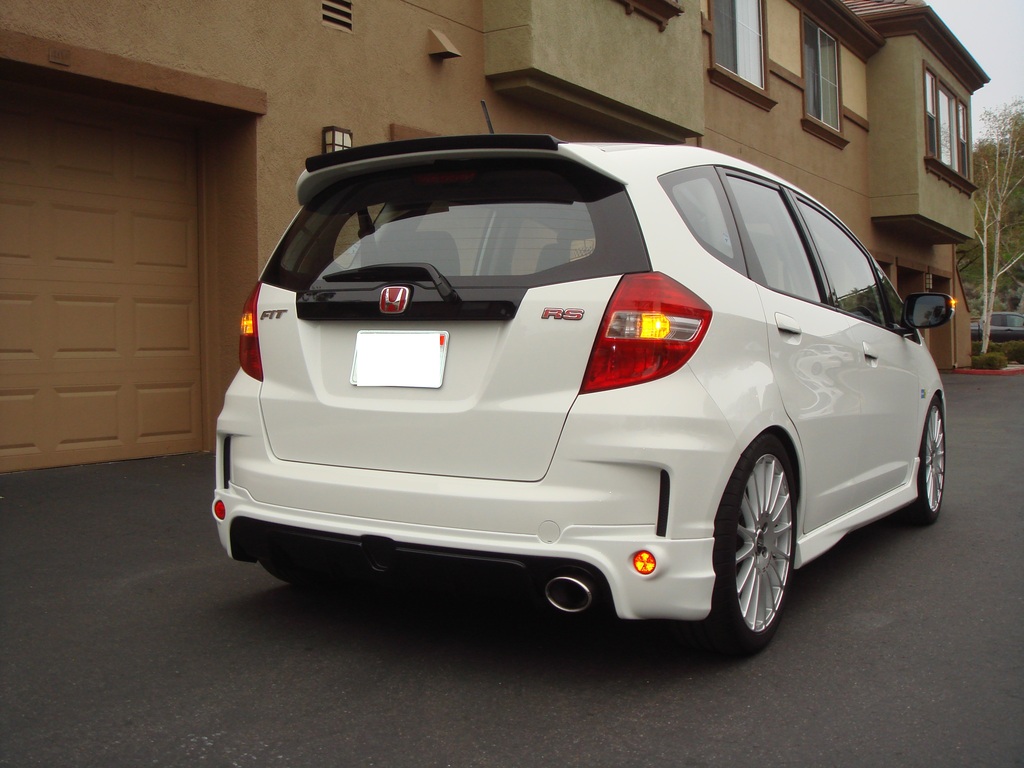
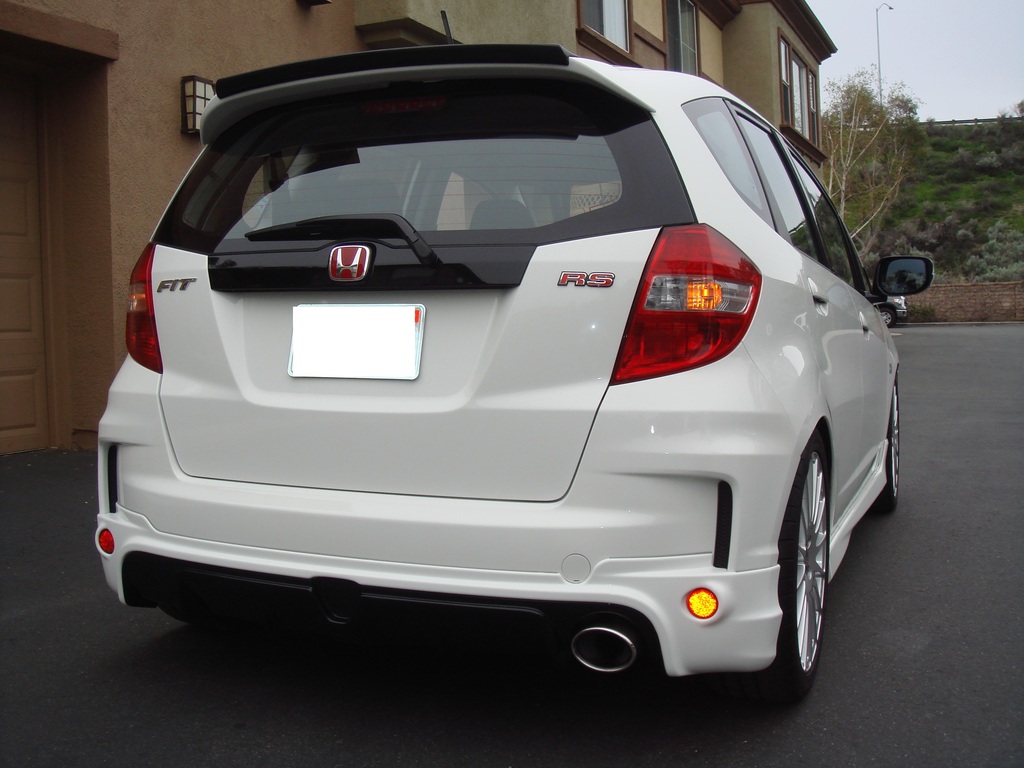
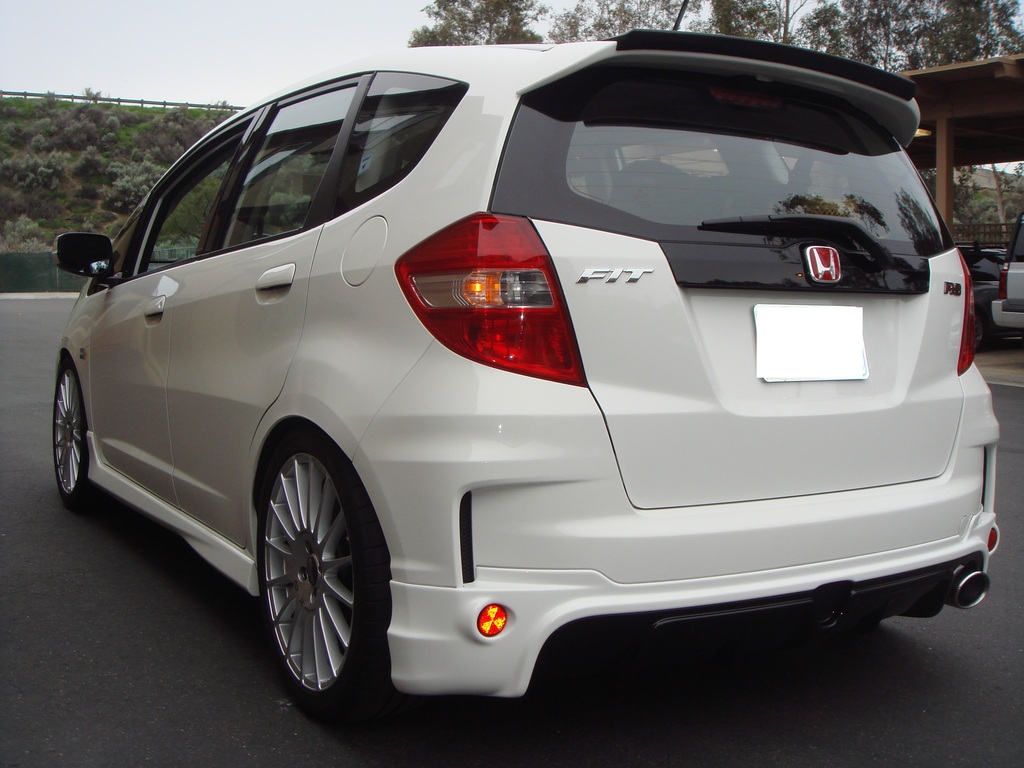
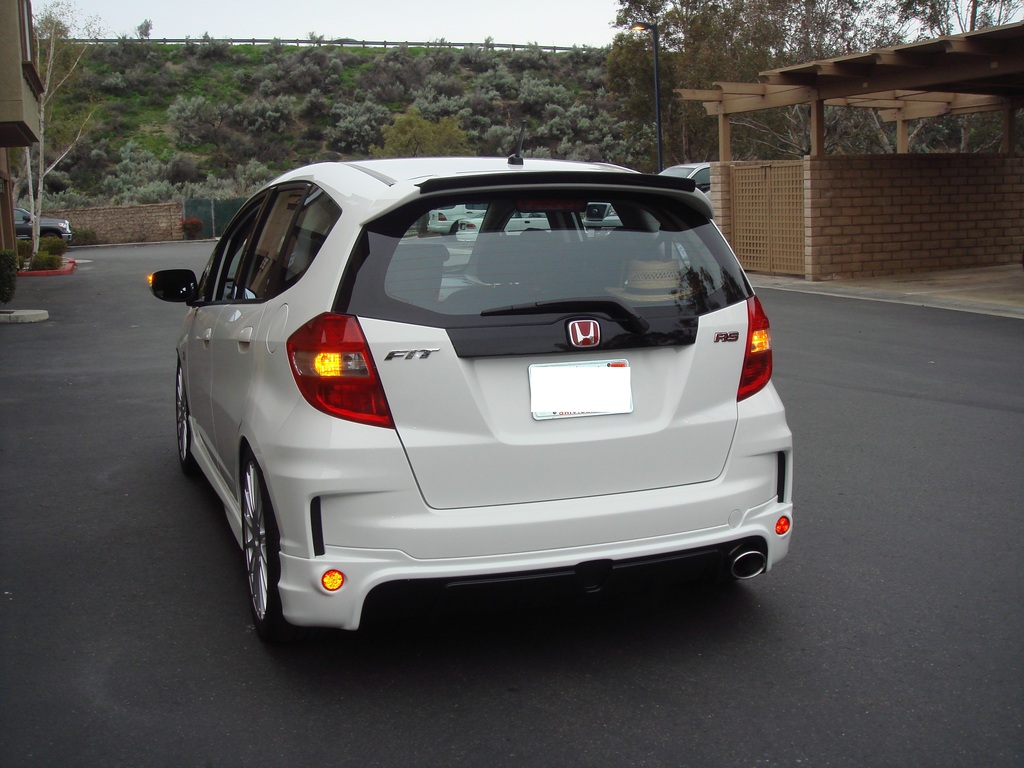
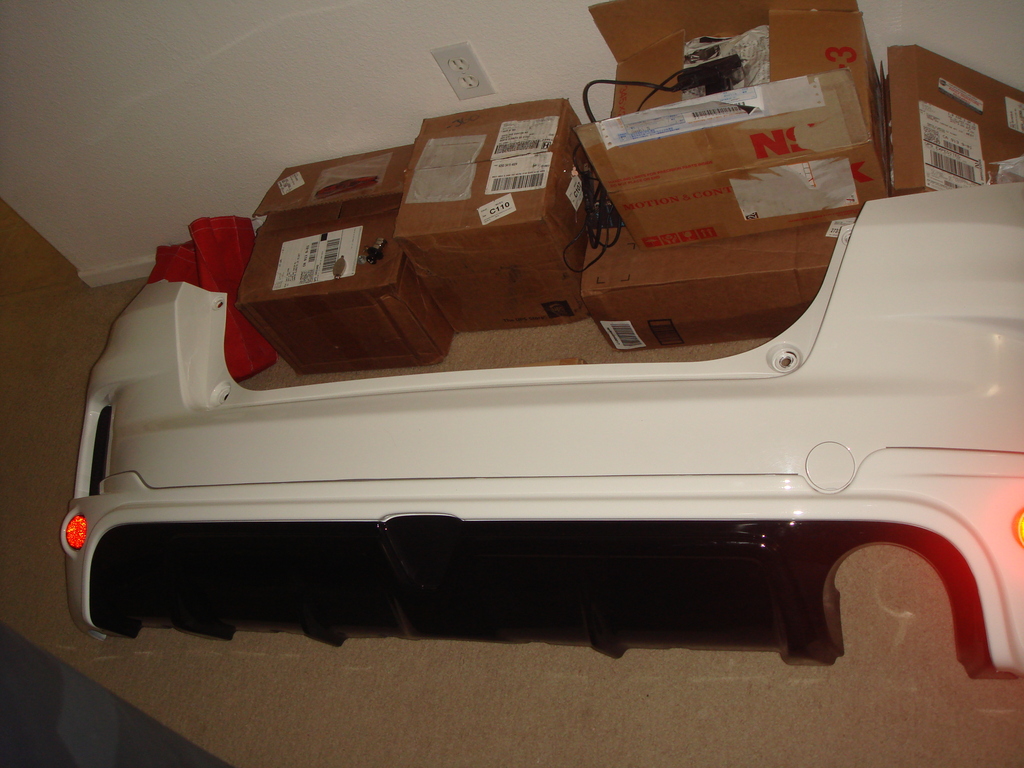
My JDM Fit RS Mugen Rear Under Spoiler finally arrived by UPS today 
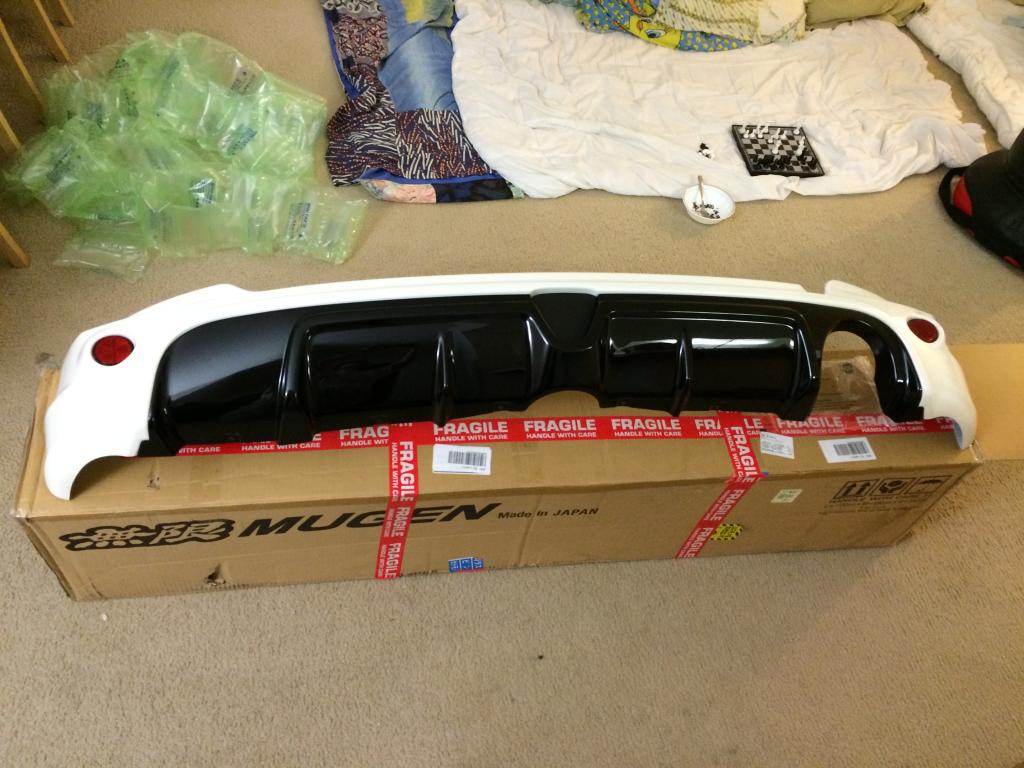
I will take it to Paint shop tomorrow because it is in Pearl White, while our car is Taffeta White...
Still have problem buying the matching Mugen LED Fog Light...
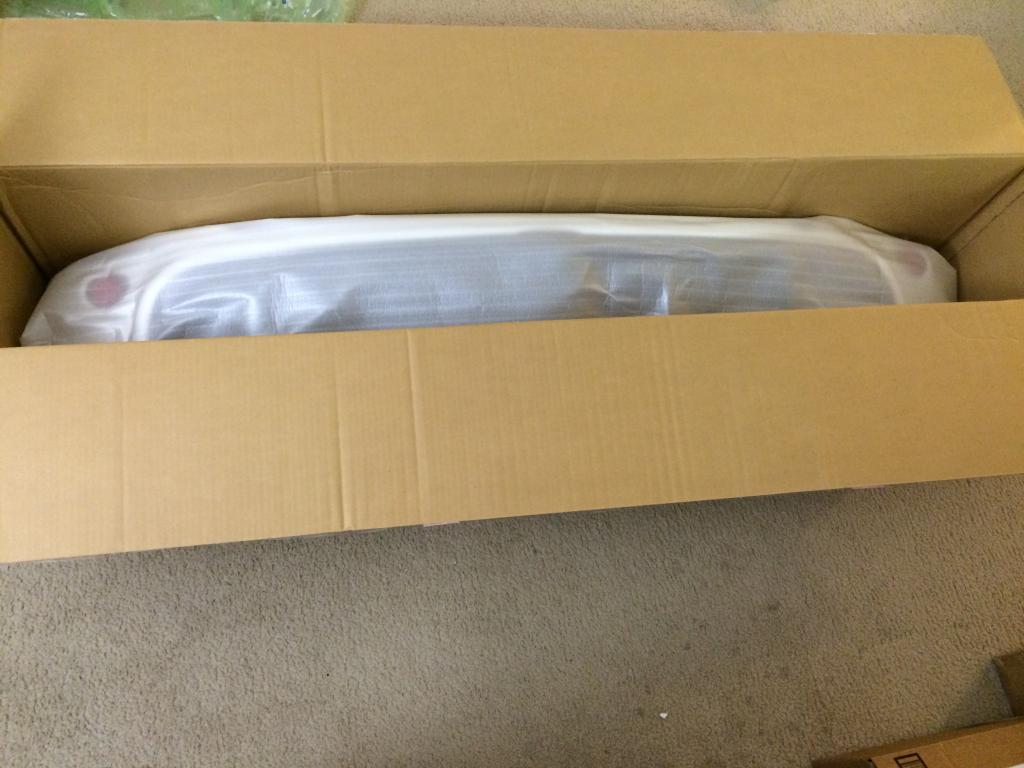
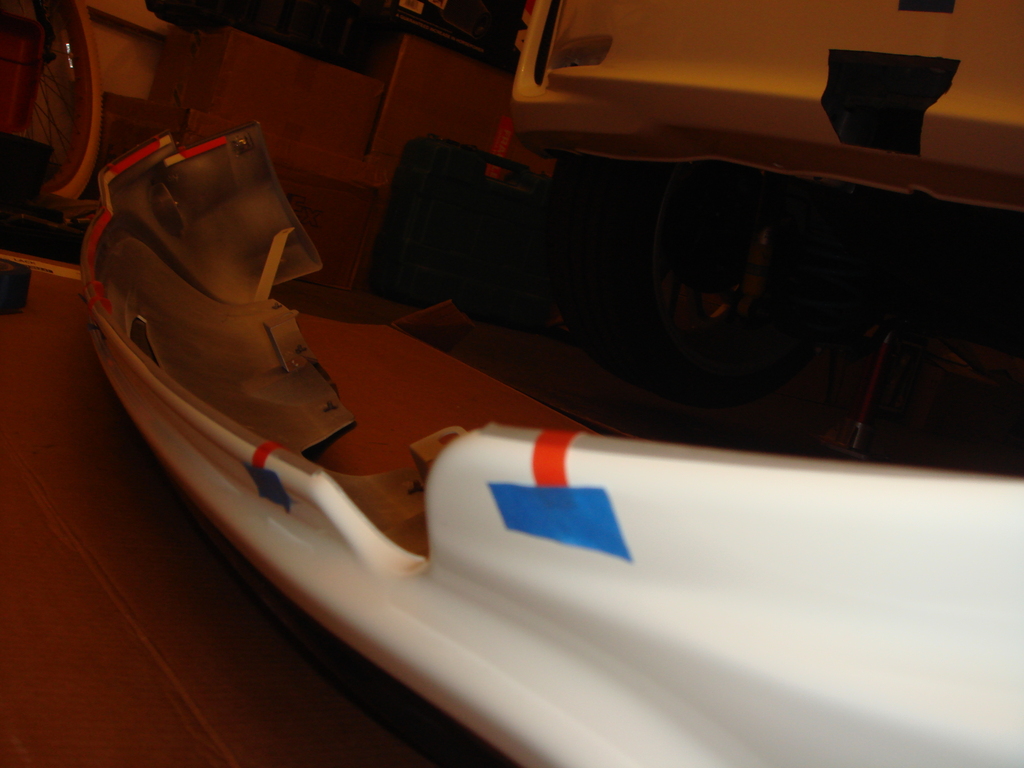
Here are the unboxing and the test fitting pictures

I will take it to Paint shop tomorrow because it is in Pearl White, while our car is Taffeta White...
Still have problem buying the matching Mugen LED Fog Light...
Here are the unboxing and the test fitting pictures

I wish I can come to the monthly meeting at Cerritos,
but I am still working on Saturday night ...
I hope I can find a new job soon that pay better
(so I can have money to all my pending plan for the Honda Fit),
and don't have to work on Saturday night so I can come to the meet
Thank You everybody
I wish I can come to the monthly meeting at Cerritos,
but I am still working on Saturday night ...
I hope I can find a new job soon that pay better
(so I can have money to all my pending plan for the Honda Fit),
and don't have to work on Saturday night so I can come to the meet
I wish I can come to the monthly meeting at Cerritos,
but I am still working on Saturday night ...
I hope I can find a new job soon that pay better
(so I can have money to all my pending plan for the Honda Fit),
and don't have to work on Saturday night so I can come to the meet

Member
Joined: Jul 2014
Posts: 1,083
From: CA

Thank You everybody
I wish I can come to the monthly meeting at Cerritos,
but I am still working on Saturday night ...
I hope I can find a new job soon that pay better
(so I can have money to all my pending plan for the Honda Fit),
and don't have to work on Saturday night so I can come to the meet
I wish I can come to the monthly meeting at Cerritos,
but I am still working on Saturday night ...
I hope I can find a new job soon that pay better
(so I can have money to all my pending plan for the Honda Fit),
and don't have to work on Saturday night so I can come to the meet

Please take a look at my older thread here:
https://www.fitfreak.net/forums/2nd-...version-2.html
I basically have a body shop modify my crash bar "leg" attachment,
so I still have he crash bar behind the bumper

DIY Step by Step :
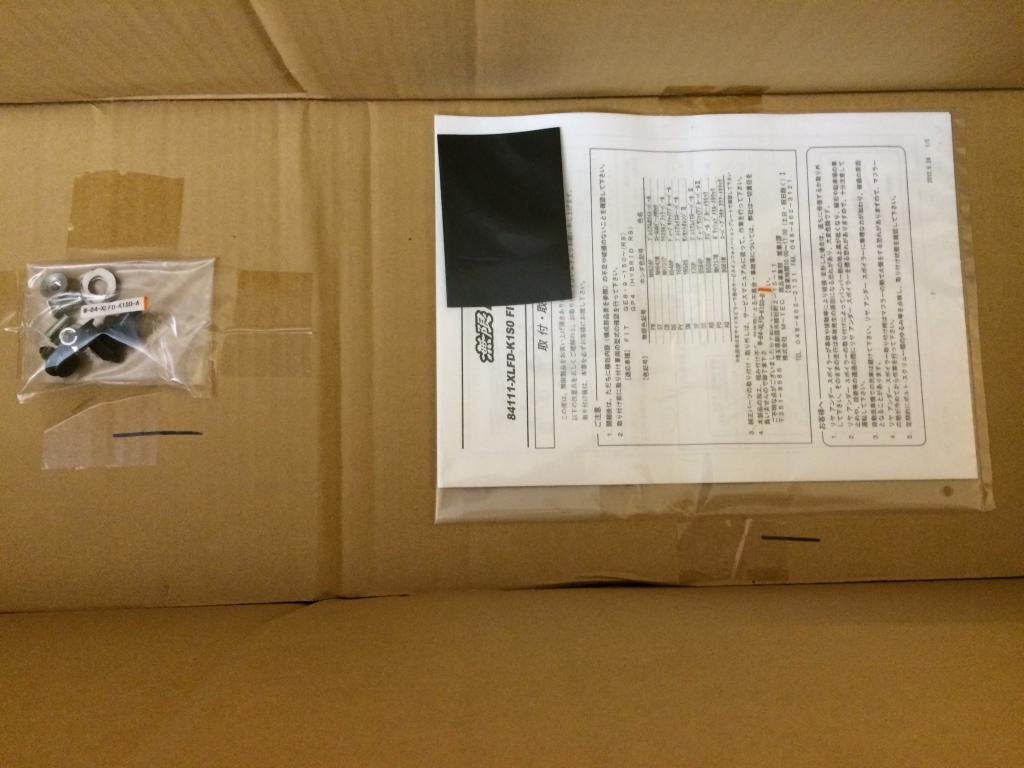
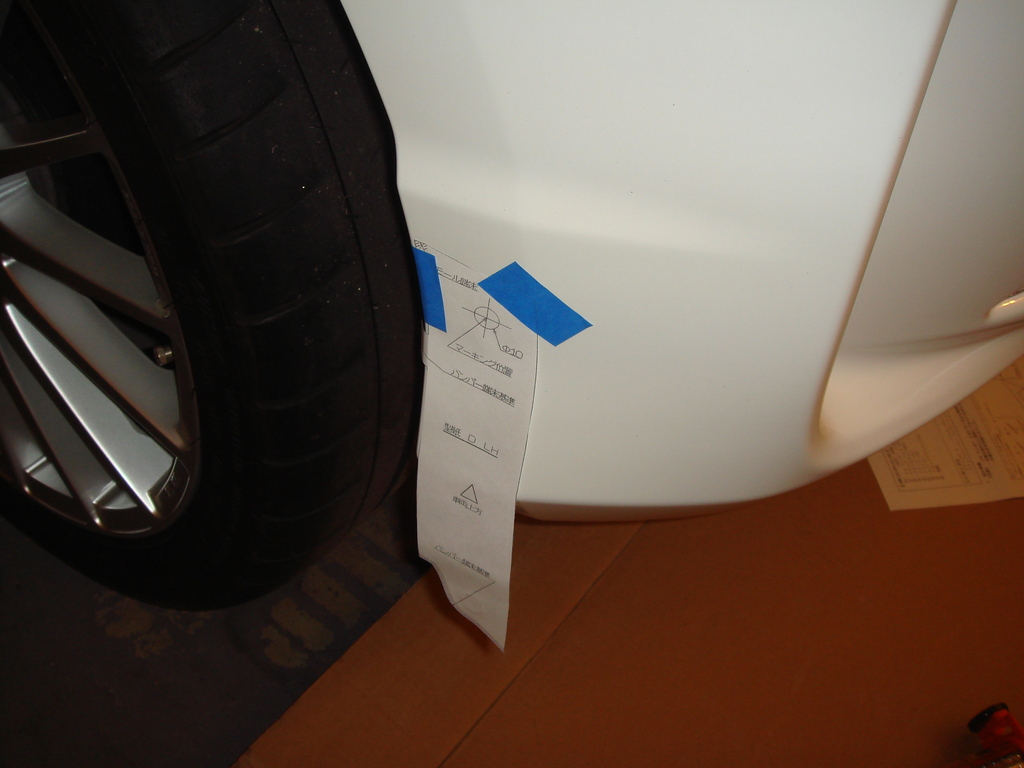
1. Tape The Paper Template that came with the Installation Manual
onto the bumper:
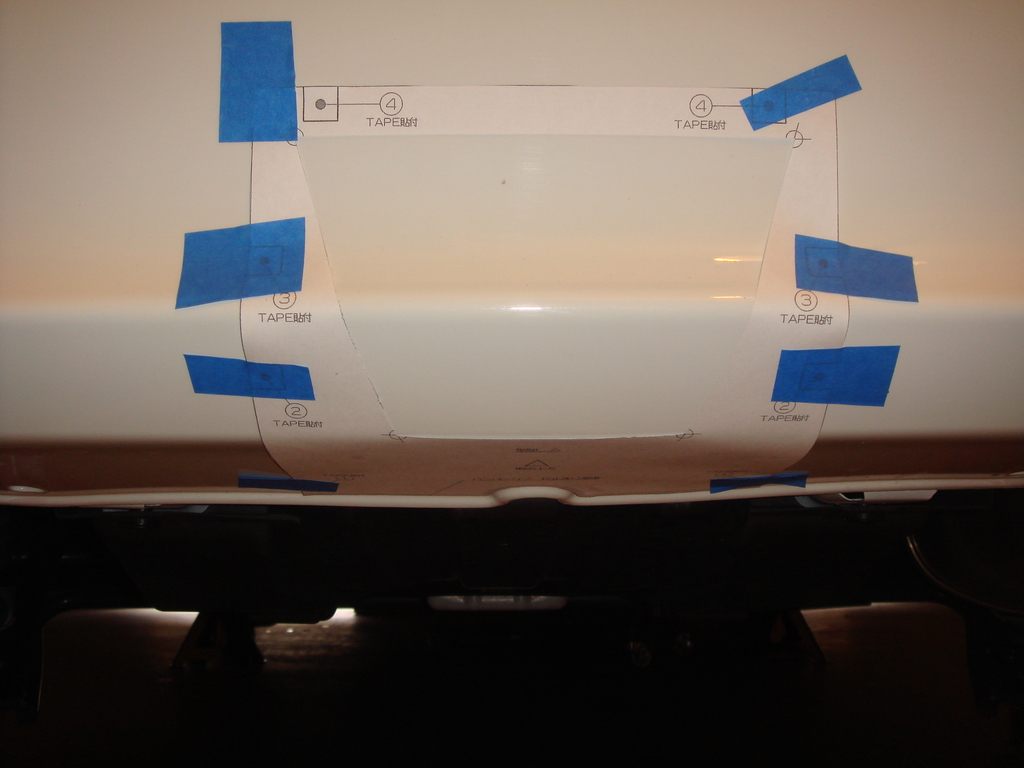
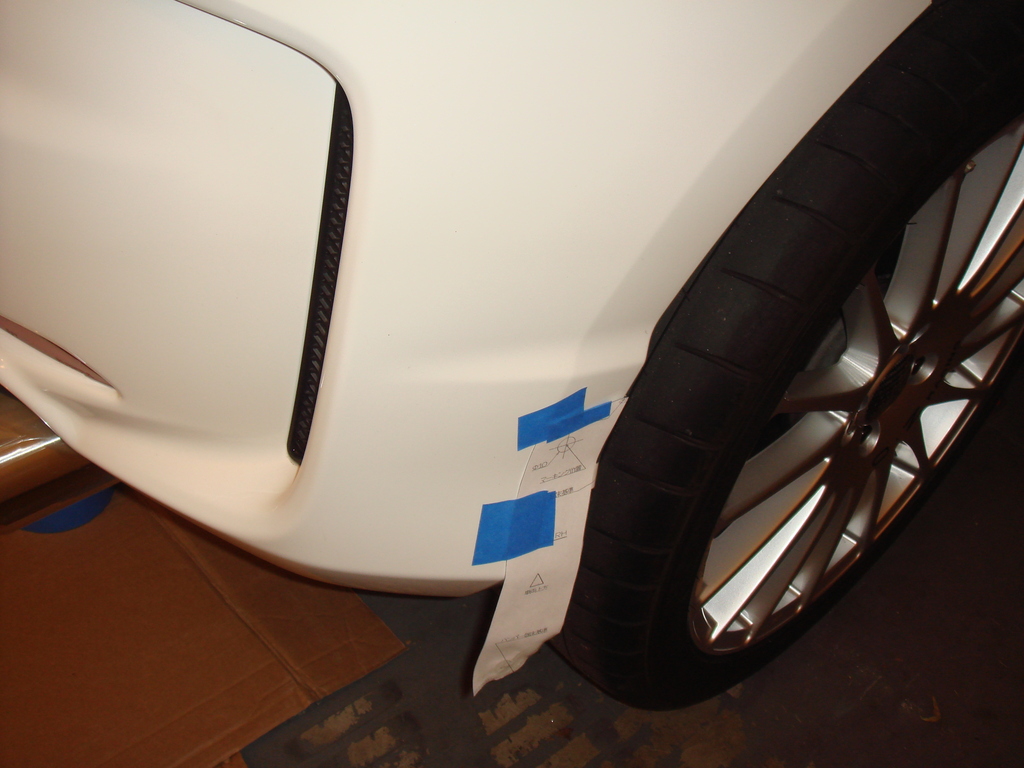
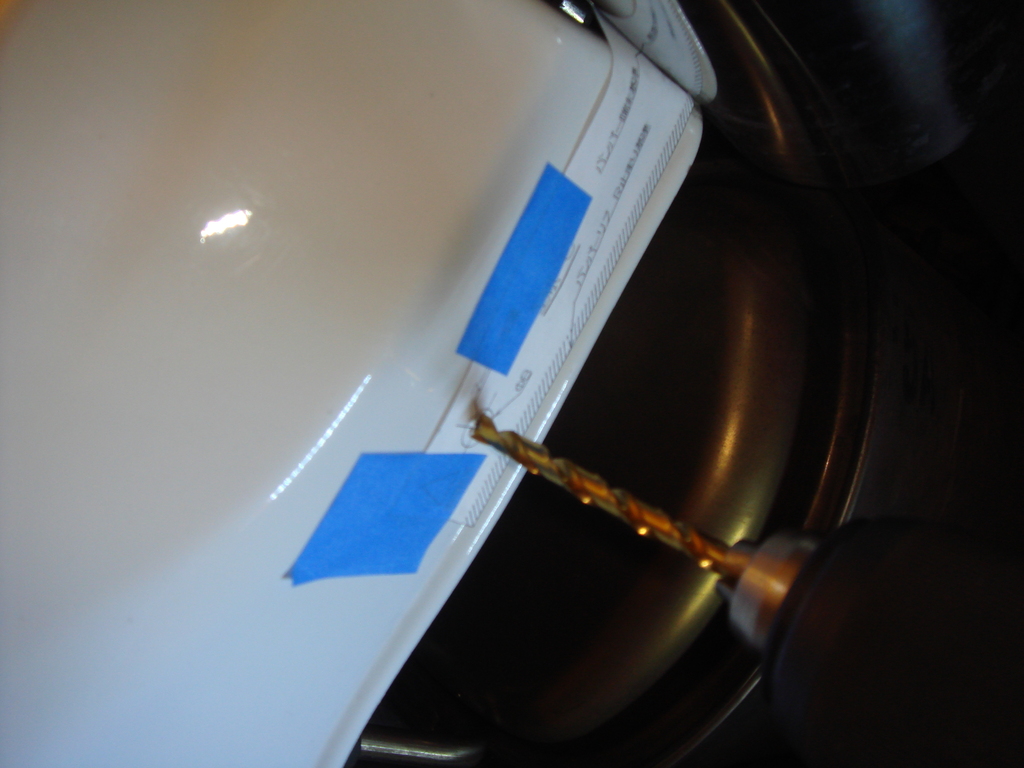
2. Either Drill a hole or CUT a BIG HOLE
Yes, we need to cut a big hole for the LED fog light,
eventhough you don't install LED fog light,...
otherwise the Mugen Lower Under Spoiler will not fit flush...

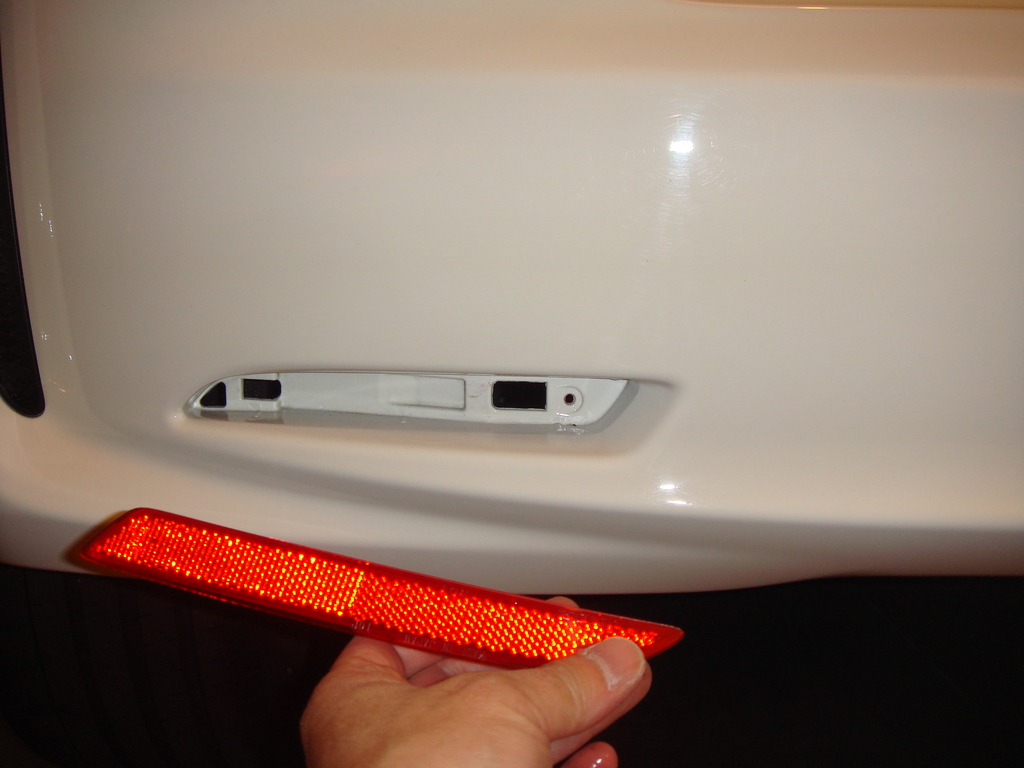
3. Take out the LED Reflector from the JDM RS rear bumper,
since it will be hidden anyway,... (Sell it to recoup little money hahaha)
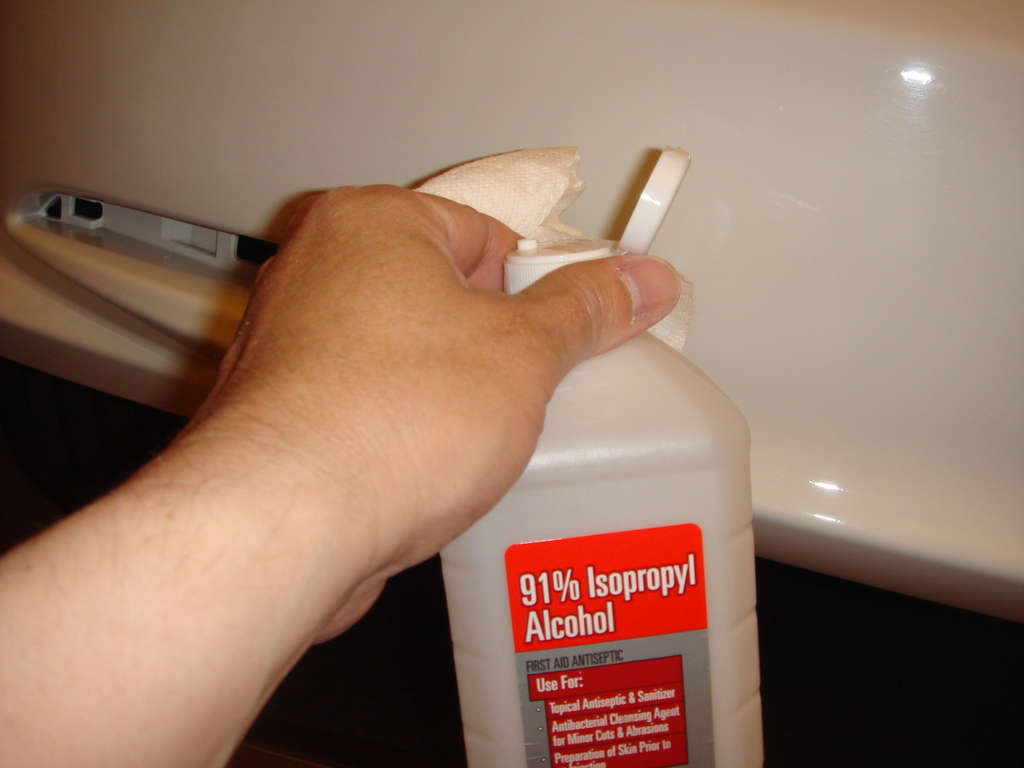
4. Clean all surface that will have double tape stick on it with Alcohol:
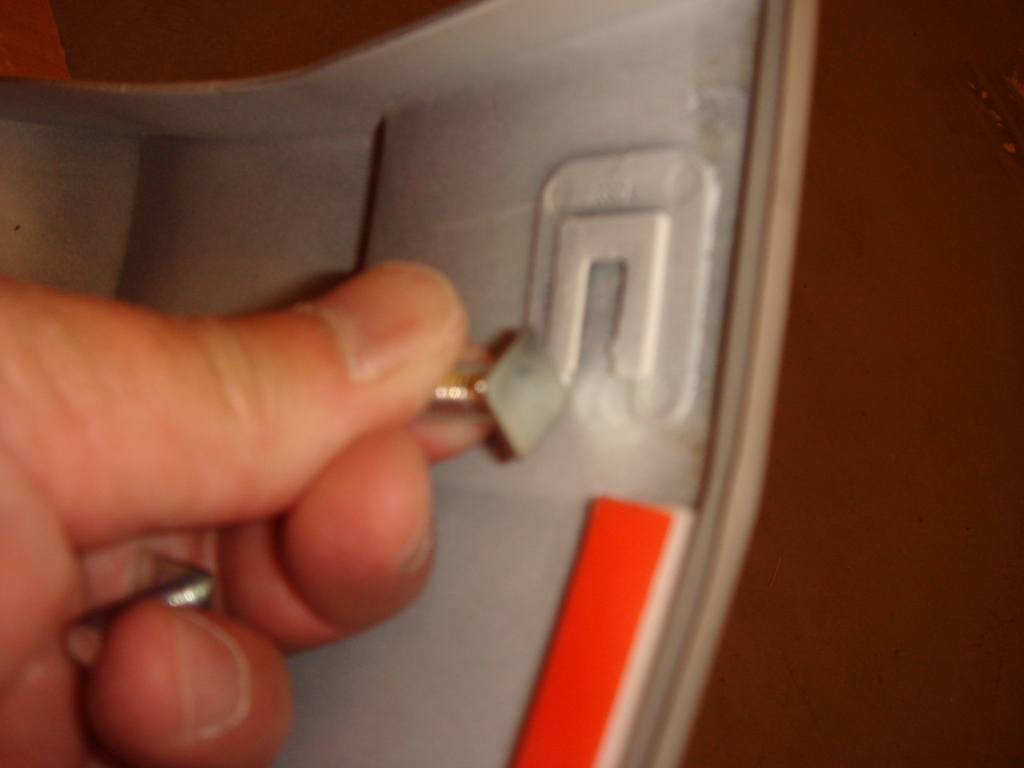
5. Slide the Metal Bolt into the grove:
6. take out the double tape behind the metal ring and stick it to the left and right side hole (where the bolt above will enter):
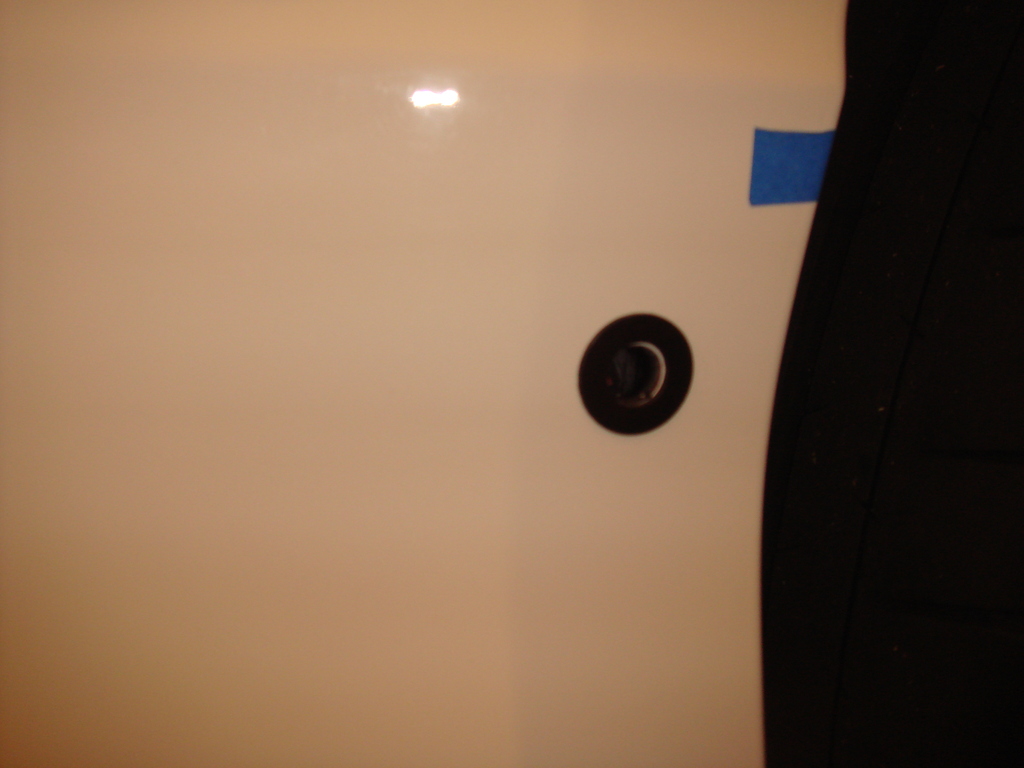
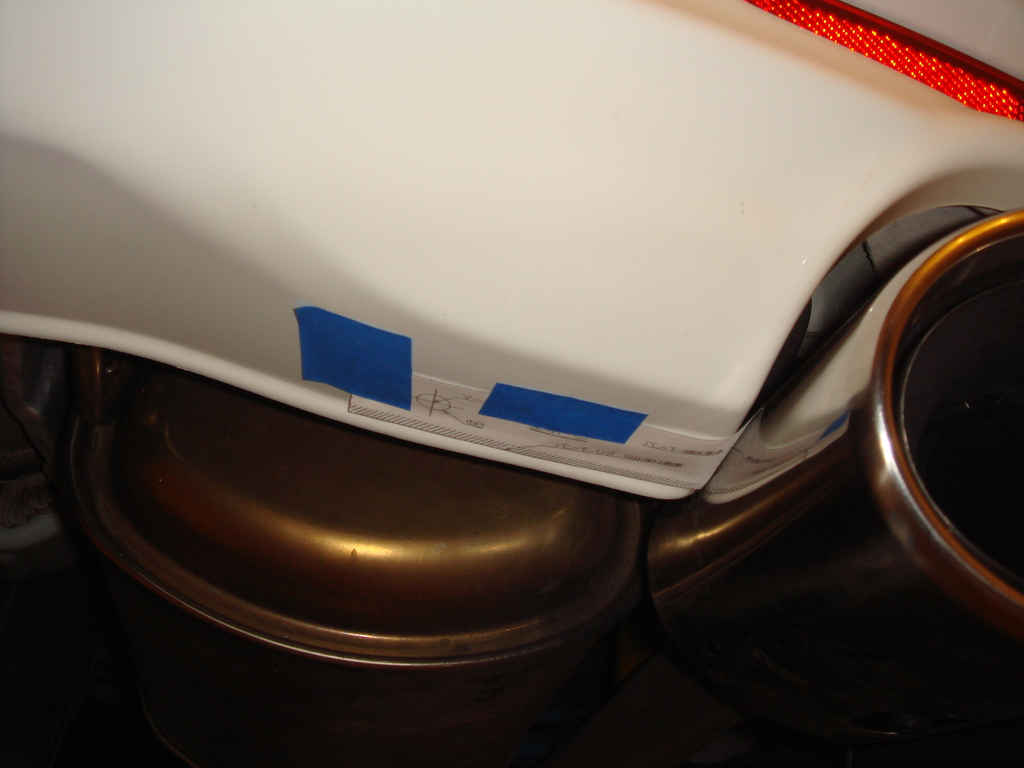
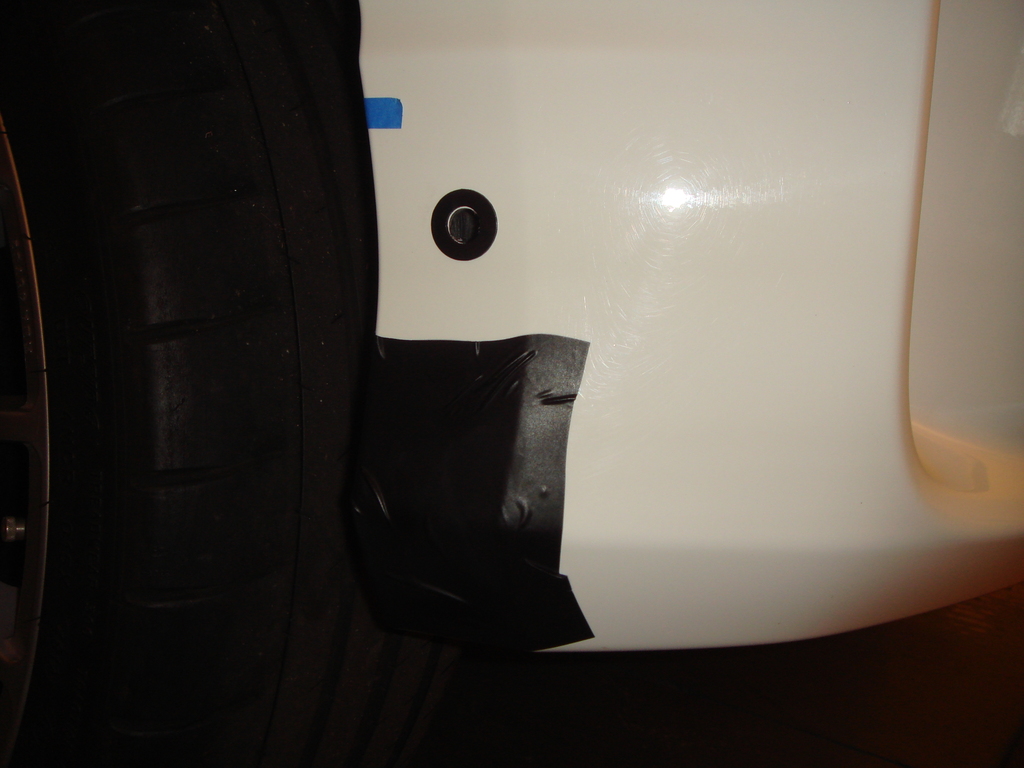
7. Measure from top and the center of bumper and mark with double tape, this to make sure the center of the Mugen Under Spoiler will be
at the right place/height:

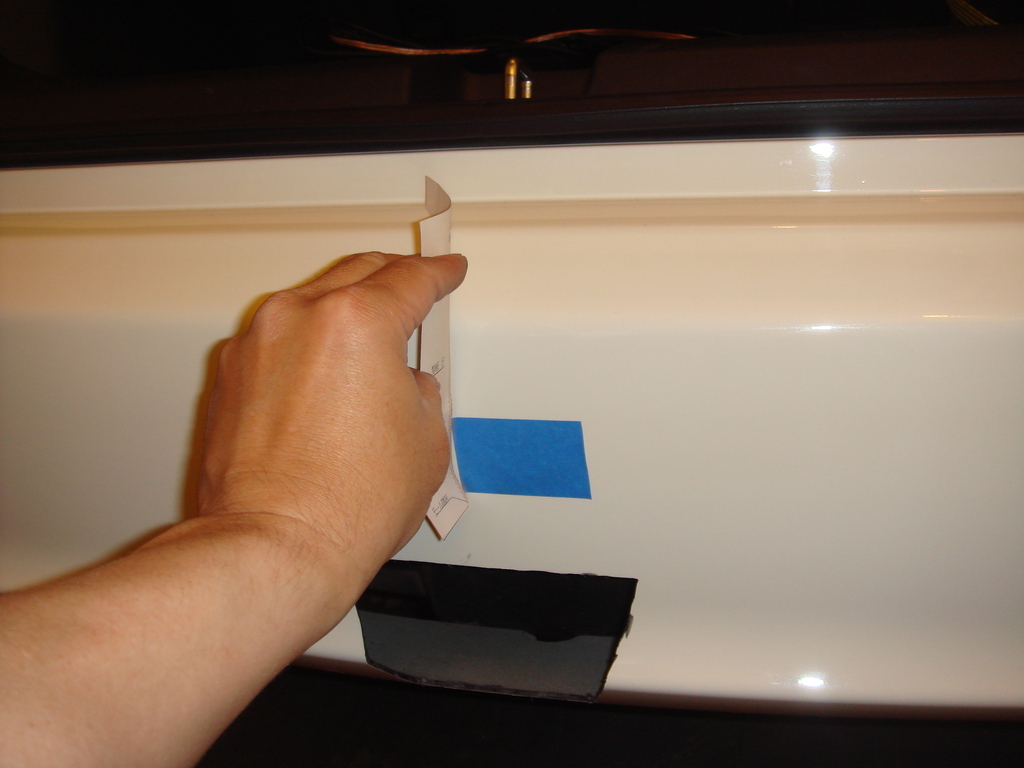
8. Stick another black tape which I don't know what for, but
since the manual told me to do it, I do it hahaha:
9. Peel off a little/end of the double tape cover and stick it out with a tape:
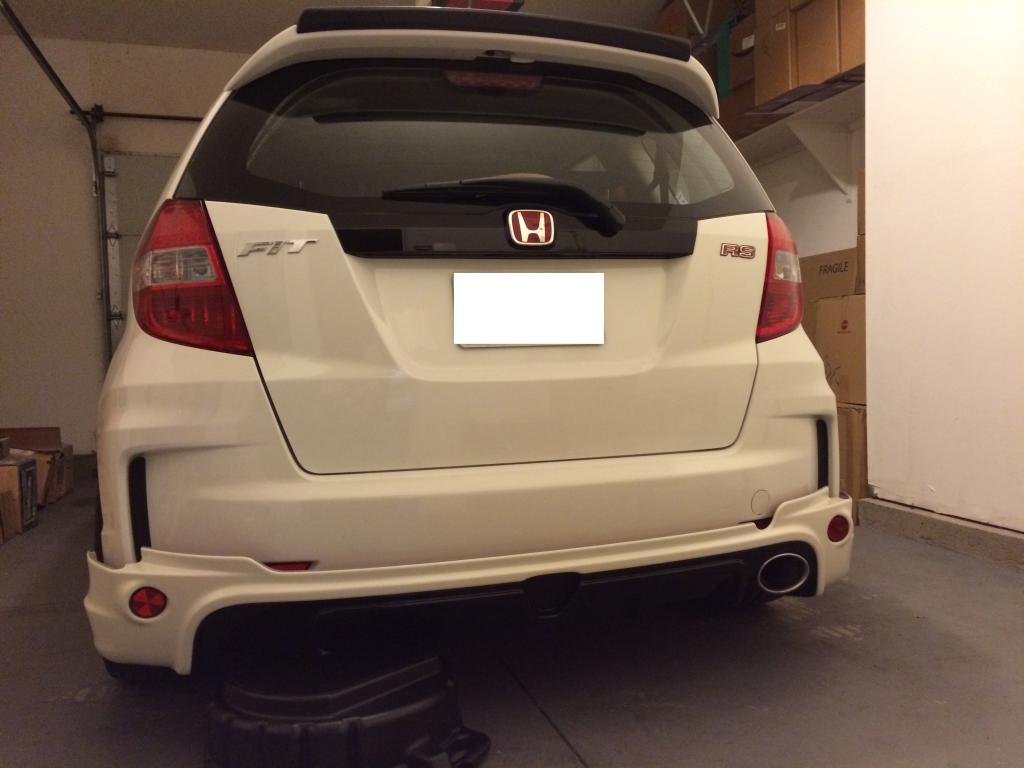
10. Install, peel of the double tape, tighten the bolt/nut and screw
and you are done
(actually there is a step where I had to open another plastic cover inside the fender so I can tighten that 2 nut on each side, but my hand was dirty so I do not take picture, but if you had gone this far, I am sure you will know what to do
1. Tape The Paper Template that came with the Installation Manual
onto the bumper:
2. Either Drill a hole or CUT a BIG HOLE
Yes, we need to cut a big hole for the LED fog light,
eventhough you don't install LED fog light,...
otherwise the Mugen Lower Under Spoiler will not fit flush...
3. Take out the LED Reflector from the JDM RS rear bumper,
since it will be hidden anyway,... (Sell it to recoup little money hahaha)
4. Clean all surface that will have double tape stick on it with Alcohol:
5. Slide the Metal Bolt into the grove:
6. take out the double tape behind the metal ring and stick it to the left and right side hole (where the bolt above will enter):
7. Measure from top and the center of bumper and mark with double tape, this to make sure the center of the Mugen Under Spoiler will be
at the right place/height:
8. Stick another black tape which I don't know what for, but
since the manual told me to do it, I do it hahaha:
9. Peel off a little/end of the double tape cover and stick it out with a tape:
10. Install, peel of the double tape, tighten the bolt/nut and screw
and you are done
(actually there is a step where I had to open another plastic cover inside the fender so I can tighten that 2 nut on each side, but my hand was dirty so I do not take picture, but if you had gone this far, I am sure you will know what to do
Last edited by BMW ALPINA; Mar 11, 2015 at 08:48 PM.


that looks great, there's nothing that fits better than Mugen or OEM Honda parts -- if that was aftermarket made in China/Taiwan it's trial and error to get anything to look right most of the time
You just need the Mugen F1 LED brake light, too bad it's ridiculous expensive, thought many aftermarket look alikes. Certain part I don't mind aftermarket if it serves the same purpose and does the job.
You just need the Mugen F1 LED brake light, too bad it's ridiculous expensive, thought many aftermarket look alikes. Certain part I don't mind aftermarket if it serves the same purpose and does the job.
I actually already try to buy the Mugen F1 style LED Fog Light (but I planned to modify it into fourth brake light), yes it is actually a fog light...
I try 3 different store at Rakuten Japan and all of them refuse foreign issue credit card. I had around $125 worth of bonus point at Rakuten Japan that I plan to use so it should help the cost damage hahaha...
but since they refuse,
and my bonus point about to expired,
I decided to just order J's Racing Larger Brake Master Cylinder instead
so I can utilize those bonus point.
I still plan to get the Mugen LED fog light later in the future when my cash flow permit me,
also I need to get the JDM Fit RS Mugen side skirt to complete my outside looks modification,
after that, I think I am done with the exterior
Thanks again.

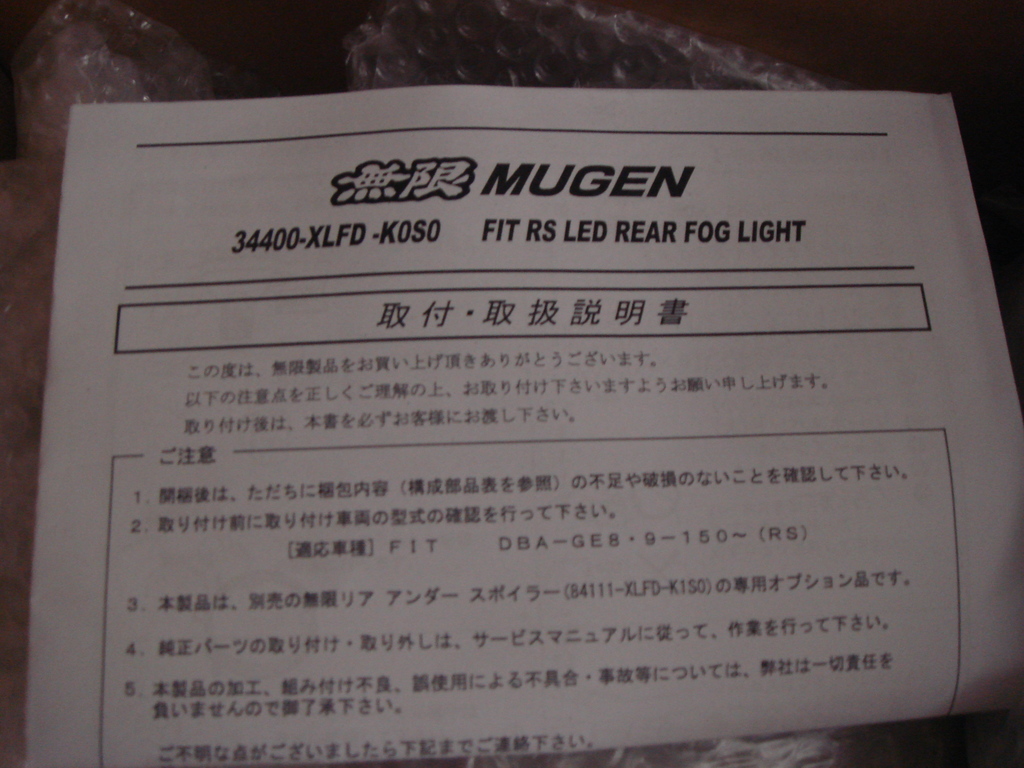
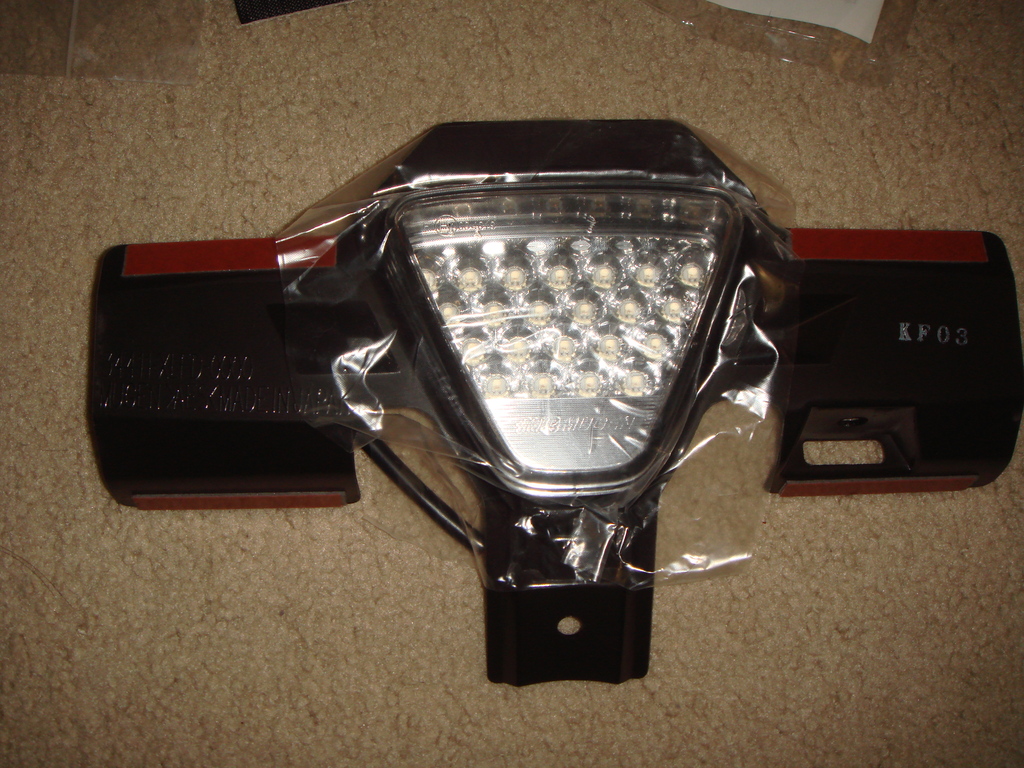
My JDM Fit RS Mugen LED Rear Fog Light finally arrived today,
I look briefly at the confusing installation manual (in Japanese only),
and I think this could be a very hard install...
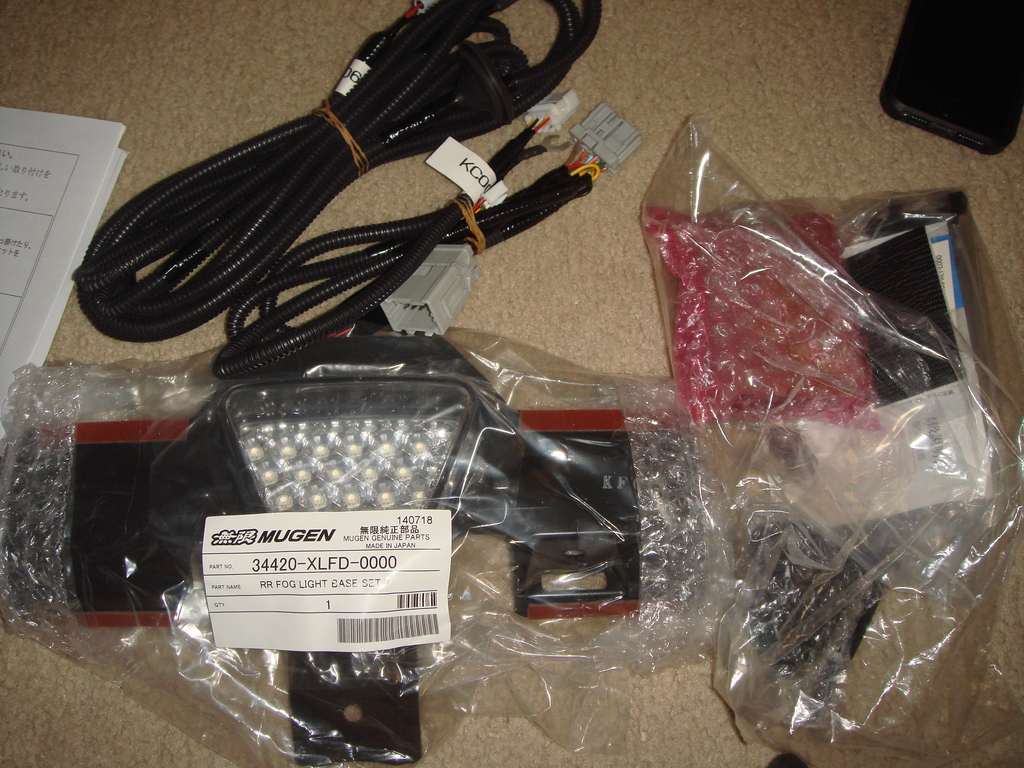
I look briefly at the confusing installation manual (in Japanese only),
and I think this could be a very hard install...
Last edited by BMW ALPINA; Apr 16, 2015 at 02:55 AM.

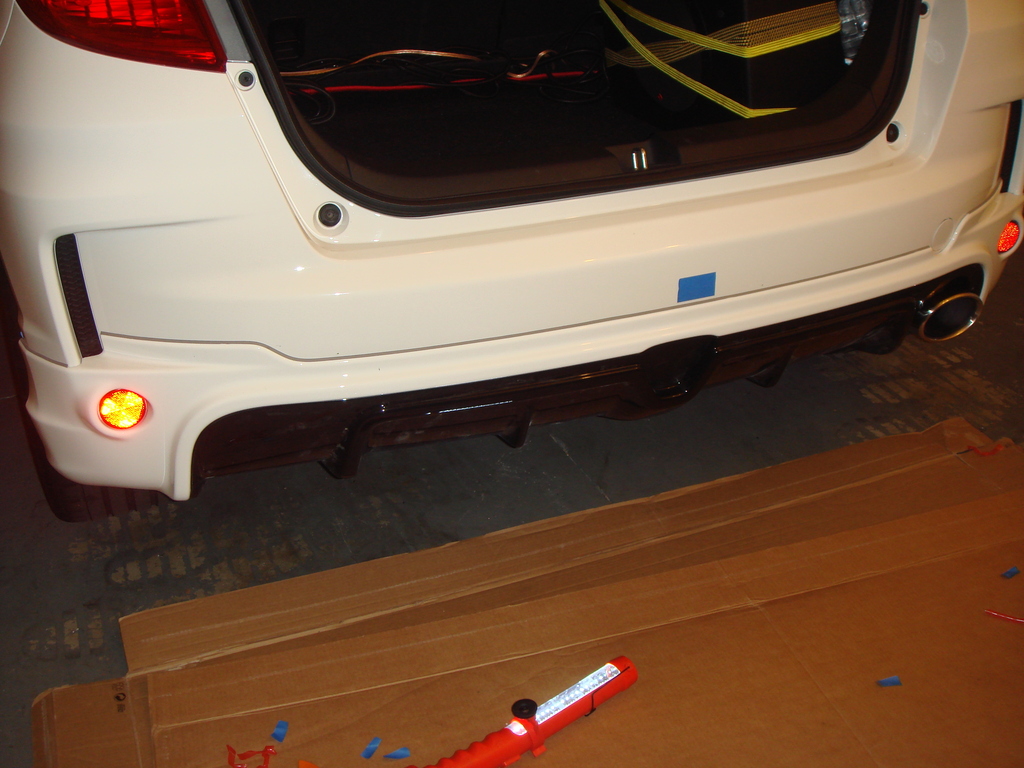
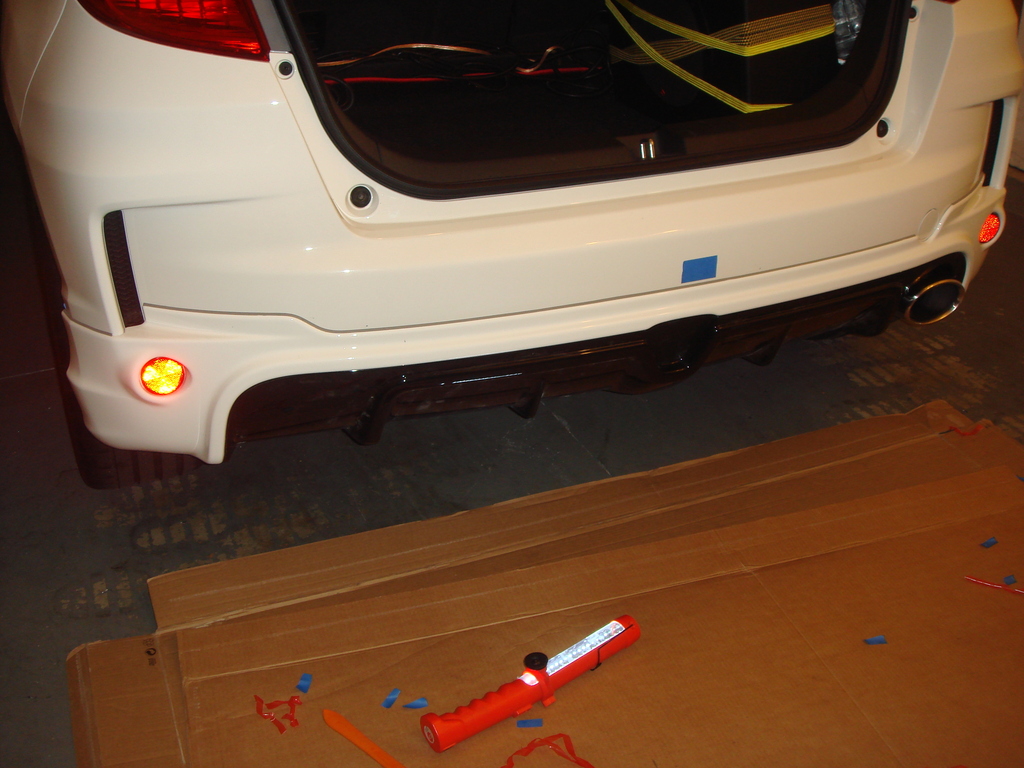
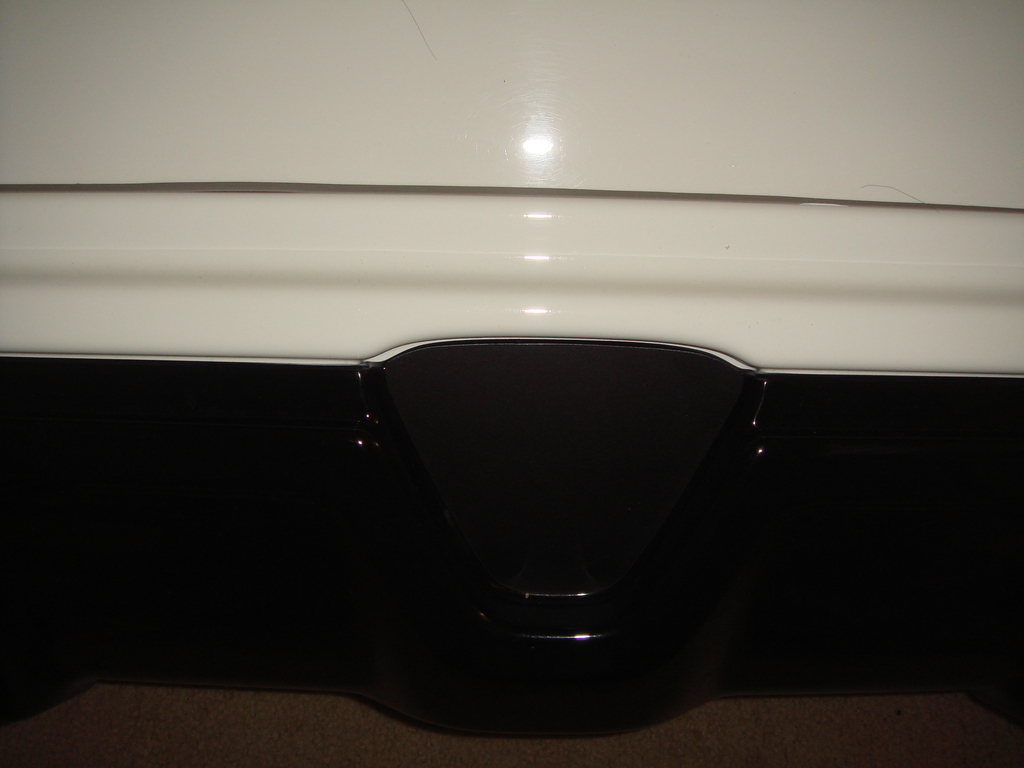
I finally finished installing the JDM Fit RS Mugen Rear LED Fog Light today,
but I CONVERT it into Fourth Brake Light
Here are the DIY:
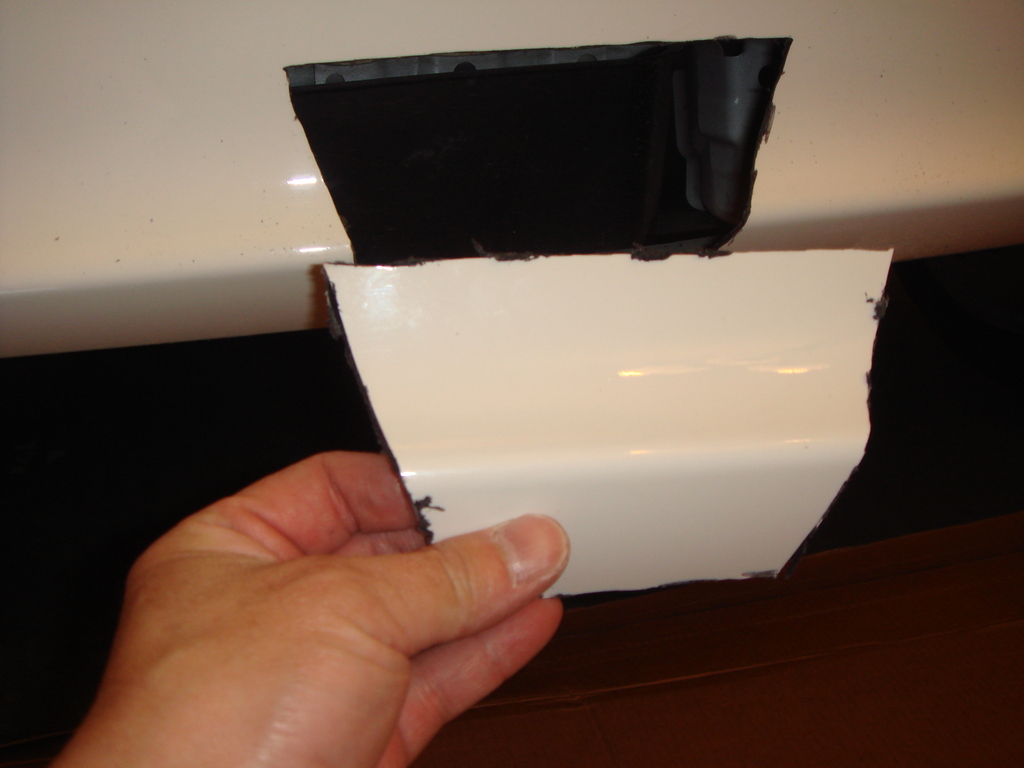
Take off the Bumper from the car,
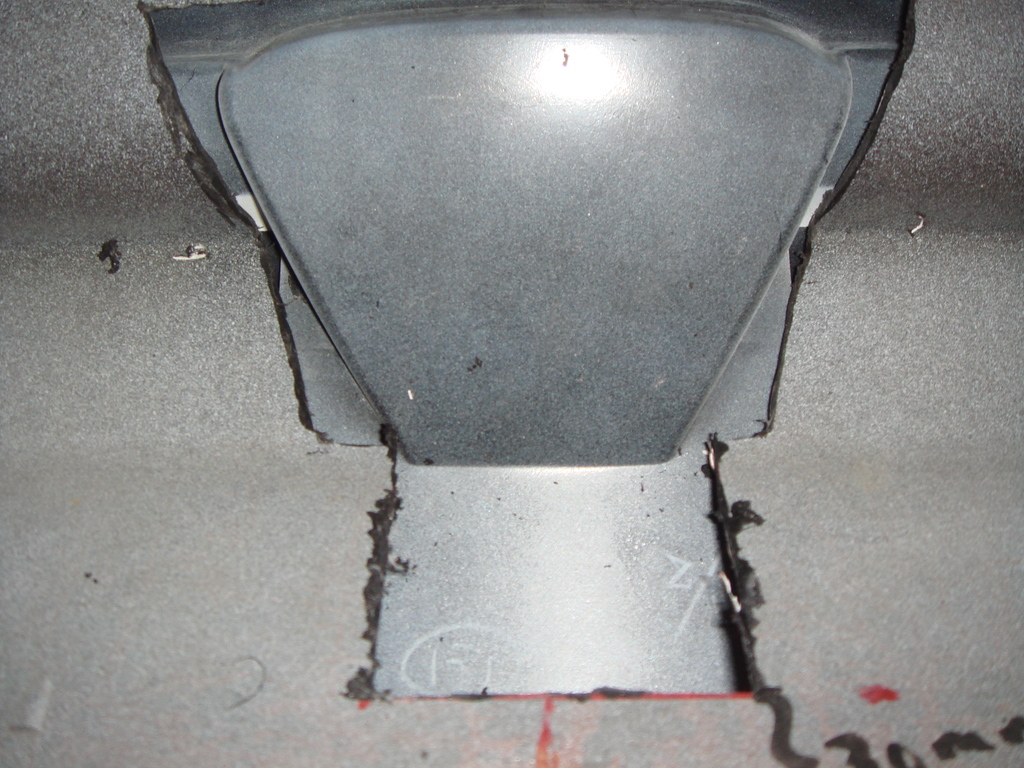
The Triangle part on the Mugen Under Spoiler had another triangle plastic
cover, I took of this cover only to find there is no hole behind it,
so I still need to dremel it.
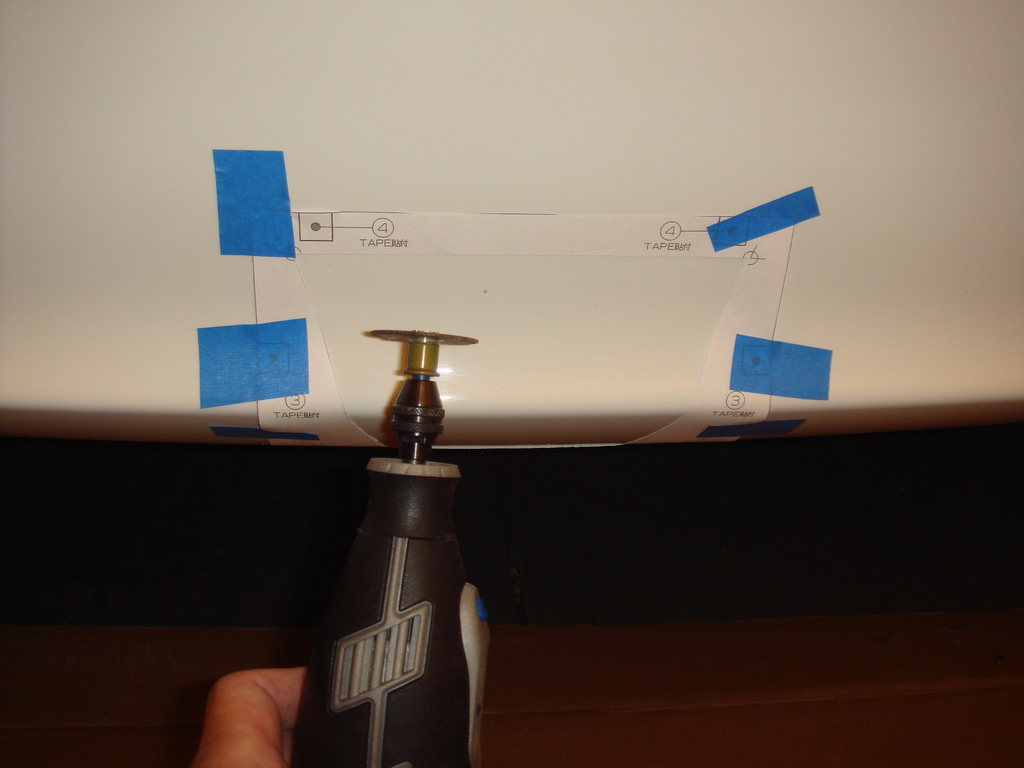
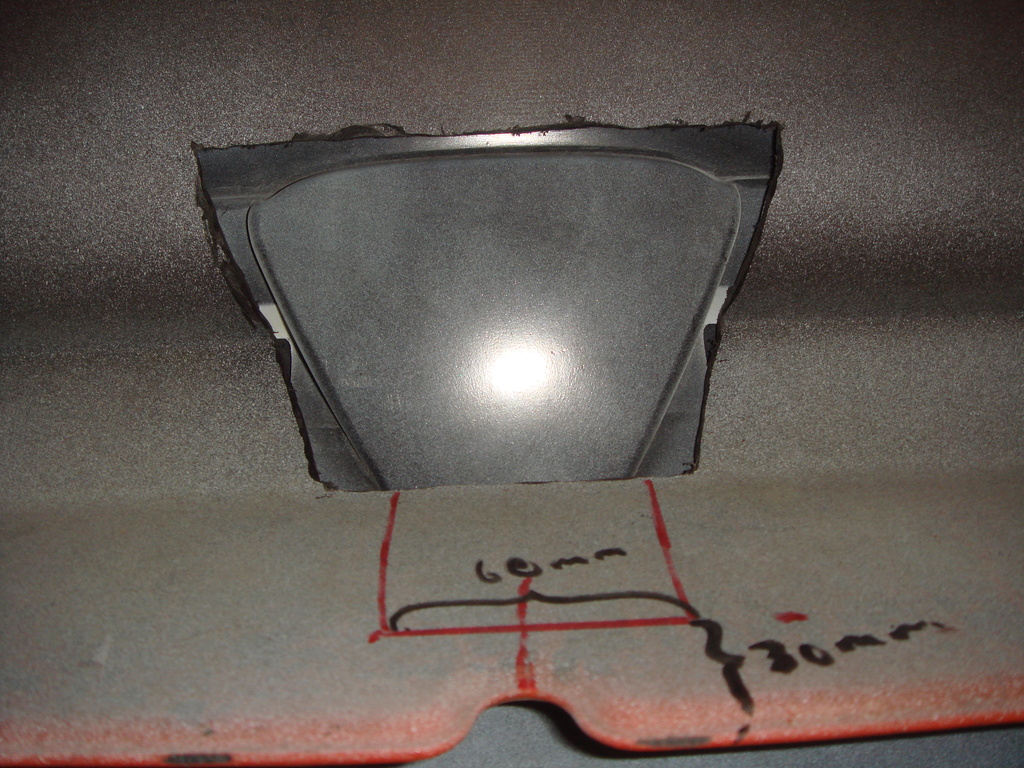
Now, using the guidance from the install manual (which is confusing
since it is in Japanese), we need to make a rectangular cut on the rear
side of the bumper (I marked it using red marker) and later I dremel it:
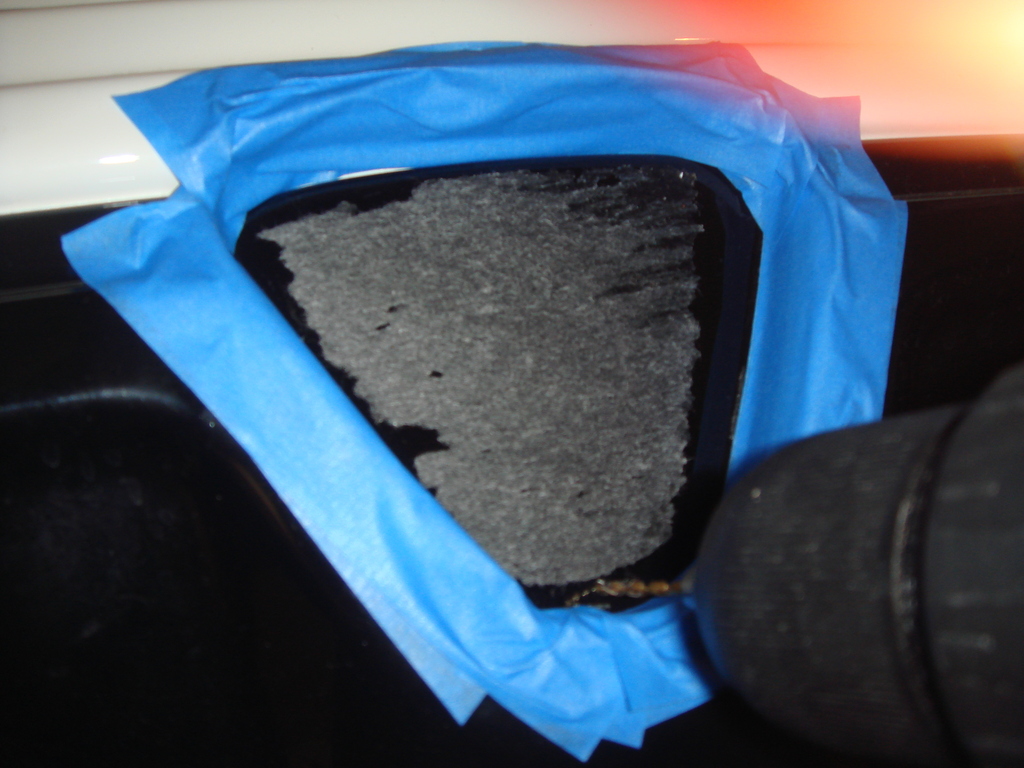
Now we need to put masking tape (several layer) on the front side of the triangle area, so just in case the dremel and drill bit missed, it would not
scratch the shiny black surface.
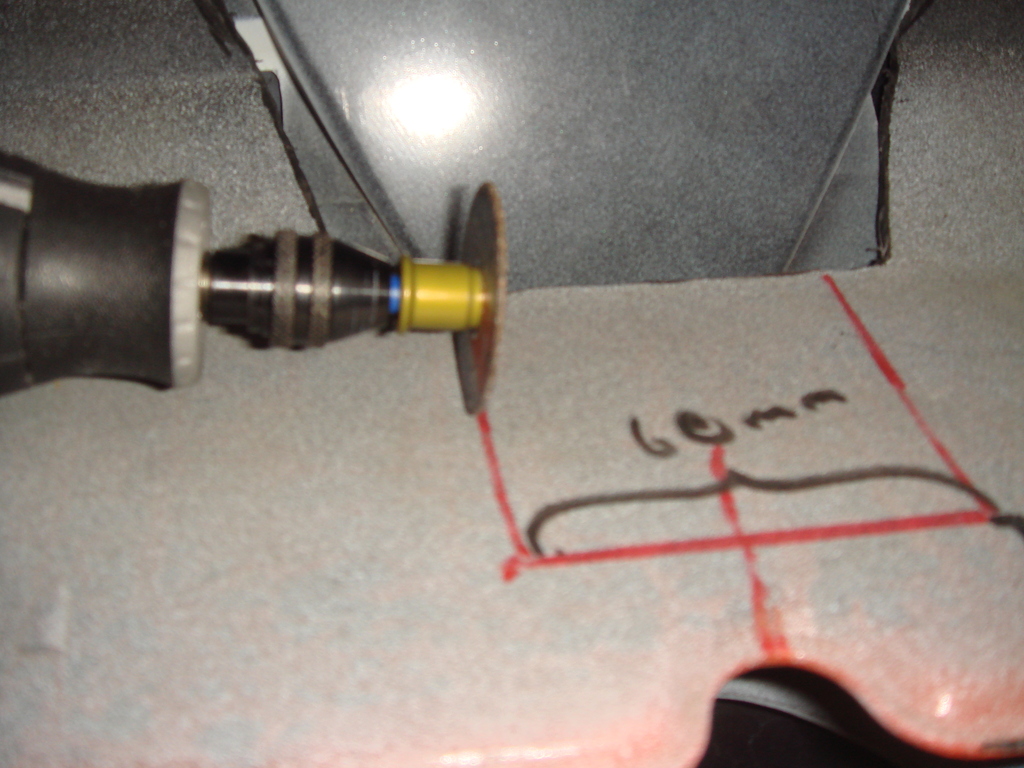
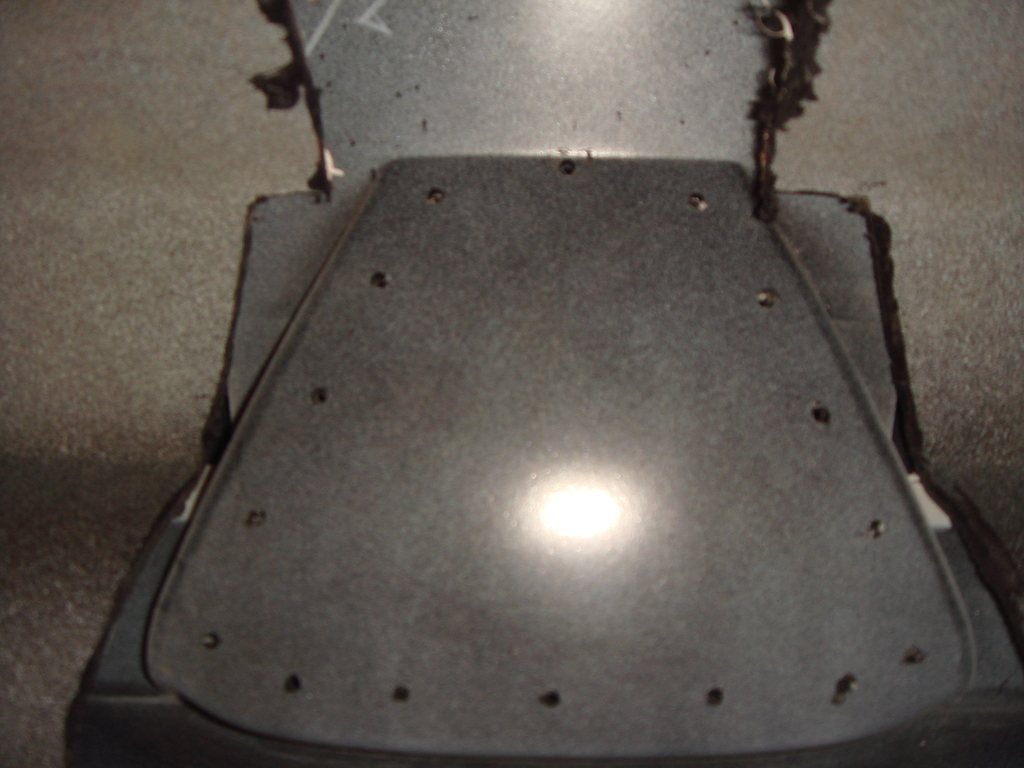
Next, I use small drill bit to drill around the outer perimeter of the triagle,
this show we now the border where I can dremel.
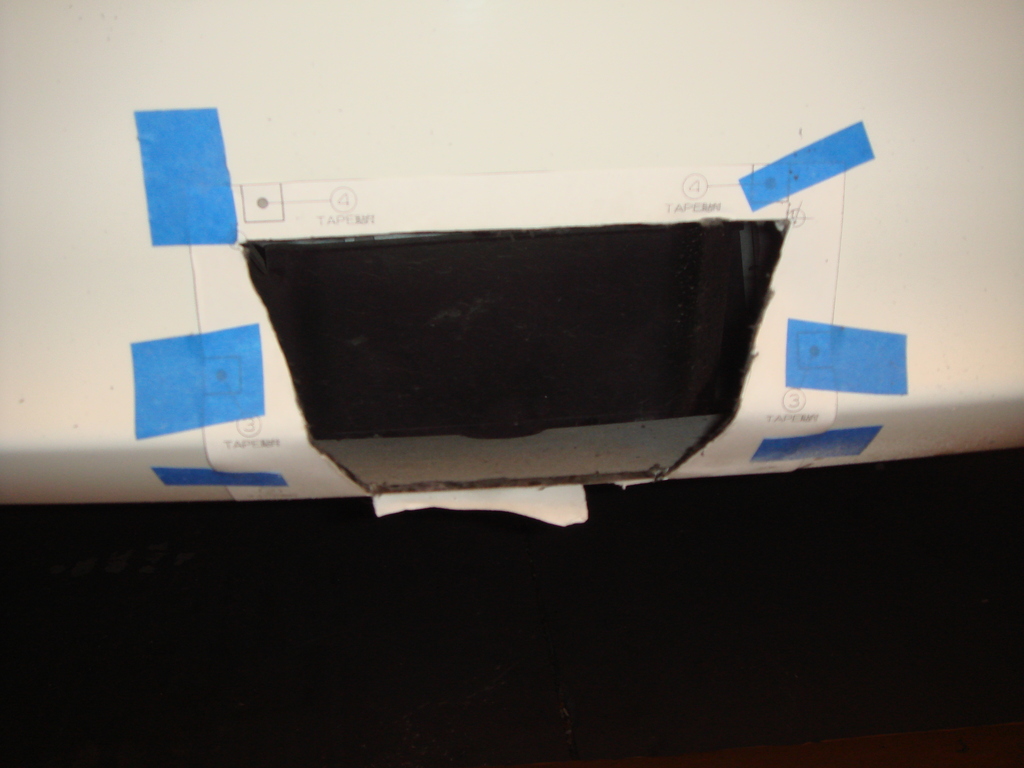
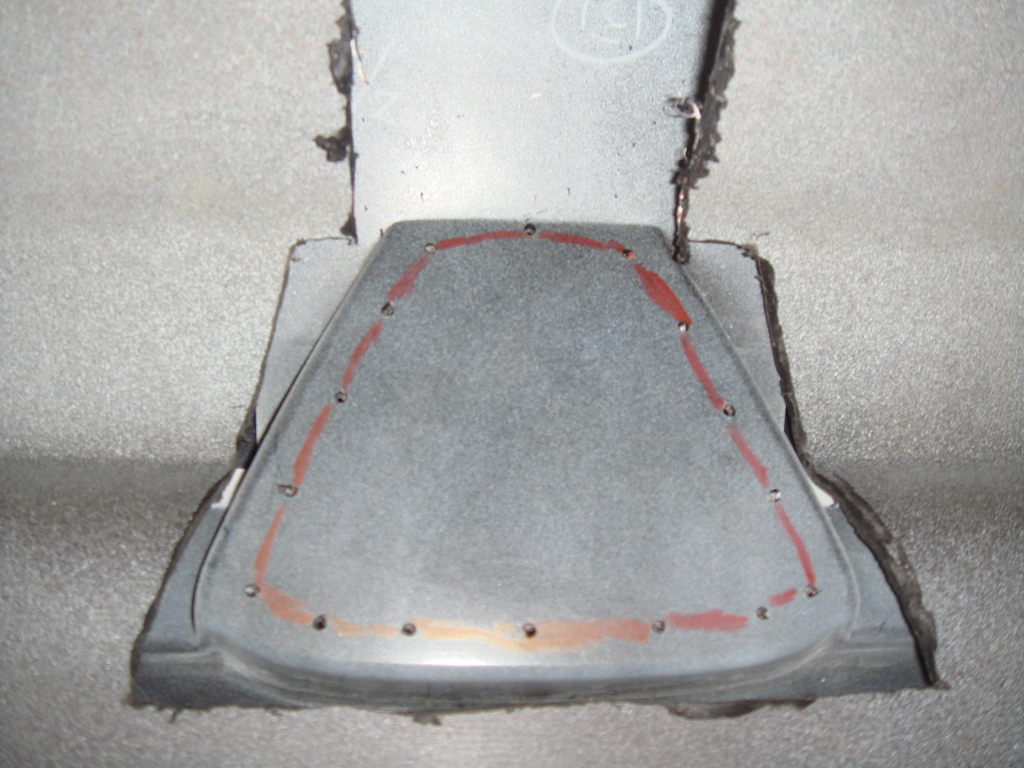
Marked it with red marker then dremel away:
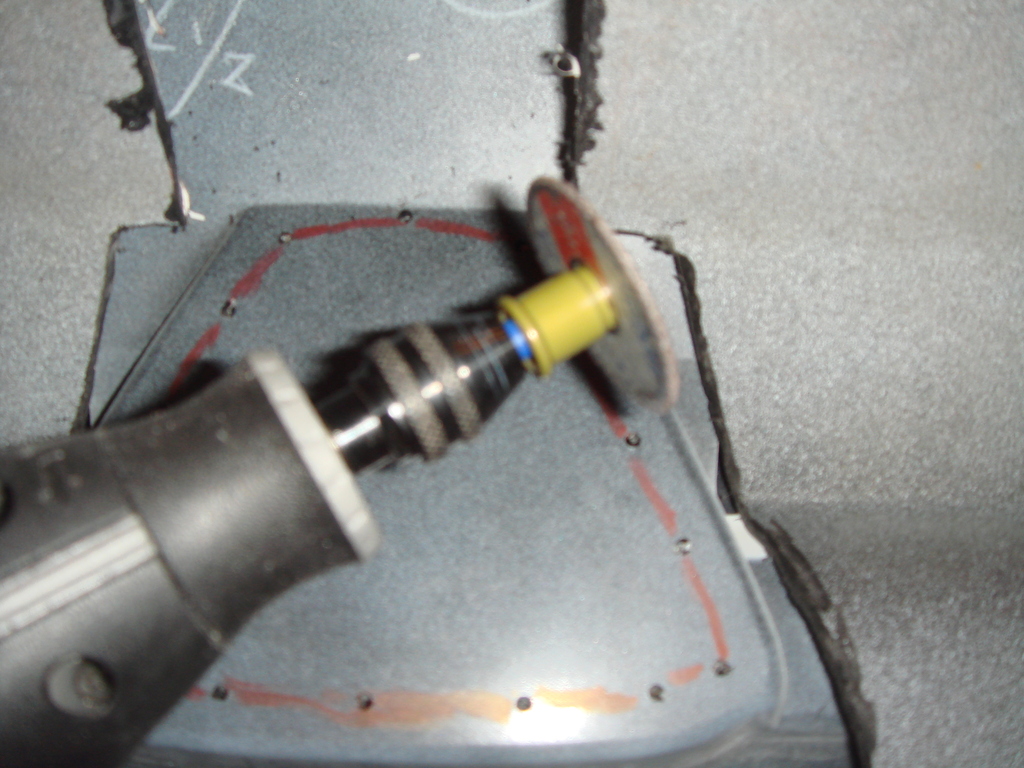
trim the edges with different dremel bit:
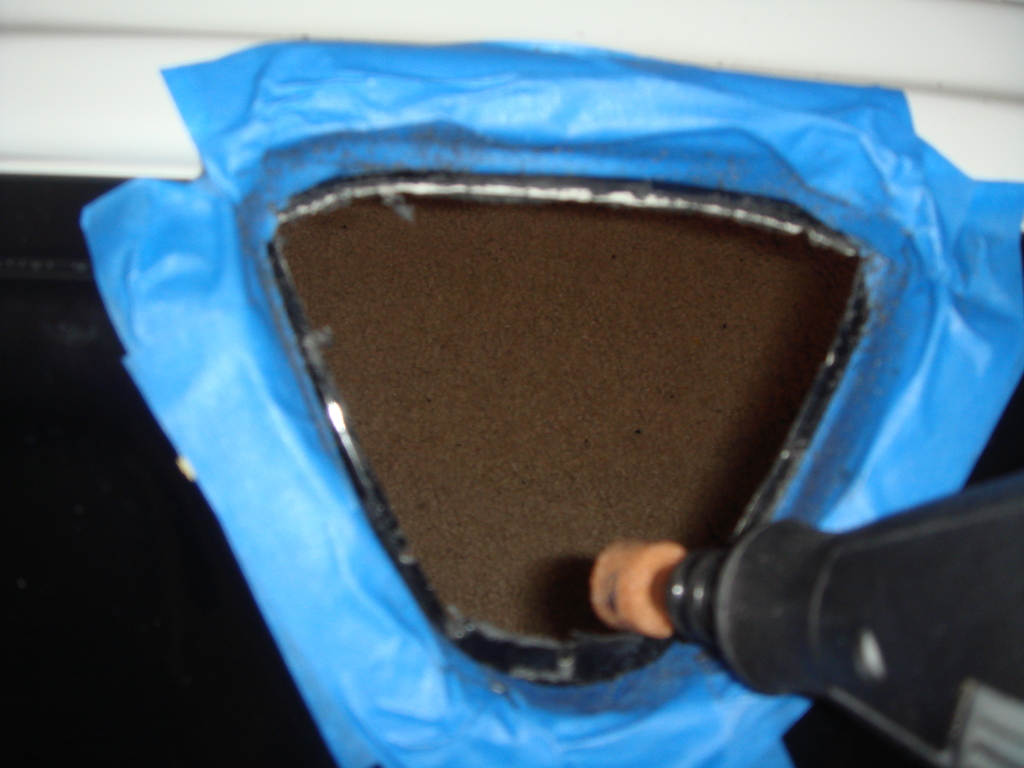
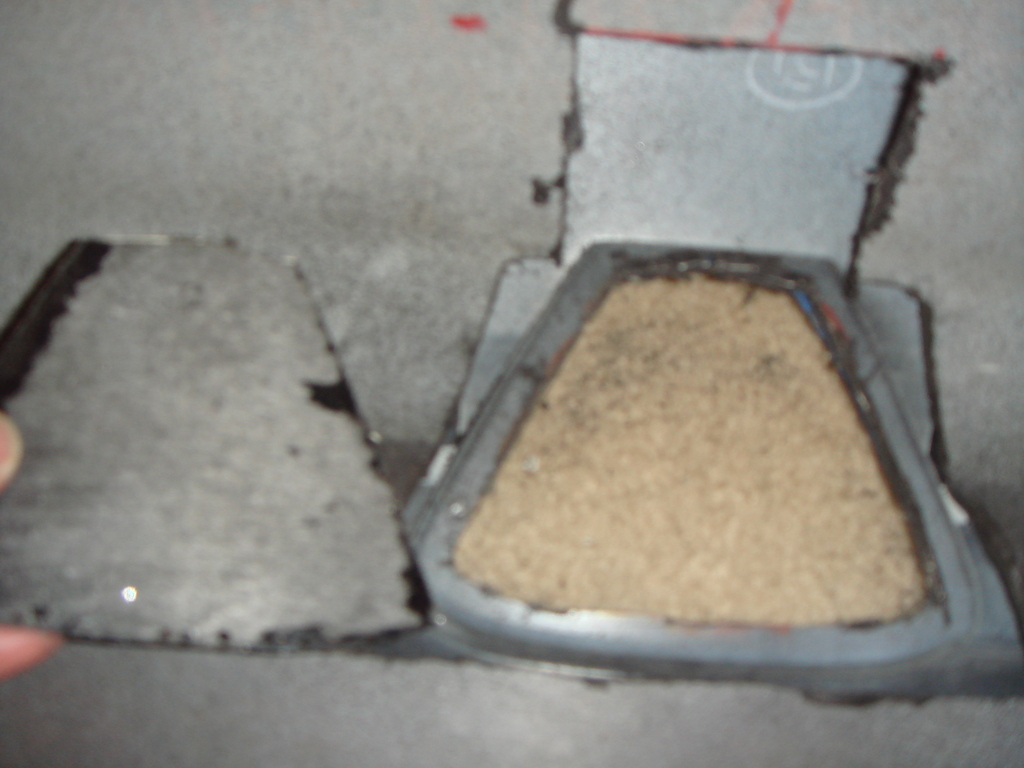
remove the masking tape and inspect the hole:
but I CONVERT it into Fourth Brake Light
Here are the DIY:
Take off the Bumper from the car,
The Triangle part on the Mugen Under Spoiler had another triangle plastic
cover, I took of this cover only to find there is no hole behind it,
so I still need to dremel it.
Now, using the guidance from the install manual (which is confusing
since it is in Japanese), we need to make a rectangular cut on the rear
side of the bumper (I marked it using red marker) and later I dremel it:
Now we need to put masking tape (several layer) on the front side of the triangle area, so just in case the dremel and drill bit missed, it would not
scratch the shiny black surface.
Next, I use small drill bit to drill around the outer perimeter of the triagle,
this show we now the border where I can dremel.
Marked it with red marker then dremel away:
trim the edges with different dremel bit:
remove the masking tape and inspect the hole: