When you click on links to various merchants on this site and make a purchase, this can result in this site earning a commission. Affiliate programs and affiliations include, but are not limited to, the eBay Partner Network.
Both Mike Mason and Rusty at Safety Restore were always very responsive to my inquiry via email or text message. I asked them to send me pictures of the Porsche Yellow color so I can see the color and texture of the webbing and they send it right away.
They also manage to do 1 day turn around meaning my seat belt was done in the same day it arrived at their facility.
They currently had promotion going on since they just move to new address for 15% of the entire total/order plus free return shipping using USPS Priority mail !
I really recommend their service, their price is much cheaper than the other vendor that can do this webbing changes.
Ok here are the DIY:
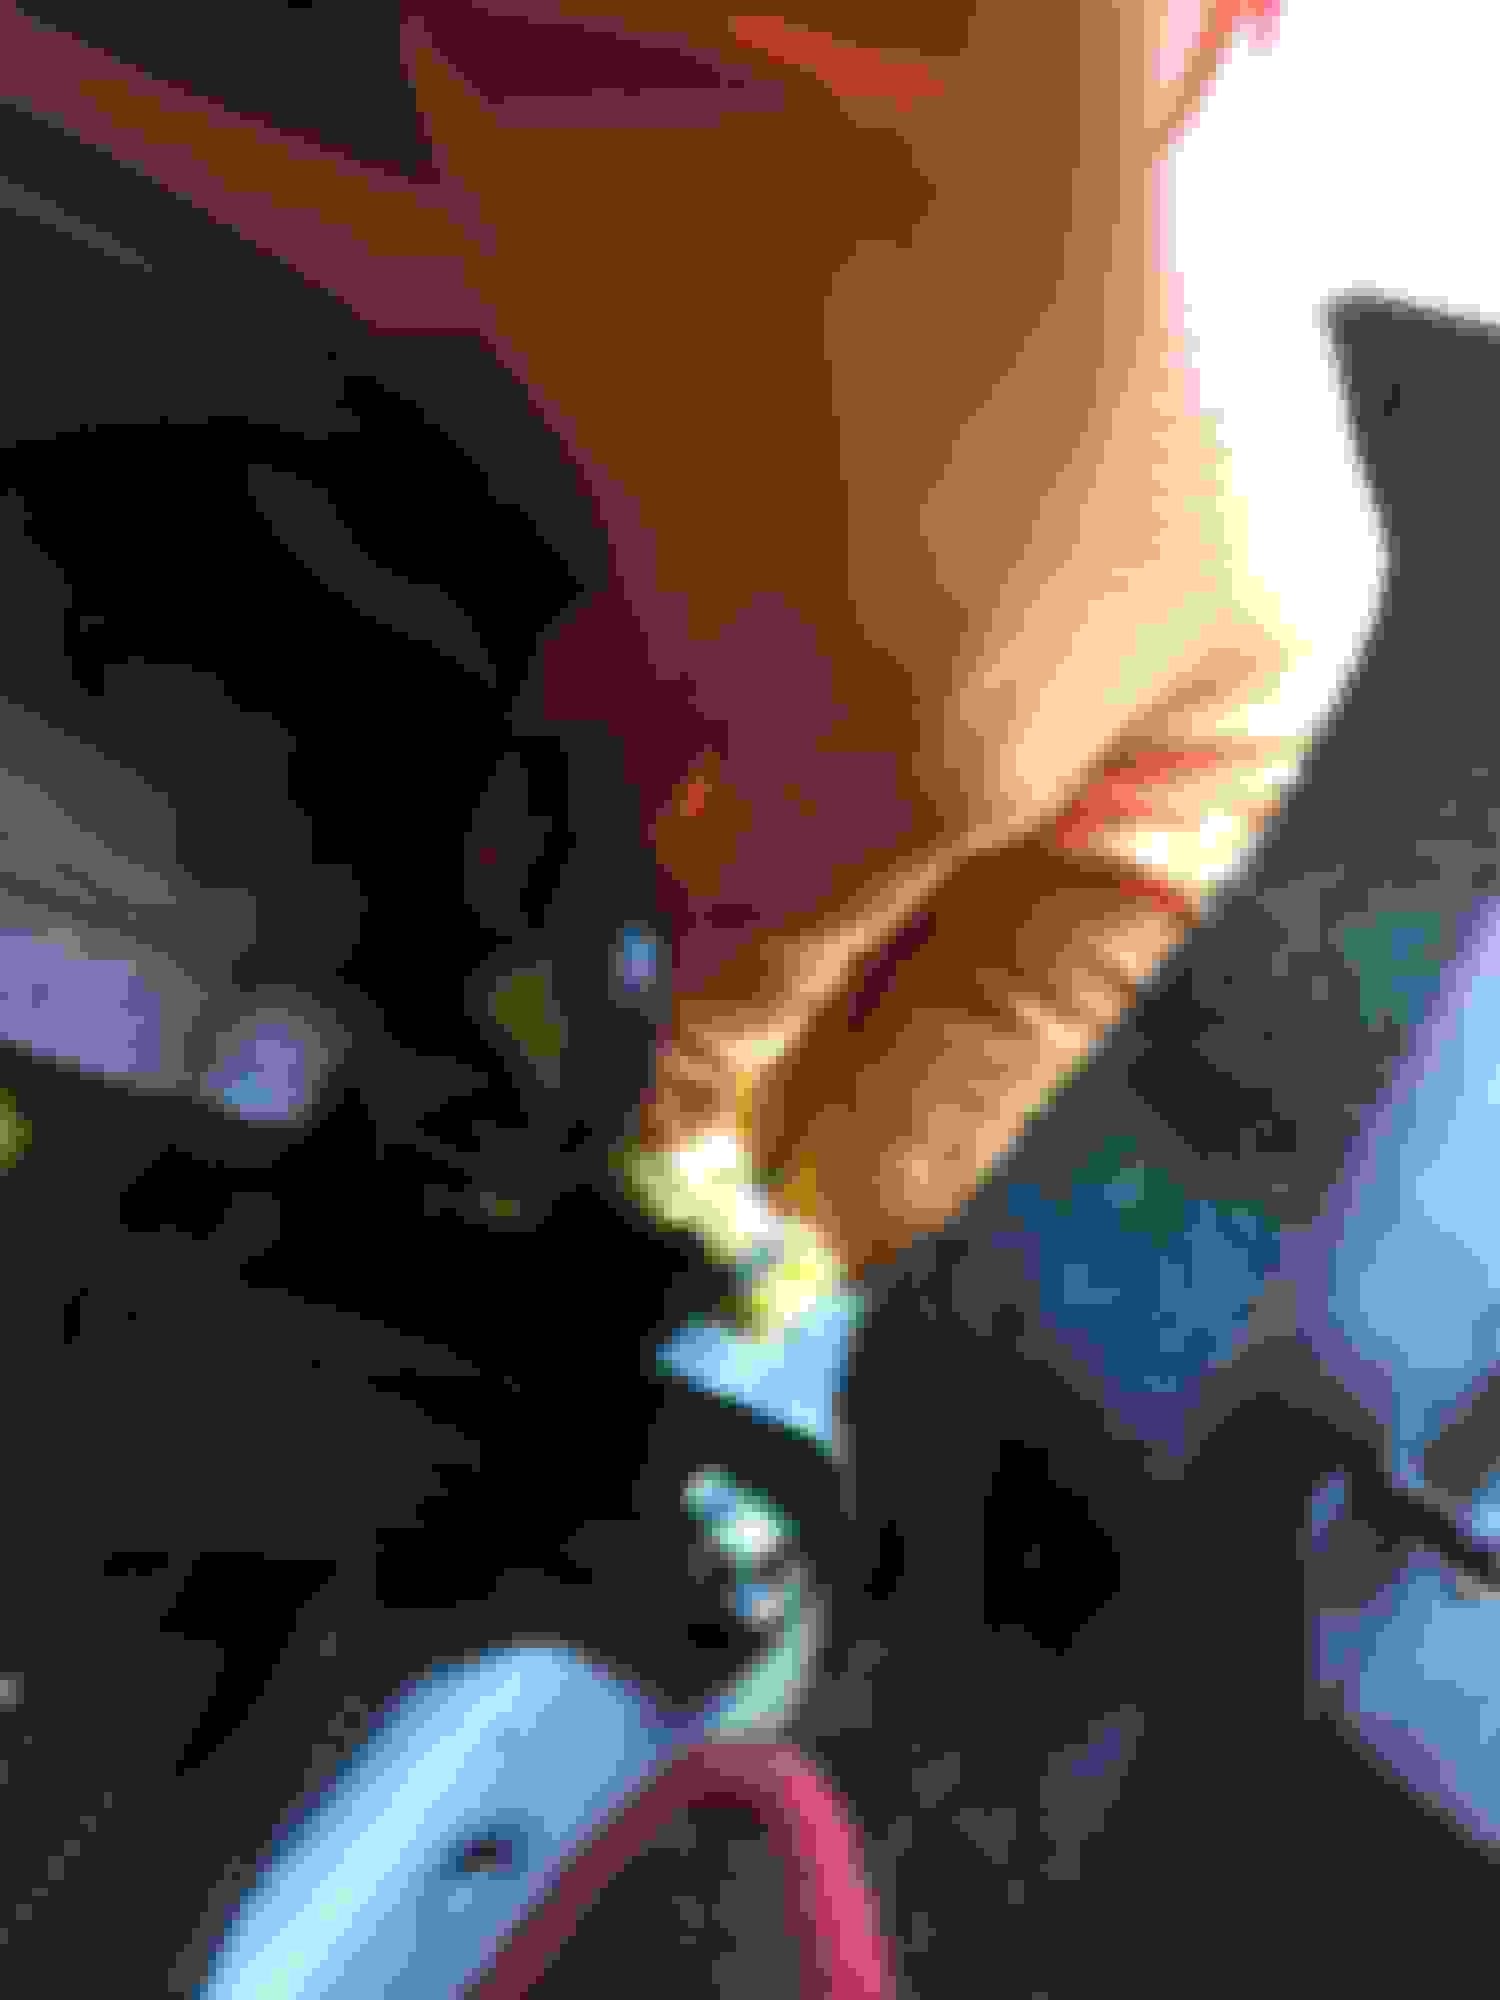
I forgot to take many pictures when I took off the seat belt,
but I took detailed steps by steps picture when I install the now Porsche Yellow seat belts , so just use it as reference (in reverse step) to take out the OEM Honda seat belt.
Ok First, make sure you disconnect the Negative terminal of your battery before you start and wait 3 minutes for the entire system to discharge,
this will prevent accidental airbag deployment.
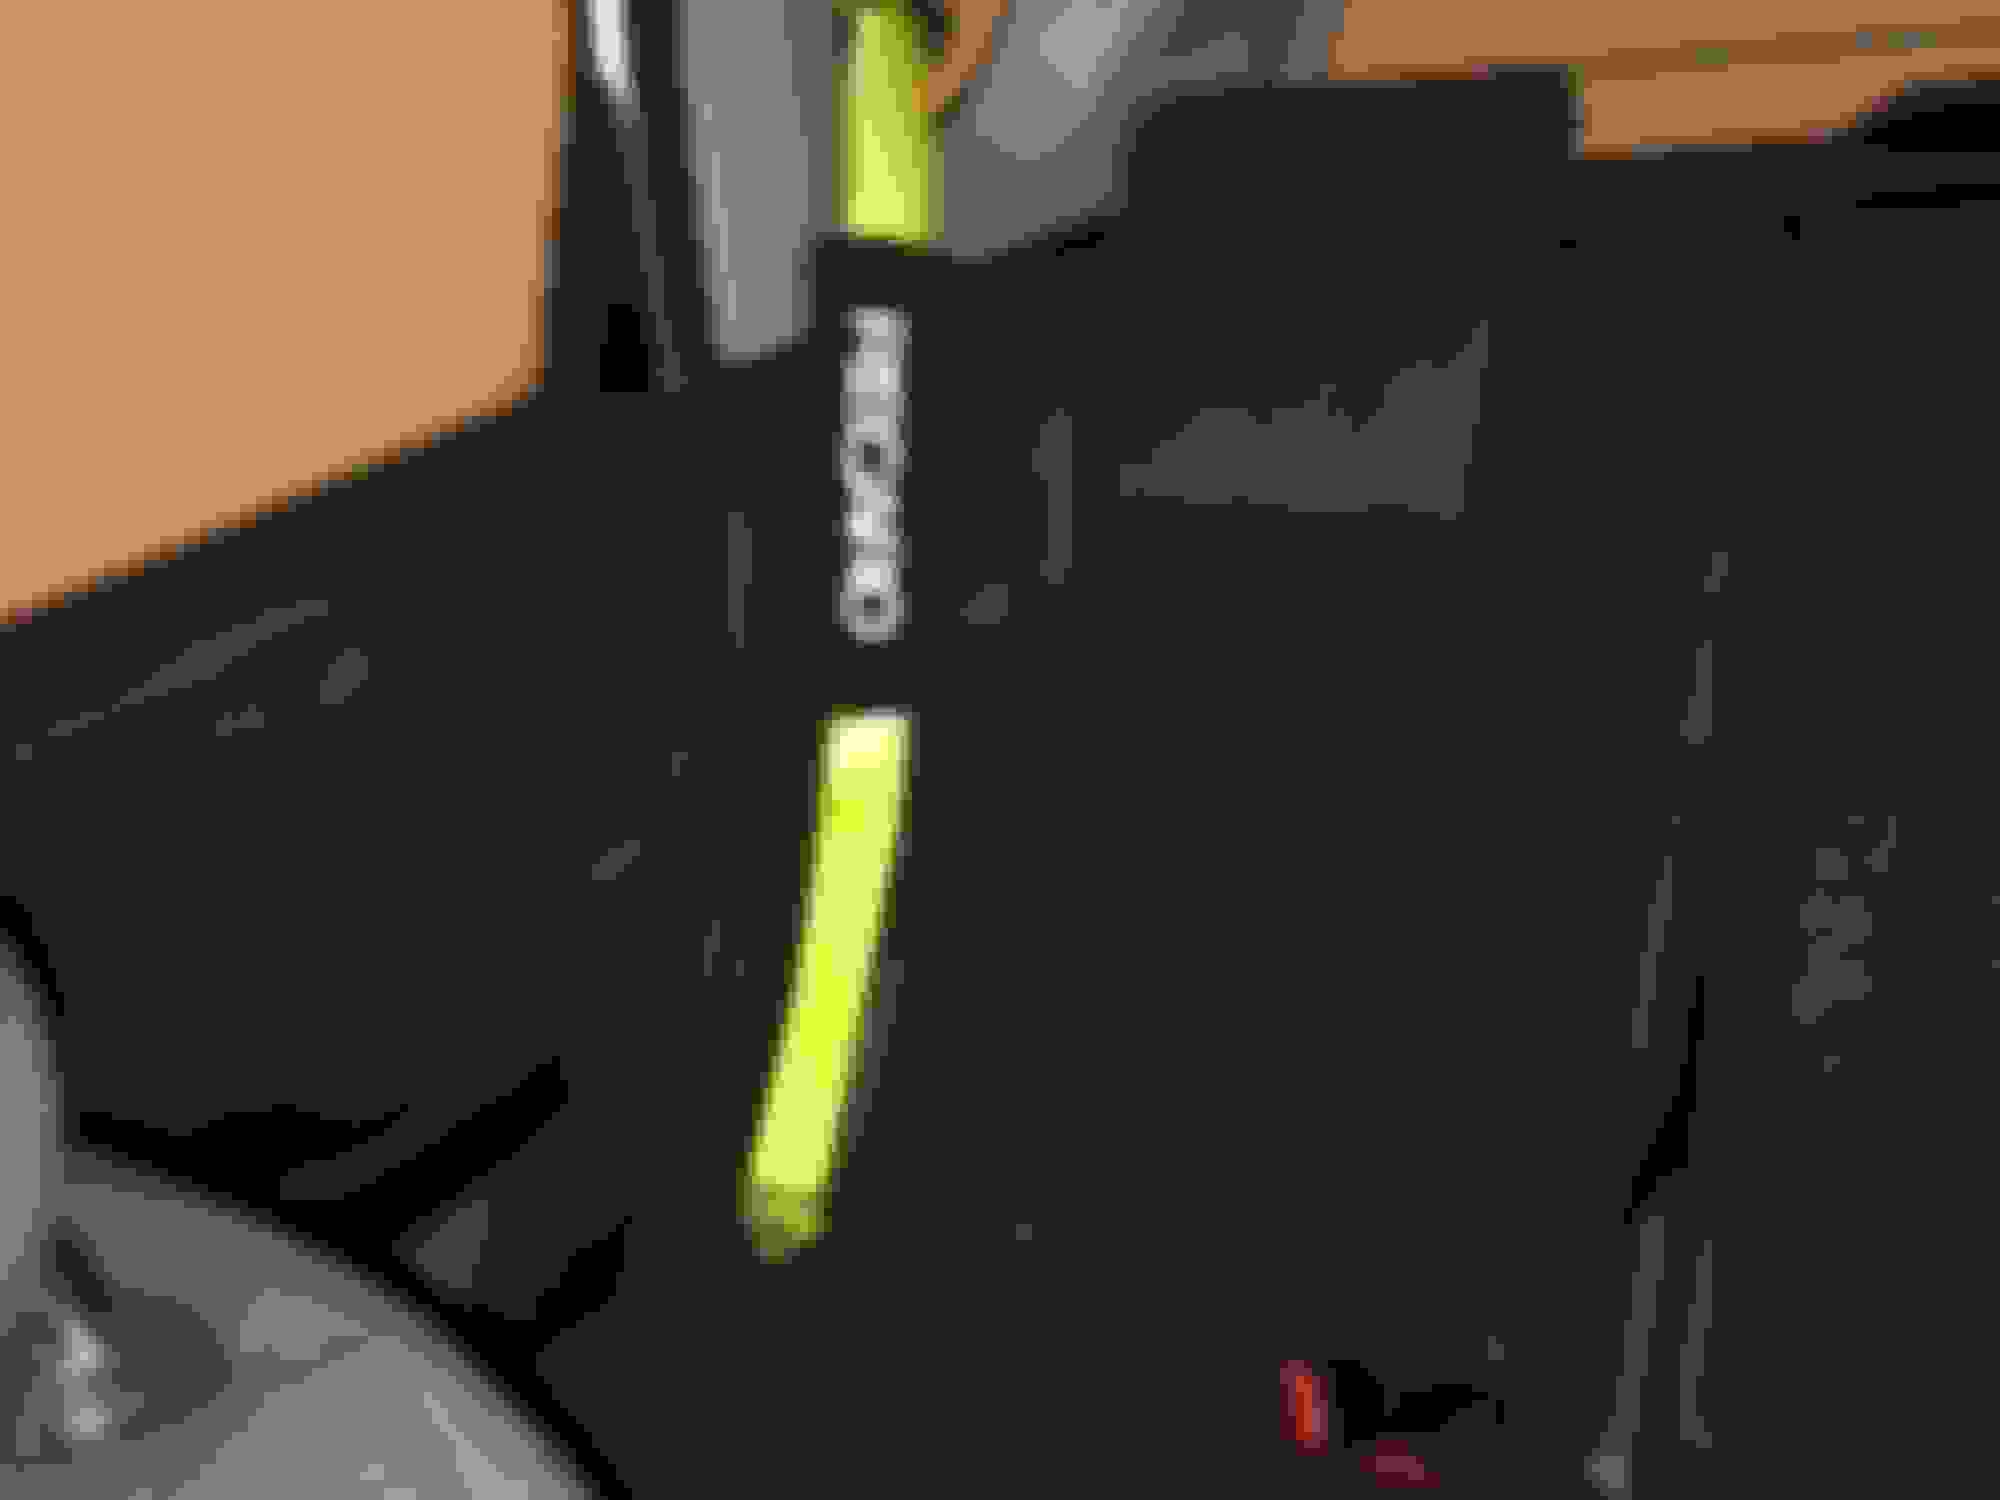
All Seat Belts came in USPS Priority Mail and packed well:
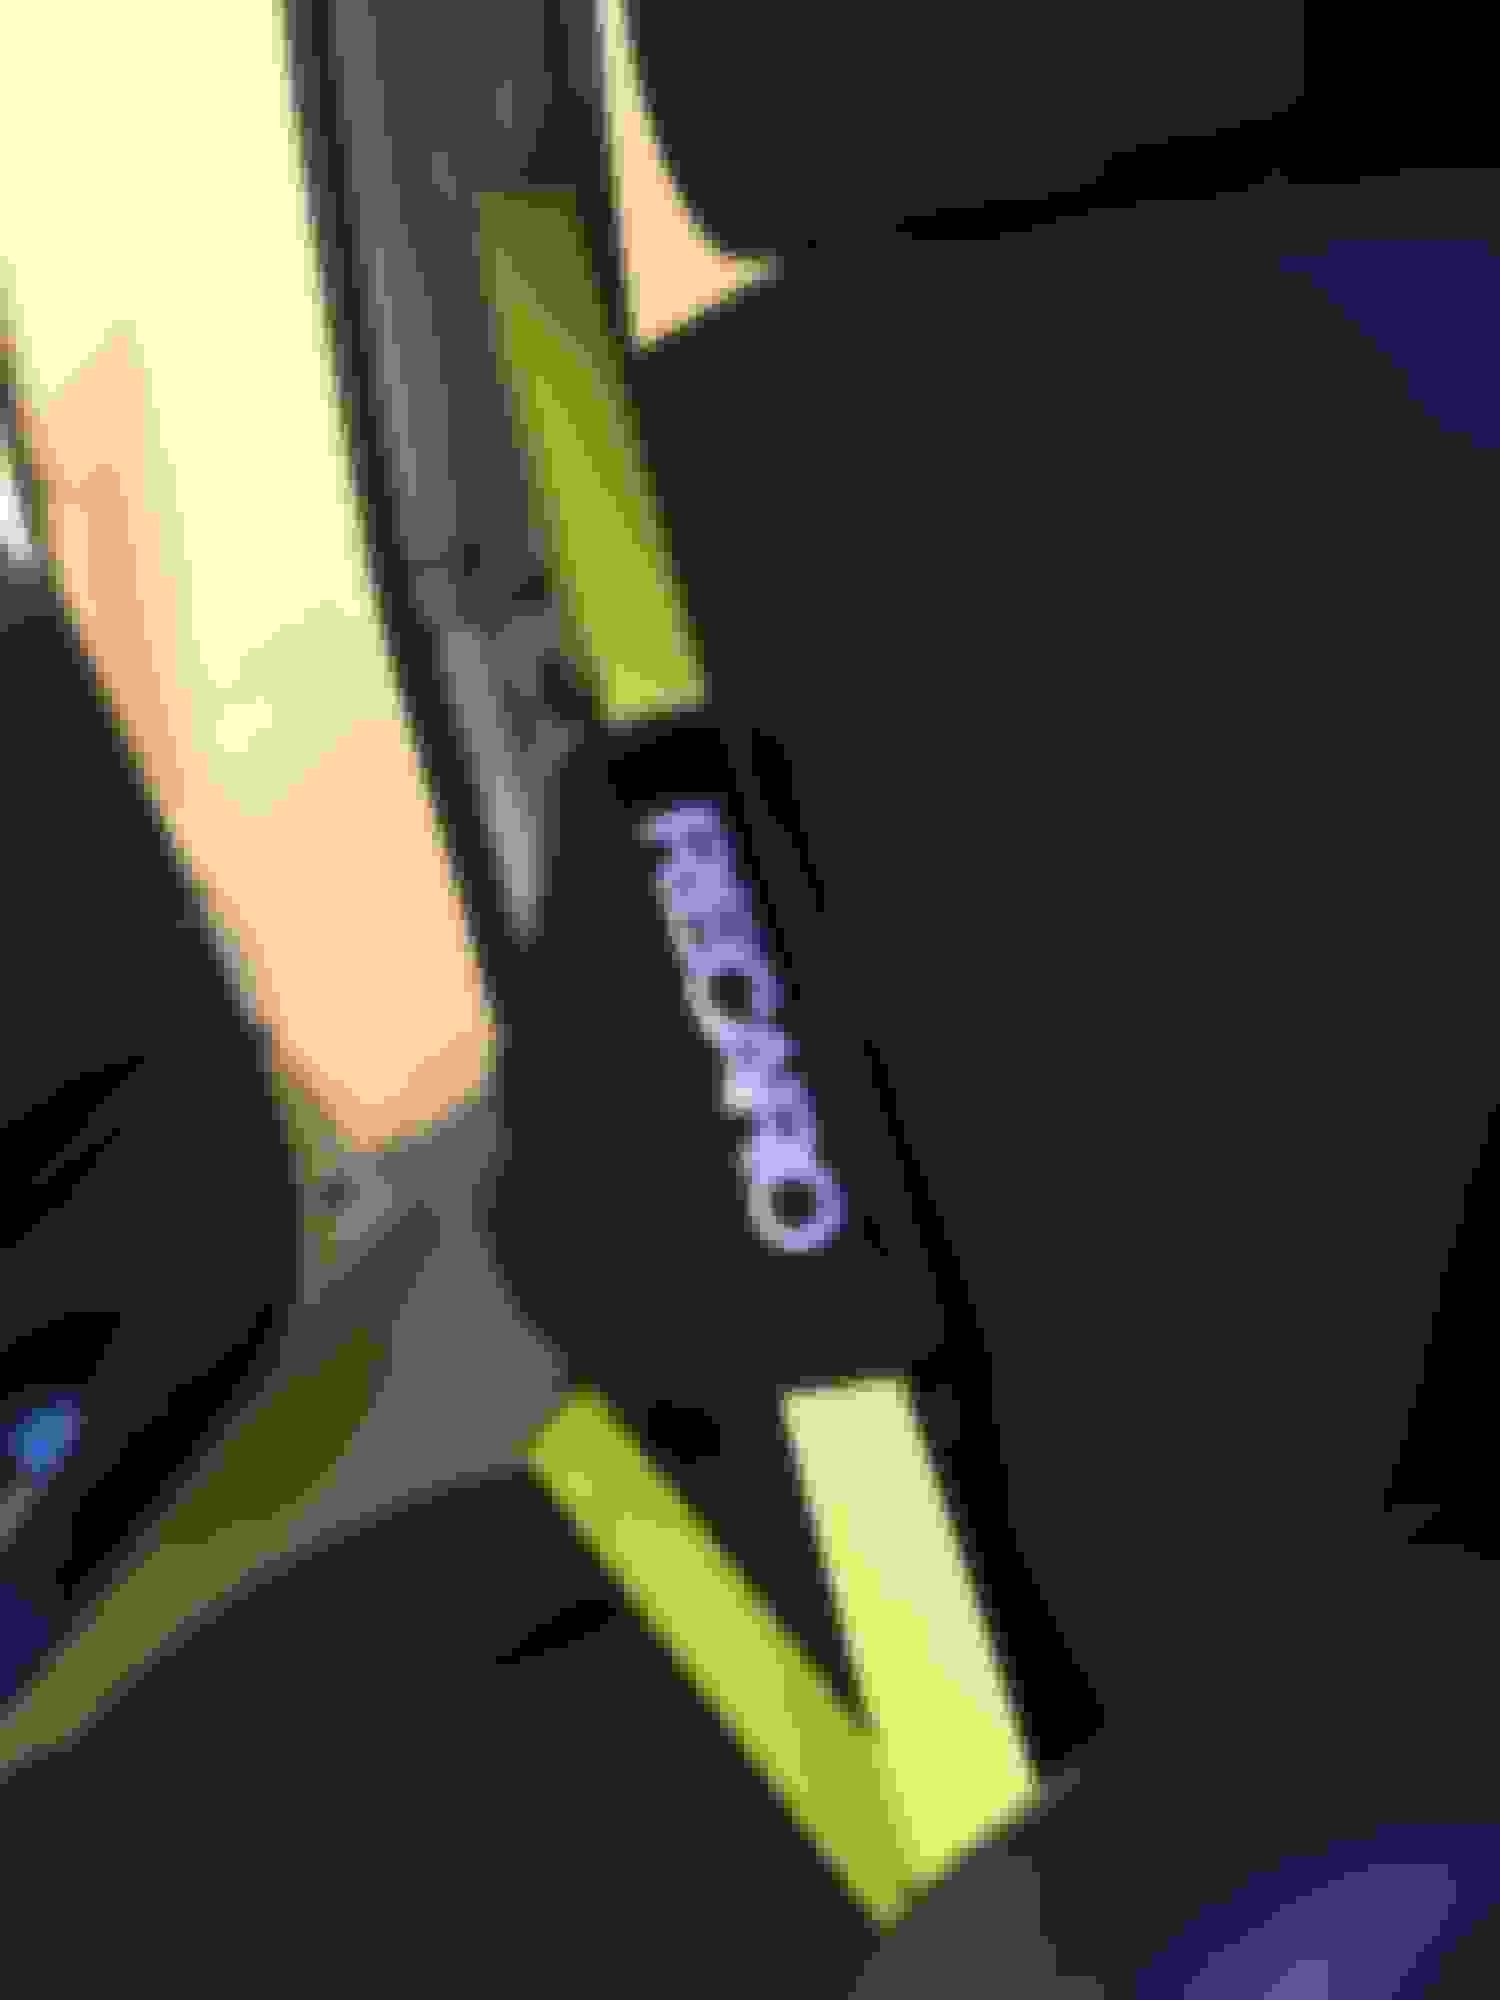
All original label from the OEM Honda seat belt were reattached to the new Yellow Webbing:
Apply Loctite Medium Strength (BLUE)
install the LOWER Big Bolt that hold the Front Seat Belt housing unit
and tighten it to 32nm with torque wrench
then install the smaller bolt on the top part of the seat belt unit
and tighten it to 4nm with torque wrench:
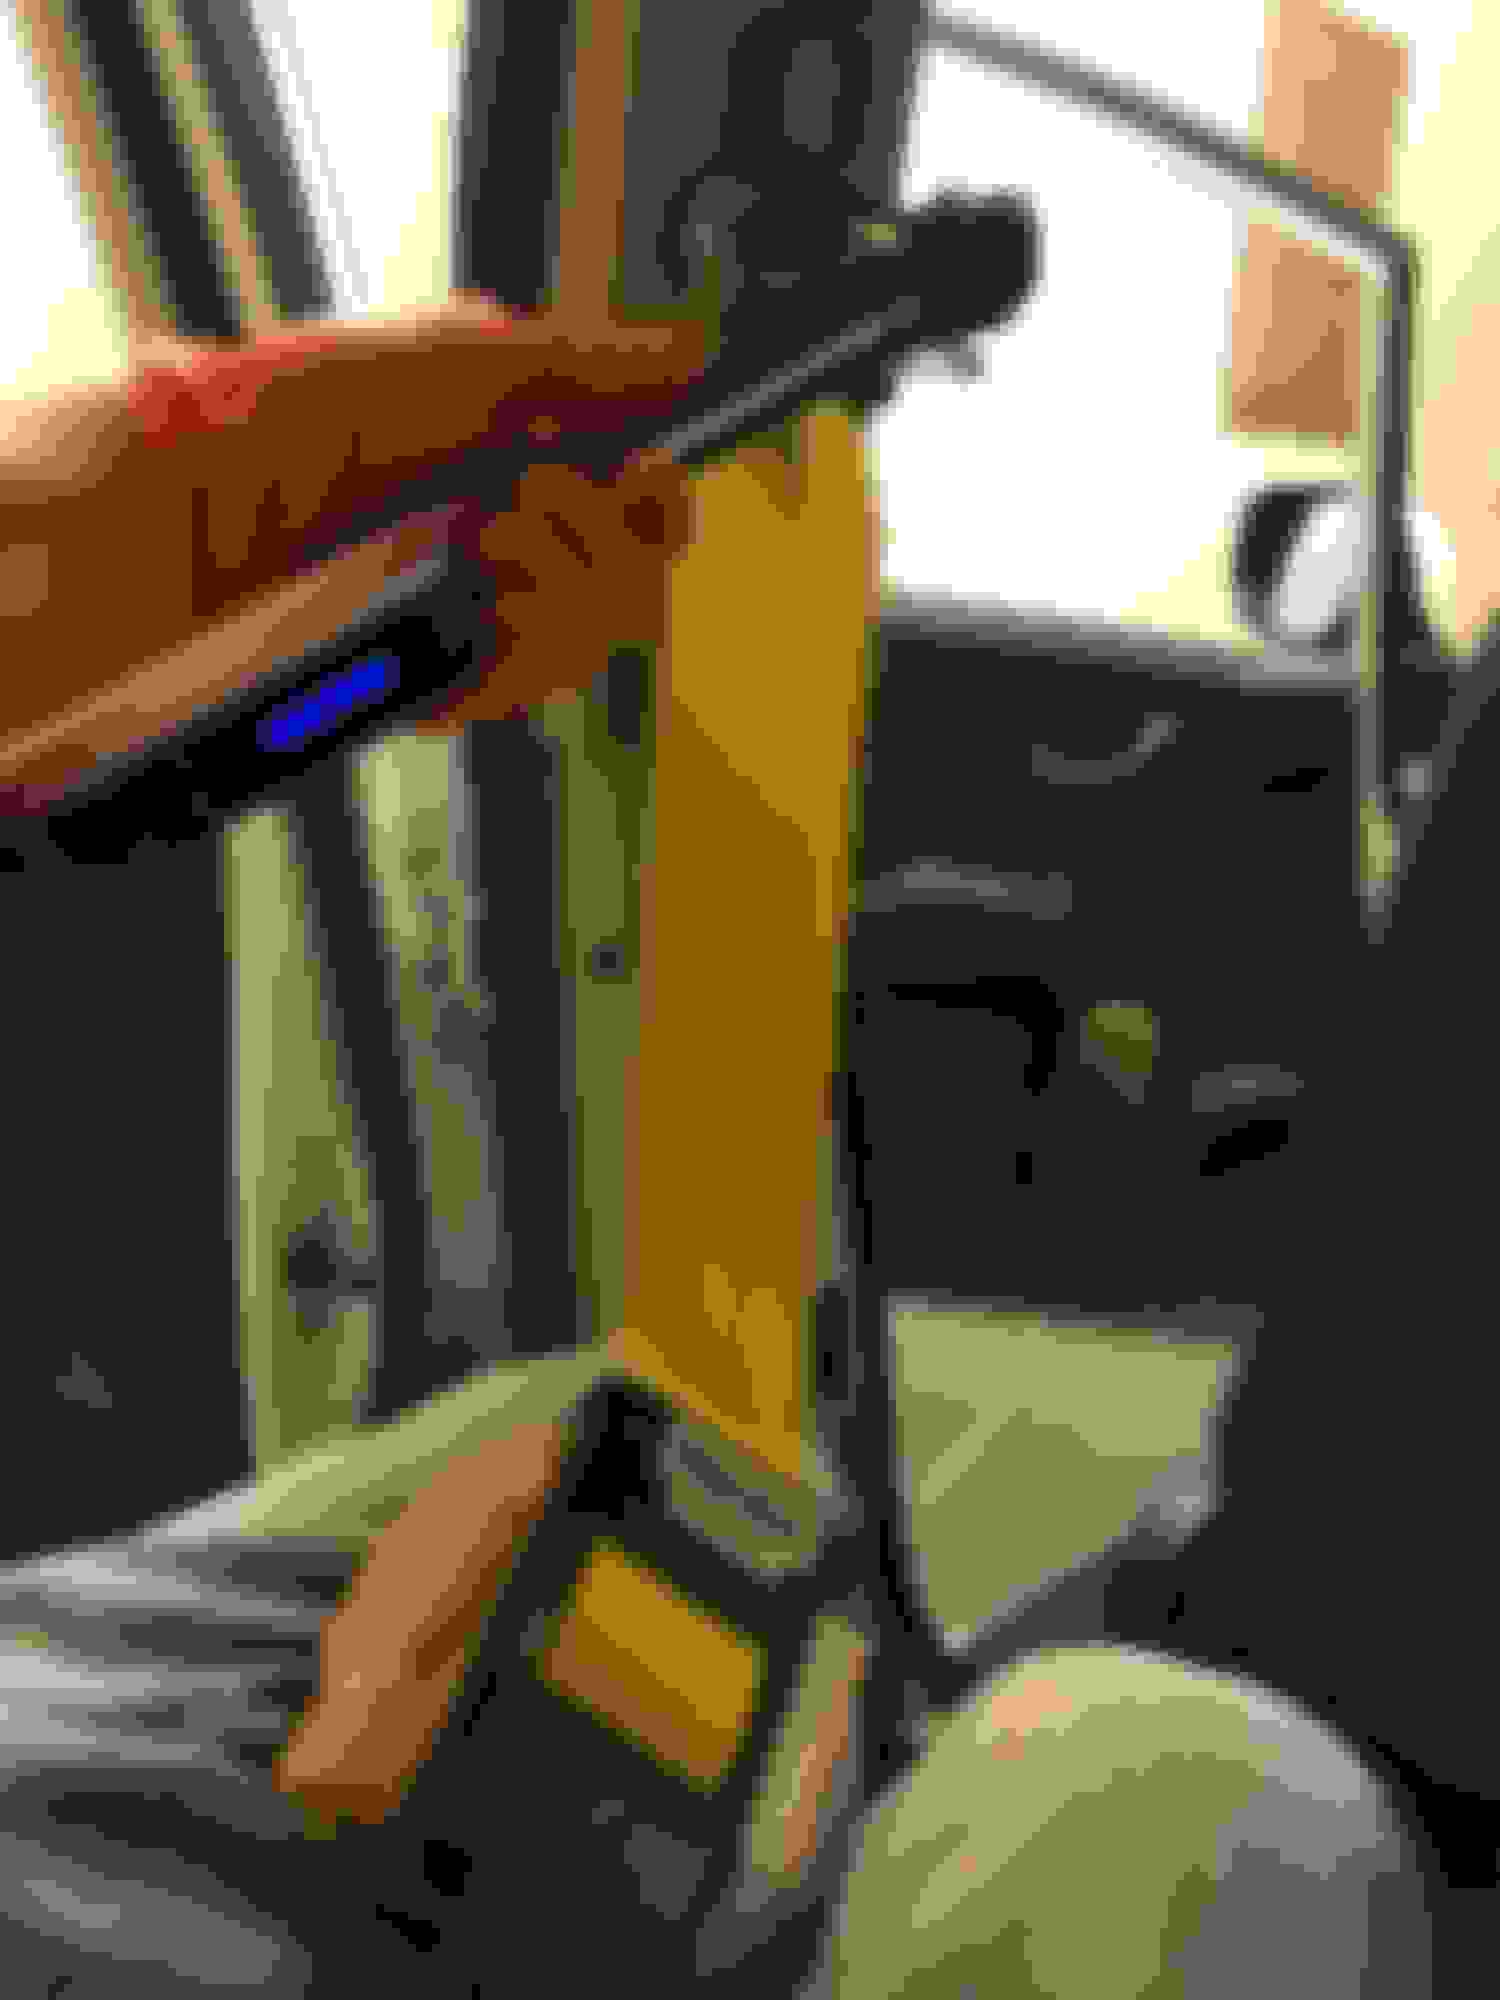
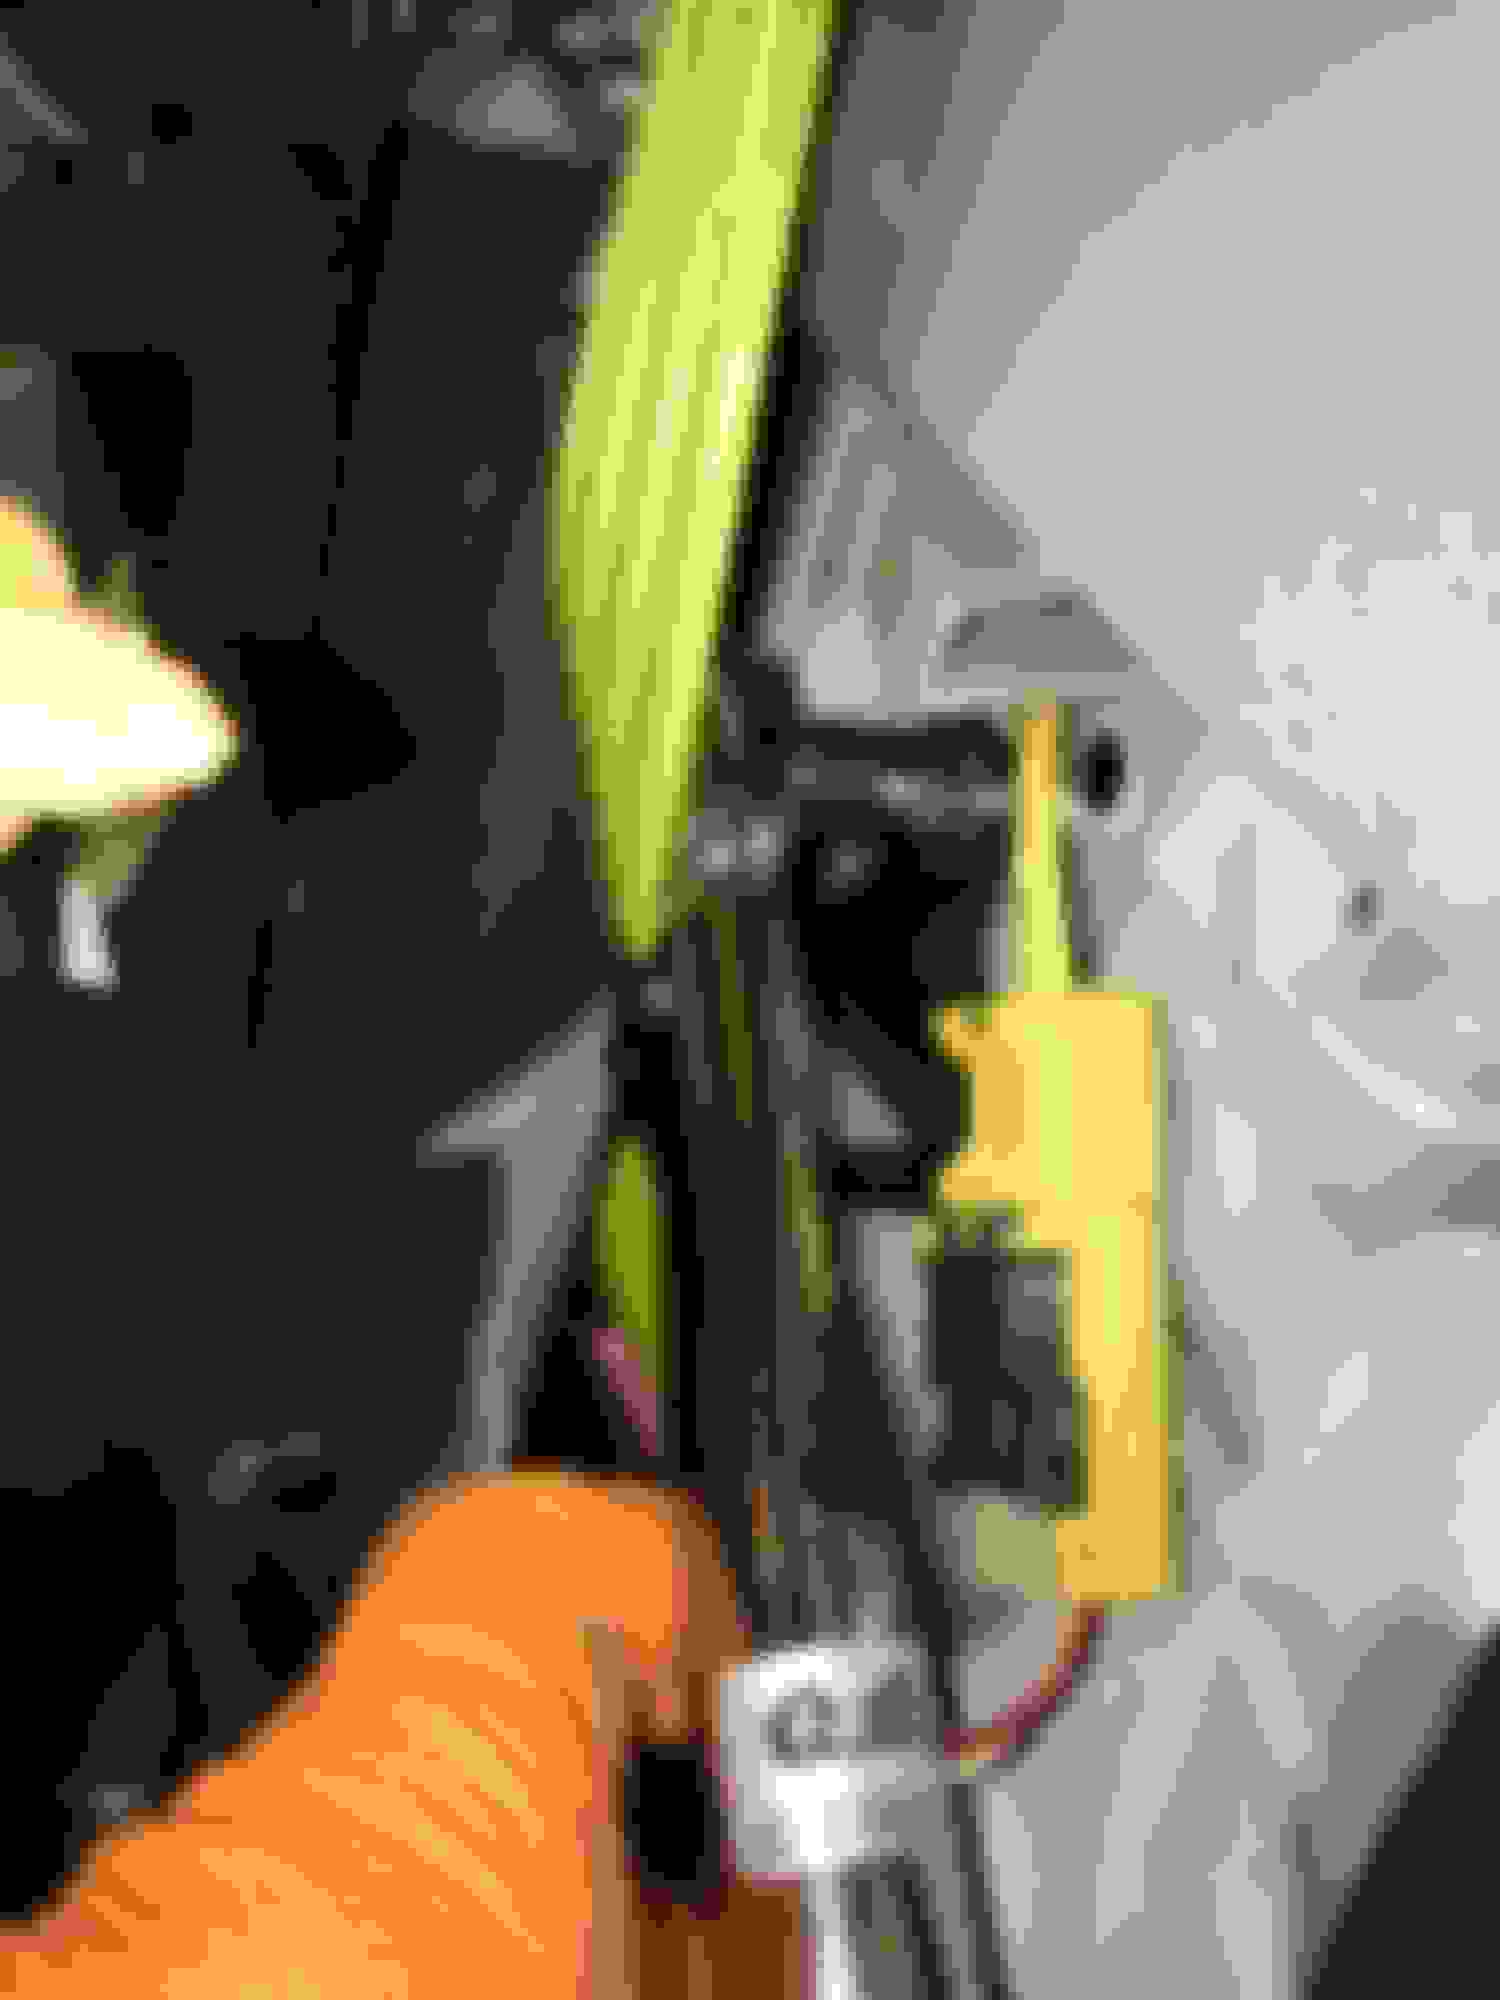
Reconnect the SRS wiring (yellow socket):
Now install the Height Adjustment Attachment,
again using Loctite and 32nm torque wrench:
Then you need to install the black lower B pillar plastic interior panel first:
Finally you can install the lower final anchor bolt,
as usual Loctite Blue and 32nm Torque also
notice the arrangement of the washer/spacer on the botl:
Front Seat Belt Done,
The different for the passenger side is the lower anchor bolt
is bolted to the right side of the passenger seat:
You need to slightly open the side rear plastic panel (that lined both side of the trunk wall) to access the mounting for the rear seat belt.
Than just like the front seat belt, you need to use Loctite and tighten to 32nm for larger anchor bolt (size 14mm on the socket wrench),
and just 4nm torque on the smaller size bolt (size 10mm on the socket wrench)
Here are the pictures that should be self explanatory:
This is the TOP anchor (to the ceiling),
notice the spacer position on the bolt:
For Finishing Touch, I decide to install the RECARO Seat Belts Pads that I bought long time ago (like more than 1 year ago),
this are real JDM Recaro products,
that I originally want to install after I buy the Recaro SR-7 ASM Limited Ruby Seats,
but...
I decide to install it now since this will motivate me to find the funds to buy the Recaro SR-7 ASM Limited Ruby
I forgot to mention the last step,
if you disconnect the SRS wiring from the front seat belt unit,
and you turn on the car (reconnect the battery),
it will trigger and error code that can only be erase either going to the dealer or using HIM Diagnostic tool.
I use HIM Diagnostic tool to erase this error code.
 08-26-2017, 02:37 AM


 , so just use it as reference (in reverse step) to take out the OEM Honda seat belt.