When you click on links to various merchants on this site and make a purchase, this can result in this site earning a commission. Affiliate programs and affiliations include, but are not limited to, the eBay Partner Network.
2nd Generation GE8 Specific DIY: Repair & Maintenance Sub-ForumThreads discussing repairs and maintenance you can do yourself on the 2nd generation Honda Fit (GE8)
Anybody have an idea what size pin I can get for the back of the steering reel wire? I'm stuck here as well and can't proceed to run the two new wires to the back of the radio.
I just bought new scrapped steering wheel (from 3000km driven) with audio, cruise and bc. My current wheel has audio and bc. Gauge test is a pass. So I will try first if it's a direct fit with all the functions working. Thumbs up!
I tried doing the install today with p/n: 36770-SNA-A12 and was NOT successful - 36770-SNA-A12 did not fit (the mounting holes don't line up for the steering wheel).
Any pointers on correct fit steering wheel control part numbers? I have the following list:
36770-TF0-U11 - Japanese Volume Controls only
36770-TK6-a41 - Navi Edition - Cruise Control and Volume Controls
36770-TK6-A31 - Navi manual edition - Cruise Control and Volume
Few months ago I replaced the basic plastic steering wheel with audio to leather wheel with audio+cruise. Direct swap without any modifications. Cruise is not working. On board computer works even buttons are in different place. What to replace next?
I may be wrong but it would appear the pins from the factory connector cable (from the factory headunit - there is a wire that basically connects on part of the headunit to itself...) may work in wiring up to the clock spring.
Alternatively have to buy 2(!!) steering wheel control units and cannibalize from one.
Or apparently there are some places online where you can order ECU and like pins for Hondas (search for depinning honda ecu or honda ecu pins) - I'm thinking an appropriate pin could be located in those circles/vendors.
Huge shoutout to Niko for figuring this all out. I love my wheel controls -- totally worth the intimidation of this project. Took me about 8 hours, but I'm kind of slow.
I'm planning to install a BT45-HON3 unit in my 2013 Honda Fit base model. I'm thinking of adding audio controls to my steering wheel too because well, if it works it would make hands-free phone calls much more convenient. I don't know if anyone has done both of these things in their car ... Can someone give me some advice if this will or won't work? I'd hate to do all of this and find out the hard way that it doesn't work
I'm planning to install a BT45-HON3 unit in my 2013 Honda Fit base model. I'm thinking of adding audio controls to my steering wheel too because well, if it works it would make hands-free phone calls much more convenient. I don't know if anyone has done both of these things in their car ... Can someone give me some advice if this will or won't work? I'd hate to do all of this and find out the hard way that it doesn't work
Sure both will work together. Steering wheel controls are hard wired and wont affect the audio head unit connecting to the BT.
I had both installs planned for my Fit. Already purchased the complete BT45-HON3 kit and was searching for best price on steering wheel and pins but got lazy and lost interest. At this point I wont be installing it anymore as I plan on buying a truck soon so I'll make you a good deal on it. PM me if interested.
another firm believer here int he Honda MTF... i just changed it today for the first time, and i been running some generic brand for the past 2 years on my new transmission... and I am a bit shock the difference the Honda MTF made.. the car shifts like it did when it was brand new!
I have done this mod on my GM3 City. The GE8 Jazz/Fit are platform mates with my car. Engine, Brakes, Suspension and some interior switch/trims are interchangeable.
Bought Steering Wheel Buttons for a Jazz/City on Ebay, another one for a Civic (to use the pin connectors) and a Clock Spring for a Civic/Accord.
By the way, i am using an aftermarket android head unit with steering wheel control input.
A lot of research, preparation and balls needed for this mod. This mod is meant for those Jazz/Fit's in other markets with no cruise control and audio control on the steering wheel. I understand in the US even the base model have cruise control.
- Philips Screwdriver
- Torx Screwdriver, "30
- Wire Stripper
- Wire Connectors or Soldering Iron/Lead
- Wire Crimper (I crimped my wires instead of soldering them)
- Extra Wire, 2 Feet (Use 18 or 16 AWG Wires)
- Socket Wrench (for steering wheel removal)
- Steering wheel puller
- Sidings/Clip removal tools
- Electrical Tape
- Long Nose pliers
- Cable Ties
Preparation:
1. Test the steering wheel buttons. The terminals coming from the audio control side have a 10 ohm reading and changes reading once a button is pressed.
2. Harvest pin connectors from the 2nd steering wheel buttons. You need 4 pin connectors. (Switch Signal +, Switch Signal - , Illumination Signal +, Ground ) I don't have a pin removal tool, so i ended up hacking the connector and destroying some pins.. =(
Installation:
1. Disconnect battery.
2. Dismantle steering wheel. Loosen the hex screws at the side of the steering wheel to remove the airbag and horn switch.
I already installed the switches to the steering wheel when it arrived from Ebay.
2. Remove connectors for the horn and airbag.
3. Remove the Steering wheel switches connector that goes to the Clock Spring.
4. Loosen the bolt holding the steering wheel using a socket wrench. TIP: Using a permanent marker, Mark the nut from the steering column and steering to wheel so you can remember the correct center alignment.
5. Remove the steering column trim. There are 3 philips screws at the bottom. Only the upper part needs removal..
6. Disconnect the wiring harness connector for the Airbag (yellow) and the auxilliary controls (white)
7. Remove the old clock spring. Pry the tabs on the sides using a flat screwdriver or a trim removal tool. The clock spring can be removed by pulling the upper part. (sorry no pics for this step)
8. Install the new clock spring (Dont remove the retaining tab yet until you are ready to reinstall the steering wheel.)
9. Run the extra wire from the steering wheel column to the head unit. Secure the wire using cable ties.
Install the harvested pin connectors to pins 5 & 6 on the white connector coming from the back of the clock spring.
10. You need to connect the wire you just installed to the white connector to the extra wire you ran going to the head unit, Either by soldering or wire connectors. I used wire connectors as i am in a basement garage and my house is five storeys up.
11. Connect the other end of the Extra wire to the Head Unit.
Wiring Diagram of my Android Head Unit. Almost gave up as i was connecting through terminals 1/11 and it won't work. (CAN RX/TX) good thing i consulted a professional audio installer here, showed him the diagram and suggested terminals 5/15 (Key2/GND) or 6/16 (Key1/B+). It was 6/16 that worked for me.
12. In my case, I have to go to the learn procedure of my head unit to assign the commands that the head unit will execute depending on the buttons pressed on the steering wheel.
13. Once everything works, Reinstall back everything. Enjoy.
Was not able to include illumination as i ruined a lot of pin connectors during the installation. Anyway illumination of the buttons are quite weak.
Misc Pictures:
Wiring Diagram:
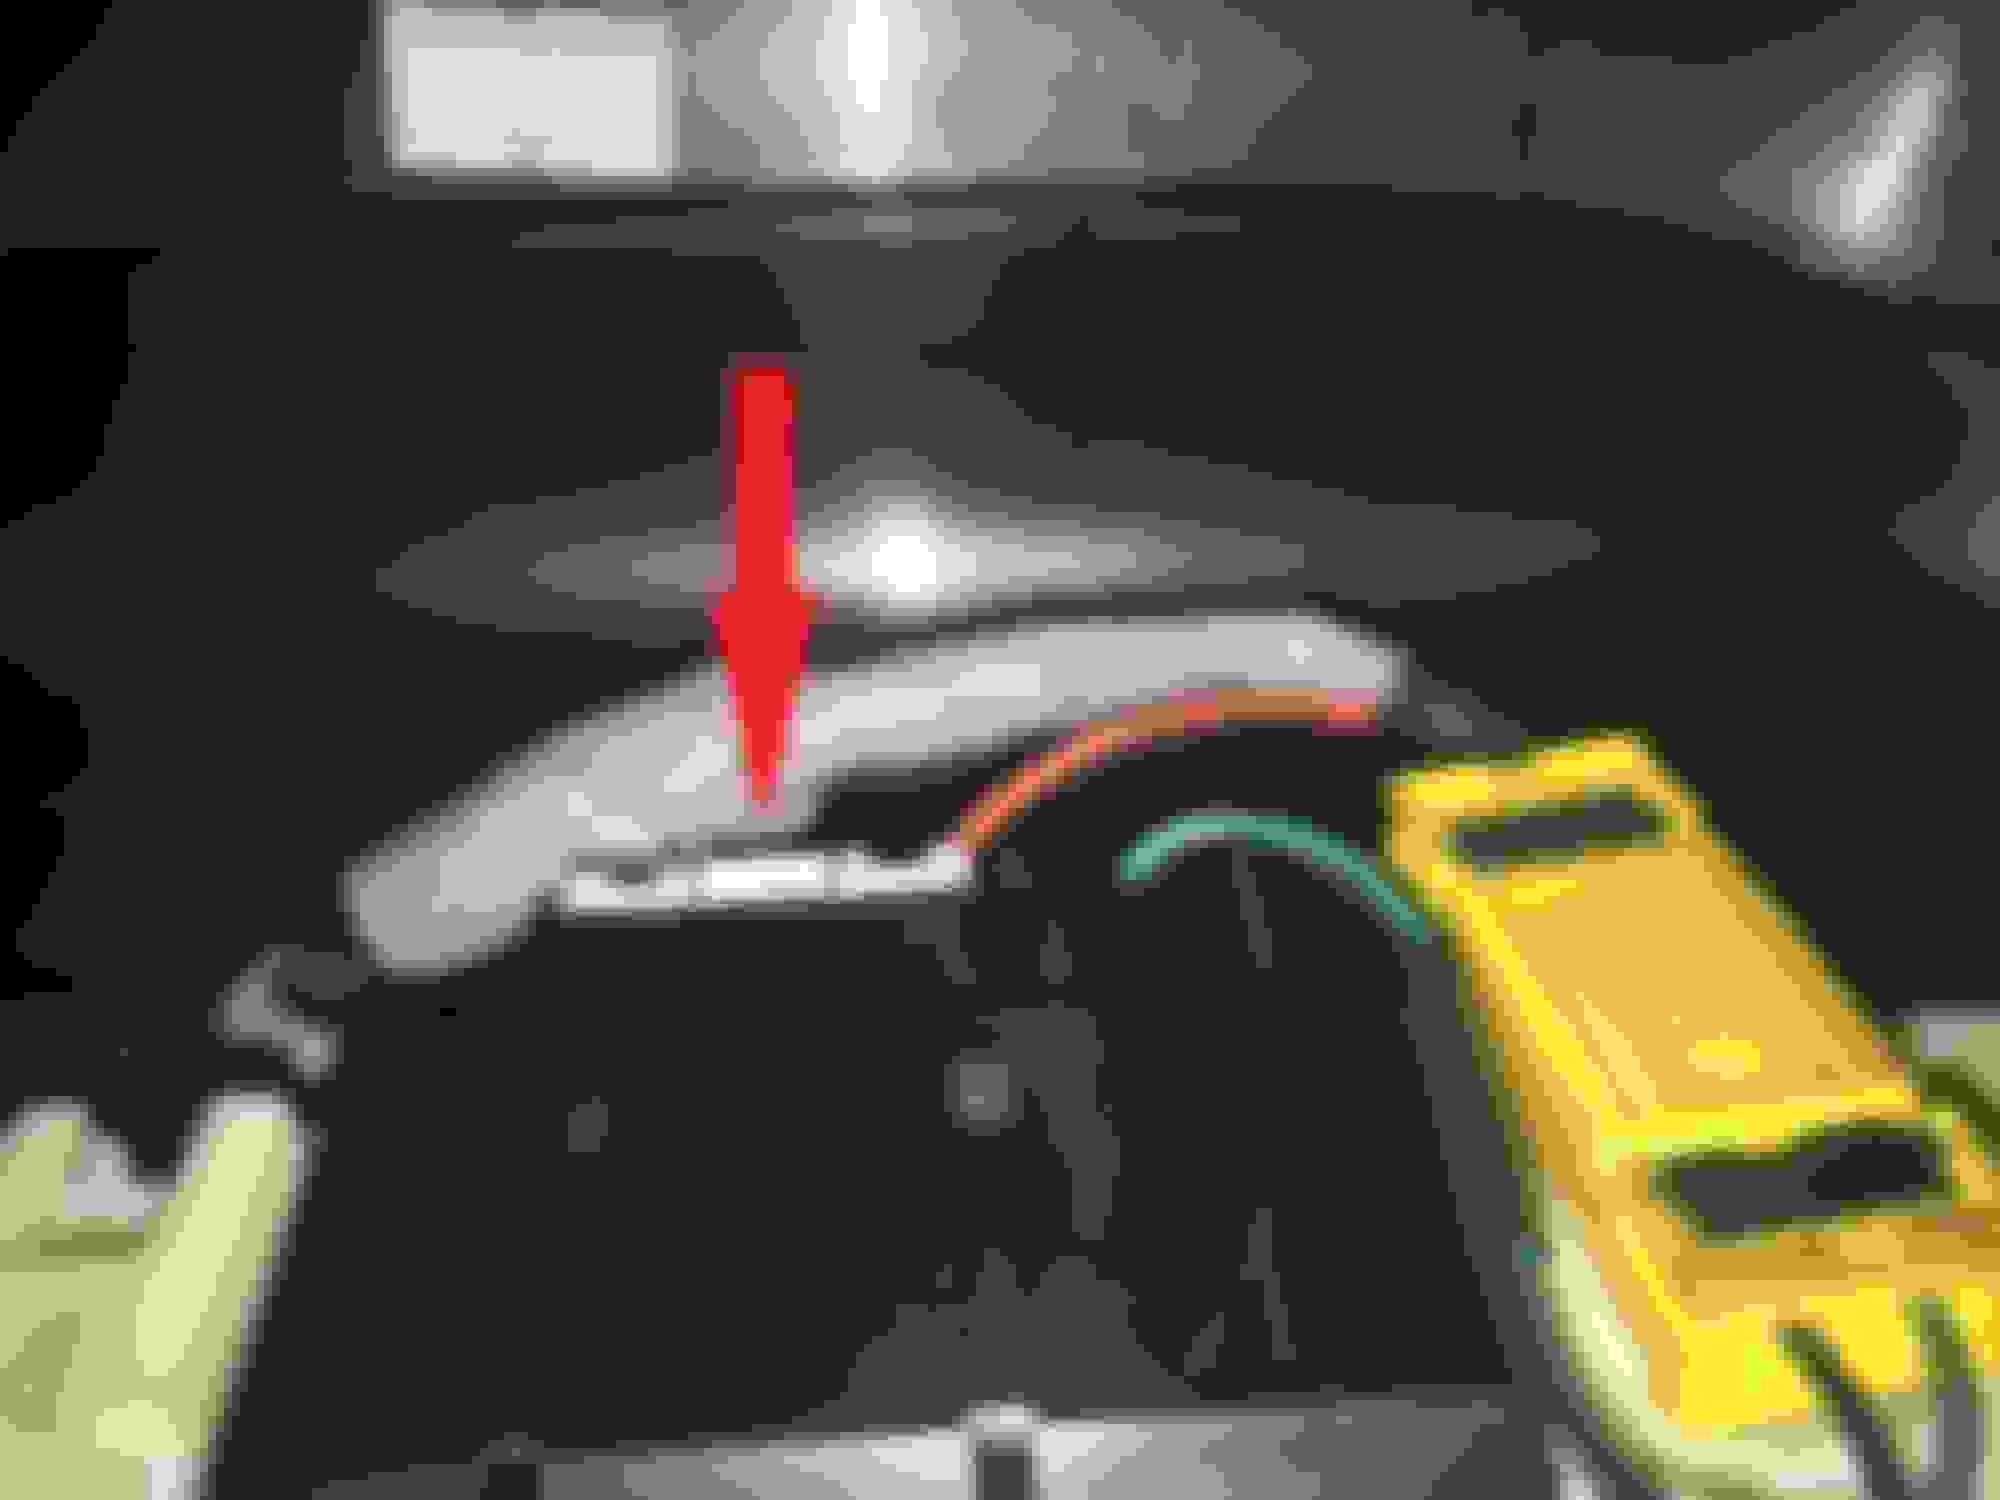
Back side of the clock spring, where i needed to trace to which pin the audio control button signal is coming from.
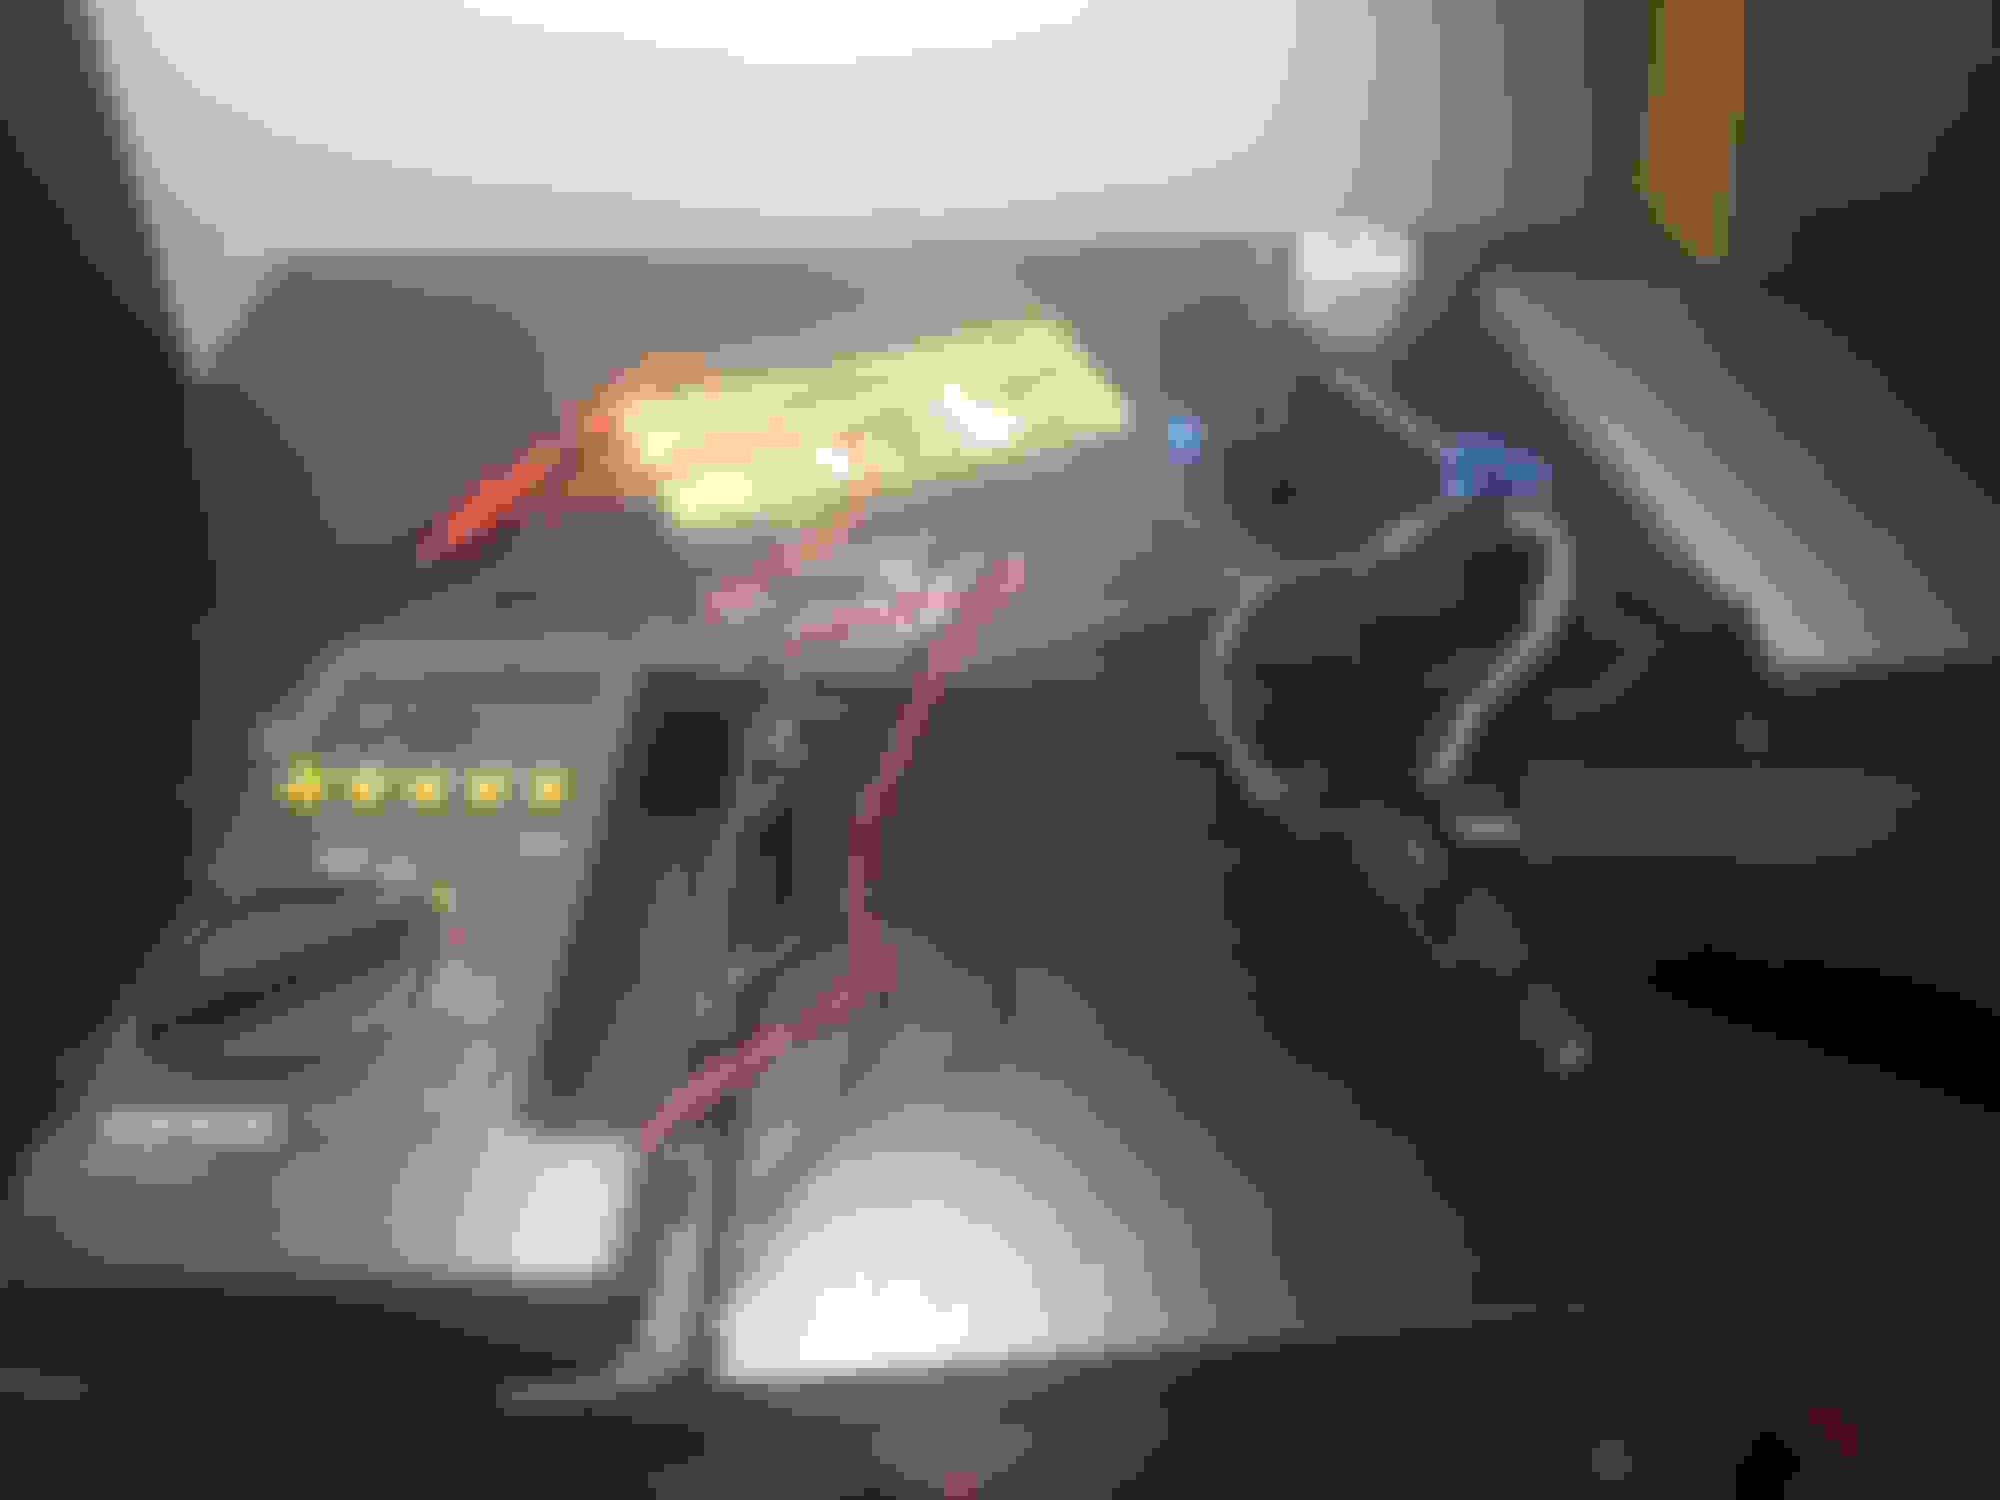
My Android Head Unit and some tools that i used.
Directly connected one of the steering wheel buttons to the Head Unit Harness to test the feasibility of the project. When i found that it works, Then i started preparing for the install.
I�m not able to get the 2 terminals/pins to push into the radio connector...the black piece on the connector is pulled up as far as it will go(not far at all). What�s the trick here?
Got the terminals in the radio connector...but radio controls do not work.
i have triple checked 2 wires from clock spring to radio and I used a 2012 Fit steering that all ready audio controls wired in the steering wheel. Any ideas?
UPDATE: After tracing wires and checking connections...the problem is in the clock spring. 2010 Honda Fit Sport is what we have and apparently the clock spring does not work. I�m assuming a 2012 clock spring will work but will update later.
Thanks to everyone for their input on this project, it made life a whole lot simpler. That being said, I've got a few pointers that could benefit folks and save them some time. This is on a GE using a 07 Civic 3 spoke steering wheel
1) A 3 spoke steering wheel from a Civic is compatible with our cars, but to make the fit airbag work on that steering wheel, need to lengthen the bolt holes on the steering wheel by 1/4".
2) If you go to a non-sport fit and pull the clockspring harness on the dash side, it will only have one wire in it. This harness can be used to rewire the Civic audio controls on the steering wheel side since the Civic wiring pattern is different from the fit steering wheel. The wire colors are the same for both steering wheels.
3) Unless you are a miracle worker, there is no way to pull the pins out of the 20 pin harness without damaging it. The horn pin on the base clockspryng is not used in the steering wheel setup for a Civic wheel. Best way to get the pins out of the 20 pin harness is to remove the secondary lock, then take pliers and pull the pins out.
4) Highly recommend performing the intermittent wiper mod at the same time, lack of steering wheel in the way helps speed up the install. The pins for the 20 pin clock harness and 16 pin wiper harness are the same.
I'll be installing the maestro rr this week, so hopefully I'll see if all the work was worth the hassle.
Anyone in Southern California who has done this mod who is willing to earn a few bucks on the side to replicate on my 2009 Honda Fit? Local dealers won't do the "aftermarket" mod.
Question for someone who has done this. The original write up won’t allow me to see the pics. Following the posted video, I have added the two wires into the clock spring in spots 7&8 i believe it is. I have run the wires from those connections to the back of the radio plug. Do those just plug into 5&16 on the radio harness? I remember when I looked at the original post with pics he didn’t use all the pig tails I don’t think.
Basically double checking where to pin the two wires from the back of the clock spring? Have it all ready but 5&16 don’t seem to power the buttons correctly. Illumination works.
thanks
Last edited by schuey1010; 11-25-2019 at 01:29 AM.
Question for someone who has done this. The original write up won�t allow me to see the pics. Following the posted video, I have added the two wires into the clock spring in spots 7&8 i believe it is. I have run the wires from those connections to the back of the radio plug. Do those just plug into 5&16 on the radio harness? I remember when I looked at the original post with pics he didn�t use all the pig tails I don�t think.
Basically double checking where to pin the two wires from the back of the clock spring? Have it all ready but 5&16 don�t seem to power the buttons correctly. Illumination works.
thanks
Any update to this?
I'm having the same problem. Followed the posted video, but I am not getting any sound from the radio after turning the car on. The newly installed controls have illumination, but do not control or have any effect on the radio.
The one thing I didn't understand from the video is (at 10:27) with the connector part that connects to the harness. Do I just pop pins in there that are not connected to wires?
 01-10-2017, 07:52 PM


