When you click on links to various merchants on this site and make a purchase, this can result in this site earning a commission. Affiliate programs and affiliations include, but are not limited to, the eBay Partner Network.
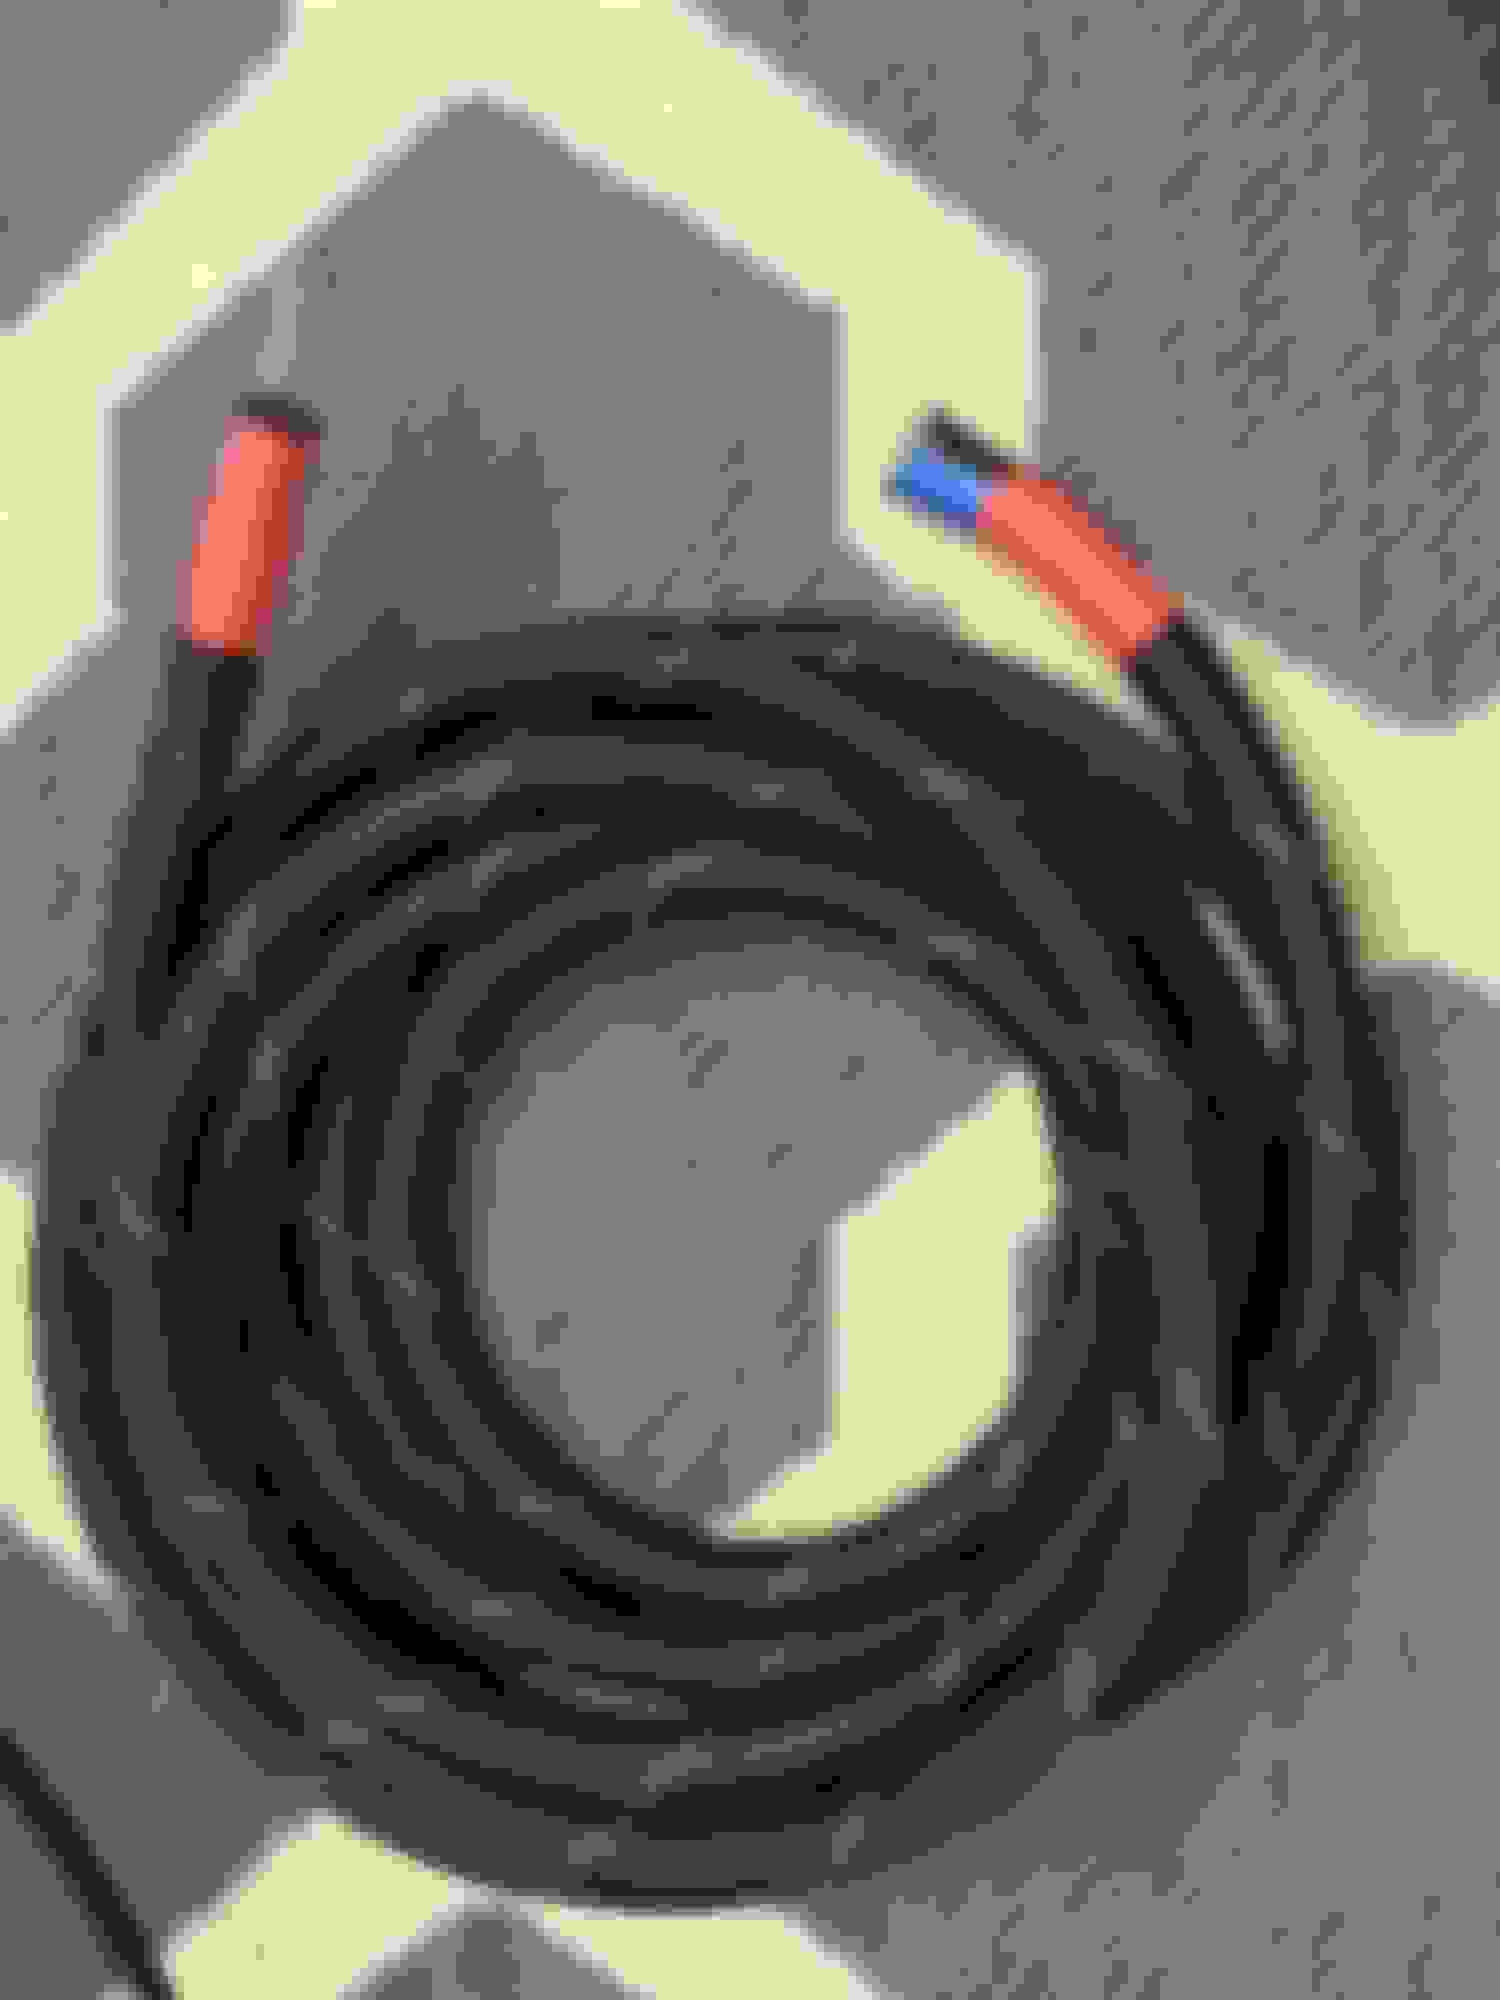
I spent last weekend finding the right spot for the 1/0AWG power cable to go through the firewall. I also use Stinger PG34 1/0AWG Firewall bushing.
Oh, also Techflex the Rockford Fosgate 1/0AWG power cable to make it look pretty like eye candy
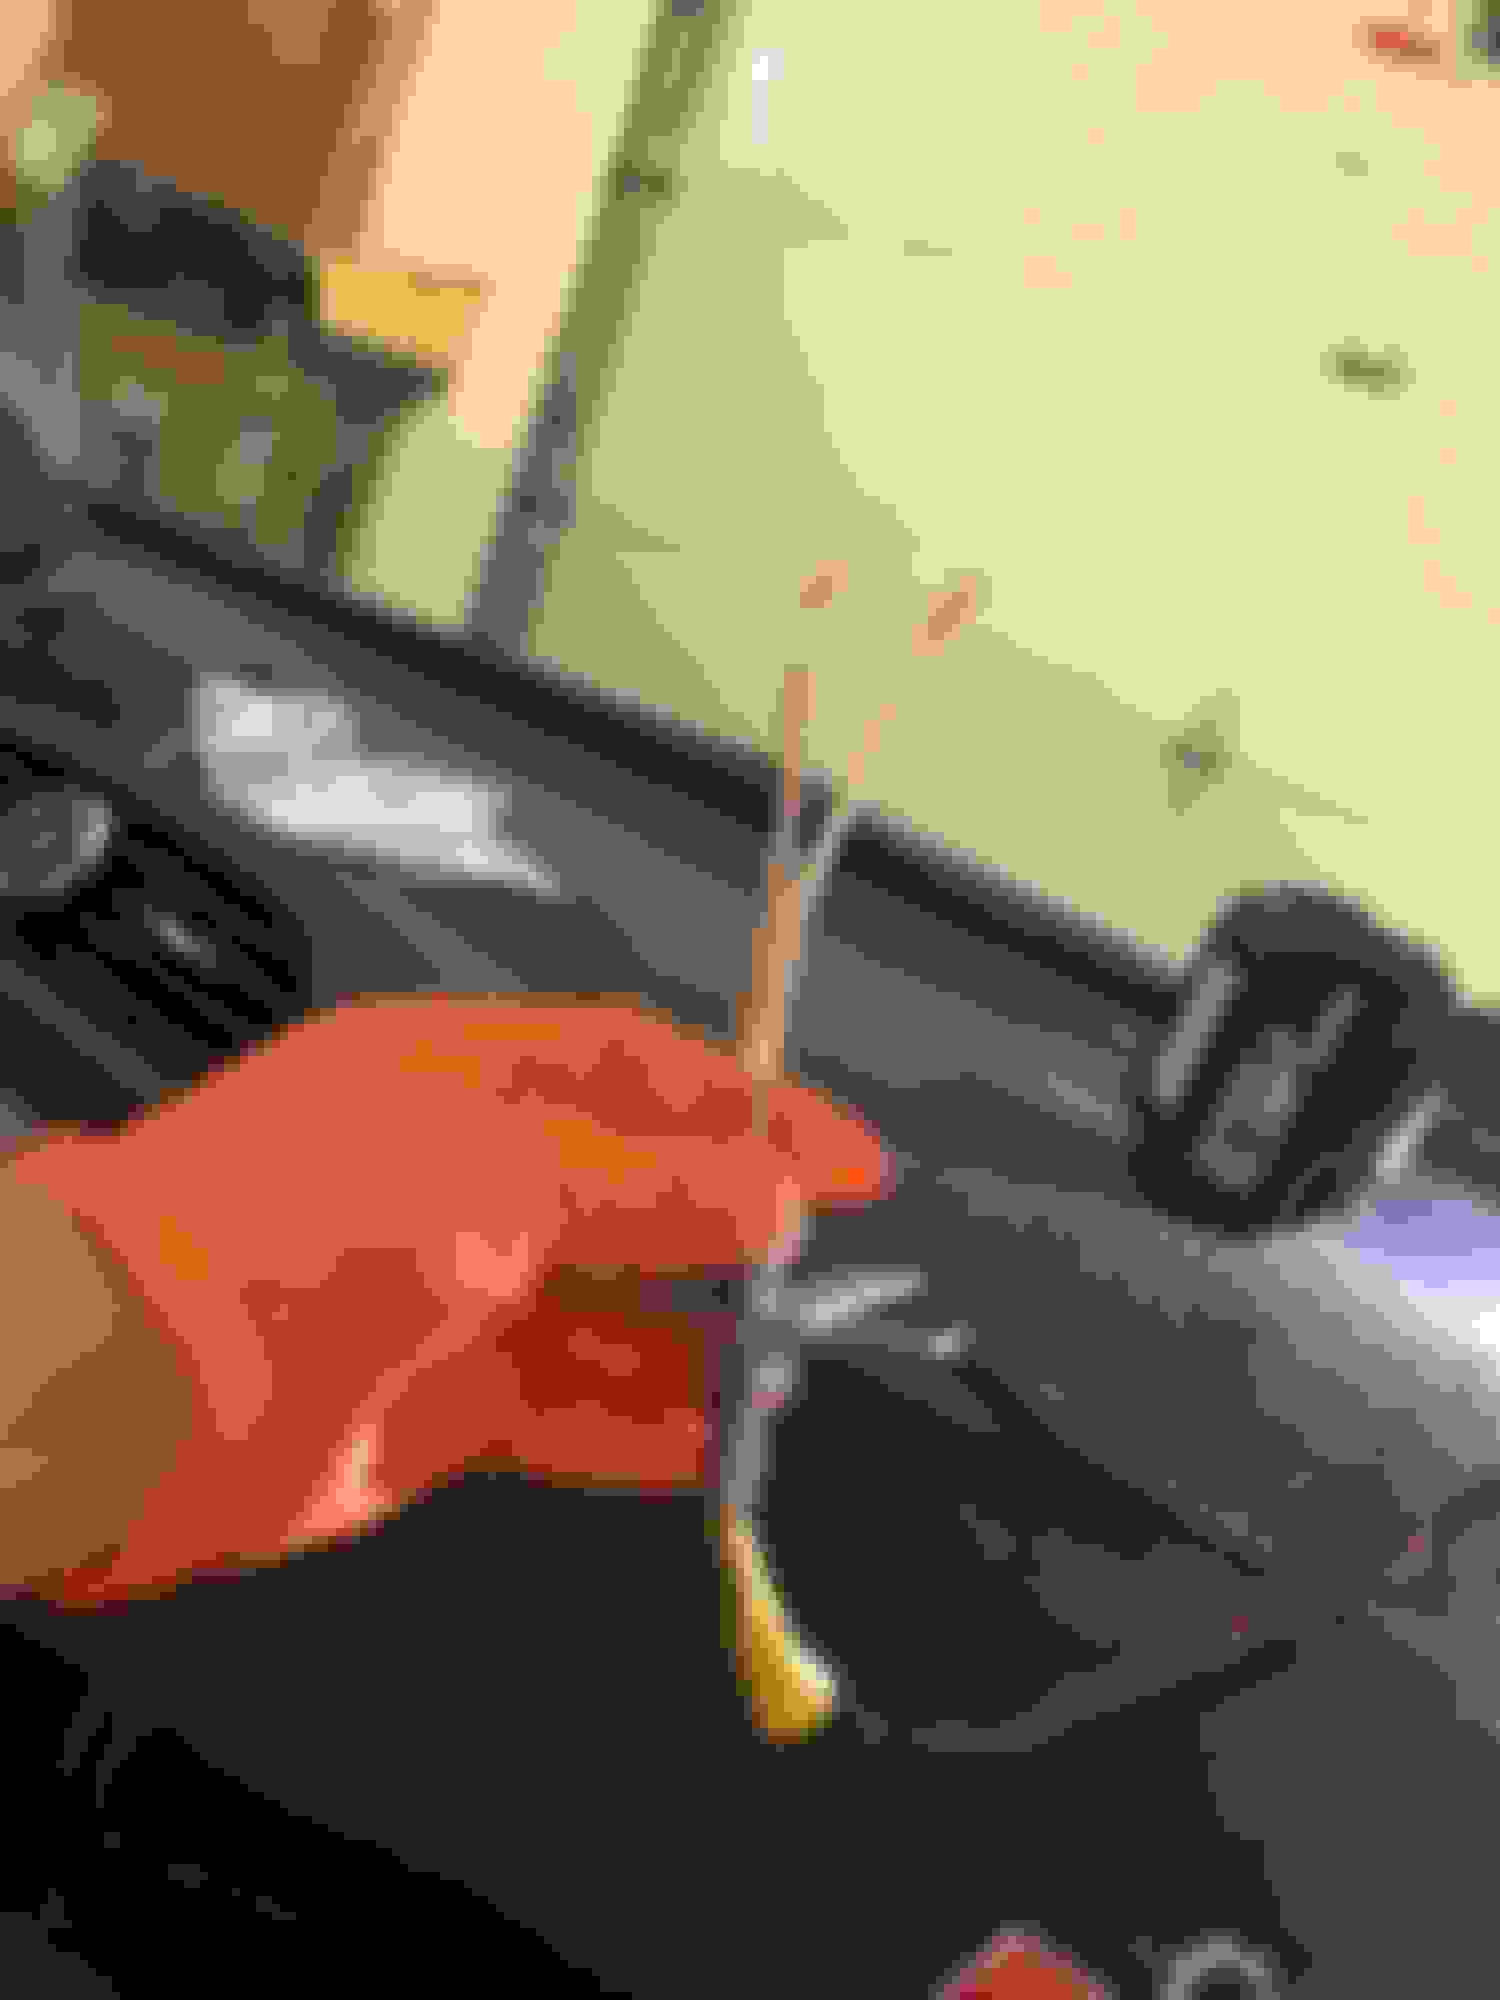
Here is the area of the firewall that I can find ideal to drill (that is free from obstruction in the interior side, still far enough from exhaust manifold and safe). Then to make sure it is waterproof, I spray with foam (later I paint the foam white but I forgot to take picture after I paint that foam white).
Here is where I am going to connect, to the main circuit breaker right after alternator:
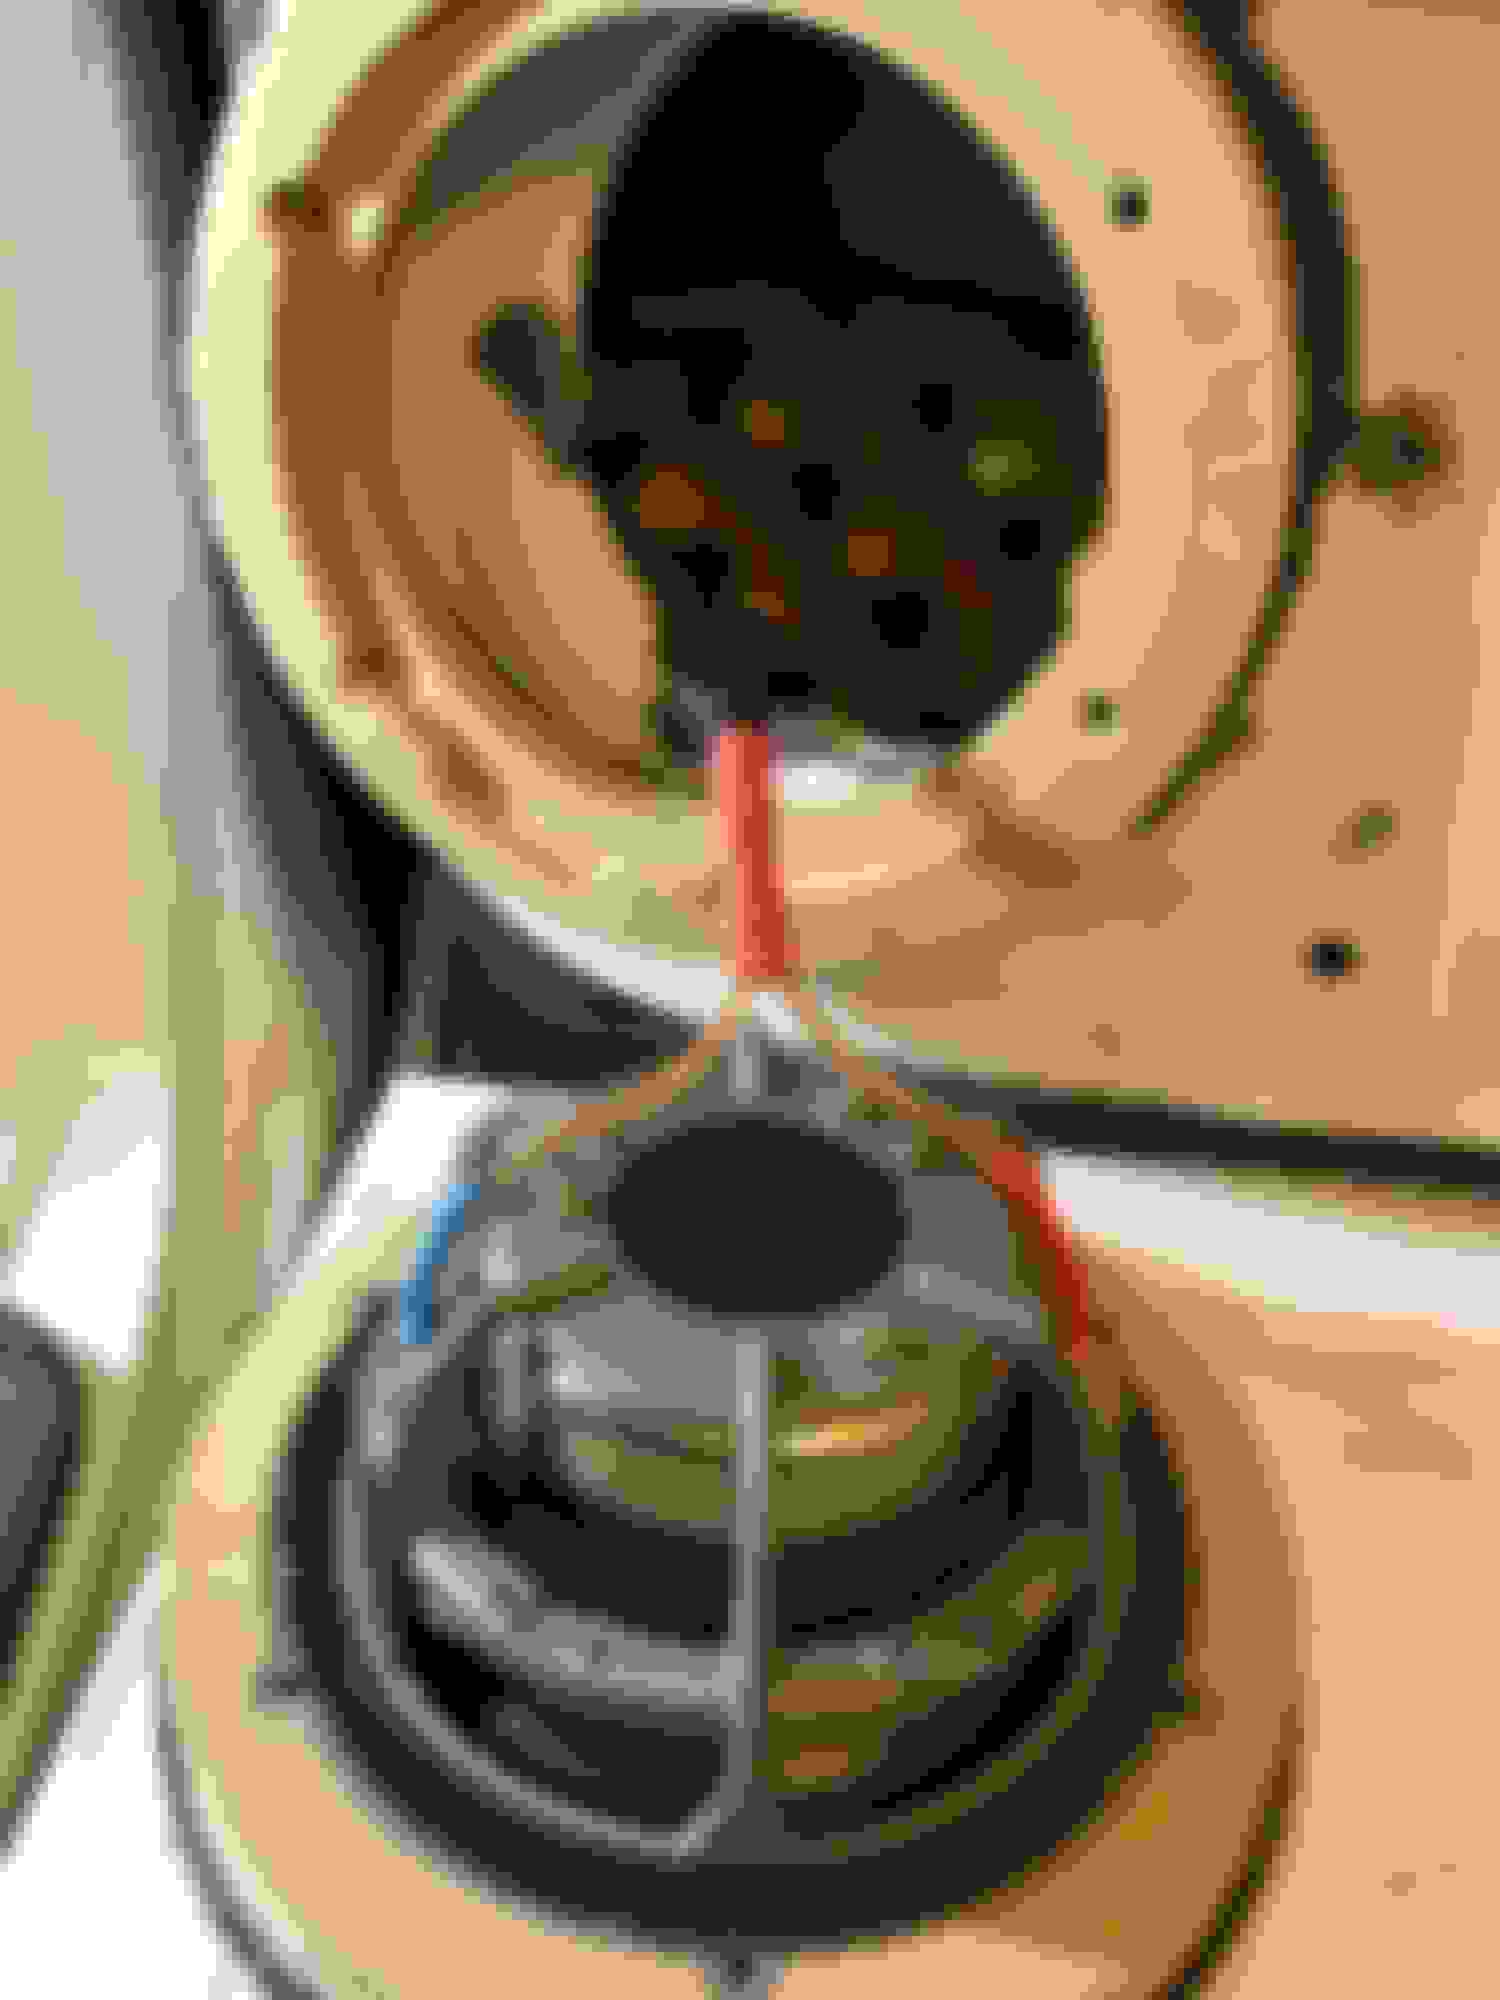
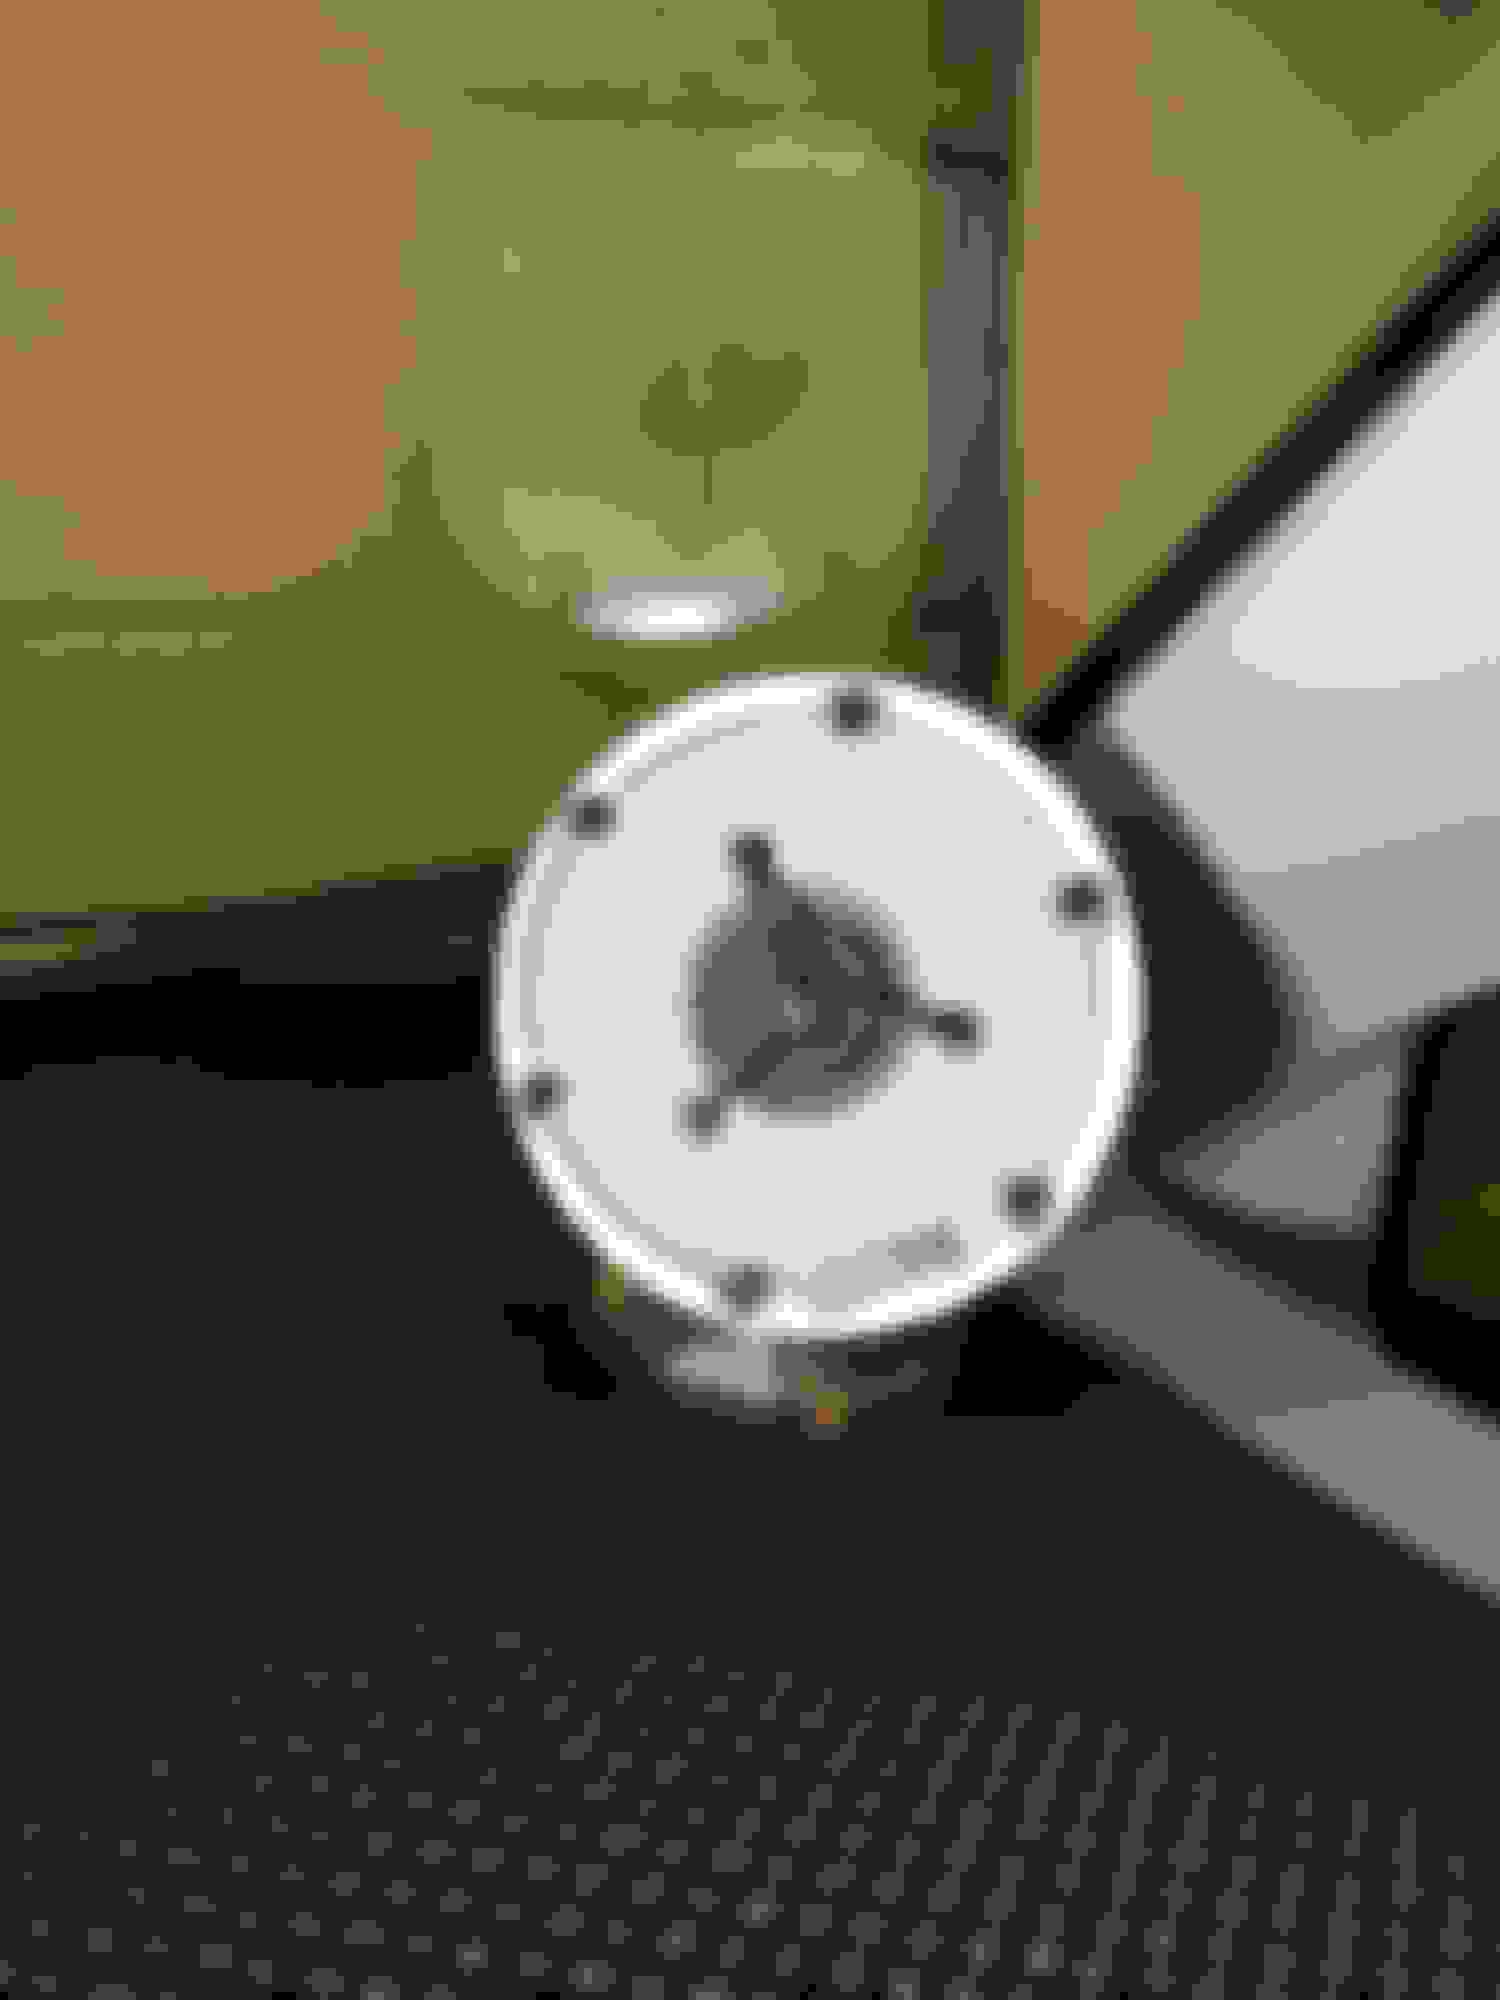
and here are where it came out on the otherside of the firewall, just right under the A/C blower on the passenger side foot well:
Weekend update
Today I had some progress...
Techflex The AudioQuest X-2 Speaker Cable, The Audioquest X-2 in White color will be for Tweeter, the Grey Audioquest X-2 will be for the Midbass and the Yellow TechFlex indicated left channel, the Red TechFlex indicate right channel:
Start installing the Dynaudio Esotar2 650 Midbass on the door...
First step cut the metal mounting tab for stock Honda speaker to clear
the Dynaudio much larger metal basket.
I realize I should use Dremel instead of the large Makita Grinder,
so on the driver side door, I use Dremel and it's much better...
I later put epoxy to cover those run away slit that I accidentally cut using the Makita grinder....
Now, times to drill the holes for the speaker mounting screw...
first I use the Dynaudio MDF mounting plate with screw installed
as marking tools/template,
then I marks the holes location:
Picture below is when I use Dremel for the driver side, much better clean
cutting:
I can use a self tapping screw but... I want it to be as "proper" as possible, so I am using Rivet for M4 screw
Drill the holes with 6mm metric drill then install the rivet (I use rivet install tools so it's easy process):
Then I use glue to bond the EPDM gasket (that also act as extra spacer
so the magnet of the Dynaudio will clear the window when rolled down)...
I need 3 ply of EPDM gasket to get the clearance:
The Screw that I used are Stainless Steel Socket Hex Screw,
and I also use Stainless Steel Washer and Nylon Washer so
it won't scratch the Dynaudio Esotar2 650 mounting holes
then time to start soldering the wires...
Mounted on the door... (notice this only have 2 ply of EPDM gasket)
and it's barely rub the window, but tomorrow I will add 3rd ply of EPDM
gasket... to tired now...
Need to grind inner part of the door panel so the door panel can be close and clear the MDF mounting spacer:
That's it for today... going to sleep, and wake up early tomorrow
and continue...
hopefully I can finish the Tweeter Pod install and run all the wire to the back of the car tomorrow...
I want to make sure everything is tight like new,
so I replace every single Plastic Clip that hold the door panel with a new one:
I also took this opportunity to change the grey USDM door handle with
JDM SILVER Door handle from Japan Market only Honda Fit Shuttle
Then I add even more sound deadening on BOTH the Metal Door
and the Plastic Door Panel...
And as the Final Finishing Touch...
I bought original Dynaudio emblem (OEM parts from VW) and install it on the grill, the result really nice, like this car came from factory with Dynaudio system .
I install it by drilling the grill and insert the 2 foot under the emblem,
then hold by double tape and also epoxy the foot just to make sure no rattle when the Bass hit:
Install the Dynaudio Esotar2 110 Tweeter and it's Tweeter Pod Today.
I bought the Tweeter Pod from Valicar in Germany.
He have eBay store and also direct website now: www.pods-tweeters-midrange.com
The Pod came with a mounting bolt/net/screw kit to be mounted on A-Pillar.
but I don't feel it is a strong enough mounting point, no to mention, I need to remove my A-Pillar.
So I try to find a way to install in using the Original Honda Tweeter Holes on the dashboard.
First I need the anchor and I use this T-Plates I bought at Home Depot.
Luckily one of the pre drilled holes in the T-Plates can be use,
I just need to drill and tap it so it will fit the hollow light stud thread:
Then I run the speaker wire through the holes goes under the dashboard:
Here is the anchor with the hollow stud and I run the speaker cable through the stud:
Then I screw the round metal that I also had drill and tap (M10 thread) as the base, this round metal is basically Aluminum Disc Hardware for Glass Table
8mm thickness, 70mm diameter bought at eBay.
Then install the spacer that came with the tweeter pod:
then screw the tweeter pod:
then I use the Black STAINLESS STEEL Socket Screw (M3 size) that I bought from AccuGroup in UK, along with stainless steel washer plus vinyl washer (to prevent scratch to the mounting hole of the speaker)...
all black color:
Then of course install the Dynaudio Esotar2 110 Tweeter onto the pod:
back to the car now, going to install the Zapco ASP-X4 active X-Over
This weekend, I finally have time to install all the things needed for everything to be operational
Ok, few weeks ago I started running the 1/0 AWG wire from the engine bay to the cabin. Drill the firewall, use the Stinger Grommet and run the 1/0AWG wire through the passenger side firewall, came out right behind A/C blower in passenger foot compartment:
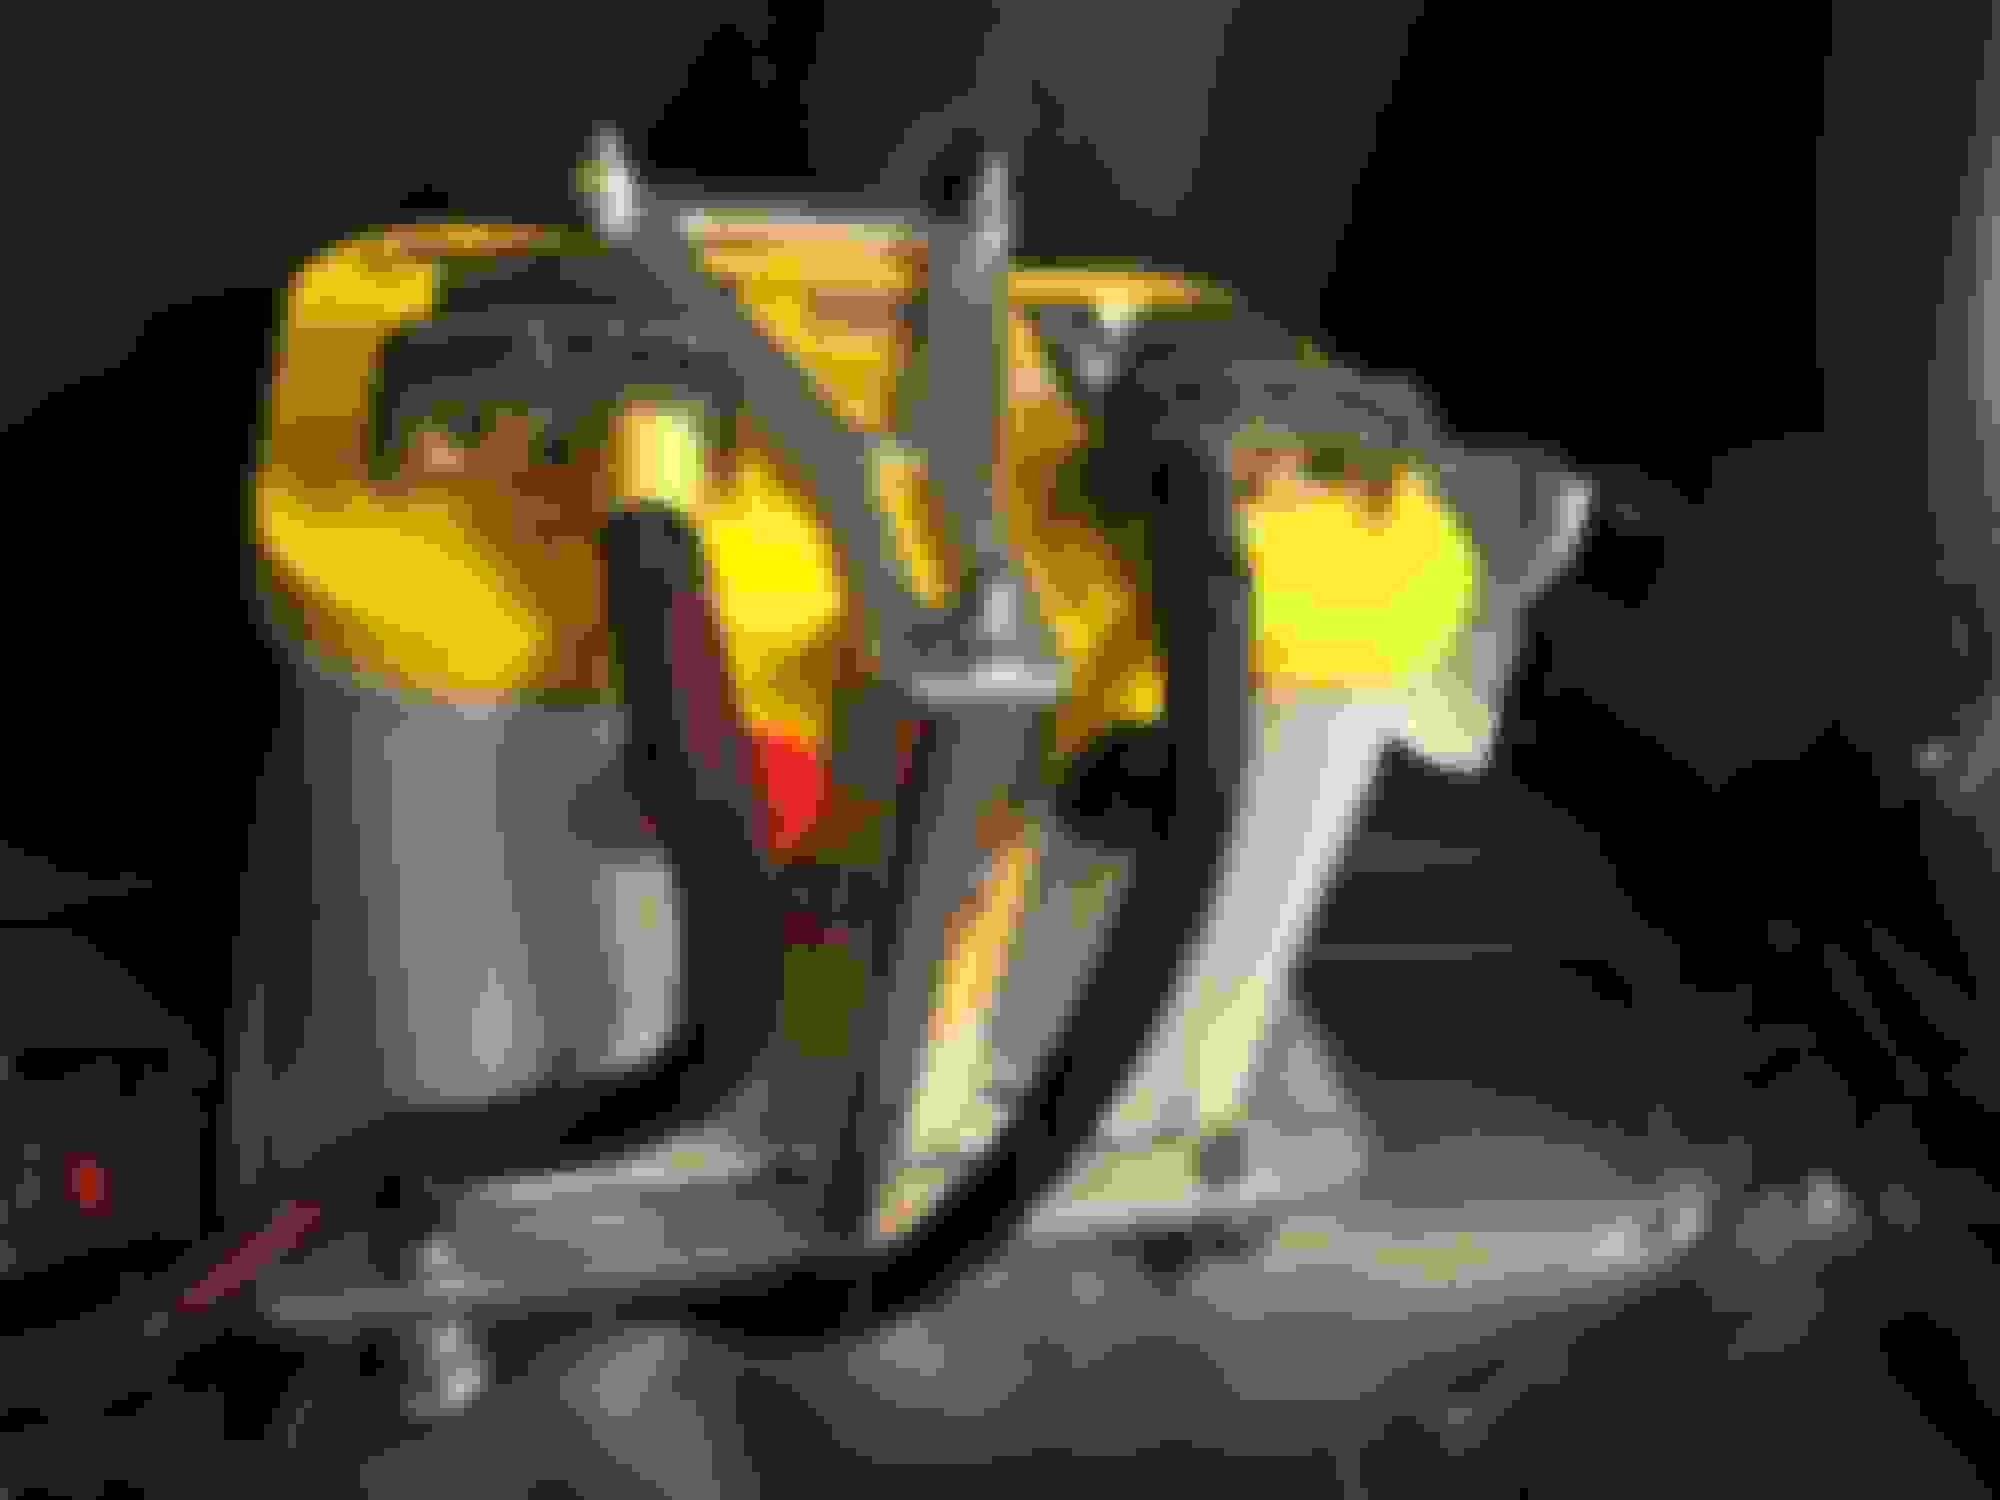
This is where I am connecting the 1/0AWG to...
this Stinger Circuit Breaker (Part of my Big3 Wiring) directly connected to the Alternator:
Use Steel Rivet Nut to secure the Aluminum Base of the Optima Yellow Battery, they are SECURED real well:
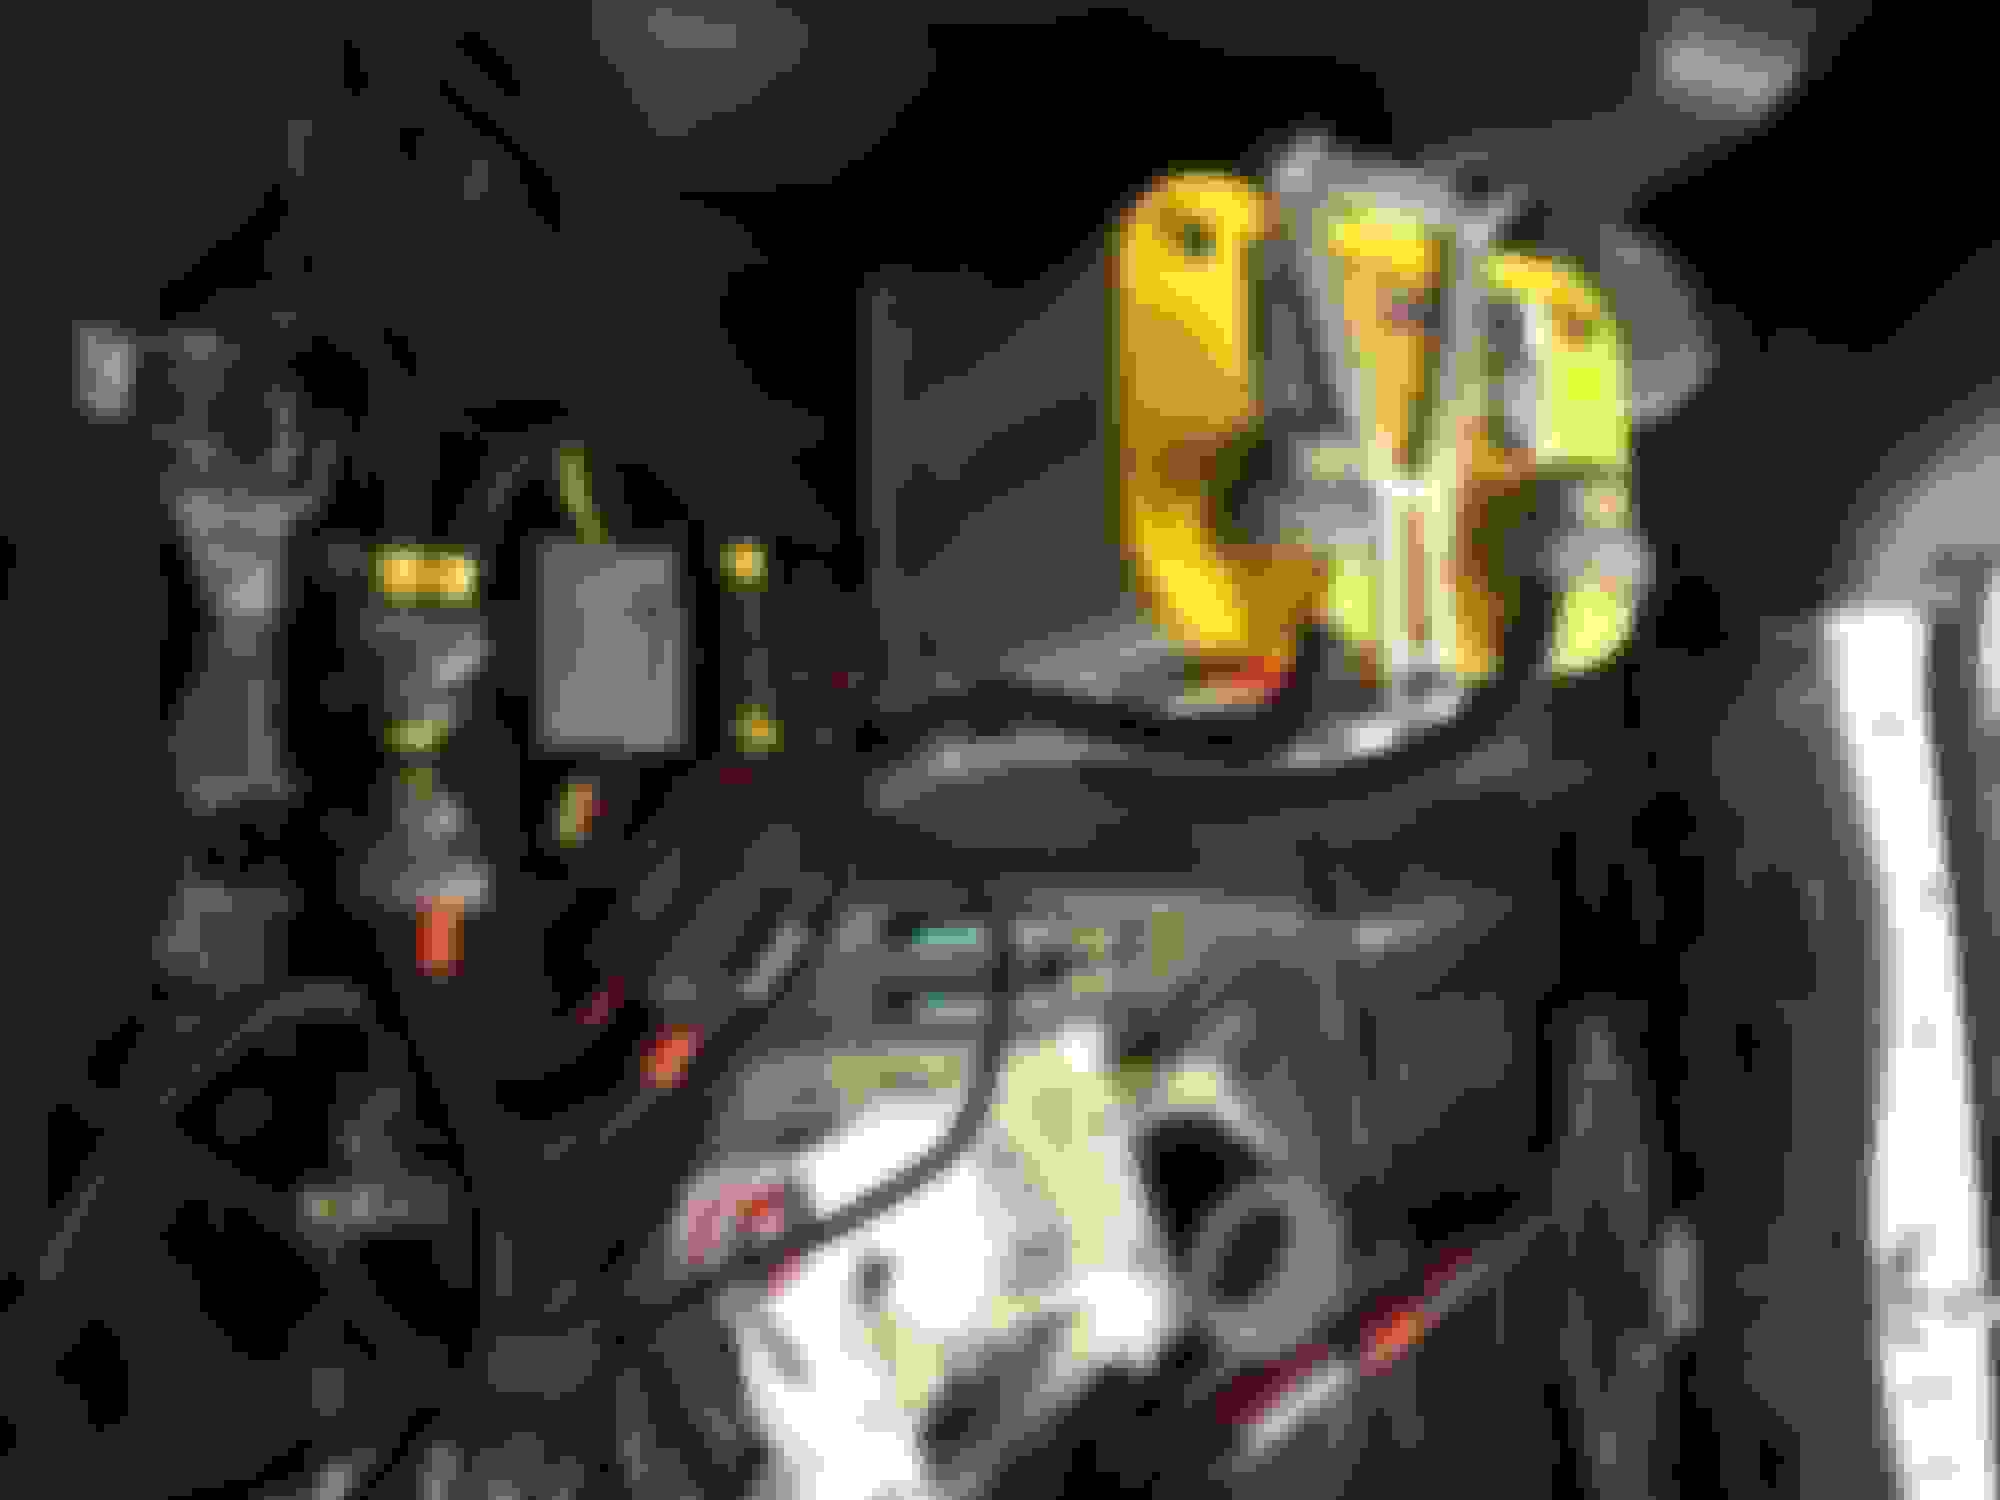
Remove all the seat so I can run the wiring (power and signal) to trunk:
More pictures telling the story of my wiring run...
the two RCA under front seat is for FUTURE STEREO Under Seat Subwoofer
First, I try to find the right layout for all the fuse block, distribution block, circuit breaker and Zapco ASP-X4 Active X-Over Power Supply...
I need to find the right place inside the trunk that is safe from things in the trunk falling over it, yet still easy enough for me to access if need to...
and I find the PERFECT Place, it is between the right rear seat and the Optima Battery, which mean even better for shortest wire run to the future power amp which will be located behind the rear passenger seat...
I decide this is going to be the final layout:
Then I think the MDF color is to plain, (eventhough no one really can see it since it will be under the trunk floor cover...
and to paint it is too much to do, and to carpet it would look so ordinary...
so I decide to wrap it with 3M Vinyl Wrap
Then this is the finished looks:
The Circuit Breaker will make it easy if I want to disconnect power in the future, no more removing battery terminal.
Right now I am running 2 battery, the Optima and the stock front battery.
when I have time next week, I will remove the stock front battery and put 2 Pole terminal instead.
Honda Fit have very tight engine bay and each time I need to some work on the engine, most likely I need to remove the battery which is really a hassle... so now with front battery remove, I have more access...
I also want larger battery since the stock front battery is really small ...
other Honda Fit owner change their front battery to a slightly larger one but with my Mugen CR-Z Airbox, I don't have space to upgrade to larger battery...
so by relocating battery to the rear and using Optima Yellow, I solve a lot of problem, not to mention better weight distribution.
That EFX Fuse Distribution block function as both Non Power Amp 12volt source and also Remote On Distribution block.
Now, let's work on the Zapco ASP-X4:
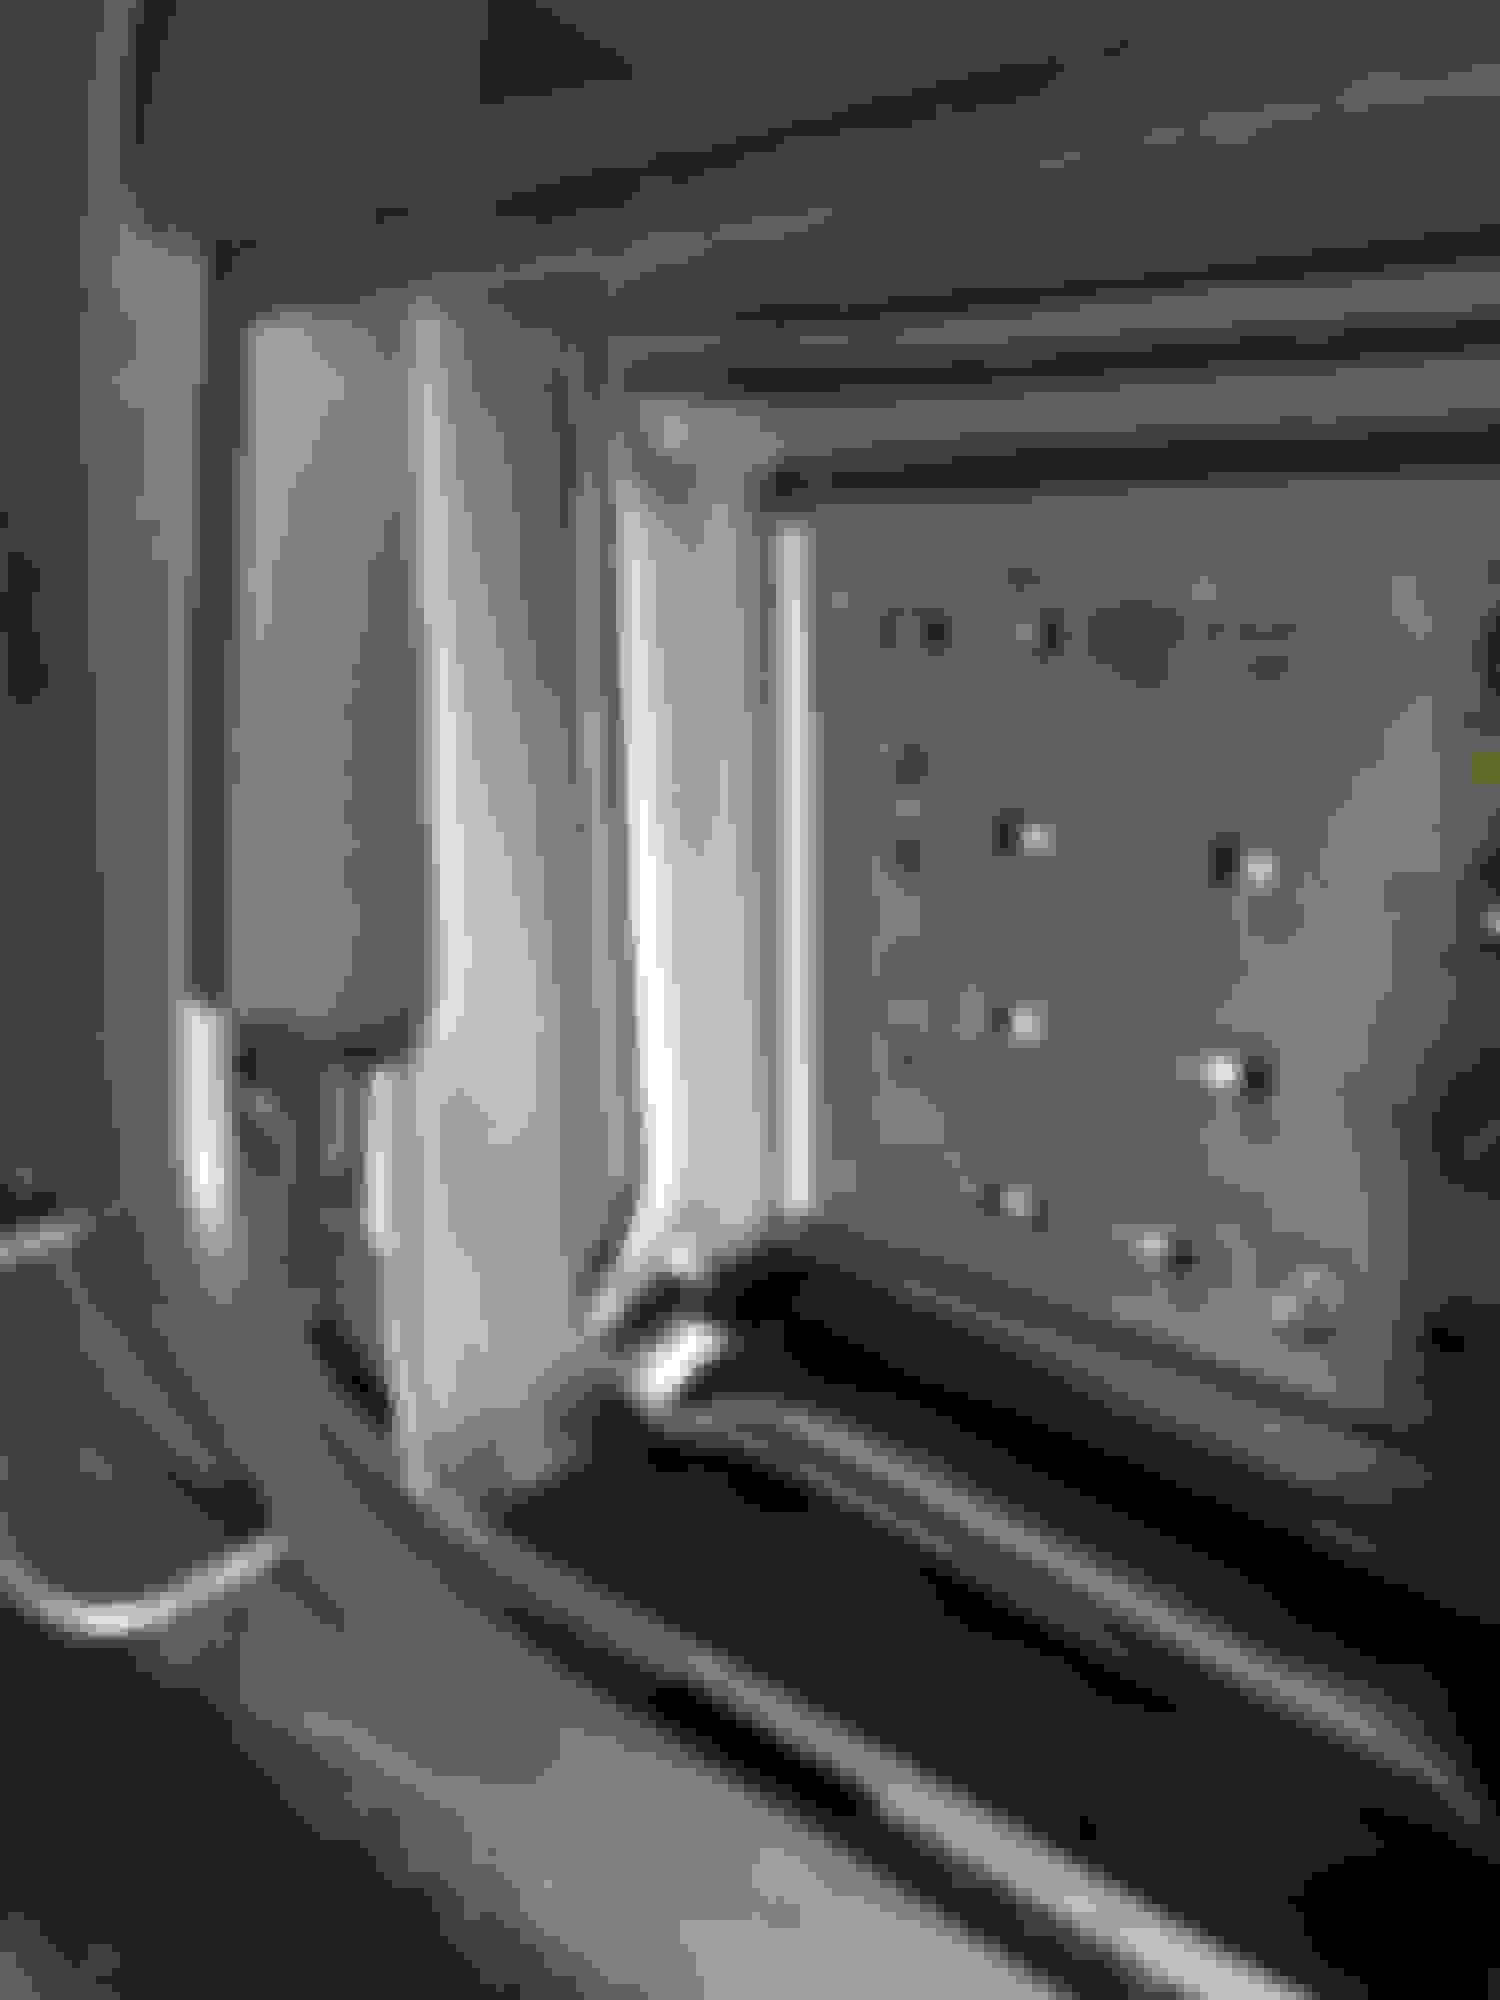
I am installing it on the right side of the trunk where there use to be a console for storing small stuff...
Amazingly the shape is very similar to Zapco's dimension and there is plenty of space behind that panel.
First I enclose the Zapco with blue painter tape to reduce chance of scratch during test fitting:
Using Dremel cut the holes:
Fabricating the MDF for the base to mount the Zapco ASP-X4,
I am so glad I bought this Makita Saw few weeks ago, otherwise
it would be very hard if I use manual saw
Run all the RCA wiring to the Zapco:
I have this sudden idea to make sure no gap between the plastic panel and the Zapco, I use an old door seal (from this car too) and push it on the square opening and it work perfectly
and it's done:
I finally able to turn it on and listen to Full Active Front speaker (Dynaudio Esotar 650 and 110)... before it was either still stock speaker or, still stock tweeter...
The sound is amazing but...
I can feel the lack of power from the Sony Power Amp...
Before I was using the 4 channel, bridged as 2 channel to power the stock Honda speaker passively and it have good punch...
but now with it's 4 channel running fully active, it really don't have enough power to drive the Esotars...
so ...
I can't wait for BRAX to release the new MX4 PRO
Today I am doing the final finishing touch on the Battery Relocation:
I cut the trunk floor board to fit the protrusion of the Optima Battery,
Again I use Door Rubber Seal to cover the edges:
Last week, I paint the bottom steel plate below the original front battery ORANGE, and I decide to wait a week to let the paint fully cured.
Last week, I also forced to tie lock the original front battery positive terminal to make sure it don't fall or touch ground and shorts... this is temporary:
I made a mounting for the front battery terminal and it took me this whole weekend:
First I use the Positive and Negative Battery Jumper Terminal from JEGS, to make sure it doesn't loose by itself and to make sure it won't fall, I decide to apply JB Weld Epoxy at the bottom:
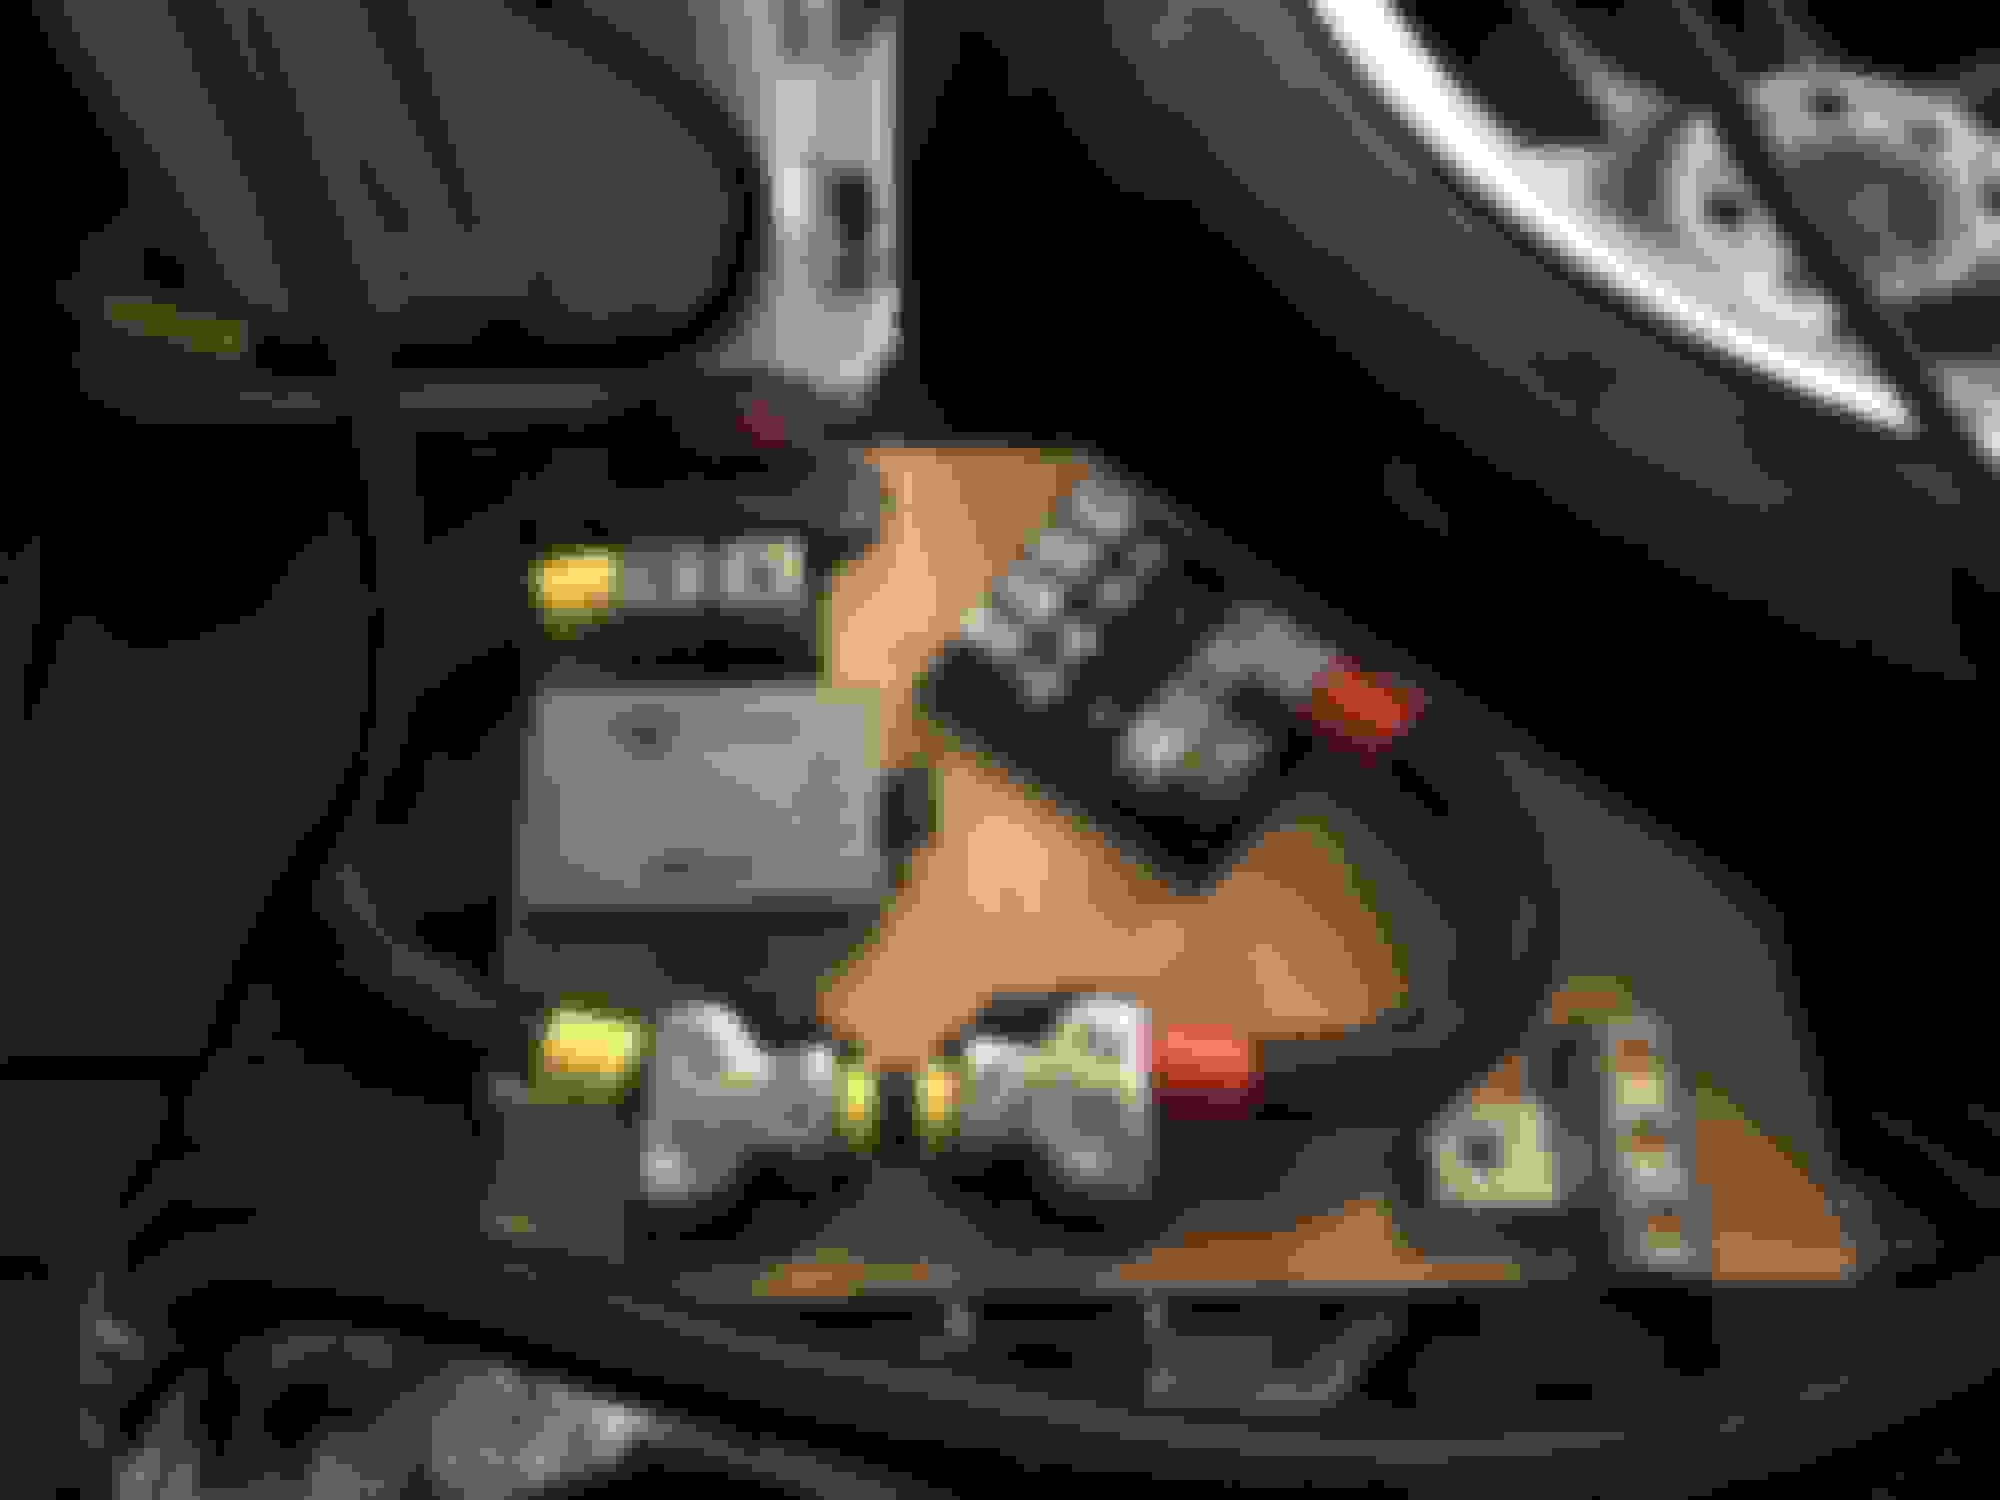
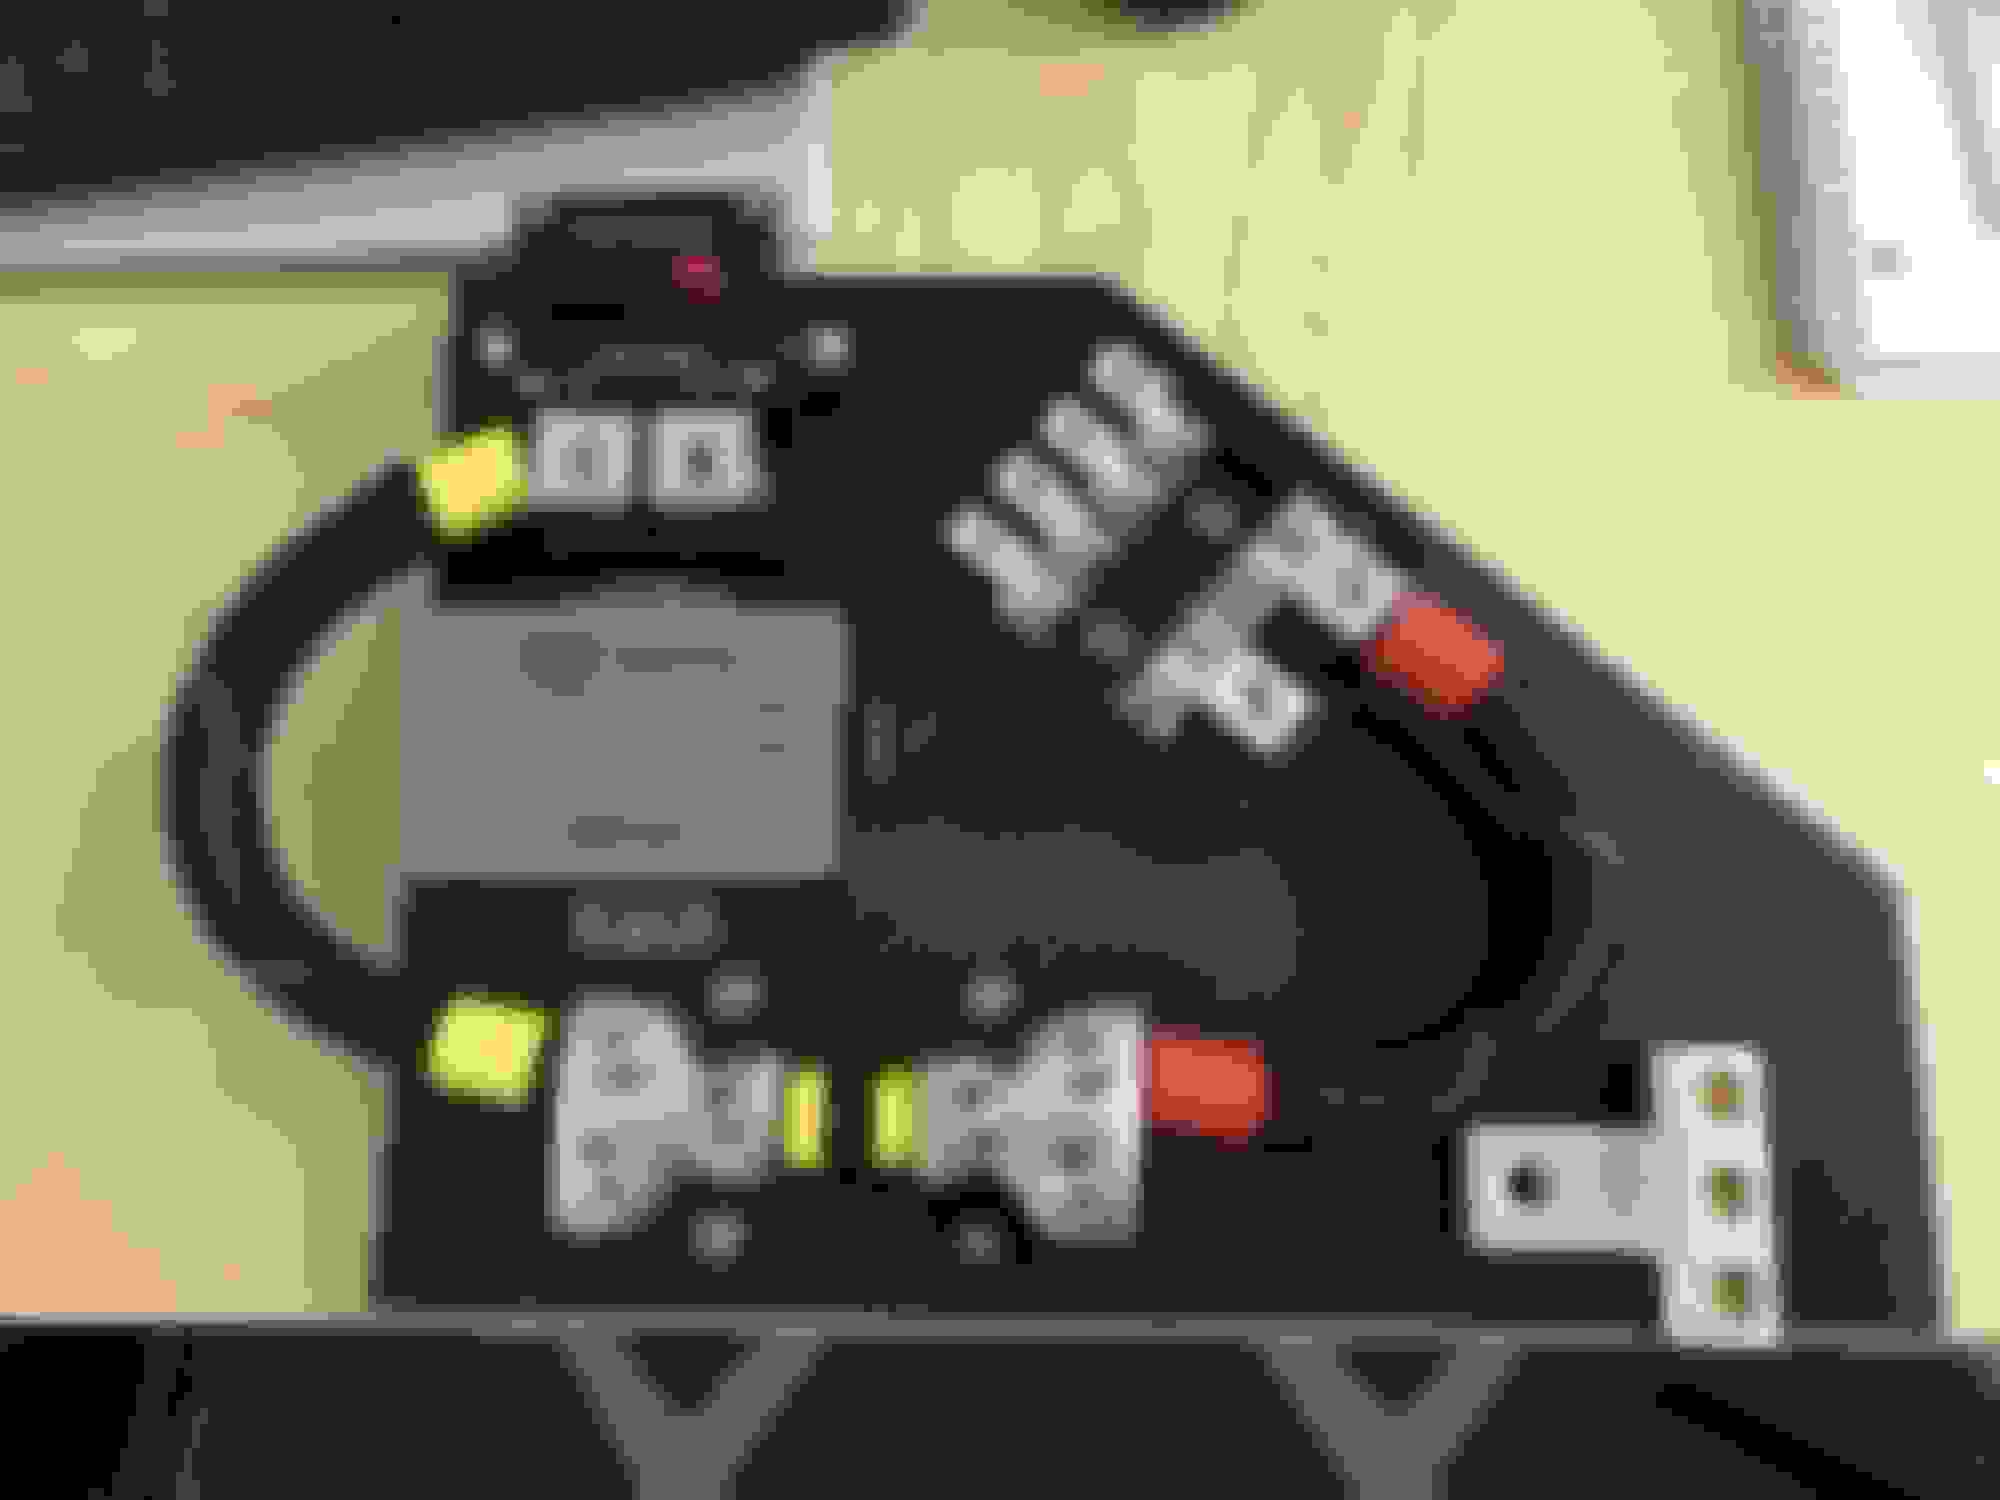
While at it, I also simplify the Big 3 wiring and the front EFX fuse block source wiring from 2 source wire (1/0AWG and 4AWG), to just 1 source wire (1/0AWG) directly connected to the Big3 distribution block. I also change the fuse to the more appropriate amp, due to change in load:
Then I connect the 1/0AWG ground wire from the car body and the engine block that used to be connected to the negative battery terminal to a Rockford Fosgate Distribution Block. The third wire from that ground distribution block will be connected to the JEGS Negative Jumper Terminal.
The RF Distribution block is secure with M4 nut insert and stainless hex socket screw:
Here is the JEGS Battery Jumper terminal ready to use after let the Epoxy cured over night:
Then I use Nut Insert to make sure the two black mounting feet is secure,
those 2 mounting feet were mounting feet for some LED light, but I see it perfect for the JEGS jumper terminal feet so the jumper terminal would be horizontal instead of vertical, by the way all the M5 hex socket screw are stainless steel to make sure there will be no rust problem:
The bottom of the JEGS jumper terminal have screw where I attached the ground wire from Ground Distribution block to the negative terminal, while the positive 1/0AWG from the big 3 distribution block connected to the positive JEGS Jumper terminal:
Then I mount the JEGS Jumper Terminal to the 2 black feet, one of the feet need a spacer to align it properly so I can mount the original Honda Front Positive Battery Terminal to the JEGS Positive Jumper Terminal:
Then I install the Honda Positive Battery Terminal to the JEGS Positive Jumper Terminal, a little adjustment is needed but it fit:
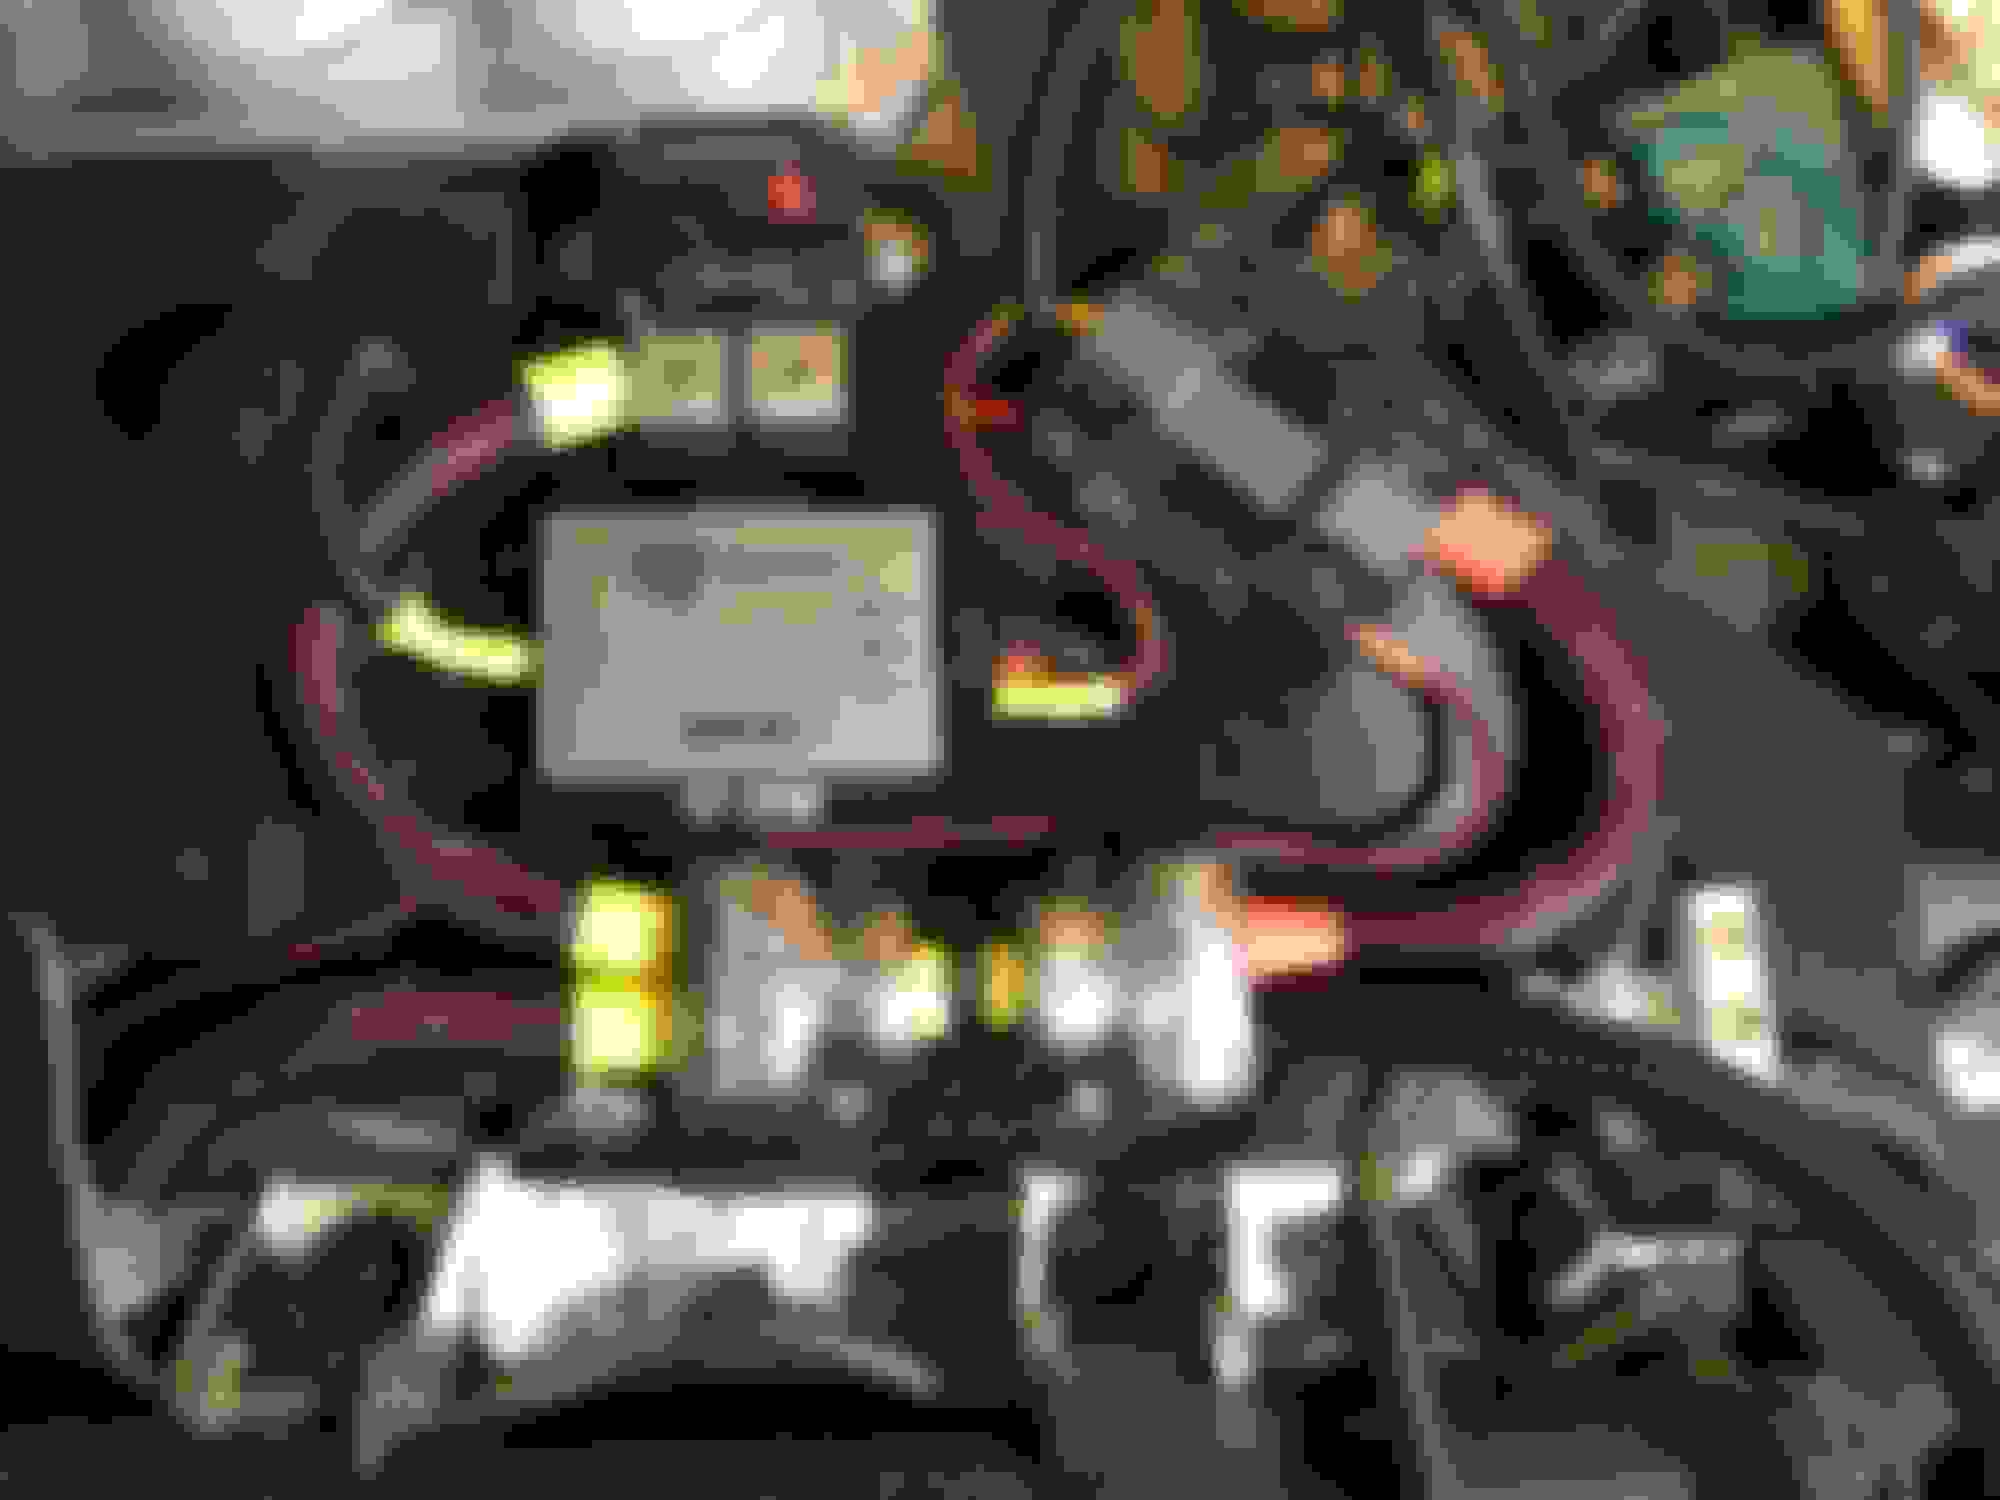
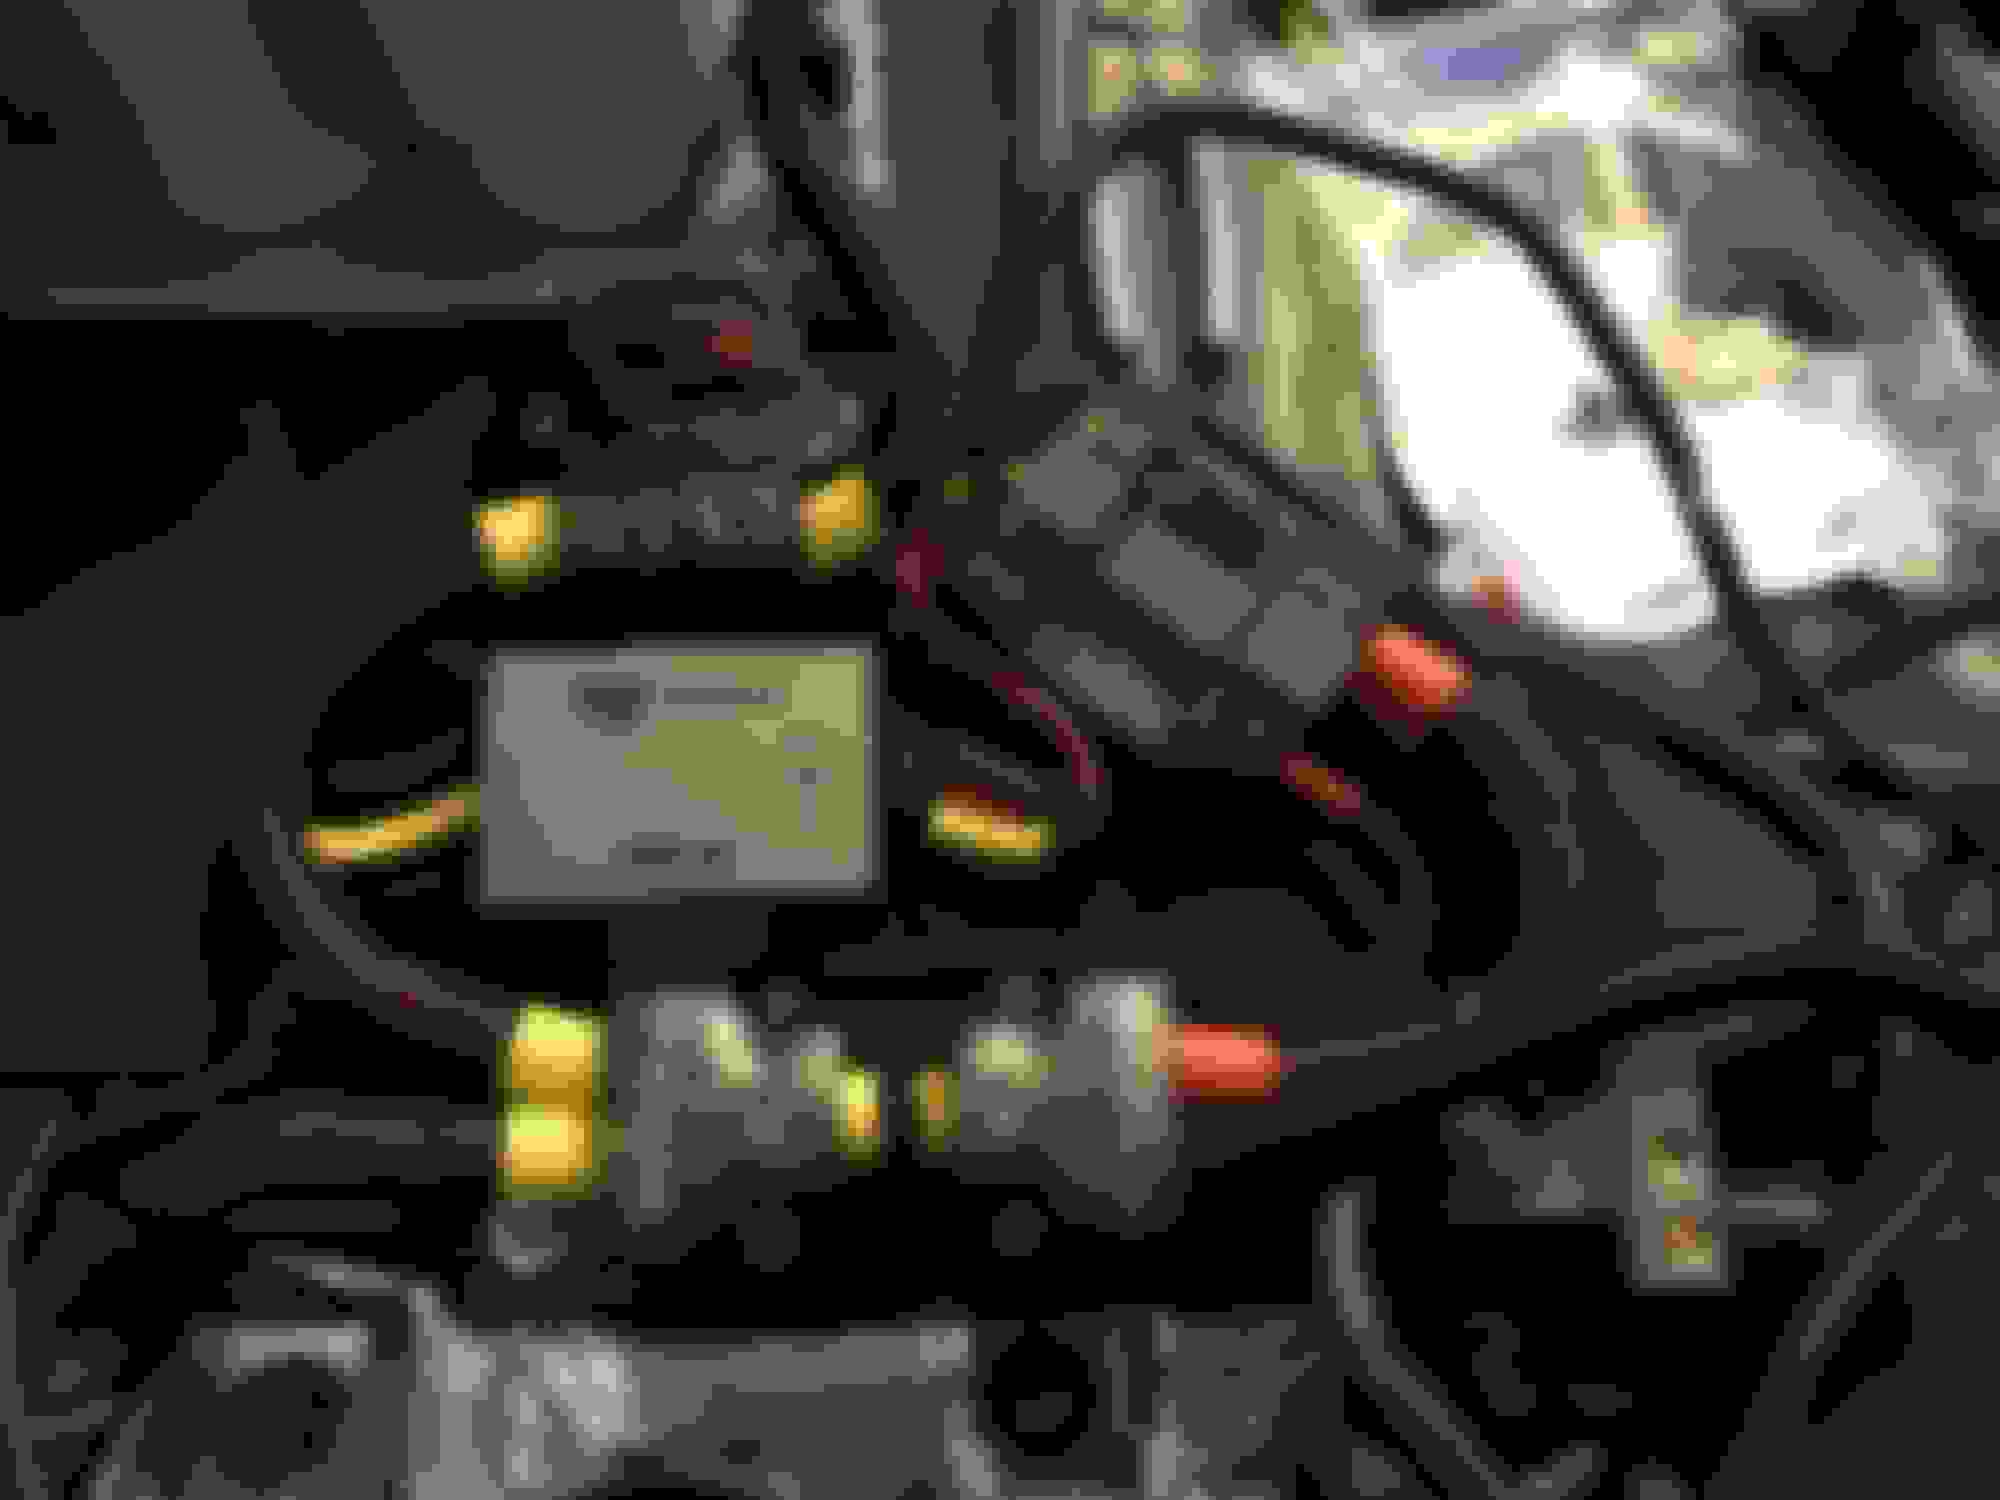
This one show the connection between the source at the Big 3 Distribution Block to both the Positive JEGS Jumper Terminal and to the EFX Fuse Box:
Here it is after I install the airbox and everything back,
Looks much nicer than before (empty battery location with positive terminal hanging with a tie lock )...
Now it looks FINISHED almost like it came this way from Honda Factory:
Last edited by BMW ALPINA; 04-23-2018 at 02:20 AM.
Thank you for sharing such a work of art, with such details, with us!
Thank You David,
I want to update that turn out the Sony RSX-GS9 only output the bluetooth phone call audio from the front channel, and because I dedicated my front channel to feed the signal for the front tweeter only, this made the phone call audio only came out from the tweeter but not the midbass...
So this is a problem...
another problem is the Zapco ASP-X4 active crossover have a noise (hissing noise) that I can hear when no music is playing so it is not perfect.
It's look like I will have to go to the BRAX DSP setup (hopefully they came out soon) just because I can't hear well when someone call me since the voice only came through the tweeter thus only play anything over 2.5khz
Since few months ago, I always have problem with lack of trunk space because I lay the Sony Power amp on the trunk floor:
I was too lazy to fabricate the amp rack because the Sony power amp was a temporary amp before I purchase Brax MX4 which I planned to buy last month..., then right before I make an offer for a brand new Brax MX4 on eBay, BRAX show the upcoming BRAX MX4 PRO version on one of the trade show and they plan to launch it this summer.
Because of that I decide to wait. I also contacted BRAX directly and BRAX confirmed that the PRO version will have the same dimension as the current non pro version (360mm x 360mm).
So today I decide to fabricate an Amp Rack, first I measure the dimension that will fit the space available behind the right rear seat and also match the require dimension for the BRAX MX4 PRO,
I also cut the amp rack so it will not cover the baby seat anchor (just in case I need to use it):
I then drill the metal plate behind the seat and install Rivet Nut, then TEST secure the MDF to the rear seat using Hex Socket Screw:
Now it's time to install the Wood Nut Insert for the Sony XM-GS4 Power Amp to attached to:
I cover the amp rack using 3M 1080 Carbon Fiber Vinyl:
Secure the finished Amp Rack onto the seat:
The secure the Sony XM-GS4 Power Amp onto the amp rack:
Install the rear right seat back to the car and connect all the wiring again:
Install back the Mugen Rear Seat Mat that hide the Sony Power Ampand to make it a "stealthy" and install back the Mugen Trunk Floor mat as final finishing touch
I am thinking of installing a pair of Dynaudio MW182 woofer on the floor panel, just ahead of the front seat... in infinite baffle configuration as a stereo subwoofer...
I think this would sounds great and better than an underseat subwoofer...
but this also mean making large holes on the floor panel, and most importantly I need to make some kind of shield under the car so water splash from rain or car wash (car wash with under car spraying system) will not hit/soak the magnet part of the MW182...
I take a peek at the bottom of my car, and there are valleys on both right and left side of the car where the magnet should be protected and I think all I need to do is just weld a steel plate as the shield...
hmmmmmm do I want to go to all this trouble, or just use an underseat subwoofer...
Last edited by BMW ALPINA; 05-27-2018 at 03:41 AM.
When I first adjust the time alignment on the Sony RSX-GS9, I tried to measure the distance between the driver and my ear myself...
Last weekend, I want to make sure I did the time alignment adjustment correctly, so I ask my son to help me with measuring tape to re measure the distance between each speaker to my ear, Also take into account the offset from the grille to the center of the dust cap/cone... and turn out, I made a mistake on my first measurement... by 10cm in some cases... I guess it need two person to measure it correctly
After I input the new parameter for the time alignment, immediately I feel improvement, in both details and vocal localization,...
Next weekend, I will try to adjust the gain..
I am also buying some parts to overcome the problem with the Bluetooth phone call audio output only through the front channel of Sony RSX-GS9... ,... will assemble it asap and report back here...
Last edited by BMW ALPINA; 06-19-2018 at 11:31 PM.
I am pretty sure my solution for Bluetooth Phone only came out from front channel of RSX-GS9 will work... mainly because it is just a simple relays circuit in RCA distribution box ,
so while I wait for the relays and RCA distribution box to arrive, I start thinking whether I want to keep using Analog Electronic Crossover or buy BRAX DSP when it is available this summer...
Recently I made adjustment to the time alignment setting on the Sony RSX-GS9 and the sound improve to a point that I really confident the time alignment features from the Sony RSX-GS9 is more than adequate...
so for now I am going to focus on keep using (and improving) the Analog Electronic Crossover setup instead of buying BRAX DSP.
Of course, I still want to improve... so I start doing research about either buying a Nakamichi EC-302 3 way analog electronic crossover and modified the circuit so it can output much higher voltage than it's original 2 volts maximum spec... I once own a Nakamichi EC-302 and I remember it sounds very nice but it is prone to alternator noise/interference...
I found out the only way to do this is to upgrade the power supply inside the Nakamichi EC-302, not to mention replacing the decades old electrolytic capacitor, ceramic capacitor and 5532 op-amps...
The cost of buying a brand new Nakamichi EC-302 plus all the modifications above could easily top more than $1,000, and changing a power supply is a big modification that if somehow it do not compatible with the original PCB design, might degrade the quality of the sound of the Nakamichi EC302...
(I was considering the Nakamichi EC-302 simply because sentimental memory and also because I like it's outside design the best, very elegant design and feel expensive to the touch)
Anywa,
I look back at my current Zapco ASP-X4 crossover which have more modern, more powerful (and outboard separate) power supply compare to Nakamichi EC-302. it also have modern high end Electrolytic capacitor, and actually already sounds great. plus the looks is also nice although not as luxurious looks as the Nakamichi EC-302...
I also notice this Zapco ASP-X4 must have a balanced circuit design due to so many amounts of Op-Amps used on the PCB...(I might be wrong on this one)...
If I modify this Zapco ASP-X4 (following the upgrade that Zapco do for it's latest AP series of amplifiers), I should be able to improve the sounds...
I don't plan to change the Elna Silmic ii capacitors since I think they are already one of the best ... but the OP275 op-amps and TL074 op-amps can be improved!
The Sony RSX-GS9 head unit use Muses8920 op-amps but I want to go one step higher by using Muses01 to replace all OP275 op-amps...
actually not all because there are 29 pieces of OP275 op-amps on the Zapco ASP-X4 PCB, and and at an average cost of $50 including shipping and tax PER Muses01, 29pieces of Muses01 would cost $1,450
Since I only use 2 channel out of 4 channel available on the Zapco ASP-X4 Crossover, I can get away with just replacing 14 pieces of OP275 with 14 pieces of Muses01... plus I will replace TL074 Quad Op-Amp with OPA1644 so it will only cost me about $800 including buying smaller soldering tips, and other supply for this modification. No labor cost since I will be doing forced labor myself
The problem is Muses 01 only came with DIP8 socket while the OPA275 is SOIC8, so I ordered an DIP8 to SOIC8 adapter on eBay which should arrive in 2 to 3 weeks from China.
Once the adaptor arrived, I will make sure the feet spacing fit the spacing on the OP275/Zapco ASP-X4 PCB, then I will order 14 pieces of Muses01 op-amp.
If somehow this adaptor do not work, then I will be forced to buy the Muses8920 with SOIC fitting which equal to the one in Sony RSX-GS9 head unit,
The TL074 though have the same fitting as the OPA1644 so I had ordered the OPA1644 op-amps last night.
From my research, either Muses01 or Muses 8920 should have much better stage compare to OP275, (and improvement every where). Hopefully I can get this done very soon (meaning 6 to 8 weeks due to the parts lead time)...
To solve the Sony RSX-GS9 problem of bluetooth phone call audio came out only from the Front Speaker Out,
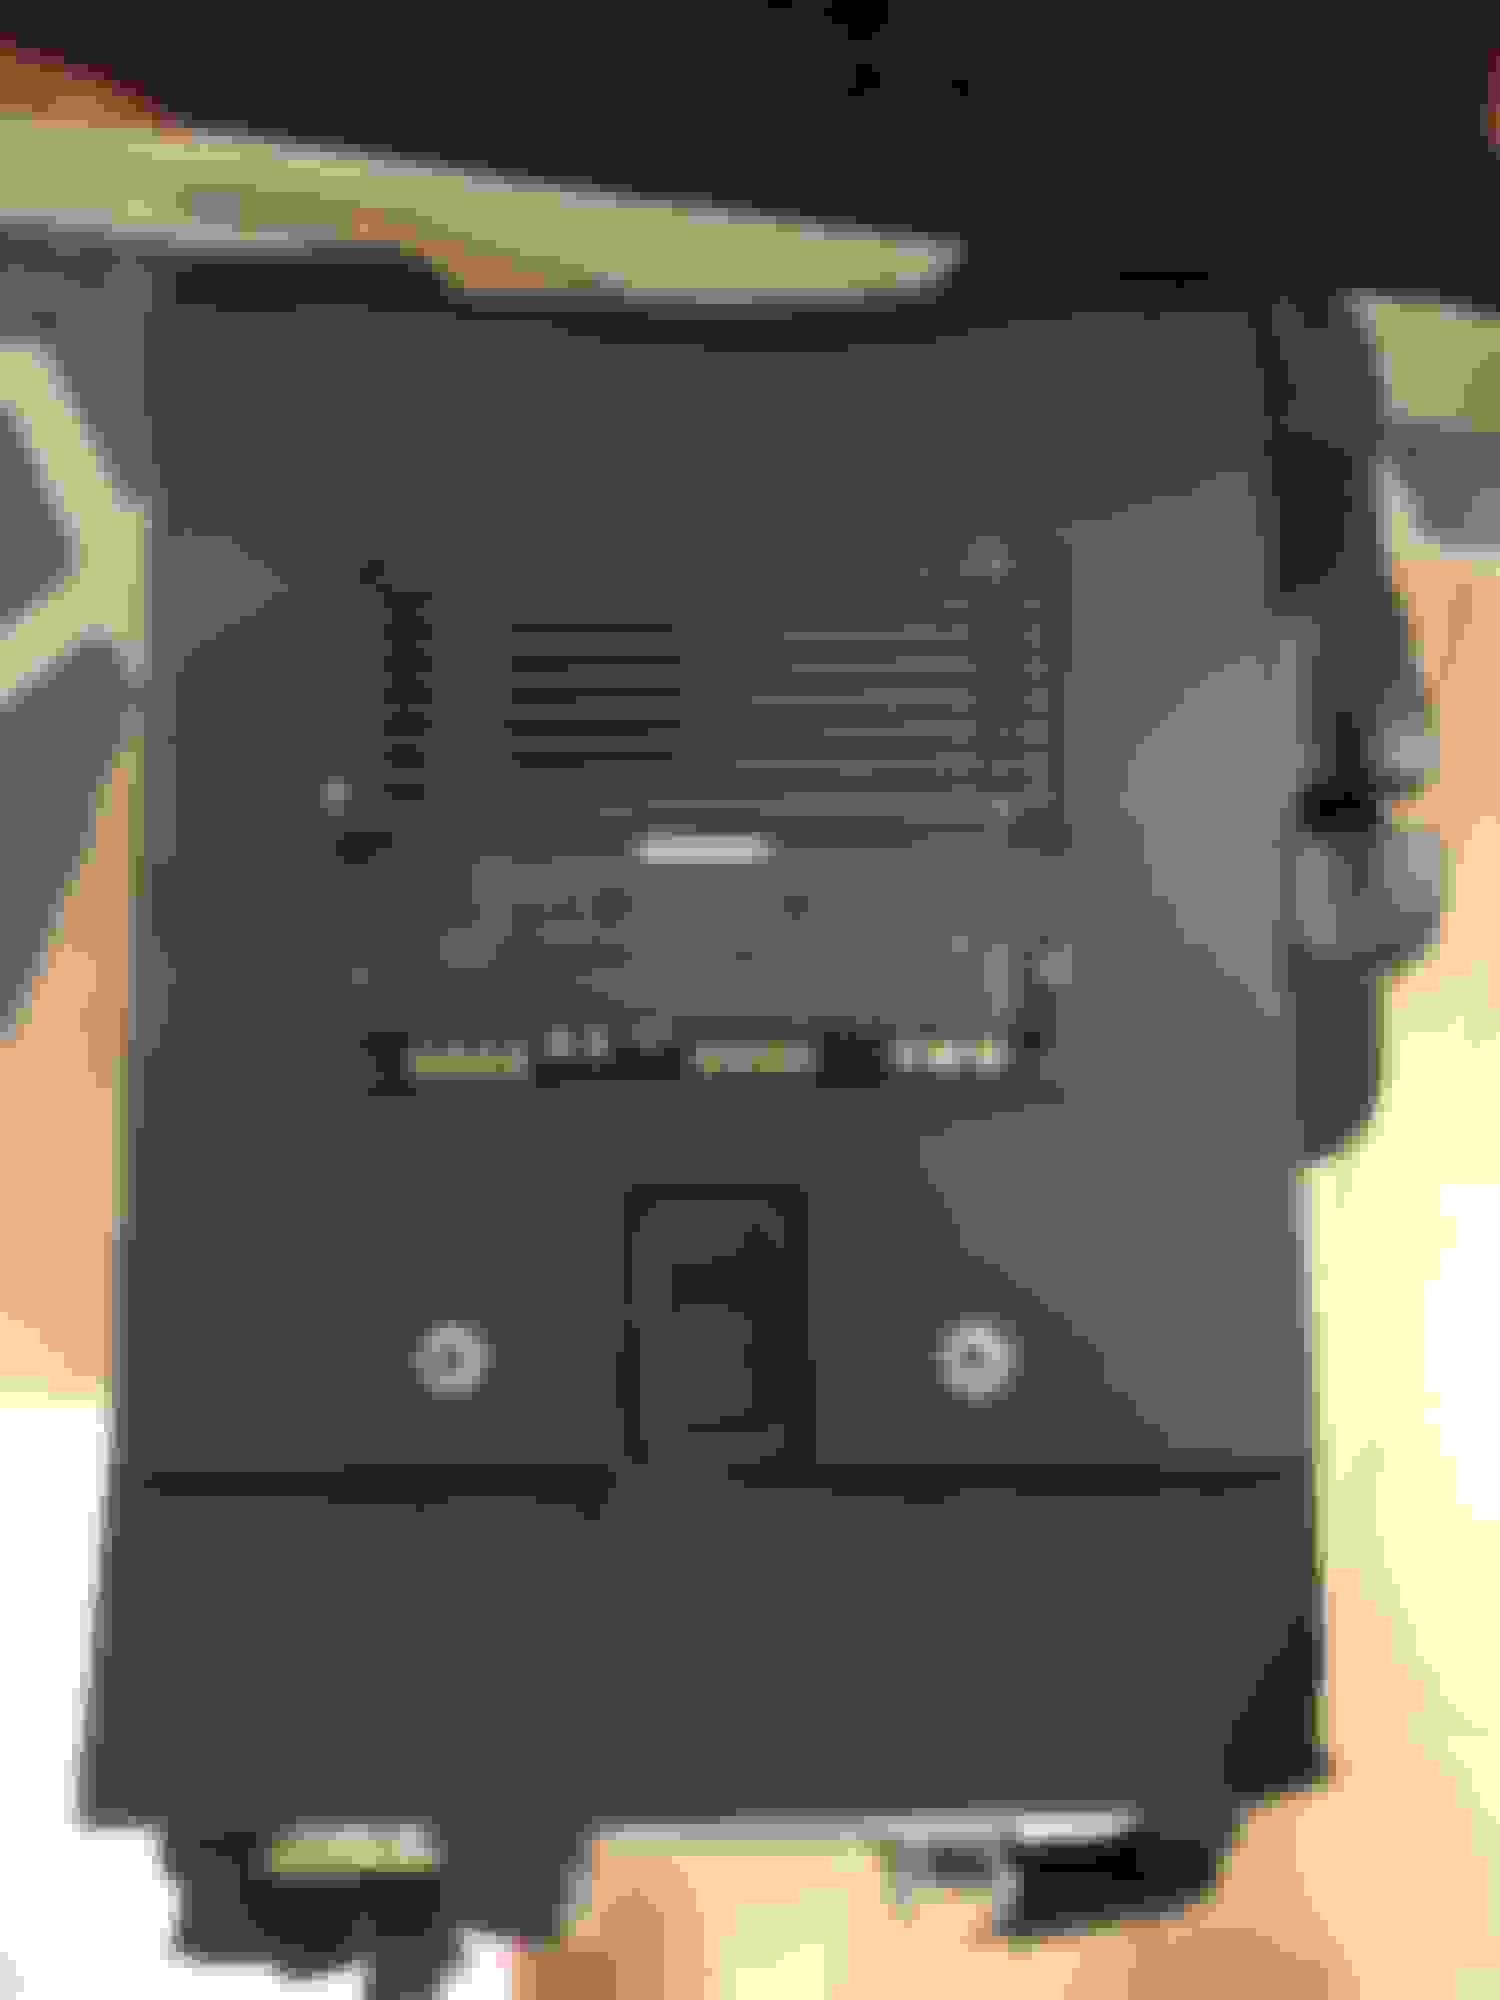
I bought several (cheap ) things at Amazon:
Instead of that manual switch, I soldered 2 relay.
Here is how it works:
a. I split the Front RCA from Sony RSX-GS9 using RCA Y=Splitter.
b. One goes direct to the Zapco ASP-X4 X-over Front Input
c. The second one goes to the Distribution Box Input 1
d. The Rear RCA from Sony RSX-GS9 goes into the Distribution Box Input 2
e. The OUTPUT from the distribution box goes into REAR input of the ZAPCO ASP-X4 X-over.
f. I then wire an On-Off Switch to the dashboard. When I press (ON) this switch it will trigger the relay.
g. The Normally Closed Position, connect the Rear RCA output of Sony RSX-GS9 directly to Rear RCA input of the Zapco ASP-X4 (basically bypass).
f. The Normally Open Position, connect the FRONT RCA Output of Sony RSX-GS9 to the REAR RCA input of the Zapco ASP-X4 (Bluetooth phone mode, so the REAR speaker, in my case the Front Door Dynaudio midbass received the Front Channel signal). As explain above this Normally open position become closed when I press the ON-Off Switch.
Here are more pictures:
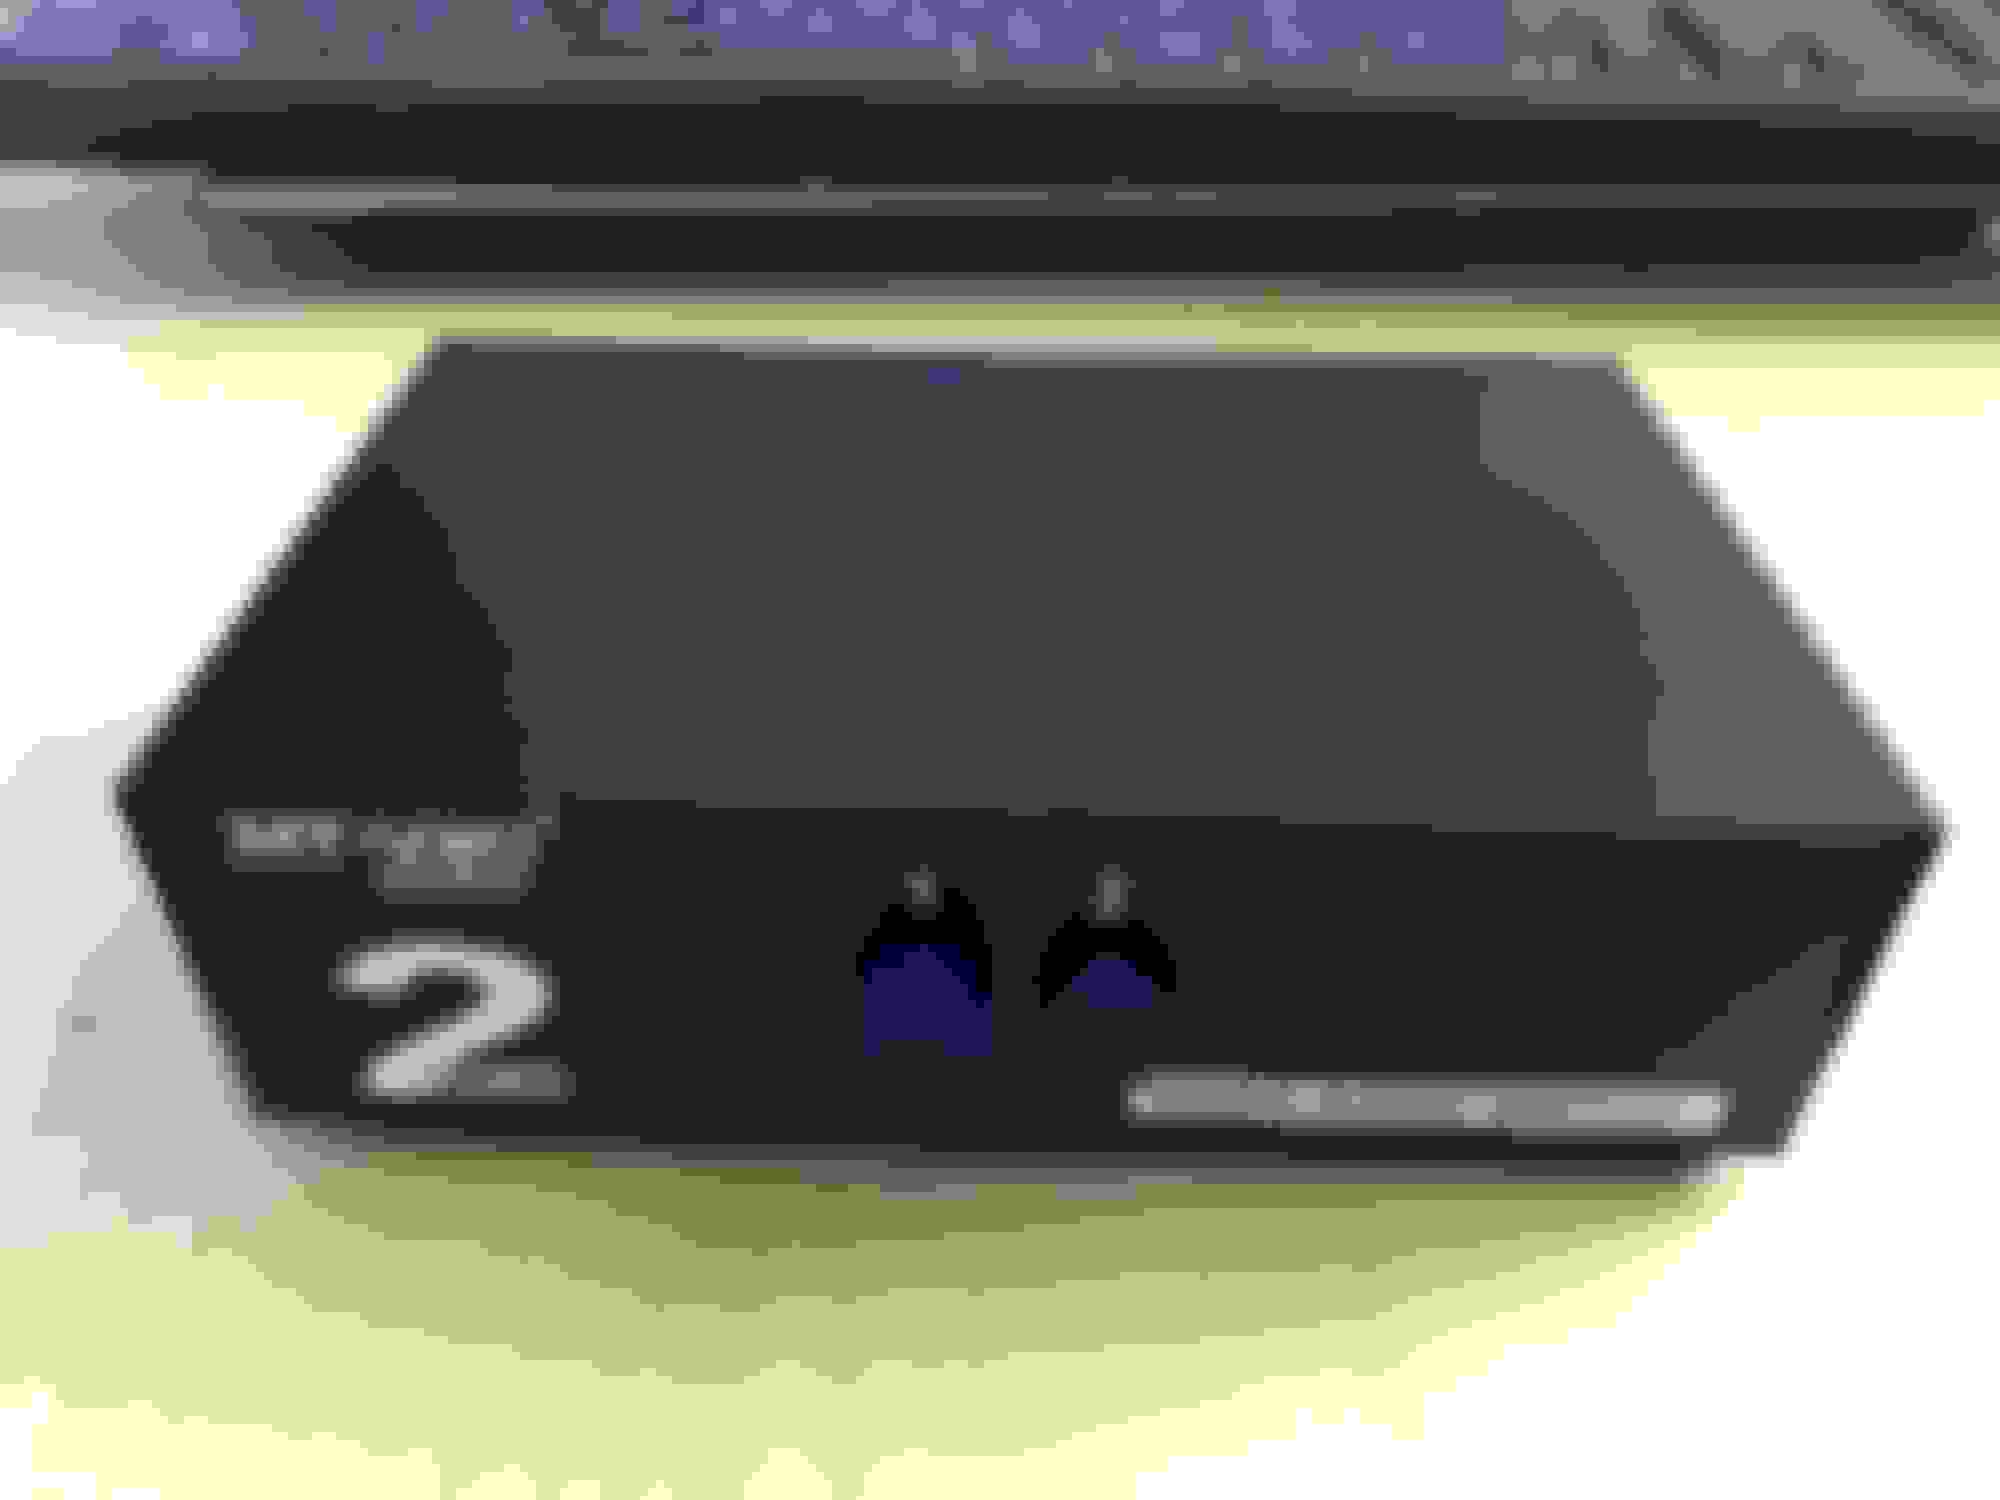
I install the distribution box on top of the Zapco ASP-X4, but I might move this to under the dashboard near the passenger footwell later if I manage to modified this Sony XA-300 distribution box:
So I saw this Sony XA-300 in one of Japan online shop, and I like the looks of it much better than the current distribution block. Also this Sony XA-300 should have much nicer internal relay circuit if I can modify the control system to follow a simple 12volts trigger... I would not know until it arrive hopefully in the next 10 days
Last edited by BMW ALPINA; 07-01-2018 at 02:12 PM.
 03-08-2018, 01:37 AM


 ) things at Amazon: