When you click on links to various merchants on this site and make a purchase, this can result in this site earning a commission. Affiliate programs and affiliations include, but are not limited to, the eBay Partner Network.
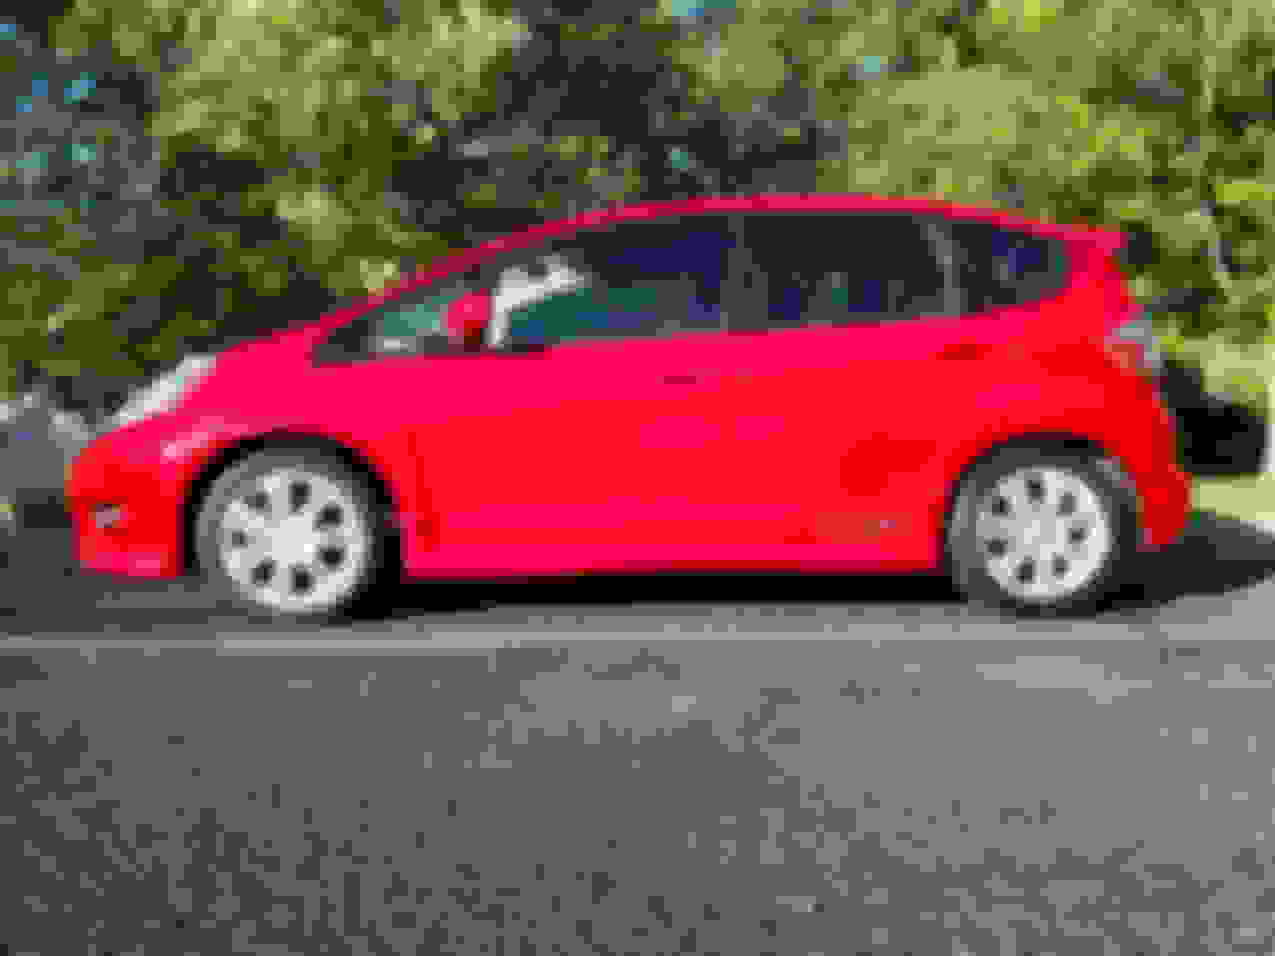
Just sayin hi! Just bought a 2009 milano red Honda Fit Sport AT and so far Im really liking it. I wanted a manual, but couldnt find one after a couple months of looking. Found this with 54,000 miles for a decent deal, and it reminds me of my old 97 EJ6 civic! Ive already started to comb through the crazy amount of info on this site, thank you to all the contributors... and I hope to provide info when I can, and give back to the community!
I have a problem leaving a car stock, and have already started to do some "mods":
had some ups n downs with the mods.
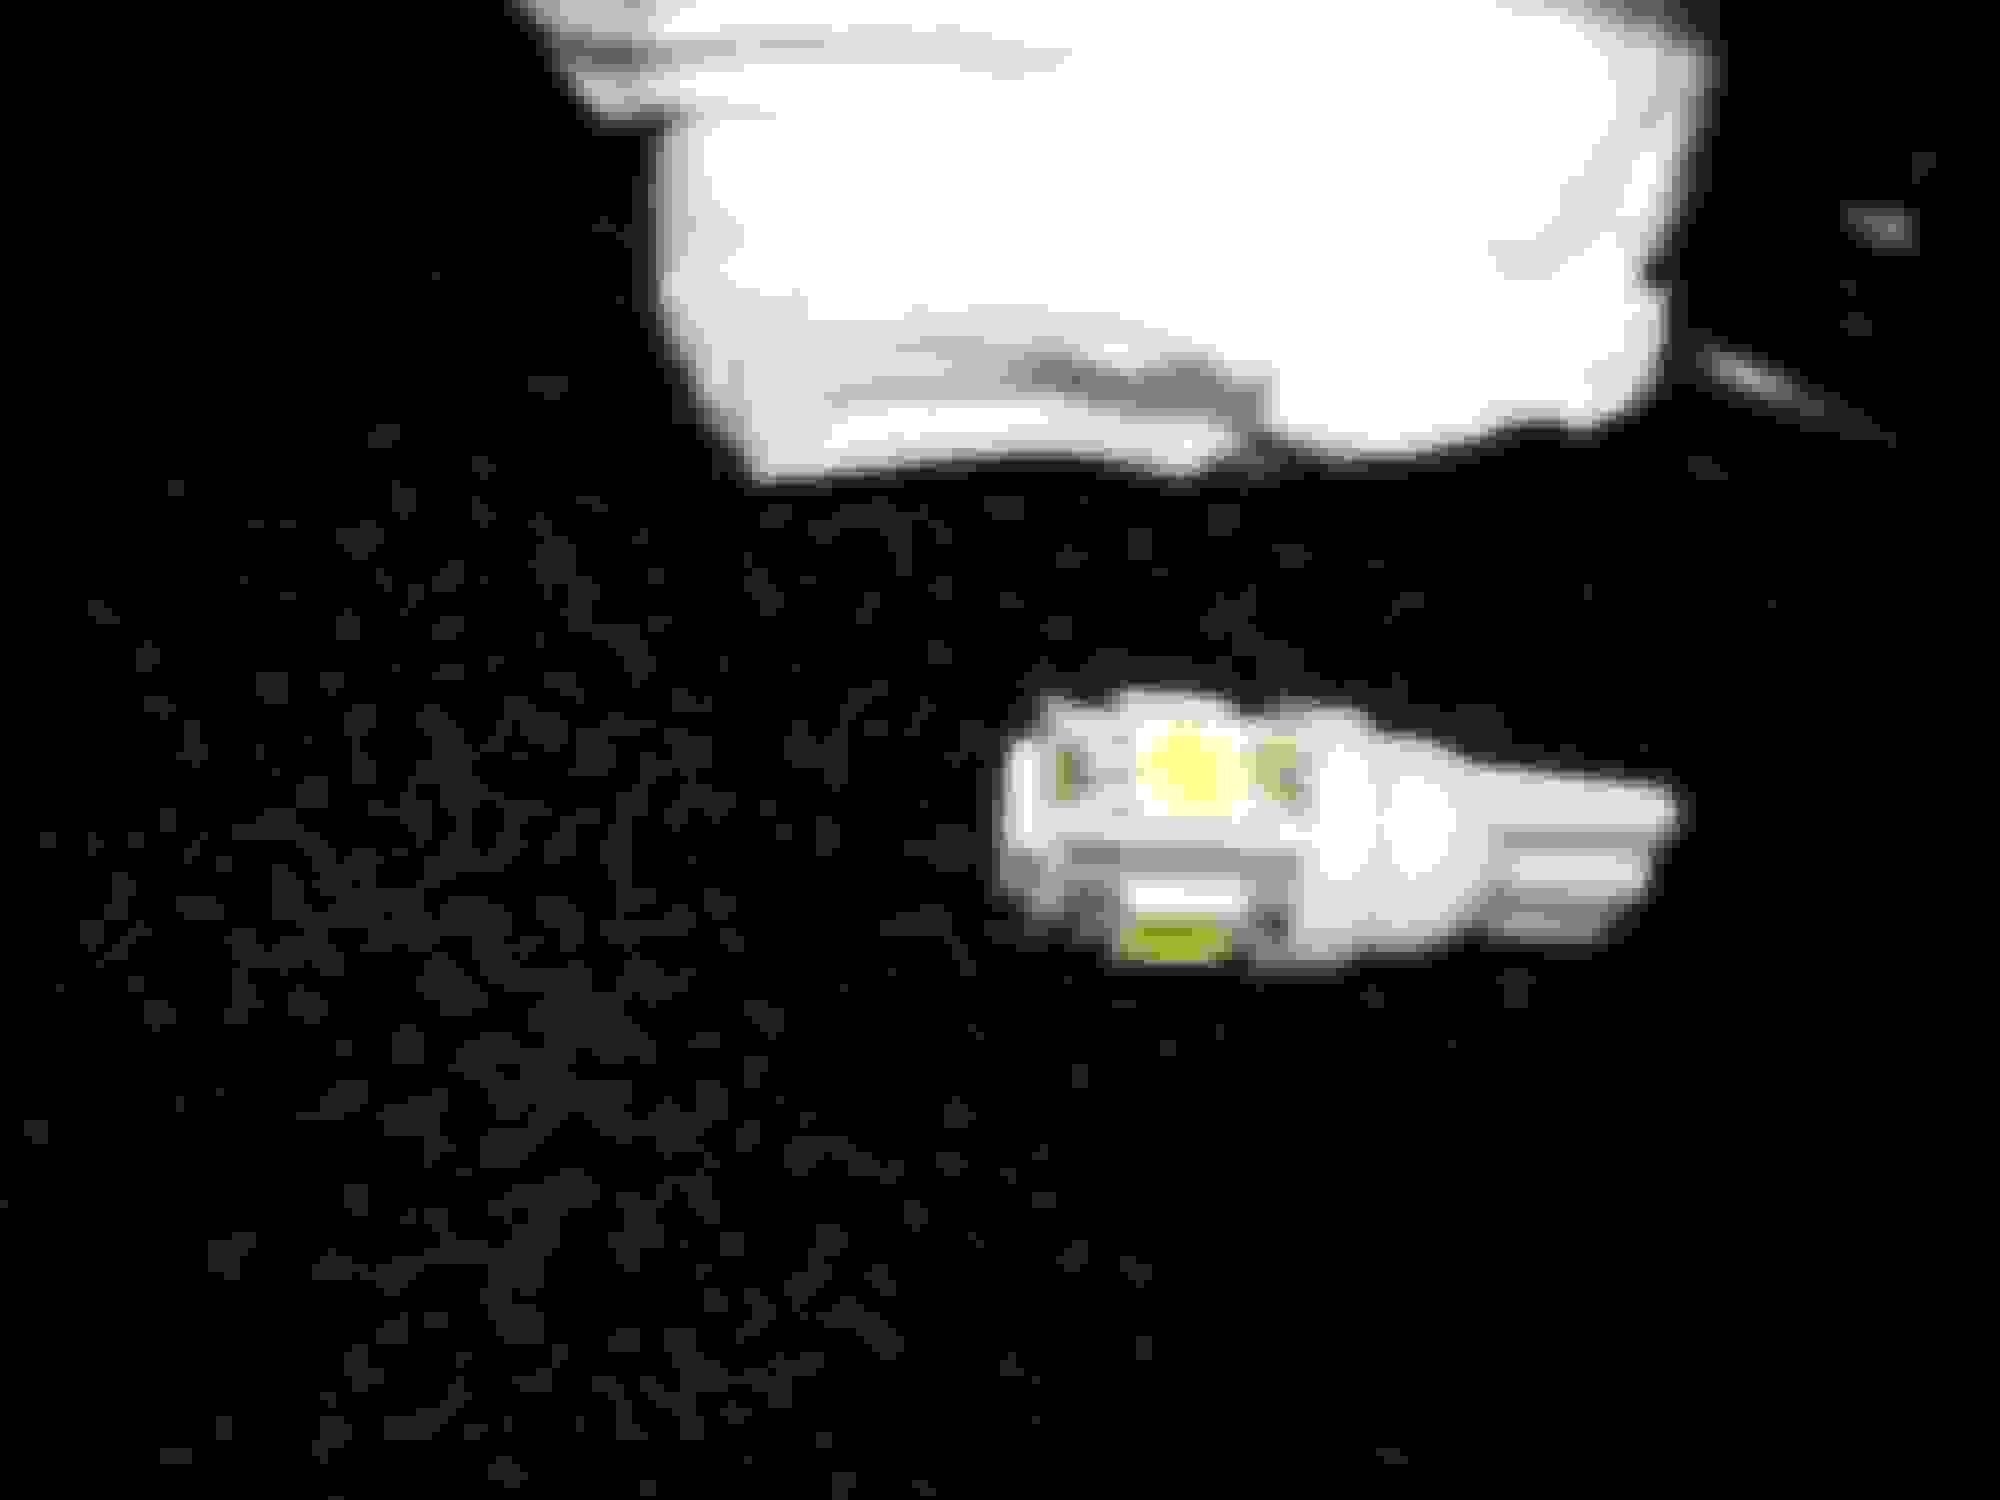
- installed super bright china reverse Leds
- wrapped the upper dash and aftermarket stereo with dry carbon, but over stretched one part, and the dash was beginning to lift with the sun. dont feel like having a war with the vinyl so i decided to revert to the black stereo surround and painted the upper dash flat black to match.
- i installed my stubby antenna
- installed pioneer touchscreen, and best of all the steering wheel remote! i know there is a thread here that has the "how to", but it was easier for me to follow the youtube vid. i was pretty sad my fit didnt come with steering wheel controls for the radio, but now i have them!! thanks to all who discovered this mod i luv it!
took a little longer than i thought was going to, and spent a little more than i wanted but was worth it to me. i ordered some ebay china civic switches($30) and a Crux module ($55), which i highly recommend if you are doing the mod with an aftermarket stereo. you simply flip some switches to program it and its done (aside from wiring and plugging stuff in). i had a Pac adapter on my scion and it was kind of a pain to connect and program.
im not smart enough to figure out how to do the shock sensor and glass break add on. apparently the honda fit and the vid i watched on youtube for the honda accord arent the same. i got everything set up but the stock alarm doesnt like anything piggybacked on it and i couldnt get it to set when i connected the blue trigger wire to the driver or passengers door wire under the dash, as well as trying directly the pin behind the door. maybe ill try again some other time if i dont spring for an aftermarket alarm. was glad the steering wheel control mod worked after taking an L on this project!
few minor updates...installed interior LEDs, spark plugs and changed coolant. decided to try out pep boys "oem" brand concentrated blue. i drained at the radiator only, wasnt in the mood to do block even though im now a professional at taking the cowl off (easier since half my clips are broken too :P) after freaking out about my sparkplugs.
between the radiator and the overflow tank, i got just under a gallon drained. the manual states the coolant change capacity is 1.181 gallons, including the reservoir, which equals 1 gallon and 2.896 cups. so basically i left about 3 cups of old coolant in there. i can live with that, and also plan on changing it again at the 6-12 month mark since the oem blue stuff maked 2 gallons after being diluted. i wasnt sure when it had last been changed, but i assume it wasnt original since it wasnt too discolored and also looked like it was the old jade green honda coolant. i wanted to get all my general maintenance squared up since i just obtained the car.
so for those that have been thinking of changing their coolant but werent sure about the capacity, and wondering if they needed to buy a second gallon just to get that .181 over the gallon.... YOU DONT! YOU ONLY NEED 1 GALLON IF YOU DONT DRAIN THE BLOCK. ONE GALLON WILL FILL THE RADIATOR AND RESERVOIR. i did the recommended bleed procedure and the reservoir sucked from the max mark to halfway between max and minimum. after the final top off i have about 3/4 cup left of the gallon. this is good news especially if you are wanting to buy the official honda type 2 coolant.
-i also pulled out the oem usb cable and replaced it with the pioneer one in the upper glove box.
-scraped off oem security and ulev glass stickers
-pulled out gauge cluster since it had a bit of dirt behind the "glass". cleaned inside and then used meguiars plastx to remove the swirl marks on clear outer gauge cluster surface. need super long phillips screwdriver or socket with phillips tip to reach lower gauge screw btw.
-touched up some bumper scrapes i had. the duplicolor milano red touch up paint from pep boys is kinda pink, in case anyone was wondering if it matched. i had three 4 inch long paint scratched on my rear bumper, and it was a bit too much for a touch up brush procedure. globby and uneven. i ended up wet sanding with 1000, and then 2000 grit sandpaper and then buffing out with some plastx. the texture looks alot better but the pinkish tone is off a hair. much better than the black color scratches it started with though.
i also tried to bake my rear taillights so i could take out the red reflectors in them. put em for 10 minutes at 200 degrees and they didnt soften at all. while still warm i even heated an area with my heat gun to see if i could get the adhesive to soften, but got zero response. another mission failed.
i know this subject has been covered several times here, but just some reference pics in case anyone was considering this size: 15x8 20et 195/55-15. as for now its a no go, but may see how they fit (i know theyll rub to hell) after i get it lowered and some camber bolts.
thinking of going late 90s style with it and some bronze or black rota slipstreams.
finally got the last of the leds that i ordered from china ebay.
planned on putting one of the smaller 5x3 panels in the trunk light, and it fits well, but i realized i didnt want so much light back there. just stuck a led wedge. the 5x3 leds are a slightly warmer color than the rest, which kinda bothers me. i plan on replacing the dome lights with 1 4x6 like i used in the maps lights. damn ocd ;p
map lights:
dome lights...peeled double sided tape but really just jammed in there with friction
Trunk - single led...panel too bright for this location
Ebay antenna, Center Armrest/Delete Plug, USB Cable
My $2 ebay aluminum antenna
Also finished up my armrest install. bought off aliexpress for $50 shipped. didnt come with a plug but did a DIY on making one here.
fyi the screw they send wont work, and the oe bolts built in washer is too wide...had to get a longer one at True Value Hardware (~5mm x 20mm?) I was able to use the bolt washer they sent though
the bolt was like .40 cents and the plug material was 3 dollars. I had some felt laying around and decided to hot glue some to the inner tray so it wouldnt seem so cheap and also minimize rattles. they tray itself fits perfectly, and doesnt move around or fall in.
Overall I am very happy with the armrest. Definitely worth $50 bucks to me. of course I wanted the Honda console armrest, but would never pay $200 for it. probably not even $100. on this zeta "clone" (i know how the whole manufacturing in china thing works), the color matches the console almost exact. in the pics on alibaba it looked straight black and was worried it would be too dark. its pretty sturdy even without bolting it in, but with the bolt it makes it one with the console. the rear fold down cupholder is kinda goofy, but i dont plan on using it anyways...and it locks in the closed position pretty securely. Even the pad on top is pretty nice. Happy!
one of my next projects is to add a power socket inside the armrest, in the bottom that fits into the oe cupholder. I might make a small hole on the front bottom side, facing down towards my change/hand sanitzer
to allow a usb cable to come out. I really dont like having my phone cable draping the way it does now.
Also thought Id post a pic of my painted dash and Pioneer usb cable in OE location in upper glove box. u just pulled out the passenger side vent, pushed the cord and grommet in, cut a slice on the bottom of it to remove the oe cable and replace with pioneer usb cable.
pushed back in through the backside and removed the oe usb holder as it wasnt able to do anything now, then reinstalled my vent.
and thanks to my impatience.... some before and after shots..stock height vs tein street basis z full drop. excuse the greasy hand prints. gonna leave like this for a few days, but plan on raising the front about half an inch and the rear about 3/4. there is no rubbing anywhere, just want to even out the distance from tire to fenders and prolong damper life.
ride is nice...slighty stiffer but comfortable.drastic decrease in sway/dip/dive. hope they last!
SHIT SHIT SHIT, I want my car lower - thanks for the post, keep up the work and posts, my thread I need to start for my third fit will probably start with lowering the seat
Reverse Cam, JDM Wiper Mod, LED Headlights and Foglights, XXR Wheel Test 2
Reverse Camera/ Stiffy Wiper Mod
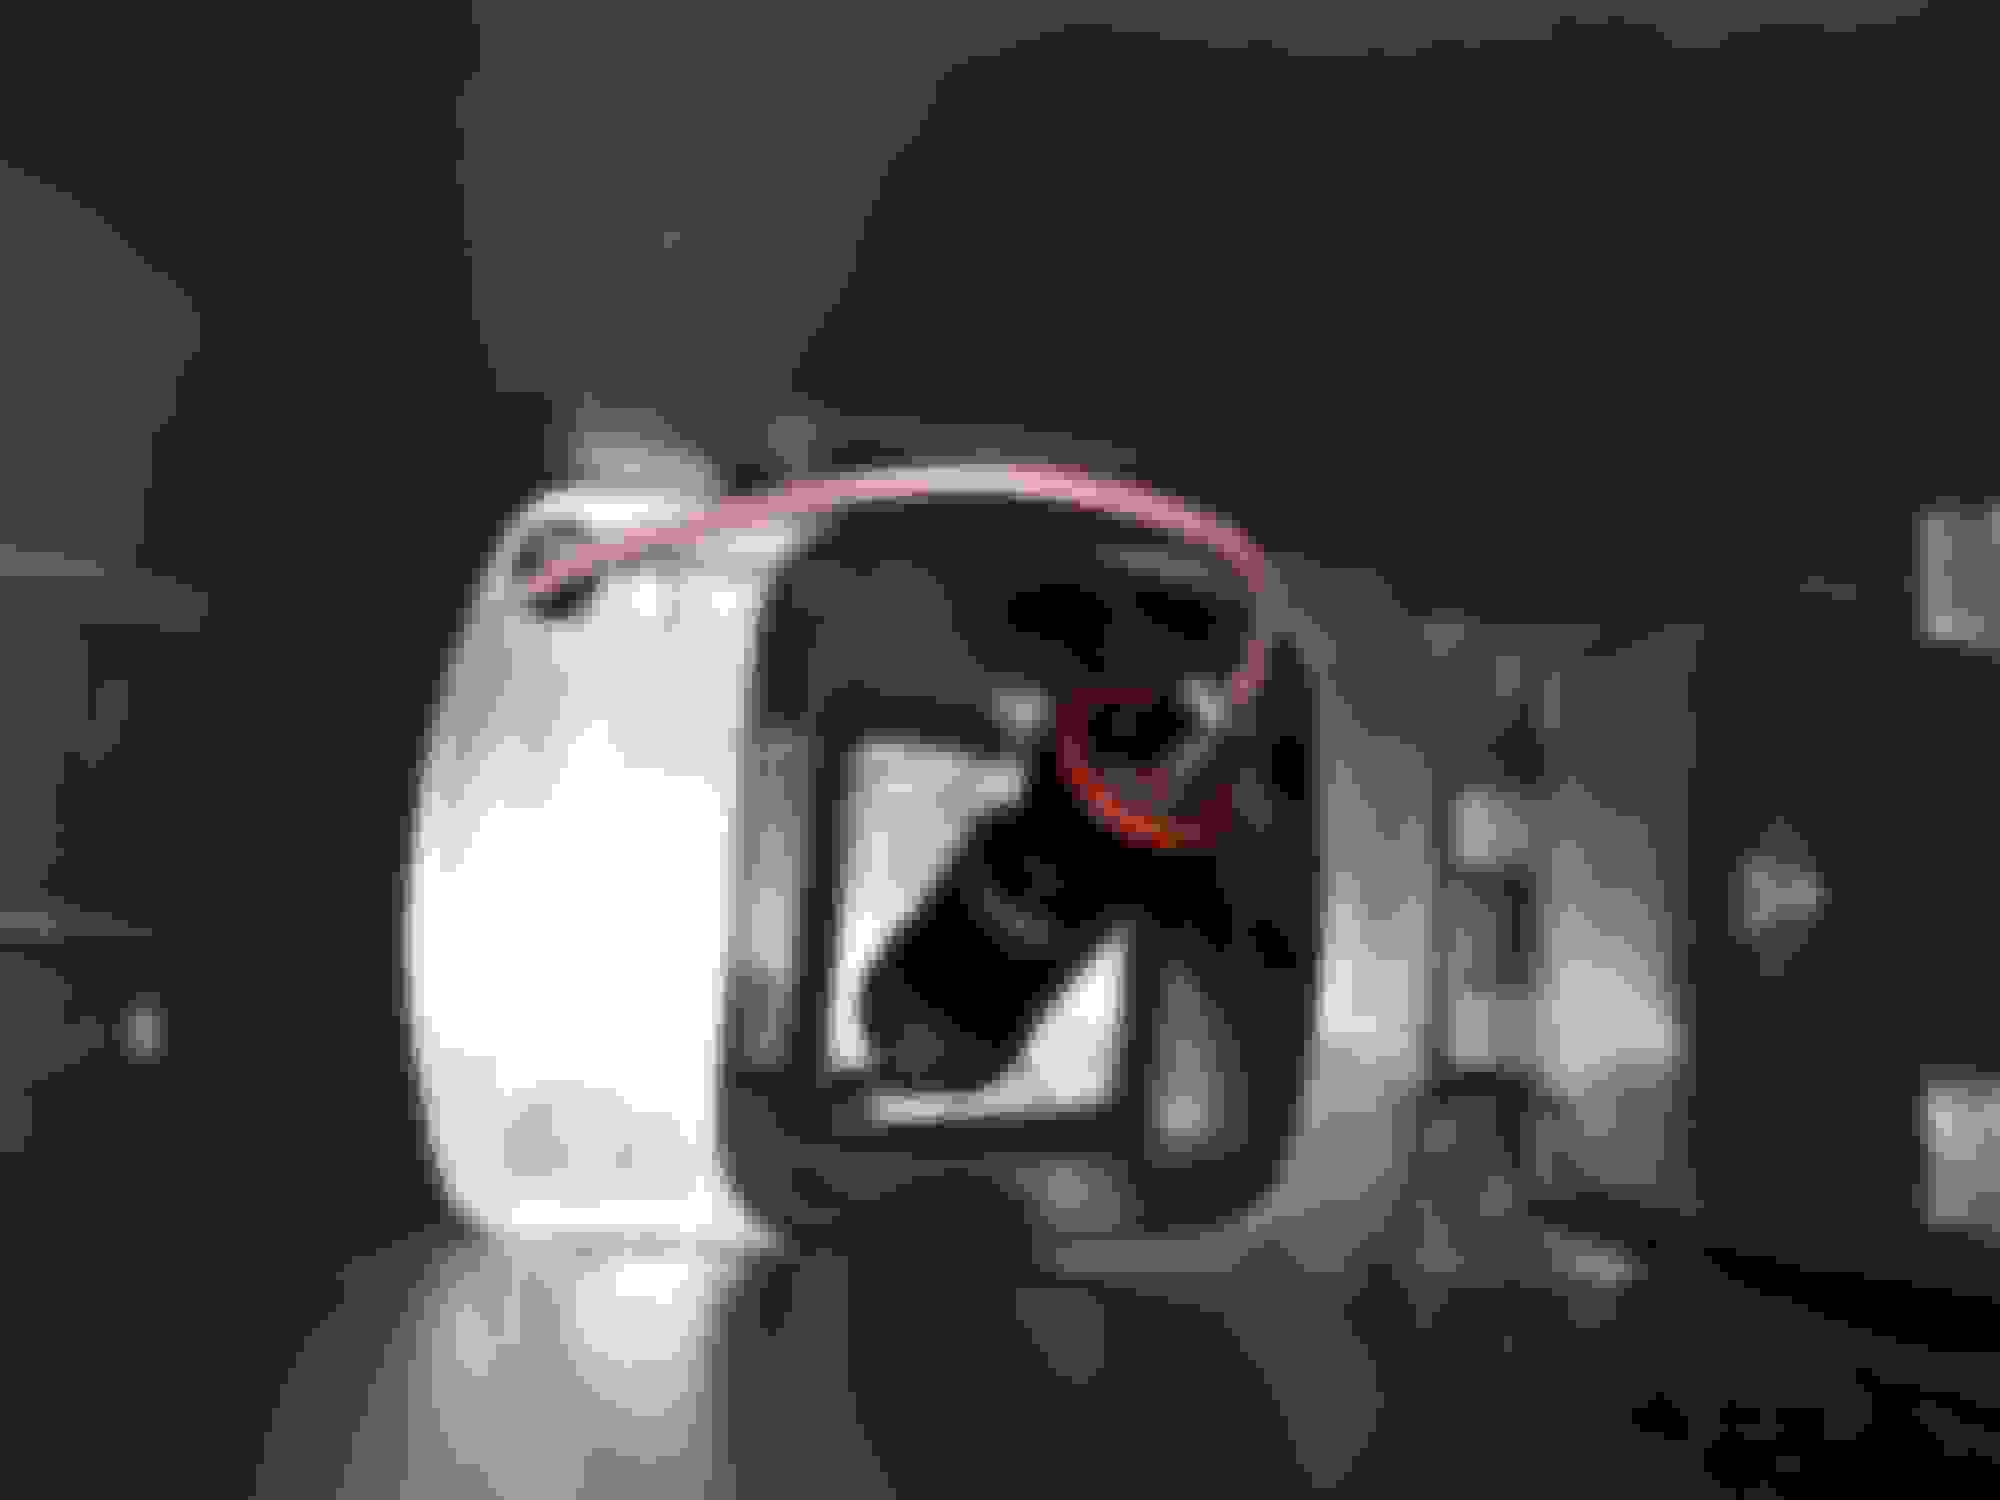
Installed my rear view cam. i like not having to open the door to reverse close to curb anymore. still playing with viewing angle since i had to mount it off center because of the hatch handle. I was going to try the cube looking one that ive seen that is attached to the license plate light because it seems a little tucked which is nice, but thought the floating cube design might bother me. I played it safe and went for the style I had on my last car. The picture quality is great for the price ($8). Definitely more clear in the daytime, but for the price and the few seconds a day I spend in reverse I cant complain. For anyone adding a reverse cam, it IS possible to get the RCA through the rubber loom thing in the hatch jamb. I shoved a wire hanger through it and duck taped the RCA to it and was tugging to hell and it wasnt budging. Couldnt find my wd-40, but did find some TriFlow bike lube...gave the entry point of the rubber loom a lil sprits...and then a tug and the rca slid through like butter! Overall slight PITA routing cable cleanly, soldering etc, but enjoy having it.
Also decided to give my wiper a stiffy since I had the rear hatch cover off. On the fence if I like it or not. I didnt understand why everyone on the forum was saying they were chasing the gear around driveways etc. Now I See! I did mine with the wiper still attached and with the trunk wide open, working upwards. I didnt realize the bracket holding the motor to the trunk was also the motor cover....fortunately, since I was doing this at night, my motor gear and arm fell into my trunk. Can also notice my chrome rear turn signal bulbs below. Simple mod that cleans up any amber bulb light housing.
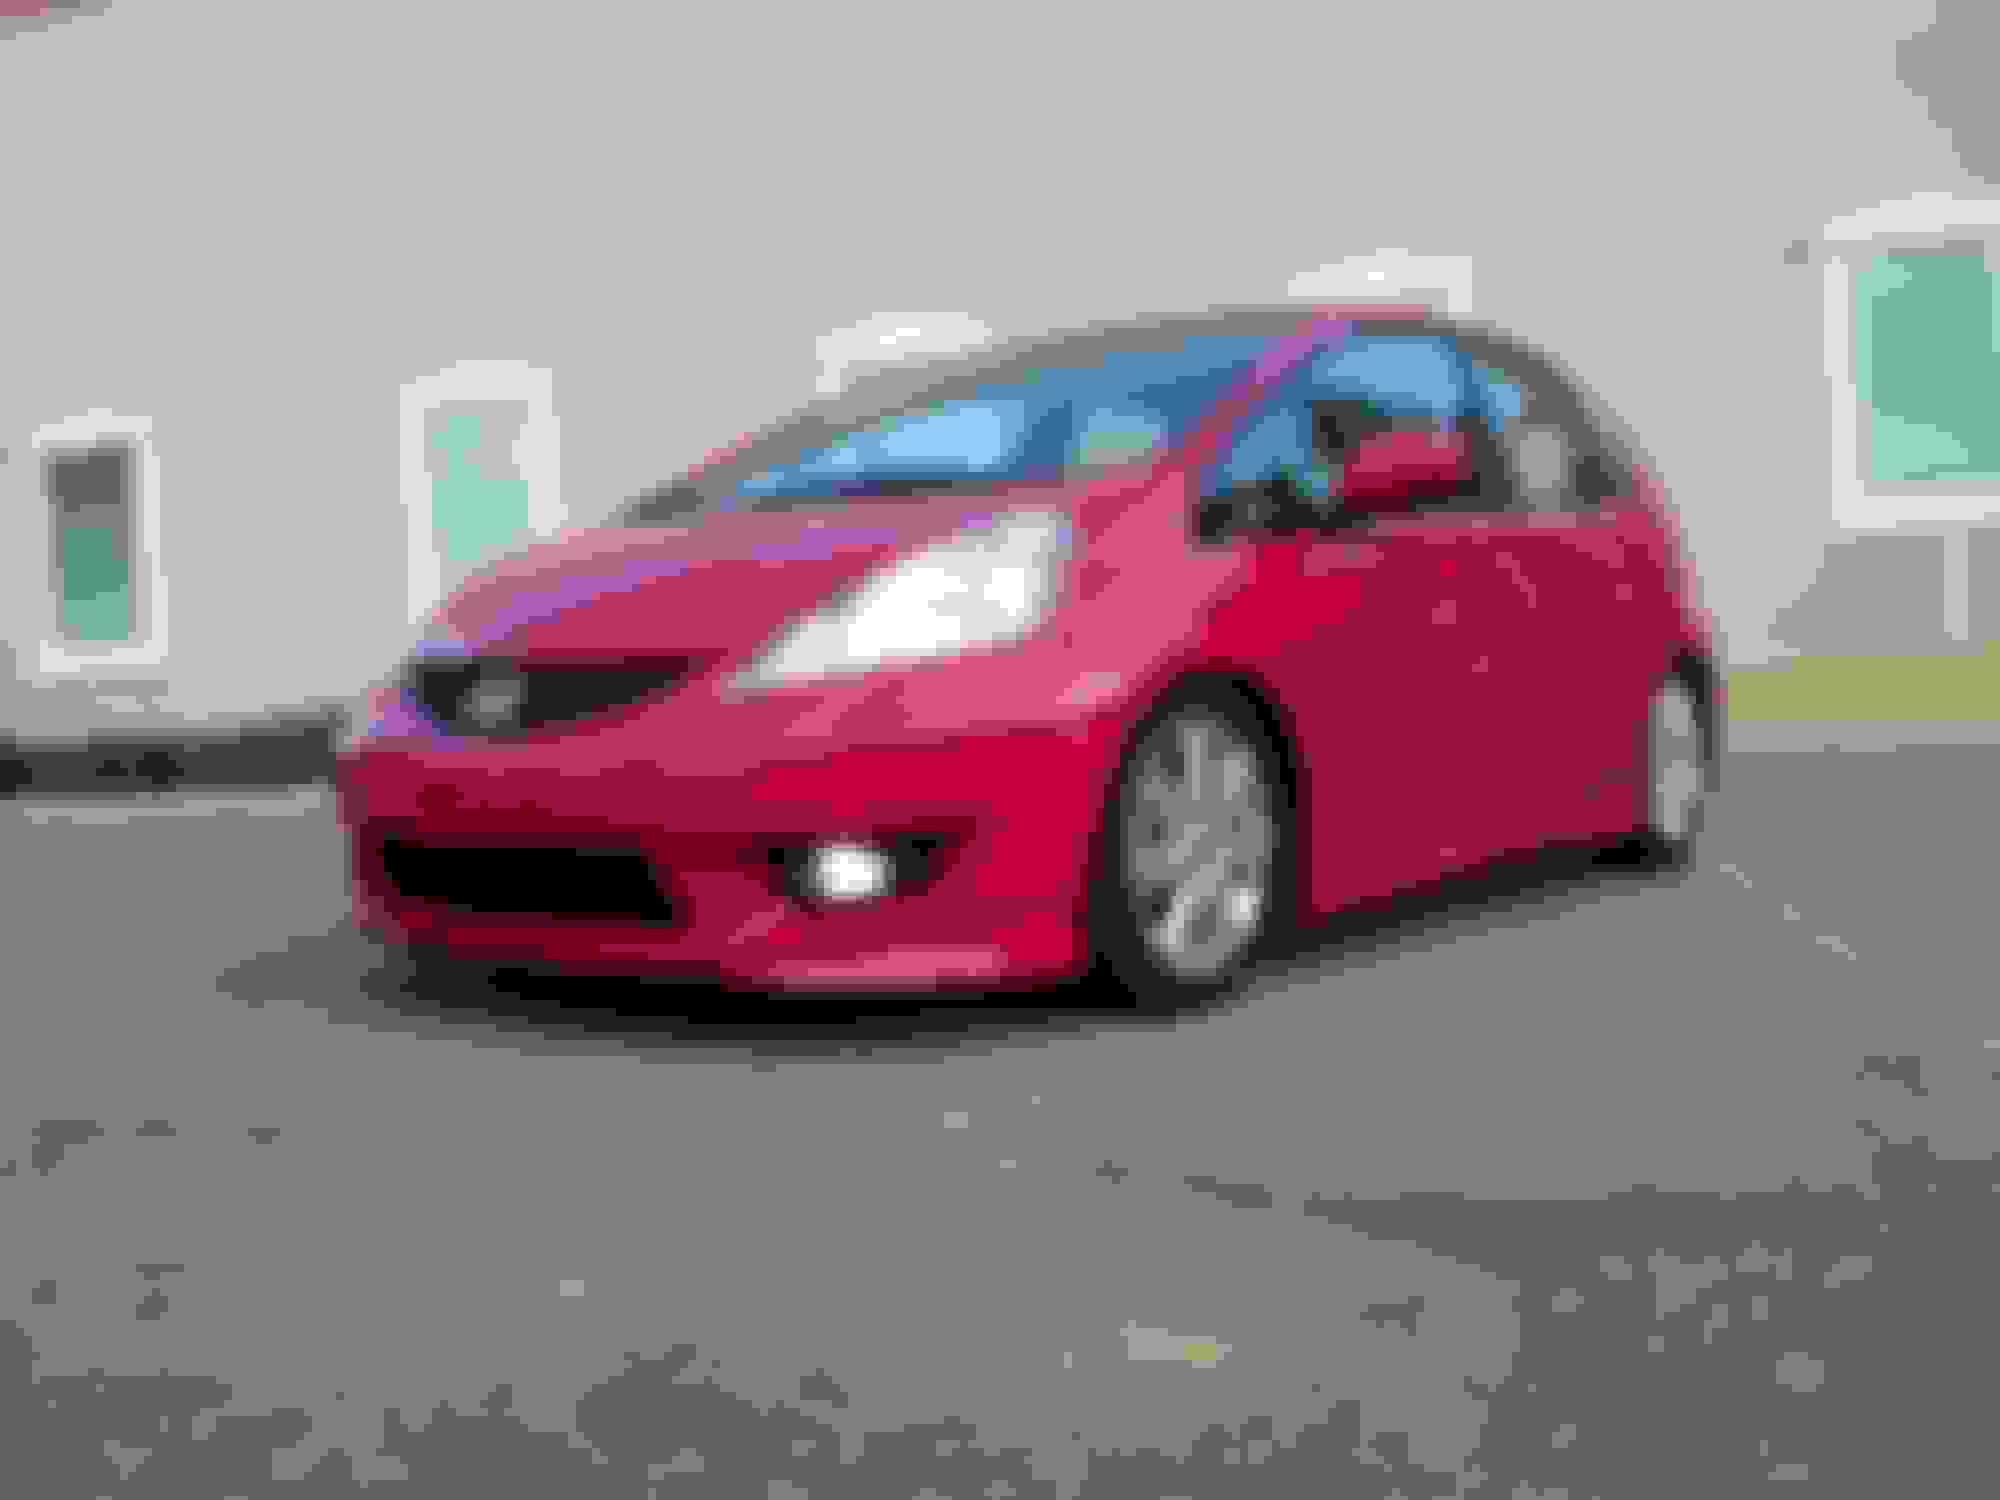
LED Headlights and Foglights
Decided to take a pic of my Ebay LED head and foglights in the daytime to show their color. So far have been really happy with these for the price Each pair is roughly $15. Light output is brighter than stock (maybe close to twice), but mostly I like the pure white color. I had these on my last car for about 5 months with no issues. Not sure how long they really last. If I can get a year out of them Im cool with that. Also raised the rear coilovers about 1/4 inch. Front still max drop.
Upcoming Mods on order/ pending free time...
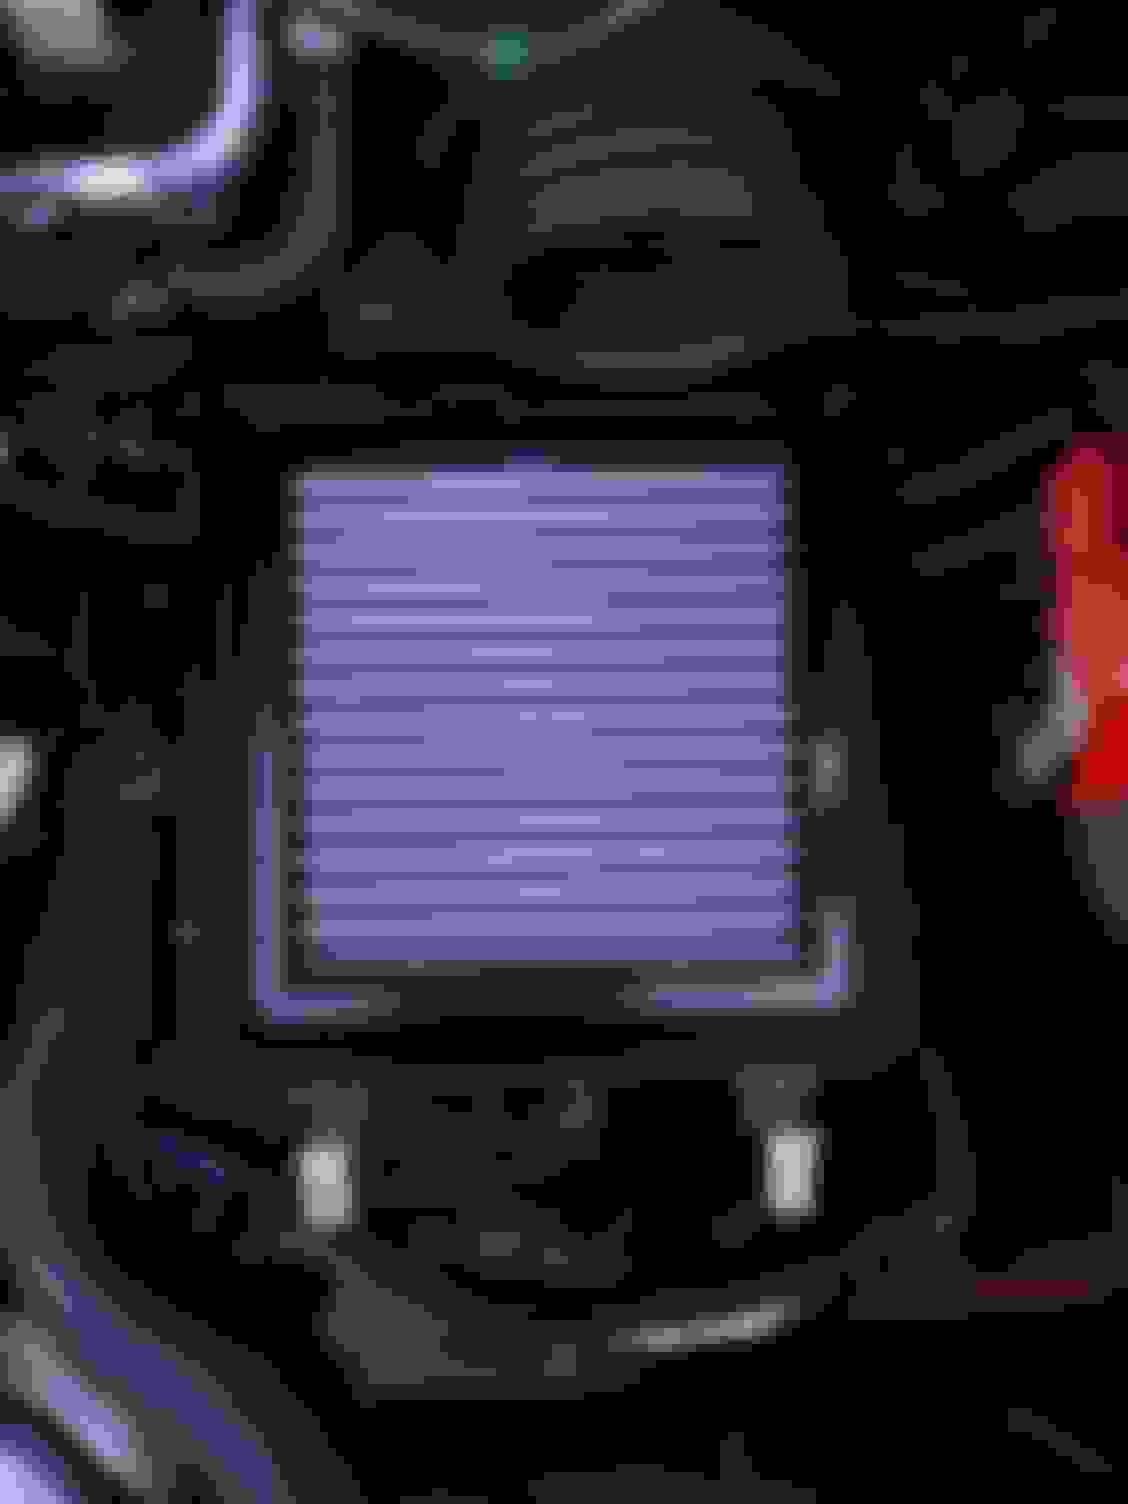
-AFE Drop in filter (Dry)
-15mm bolt on spacers (rear)
-Progress Rear Swaybar
-Armrest Mounted 12v Power Socket
-Switch install in trunk for rear interior light
-Have been considering the HPS short ram intake, but cant bring myself to spend $160 on it right now. Plus Im kinda digging having a quiet car...so I ordered a new AFE drop in filter. Have used their drop ins before and like them. Sturdy and stand up to servicing. Maybe Ill gain 1 horsepower too ;P.
-As for the rear spacers, I debated for a couple of days on what to do. Id prefer to get 10mm rears, but then I have to replace the studs. On my xa I could pound them out with a hammer and then seat new extended ones with a lug nut and some washers. After seeing the design of the Fit rear hub, after much consideration, decided it wasnt worth the time or risk to see if I could get away with pounded the studs out of it. Im pretty confident the bearing will get ruined. I then thought Ill just order the 10mm kit with extended wheel studs along with new rear hub bearing and just have a local garage press the short ones out and extended ones in. Then id have a set of stock hub with stock studs, and another set with extended studs...and Id be able to somewhat easily swap them since the rear hub is held in place with just one nut. But that idea went out the window as I called around and either got shops that were not interested in doing the work, or wanting $80 plus dollars to just press out the old ones.
was morphing into a couple hundred dollar project for 10mm. Not that important to me. Nevermind that idea. So 15mm bolt-on spacers it is ($40).
Wheel trial - XXR 531 15x8 +20 195/55-15
Decided to see how the wheelset I have leftover from my last car fit on the rear. I guess I should have installed the front and rear since it looks pretty cool at least for a picture. As I already knew, they are too wide. NOT going to do the fender roll game with this car like i did my last one. The rears look great, but I know they will rub to hell with the shock travel. The fronts will poke as they stick out about 12mm more than the rear. They probably wont hit the fender as I think the shocks will bottom out before the tire reaches the fender, but not positive. At most, since I plan to space the rear with 15mm's, whether I get 205 50s on the stocks later, or some low +40 offset wheels, I might finish pushing up that 45 degree angle on the rear fenders for clearance....but not going beyond that (about 3-4 mm). On my scion xa, i rolled the rear fenders flat, but regretted the slight pull look i got as a result. I dont want to disrupt that natural flat look of a OE fender just to cram some wide wheels in there, even though I am going to miss having some dishes Plus all the tire scrubbing gets old. The Fit handles nice stock, but now that I have the coilovers on, and the RSB on the way, I am going to keep it functional.
. LED Headlights and Foglights
Decided to take a pic of my Ebay LED head and foglights in the daytime to show their color. So far have been really happy with these for the price Each pair is roughly $15. Light output is brighter than stock (maybe close to twice), but mostly I like the pure white color. I had these on my last car for about 5 months with no issues. Not sure how long they really last. If I can get a year out of them Im cool with that. Also raised the rear coilovers about 1/4 inch. Front still max drop.
I disabled them (pulled fuse) because I dont like how any car looks with them on, the shortening of bulb life, and the constant heat that contributes to the foggy headlight syndrome from them being always on.
Im not sure if these will work if u do want to keep the drl function. if needed i can always plug the fuse back in n check if someone really wants to know before purchasing...but honestly with them being cheapy bulbs, running them all day would probably be asking too much of them. even at a reduced voltage, if not for the bulbs themselves, but also considering the cooling fans mounted on them..which dont seem to have different speeds...just "on".
Glove box plug, Power Outlet in Armrest, AFE Drop in Filter, Progress Rear Swaybar, Raised Ride Height, Broken Wheel Stud
got a plug to fill the hole in upper glove box from original usb holder.
Installed my power outlet in armrest. I was going to mount one vertically in the corner of that bottom hole, but it was going to make the hole too tight to access and also didnt want to wrestle with removing anything i might store down there. decided to do a movable loose plug and it works great. can move it around to access the screw at the bottom and place things in there and not get jammed up. might make a trap door over hole for fun. For installation I drilled 2 holes, one for phone cable to come out through, and one through armrest and console to pass the power and ground wires. I tapped into the main power outlet in front of shifter on dash, and ran the wires under console, with a couple of bullet connectors near rear of console in the event of console removal.
Installed AFE Dry drop in filter. Feels smooth but no real gains here.... as expected.
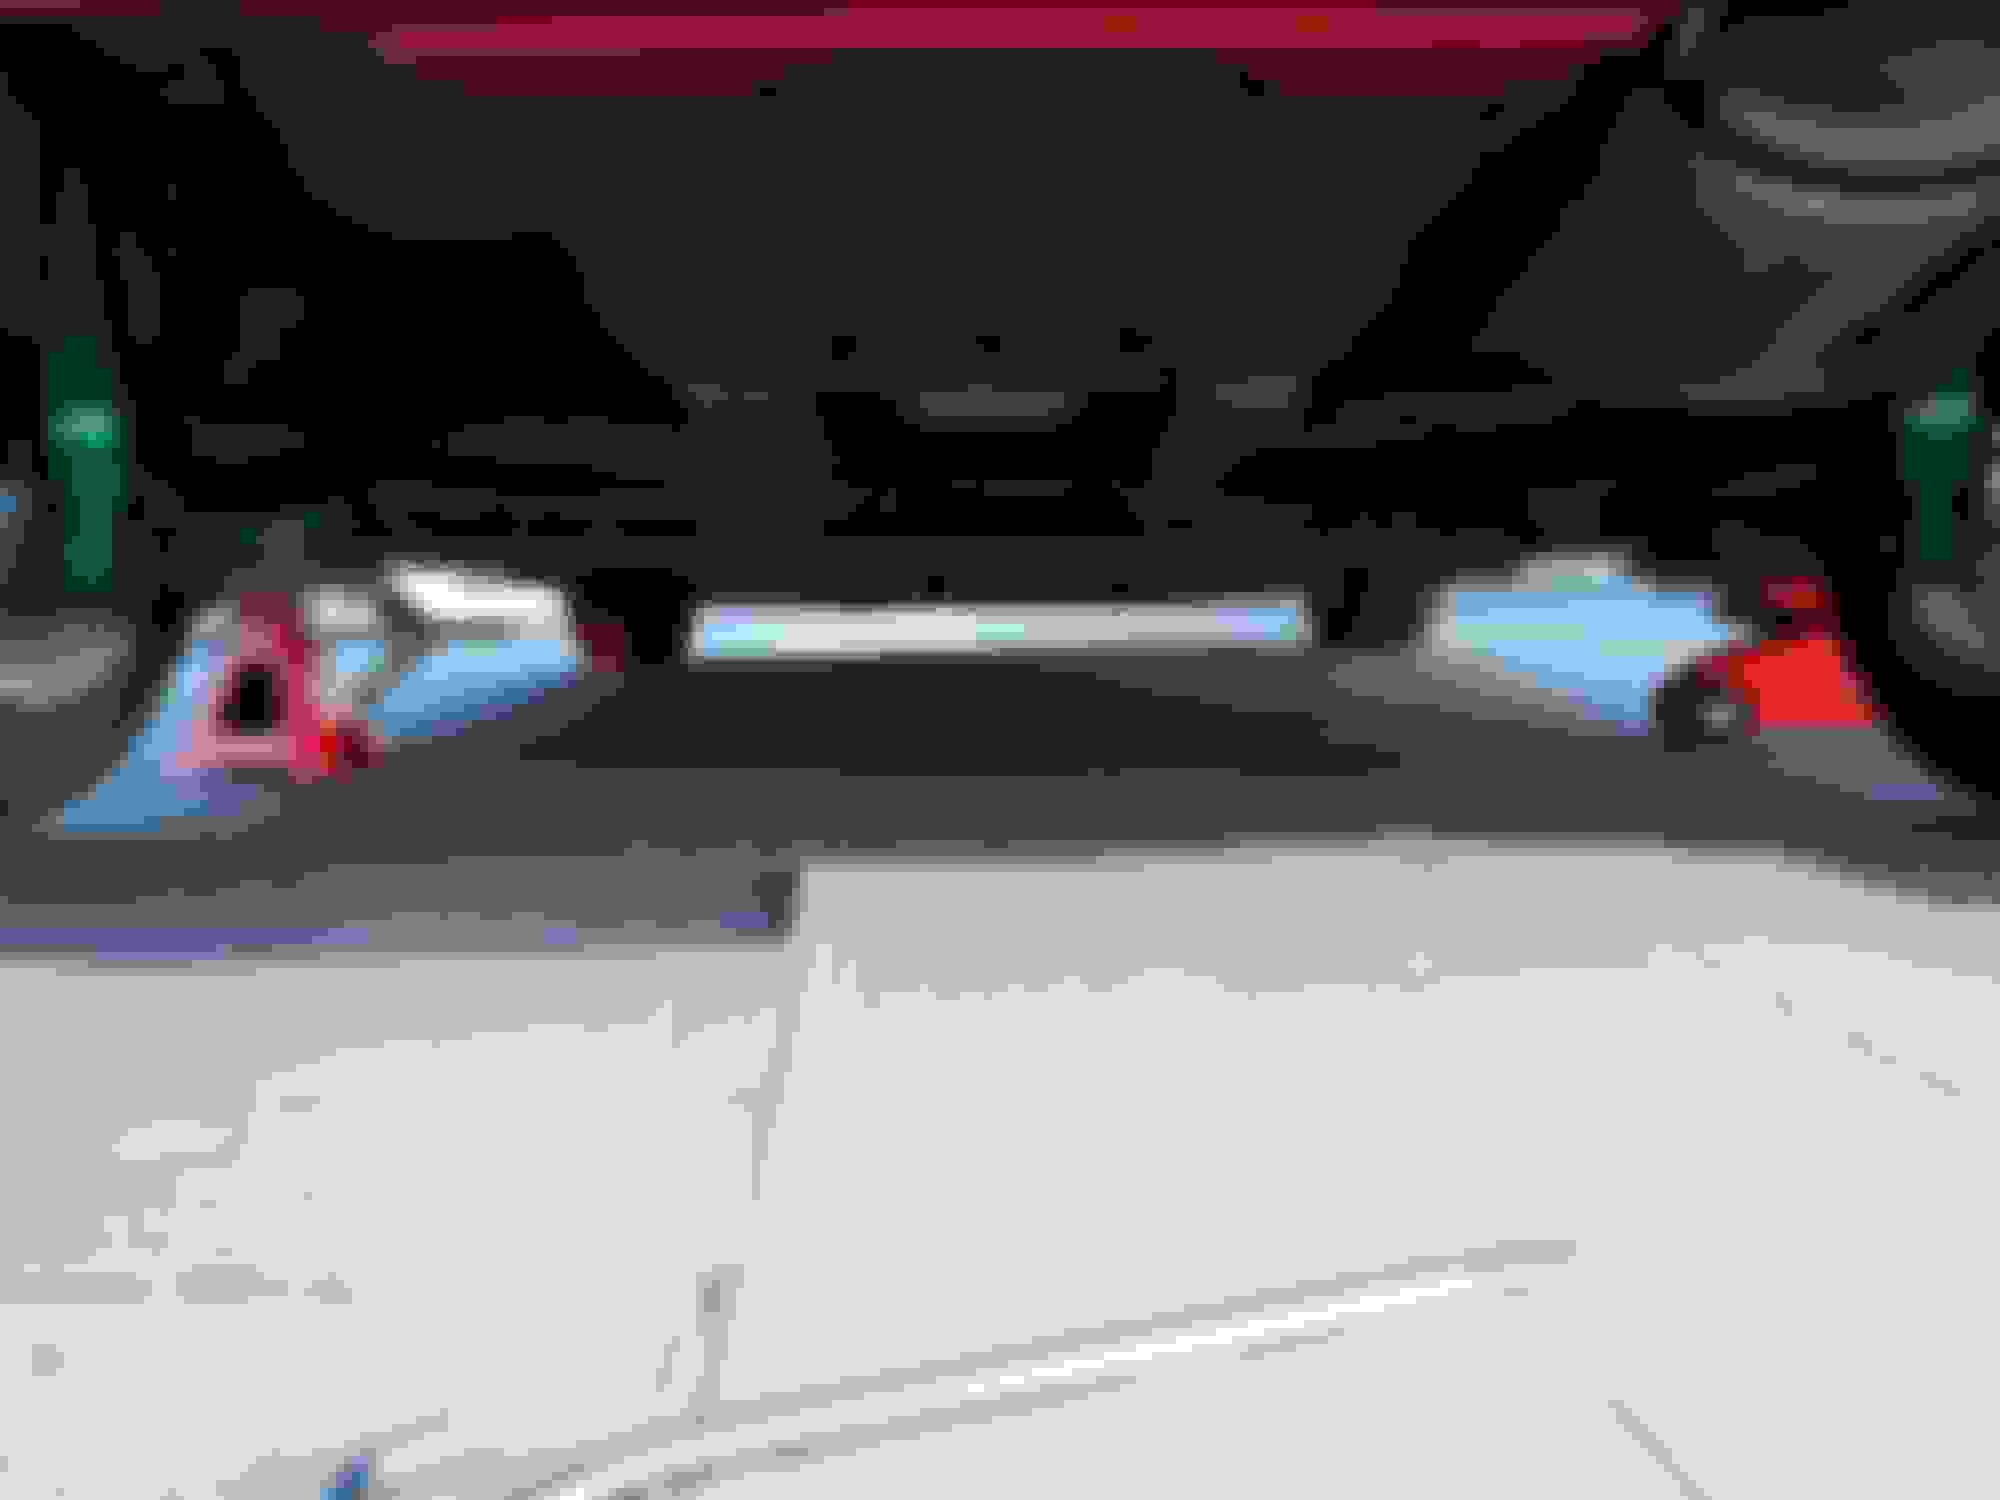
Installed the Progress rear sway bar installed and raised my coilovers 3/4" all the way around, car handles great. Definitely feel the RSB. Hangs down about 1.5 inches lower than rear trailing arm but I dont see it being an issue. For installation, rear springs dont need to be removed as the instructions state, with coilover at least, and not sure if possible with stock springs. The main issue is positioning the bottom rubber spring seats to allow the bolts to pass through as they partially cover the holes. If both rear wheels are off the ground, a person can spin the springs to allow space for the bolts to pass the rubber spring seats. The springs need to spun a little more after the bolt drops in the hole in order to allow space for an allen wrench to hold the bolt when tightening the nut. A little prying was necessary too to lift the rubber seat. The rubber nipple will shear off on the bottom side of the rubber boot that aligns it, but who cares. I need to paint my undercarriage looks gross.
Some info for those considering the Tein Basis z coilovers....on full drop, the fronts are sitting on the bumpstops and rears have about 1 inch of shock travel. I thought there was at least half an inch of travel in front, but after measuring there is not. I measured from center of wheel to top of fender with car on ground, then with car lifted and wheel off, center of hub to top of fender....then took difference and measured shock shaft. Teins recommended max drop is about 1" from full drop on all 4 corners. I decided to sneak in an extra 1/4 in lower than that. Heres some pics of it sitting 3/4'' from max drop...which equals about a 2'' drop. The ride is a little softer than it was with the coilovers fully dropped, but still stiffer than stock. Feels nice, Tein actually did a good job of improving performance while maintaining comfort with these. My main concern with them is their quality considering their new manufacturing technique and cost. If anything goes wrong with them I will be sure to post.
For the first couple of days the ride was ok with the coilovers fully dropped, but it progressively got less compliant, mostly in the front. It felt like it was sitting on the bumpstops....and it was. It handled great on smooth roads, but when a bump came around I could tell it wasnt getting absorbed. It wasnt a painful slamming or anything, just not cushy. Full drop looks cool, but Id rather be comfortable and also not have my interior rattling and vibrating on all the bumps. And especially dont want to blow the shocks out.
On the crappy side, I had a real slight knock on passenger front...tracked it down to front sway bar link by removing it and going for a test ride...not sure if it was making noise because I couldnt torque it, or if I damaged it when installing coilovers as the threads were rusted to hell. I stripped the hex on the end, and had to grab it with vice grips on the backside. I decided to order some Beck Arnley units since they came with a place to place an actual wrench on the back. I was going to go for the Moog ones, but dont want to deal with servicing them with grease.
So....after my gentle test ride around the block.... I went to crack the wheel nuts with the car on the ground so I could reconnect the swaybar link since the new ones were not comming for a few days...and I guess the weight shifted to 2 wheel studs and tweaked em..cause when i went to remove the wheel 2 of nuts were seized. I knew where this was heading...tried going back tight and then back loose but they didnt give. So there went 2 studs to snap city (across from eachother). Totally pissed off! I have been swapping wheels around for 20 years and have never had a problem with screwing up a stud from breaking a lug nut loose with a car on the ground. Not sure if they were already fatigued from their past or if it was all me, but was some weird fluke mishap I suppose. I guess I will be religiously removing the cars weight from the wheels when loosening wheel nuts from now on. Also totally ticked off that the hub needs to be removed to replace the 2 studs. I ordered new hubs with pre pressed studs, new bearings, and a bearing press kit. Made more sense to just replace it all since Im going through the trouble of being in there. Not looking forward to this job, and hoping it goes smoothly. going to borrow a slide hammer and balljoint breaker from autozone. Did I mention Im pissed!! lol Weird thing is the other 2 studs are perfectly fine. Anyone else ever experience this?
So I guess my next "mods" will forcefully be:
Front Left and Right:
-Wheel Bearings
-Hubs
-Swaybar Endlinks
2 lug nuts!
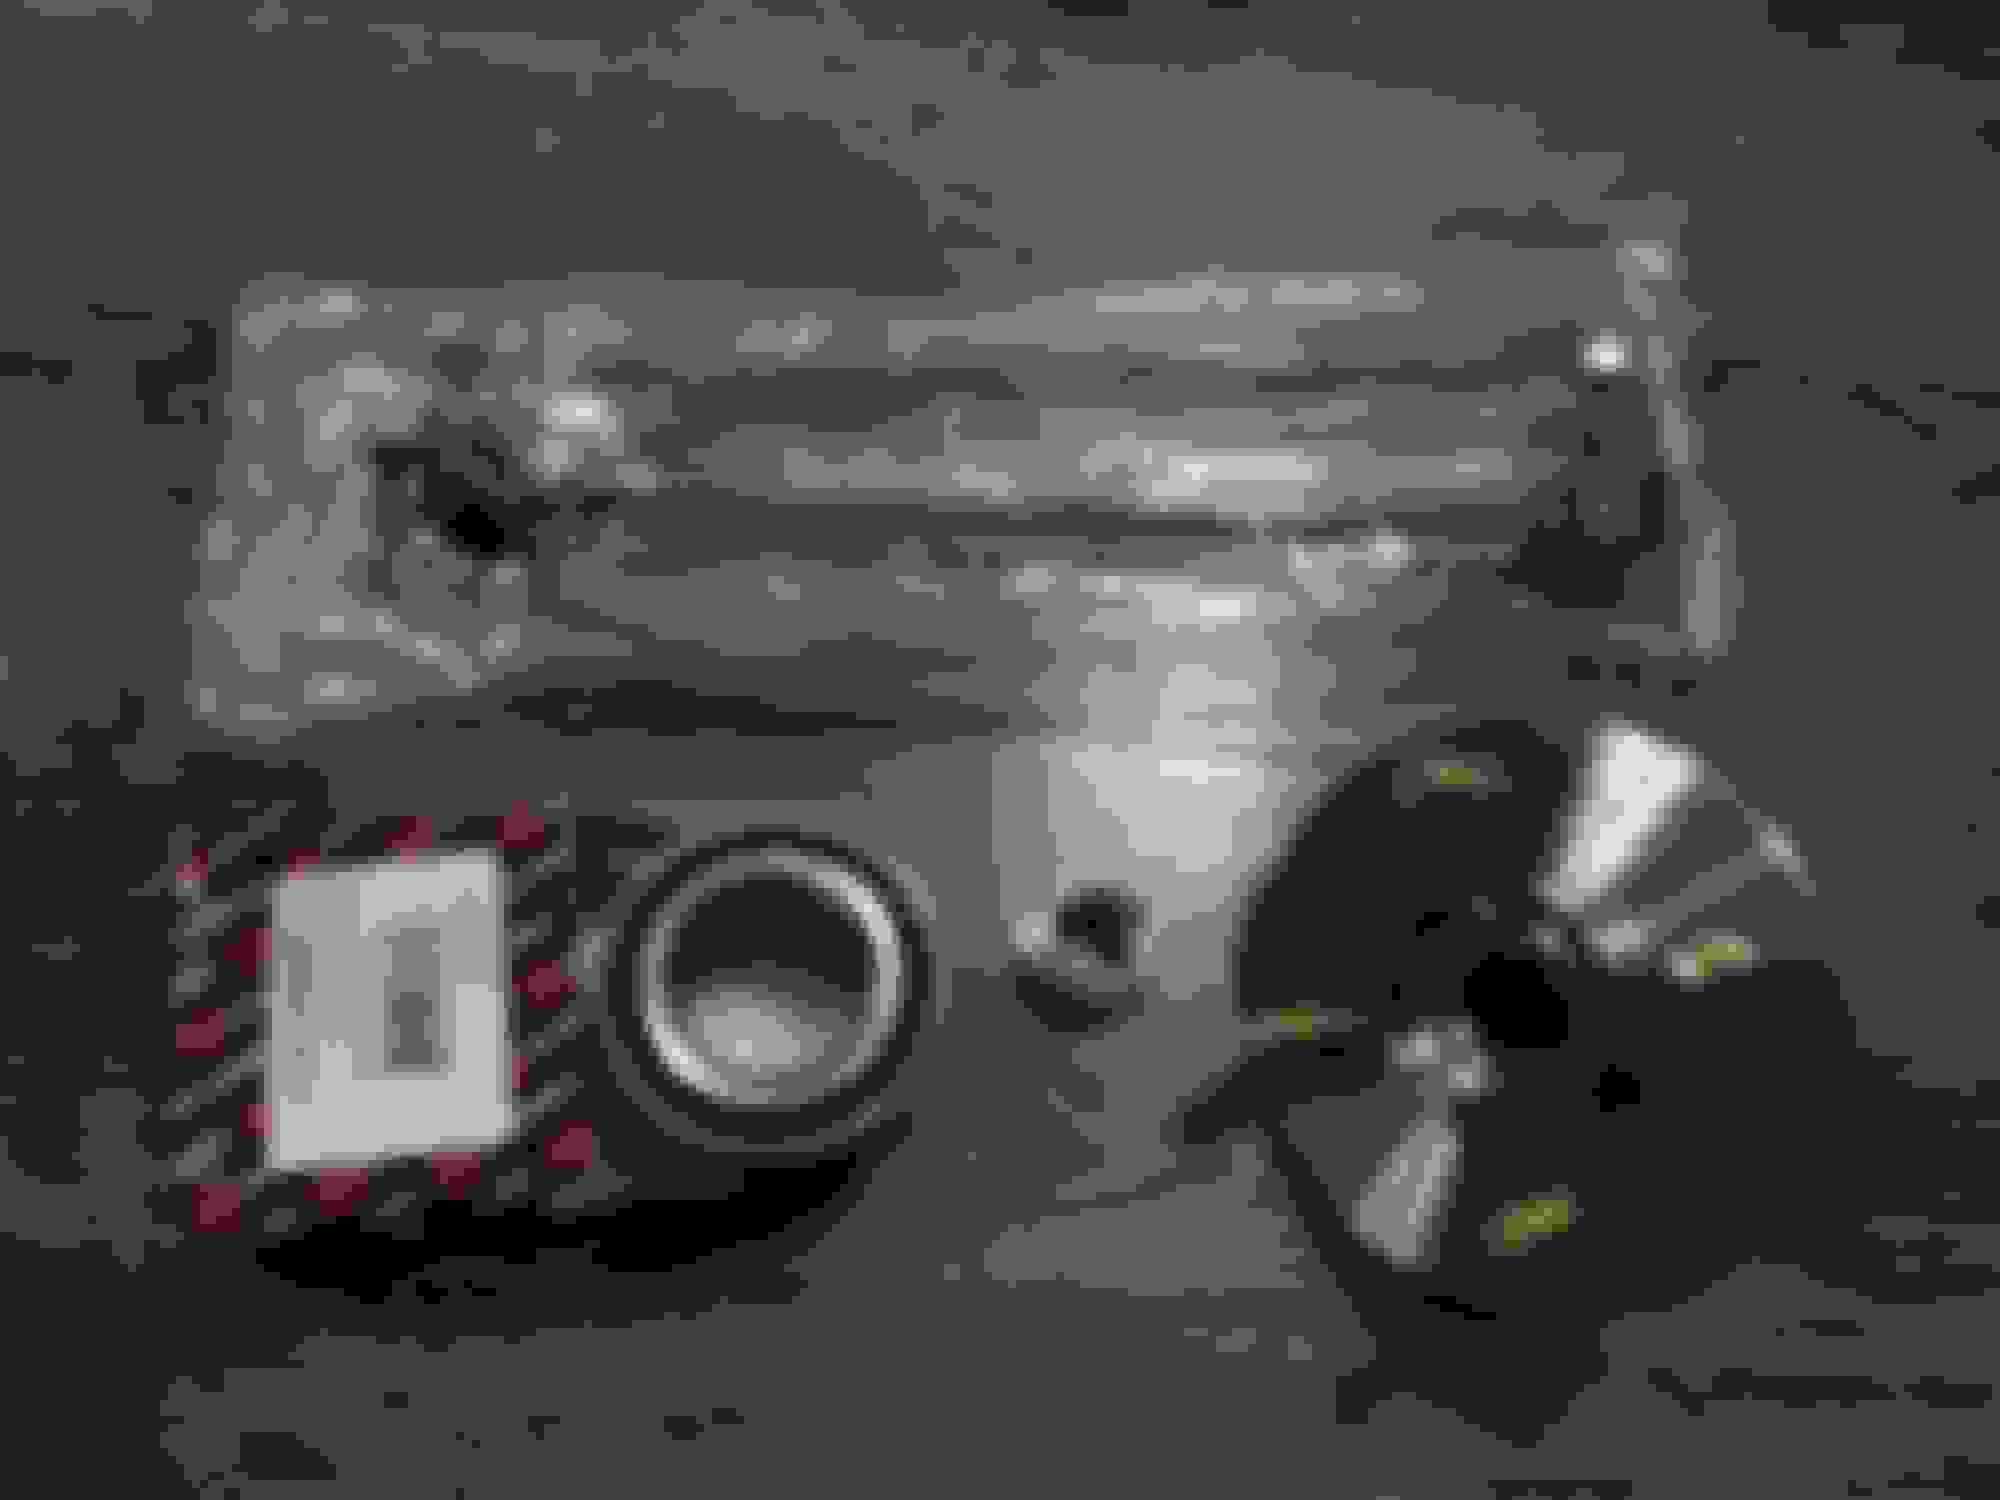
Got the last of the tools rented and my parts/tools I ordered in today. Parts List:
- Stabilizer Bar Links (Beck Arnley # 101-6929) (2) $48/pair
- Wheel Bearing ( Honda # 44300TK6A01) (2) AM Brand $53/pair
- Hub Assembly (Honda # 44600-S5D-A00) (2) AM Brand $44/pair
- Lug Nuts 12x1.5 Ball Seat (2) $2 each ebay Total =$150
Special Tool List:
- 23 pc Wheel Bearing Press Kit (to remove bearing from knuckle, press bearing into knuckle, and press hub into bearing/knuckle ) nut is 32mm and bolt is 1 1/8" ....29mm? - purchased $45 online (Autozone has the for $170 rental. figured I would just purchase in event I damage it Im not out $170)
- Tekton 2905 3/8'' Drive Manual Hand Impact Driver (for removing brake rotor bolts) - purchased $15 online (realized after I bought mine online that harbor freight has some too for about $8)
- 32mm Deep Socket (for removing axle bolt) - $5 Harbor Freight
-1 1/8" Socket (for turning bearing press bolt) $? - C clip pliers or sharp needle nose pliers for clip on wheel bearings - $5 Harbor Freight (dont bother with this...worthless)
- 27033 OEM Slide Hammer (to remove hub) $45 Autozone rental
-27032 OEM Hub Puller (to remove hub with slide hammer) - Autozone rental $25 (i ended up using a thick washer on the end of the slide hammer effectively,purchased at hardware store $2)
- 27308 OEM Ball Joint Separator - $30 Autozone rental
Rental Total = $107.50 at Autozone for renting the slide hammer, hub puller, and ball joint separator
I cant believe all this nonsense for just some wheel studs. Schedule wise it worked out as I only have off Sundays from work and who knows how long this mess is going to take to finish. Hoping for 4 hours or less to do both sides. I dont know why honda used such a wack design on the sway bar links. With the Beck Arnley units Ill be able to set the proper torque, and not fight with them if I need to remove them later. Heres a pic of the OE units on the left and the BA on the right.
Also ordered some JDM GE6 Taillights. There was one more set on ebay for $130 shipped from Japan if anyone is interested.
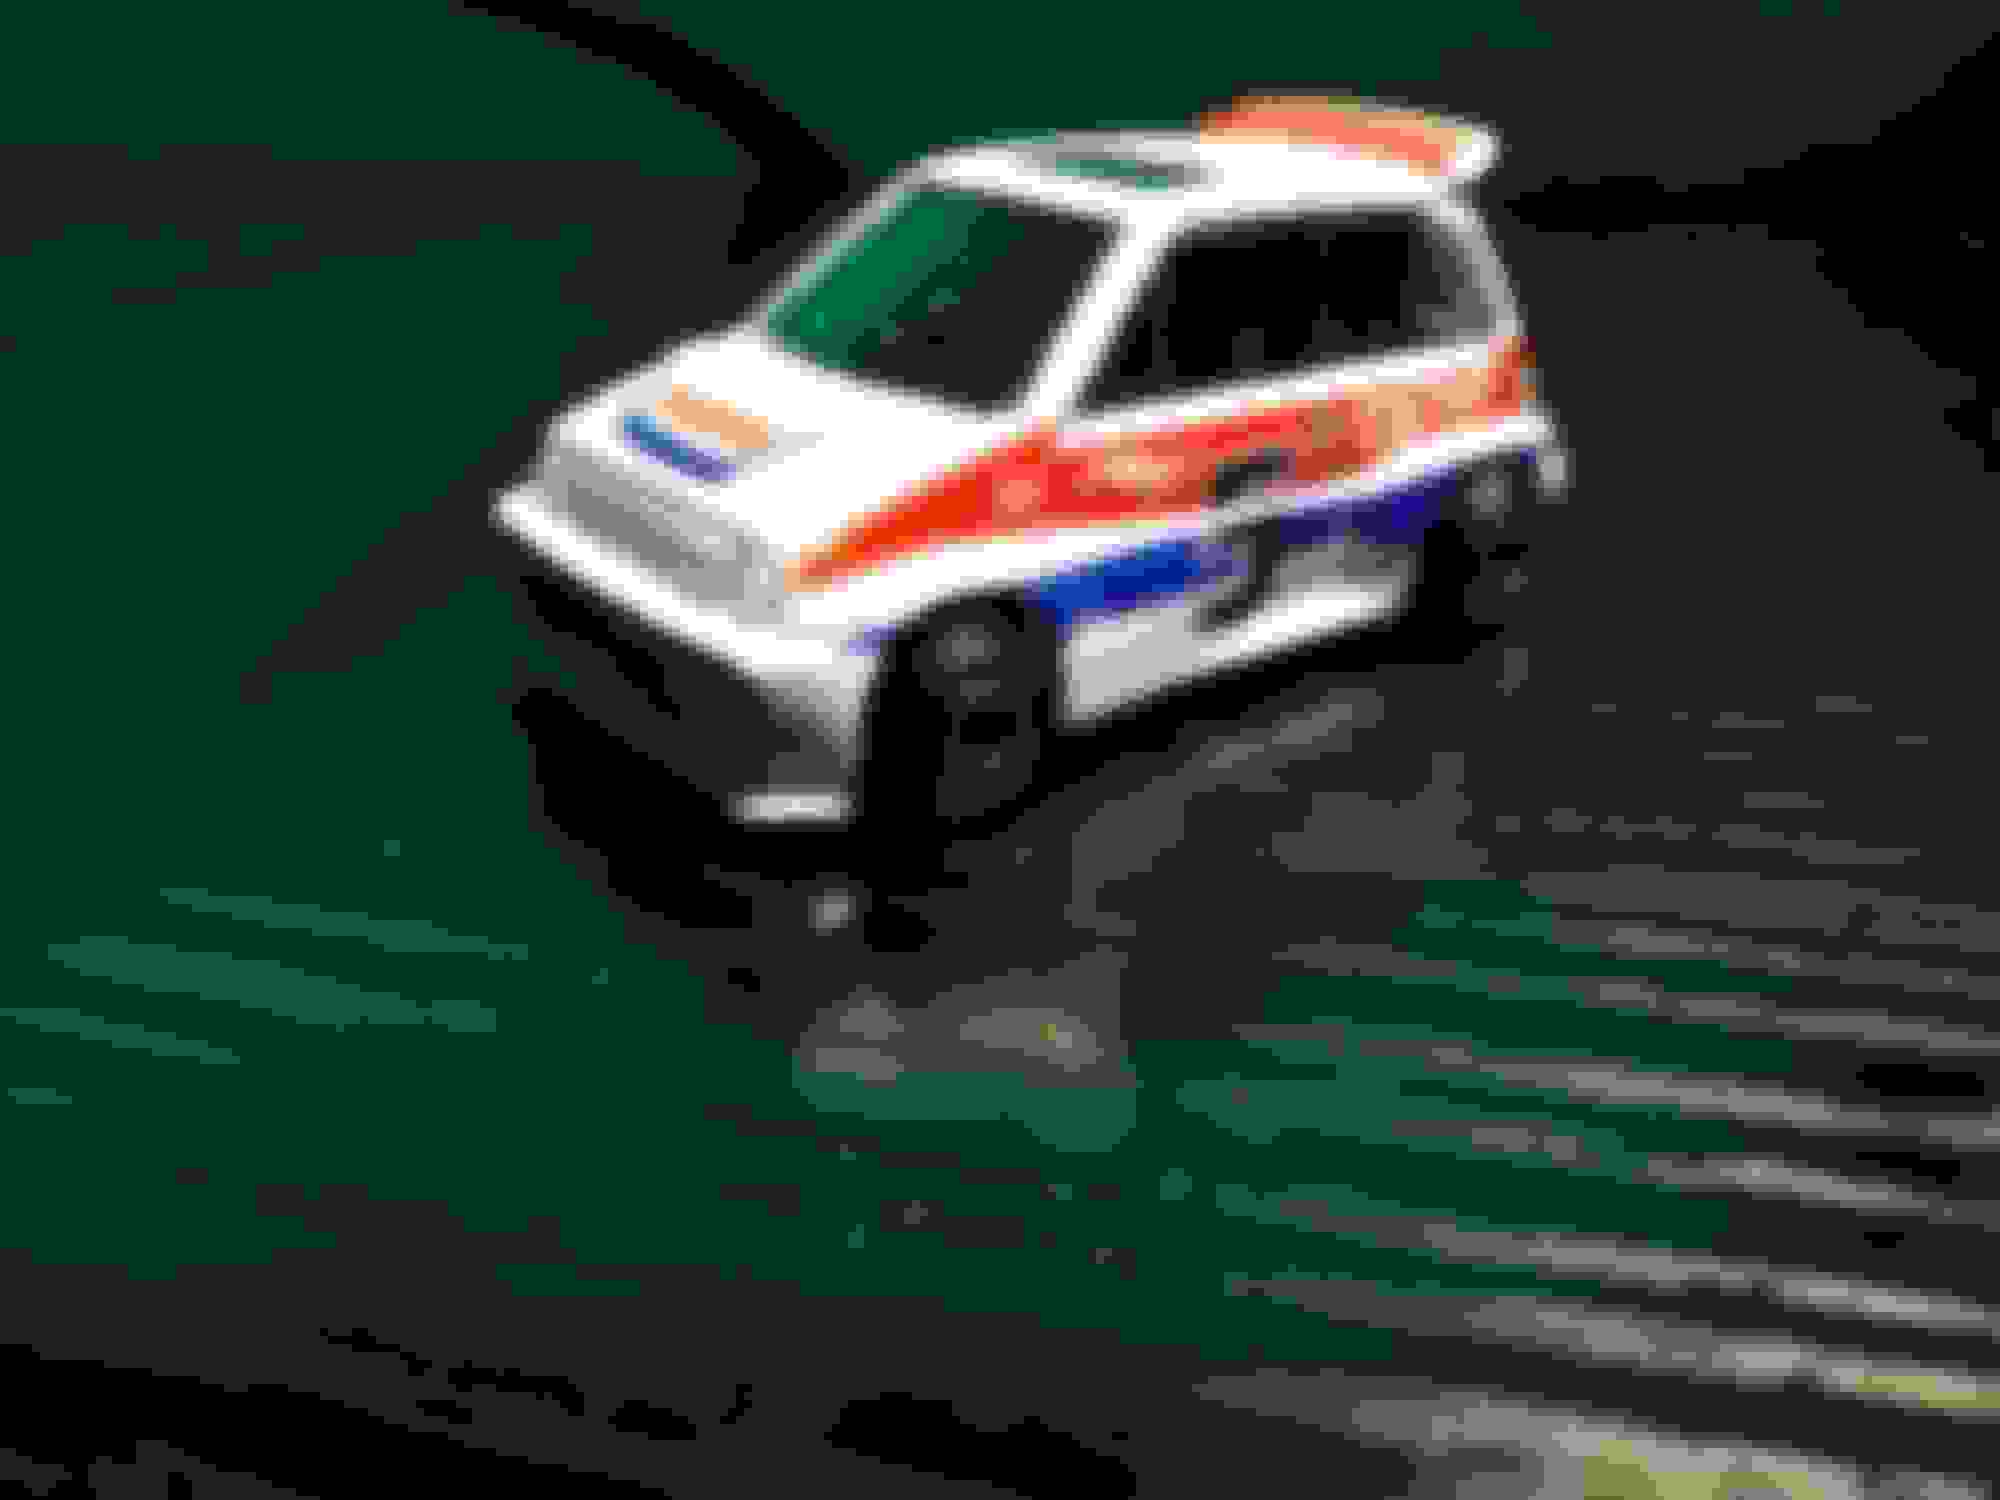
And a random Hot wheels Honda City Turbo II I found at walmart...
Tackled the Hub/Bearing project yesterday. Took me about 5 hours to do the whole job. First time pressing bearings. Wasnt as bad as I thought it was going to be, but I always expect the worse with any of my projects. Sprayed all my bolts with PB Blaster and everything was fine. Instead of using the Hub puller that looks like a claw on the slide hammer, I used a thick washer and a nut from the hardware store just big enough to fit halfway up the taper on the back of the hub. The claw I rented only would have been able to hold on to one stud since I was missing neighboring studs. It might have worked but I didnt even try it since I wanted to try the washer from behind the hub. I also figured it would be less strokes if it was directly from behind the hub vs tugging on the studs. Took maybe 10 slams from the slide hammer on each side to get the hub out. I was surprised my speed sensors came out without issue, but was happy I didnt need to add to the expense of this unplanned project. It looks like theyll probably clear the press tools ok, but figured id just be safe n pull them out and clean them.
Hardest part was probably getting the bearing clip out. Dont bother with the cheap ass one from harbor freight...I dont know how I managed to get it to work on the first side. Was able to kinda squeeze it,shove one end in, and put my knee in the mix to hold the bottom of the clip, scoop with screwdriver and then tap with hammer around the edge. Took a test ride after I got the first side in, went to harbor freight and swapped the clip remover for the $12 one. It worked a little better but still pissed me off. Pretty much replicated the install of the first side with knees n hammers. It got returned too. Main issue with both is the hub clip slides off because of the angle on the tips of both clip remover tools. For anyone attempting this job, make sure you have the right tools, PB blaster, and some marine grease! Lots of lube for bearing press action, both on hub and press tool!
Much thanks to this video, watched it 2 or 3 times last week since I was waiting for parts, probably wouldnt have even attempted it without the vid.
One more thing, if you break a stud...you most definitely need to pull the hub out. Trust me there is absolutely no way you can clear the knuckle on the backside, even with a deep ass notch. Its not a matter of bending the brake protector or notching, the head of the studs are covered at least a third of the way, by the knuckle. See pic below. See that rusty lip that holds the bearing clip in? Almost half the stud head covered because of that. Yea I know, it sucks. Hopefully I never break a front stud again on this car.
New BA Sway bar links went in without a hitch.
While I was in there, I realized my steering endlinks were kinda rusty, and I squeezed a decent amount of grease out of them spreading them. Im sure they are originals. found a good deal on both sides on ebay for some moog units. I was planning on taking the car for an alignment after the coilovers settle, but might as well replace the endlinks, get an alignment, and hopefully be done with the front end. cant decide if to bother with a set of camber bolts too.
Here you can see the 2 broken studs and the washer I used to pull the hub on the passenger side.
thanks! Im hoping this isnt going to turn into a "thing" buying toys, being that Im in my late 30s, but found a friend for my Honda City. Also, heres a pic I forgot to post showing where the cable comes out of console on my real car.
Sooooo...my front wheels havnt fell off, but I plan on pulling the front wheels and making sure axle nuts arent backing off or something weird after the work I did, and just hit everything up with the torque wrench.
Scored 9 bottles of Honda ATF DW-1 and 4 washers for $40 of local craigslist today. My local dealership wants $9.88 per bottle. I dont think the car needs a transmission filter change, but Ill probably swap it out on the next fluid change. My dealer wants $48 dollars for a new filter, and least expensive Honda brand one I can find online is still $33. Im trying to tell myself that the price isnt too bad considering how easy it is to change (convenience charge?). For my Scion xa it was cheaper, but I had to drop the pan which sucked. I havnt decided when Im going to do the fluid change, but the dealership I got my car from a couple months ago did one with the inspection. Im not sure if it was a full flush...Ill just assume it was just the 3 quart drain refill.
More importantly, I need to change my brake fluid. Looks pretty dark. I ordered a bottle of Motul RBF 600 DOT 4.
Next on the list is probably going to be installing my Moog Steering Tie Rods and getting an alignment. They are currently lost somewhere with USPS. Scored the pair for almost half price, at $27 for both on ebay. A seller just randomly had a left and right side so I snagged em.
Installed some Borway Glass Convex Mirrors. ($4.50) Theyre kinda ugly and old school, but Ive really learned to appreciate them. A whole lot less head turning action for blind spots. Even reverse parking is a breeze now as I can see the lines in relation to the body. If anyone considers these, do yourself a favor and buy some real glass ones instead of the cheap ass plastic ones sold at walmart and all the autoparts stores. They come with a pivot base that I throw away. I put a dab of silicone on the center backside, and then use the double sided tape that comes pre mounted around the back side. The glass is far superior. Between the clarity and not having to worry about scratching them if you breath on them wrong, they are worth the couple extra dollars. be careful on ebay though, I ordered a set for $1.60 from china, and waited 2 weeks to get them and they were plastic. The listing specifically said glass and Borway, but they were not.
 04-29-2018, 02:31 AM


 Plus all the tire scrubbing gets old. The Fit handles nice stock, but now that I have the coilovers on, and the RSB on the way, I am going to keep it functional.