When you click on links to various merchants on this site and make a purchase, this can result in this site earning a commission. Affiliate programs and affiliations include, but are not limited to, the eBay Partner Network.
3rd Generation GK Specific Suspension & Brakes Sub-ForumThreads discussing suspension and brake related modifications for the 3rd generation Honda Fit (GK)
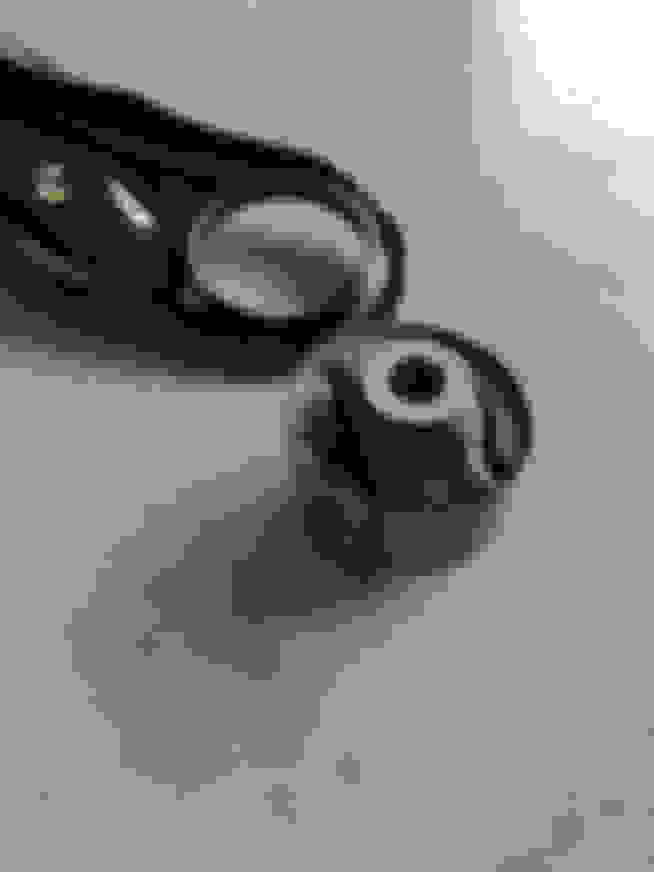
The GE and GK have different front LCA bushing configurations, I wouldn't count on them being compatible. However, Hardrace makes hardened rubber bushings:
Installed the Powerflex rear beam poly bushings yesterday. Fitment is perfect and they feel great, takes the rest of the floaty feeling out of the rear.
ie, did you have to remove the beam and use a press or torch?
Not too bad, had to disconnect the brake lines to drop the beam for enough clearance to remove and install the bushings. Pulled the abs sensor wires off their moorings, left sensors connected. Unbolted the front two bolts and hung it down on some jackstands with the struts supporting the rear hubs.
I drilled and chiseled a hole through the rubber of the bushing. Ran a sawzall through that a bit until i was mostly through the outer shell, which is a hard plastic instead of the usual metal ring. Then I was able to pop them out with a hammer and screwdriver.
Fitted the new ones by hand with some aid of a clamp, they go in TIGHT.
Took a few hours due to playing around with the best removal method and having to bleed the brakes after. Overall easiest bushing install I've done. Well worth the expense and effort.
Ok so they're in! Well worth the price, handling and steering response is excellent and they even ride super smooth, very unlike other polyurethane bushings I've used in the past.
As requested I did my best to get more pictures this time.
Front jacked up, wheels removed.
View of control arm from underneath.
First step under here is to remove the castle nut from the ball joint and pop it out of the knuckle (I used the honda type tool).
Bolt for front arm bushing (inside cup of blue brace). Remove this.
Bolt for larger rear bushing, shown partially removed. Remove this and now you should be able to wiggle the LCA free from the subframe.
Here's the LCA removed from the car. Now its time to remove the stock bushings. For the front (smaller) one, I used a razor to cut off one side flush with the cup its in. Then I heated the metal inner sleeve with a torch until I could pound it out. This one is all rubber so it's pretty easy.
Here's the new outer sleeve on top of the stock one for comparison. Perfect match.
Now here's where you need to get surgical. Get a sawzall blade through this slot and carefully, a little at a time rock it back and forth until the outer sleeve is almost cut through, then break it with a hammer and chisel or punch. You can do this again on the opposite side and knock it out with a hammer.
Heres your LCA with the bushings removed. Clean up the bores for the bushings with some brake cleaner and pop the new ones in. The small ones fit easily by hand, but I'd recommend using a shop press for the ring of the large ones.
LCA with new bushings fitted.
Make sure the slots in the bushing are aligned according to the instructions.
Heres the whole thing, poly bushings and roll center adjusters!
Reinstall the arm. Push the rear large bushing straight into the subframe from the wheel well. Stick the bolt in, then rotate the arm until you can align the front bolt hole.
Put the arm bolts in almost all the way and reattach the ball joint. Use a jack under the ball joint to push the whole assembly up and load the suspension. Now tighten the 3 bolts to spec and reinstall the cotter pin to the castle nut.
I purchased brand new control arms to minimize down time. Phase 1 is complete.... I've got the bushings off. Huge thanks CodeMan for the tip of sawing through the metal ring, using a press was useless for us
Smaller bushings were much more simple to remove
NOW .... just camping around for the next ebay coupon, and I'll make the purchase on those bushings.
(not pictured = megan RCA's installed as well)
Last edited by evilchargerfan; 11-20-2018 at 03:56 PM.


 05-28-2017, 05:06 AM