Fit DIY: Repair & Maintenance Threads discussing repairs and maintenance you can do yourself

Let me introduce Candy, she's real sweet! 97 GTS Dodge Viper

Thread Tools
 
Search this Thread
 
Old Sep 14, 2010 | 02:35 PM
  #1  
Fallen_Rock's Avatar
Thread Starter
|
Member
iTrader: (2)
Joined: Jun 2009
Posts: 365
From: Knoxville TN
Let me introduce Candy, she's real sweet! 97 GTS Dodge Viper


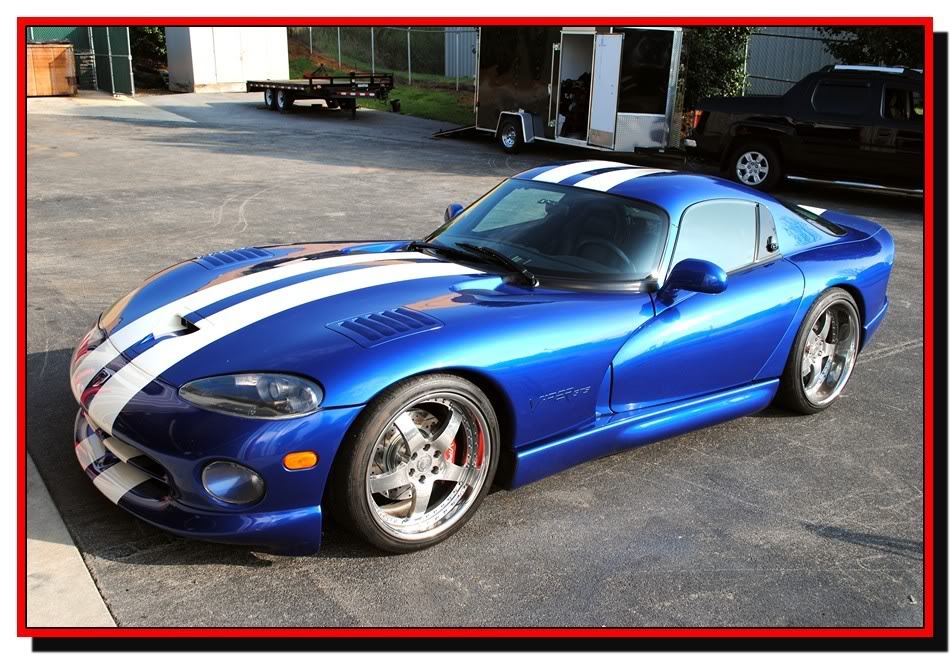
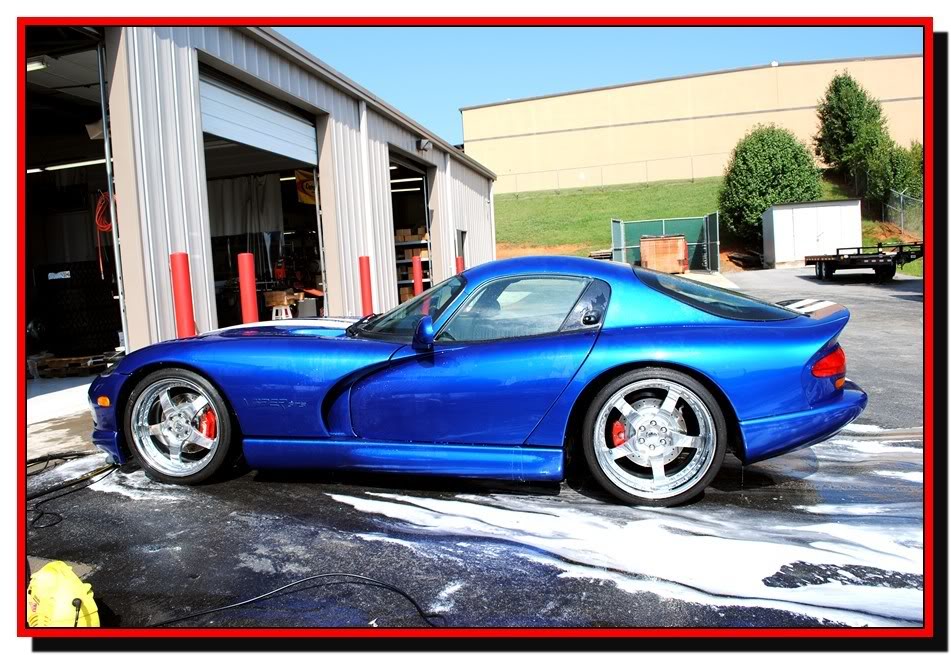
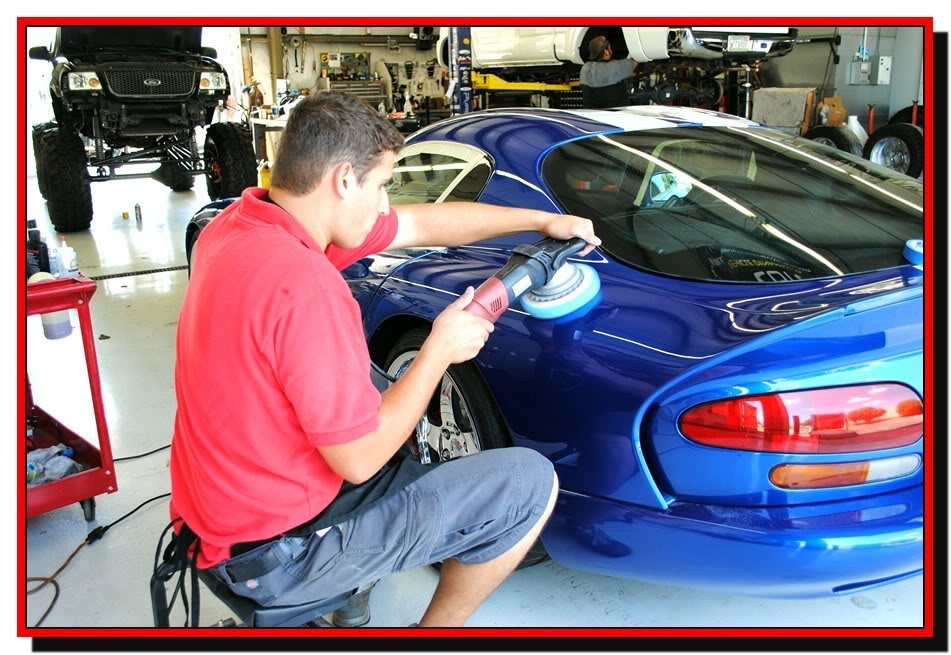
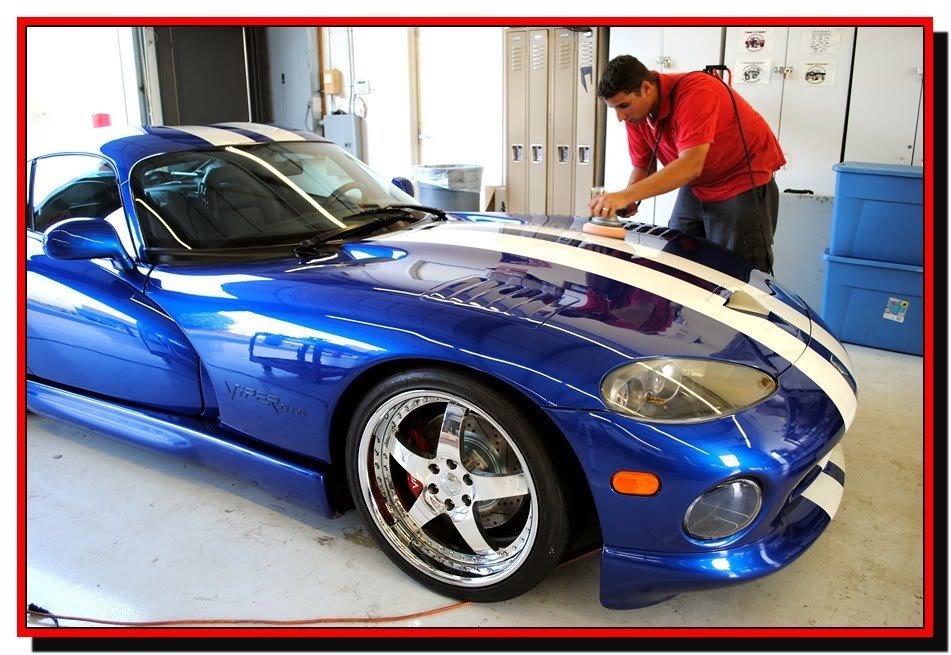
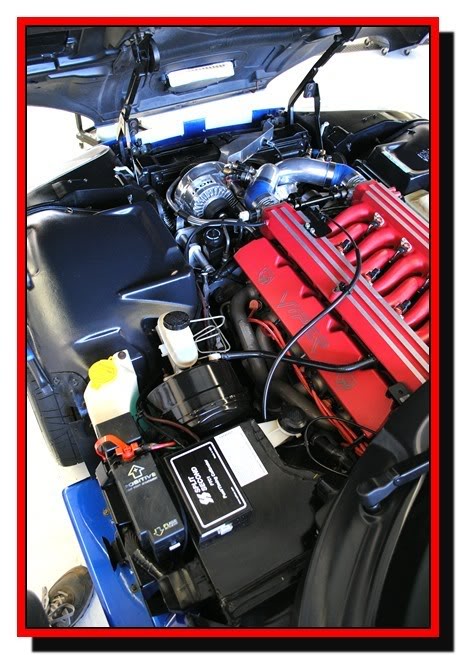
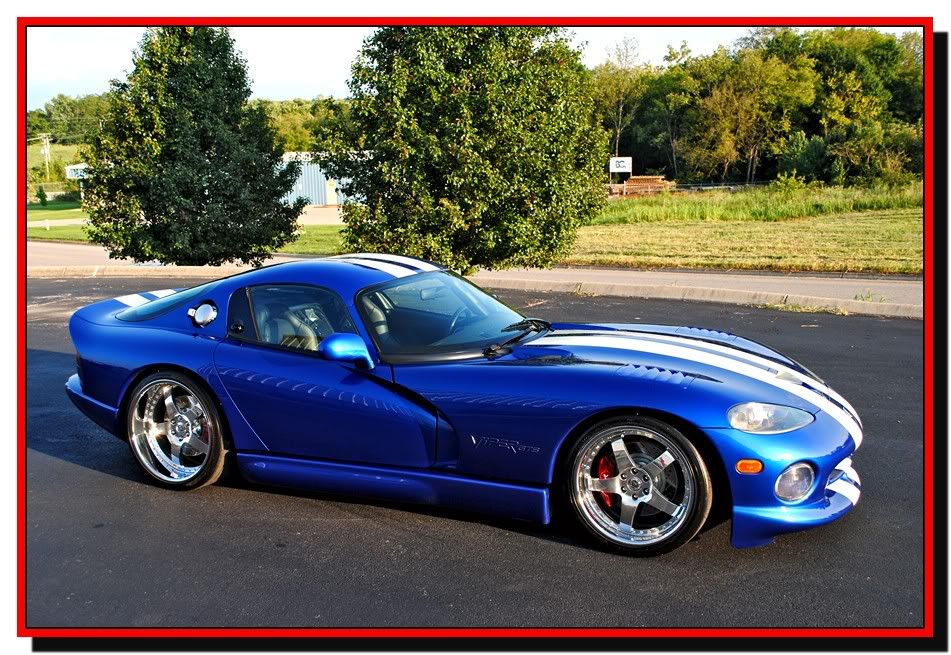
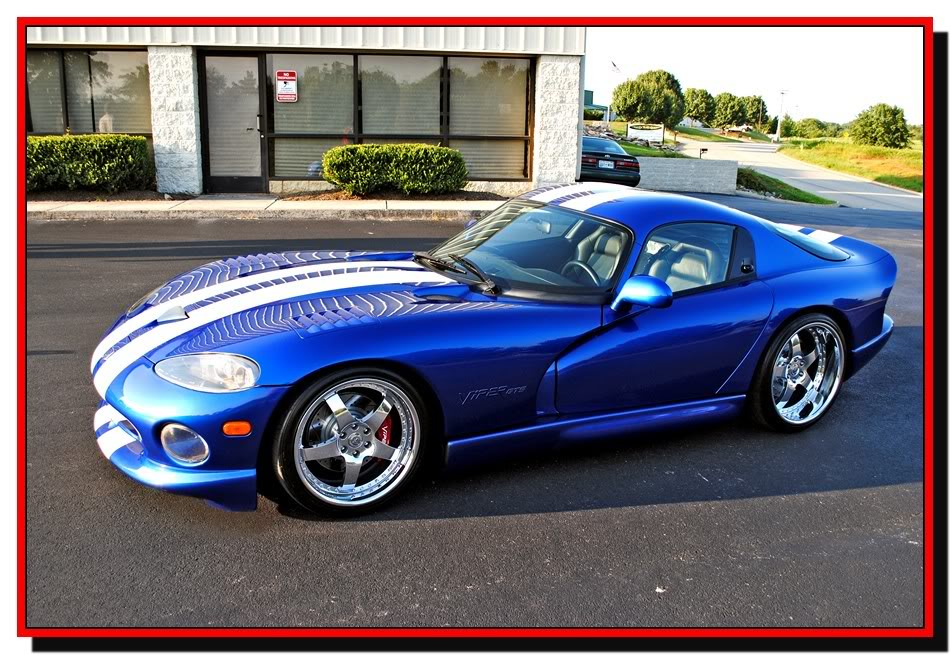
I took a trip up to Top Gun Customz in Alcoa TN to detail this 700hp 1997 Dodge Viper GTS. Her name is Candy and she is real sweet with her supercharged V10! This was my first time working on a Dodge viper, so I was ready to jump in there and make this bad girl shine.

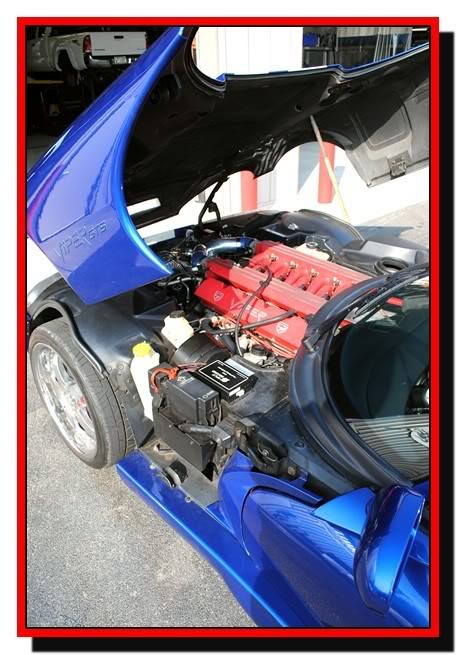
here is the car when I arrived.

Name:  viperpic001.jpg
Views: 3253
Size:  154.0 KB

Name:  viperpic002.jpg
Views: 2191
Size:  147.4 KB

Name:  viperpic003.jpg
Views: 2126
Size:  73.1 KB

Name:  viperpic004.jpg
Views: 2146
Size:  109.8 KB

Name:  viperpic005.jpg
Views: 2161
Size:  46.5 KB

Name:  viperpic014.jpg
Views: 2173
Size:  154.2 KB

Name:  viperpic008.jpg
Views: 2134
Size:  160.6 KB

Name:  viperpic009.jpg
Views: 2164
Size:  92.0 KB

Name:  viperpic012.jpg
Views: 2106
Size:  88.7 KB

Name:  viperpic017.jpg
Views: 2082
Size:  111.0 KB

Name:  viperpic020.jpg
Views: 2098
Size:  123.7 KB

Name:  viperpic021.jpg
Views: 2113
Size:  94.2 KB

Name:  viperpic032.jpg
Views: 2136
Size:  107.6 KB

Name:  viperpic031.jpg
Views: 2126
Size:  120.5 KB

Name:  viperpic033.jpg
Views: 2172
Size:  93.5 KB

Name:  viperpic034.jpg
Views: 2136
Size:  78.3 KB

Name:  viperpic036.jpg
Views: 2165
Size:  126.6 KB

Name:  viperpic039.jpg
Views: 2093
Size:  58.6 KB

Name:  viperpic046.jpg
Views: 2056
Size:  60.5 KB

Name:  viperpic057.jpg
Views: 2193
Size:  140.3 KB

Name:  viperpic060.jpg
Views: 2093
Size:  76.7 KB


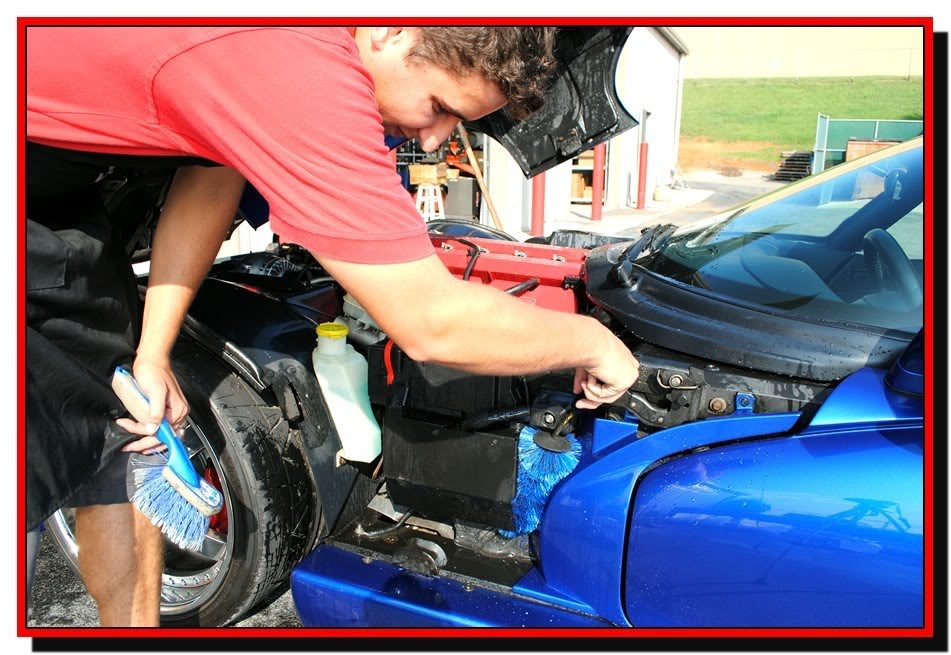
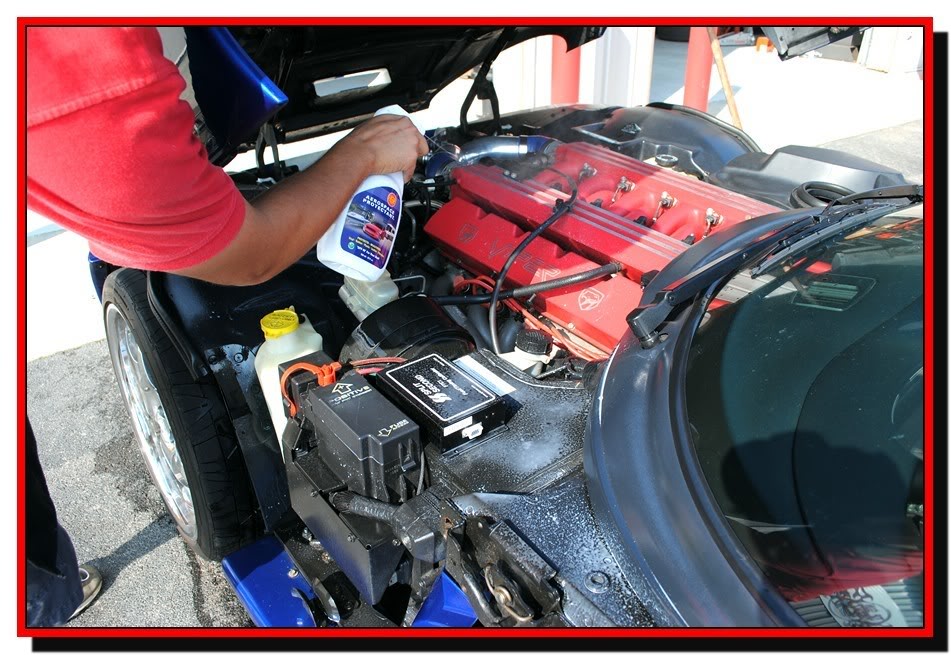
So lets get this started! I began by spraying down the engine bay with some APC (all purpose cleaner) and then agitated it with various brushes

Name:  viperpic061.jpg
Views: 2085
Size:  134.9 KB

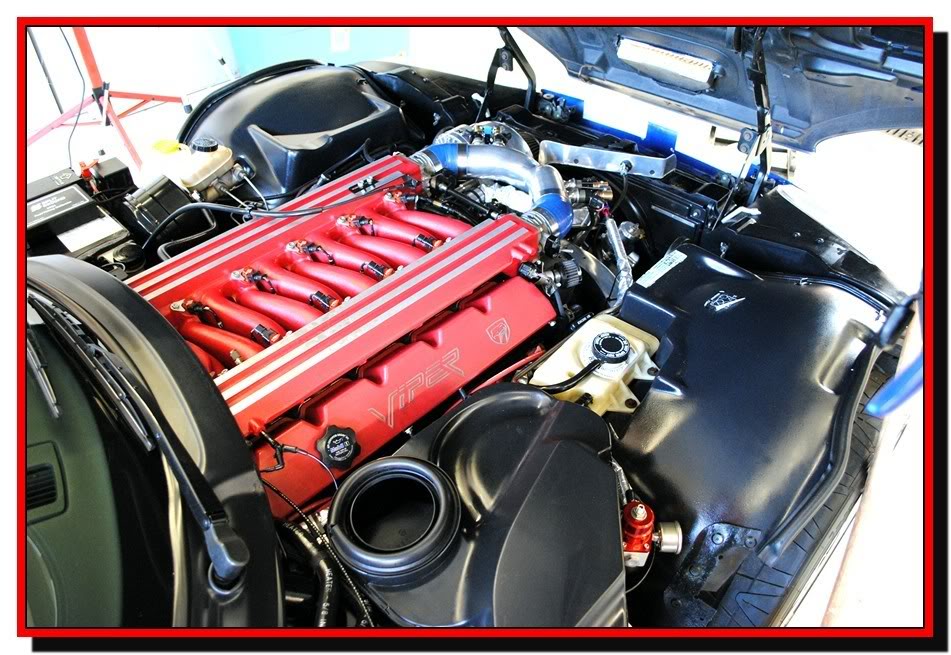
Once I finished the agitation I rinsed it down and began to blow dry all of the crevices with my Metro Magic Air.

Name:  viperpic063.jpg
Views: 2126
Size:  131.8 KB

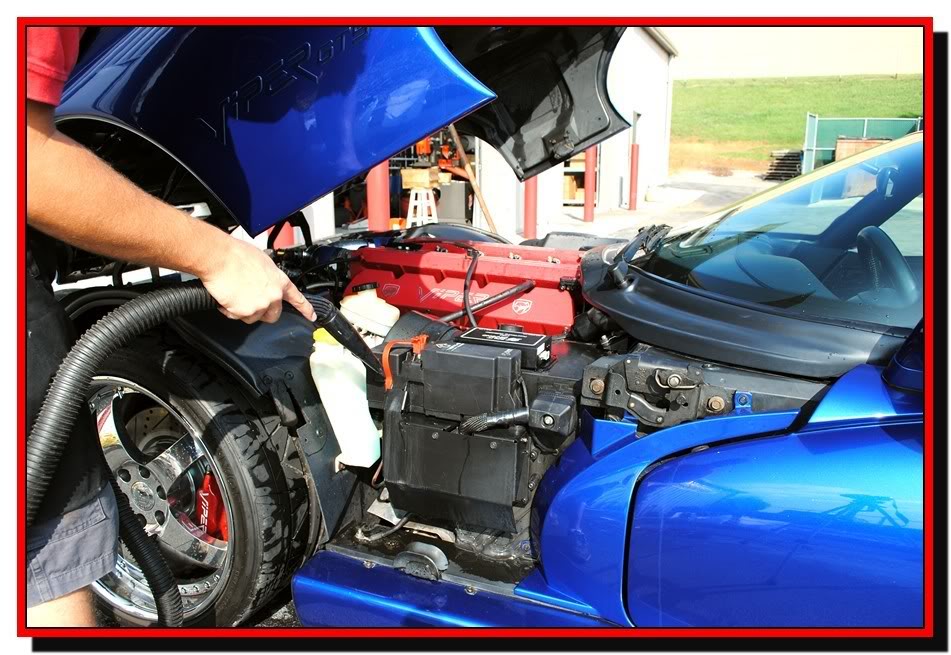
Then I liberally applied some 303 aerospace protectant to the entire engine bay.

Name:  viperpic066.jpg
Views: 2219
Size:  146.6 KB

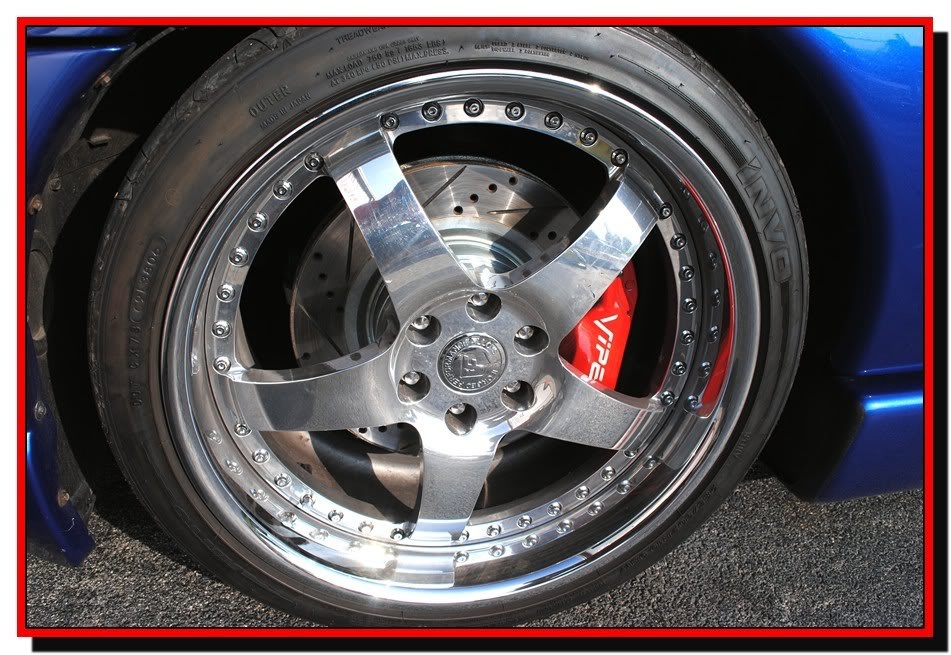
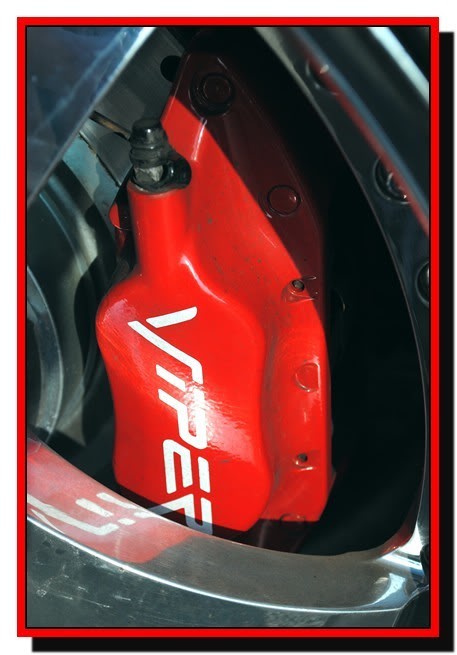
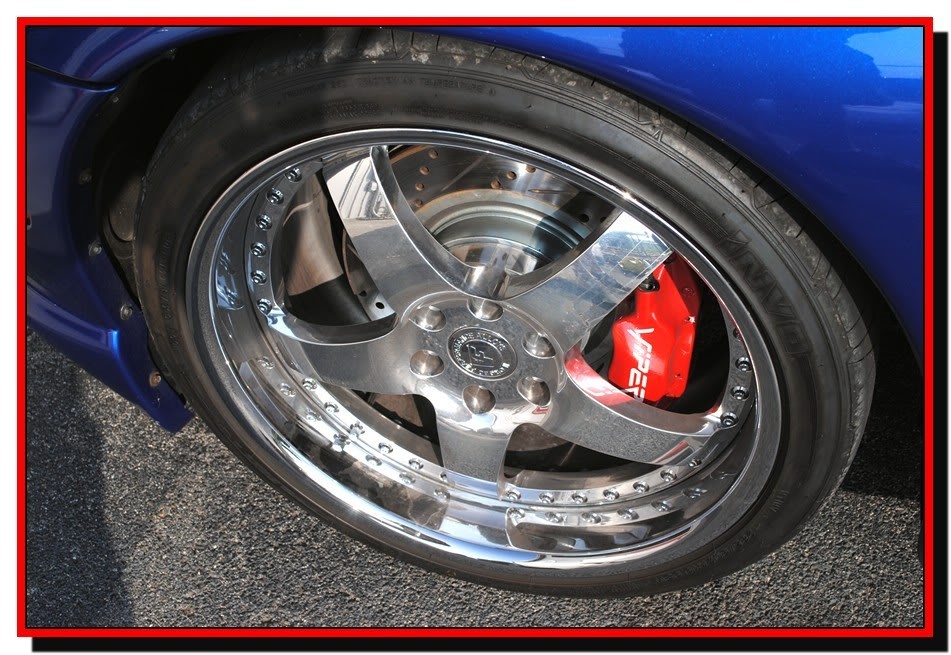
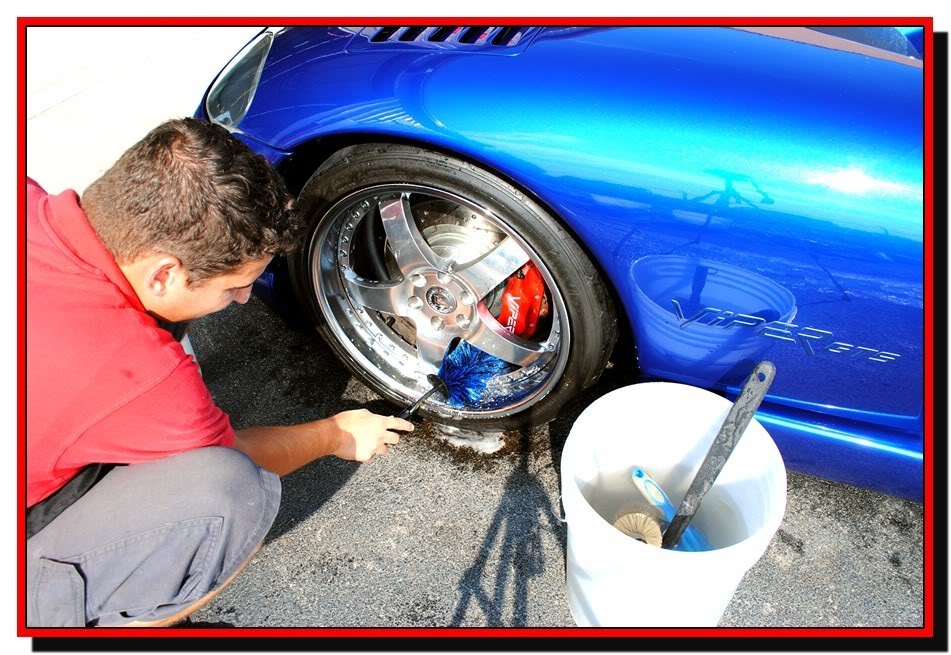
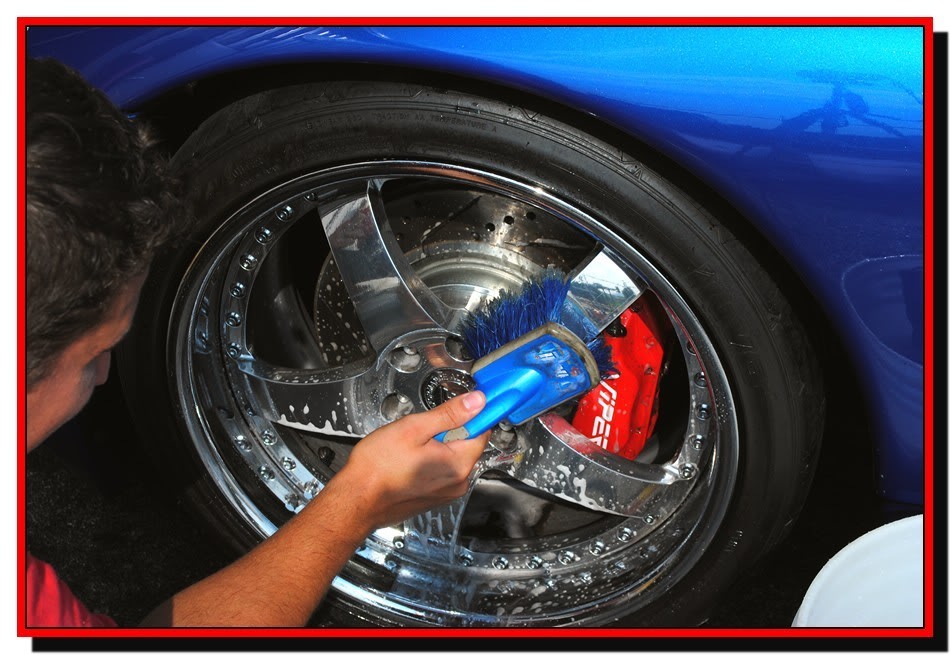
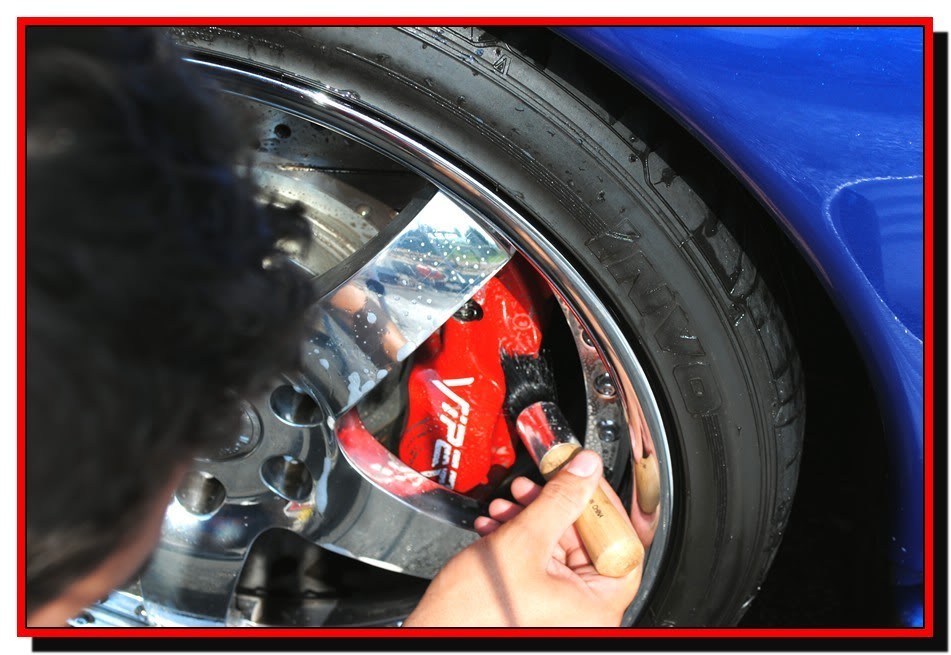
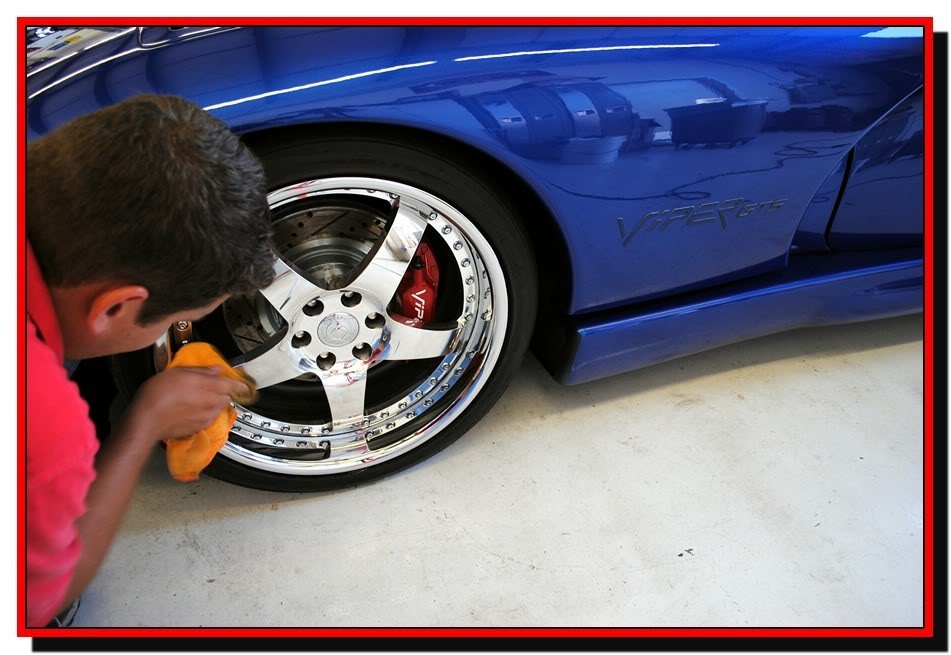
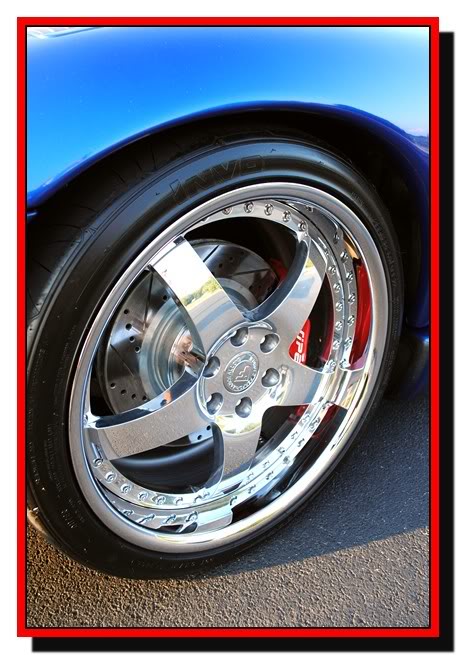
Now that the engine bay was complete, Next I started on the wheels.

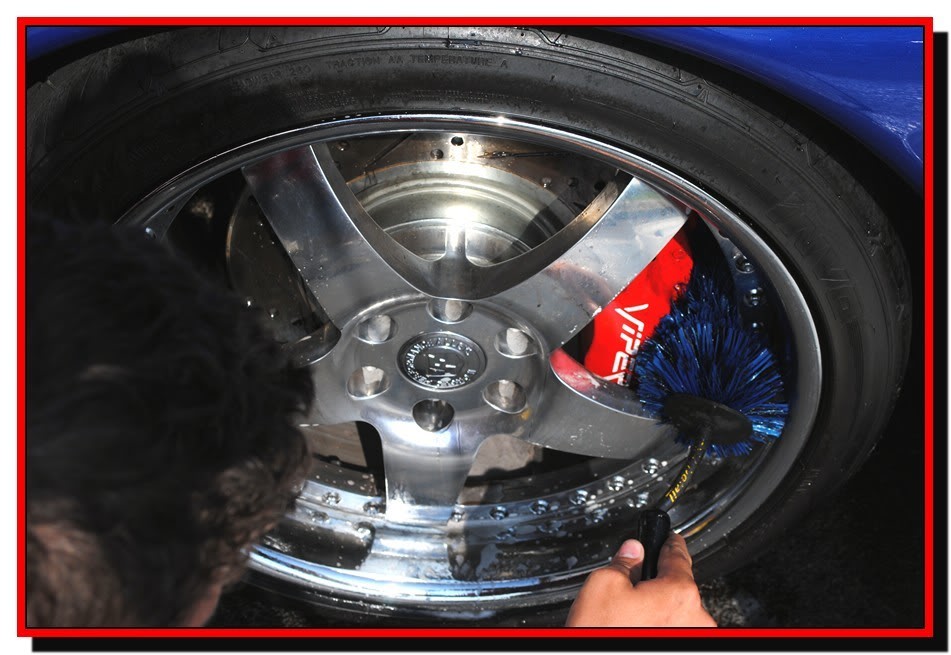
I applied P21s wheel Gel diluted to 3:1 ratio, and I let it dwell for about 15 min.

Name:  viperpic069.jpg
Views: 2089
Size:  167.5 KB

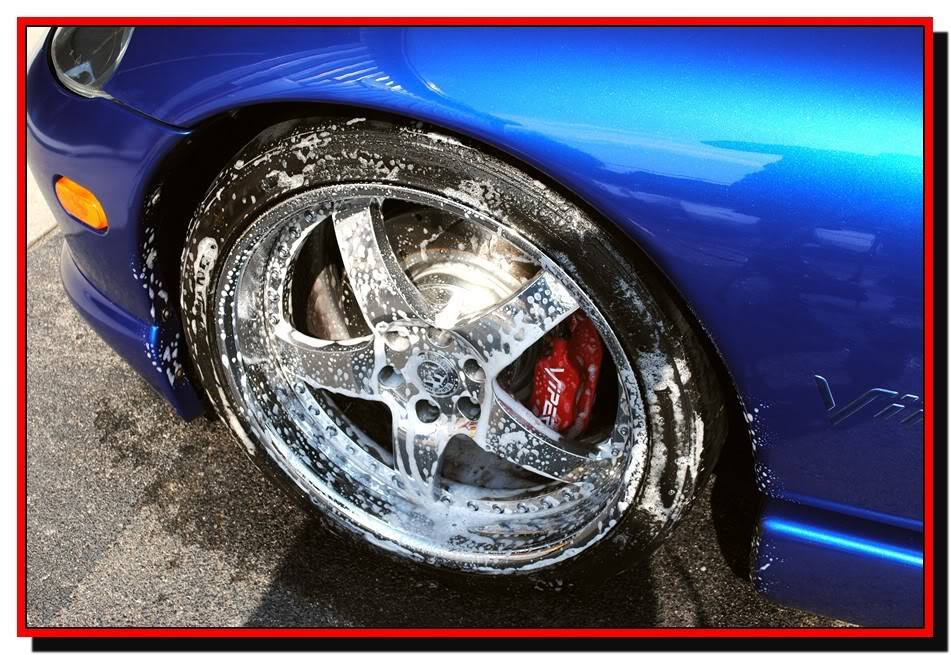
Then agitated it with my EZ detail brush and other various brushes.

Name:  viperpic070.jpg
Views: 2018
Size:  151.9 KB

Name:  viperpic071.jpg
Views: 2002
Size:  101.3 KB

Name:  viperpic072.jpg
Views: 2010
Size:  118.7 KB

Name:  viperpic074.jpg
Views: 2026
Size:  104.1 KB


After the Wheels, I sprayed a coat of Snow Foam with my Foam canon attachment.

Name:  viperpic075.jpg
Views: 2115
Size:  161.5 KB

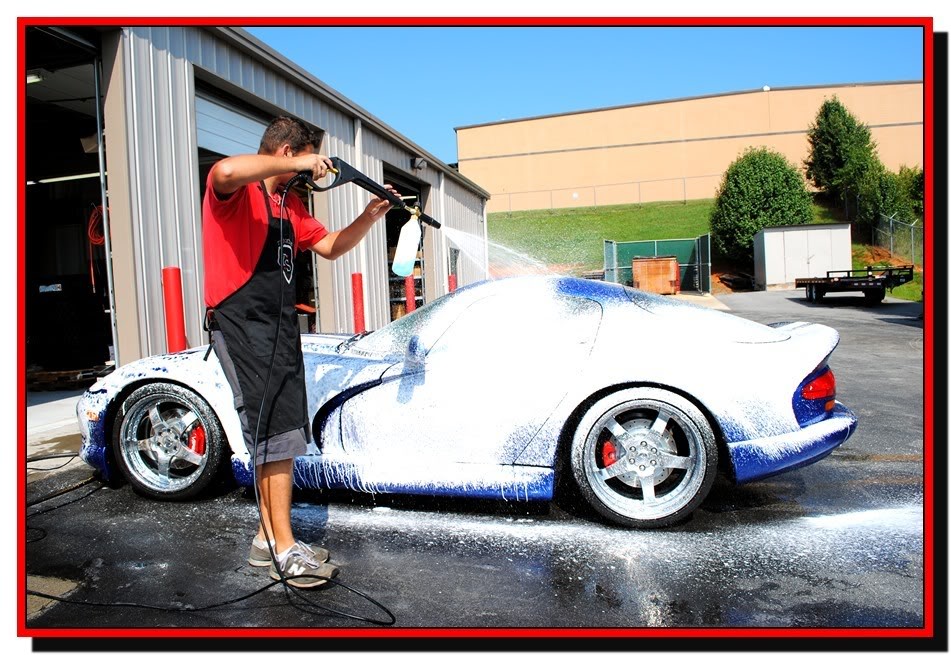
Let it dwell and roll of any heavy dirt
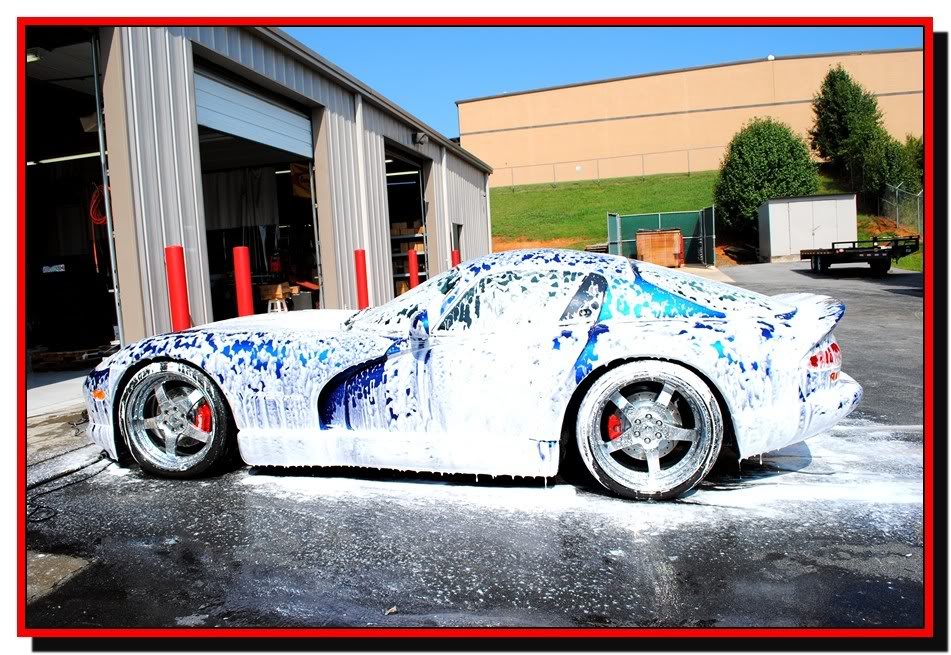
Name:  viperpic076.jpg
Views: 2056
Size:  168.5 KB

then Rinse.......

Name:  viperpic077.jpg
Views: 2286
Size:  150.1 KB

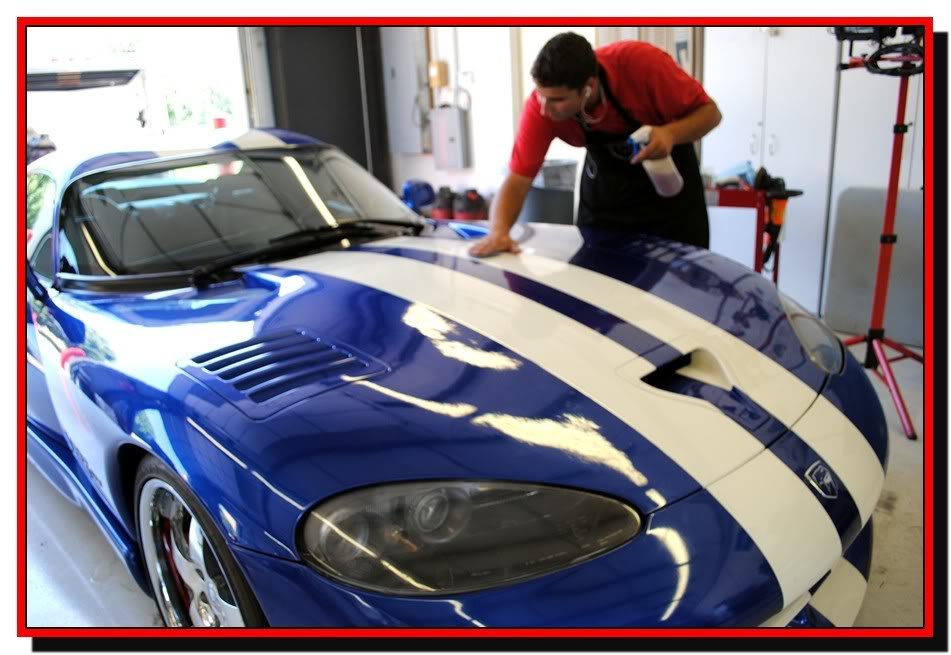
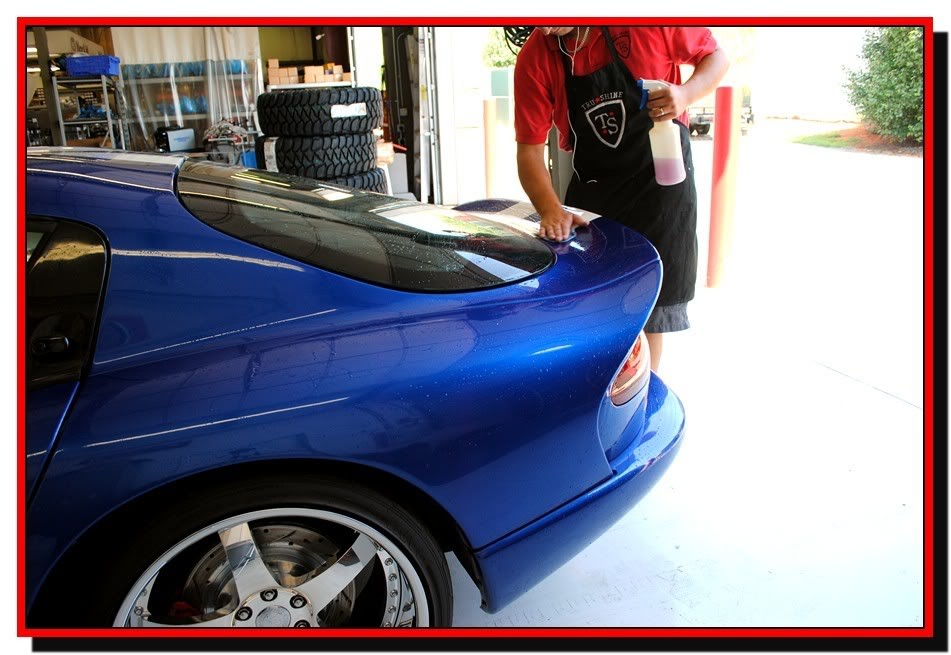
After the heavy dirt was washed off I applied another coat of snow foam and began to wash the paint using a two bucket method.
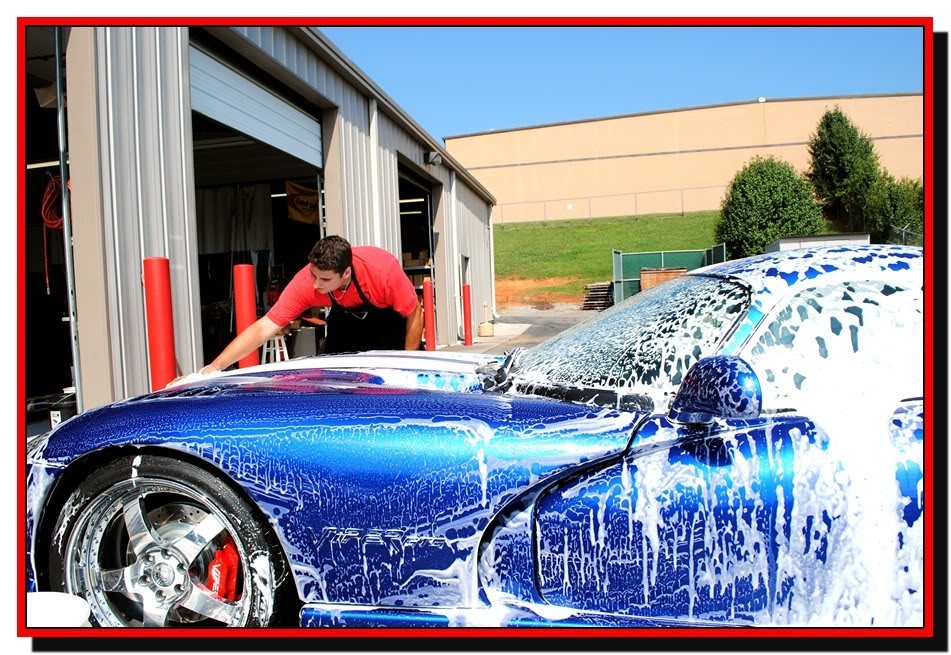
Name:  viperpic078.jpg
Views: 2083
Size:  183.8 KB

then rinsed.....

Name:  viperpic079.jpg
Views: 2085
Size:  164.7 KB

I dried it using a ReThickulous towel.

Name:  viperpic080.jpg
Views: 2130
Size:  97.8 KB

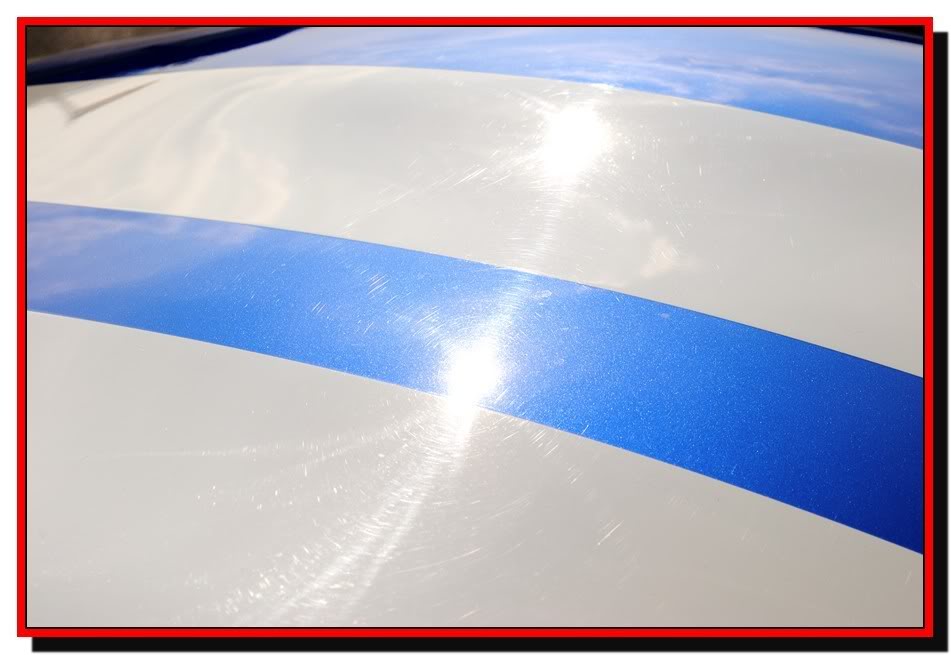
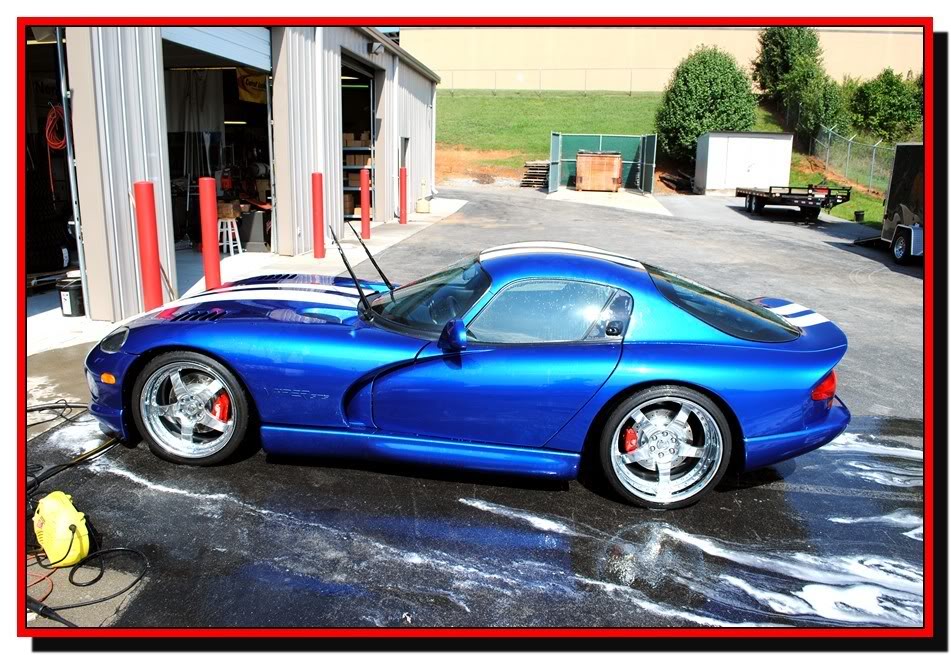
Once all of the oils and previous waxes were removed, the Tru Surface is revealed!

Name:  viperpic082.jpg
Views: 2003
Size:  150.9 KB

Name:  viperpic086.jpg
Views: 2040
Size:  127.5 KB

Name:  viperpic090.jpg
Views: 2036
Size:  85.0 KB

Name:  viperpic095.jpg
Views: 2000
Size:  70.7 KB

Name:  viperpic096.jpg
Views: 2011
Size:  150.4 KB

Name:  viperpic097.jpg
Views: 2018
Size:  99.8 KB

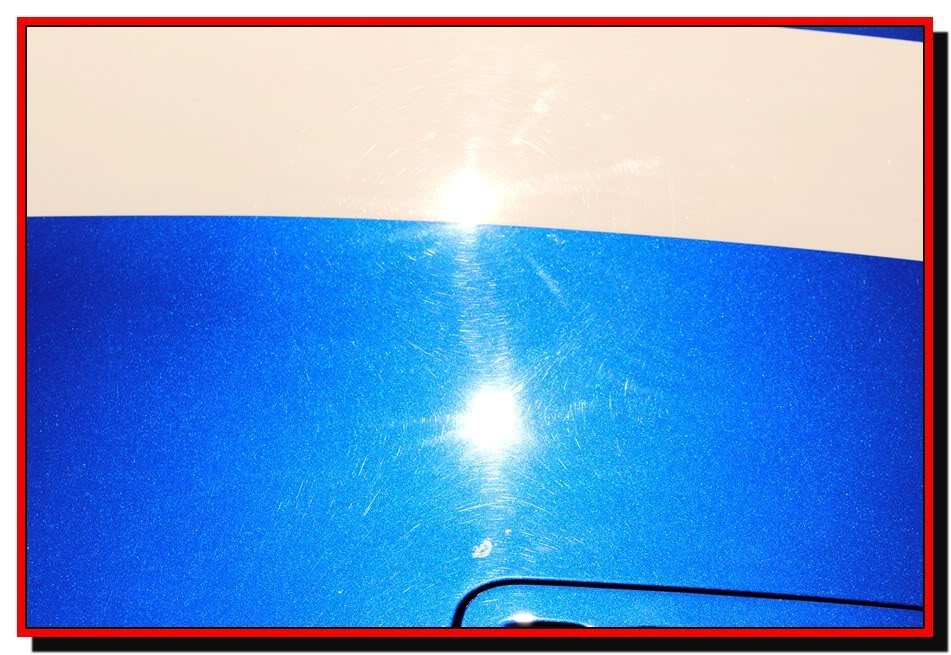
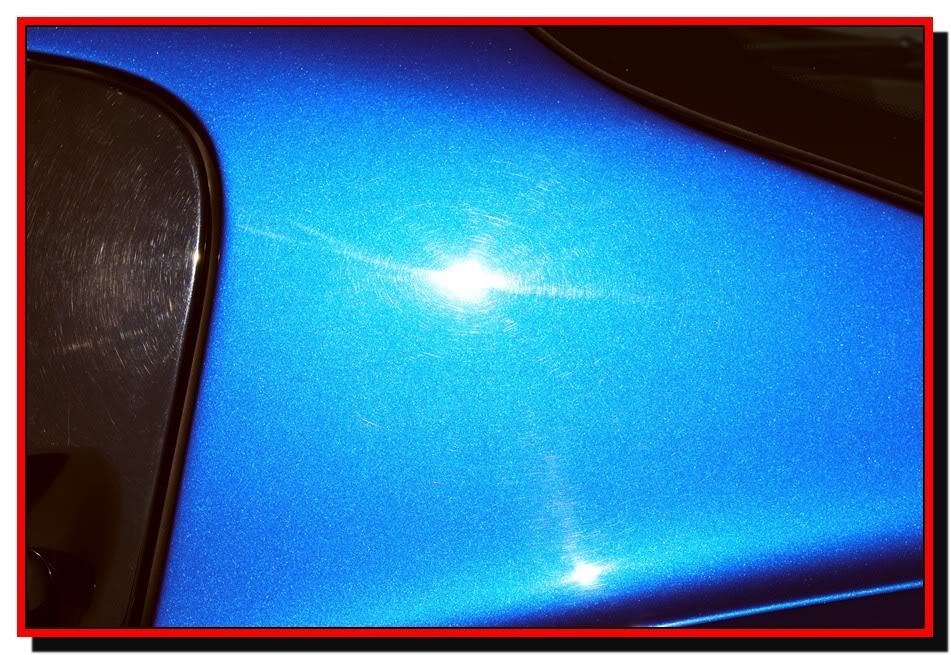
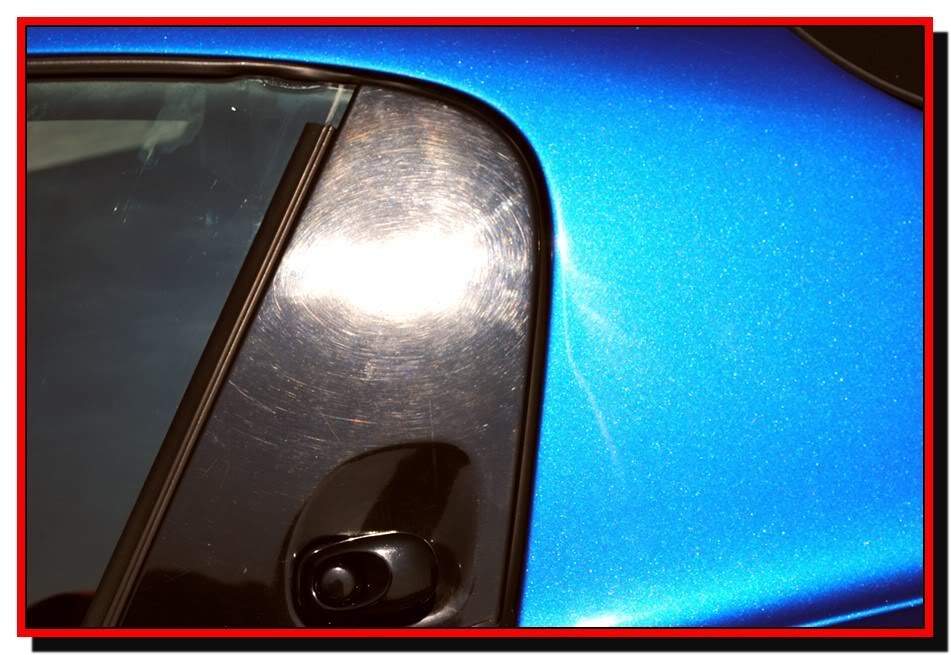
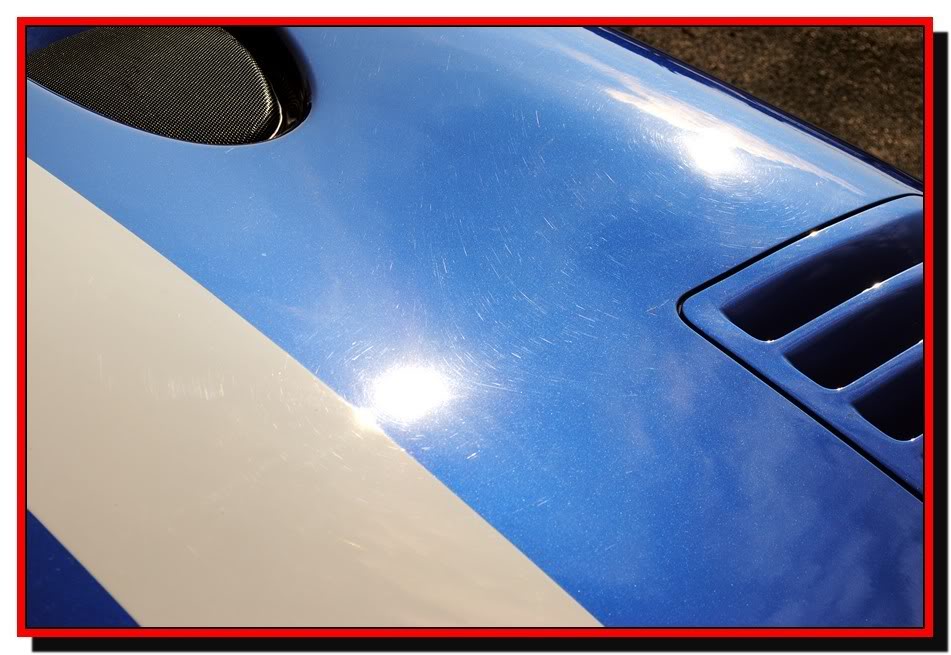
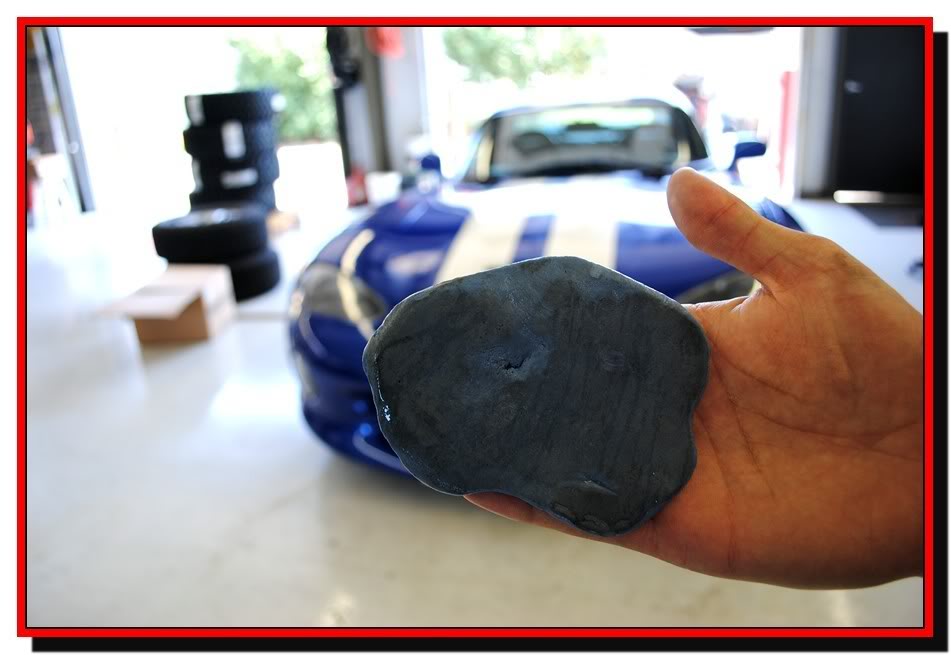
Now it's time to bring it in and prep it and clay it.

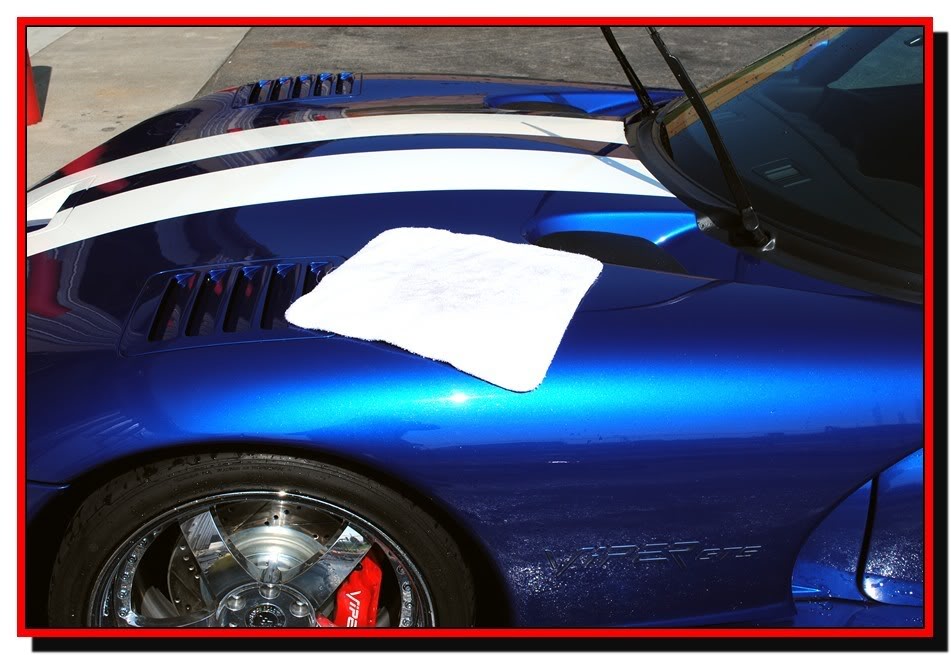
I used Clay magic blue fine clay and Show room shine as clay lube.

Name:  viperpic099.jpg
Views: 2062
Size:  89.6 KB

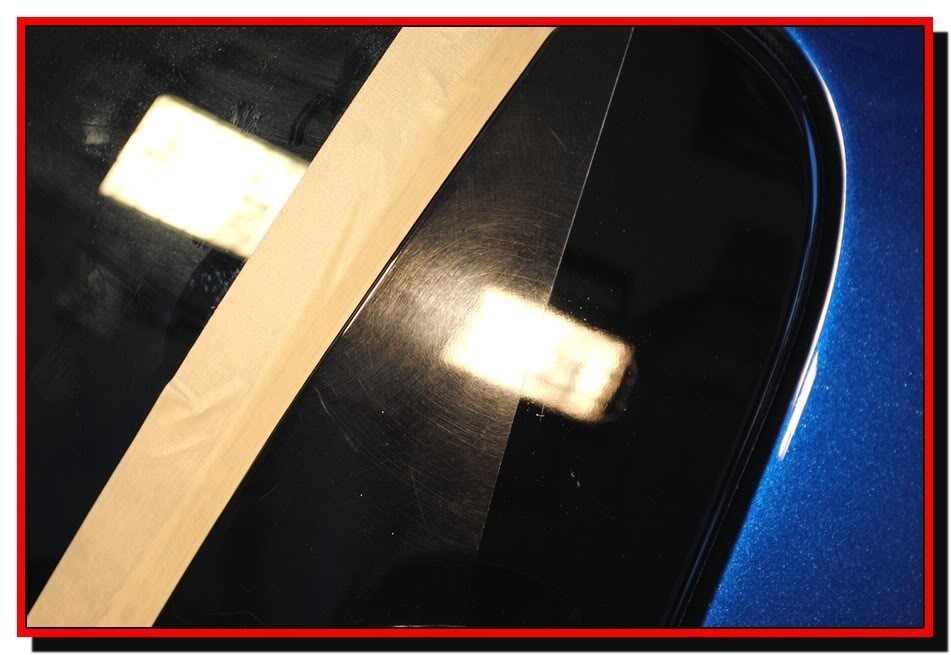
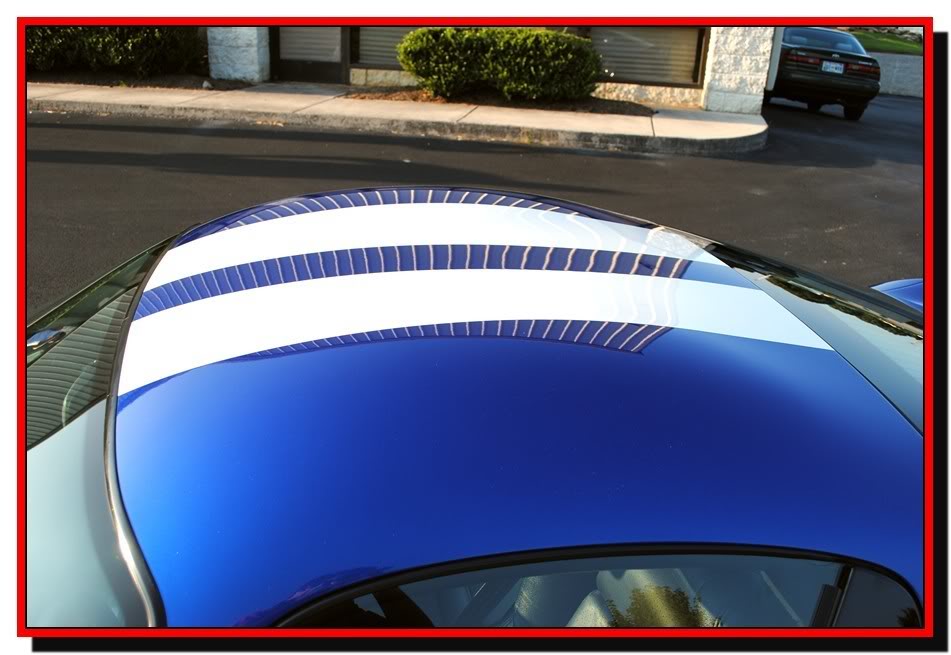
This is just half the hood!

Name:  viperpic101.jpg
Views: 2004
Size:  60.6 KB

Name:  viperpic103.jpg
Views: 2078
Size:  104.3 KB

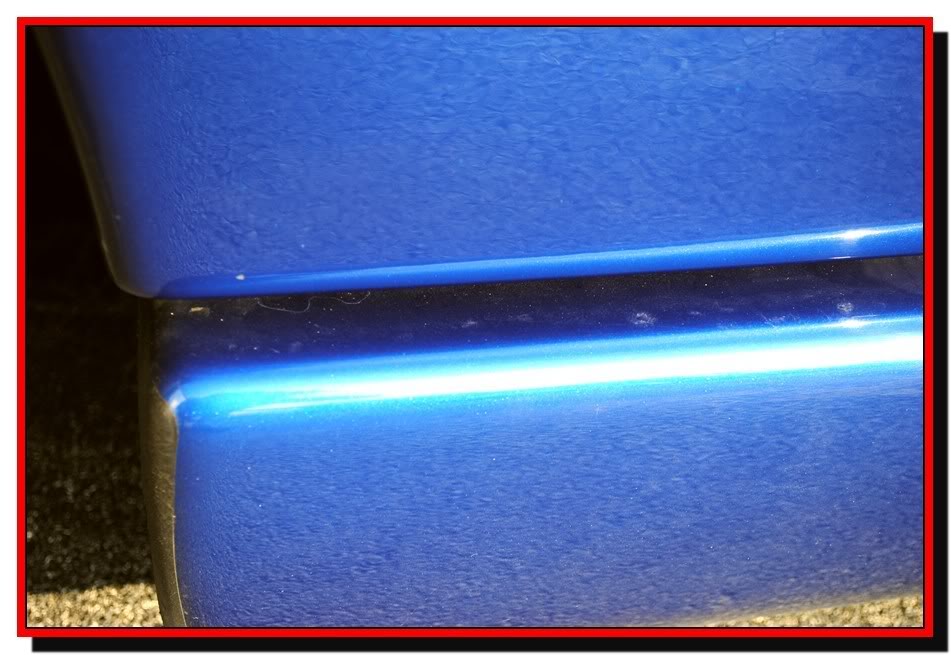
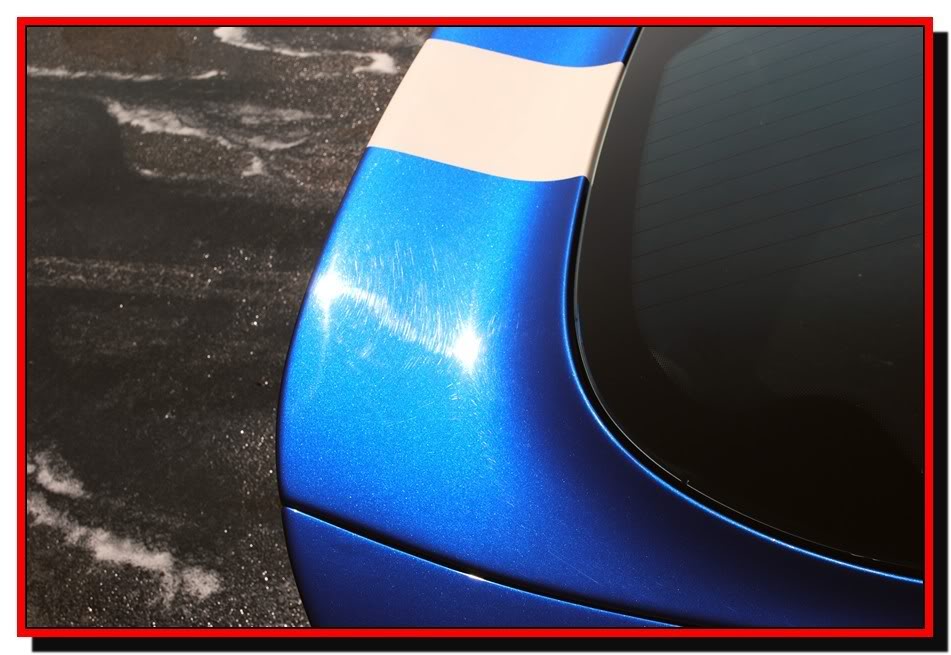
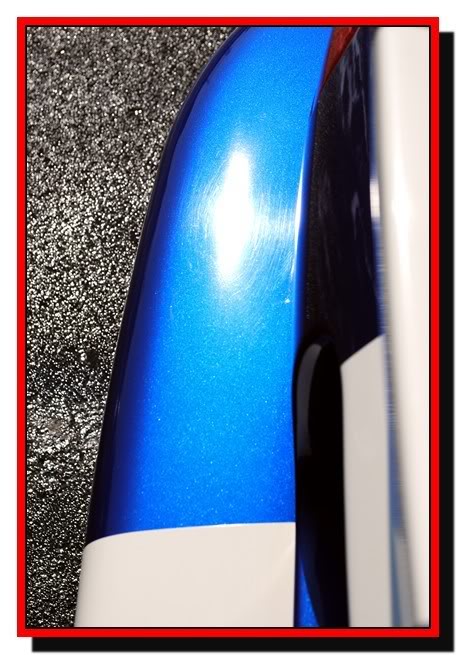
Now it's time for the compounding stage, I used my Flex 3401 with Lake country Cyan Hydrotech pad, with Meguiars M105.

Name:  viperpic107.jpg
Views: 2036
Size:  95.6 KB

Name:  viperpic108.jpg
Views: 2058
Size:  95.5 KB

Name:  viperpic109.jpg
Views: 2007
Size:  79.4 KB

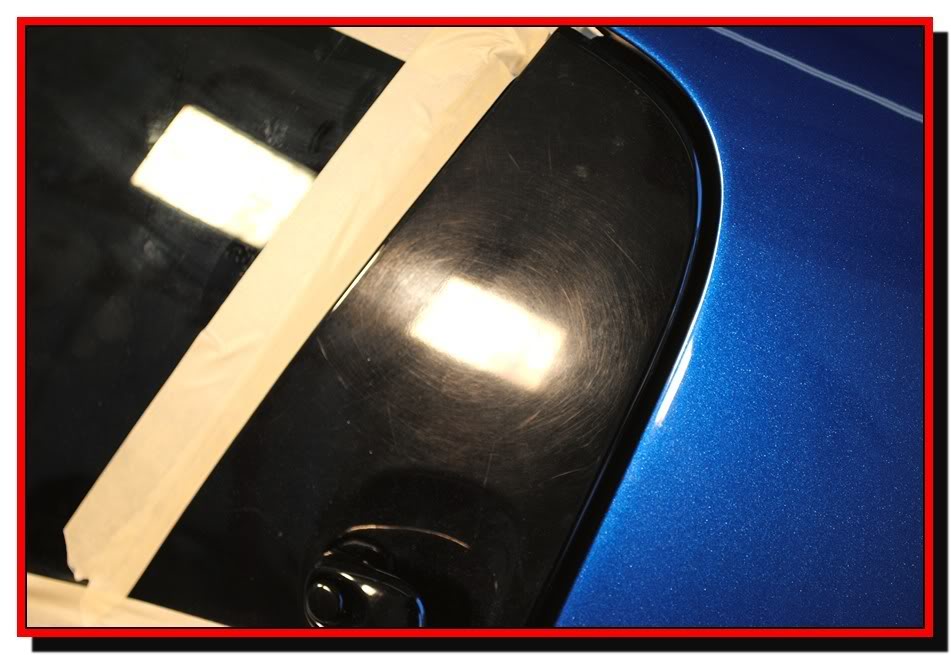
here is a 50/50 of the piller.

Name:  viperpic113.jpg
Views: 1999
Size:  72.3 KB

Name:  viperpic115.jpg
Views: 2015
Size:  116.2 KB

Name:  viperpic118.jpg
Views: 2051
Size:  139.7 KB

Name:  viperpic119.jpg
Views: 2011
Size:  75.0 KB

Name:  viperpic120.jpg
Views: 1997
Size:  96.4 KB

Name:  viperpic121.jpg
Views: 2009
Size:  104.4 KB

Name:  viperpic122.jpg
Views: 2048
Size:  122.2 KB

Name:  viperpic124.jpg
Views: 2007
Size:  120.8 KB

Name:  viperpic127.jpg
Views: 2164
Size:  144.6 KB

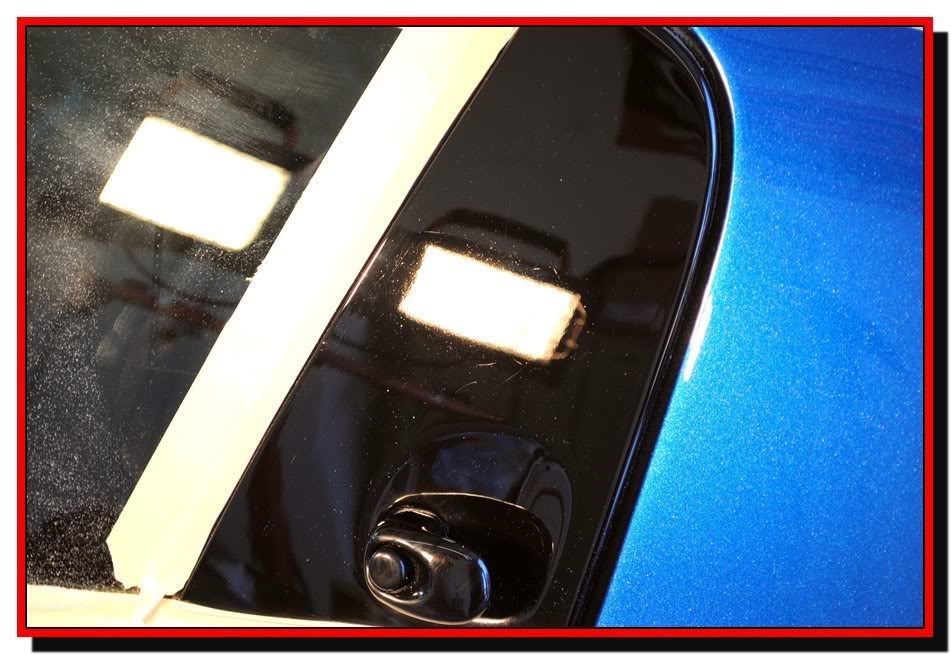
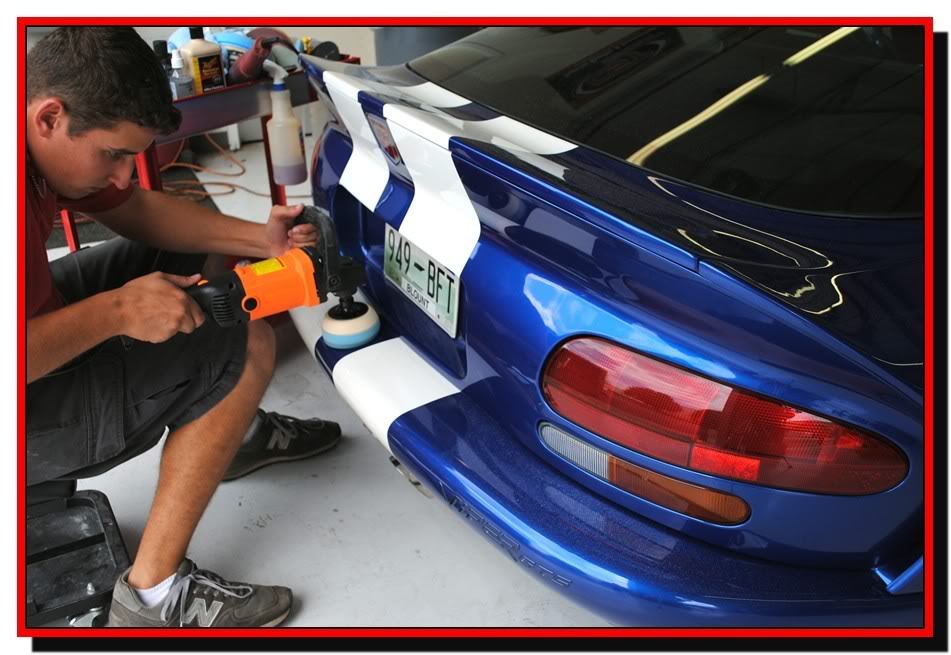
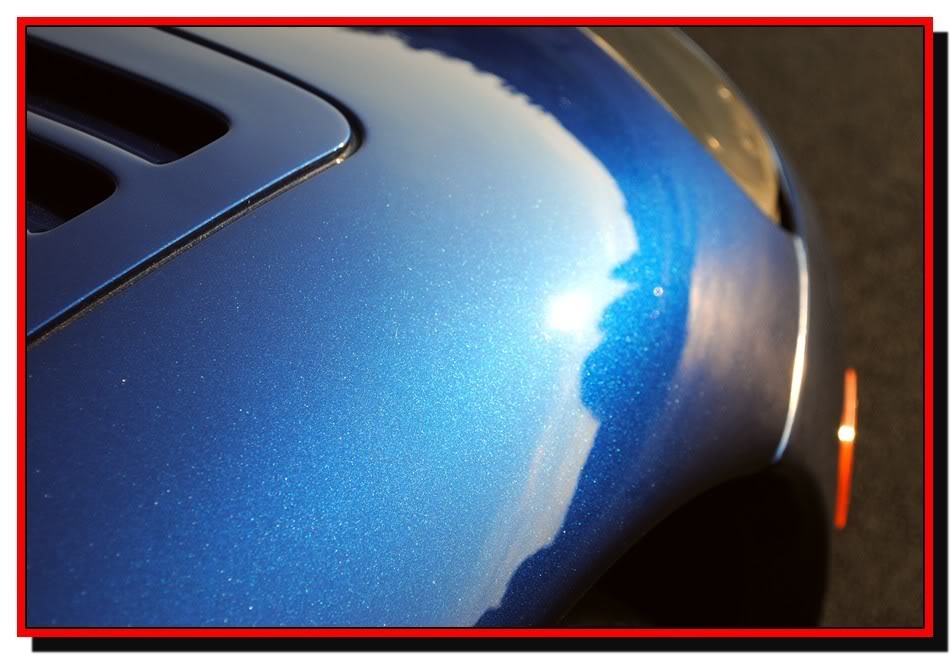
Next after the Compounding stage I polish the paint with a Tangerine Hydrotech pad and Meguiars M205 polish.

Name:  viperpic128.jpg
Views: 2083
Size:  127.6 KB

Name:  viperpic129.jpg
Views: 2103
Size:  118.5 KB

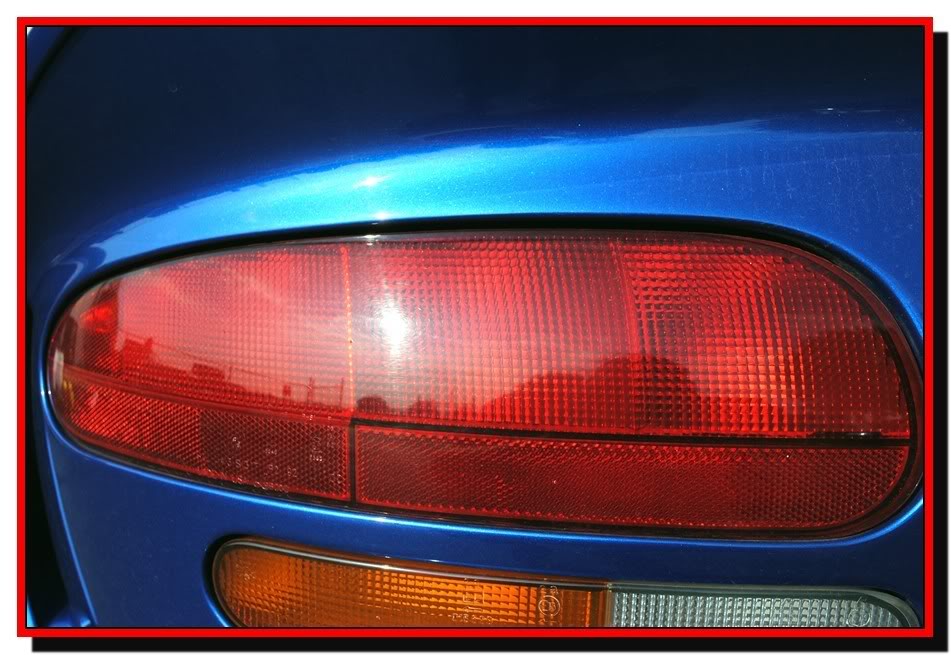
After the paint was polished I sealed it using Black Fire Wet Diamond

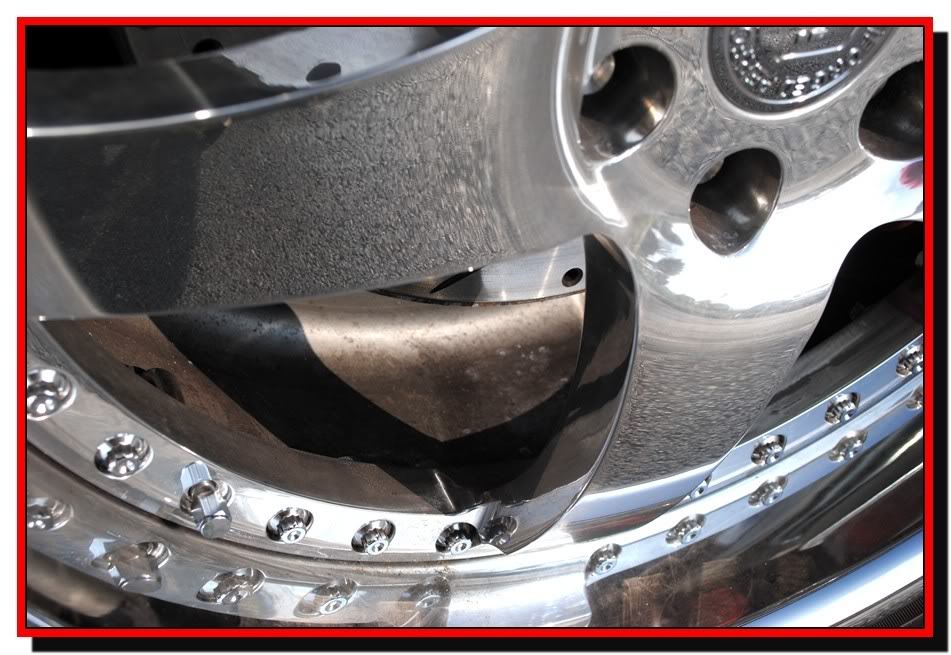
then I polished the wheels using Bushes Polsih

Name:  viperpic130.jpg
Views: 1997
Size:  91.3 KB

and then treated the door jams with 303

Name:  viperpic137.jpg
Views: 2036
Size:  101.1 KB


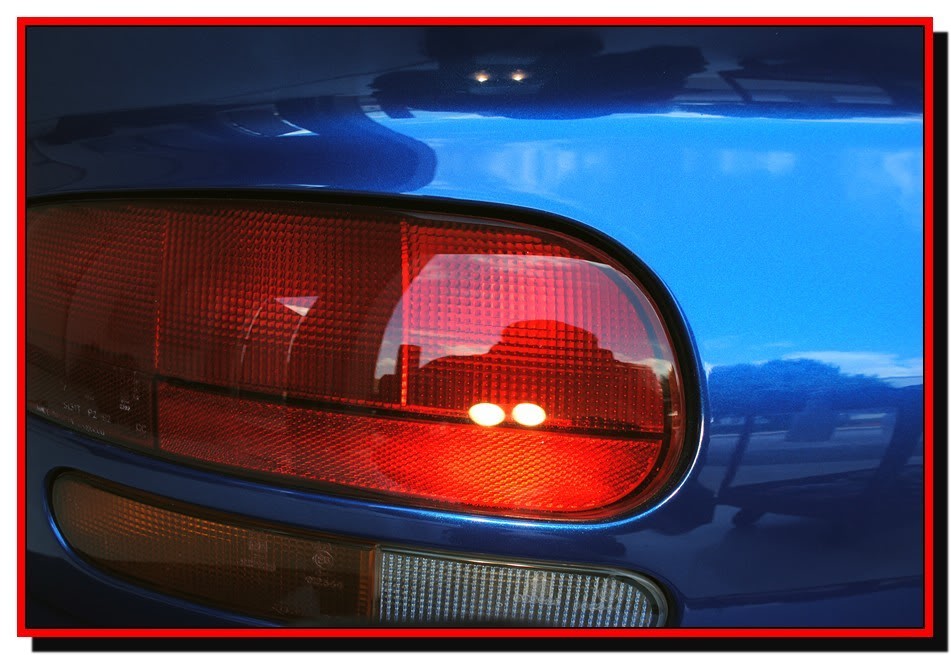
and after all said and done, here are the Final shots.


Name:  viperpic132.jpg
Views: 2017
Size:  79.1 KB

Name:  viperpic136.jpg
Views: 2019
Size:  147.3 KB

Name:  viperpic139.jpg
Views: 2003
Size:  81.6 KB

Name:  viperpic140.jpg
Views: 2021
Size:  77.6 KB

Name:  viperpic2001.jpg
Views: 2215
Size:  175.6 KB

Name:  viperpic2002.jpg
Views: 2251
Size:  188.8 KB

Name:  viperpic147.jpg
Views: 1985
Size:  78.9 KB

Name:  viperpic150.jpg
Views: 1987
Size:  101.7 KB

Name:  viperpic151.jpg
Views: 1985
Size:  106.7 KB

Name:  viperpic148.jpg
Views: 2068
Size:  90.0 KB

Name:  viperpic2003.jpg
Views: 2796
Size:  162.4 KB

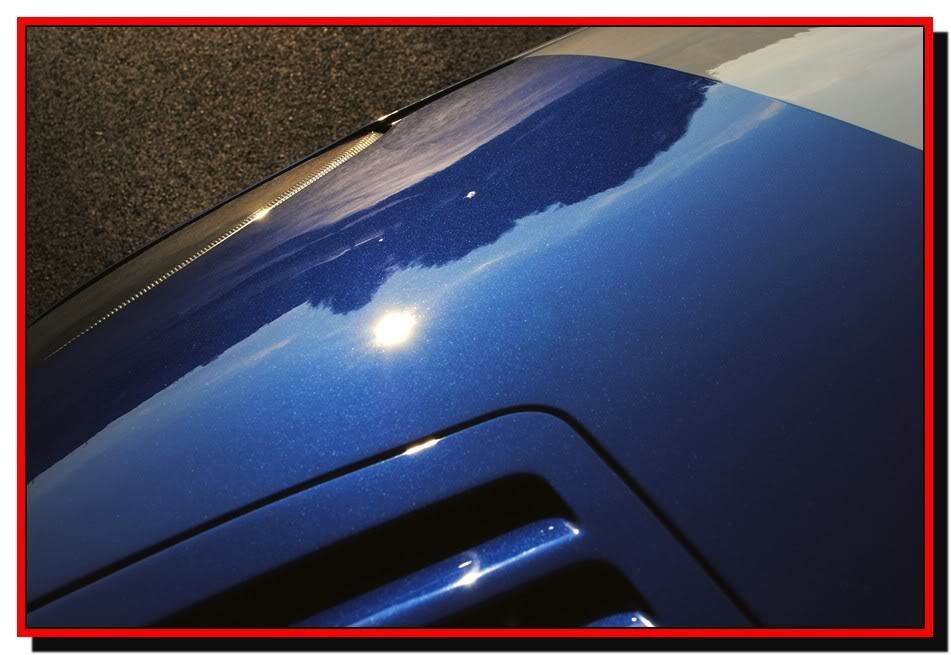
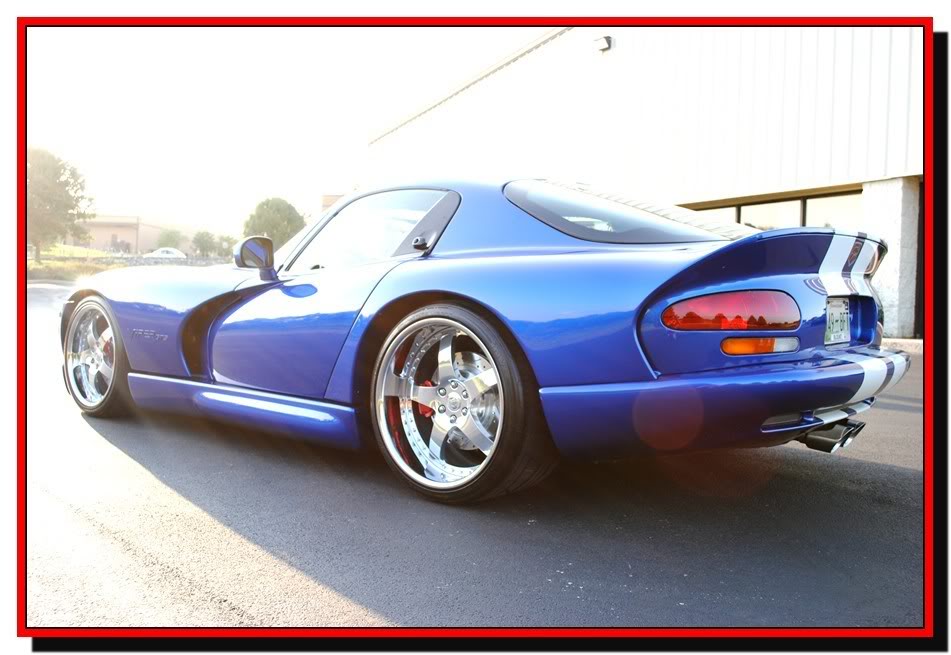
Thanks for viewing and have a blessed day!
 
Old Sep 14, 2010 | 02:48 PM
  #2  
JJIN's Avatar
Member
5 Year Member
iTrader: (1)
Joined: Nov 2009
Posts: 627
From: Tustin, CA
i love all your work! great job.
 
Old Sep 14, 2010 | 02:49 PM
  #3  
chrisdoug's Avatar
New Member
Joined: Aug 2010
Posts: 8
From: beaverton,or
Damn! that looks great!
 
Old Sep 14, 2010 | 04:24 PM
  #4  
Perrenoud Fit's Avatar
Member
iTrader: (2)
Joined: Dec 2008
Posts: 4,439
From: Chesapeake, VA. -USA
5 Year Member
Thumbs up Lucky Duck

Fallen Rock you are truly blessed to be able to work on these rides and get paid to boot
 
Old Sep 14, 2010 | 05:20 PM
  #5  
honda2112's Avatar
Member
5 Year Member
iTrader: (1)
Joined: Sep 2006
Posts: 315
From: Springfield, MA
Thanks Fallen Rock, you've really inspired me over the past few weeks. I use to detail back in High School, all elbow grease and such. After reading all your posts I decided to give it a shot again, maybe even make some side $$$. I did my wifes '02 neglected Accord on Saturday using most of your tricks and let me tell you, amazing results! I skimped on a few things because I had the kids with me but it was about a 14 hour job and I felt relaxed the whole time, it was actually stress relieving and fun. Thanks again! (I'd post pics but I haven't seen the car in the sun yet).
 
Old Sep 15, 2010 | 10:12 AM
  #6  
Fallen_Rock's Avatar
Thread Starter
|
Member
iTrader: (2)
Joined: Jun 2009
Posts: 365
From: Knoxville TN
Originally Posted by honda2112
Thanks Fallen Rock, you've really inspired me over the past few weeks. I use to detail back in High School, all elbow grease and such. After reading all your posts I decided to give it a shot again, maybe even make some side $$$. I did my wifes '02 neglected Accord on Saturday using most of your tricks and let me tell you, amazing results! I skimped on a few things because I had the kids with me but it was about a 14 hour job and I felt relaxed the whole time, it was actually stress relieving and fun. Thanks again! (I'd post pics but I haven't seen the car in the sun yet).
haha, cool deal. I am glad to help! 1 year ago i sent the same type of message to my buddy QBmurderer13 here on FitFreak.net. I detailed back in the day for about 5 years at a dealer, but I was your typical hack job detailer, I was just doing it for the money and didn' care about the final out come. but then 1 year ago I seen QB's write ups on details and started studying. you can learn alot on Autopia.org and Truthindetailing.com.

just keep at it and take your profit and buy good materials and tools and you'll be were im at in no time!
 
Old Sep 15, 2010 | 12:05 PM
  #7  
FITrunner's Avatar
Member
5 Year Member
Joined: Feb 2007
Posts: 1,244
From: Colorado Springs, CO
Mmmmm Viper GTS. One of my fav cars. A bitch to insure though, as I did some research when I thought about getting one before settling on the NSX.
 
Old Sep 15, 2010 | 12:31 PM
  #8  
hayden's Avatar
Member
5 Year Member
Joined: May 2006
Posts: 1,899
From: tx
Nice work as usual!

I'd take a Viper. I can hardly think of a car that is more opposite of the Fit, and they would compliment each other well. I've always liked them, and I see youngish men out on Sundays in them occasionally around here, but the insurance has got to be ridiculous, as was mentioned.
 
Old Sep 15, 2010 | 01:53 PM
  #9  
FITrunner's Avatar
Member
5 Year Member
Joined: Feb 2007
Posts: 1,244
From: Colorado Springs, CO
Originally Posted by hayden
Nice work as usual!

I'd take a Viper. I can hardly think of a car that is more opposite of the Fit, and they would compliment each other well. I've always liked them, and I see youngish men out on Sundays in them occasionally around here, but the insurance has got to be ridiculous, as was mentioned.
That's actually part of the reason the Viper was redesigned with a more conventional hood. The older clamshell design, while very cool, was an insurance premium waiting to happen. Young or old driver, insurance companies will charge you a premium for it.
 
Old Dec 11, 2010 | 01:28 PM
  #10  
Klasse Act's Avatar
Member
iTrader: (1)
Joined: Feb 2010
Posts: 1,283
From: Woodridge Illinois USA
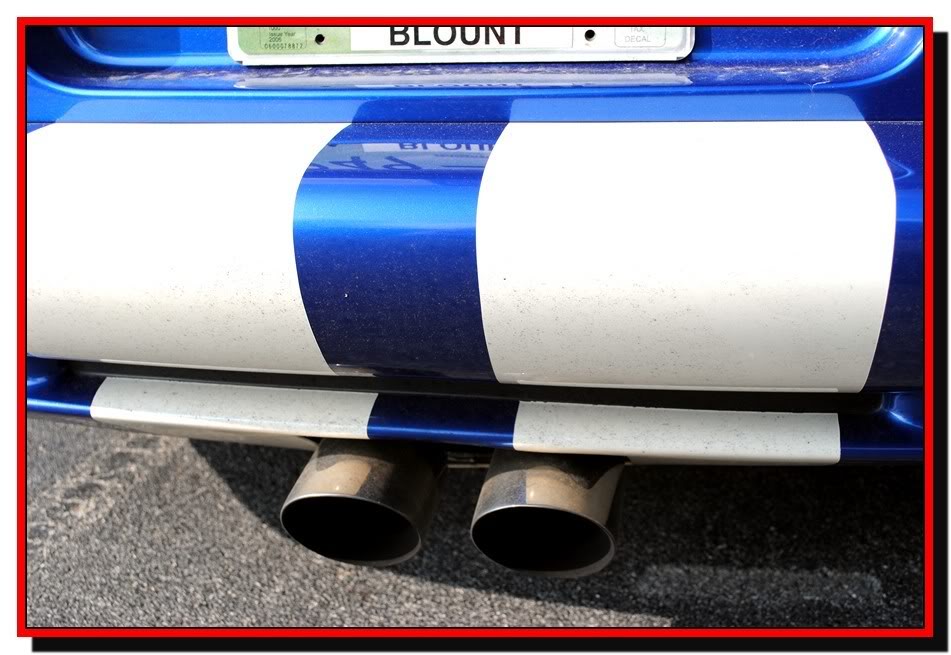
I love the look of that car, it appears to be lowered and those wheels are waaaaaaaaaaaaaaaaaaaaaaaaaaaay nicer than the OE's for sure! I noticed the plate in the one pic and it shows the county BLOUNT, that is near the Dragon, I bet that things been down there but I don't know how in the hell you'd control a Viper on that road, and with a blower on too, INSANE FOR SURE!!!

The GTS of that vintage is my favorite Viper of all time, either that blue w/white or white w/blue stripes, can't lose
 
Old Dec 11, 2010 | 06:10 PM
  #11  
iluvmyVersa08's Avatar
Member
Joined: Mar 2010
Posts: 69
From: Hamilton, ON, Canada
Wow, I love viewing your work!
Awesome job as usual
 
Old Dec 28, 2010 | 05:53 PM
  #12  
Exiled Lakai's Avatar
Member
Joined: Oct 2009
Posts: 51
From: City of Sin
wow really nice work.
 
Old Feb 3, 2011 | 08:32 PM
  #13  
sfl44's Avatar
Member
Joined: Feb 2011
Posts: 20
That is one hell of a job, very thourough! You could detail my Fit any day! lol
 
Old Jun 23, 2011 | 10:33 PM
  #14  
StormSurfer's Avatar
Member
Joined: Apr 2011
Posts: 568
From: Puerto Rico
5 Year Member
That Viper is a killer.You do magic on that car....Amazing!!!
 
Old Jul 1, 2011 | 12:32 PM
  #15  
VictorFarias's Avatar
Member
Joined: Jun 2011
Posts: 29
From: Maceió - AL
Another amazing job. Come to brazil soon, i need to do this in my car.
 
Old Jul 1, 2011 | 05:30 PM
  #16  
myblackhatch's Avatar
Member
iTrader: (2)
Joined: Jun 2011
Posts: 268
From: fort lauderdale
5 Year Member
Love what you do... Keep it up man.
 
Related Topics
Thread
Thread Starter
Forum
Replies
Last Post
FELIXY69
Fit Photos & Videos
6
Sep 24, 2010 05:52 AM
gd3kamiwanaB
Other Car Related Discussions
13
Oct 12, 2008 11:28 PM
2k7gd3
Other Car Related Discussions
12
Aug 27, 2008 09:48 PM
pokems23
Fit Photos & Videos
23
Jun 26, 2008 02:53 AM


All times are GMT -4. The time now is 11:15 AM.