DIY: My CRZ Engine Tray
#1
 08-01-2015, 07:44 PM

Join Date: Aug 2012
Location: Union, NJ
Posts: 3,355
DIY: My CRZ Engine Tray
Been trying to get my head around this whole CF layup (overlay) technique and after a couple of screw ups and rush jobs and many youtube videos, I think I'm getting it.
Here's my attempt in carbon skinning the CRZ undertray I received a couple of weeks. Had a lot of extra stuff leftover from repairing my hood so I decided to give it a shot.
First the Honda logo had to go. No way I can get the carbon fiber to conform to the raised lettering without vacuum bagging. Taped around the logo to protect it from the dremel and started to sand away, then when it was low enough, block sanded it as flat as i can get it.
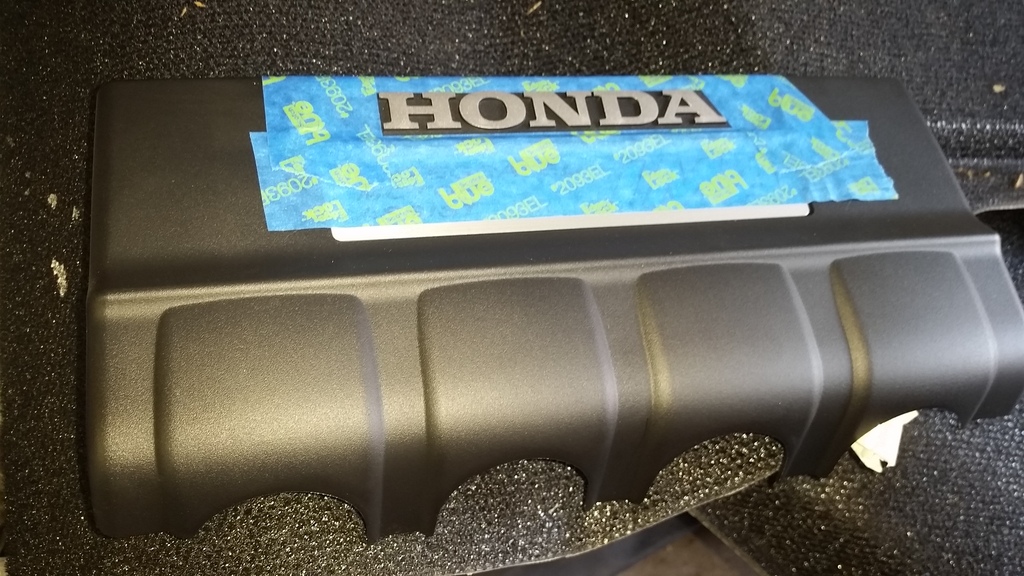
Here's how it looks after:
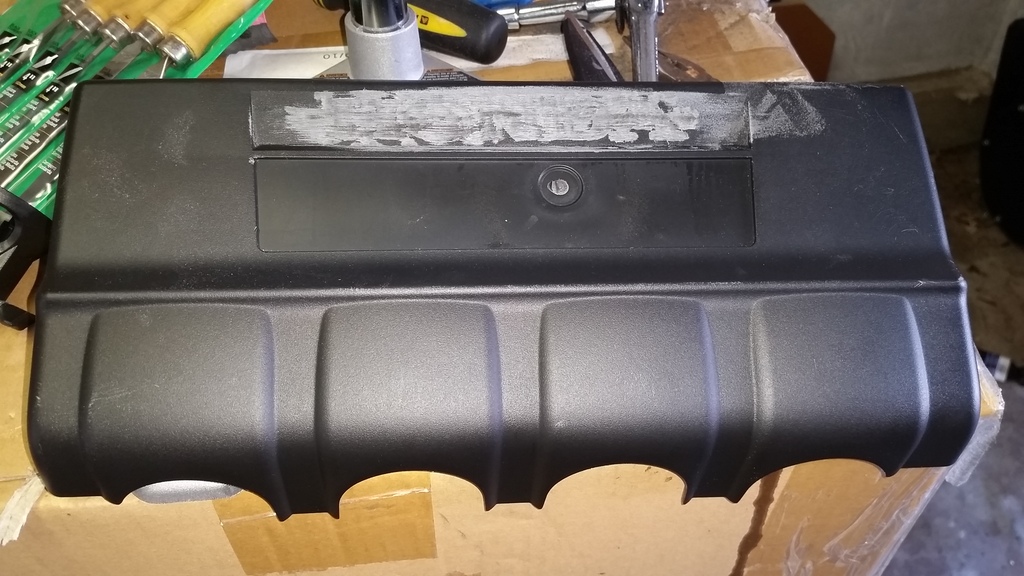
Removed the IMA sticker too. Wish i had some putty to fill in that circle so it doesn't indent. Oh well. I just need to find a logo to go over that.
Roughed up the rest of part with 120 grit sandpaper so the epoxy has something to cling to, washed with soap and water, and then degreaser.
No pics of the base coat layer, but i basically applied a thin layer of laminating clear epoxy resin. Waited for it to go tacky (mine took about 1.5 hours at 90 degrees) and laid down my precut carbon fiber. Mental note to cut a bigger piece than what u think u need. Had to pull off a couple of times and reposition. Good thing the epoxy remained tacky and I was able to put it down.
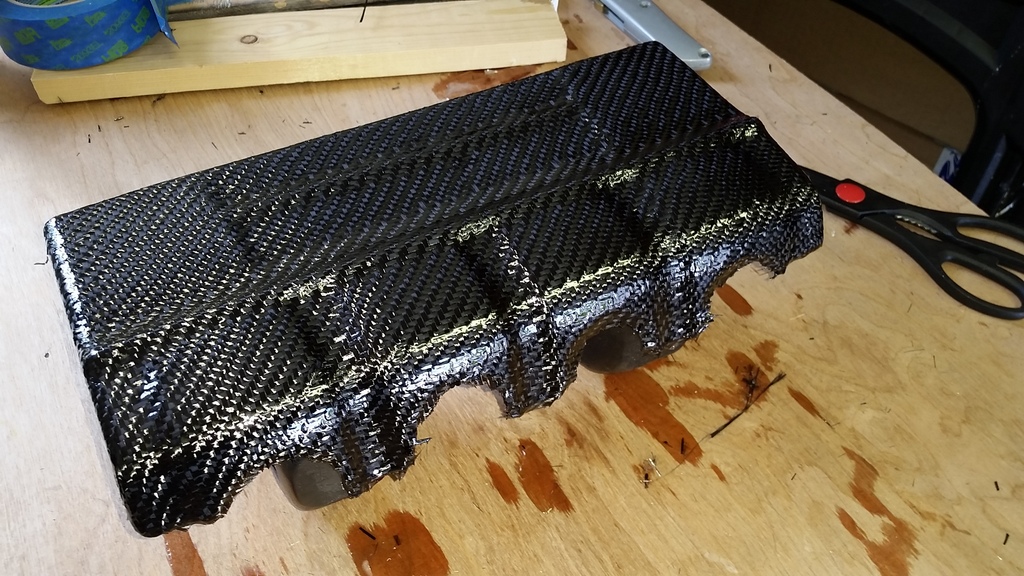
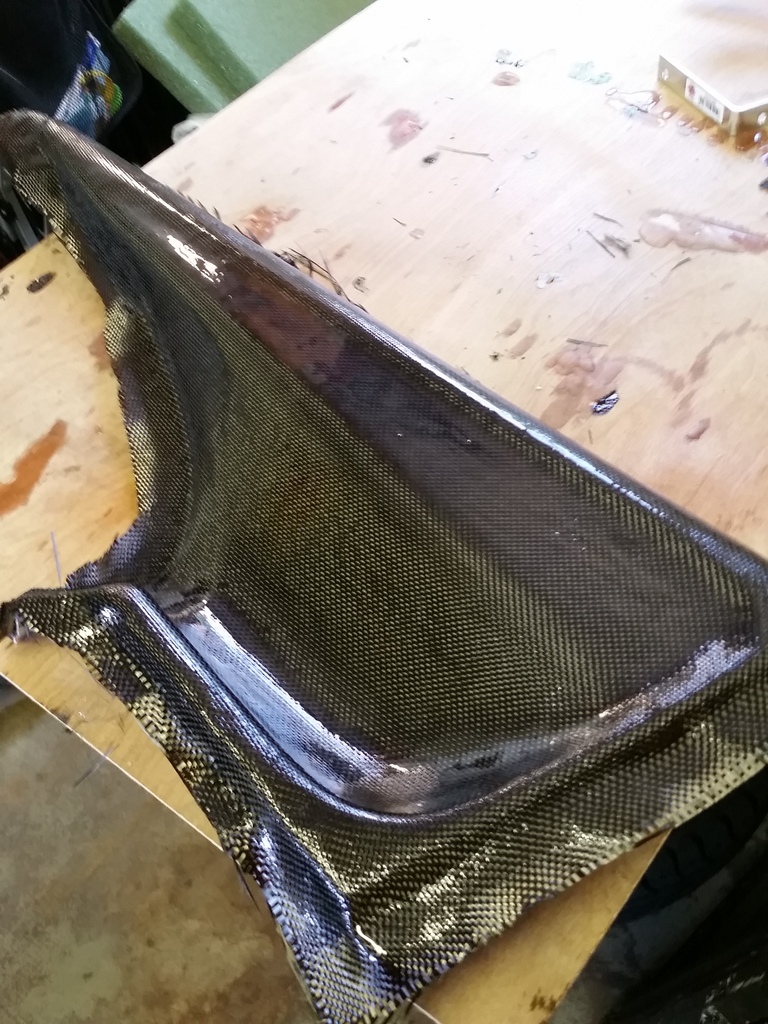
Here it is tacked down. Had to go through it several times and make sure it conforms well to the many curves and valleys of the engine cover.

They say wait 24 hours for the base coat to fully cure before adding the second layer of epoxy. Tomorrow I will trim the excess that's folded under the tray before laying more epoxy down.
Here's my attempt in carbon skinning the CRZ undertray I received a couple of weeks. Had a lot of extra stuff leftover from repairing my hood so I decided to give it a shot.
First the Honda logo had to go. No way I can get the carbon fiber to conform to the raised lettering without vacuum bagging. Taped around the logo to protect it from the dremel and started to sand away, then when it was low enough, block sanded it as flat as i can get it.

Here's how it looks after:

Removed the IMA sticker too. Wish i had some putty to fill in that circle so it doesn't indent. Oh well. I just need to find a logo to go over that.
Roughed up the rest of part with 120 grit sandpaper so the epoxy has something to cling to, washed with soap and water, and then degreaser.

No pics of the base coat layer, but i basically applied a thin layer of laminating clear epoxy resin. Waited for it to go tacky (mine took about 1.5 hours at 90 degrees) and laid down my precut carbon fiber. Mental note to cut a bigger piece than what u think u need. Had to pull off a couple of times and reposition. Good thing the epoxy remained tacky and I was able to put it down.
Here it is tacked down. Had to go through it several times and make sure it conforms well to the many curves and valleys of the engine cover.


They say wait 24 hours for the base coat to fully cure before adding the second layer of epoxy. Tomorrow I will trim the excess that's folded under the tray before laying more epoxy down.
#2
08-02-2015, 02:25 PM
Join Date: Aug 2012
Location: Union, NJ
Posts: 3,355
Gave it a little trim off the edges. cut a little too close and frayed some of the fibers, but i had no choice since i cut too small and the painters tape will be harder to remove then. Put on the second and third layers of resin.
Will wait a couple of hours to cure and then I will give it a trim/sand the edges with the dremel.
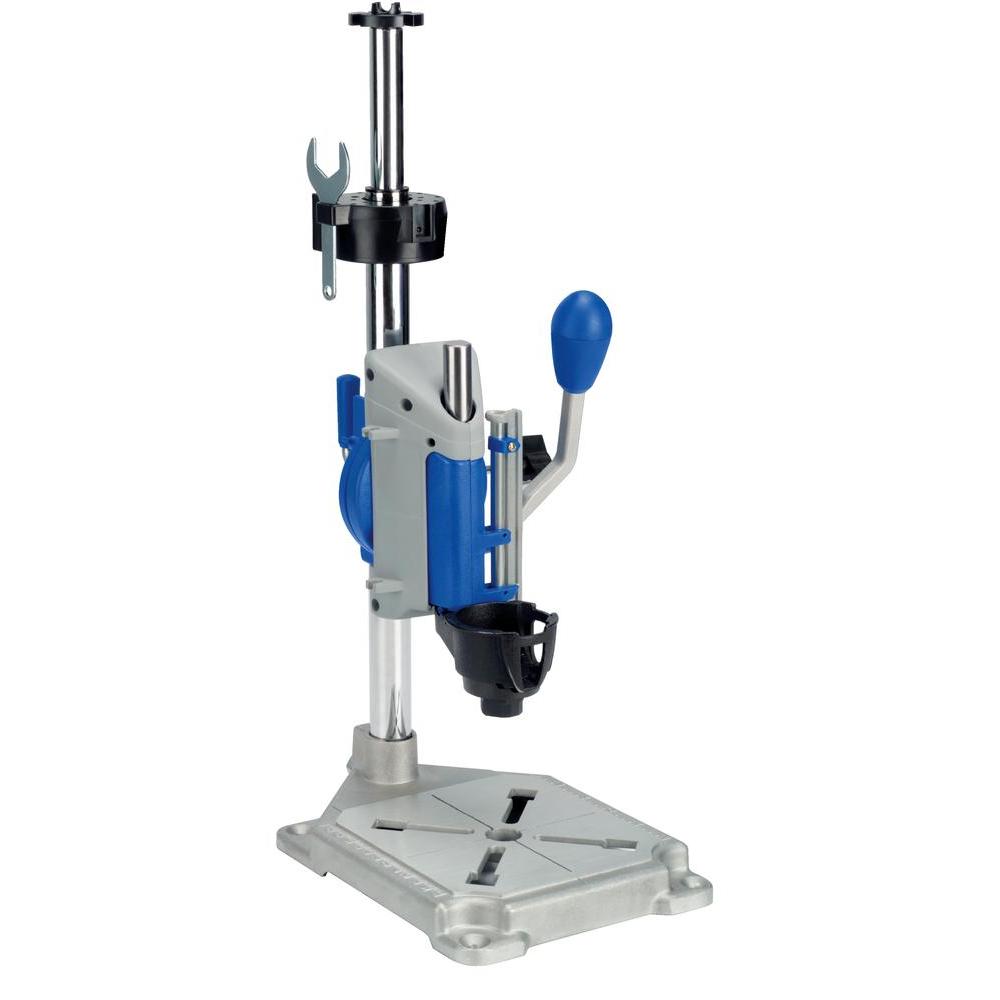
got one of these too to help with my shaky hands.

Will wait a couple of hours to cure and then I will give it a trim/sand the edges with the dremel.
got one of these too to help with my shaky hands.
#3
08-02-2015, 07:11 PM
Join Date: Aug 2012
Location: Union, NJ
Posts: 3,355
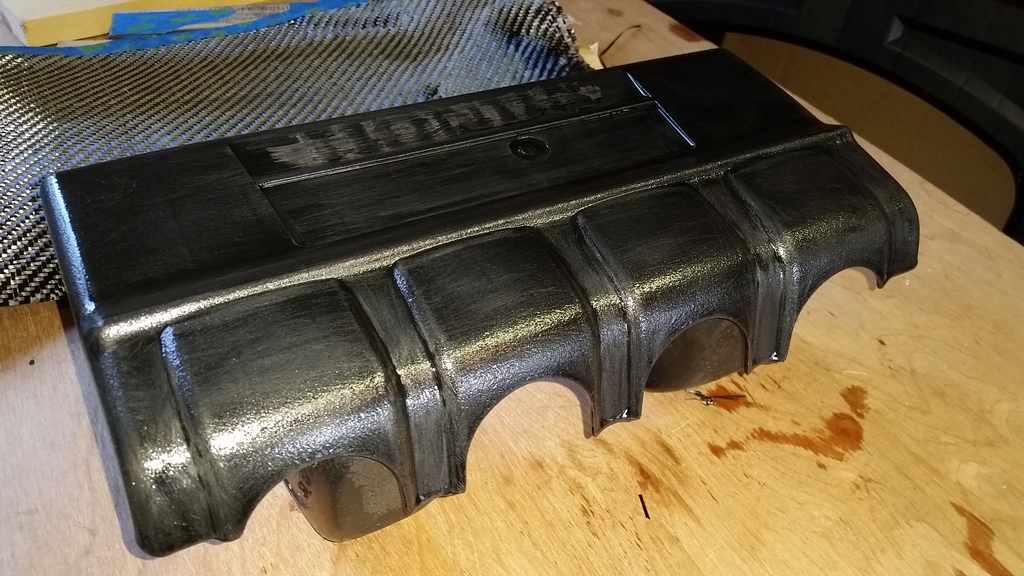
With this heat, my resin cures fast as hell. Figured I'd go trim and smooth out the edges as best as i could while the epoxy is thin and easier to sand. Had it go quickly thru the dremel to get close to the edge and then used a half flat/rounded file to edge. Then I rough sanded the obvious high spots and block sanded the edges with 120 grit.
Here it is after all that:
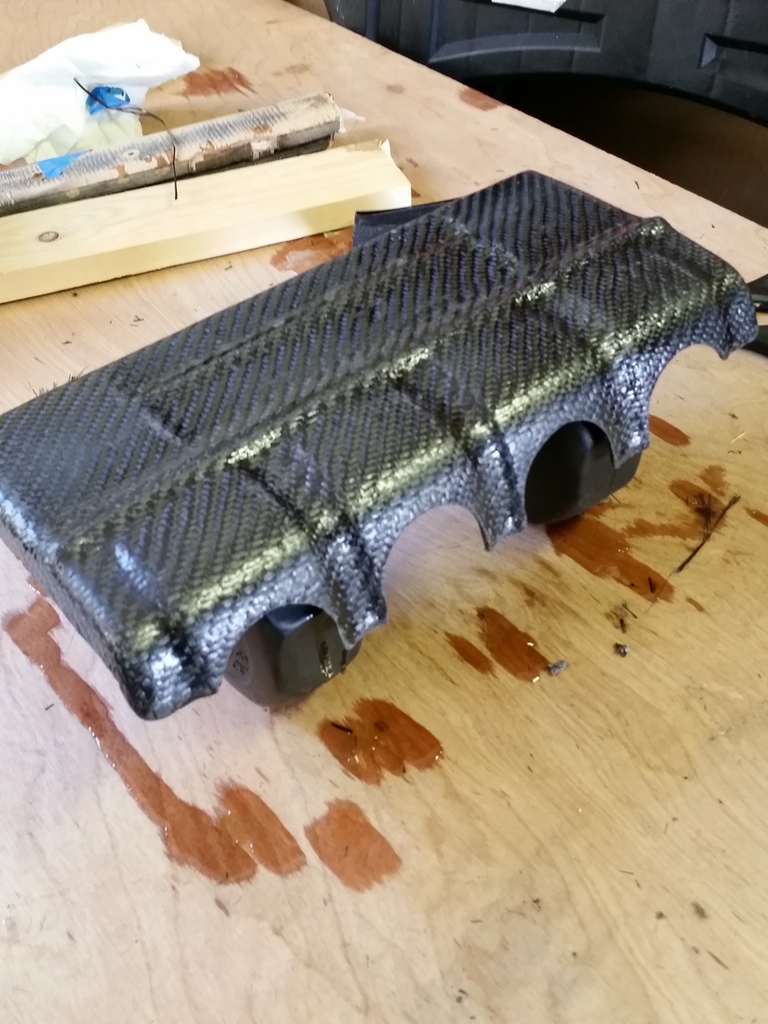
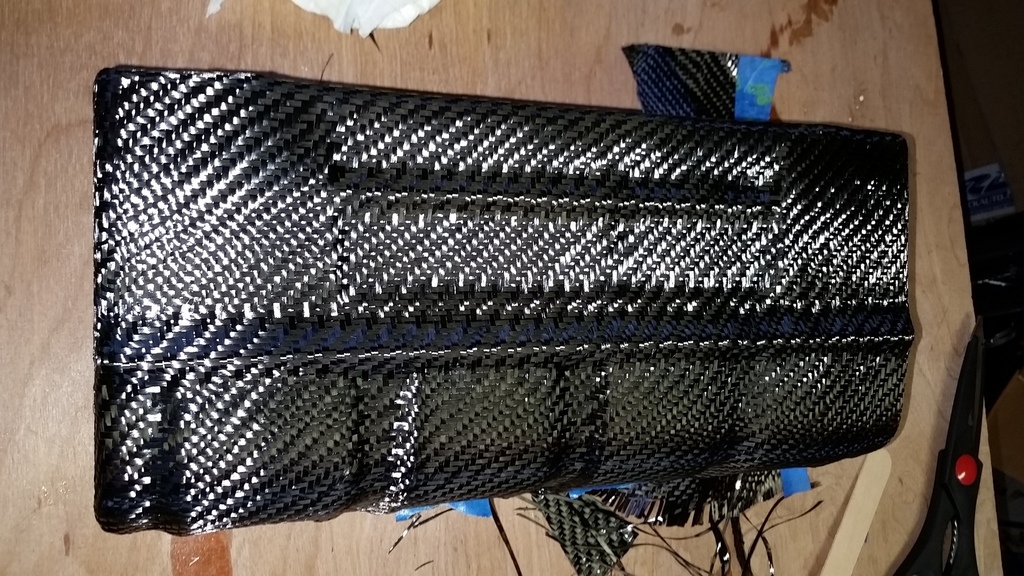
Washed it with soap and degreaser and mixed up another batch of resin. I only mix 1.5 ounces of resin at a time. Laid down the resin thick this time. Had to remove resin from the valleys as they kept on pooling there and wipe off drips from the corners. Each time I had to remove I had to use the heat gun again to take out the air bubbles as best I can.
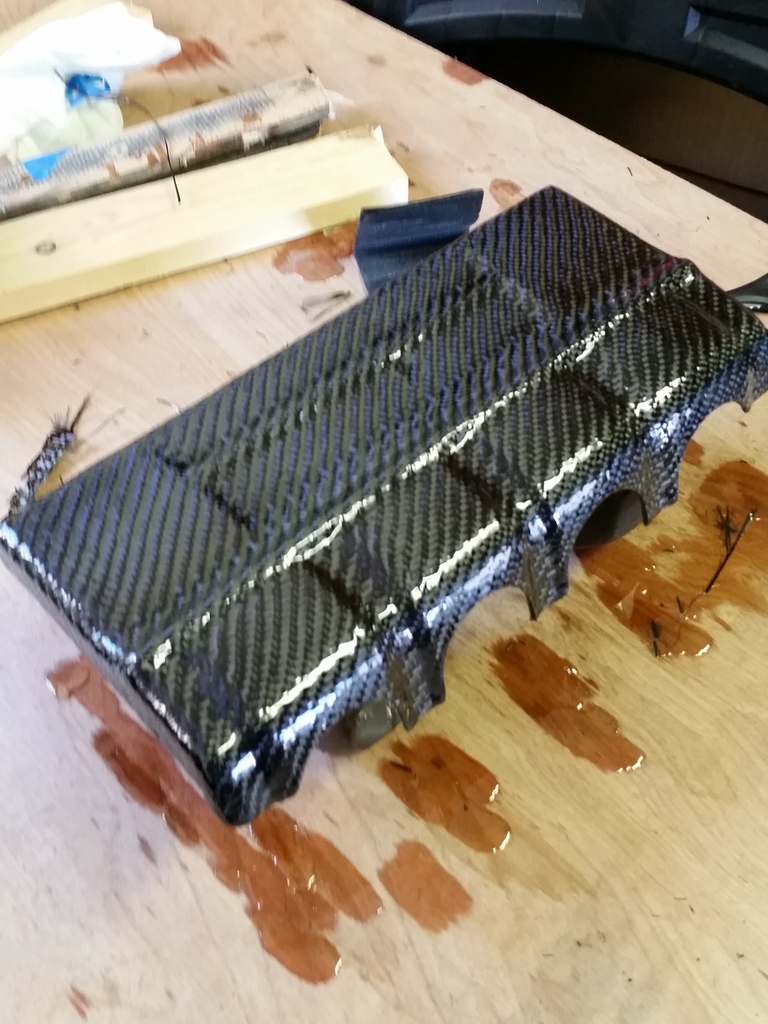
Starting to look like the real deal.
I may add one more coat of resin tonight. Let that cure and start flatting out the cover. Possible another one or two coats of resin again, sand, then clear coat.
Here it is after all that:

Washed it with soap and degreaser and mixed up another batch of resin. I only mix 1.5 ounces of resin at a time. Laid down the resin thick this time. Had to remove resin from the valleys as they kept on pooling there and wipe off drips from the corners. Each time I had to remove I had to use the heat gun again to take out the air bubbles as best I can.

Starting to look like the real deal.
I may add one more coat of resin tonight. Let that cure and start flatting out the cover. Possible another one or two coats of resin again, sand, then clear coat.

#5
08-09-2015, 06:04 PM
Join Date: Aug 2012
Location: Union, NJ
Posts: 3,355
holy cow what a difference in using the right sanding block is with sanding. finally was able to achieve an even sanding and ended up with little to no scratches. managed to compound and polish with no problems by hand.
well here's the final product installed:
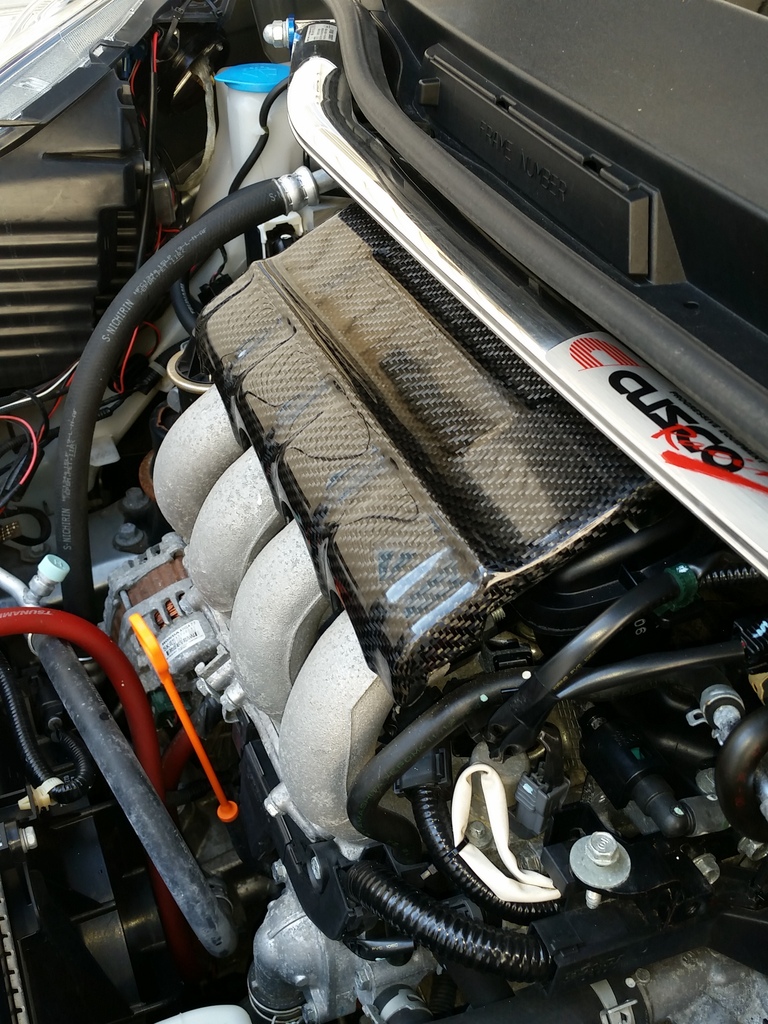
lessons learned.
1. cut up soft sanding blocks to fit into tight areas.
2. wait for the clear coat to cure fully before sanding. or get a better clear coat that doesn't fingerprint even after its dry!
well here's the final product installed:

lessons learned.
1. cut up soft sanding blocks to fit into tight areas.
2. wait for the clear coat to cure fully before sanding. or get a better clear coat that doesn't fingerprint even after its dry!

#7
08-09-2015, 07:35 PM
Join Date: Aug 2012
Location: Union, NJ
Posts: 3,355
thanks bro. i'm gonna try to make some simple flat pieces to use as an extension for my proclip bracket and maybe to cover the black piece off my mugen bumper. when i go on vacay maybe ill dare to do my door panels...
#9
08-10-2015, 12:05 AM
Join Date: Aug 2012
Location: Union, NJ
Posts: 3,355
thanks Des. i didnt post the rest of the steps. didnt seem like much interest here. maybe ill just keep this a journal of carbon shenanigans.
#10
08-10-2015, 12:27 AM
I want those corner lips. Looks great on 12-13. I'd also like to do this valve cover and use shrink paint oem red like my S2000 had or typer...
Last edited by Desmond Lamar MacRae; 08-10-2015 at 12:29 AM.

#12
08-10-2015, 09:52 PM
Join Date: Aug 2012
Location: Union, NJ
Posts: 3,355
they are still on after driving back and forth to work. 
#13
08-10-2015, 10:06 PM
Join Date: Aug 2012
Location: Union, NJ
Posts: 3,355
can't decide what color fabric to use for my door panel inserts. blue or silver. keep it silver to match the outside. or blue to give it a pop.
Expensive for a yard for both. Or I just may stick with regular CF plainweave to match all the JDP stuff i got.
Expensive for a yard for both. Or I just may stick with regular CF plainweave to match all the JDP stuff i got.
#14
08-10-2015, 11:55 PM
Join Date: Aug 2012
Location: Union, NJ
Posts: 3,355
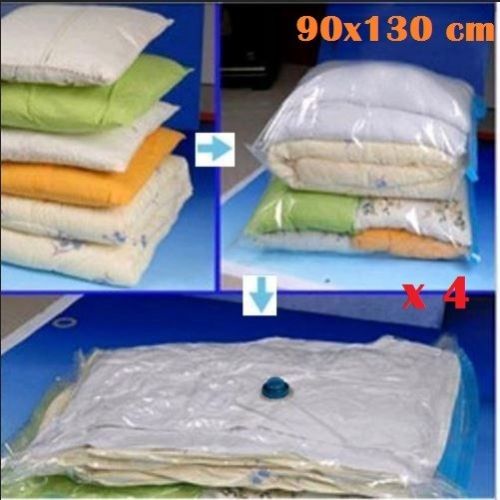
picked up a couple of jumbo size and small vacuum cleaner vacuum sealer bags. gonna go a poor man's vacuum bagging to help with layup and holding the fabric down.
also picked up some plain weave fabric. gonna skin the screw covers for the spoiler to match the jdp fabric instead of the crappy vinyl i used. maybe i'll attempt at making a mold since they are small anyway.
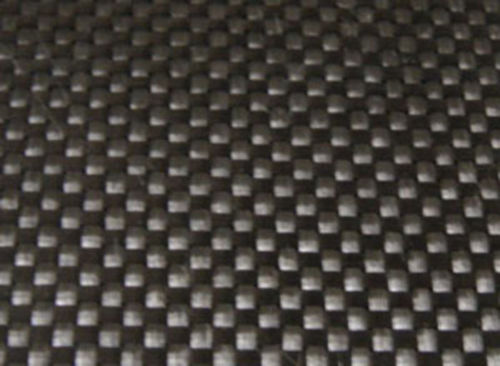
also picked up some plain weave fabric. gonna skin the screw covers for the spoiler to match the jdp fabric instead of the crappy vinyl i used. maybe i'll attempt at making a mold since they are small anyway.
#15
08-11-2015, 07:57 PM
if you ever do this mold i'd definately be interested.. great job on the cover .. i've thought about doing this type of stuff but don't due to time / learning curve
#16
08-11-2015, 10:26 PM
Join Date: Aug 2012
Location: Union, NJ
Posts: 3,355
yeah i figured alot of people got stuck with mismatched screw caps for that.
#17
08-14-2015, 09:04 PM
Join Date: Aug 2012
Location: Union, NJ
Posts: 3,355
So finally received my vacuum bags and wanted to give it a shot before I end up buying a whole vacuum bagging setup. The bags cost almost nothing as compared to $300+ kit.
Took off my spoiler caps and gave it 3 coats of mold release wax and then 3 coats of PVA mold release. Saw that its supposed to be PVA first then wax, so I just added 2 more coats of wax on top of the PVA. I want to be able to remove the CF after I laid it up.
Mixed up some epoxy and some black pigment since the caps are silver. I think I could have been fine without the pigment, since they say silver and black doesn't print thru the gaps in the carbon fiber.
After an hour, it was semi tacky, but it didn't really matter to me. I laid up the plain weave cf and soaked it this time with clear epoxy resin. Put some peel ply over the cf and placed it in the vacuum bag.
Turned on the Dyson and gave it a good suck, but the damn bag wouldn't hold a vacuum. The seal is tight. Figured I need to put in some ghetto breather ply so I rolled up some paper towels connecting the vacuum port to the part. This time got a better seal and back to trying to get rid of bridging. If the part looks like shit hopefully the pva release works and would just let me start over.
Still the vacuum didn't look right. I read from another thread somewhere that double bagging worked. Good thing I bought a 2 pack. Folded up the first bag and inserted it into the second bag. Vacuum! and it holds!
Pictures tomorrow and it will be cured by tomorrow.
#18
08-15-2015, 10:44 AM
Join Date: Aug 2012
Location: Union, NJ
Posts: 3,355
well the space saver vacuum bag isnt so great. it keeps letting some air in so not a complete vacuum however it did the job somewhat. drawback is i got some wrinkling from the peel ply.
here it is before trimming.
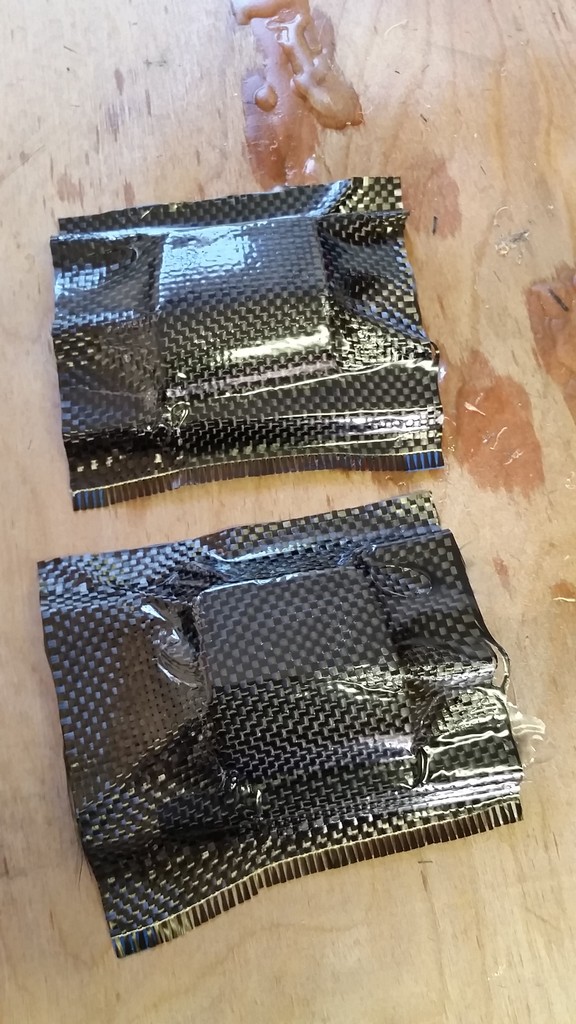
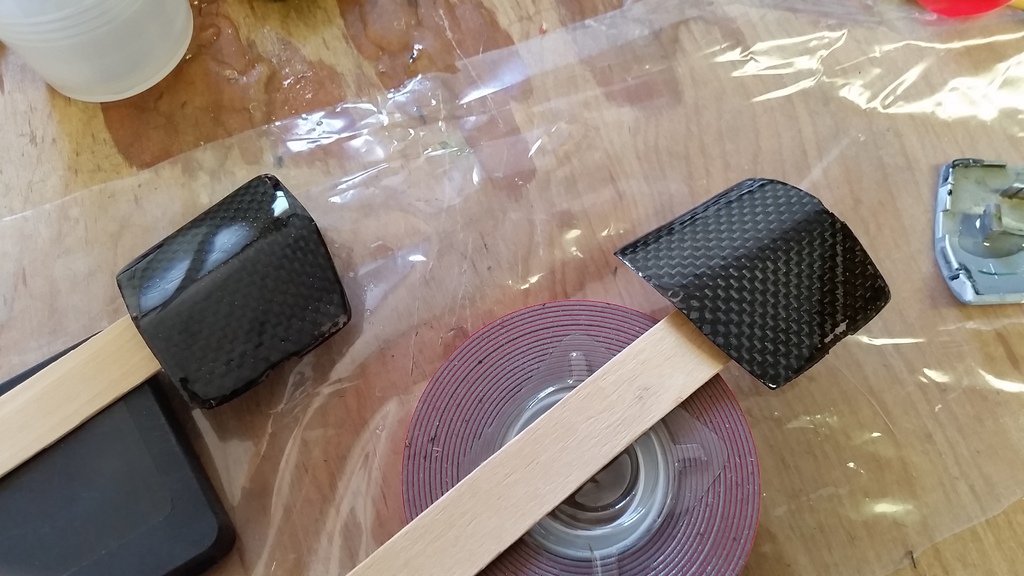
Started to trim it and file down the edges. Managed to chip one of the edges. Maybe I'll add another coat of resin before I go do a full flushed trim. Sanded off the wrinkles so its nice and flat and ready for another coat. Great part is the wax and pva worked too well and the cf delaminated right off. Stuck them on a couple of tongue depressors to facilitate applying another coat of resin.
If you can see the oem screw cap I put a glob of resin on one of the mounting tabs since it broke off while I was handling it. I hope it holds.
I want to remove my door panels, but its just so damn hot.
here it is before trimming.

Started to trim it and file down the edges. Managed to chip one of the edges. Maybe I'll add another coat of resin before I go do a full flushed trim. Sanded off the wrinkles so its nice and flat and ready for another coat. Great part is the wax and pva worked too well and the cf delaminated right off. Stuck them on a couple of tongue depressors to facilitate applying another coat of resin.

If you can see the oem screw cap I put a glob of resin on one of the mounting tabs since it broke off while I was handling it. I hope it holds.
I want to remove my door panels, but its just so damn hot.
#19
08-15-2015, 01:55 PM
Join Date: Aug 2012
Location: Union, NJ
Posts: 3,355
phew took out the front passenger door and took it apart. ground out the door fabric panel and removed the fabric. the leftover adhesive was a bitch to remove. sanded the door fabric panel, the passenger control panel and the armrest. taking a little break before i start laying out epoxy. still got to measure out fabric. its just too damn hot.
this is gonna be a lot of work. i think im gonna take one door panel at a time.
this is gonna be a lot of work. i think im gonna take one door panel at a time.
#20
08-15-2015, 08:41 PM
Join Date: Aug 2012
Location: Union, NJ
Posts: 3,355
Here is the door fabric insert panel, passenger armrest and control panel with black base coat.
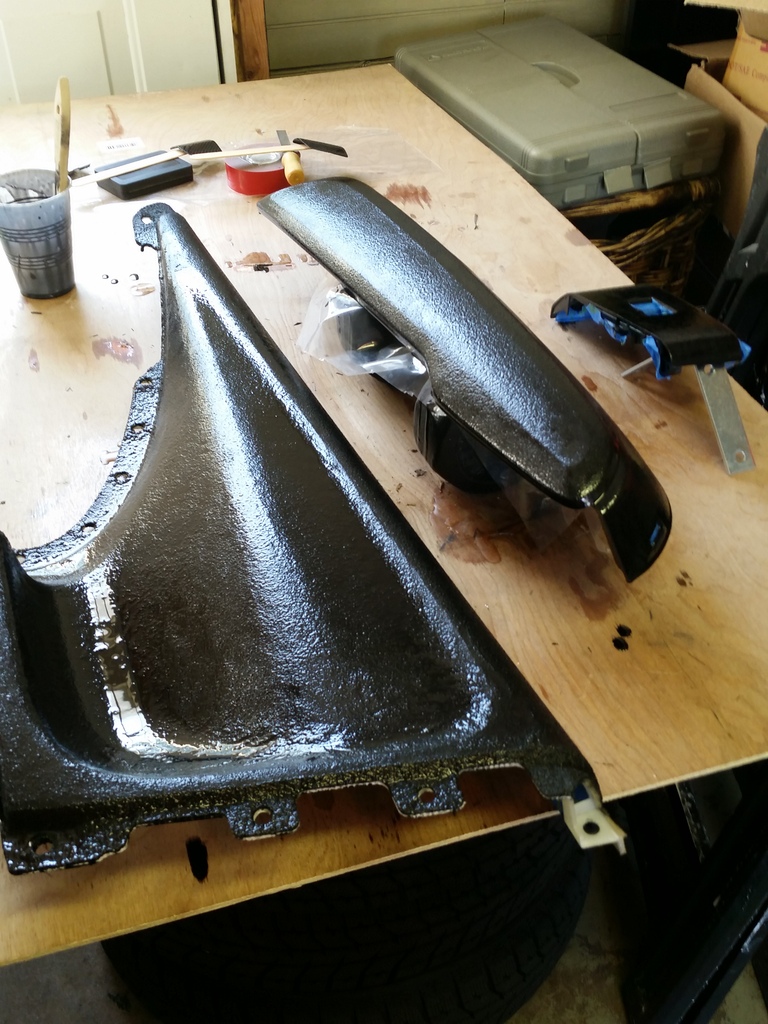
Fabric door insert tacked on. Surprised i was able to make the plainweave contour into that deep recess. Gave it a good resin soaking and into the vacuum bag.
My ghetto ass vacuum bag setup.
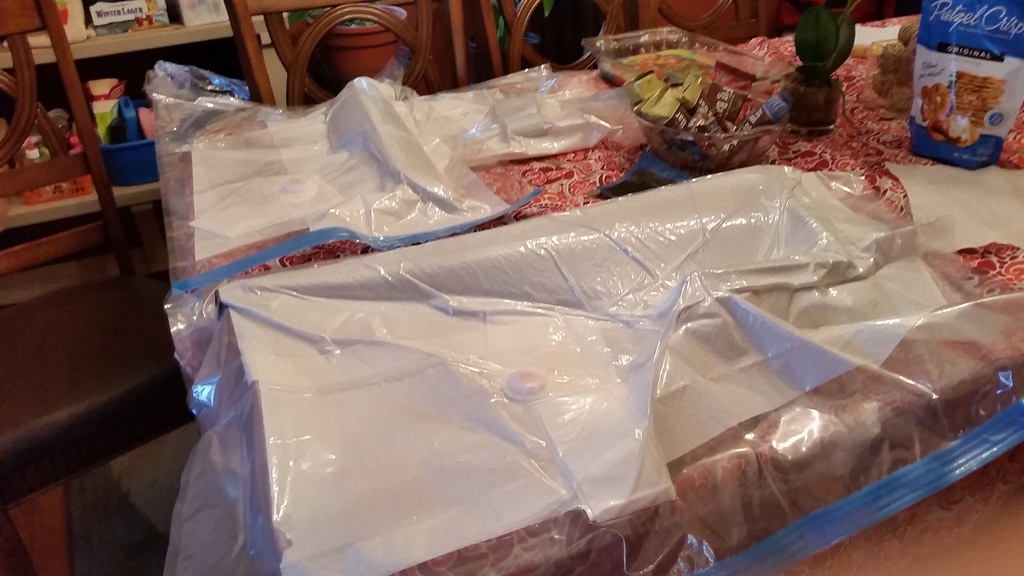
The small ones can't seem to hold a vacuum but the big one does go figure. I ended up stuffing the two smaller ones into a big one. Still not the best vacuum but its job is just to hold the CF in place to cure. I expect lots of wrinkles to be sanded down.

Fabric door insert tacked on. Surprised i was able to make the plainweave contour into that deep recess. Gave it a good resin soaking and into the vacuum bag.

My ghetto ass vacuum bag setup.

The small ones can't seem to hold a vacuum but the big one does go figure. I ended up stuffing the two smaller ones into a big one. Still not the best vacuum but its job is just to hold the CF in place to cure. I expect lots of wrinkles to be sanded down.