
cracked front lip/under spoiler :(


Thread Starter
|
Member
Joined: Sep 2012
Posts: 1,374
From: Canada

cracked front lip/under spoiler :(
Hello!
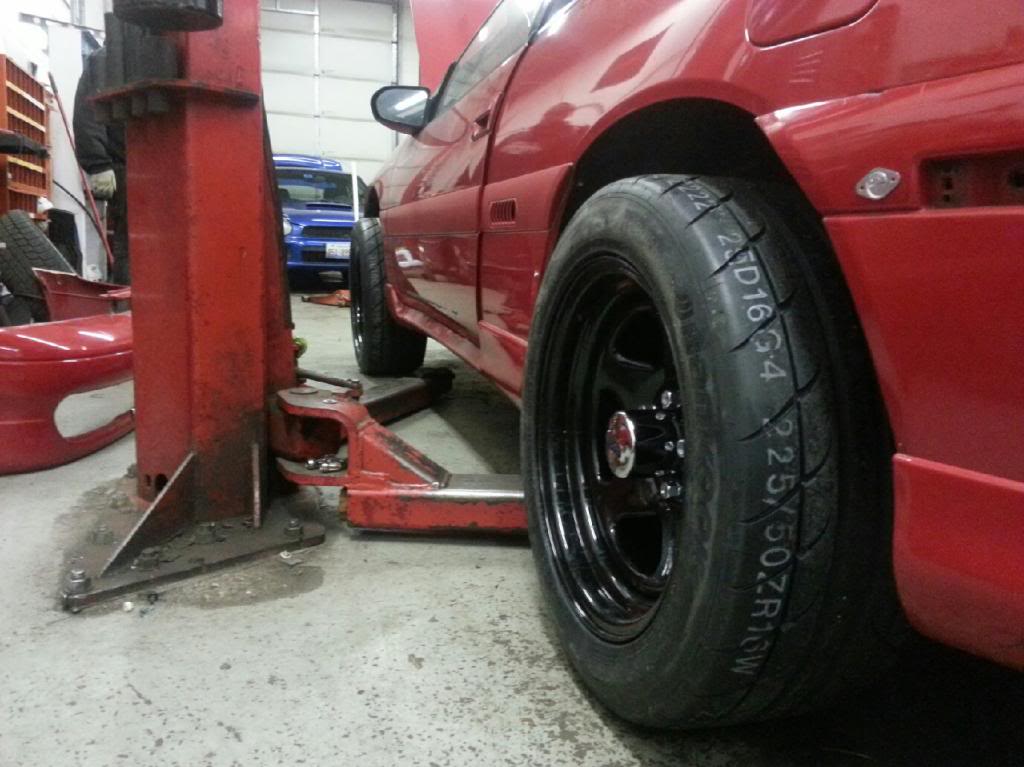
So it seems that some has backed up into my car and managed to damage my front sport under spoiler/lip. It seems to be part #12 in the honda diagram. I looked on some sites and the lowest price I found for it was about 250$! I mean, even the front bumper cover is less than 150 but this sucker is expensive, I don't know why.
Lucky, the spoiler doesn't look half bad and most of the damage is actually underneath the car and you can't really see it. The biggest problem is that the joint on the side of the spoiler (directly in front of my front right tire) is cracked and separated. This is bad because the top part of the spoiler is open, as in it isn't held in by any clips so if I put my finger in the small gap between the lip and bumper on the damaged side, I can easily pull the spoiler open.
For the time being I want to repair it myself and touch it up with touch up paint. I think the damage will be barely noticeable and when that part gets even more scratched up or damaged from inevitable scraping, I might eventually bite the bullet and replace it.
What glue would you recommend for this repair? I'm guessing its some form of automotive strength epoxy that should be used. The two parts I need to join make up a surface of about only 3 inches. I'll try and post pics ASAP. Thanks for you suggestions.

Member
Joined: Mar 2010
Posts: 191
From: Southwest Ohio
Just unclip it from the front of the car, bend the tabs back and put back on? It's held in by 4 screws on wheel well and 5 10mm bolts that hold to the lower to portion of front bumper fascia. I just went thru this last weekend. To fix that tab. Use an l-bracket with holes, sand the inside plastic, gluing with an epoxy making sure to cover the tab nicely. Then clean up to allow it to fit.
You can simply leave it off and deal with the holes where the 10mm bolts go thru? I actually considered this to save myself the headache from when the lovely Mrs does this again?
You can simply leave it off and deal with the holes where the 10mm bolts go thru? I actually considered this to save myself the headache from when the lovely Mrs does this again?
Last edited by Dean; Mar 31, 2013 at 10:43 PM.

Do you have pics, Chris? But if ever you decide to replace it, just go buy a used one that's in good shape. Of course a brand new one would cost more because they charge for paint matching. Go to an import wrecker or some place similar.
Thread Starter
|
Member
Joined: Sep 2012
Posts: 1,374
From: Canada
Thanks for the suggestion! I wish I knew how to say that in French, because when I searched on google, most of these "wreckers" were located in western Canada. I suspect that many of those businesses will be listen in french here in Quebec. Maybe CCA can advise me, those guys are great. Buying a use part sounds reasonable but for the time being I want to mend it.
Thread Starter
|
Member
Joined: Sep 2012
Posts: 1,374
From: Canada
Just unclip it from the front of the car, bend the tabs back and put back on? It's held in by 4 screws on wheel well and 5 10mm bolts that hold to the lower to portion of front bumper fascia. I just went thru this last weekend. To fix that tab. Use an l-bracket with holes, sand the inside plastic, gluing with an epoxy making sure to cover the tab nicely. Then clean up to allow it to fit.
You can simply leave it off and deal with the holes where the 10mm bolts go thru? I actually considered this to save myself the headache from when the lovely Mrs does this again?
You can simply leave it off and deal with the holes where the 10mm bolts go thru? I actually considered this to save myself the headache from when the lovely Mrs does this again?
By I bracket, did you mean like a metal corner bracket? Like this? : Corner Bracket
What kind of epoxy would you recommend? Another thing is that the paint has spider webbed around were the lip got compressed. Is it possible to repair or improve the appearance of such cracking caused by the flexion of a plastic bumper/fender? I ask because the cracks are so small, it seems that even touch up paint wouldn't really improve the look, just make it worse. I'm just presuming that though; I'm not speaking by experience.
I'll try and snap some pics tomorrow.
Woman in a mini-van did this to me at a stop light last year.
No warning, threw it in reverse and backed into me.
Fortunately my tow hook took its revenge by punching through her bumper cover and catching a piece of frame saving the rest of my bumper and keeping her from beaching herself on my windshield.
It did push my cover far enough that it popped some clips on the passenger side, and opened the panel gap under the headlights on both ends.
Fortunately the sheet metal is relatively thin underneath so I re-bent it and then zip tied all the holes were the old clips went. It did break the stand-off bolt on the passenger headlight, but drilling a new hole for yet another zip tie to the chassis and cranking down the remaining aft bolt with some loc-tite has held up for a few thousand miles. easiest fix is going to be drilling in some new holes in out of the way spots and zipping the cover back on.
Or go all out and go with some dzus fasteners like I use on the Race car!

The more I use them, the more I like them. They looks pretty sweet too!
No warning, threw it in reverse and backed into me.
Fortunately my tow hook took its revenge by punching through her bumper cover and catching a piece of frame saving the rest of my bumper and keeping her from beaching herself on my windshield.
It did push my cover far enough that it popped some clips on the passenger side, and opened the panel gap under the headlights on both ends.
Fortunately the sheet metal is relatively thin underneath so I re-bent it and then zip tied all the holes were the old clips went. It did break the stand-off bolt on the passenger headlight, but drilling a new hole for yet another zip tie to the chassis and cranking down the remaining aft bolt with some loc-tite has held up for a few thousand miles. easiest fix is going to be drilling in some new holes in out of the way spots and zipping the cover back on.
Or go all out and go with some dzus fasteners like I use on the Race car!
The more I use them, the more I like them. They looks pretty sweet too!
Last edited by DiamondStarMonsters; Apr 1, 2013 at 11:51 AM.


Thread Starter
|
Member
Joined: Sep 2012
Posts: 1,374
From: Canada
In the first pic you can see a small vertical crack. It actually looks ok but when I found my car, the crack had a little black piece of plastic sticking out (only a 1/4 inch) and it was holding the crack open. I forced the piece back in and the forced the plastic back together so that it looked better (the way it is now). Maybe I can put some epoxy behind the crack to solidify it and prevent it from getting worse? Or I could also weld a paperclip reinforcement into the back of it?
The second pic (from afar) shows how much of a big sissy I am and that it's really not all that bad. Still, I was really looking forward to detailing my baby and having her looking like new.
The last pic shows where the part is actually separated. I think you can see some epoxy from a previous repair that the previous owner might have done. I'm thinking perhaps Perenoud had the best idea with the double sided tape. I figured that instead of trying to stick the vertical parts together, I might actually stick the inside part of the spoiler directly to the bumper so as to have a nicer, flat mating surface.
What do you guys think? Double stick tape and fuggetaboutit? Do I need to reinforce the little crack or can I just leave it? Thanks a lot for your suggestions guys, it really makes me feel better. I think I will start a "victims of bumper damage" support group LOL
The first pic I was going to say, it ain't that bad. But the last pic it looks like it has been cracked before. My suggestion would be to take the lip off, use a super heavy duty epoxy and let it dry preeeee good.
Member
Joined: Mar 2007
Posts: 1,704
From: Second house on the left
Our front lip was totally separated and cracked apart worse than in post 10. The front part was sticking an inch away from the corner piece.
I removed the lip (spoiler) and re-formed the metal brackets so as to hold the spoiler against the bumper as normal. Then, to repair the cracked corner, I first used a soldering gun to melt together the pieces on the inside. But, since that results in a thinner thickness of plastic, I then put a nice thick bead of hot glue into the corner to bolster the repair.
It's been 4 months for us now and the repair is holding fine (there is no stress on the repaired corner, which is a desired result).
Thread Starter
|
Member
Joined: Sep 2012
Posts: 1,374
From: Canada
Our front lip was totally separated and cracked apart worse than in post 10. The front part was sticking an inch away from the corner piece.
I removed the lip (spoiler) and re-formed the metal brackets so as to hold the spoiler against the bumper as normal. Then, to repair the cracked corner, I first used a soldering gun to melt together the pieces on the inside. But, since that results in a thinner thickness of plastic, I then put a nice thick bead of hot glue into the corner to bolster the repair.
It's been 4 months for us now and the repair is holding fine (there is no stress on the repaired corner, which is a desired result).
I removed the lip (spoiler) and re-formed the metal brackets so as to hold the spoiler against the bumper as normal. Then, to repair the cracked corner, I first used a soldering gun to melt together the pieces on the inside. But, since that results in a thinner thickness of plastic, I then put a nice thick bead of hot glue into the corner to bolster the repair.
It's been 4 months for us now and the repair is holding fine (there is no stress on the repaired corner, which is a desired result).
Member
Joined: Mar 2007
Posts: 1,704
From: Second house on the left
 Seriously, it took less than 60 seconds to melt together the plastic with my good ol' soldering iron (which I have used for the same purpose on other cars).
Note that the iron does NOT go all the way through (as you see on a metal spot-weld)...you just melt the plastic a bit so that the corner becomes "one" again.
The Hot Glue came from my wife's crafts box. All her glue sticks were white so I don't know if I lucked out. I filled the corner so that the glue was about 1/4" wide (like caulking a house).
BTW I prepped the plastic by first sanding it lightly (to provide some "tooth" for the glue), then cleaning with alcohol.
+++++++
I think the secret of my success was to re-form the bent metal brackets underneath so that the spoiler was not stressed at all...that is, before I did the plastic repair, I made sure that the front part of the spoiler conformed to the bumper.

Member
Joined: Mar 2007
Posts: 1,704
From: Second house on the left
Update on the Hot Glue repair:
It didn't hold.
Noticed while washing the car that the gap was a little bigger. Sure enough, the "corner" that was glued had come apart.
But because the support brackets underneath were still holding the lip tight against the bumper, there was no unseemly separation. The gap at the corner is less than 1 mm wide.
Next attempt will be with some epoxy from the outside. Although, I could probably get away with a paintable RTV. Or, I could just leave it.

Thread
Thread Starter
Forum
Replies
Last Post
Azizul Zulzaha
2nd Gen GE8 Specific Fit Exterior Modifications & JDM Styling Sub-Forum
5
May 4, 2012 10:16 AM