
DIY: Projector Headlights


Thread Starter
|
Member
Joined: Jul 2014
Posts: 85
From: Michigan

DIY: Projector Headlights
Okay, I finally got time to install my first retrofit. Been extremely busy with school, work, and what not...
What you need:
- 2-3 days of free time (spring break and scheduled myself to have no work
-Copies of morimoto...same exact stuff:
- 1 can spray paint and 1 can paint promoter (optional)
- teflon tape or some sort of grease for the nut....I learned my lessons afterwards. I ran into the issue of crooked beam and stripped threads. My solution was super gluing adapter and holding + aligning the projector while they were running on the car. I had to work really really fast. Plus I was freezing my butt off out in the garage.
-your typical tools....I assume you know
-h1 hid kit with h1 relay
-h8 fogs with relay (optional)
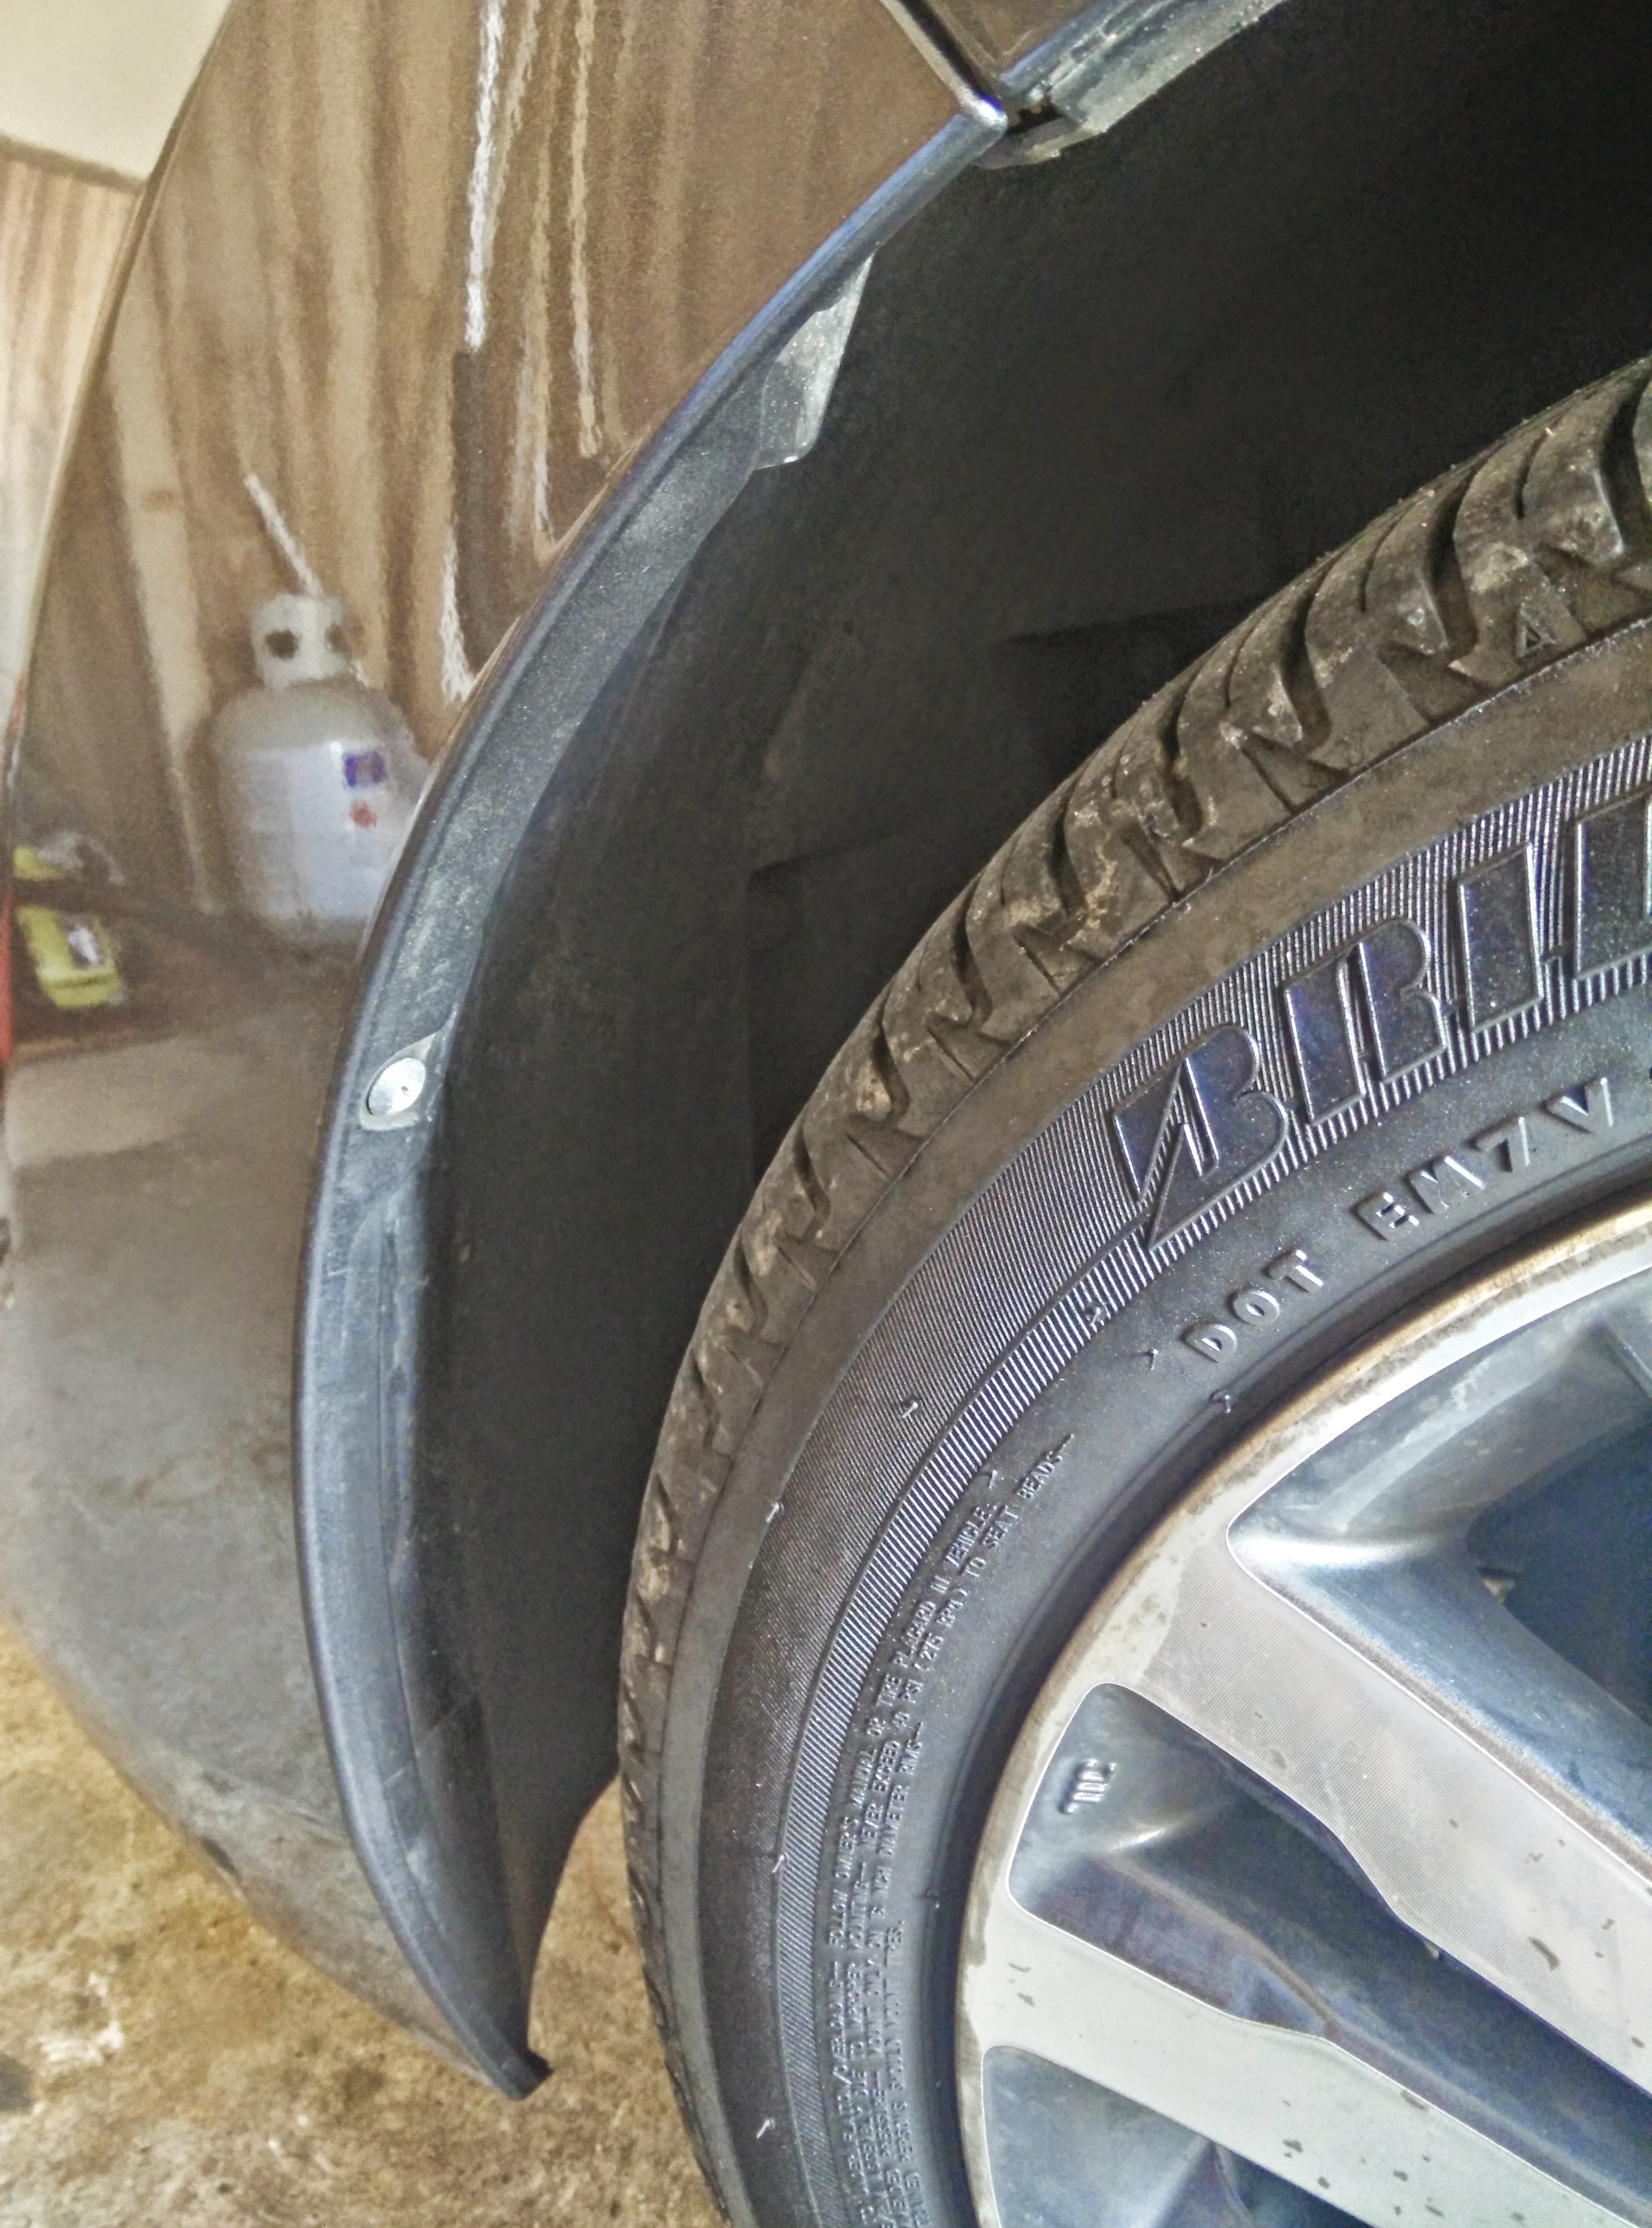
So taking off the bumper is the easy part. There are 2 screws on the both wheel sides. 2 screws are at the bottom. 4 clips need to be removed underneath. 5 or 6 clips on the grille...didn't attach pics because it's very self-explanatory.
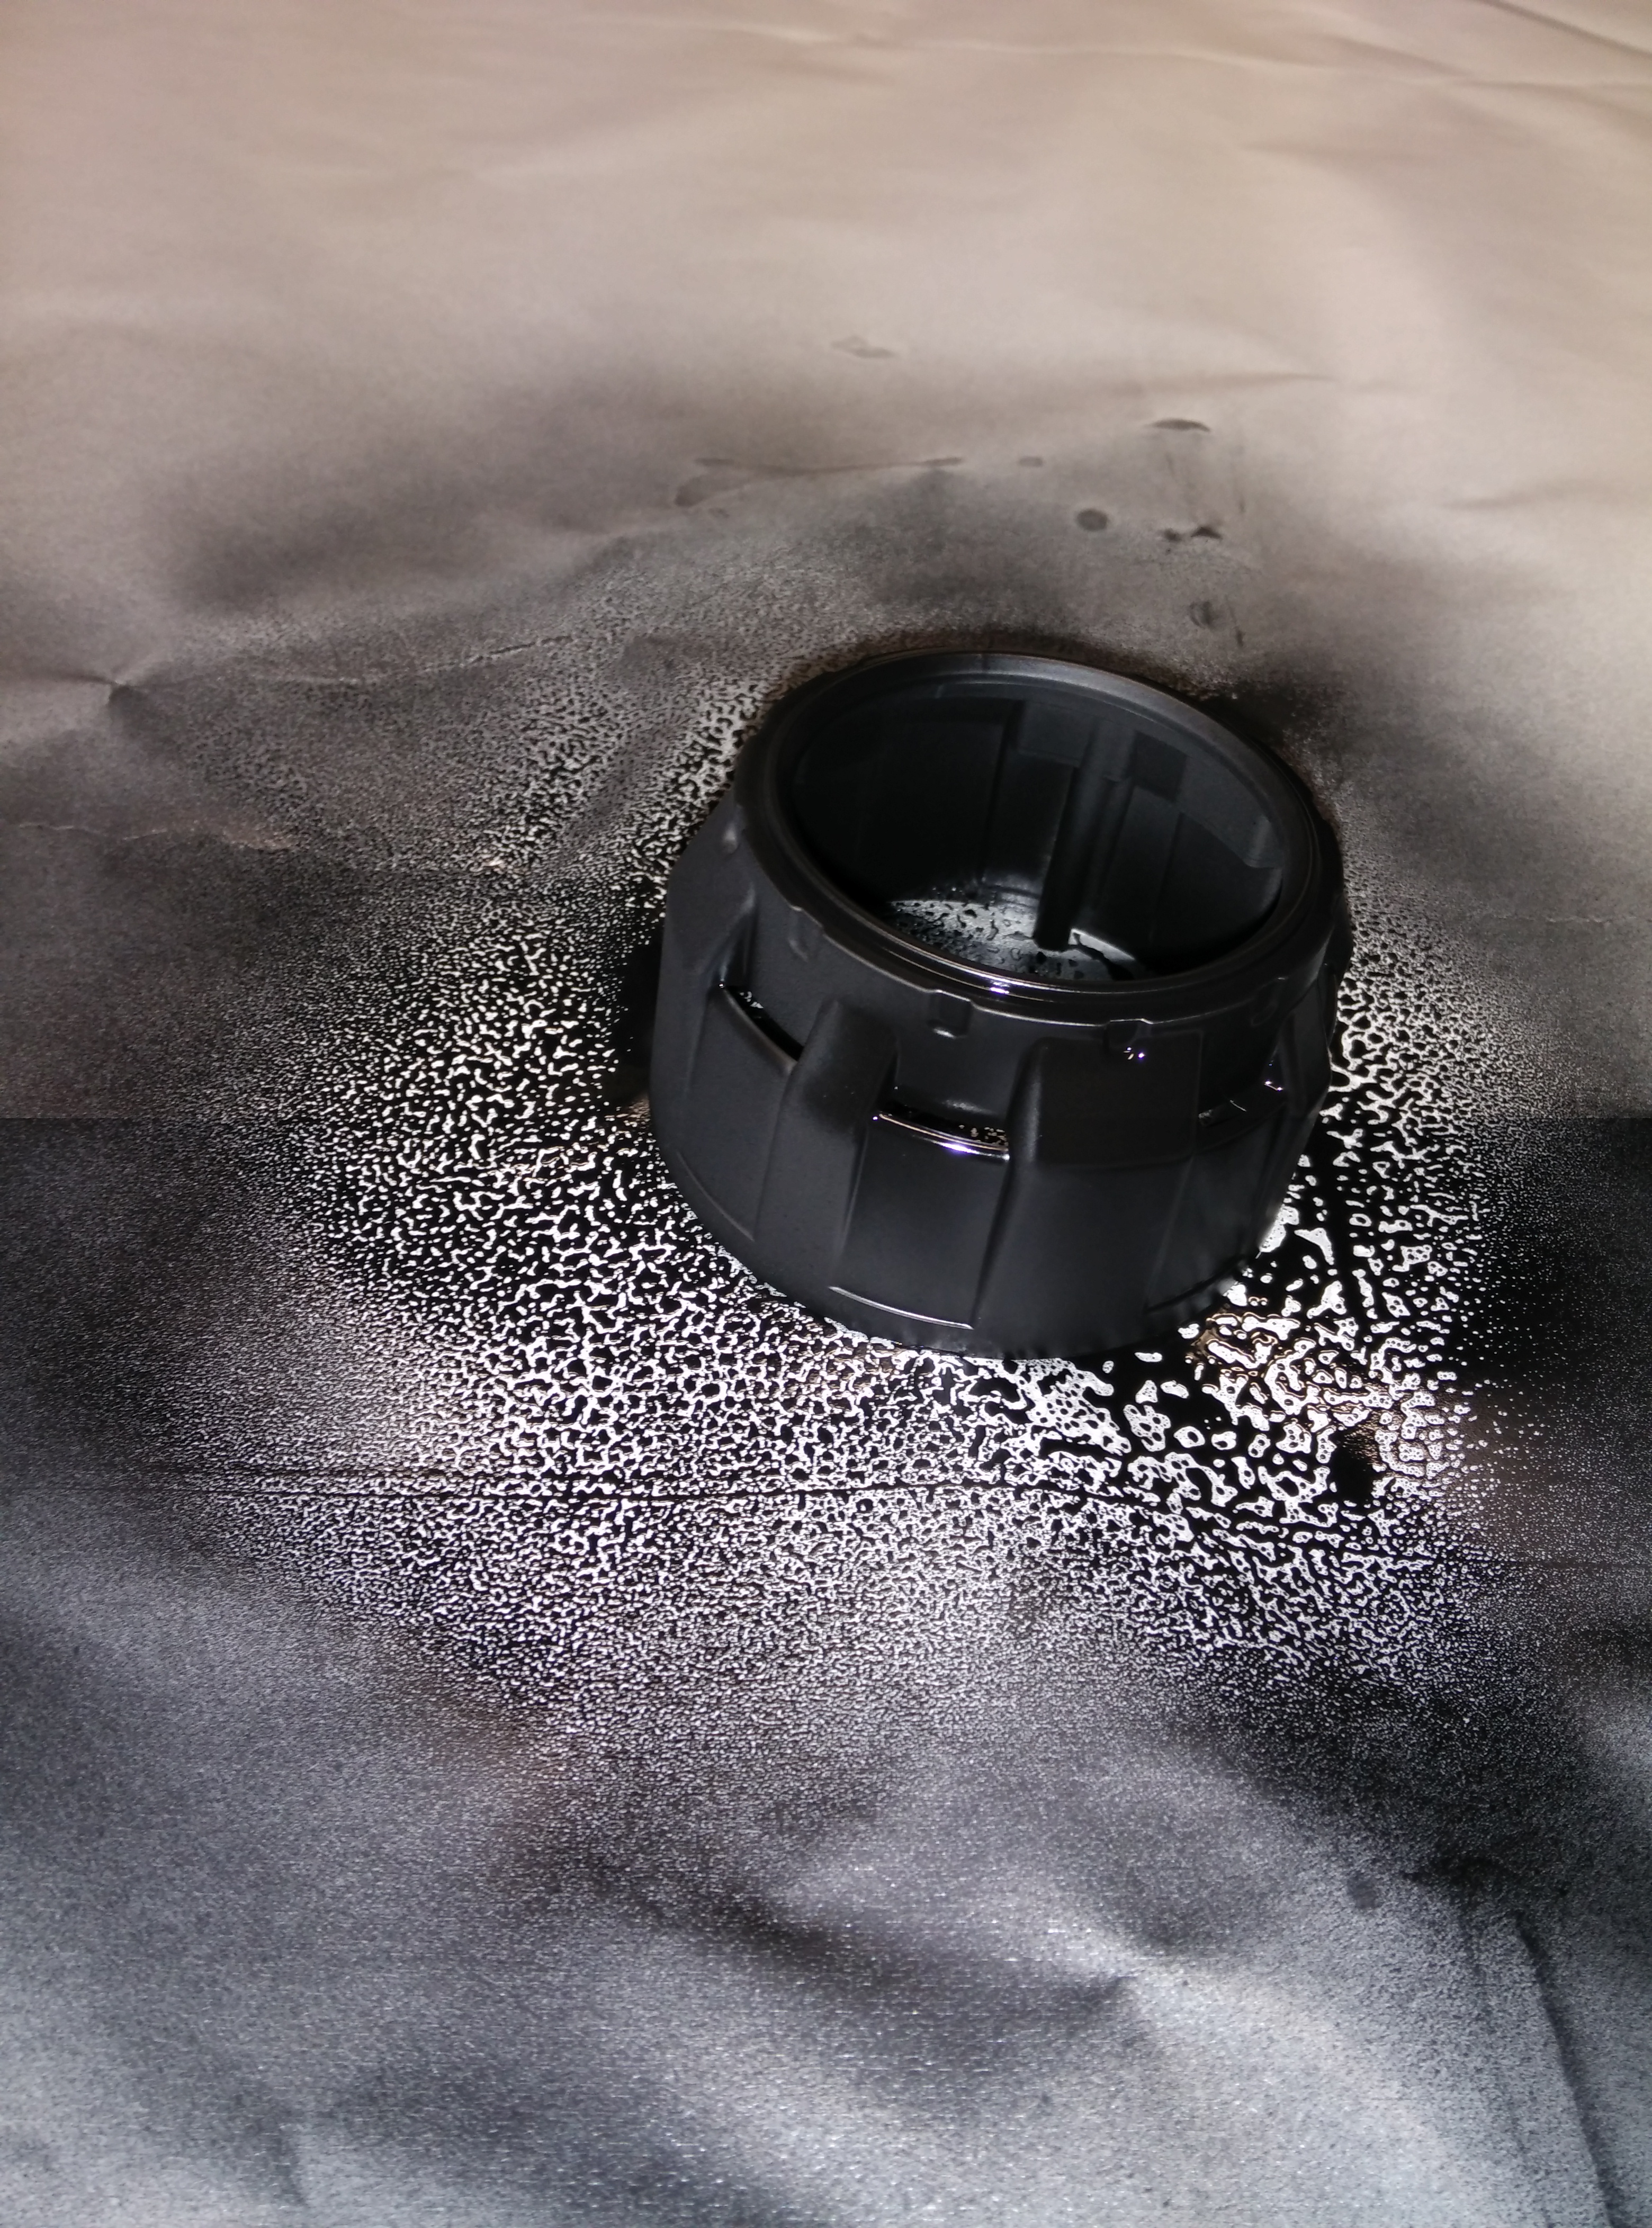
Painted the shrouds matte black with VHT spray paint. Use a paint promoter to make the paint stick.
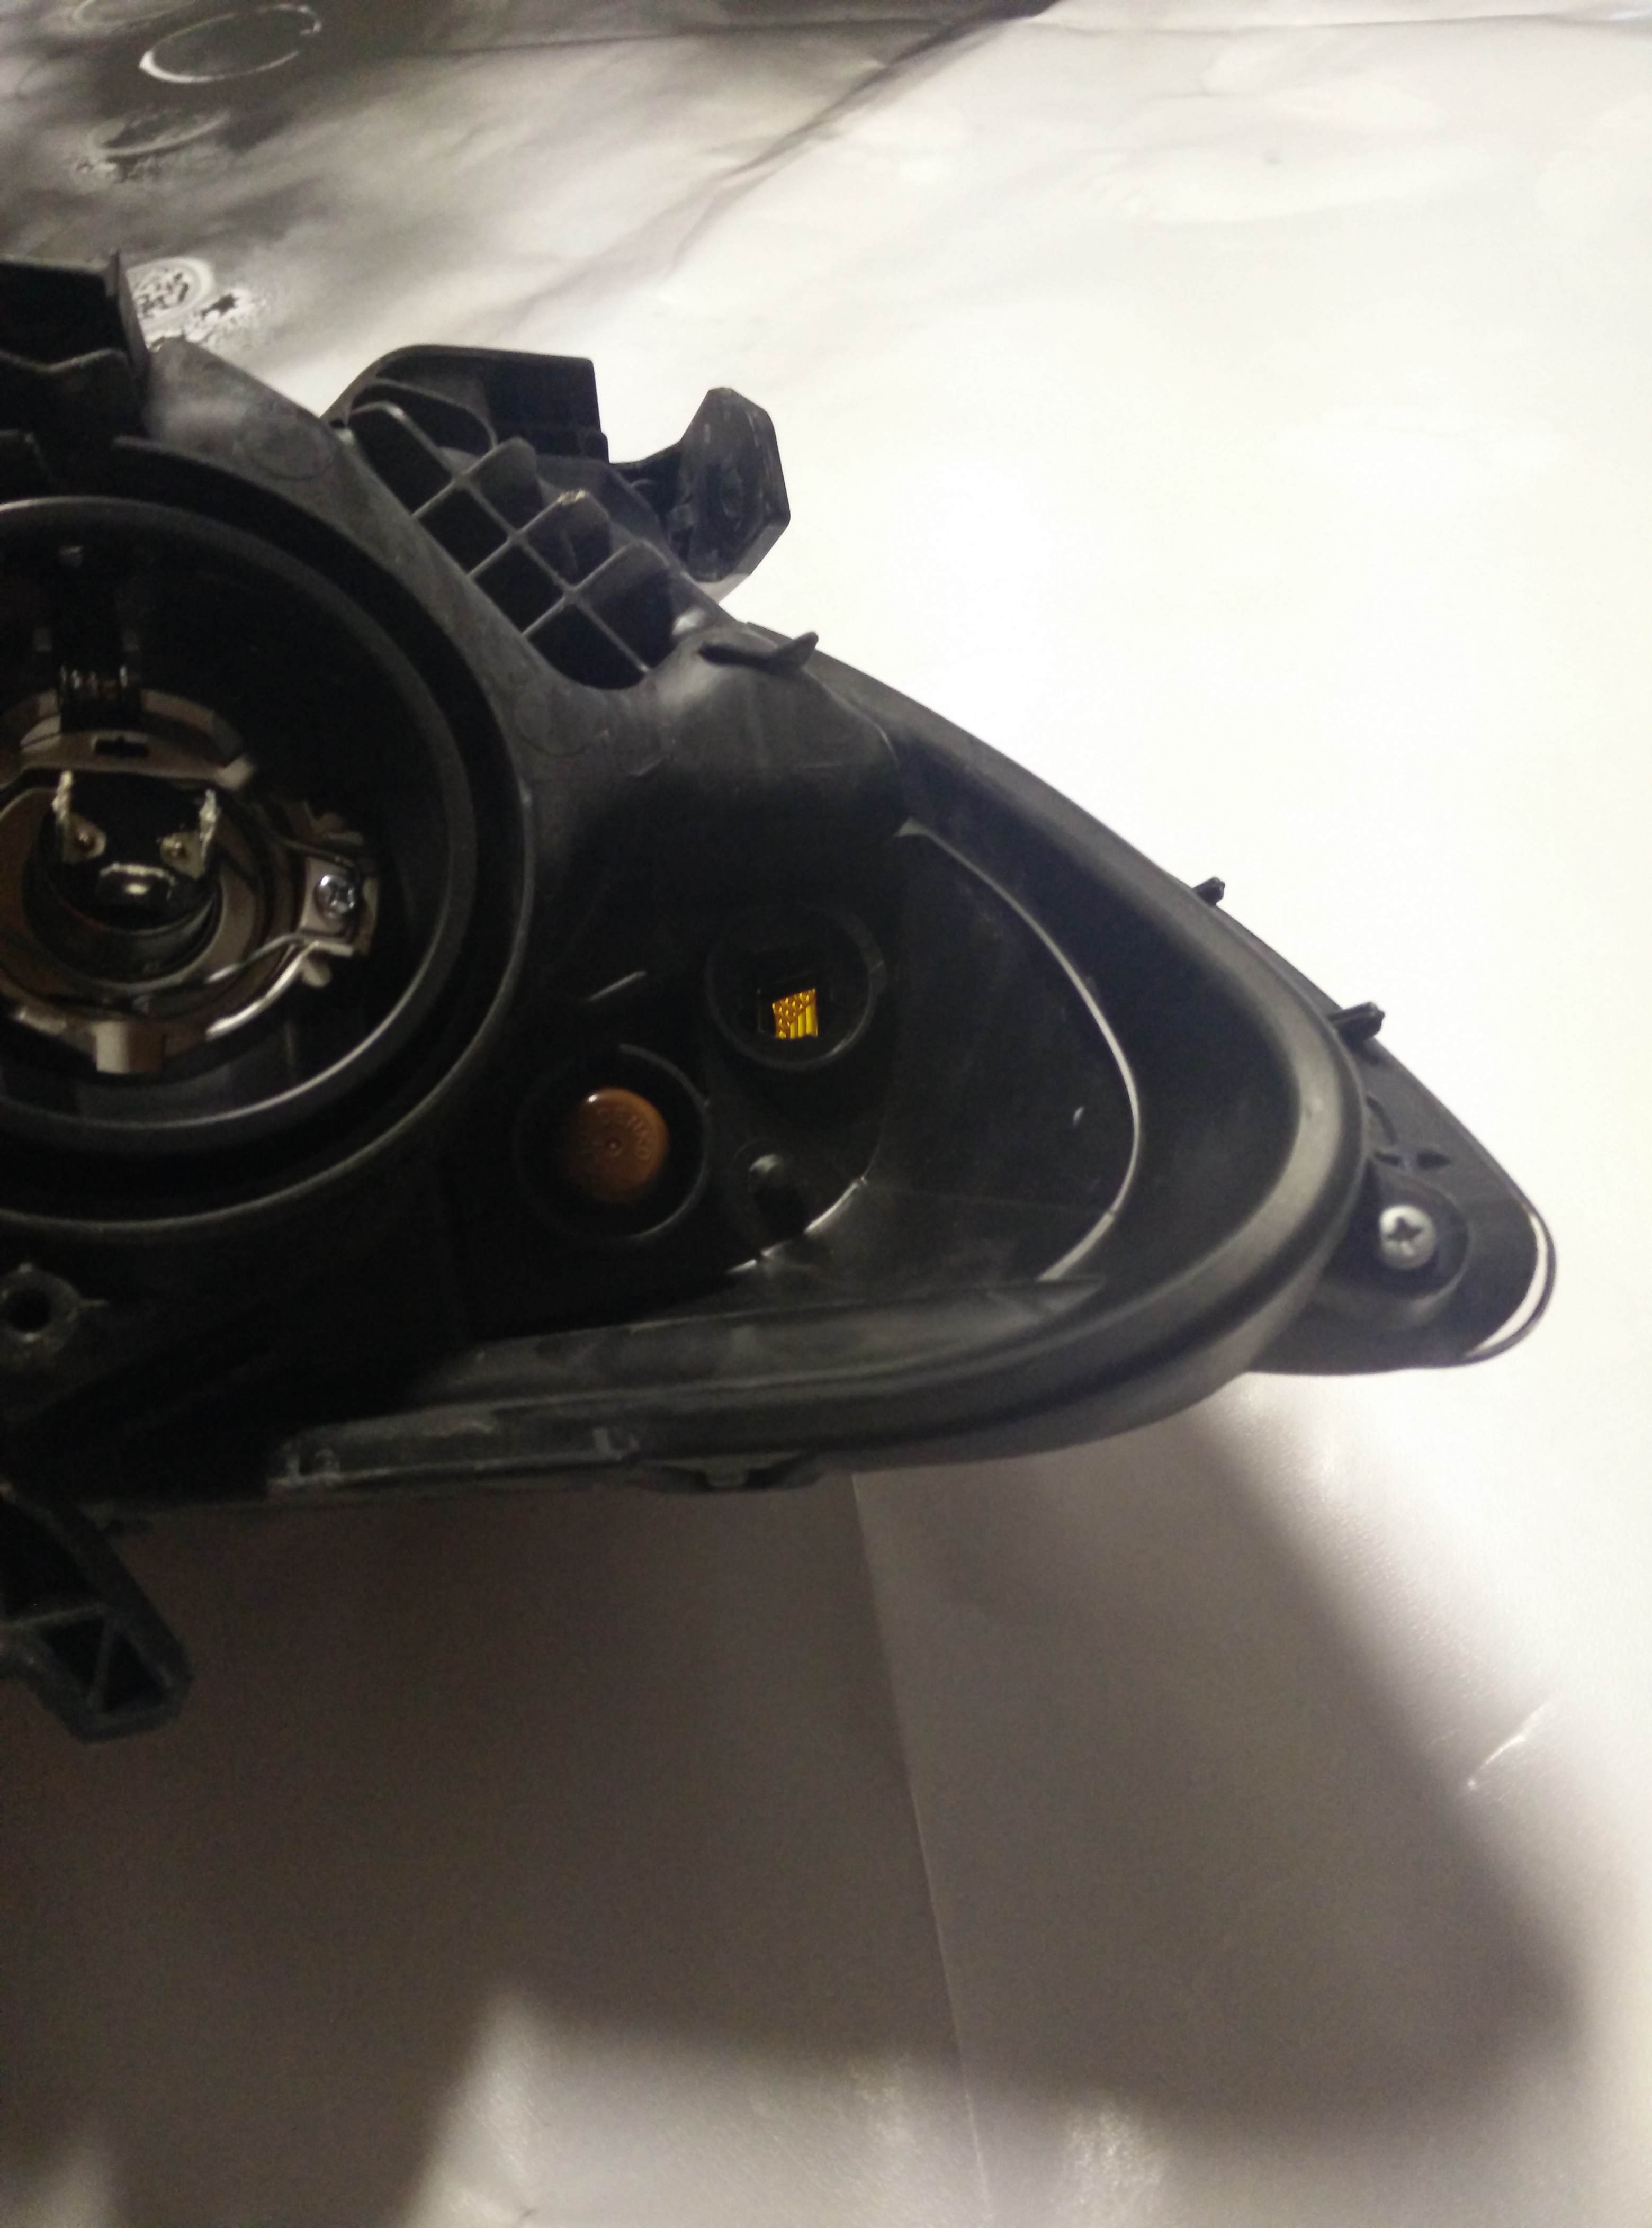
There are 4 screws and 1 clip holding the headlight. They are very easy to point out.
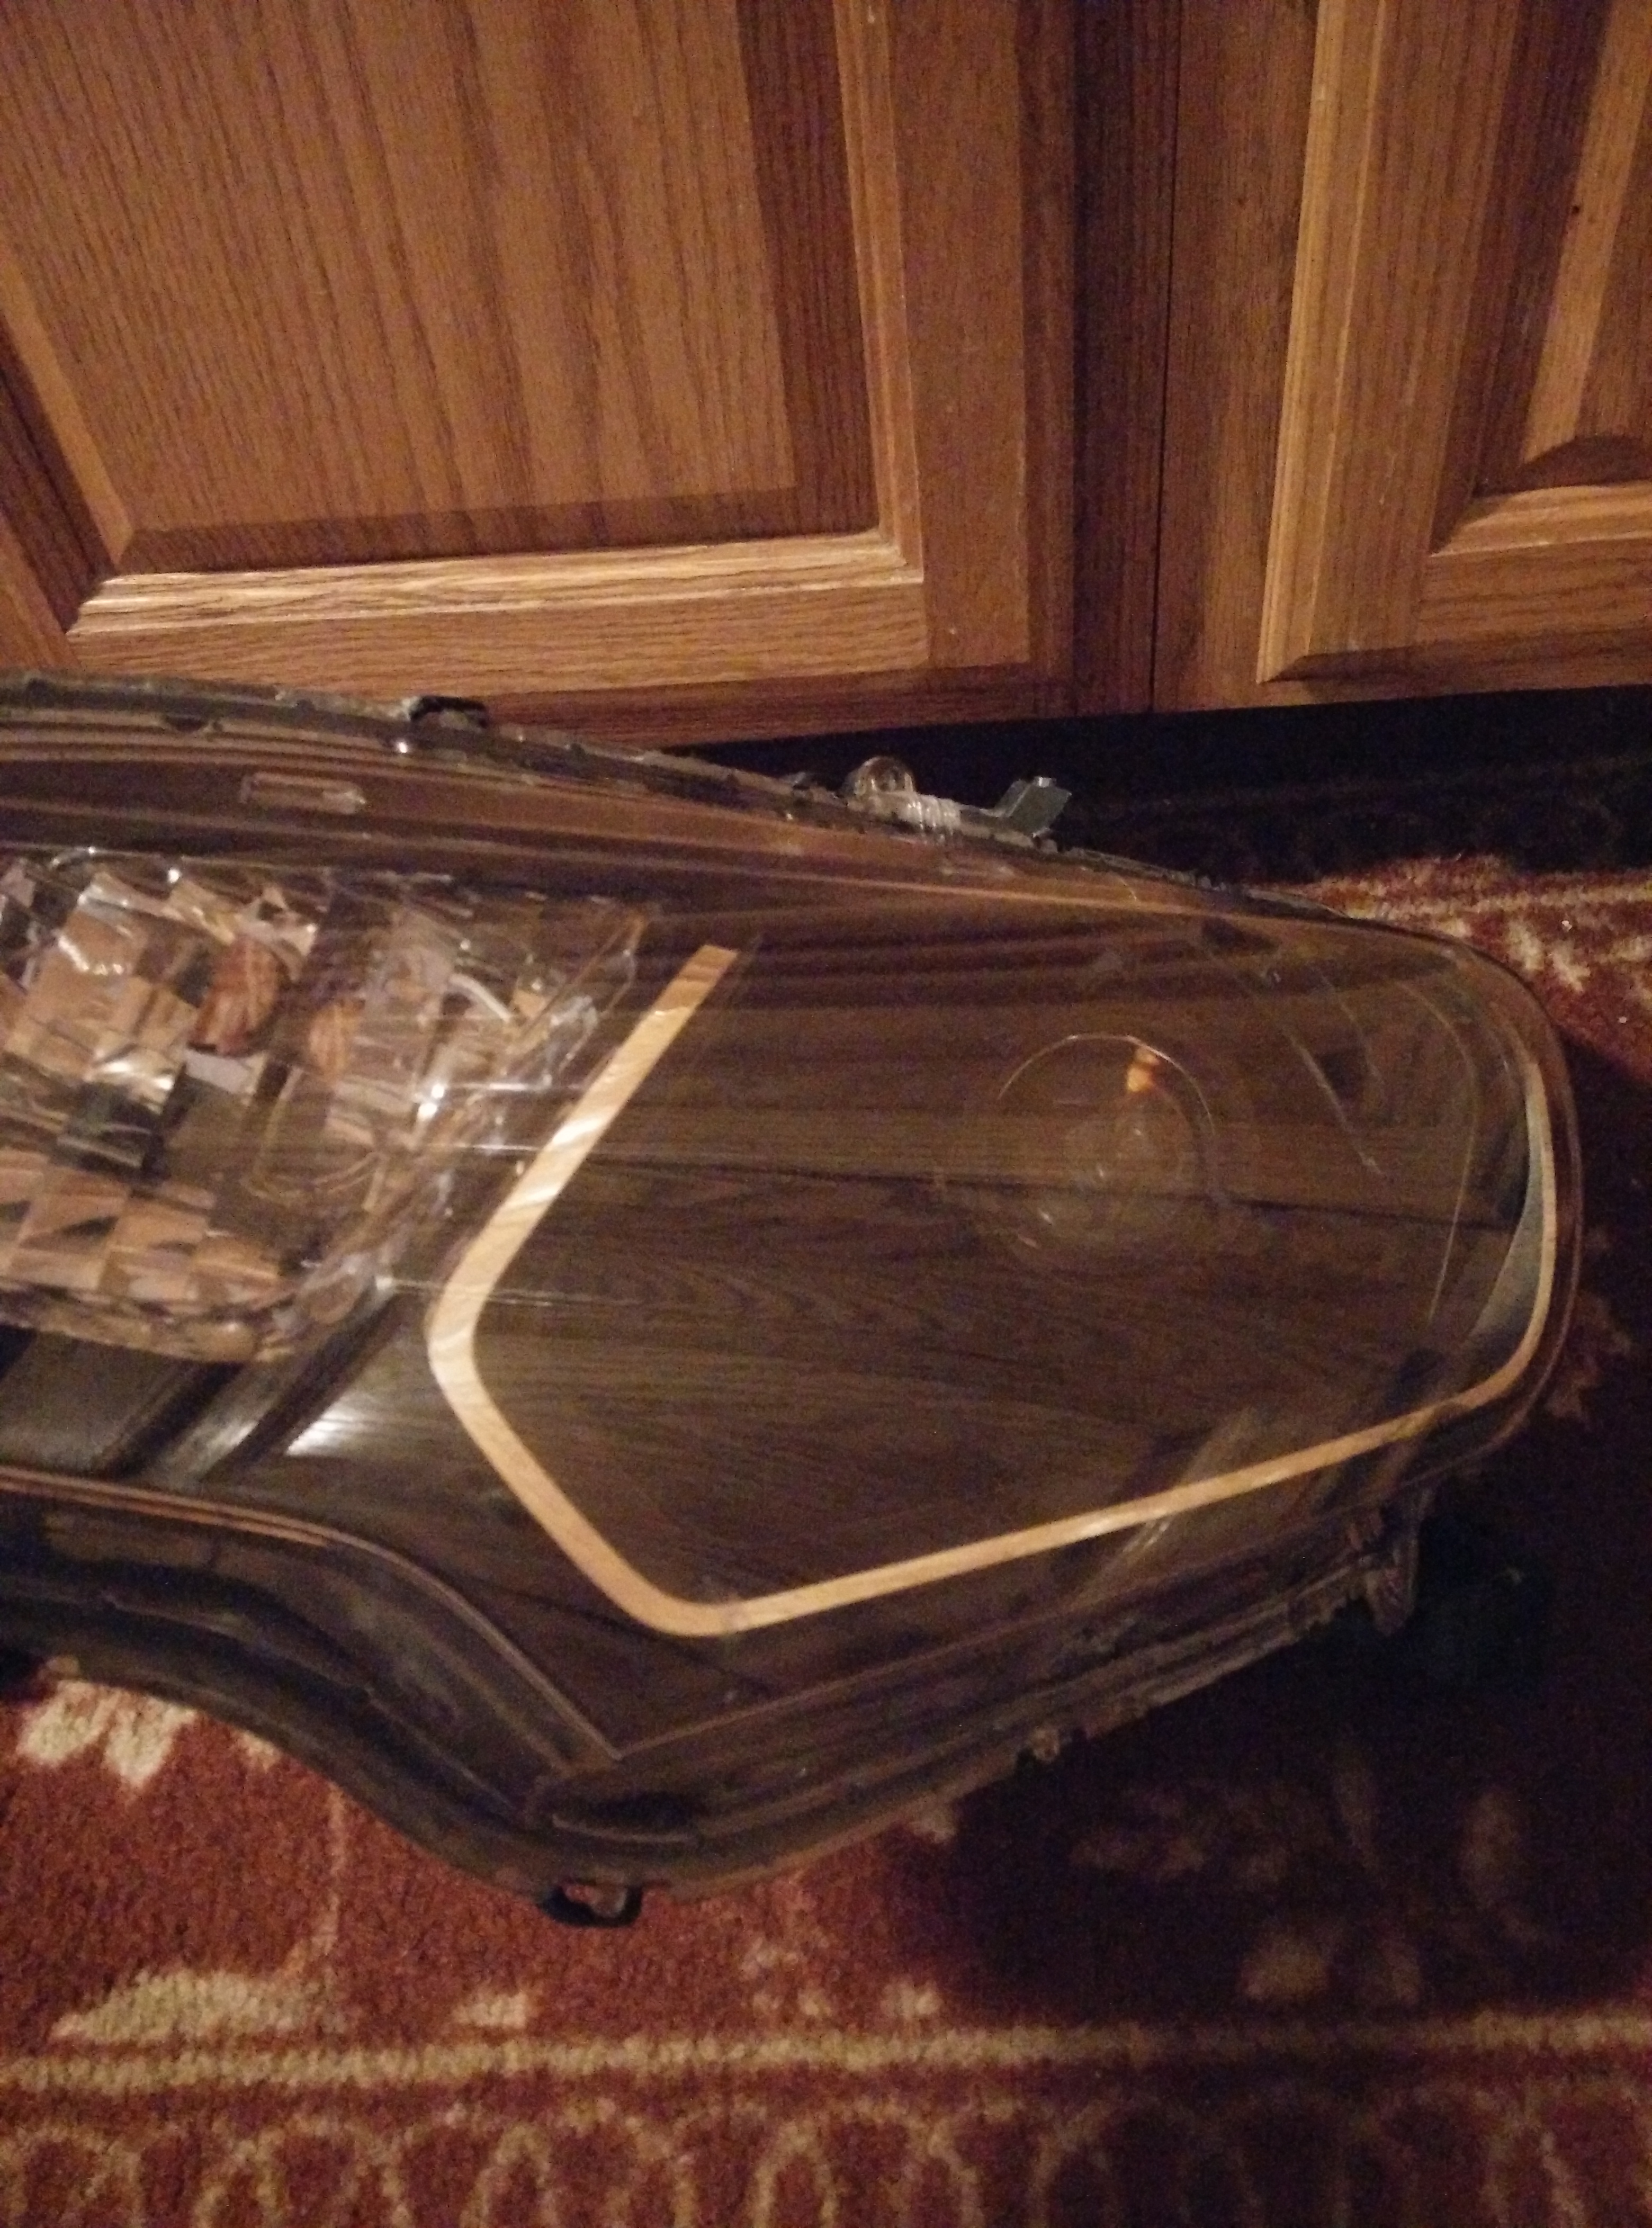
I put the headlight in the oven at 250�F for 10 minutes. Surrounding the perimeter of the headlights are 4 screws. I wasn't afraid of being aggressive. I grabbed it from the apex part and just pulled it. I didn't do much to the clips.
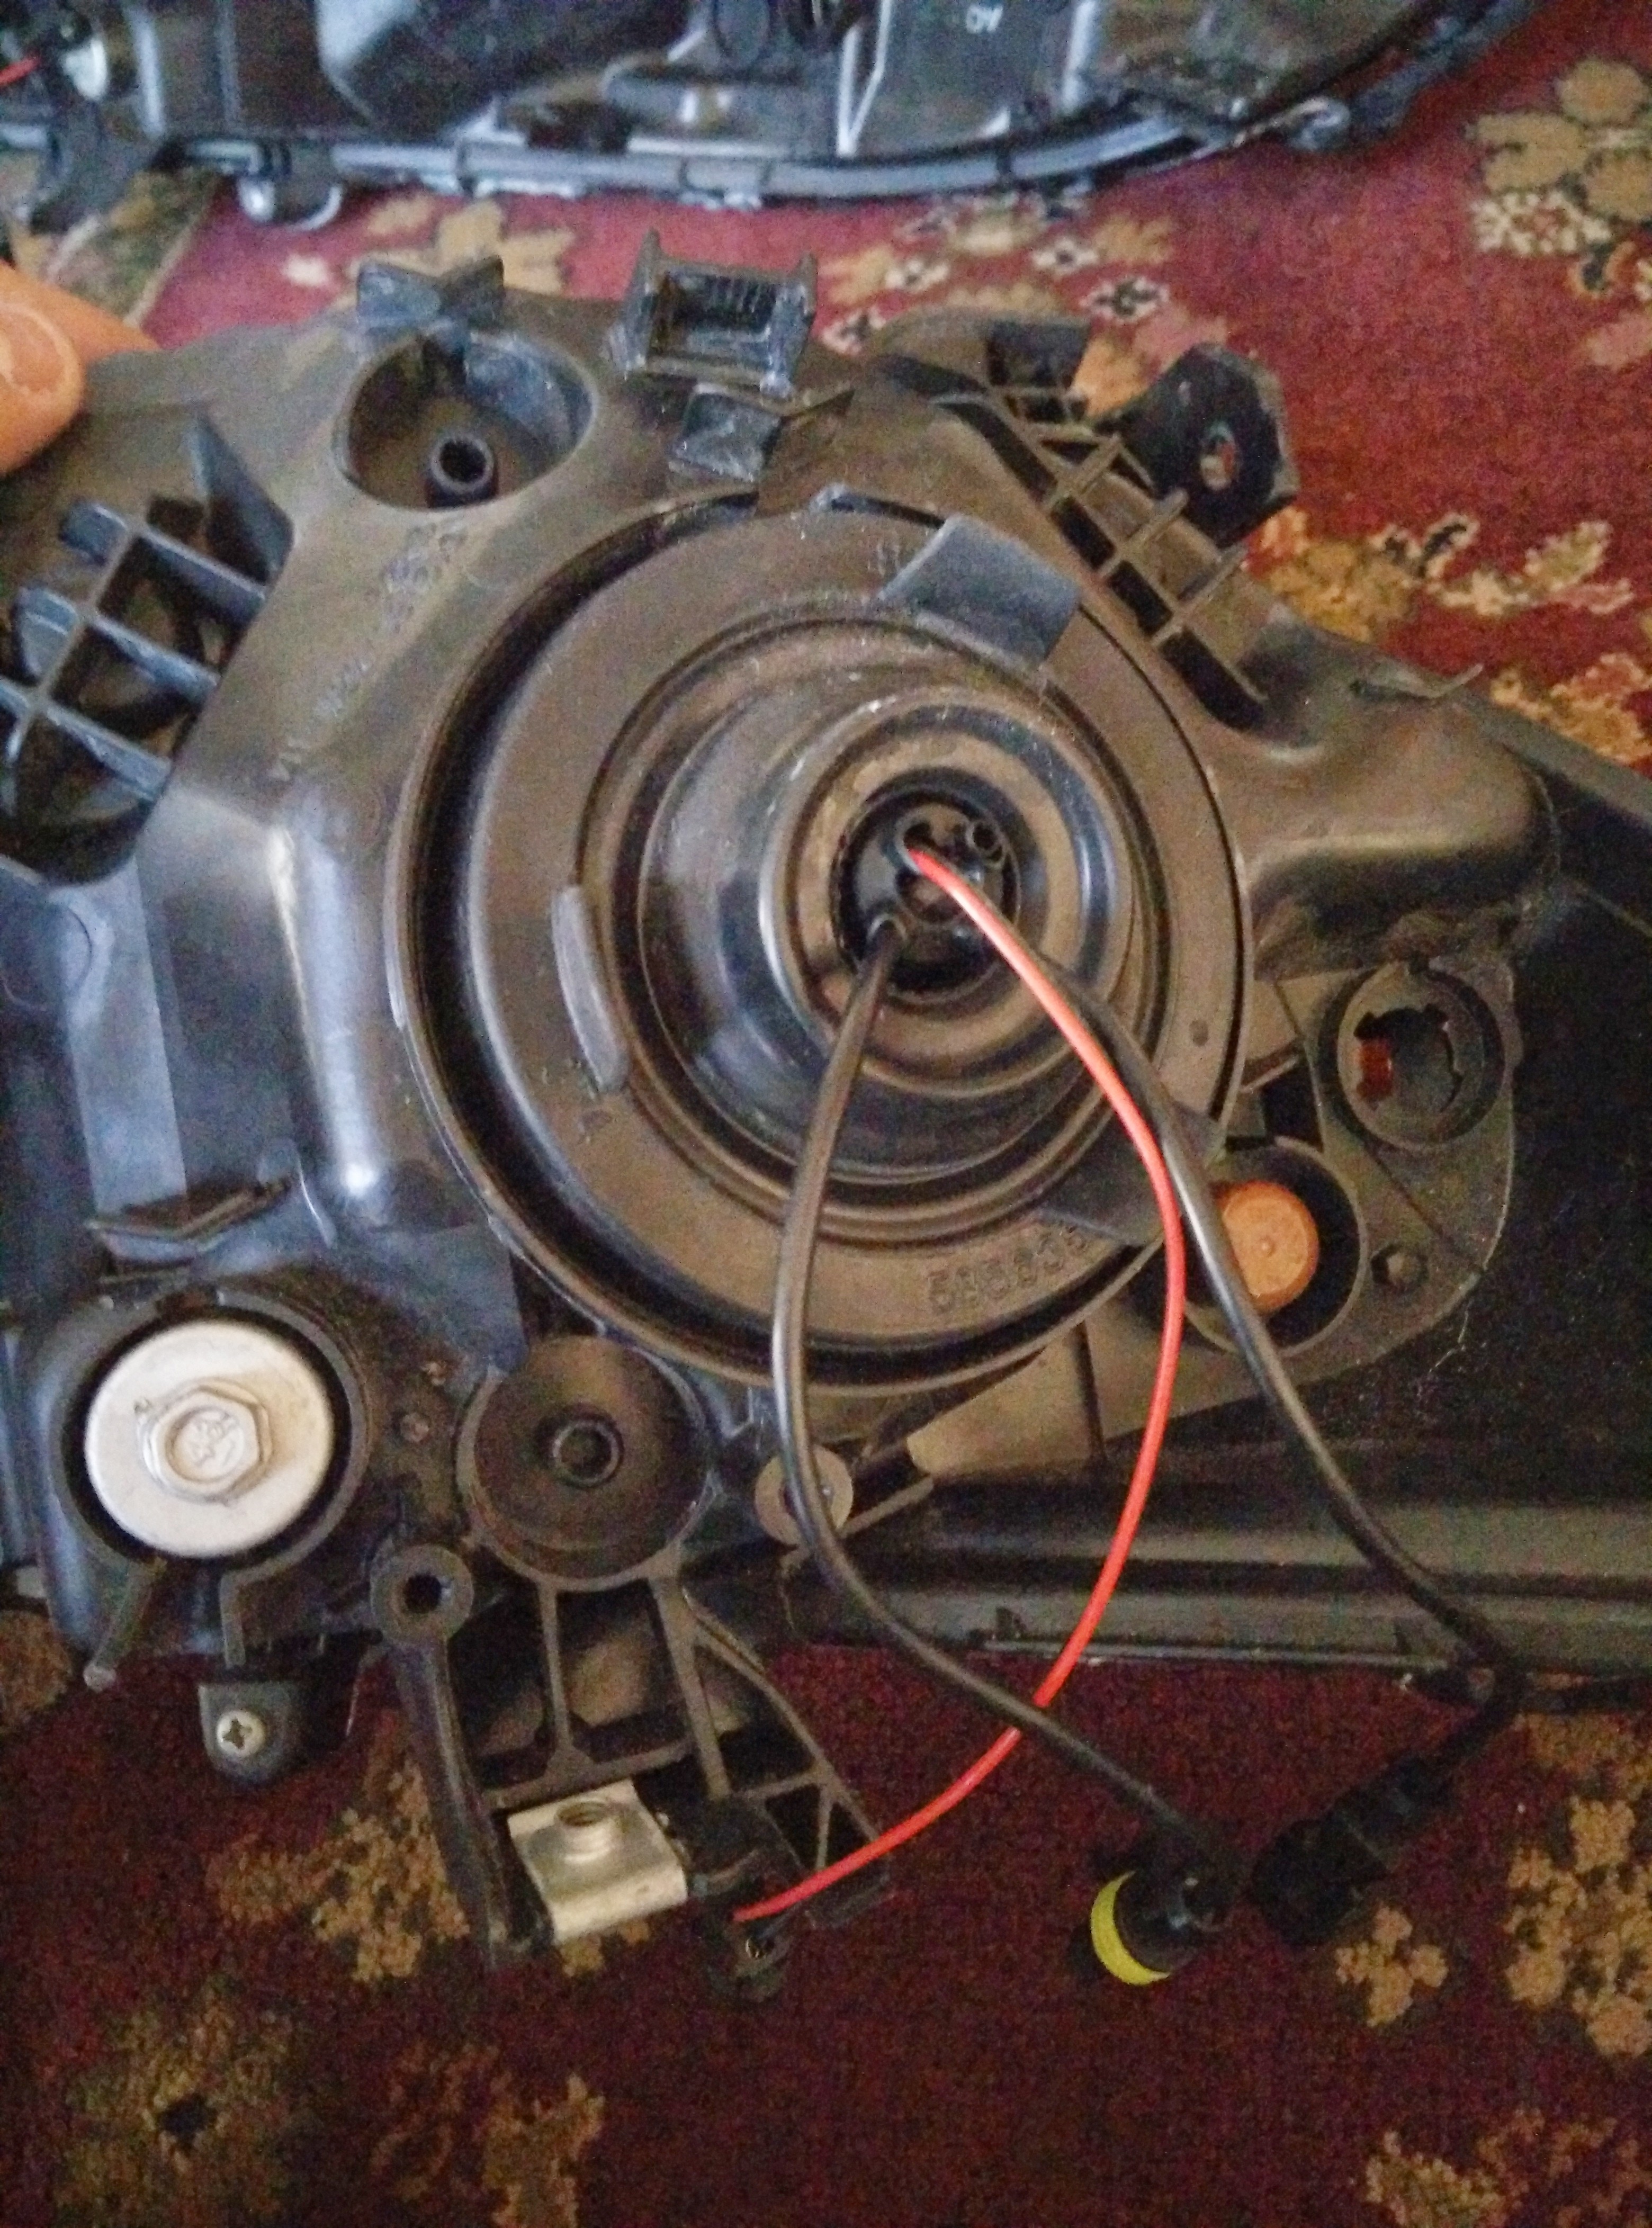
After inspecting the headlight bowl I realized that it was difficult to take out due to a clip. So I used a dremel to remove the glare shield.

Spray paint the bowl matte black...
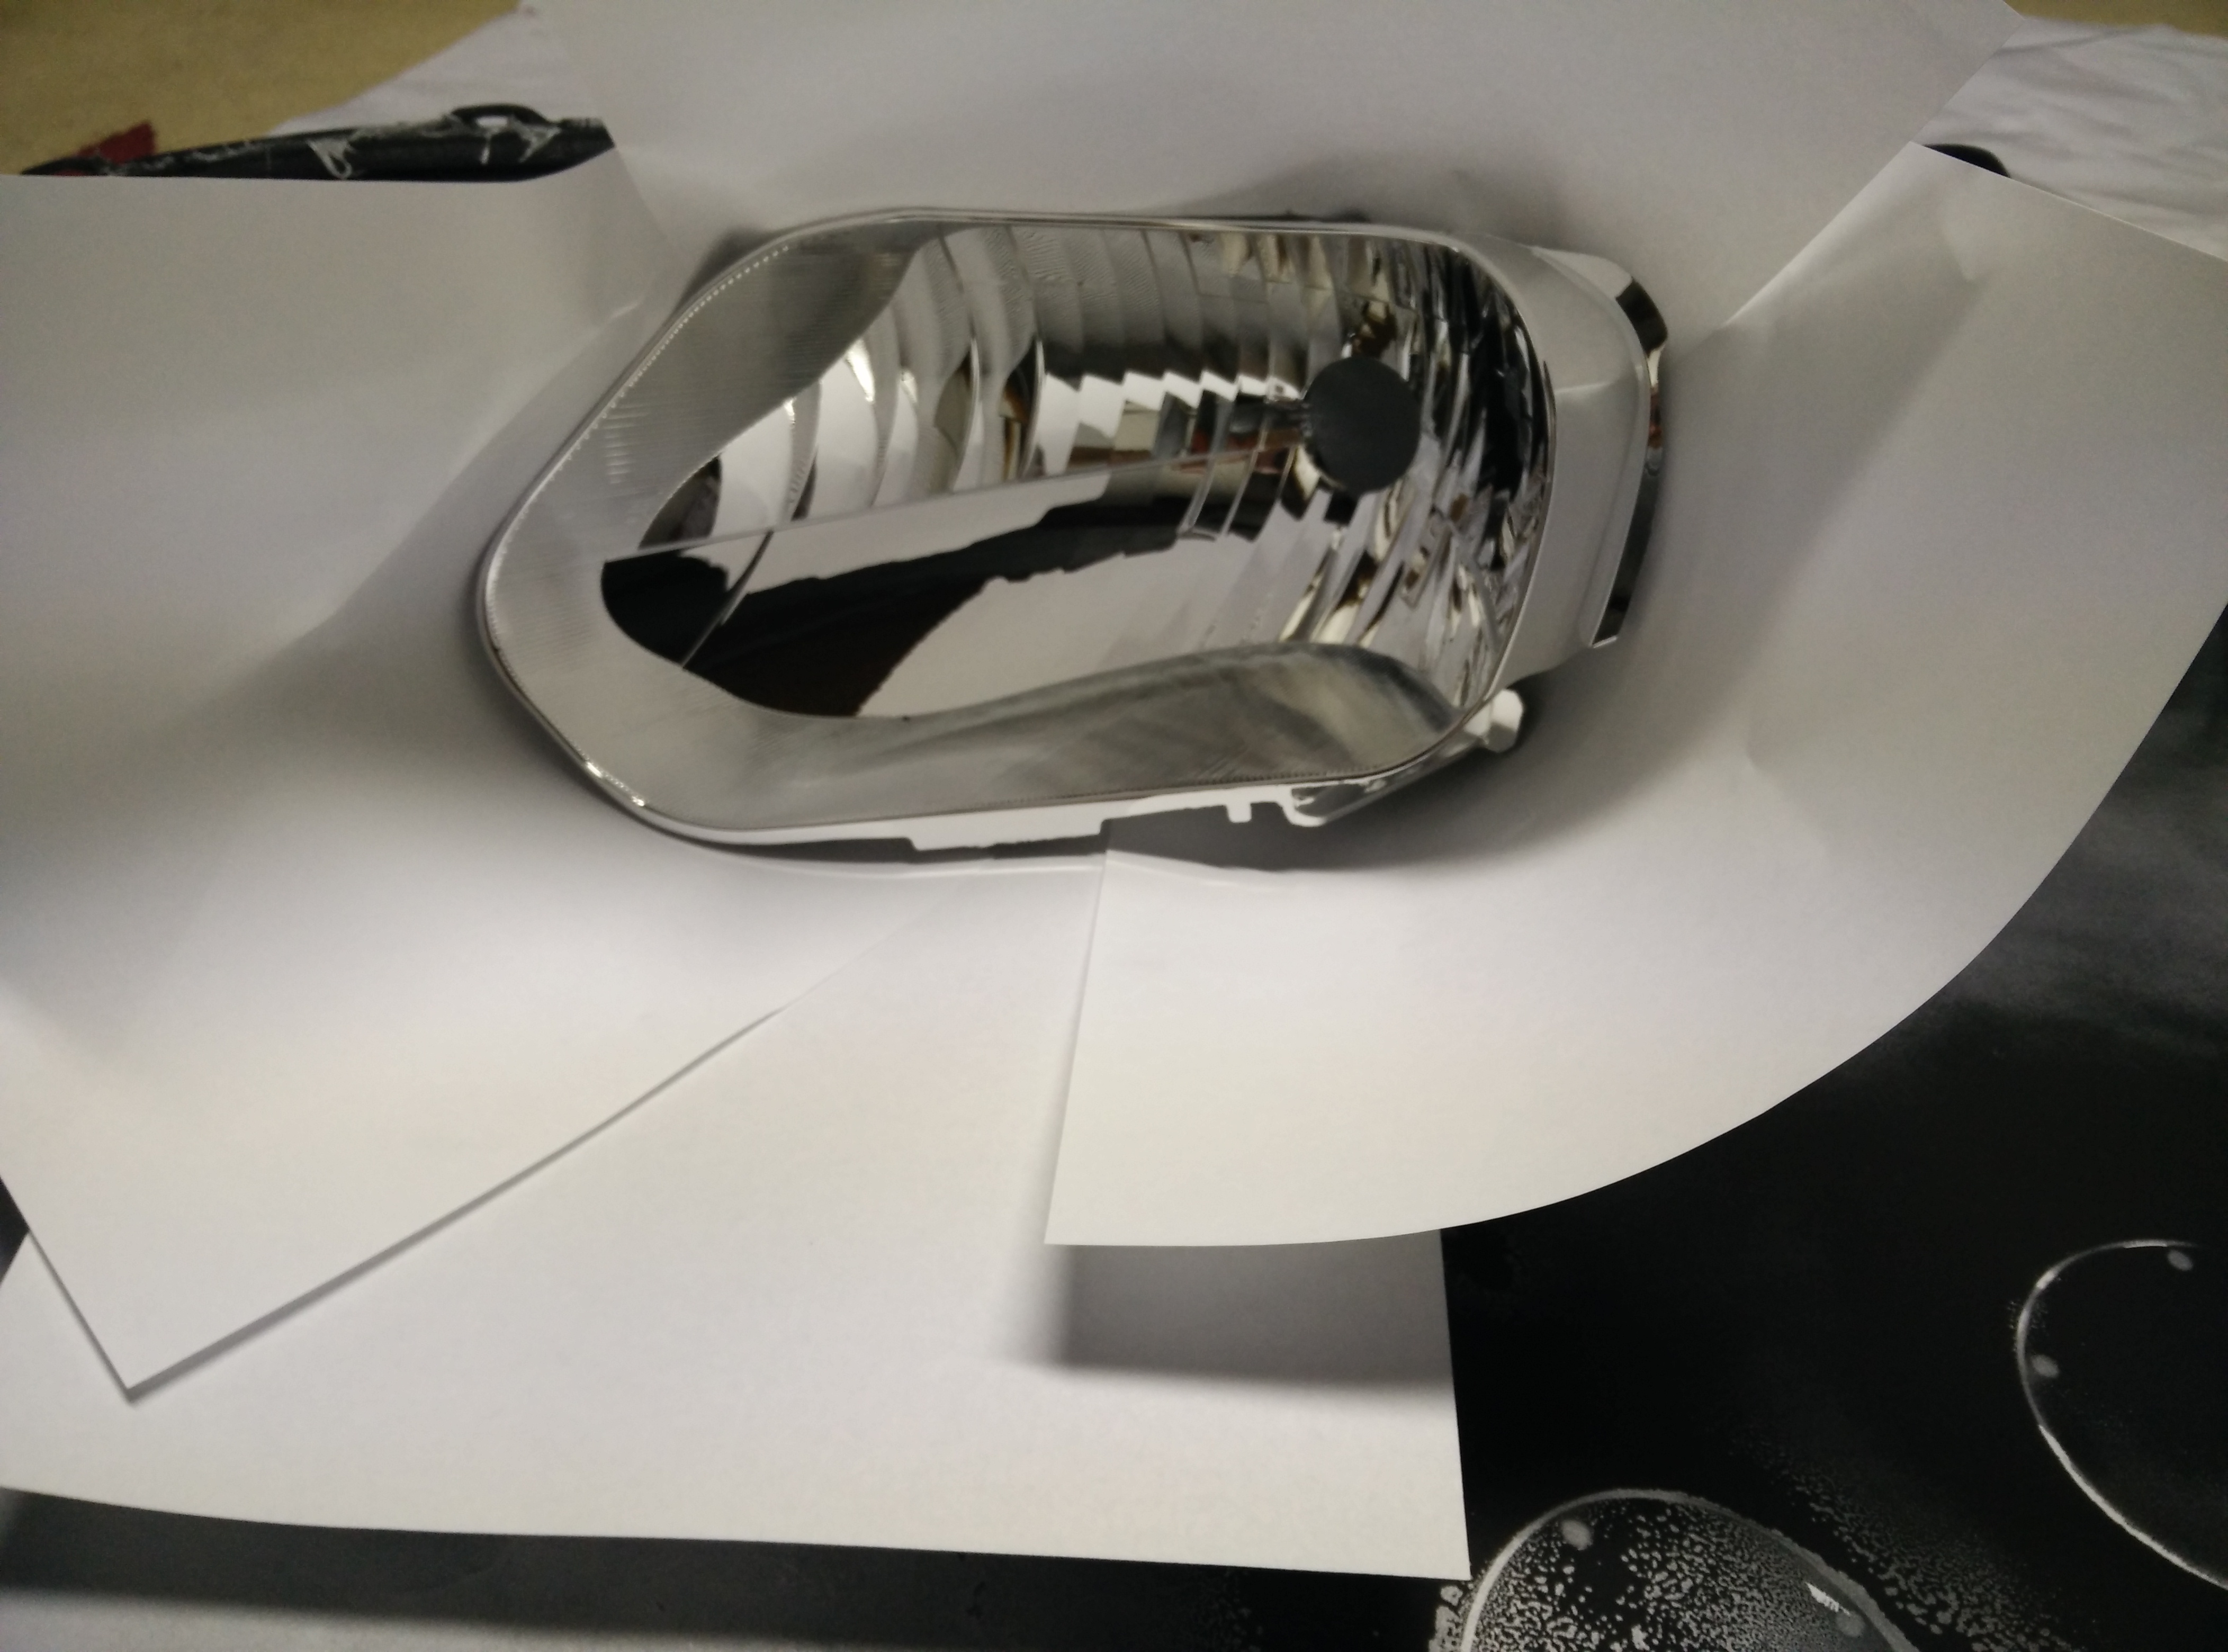
You can see below where I made the cut to the glare shield.

I don't know what people are talking about that it's hard to find ground...
First ground:

Second ground:
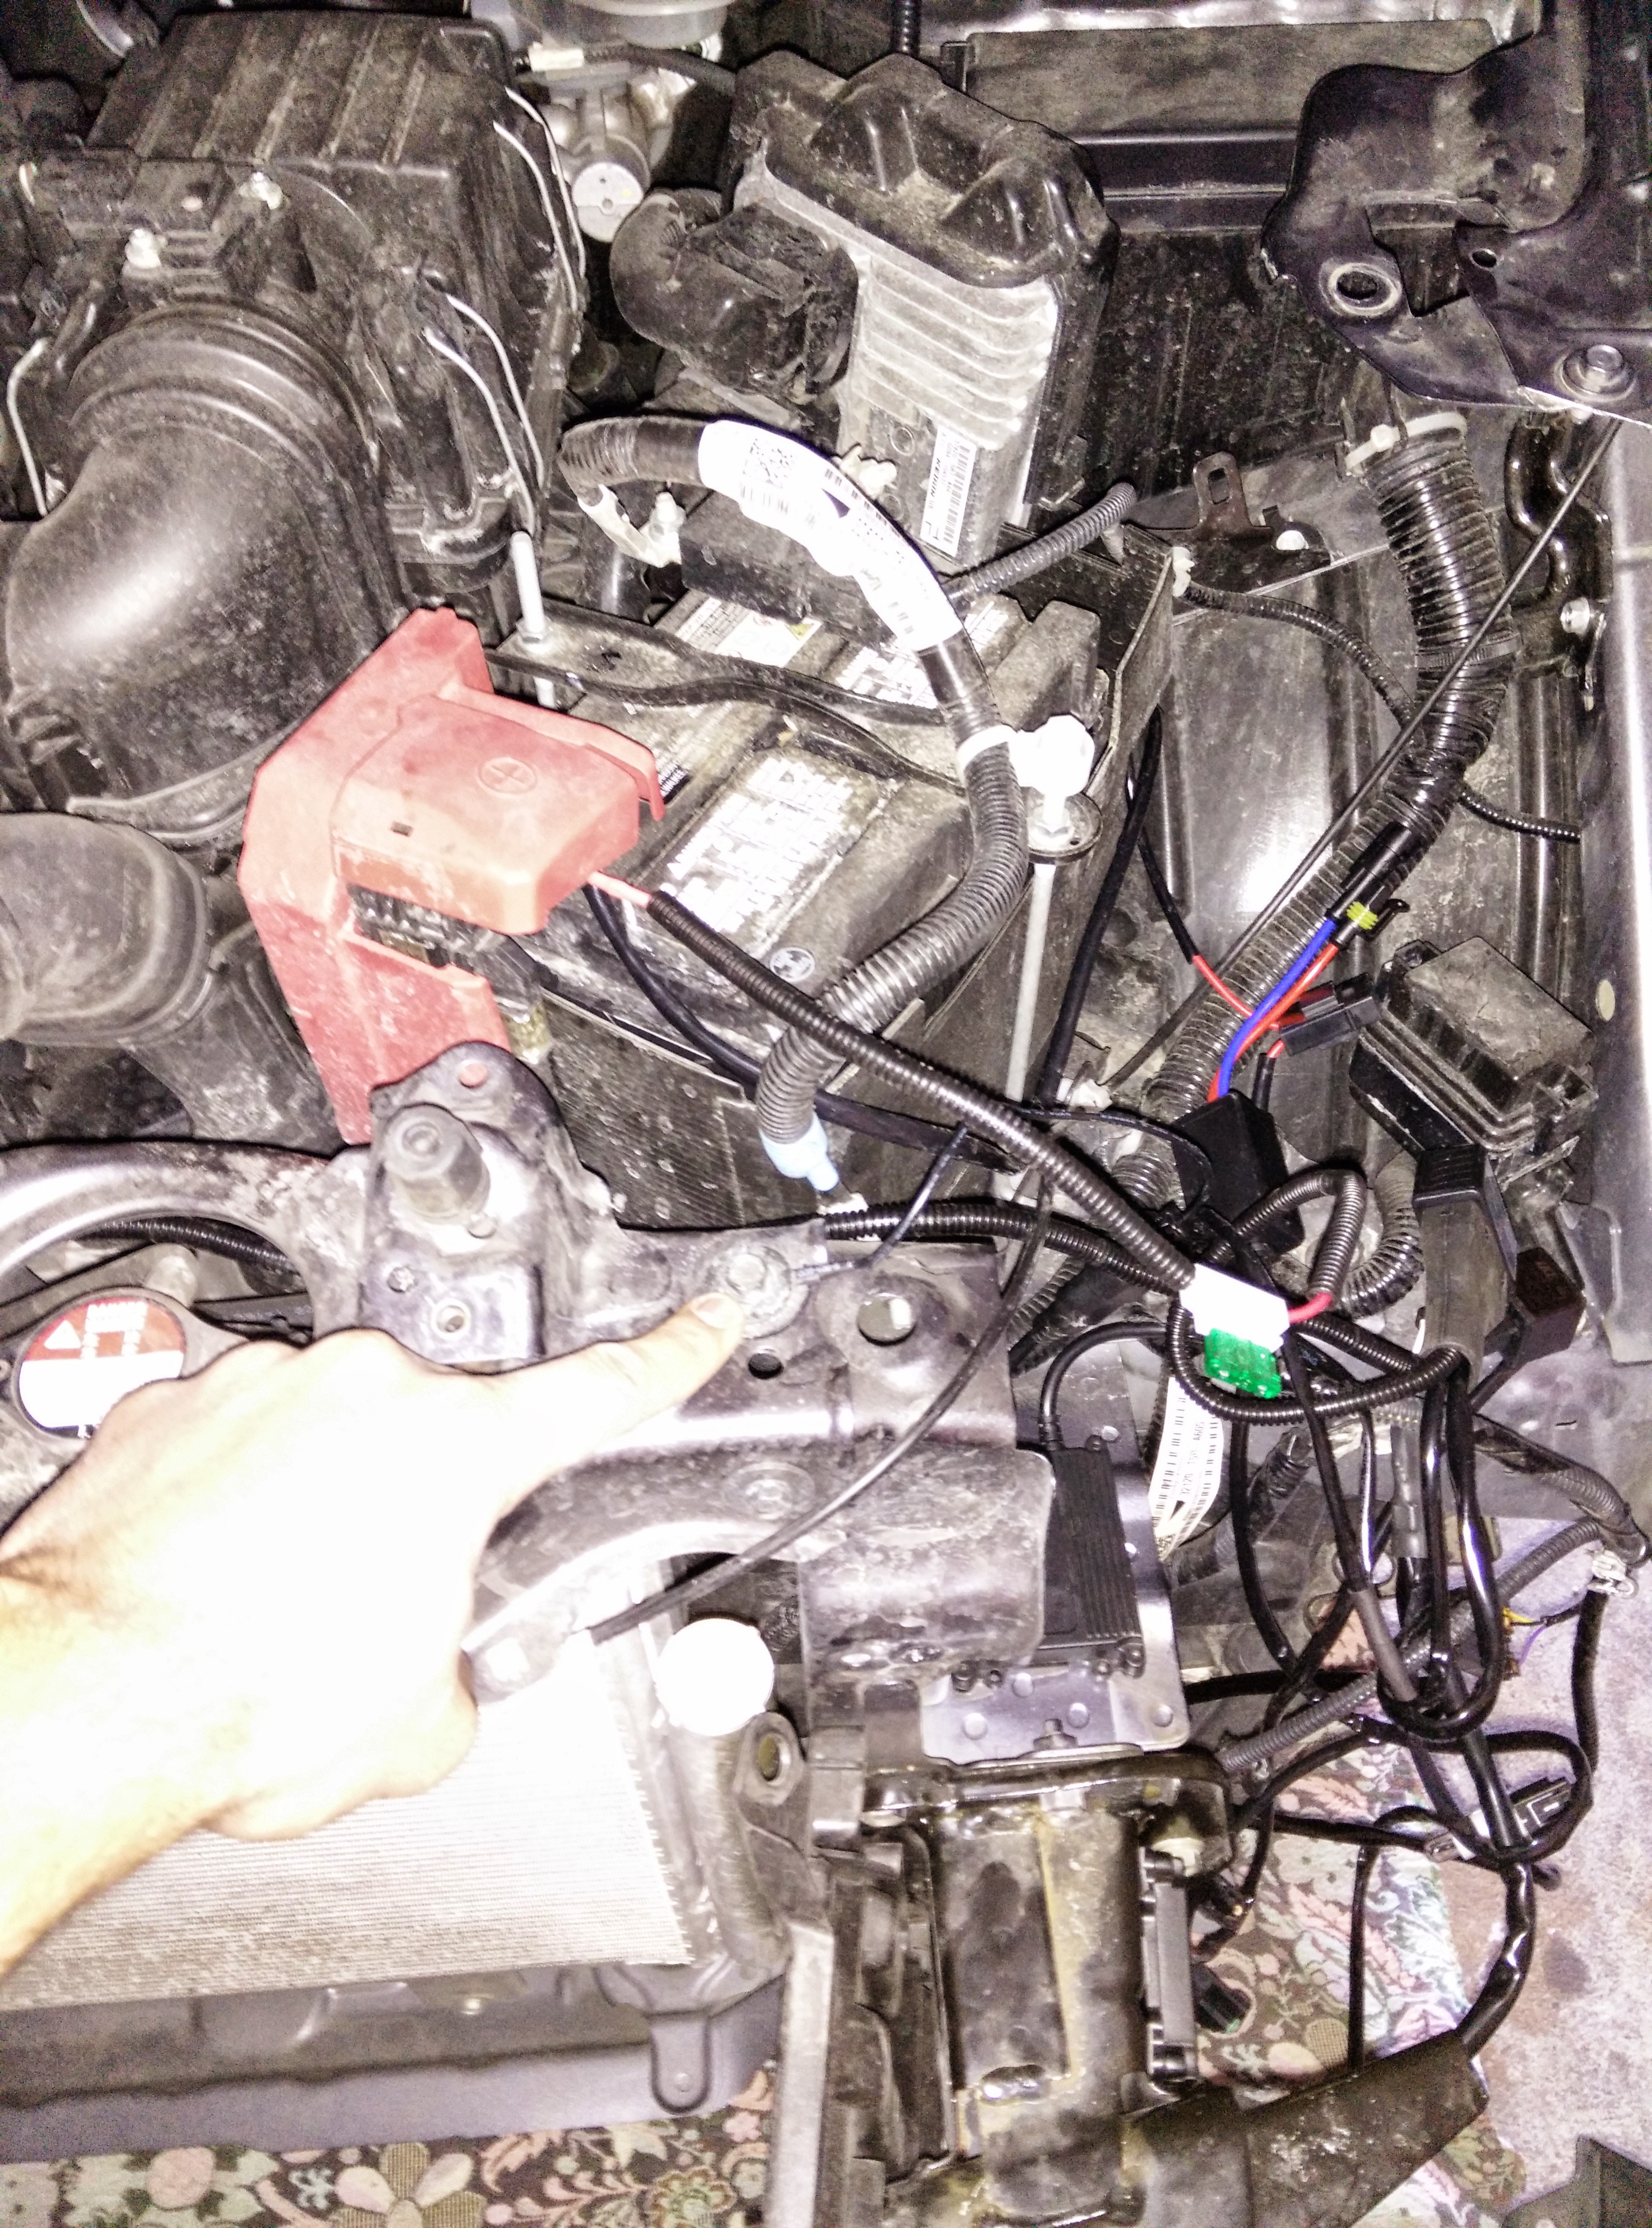
Ballast placement: HID + Fogs (NEW)
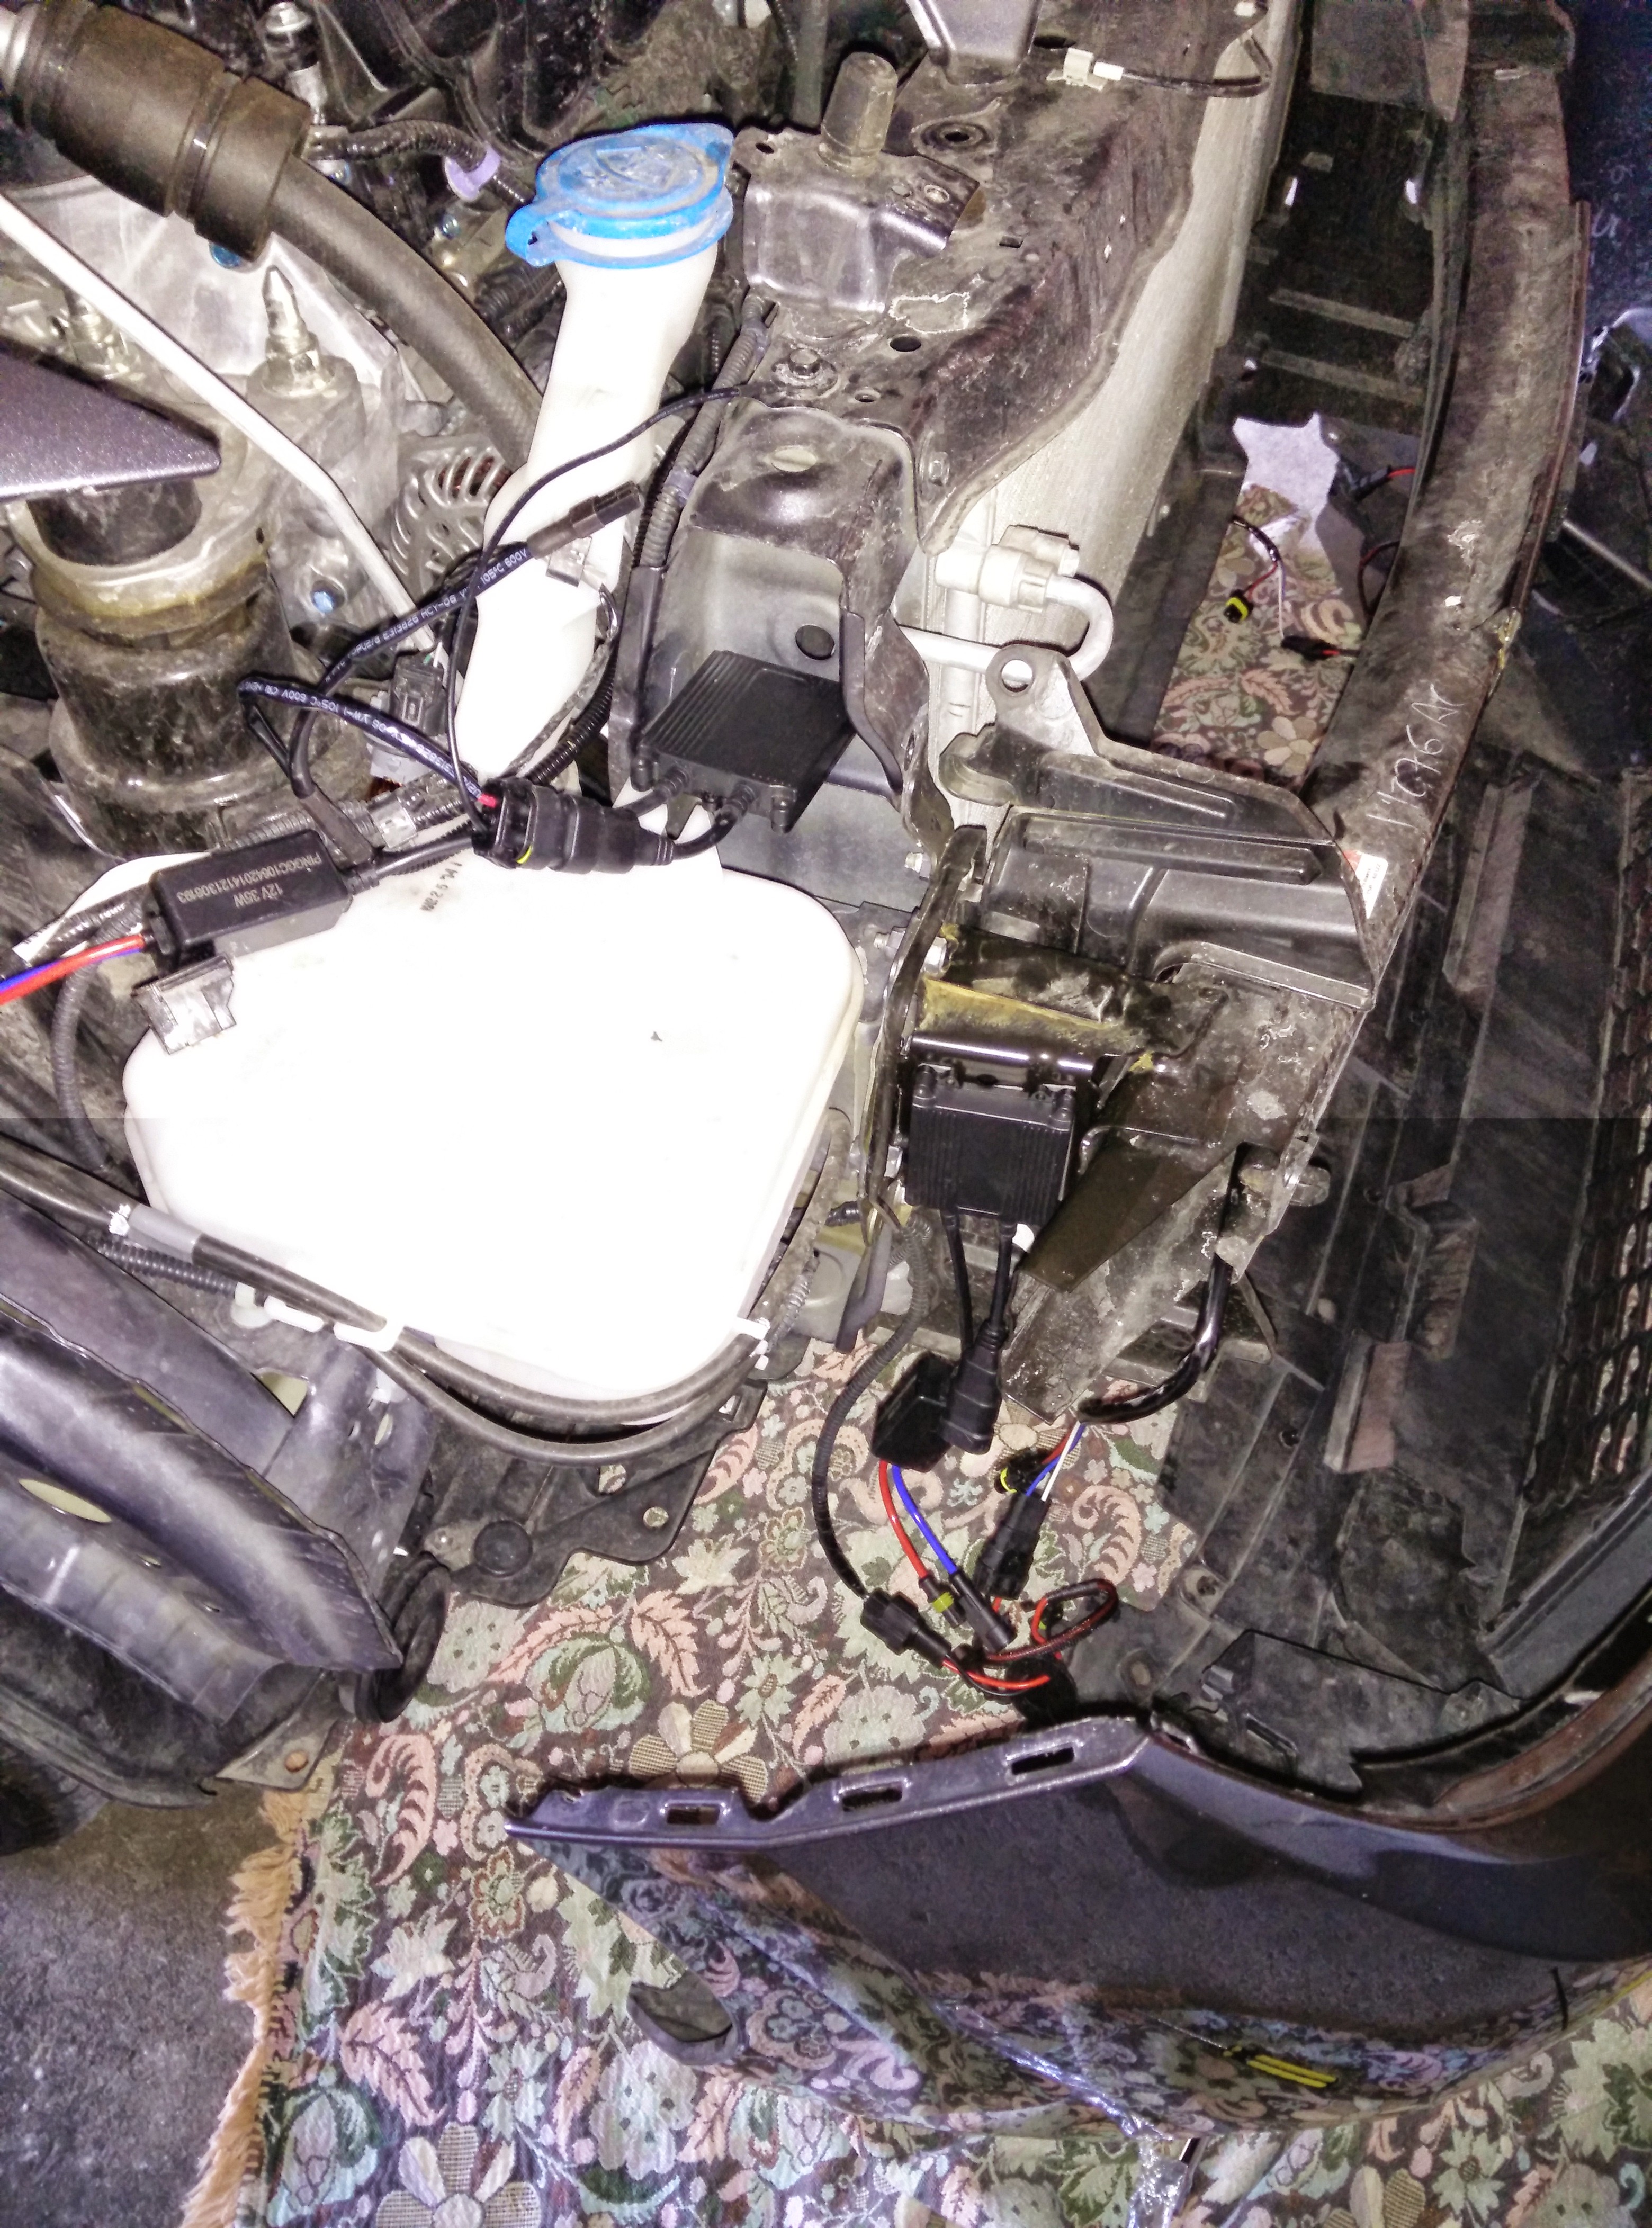
OLD placement for fogs: Both of which are good spots
I put the headlight back in the oven for 15 minutes screwed it in place, then reheat for another 15 minutes at 250�F. Firmly pressed on all the sides and made sure all the screws were tightened.
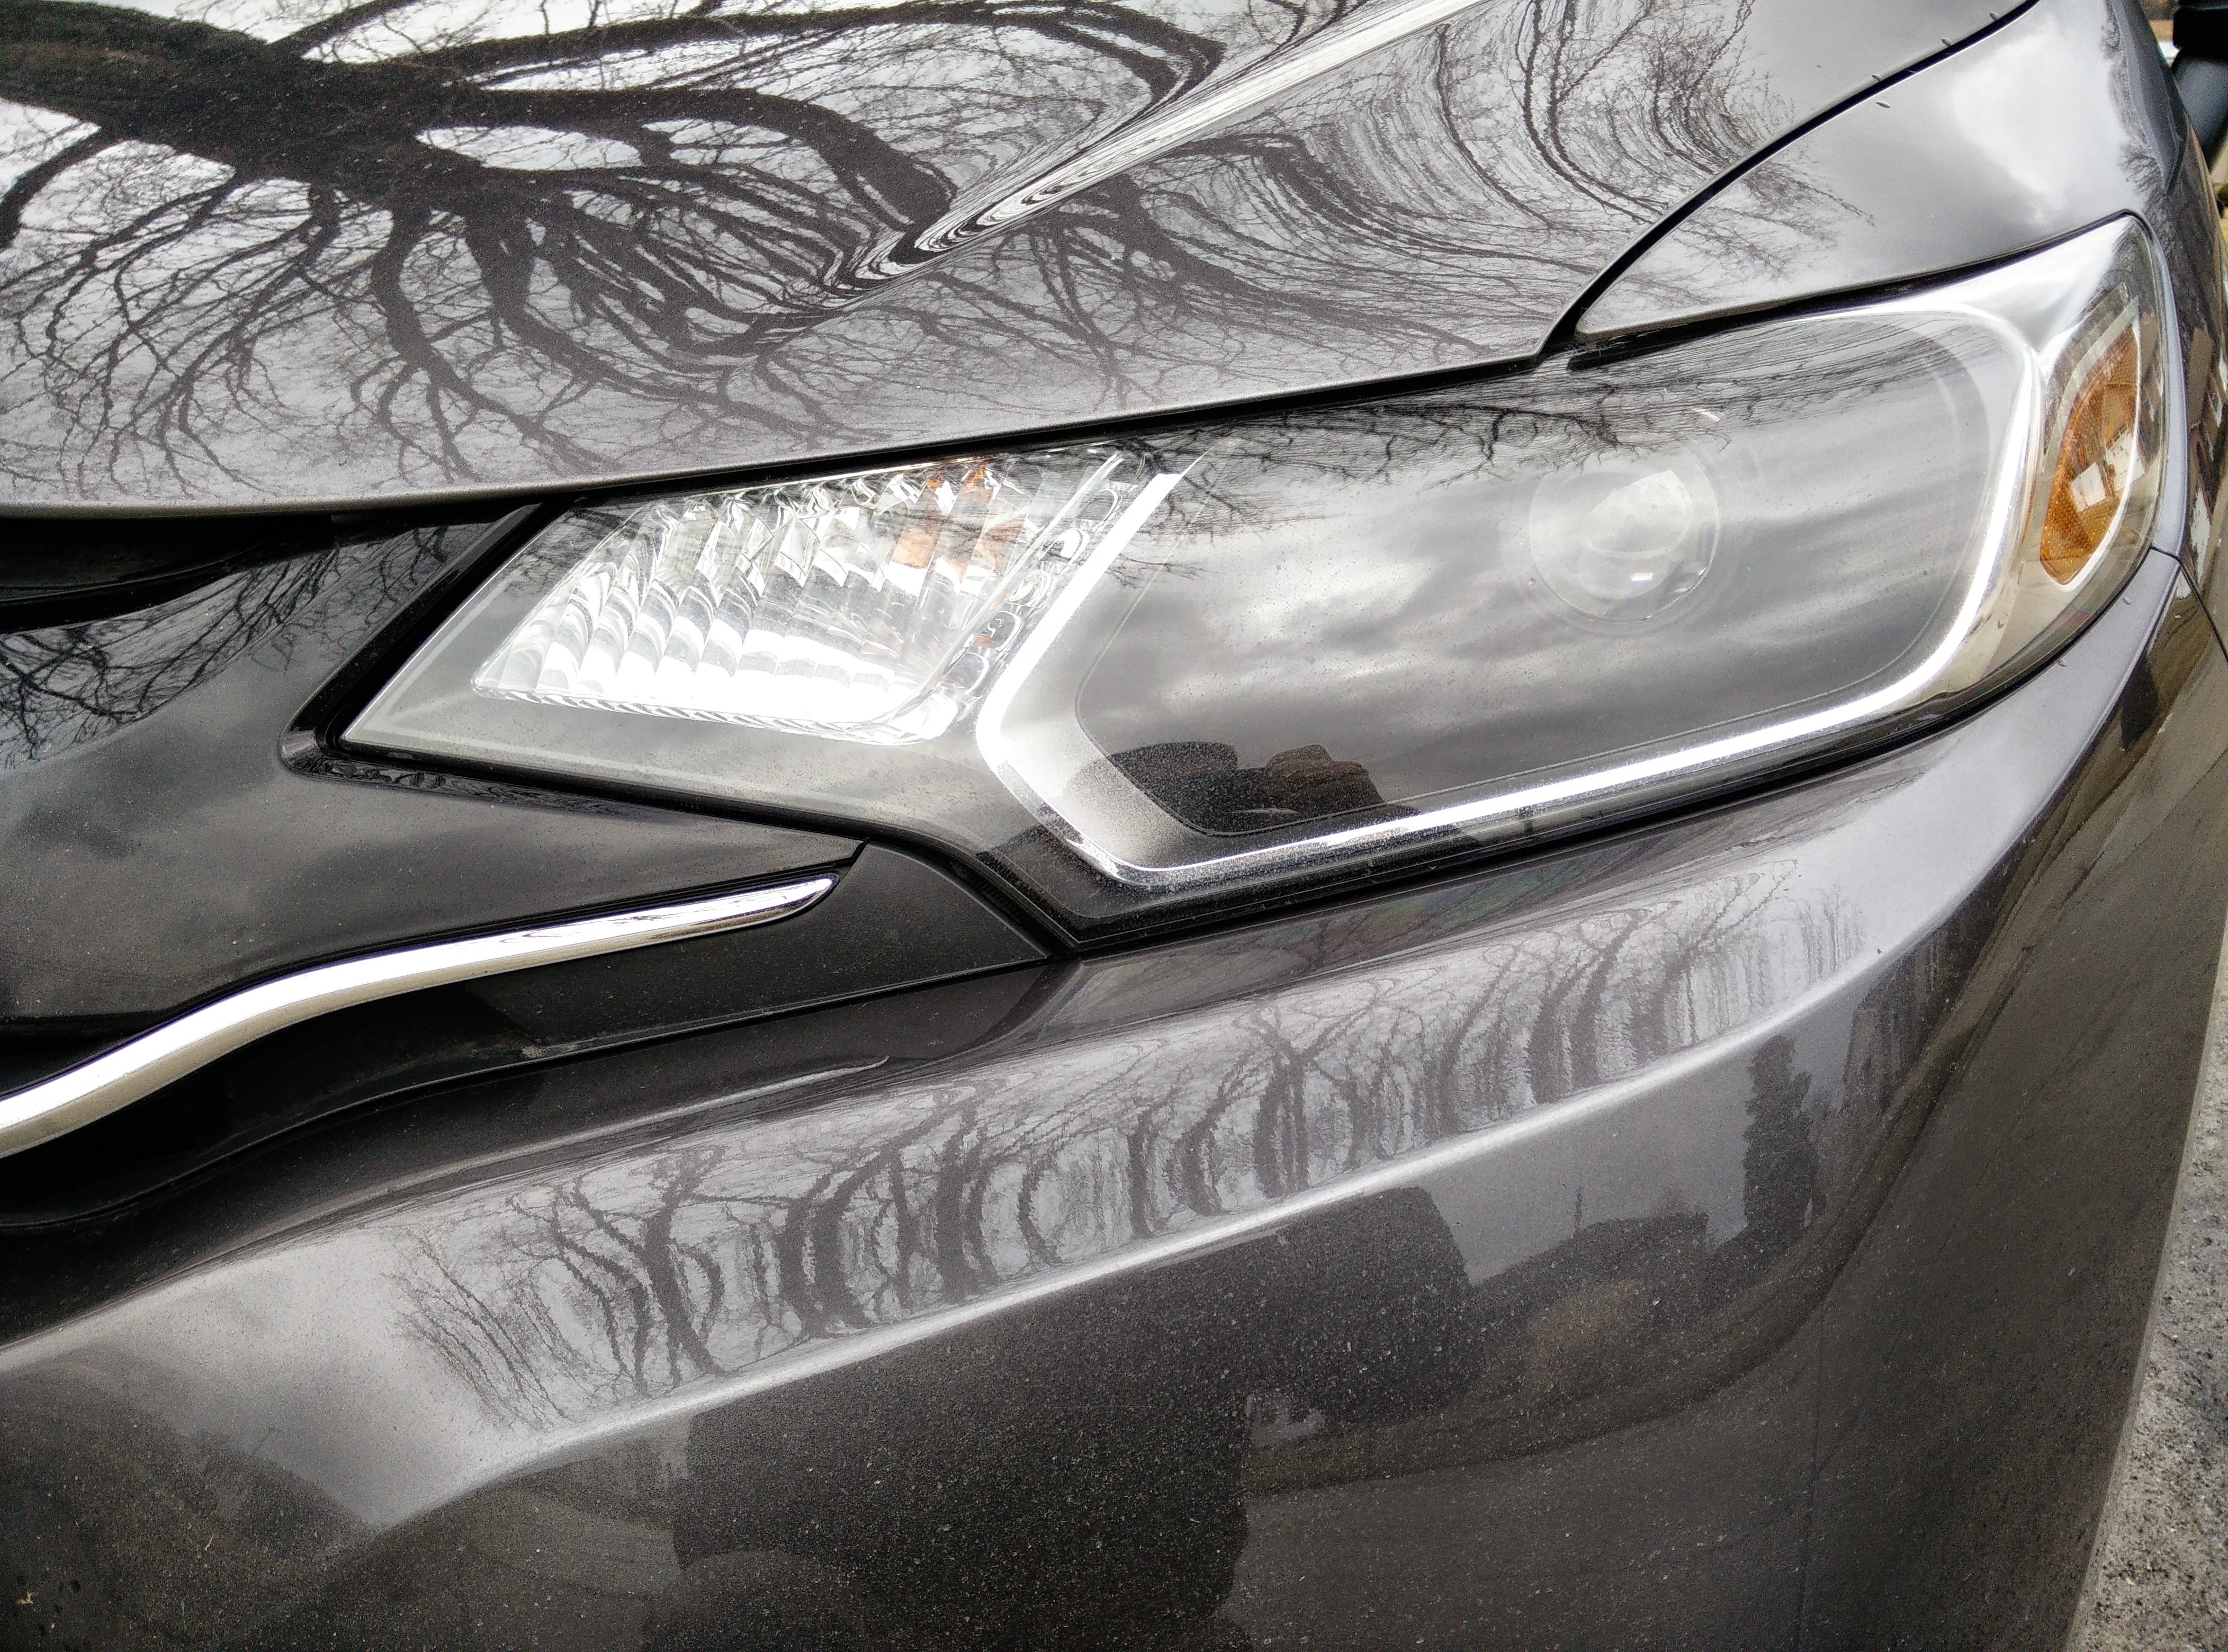
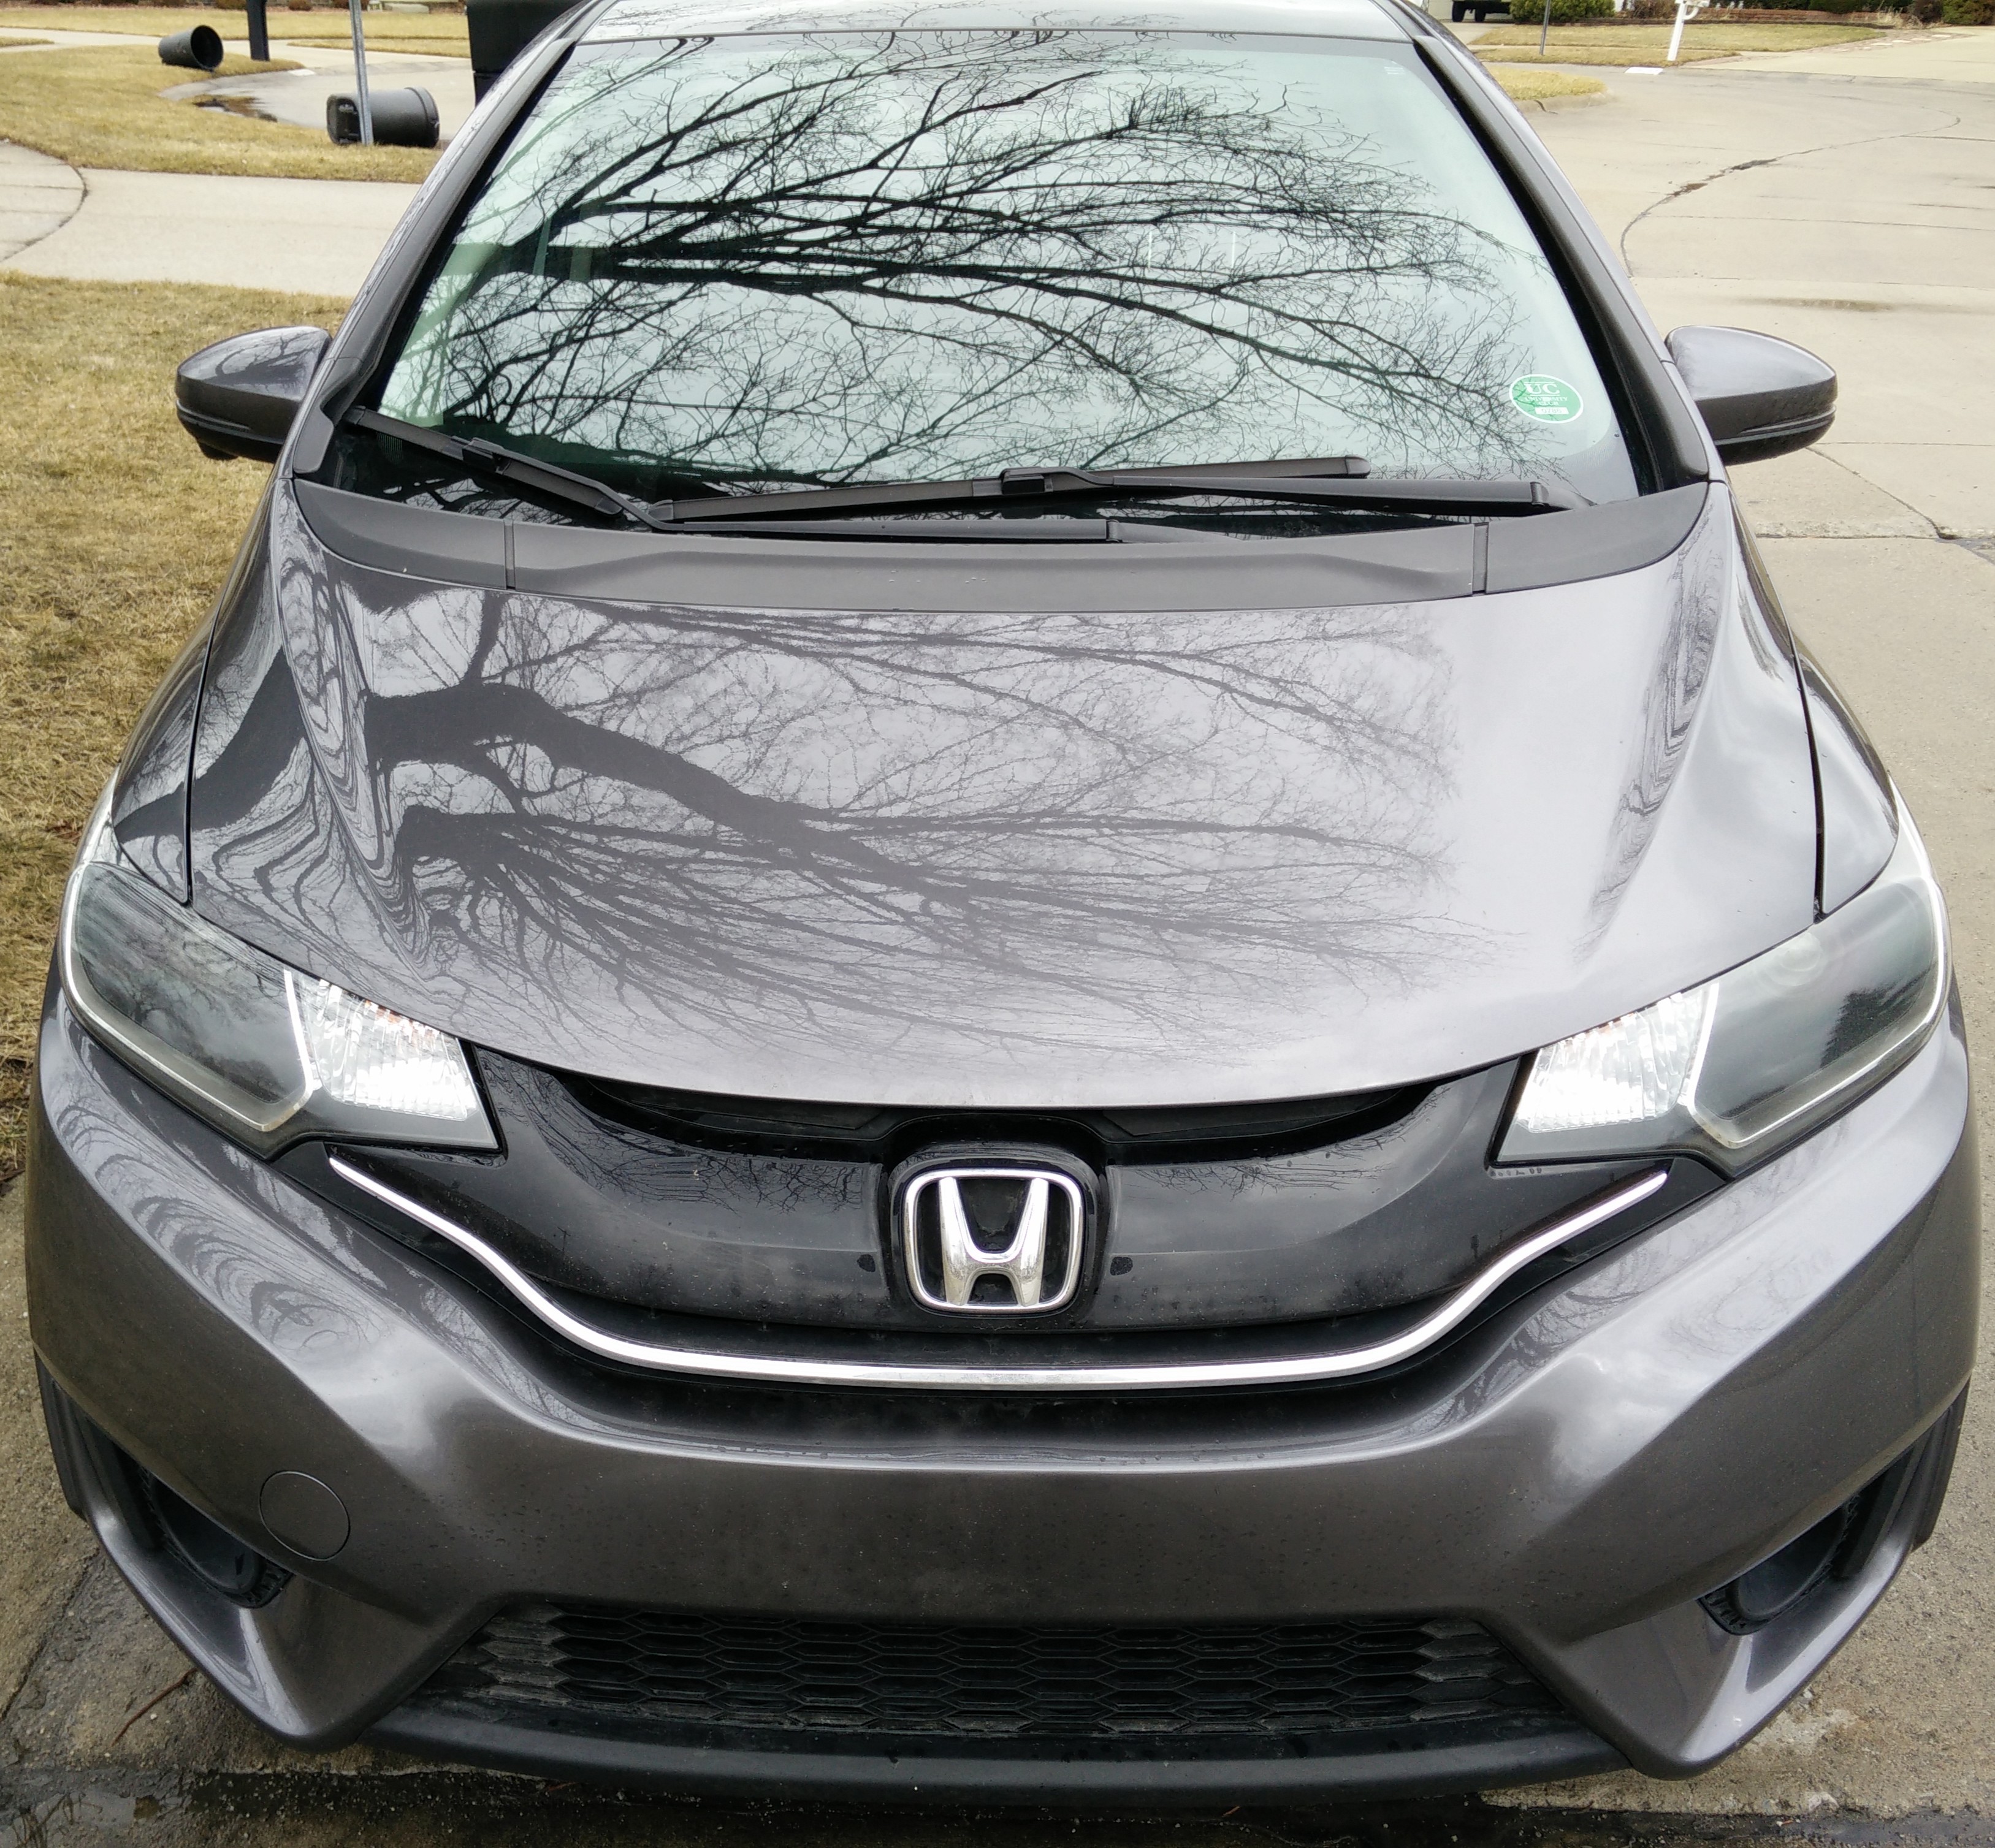
Result:
Tips:
-wear gloves
-plan for the worst (this is everyday car) so I knew that I had to get things done ASAP
-use heat gun for fasting drying of paint or oven
What you need:
- 2-3 days of free time (spring break and scheduled myself to have no work
-Copies of morimoto...same exact stuff:
- 1 can spray paint and 1 can paint promoter (optional)
- teflon tape or some sort of grease for the nut....I learned my lessons afterwards. I ran into the issue of crooked beam and stripped threads. My solution was super gluing adapter and holding + aligning the projector while they were running on the car. I had to work really really fast. Plus I was freezing my butt off out in the garage.
-your typical tools....I assume you know
-h1 hid kit with h1 relay
-h8 fogs with relay (optional)
So taking off the bumper is the easy part. There are 2 screws on the both wheel sides. 2 screws are at the bottom. 4 clips need to be removed underneath. 5 or 6 clips on the grille...didn't attach pics because it's very self-explanatory.
Painted the shrouds matte black with VHT spray paint. Use a paint promoter to make the paint stick.
There are 4 screws and 1 clip holding the headlight. They are very easy to point out.
I put the headlight in the oven at 250�F for 10 minutes. Surrounding the perimeter of the headlights are 4 screws. I wasn't afraid of being aggressive. I grabbed it from the apex part and just pulled it. I didn't do much to the clips.
After inspecting the headlight bowl I realized that it was difficult to take out due to a clip. So I used a dremel to remove the glare shield.
Spray paint the bowl matte black...
You can see below where I made the cut to the glare shield.
I don't know what people are talking about that it's hard to find ground...
First ground:
Second ground:
Ballast placement: HID + Fogs (NEW)
OLD placement for fogs: Both of which are good spots
I put the headlight back in the oven for 15 minutes screwed it in place, then reheat for another 15 minutes at 250�F. Firmly pressed on all the sides and made sure all the screws were tightened.
Result:
Tips:
-wear gloves
-plan for the worst (this is everyday car) so I knew that I had to get things done ASAP
-use heat gun for fasting drying of paint or oven
Last edited by Kdawgz; Feb 26, 2016 at 11:57 AM.
Member

Joined: Sep 2008
Posts: 190
From: Texas
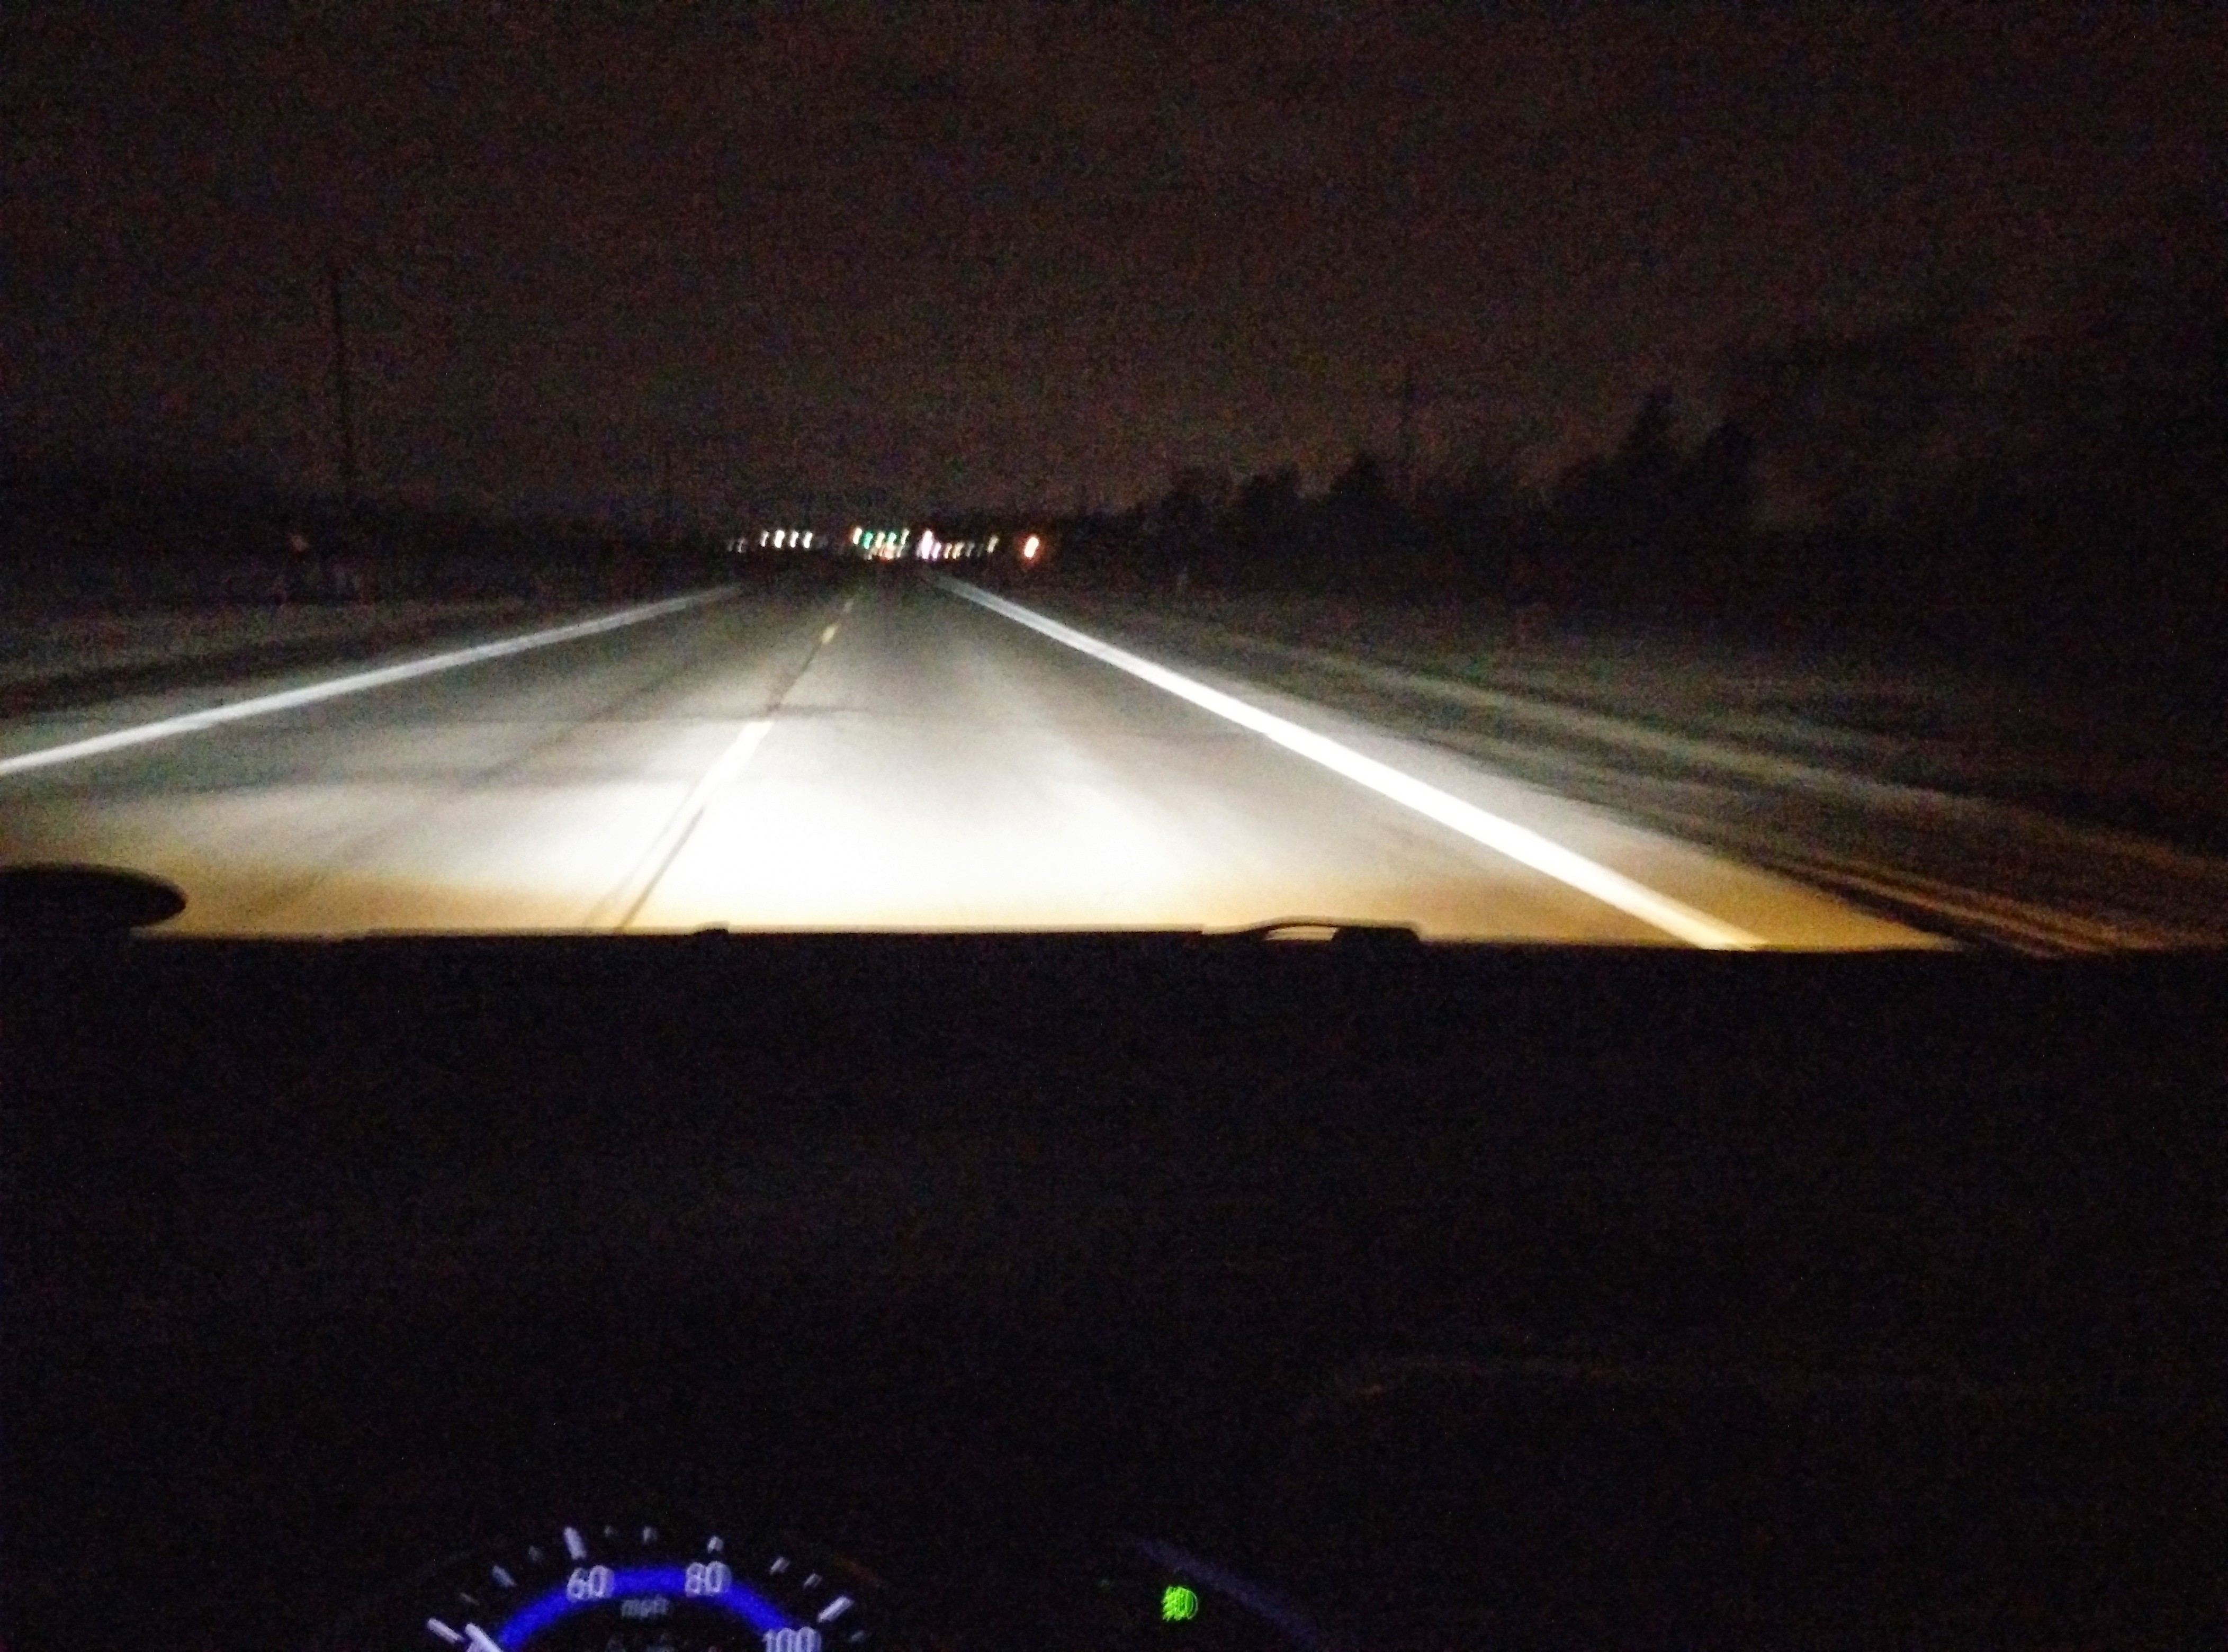
I am curious to know if this handles the low / high beam. Since the fit uses one bulb to do low / high beam, and this retrofit has replaced that bulb.
If it does would it be possible to get a distance shot at night to display the beam angle for each high and low positions? Additionally could I see the headlight installed back onto the car.
Sorry if its a lot to ask for, but thanks in advance. It does look sweet as it is at the moment
If it does would it be possible to get a distance shot at night to display the beam angle for each high and low positions? Additionally could I see the headlight installed back onto the car.
Sorry if its a lot to ask for, but thanks in advance. It does look sweet as it is at the moment

Member
Joined: May 2014
Posts: 340
From: Los Angeles, CA
Next time instead of super glue use jb kwikweld steel stick. I think they sell for $5 at Home Depot. Gives you I believe 6-15 minutes to fix your beam adjustment before it hardens, then wait like an hour to cure. Ideally u want to adjust the beams with both lights on so they don't look wonky. Best to do this at around what 25 feet away so you know where each projector is pointing at.


Member
Joined: Sep 2014
Posts: 150
From: Mankato, MN
Oh, duh. haha I guess I have D2S projectors, so mine's for H4. But should still do the same thing.
Also liked your locations for the HID ballasts. Not sure if I'll do that though, because last winter wreaked havoc on my fog ballasts (had to replace both of them, someone suggested because of the cold).
Also liked your locations for the HID ballasts. Not sure if I'll do that though, because last winter wreaked havoc on my fog ballasts (had to replace both of them, someone suggested because of the cold).


Member
Joined: Jul 2017
Posts: 61
From: MA
Yes they are. You want the H4 motorelay harness.

Thread
Thread Starter
Forum
Replies
Last Post
Jephu
2nd Gen GE8 Specific Fit Exterior Modifications & JDM Styling Sub-Forum
9
May 23, 2015 10:35 PM
smeister
Fit Interior & Exterior Illumination
135
Nov 16, 2012 05:55 PM