3rd Generation GK Specific Fit Photos & Videos Sub-Forum Threads for displaying photos and videos of the 3nd generation GK Honda Fit

2016 GK5 Blue from dantheman1689

Thread Tools
 
Search this Thread
 
  #1  
Old 05-27-2019, 07:23 PM
dantheman1689's Avatar
Member
Thread Starter
Join Date: May 2019
Location: O'side,CA
Posts: 120
2016 GK5 Blue from dantheman1689


Hello Everyone,

I just purchased my 2016 GK5 last week and have been wanting a Fit for the past few years. I’m looking forward to seeing everyone’s progress and reading their thoughts. Here are some photos of the basic stuff I’ve done so far. I appreciate any thoughts/recommendations even if you think they may be a bit harsh. This is my first real sort of project and I can use any advice you think might help.

Thanks,

Daniel


Last edited by dantheman1689; 05-30-2019 at 03:10 AM.
  #2  
Old 05-27-2019, 09:36 PM
dantheman1689's Avatar
Member
Thread Starter
Join Date: May 2019
Location: O'side,CA
Posts: 120
Door Sills/Scuff Guards

Forgot about these I also added:

Amazon Amazon


  #3  
Old 05-28-2019, 10:18 AM
marmaladedad's Avatar
Member
iTrader: (3)
Join Date: Mar 2018
Location: South Pasadena, CA
Posts: 874
Welcome! That is a great color.
 
  #4  
Old 05-28-2019, 04:51 PM
GolNat's Avatar
Member
5 Year Member
iTrader: (1)
Join Date: Jun 2015
Location: Delaware
Posts: 1,384
Welcome to the forum and great find!!
 
  #5  
Old 05-29-2019, 01:11 PM
LilPuttputt's Avatar
Member
Join Date: May 2018
Location: Los Angeles, CA
Posts: 28
Welcome!
Planning to do any major mods soon?
 
  #6  
Old 05-30-2019, 03:19 AM
dantheman1689's Avatar
Member
Thread Starter
Join Date: May 2019
Location: O'side,CA
Posts: 120
Originally Posted by LilPuttputt
Welcome!
Planning to do any major mods soon?
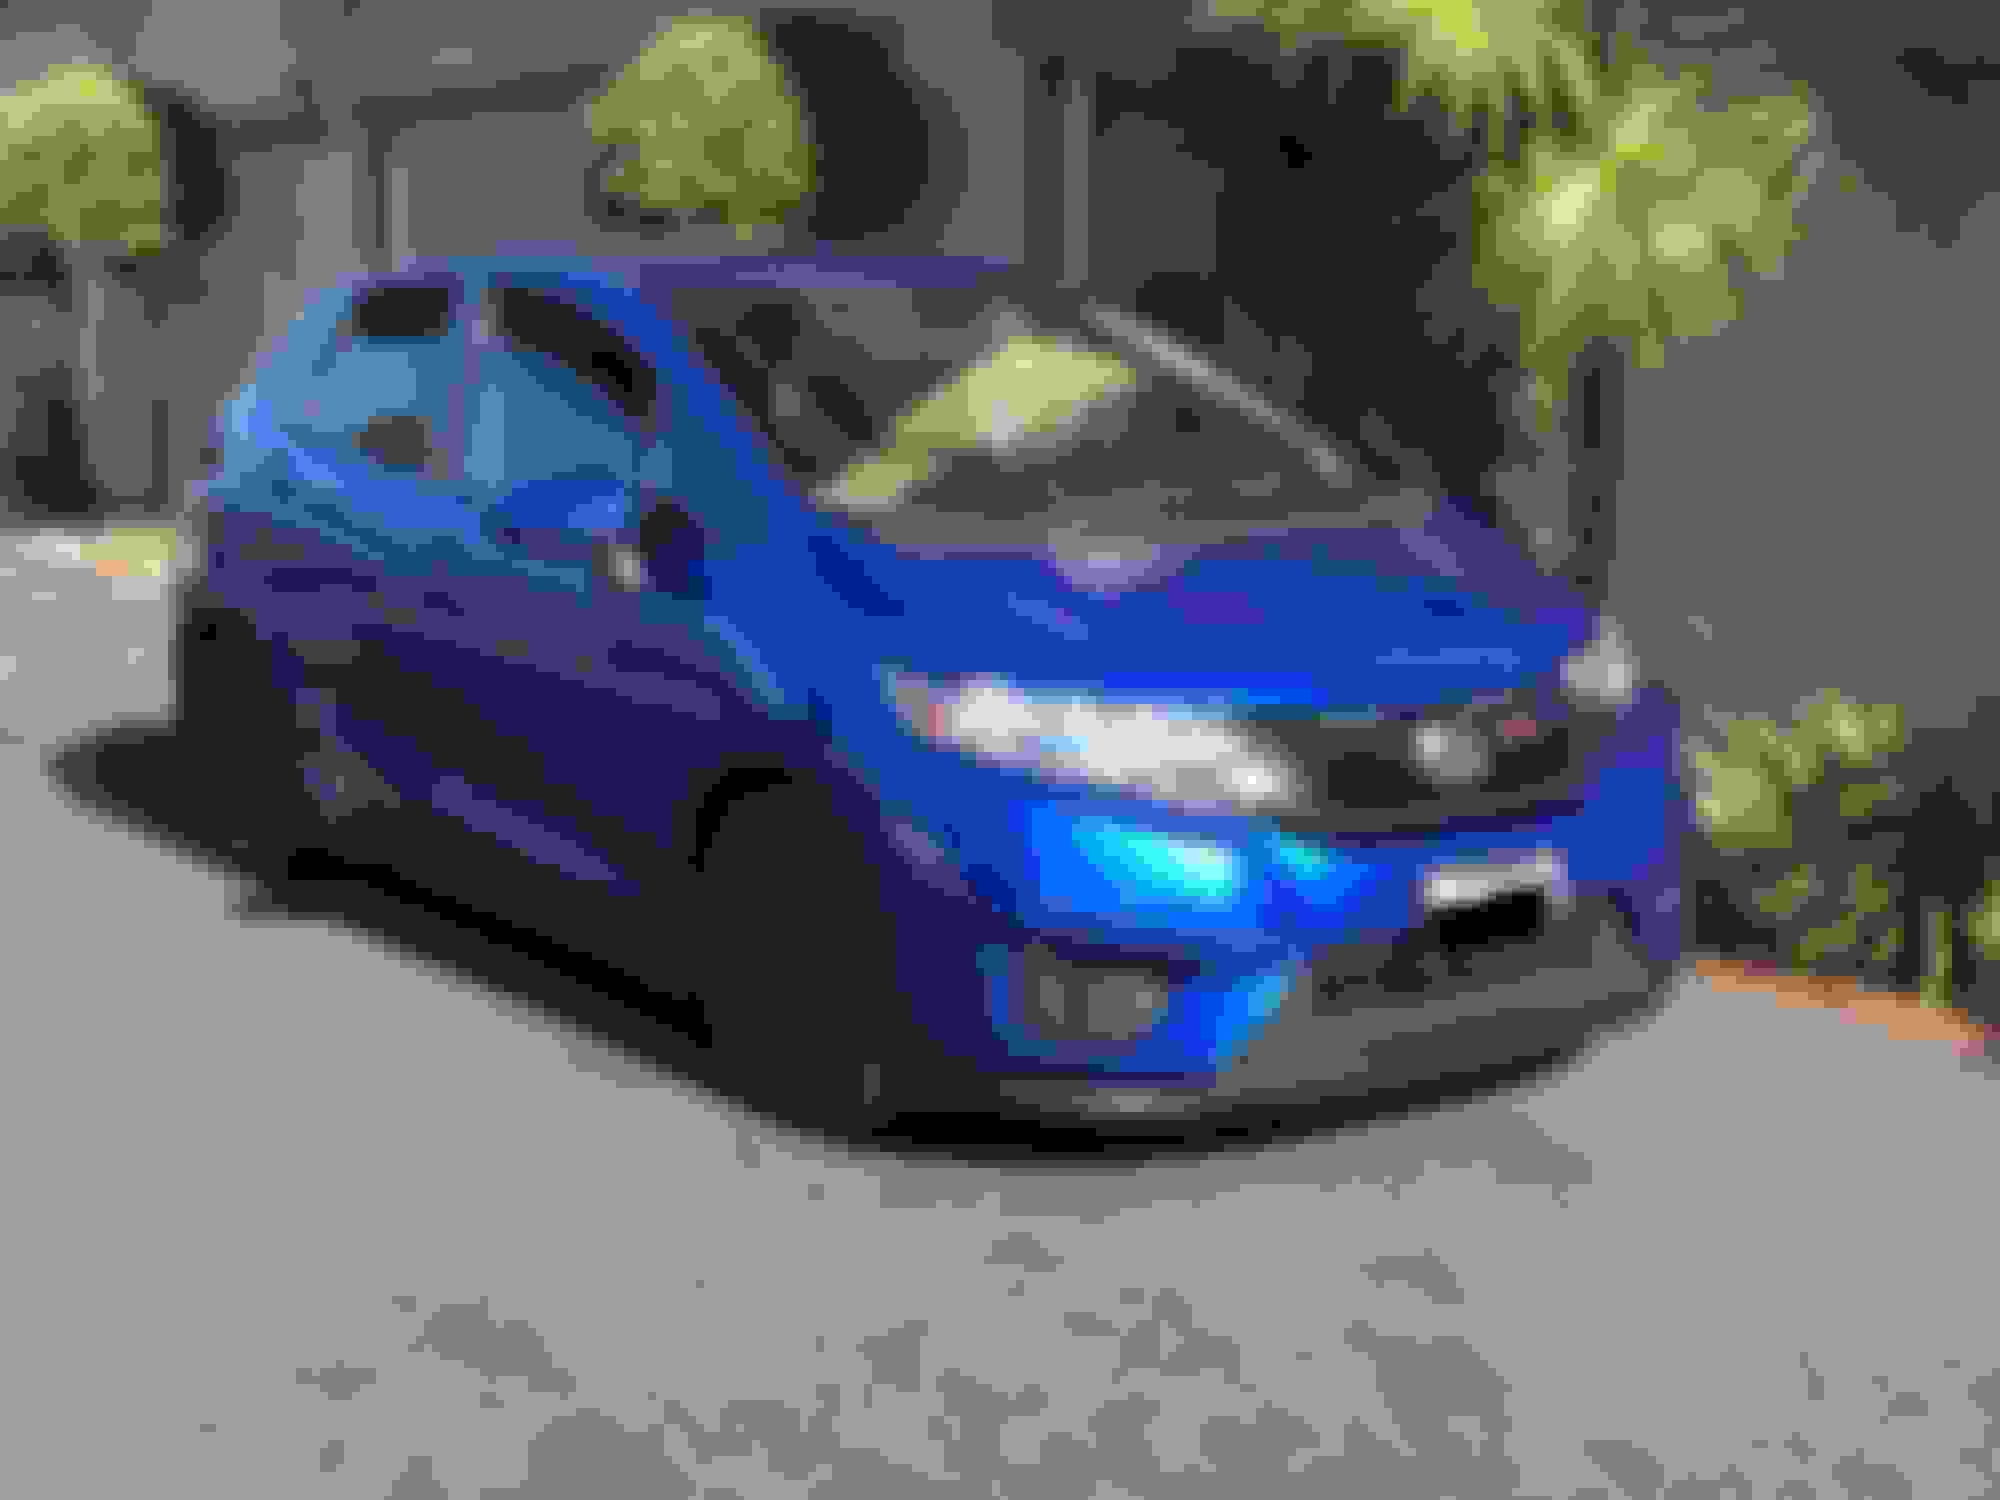
Thank you everyone for the kind words! At the moment I can’t think of any specific major mods. I’m not a car guy but I really love this car and want to learn about what I can do with it. This site seems like a great place to pick up some knowledge and advice.

Right now, I’m considering getting a oil catch can and vinyl wrapping the rear reflectors. This is going to be my commuter so I want to make it last but look kind of cool even if it comes off as “poser-ish”.

I’ll definitely be spending time reading as much as I can but if anyone wants to throw some ideas or give some guidence I’m all ears.

Thanks,

Daniel
 
  #7  
Old 06-03-2019, 03:08 AM
dantheman1689's Avatar
Member
Thread Starter
Join Date: May 2019
Location: O'side,CA
Posts: 120
Just added OEM splash guards. The rear were a bit of a pain and I wonder why they went this route with how to add them but oh well.

 
  #8  
Old 06-08-2019, 05:39 PM
dantheman1689's Avatar
Member
Thread Starter
Join Date: May 2019
Location: O'side,CA
Posts: 120
Wrapped the rear reflectors

Please let me know what you guys think. I personally wish they had not added these to the car as they don’t do anything. My advice is if you can do this yourself do it and be careful of the weather stripping around the reflectors as they are very brittle.

 
  #9  
Old 07-14-2019, 03:12 PM
dantheman1689's Avatar
Member
Thread Starter
Join Date: May 2019
Location: O'side,CA
Posts: 120
Side Skirts DIY

Could t find the right style of side skirts on here or ebay for the price I was looking for so decided to make some myself. Hardest part for me was finding the right size of materials. Links are below for what you’ll need but here is sort of a step by step process:

1. Cut the seal to about the size you need which should be around 6 feet of course leaving some room just in case. Remove the adhesive cover to the rubber seal and apply the 3M tape to the exposed adhesive tape. Obviously do not remove the other side of the 3M tape cover until ready to apply to your car.

2. Use the specialized 3M rubber glue and glue the 1 inch strip to the non-adhesive side of the rubber seal. I suggest dots or thin streams of the glue. It’s really runny and excess can get on your gloves.

3. Let it sit. I let mine sit glued/taped together overnight before applying it to my car.

4. Clean the area you’re applying the skirt to very well. There is a lot of dirt and grime that gets stuck there. i scrubbed with a towel and water then went back with a light amount of soap. Then went back again with water. Let dry.

5. Apply alcohol and let dry.

6. You MUST use the 3M primer before attaching the skirt. Be careful as one pack will be good enough for one side of the car. So you only need two packs. The primer is pretty strong so I wore a painters mask. Peel back the top of the primer packet gently and you will see a yellow sponge. Do NOT take the sponge out of the packet or squeeze the packet too much while opening. Take some scissors if needed to cut off the top of the packet seal so you have the top half of the sponge exposed. Then gently run the sponge against the area you’re applying the 3m tape. It won’t look like anything is happening but it is. About halfway through the area I was apply the skirt and went ahead and squeezed the packet to be sure the sponge has some more primer to apply. Towards the end of the area I was going to put the side skirt I went ahead took the sponge out all together and used what primer appeared to be left. You have to let this sit for at least 90 seconds. Then you can apply the skirt.

7. When applying the skirt you must be careful since the side of the Fit is not exactly straight. I used the edge of the car as my reference and noticed that you have to apply the skirt maybe about 4-5 inches at a time starting from the front of the car back. Peak back the tape only as you need it and not all at once. Cut whatever excess you have left over at the end and go back and give the skit some more pressure.


Amazon Amazon


Amazon Amazon


Amazon Amazon


Amazon Amazon


Amazon Amazon


  #10  
Old 07-14-2019, 05:42 PM
Join Date: Oct 2015
Location: Ontario, CANADA
Posts: 1,326
Nice. Unless I missed it, I believe this is the first that I've seen a DIY side skirt for the GK.
 
  #11  
Old 07-15-2019, 02:50 AM
dantheman1689's Avatar
Member
Thread Starter
Join Date: May 2019
Location: O'side,CA
Posts: 120
Originally Posted by Action Jackson
Nice. Unless I missed it, I believe this is the first that I've seen a DIY side skirt for the GK.
Wow! Thank you so much. That feels great to know that. The skirt is holding up really well. Drove the car about 180 miles today and no issues. It’s so interesting that there isn’t really any “L” shaped skirts or seals out there. They’re all made at really wide angles. I looked at the forum on here for JDM kits which was super helpful but really didn’t want to try to modify the parts let alone the car since I don’t have many tools. Idk if you’ve looked down at that part of the car but it’s interesting. It has a weird paint texture, different grooves and it bends close to the front. All of this makes the decision as to where to put the skirt a bit difficult.

I really appreciate you leaving that comment. I’ll post an update if it doesn’t hold up.

Next up is deciding to do something similar with a front lip OR commit to a garage V lip I found on ebay for $75.00. With these side skirts I really only spent about $40.00.
 
  #12  
Old 07-15-2019, 04:34 PM
evilchargerfan's Avatar
Member
5 Year Member
iTrader: (1)
Join Date: Apr 2018
Location: san diego
Posts: 2,615
neat, i like it. gk5's can def use more love in the sideskirts dept
 
  #13  
Old 07-16-2019, 04:49 AM
dantheman1689's Avatar
Member
Thread Starter
Join Date: May 2019
Location: O'side,CA
Posts: 120
Originally Posted by evilchargerfan
neat, i like it. gk5's can def use more love in the sideskirts dept
Thank you! I feel honored that you commented that let alone saw this. You’re right, they really could use some more in that area. Had I not gone with the splash guards I think I could have gotten away with a 2 inch skirt.

Next up is the rear diffuser and what to do with that front lip. The garage V lip is so suttle and nice but with this rubber seal success I wonder what else I could possibly do without spending more than $50.

The front lip area is even more awkward and narrow. I’ll post an update on what i’m able to put together.
 
  #14  
Old 07-16-2019, 02:47 PM
[LegenD]'s Avatar
Member
Join Date: Oct 2017
Location: GTA, Ontario
Posts: 157
The splash guards look nice, especially on the darker color. I was thinking about the rear guards, but it looked a bit tedious (as you pointed out) for something I wasn't 100% set on (decided they stand out too much on a white Fit). I think they add some nice grounding in the rear, especially on the USDM sans-flare rear bumper. I've seen some painted guards in Japan which is really cool, but I imagine they chip very easily. That being said, clever take on the custom side skirt
 
  #15  
Old 07-17-2019, 05:51 PM
dantheman1689's Avatar
Member
Thread Starter
Join Date: May 2019
Location: O'side,CA
Posts: 120
Originally Posted by [LegenD]
The splash guards look nice, especially on the darker color. I was thinking about the rear guards, but it looked a bit tedious (as you pointed out) for something I wasn't 100% set on (decided they stand out too much on a white Fit). I think they add some nice grounding in the rear, especially on the USDM sans-flare rear bumper. I've seen some painted guards in Japan which is really cool, but I imagine they chip very easily. That being said, clever take on the custom side skirt

Thank you! I like them for that same reason. I don’t want to buy a body kit so the guards add that effect a tiny bit. Painted would be cool but I agree about the chipping. Thanks for your compliment on the skirt. I think a white fit would look good with black/grey skirts/lip. Im still trying to find the most cost efficient way to build a front lip. The challenge is that the front bumper has some unique edges rather than the slight curve on the fit’s sides.

I’m doing my research but if anyone has any advice I’m all ears. Really trying to spend less than $50 on materials. That might sound too cheap but I got the skirts done for less than that and I have a lot of the bonding materials left over so all I need is the rubber/plastic for the lip.
 
  #16  
Old 07-27-2019, 08:53 PM
dantheman1689's Avatar
Member
Thread Starter
Join Date: May 2019
Location: O'side,CA
Posts: 120
DIY Front Lip

Okay, so this didn’t came out as well as i’d like but i think it looks pretty good for a start. I spent way more time on this than I expected but I didn’t like the front lips available and the one I did like was going to cost too much to ship, so here we are.


Below are the materials I purchased from Amazon. I basically followed the same technique for application as my sideskirts. Clean the area of application thoroughly before sticking on. I didn’t bolt/screw in anything of the lip.


I started off building the center piece to fill in the gap in the center of the bumper. The center piece measured almost 39”.


Below are some pictures of the measurements. The stock bumper is roughly 8 feet curved. It’s hard to say exactly because of the rubber material’s ability to stretch.


The big aha moment was that the bottom curves of the bumper were easy to fill in by bending the rubber strip. At first this seemed like the most daunting part of application but it turned out to make the lip wrap around even better. Please let me know your thoughts, I’m a big boy so I can take it.


3M 4298 Adhesion Promoter, 3...
Amazon Amazon


3M Scotch-Weld 25204 Plastic and...
Amazon Amazon


3M Scotch 5952 VHB Tape: 1 in. x...
Amazon Amazon


Adhesive Sound Proof Closed Cell...
Amazon Amazon


Neoprene Rubber Sheet, Rolls, Strips 1/8" (.125") Thick x 3" Wide x 10' Long Solid Rubber
Amazon Amazon


  #17  
Old 07-28-2019, 12:21 PM
BUCARO's Avatar
Member
Join Date: May 2019
Location: united states
Posts: 67
Originally Posted by dantheman1689
Okay, so this didn’t came out as well as i’d like but i think it looks pretty good for a start. I spent way more time on this than I expected but I didn’t like the front lips available and the one I did like was going to cost too much to ship, so here we are.


Below are the materials I purchased from Amazon. I basically followed the same technique for application as my sideskirts. Clean the area of application thoroughly before sticking on. I didn’t bolt/screw in anything of the lip.


I started off building the center piece to fill in the gap in the center of the bumper. The center piece measured almost 39”.


Below are some pictures of the measurements. The stock bumper is roughly 8 feet curved. It’s hard to say exactly because of the rubber material’s ability to stretch.


The big aha moment was that the bottom curves of the bumper were easy to fill in by bending the rubber strip. At first this seemed like the most daunting part of application but it turned out to make the lip wrap around even better. Please let me know your thoughts, I’m a big boy so I can take it.


3M 4298 Adhesion Promoter, 3... https://www.amazon.com/dp/B07MVK1PG6...p_mob_ap_share


3M Scotch-Weld 25204 Plastic and... https://www.amazon.com/dp/B072Q9DBB5...p_mob_ap_share


3M Scotch 5952 VHB Tape: 1 in. x... https://www.amazon.com/dp/B01BU7038A...p_mob_ap_share


Adhesive Sound Proof Closed Cell... https://www.amazon.com/dp/B07M83QYXT...p_mob_ap_share


Neoprene Rubber Sheet, Rolls, Strips 1/8" (.125") Thick x 3" Wide x 10' Long Solid Rubber https://www.amazon.com/dp/B016C5G33E..._iRopDbP8FPZJ9


Looks really good
Much agressive look
 
  #18  
Old 07-28-2019, 10:05 PM
dantheman1689's Avatar
Member
Thread Starter
Join Date: May 2019
Location: O'side,CA
Posts: 120
Originally Posted by BUCARO
Looks really good
Much agressive look
Thank You!
 
  #19  
Old 07-29-2019, 09:42 AM
evilchargerfan's Avatar
Member
5 Year Member
iTrader: (1)
Join Date: Apr 2018
Location: san diego
Posts: 2,615
nice work, that came out pretty cool
 
  #20  
Old 08-04-2019, 06:08 AM
ROTTBOY's Avatar
Super Moderator
Join Date: Mar 2014
Location: Hawaii: relocated to Western Canada Sept, 2015
Posts: 1,116
Excellent results!!! This community appreciates your efforts and sharing.
Keep posting your progress.


Quick Reply: 2016 GK5 Blue from dantheman1689


All times are GMT -4. The time now is 10:01 PM.