When you click on links to various merchants on this site and make a purchase, this can result in this site earning a commission. Affiliate programs and affiliations include, but are not limited to, the eBay Partner Network.
Just wanted to document my story so far and contribute some things I've learned. I live in the island of Puerto Rico and this is my first time getting a new car. After doing lots of research and going to a few dealers I decided that this was the car I wanted. Had a bad experience with the dealer, the lane watch camera was not aligned and the dealer had no idea what to do but thankfully searching this forum I was able to figure it out and align it my self. Putting aside all the quality issues including the misaligned bumper and paint issues I must say I love my fit!
So here are the things I've done so far:
*Body side molding
*30% tint all over
*Full LED conversion (Interior and Exterior)
*All weather Mats
*Cargo Tray
*Installed Sport Pedals
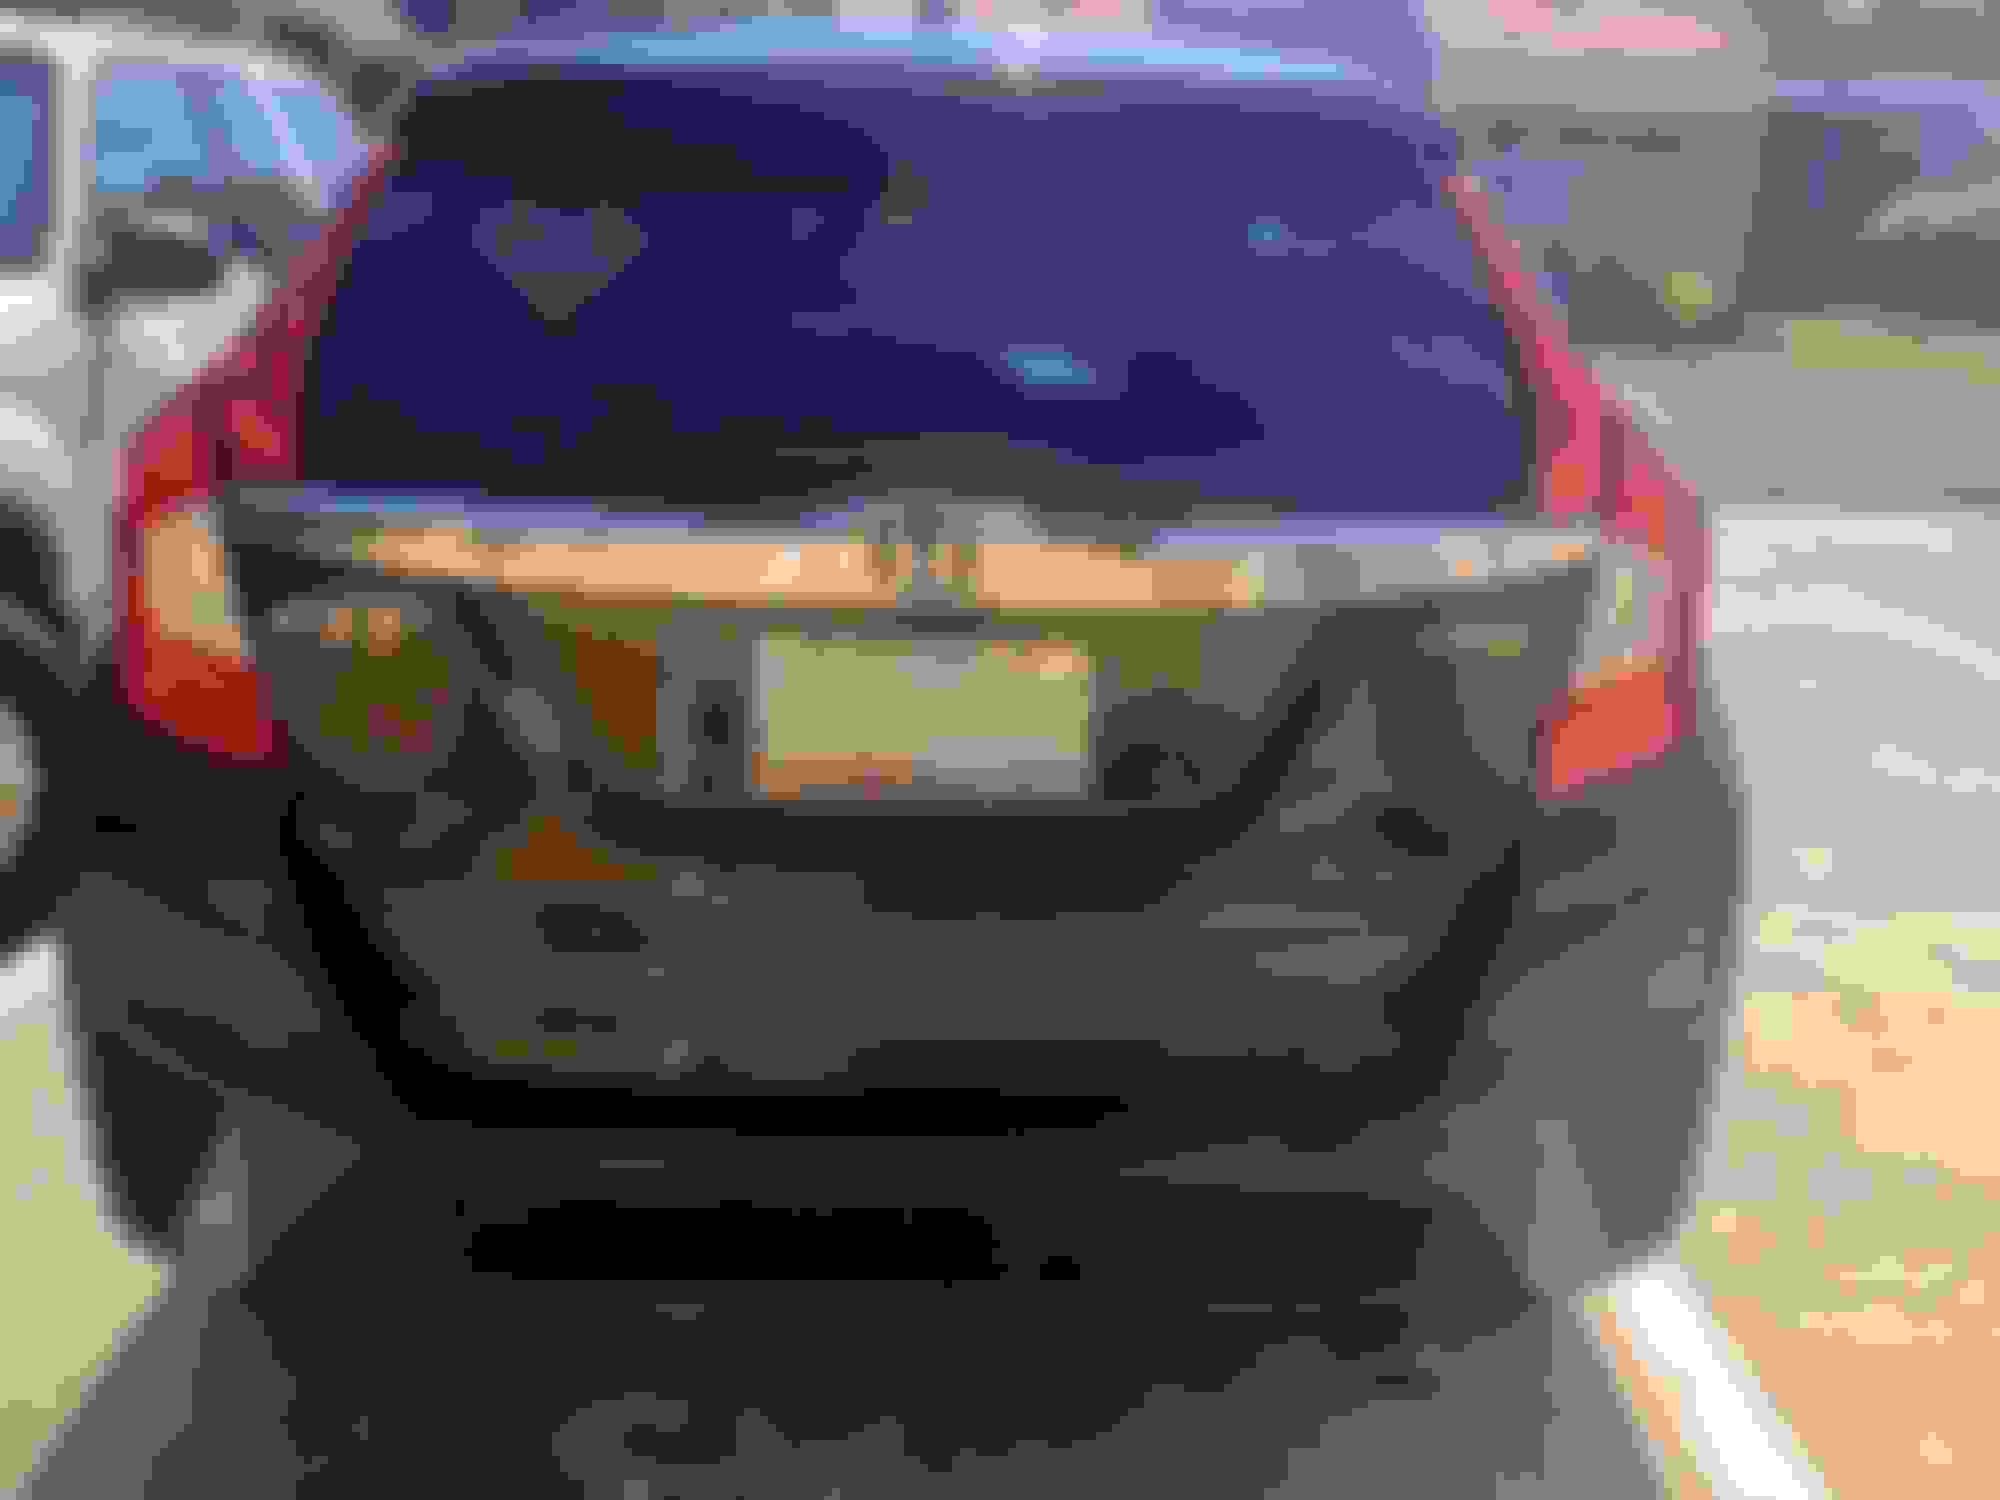
*Replaced the ugly chrome with the LX black front and rear garnish
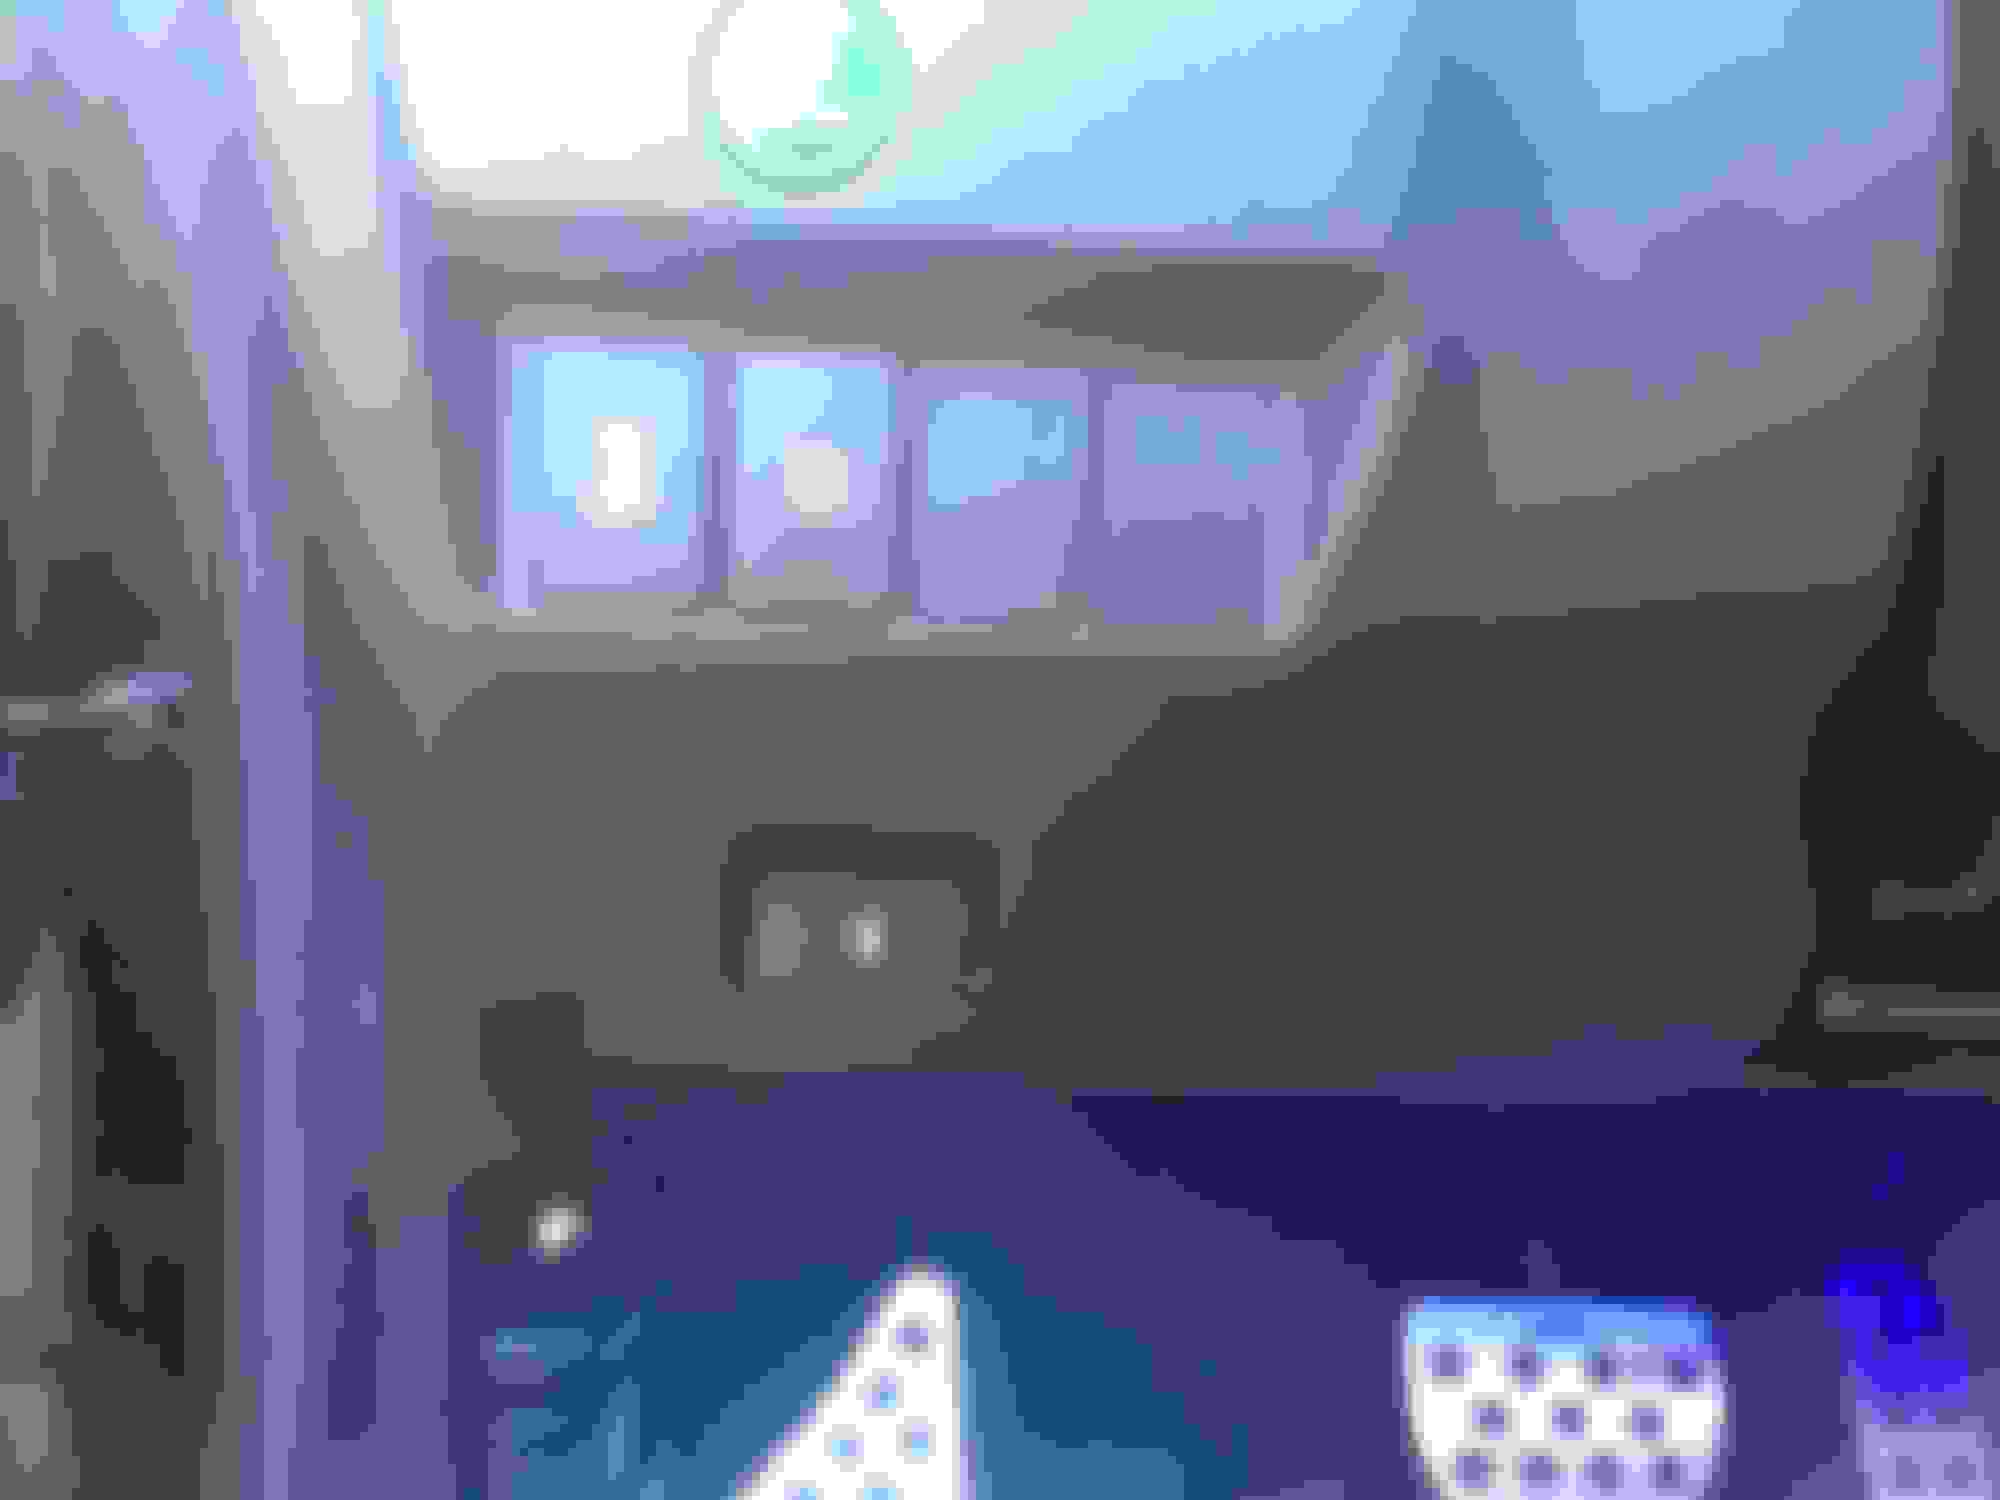
*Installed DIY LED footwells in front and back
*Installed an OEM switch to control the LED footwells
*Installed China LED doorsills
*Debadged it
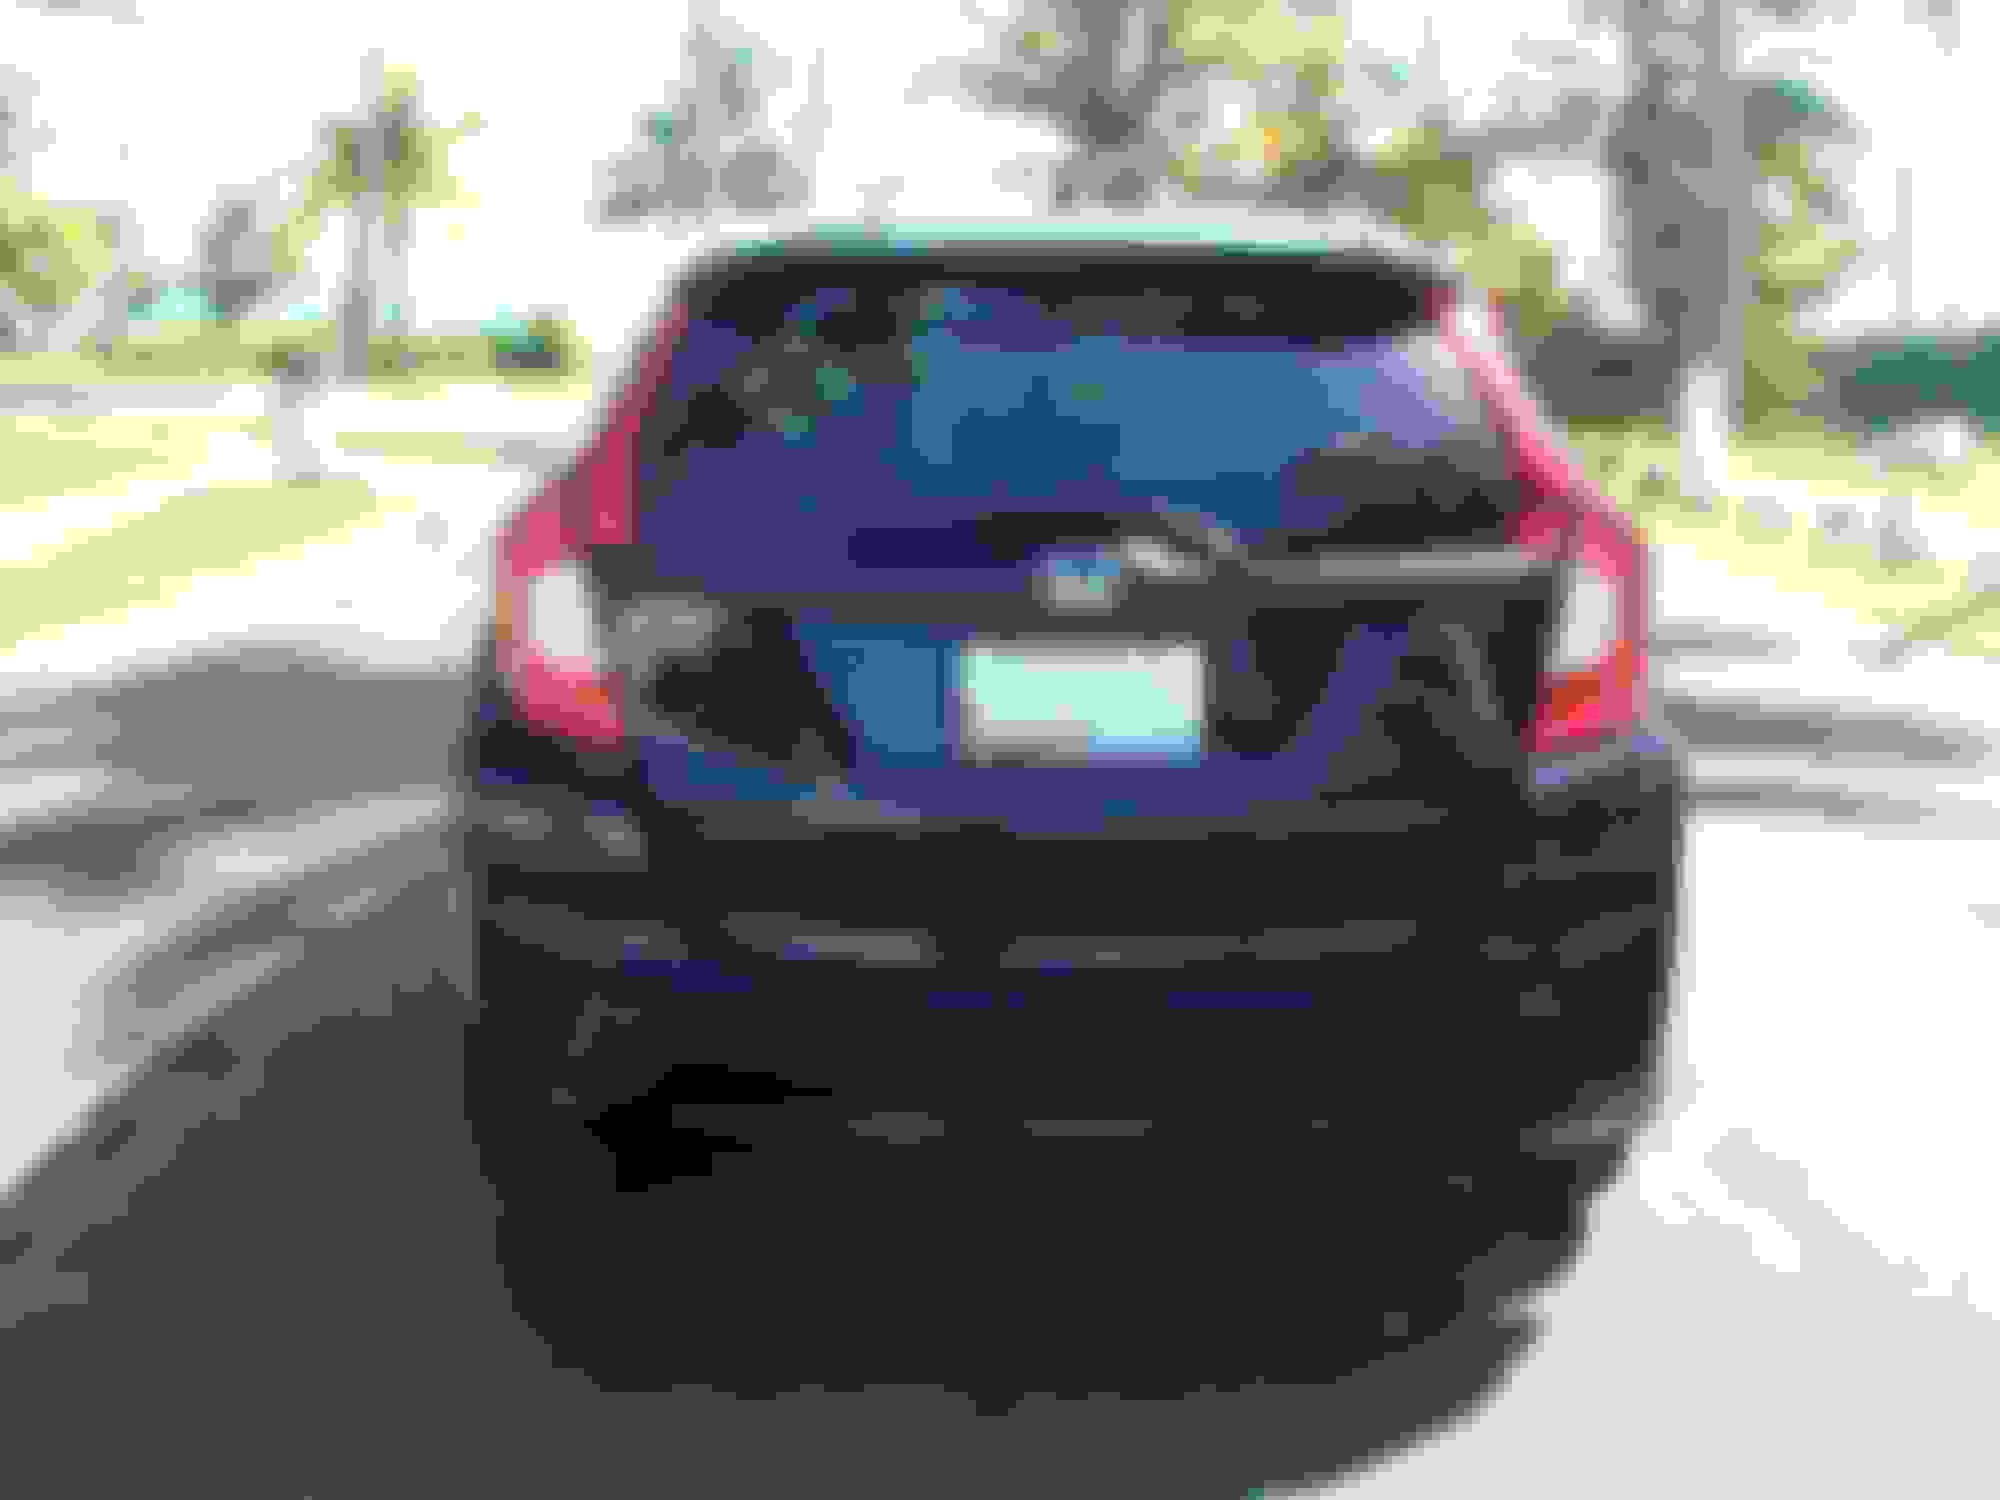
*Added a cheap muffler tip
*Installed Window visors
*Swapped antenna with a mini one
*Did full paint correction
*Applied Carpro's CQUARTZ paint protection
*Install leather steerig wheel cover
*Installed leather shift knob
I still plan on getting:
*HKS exhaust
*Moon roof visor
*LED pillar lights
*Dash Cam
*Seat Covers
Here are some pictures:
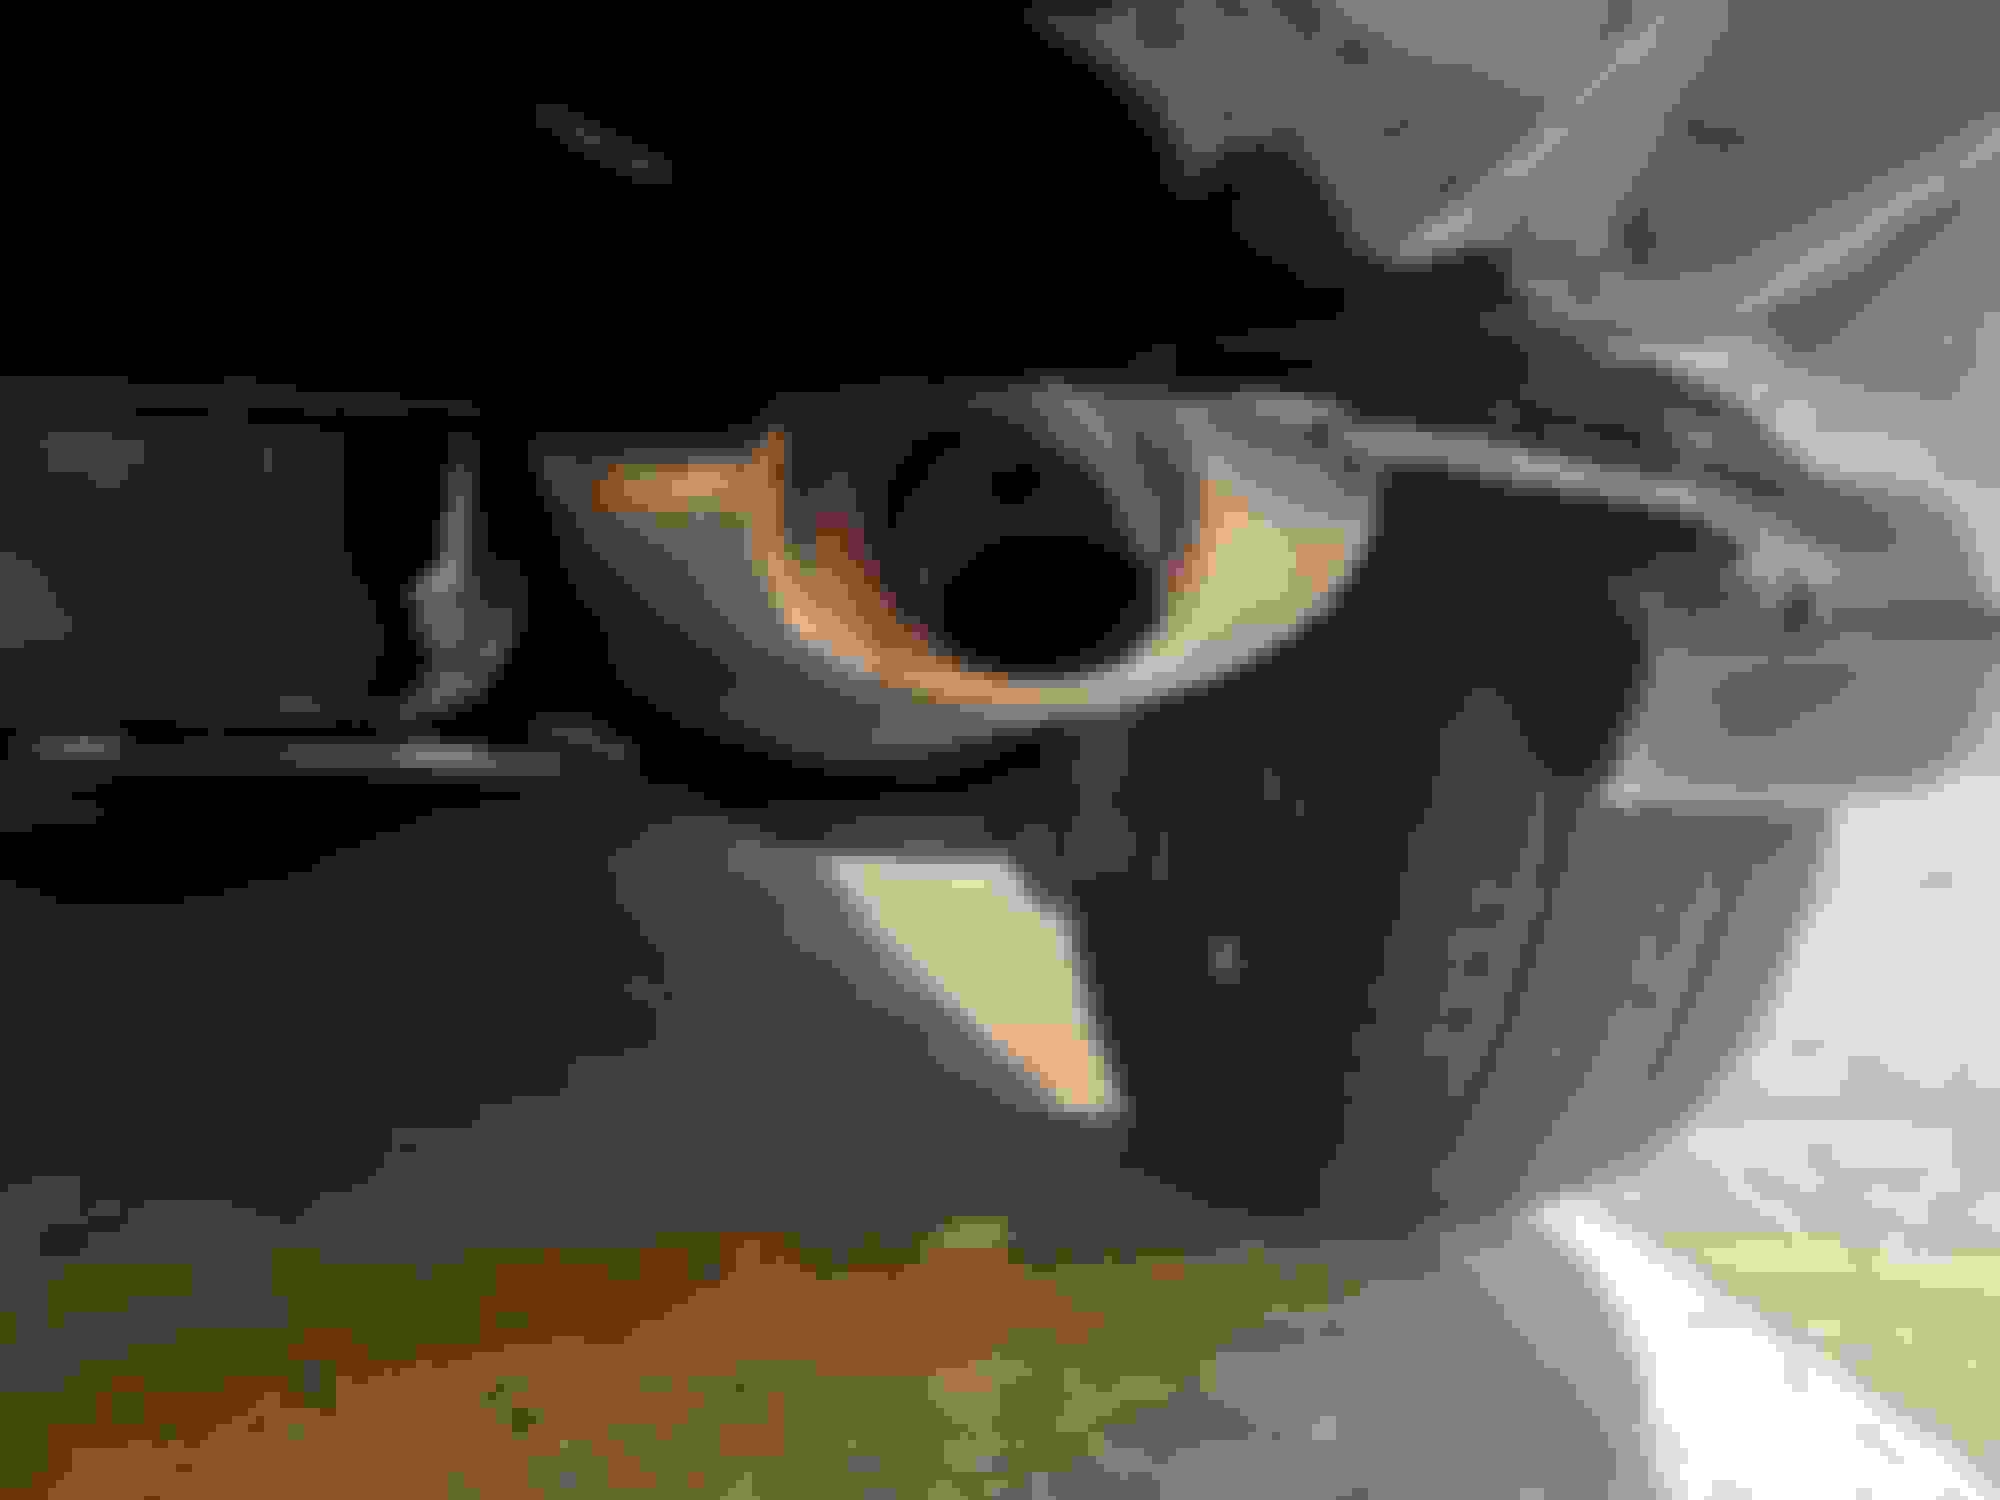
Exhaust
Exhaust Painted
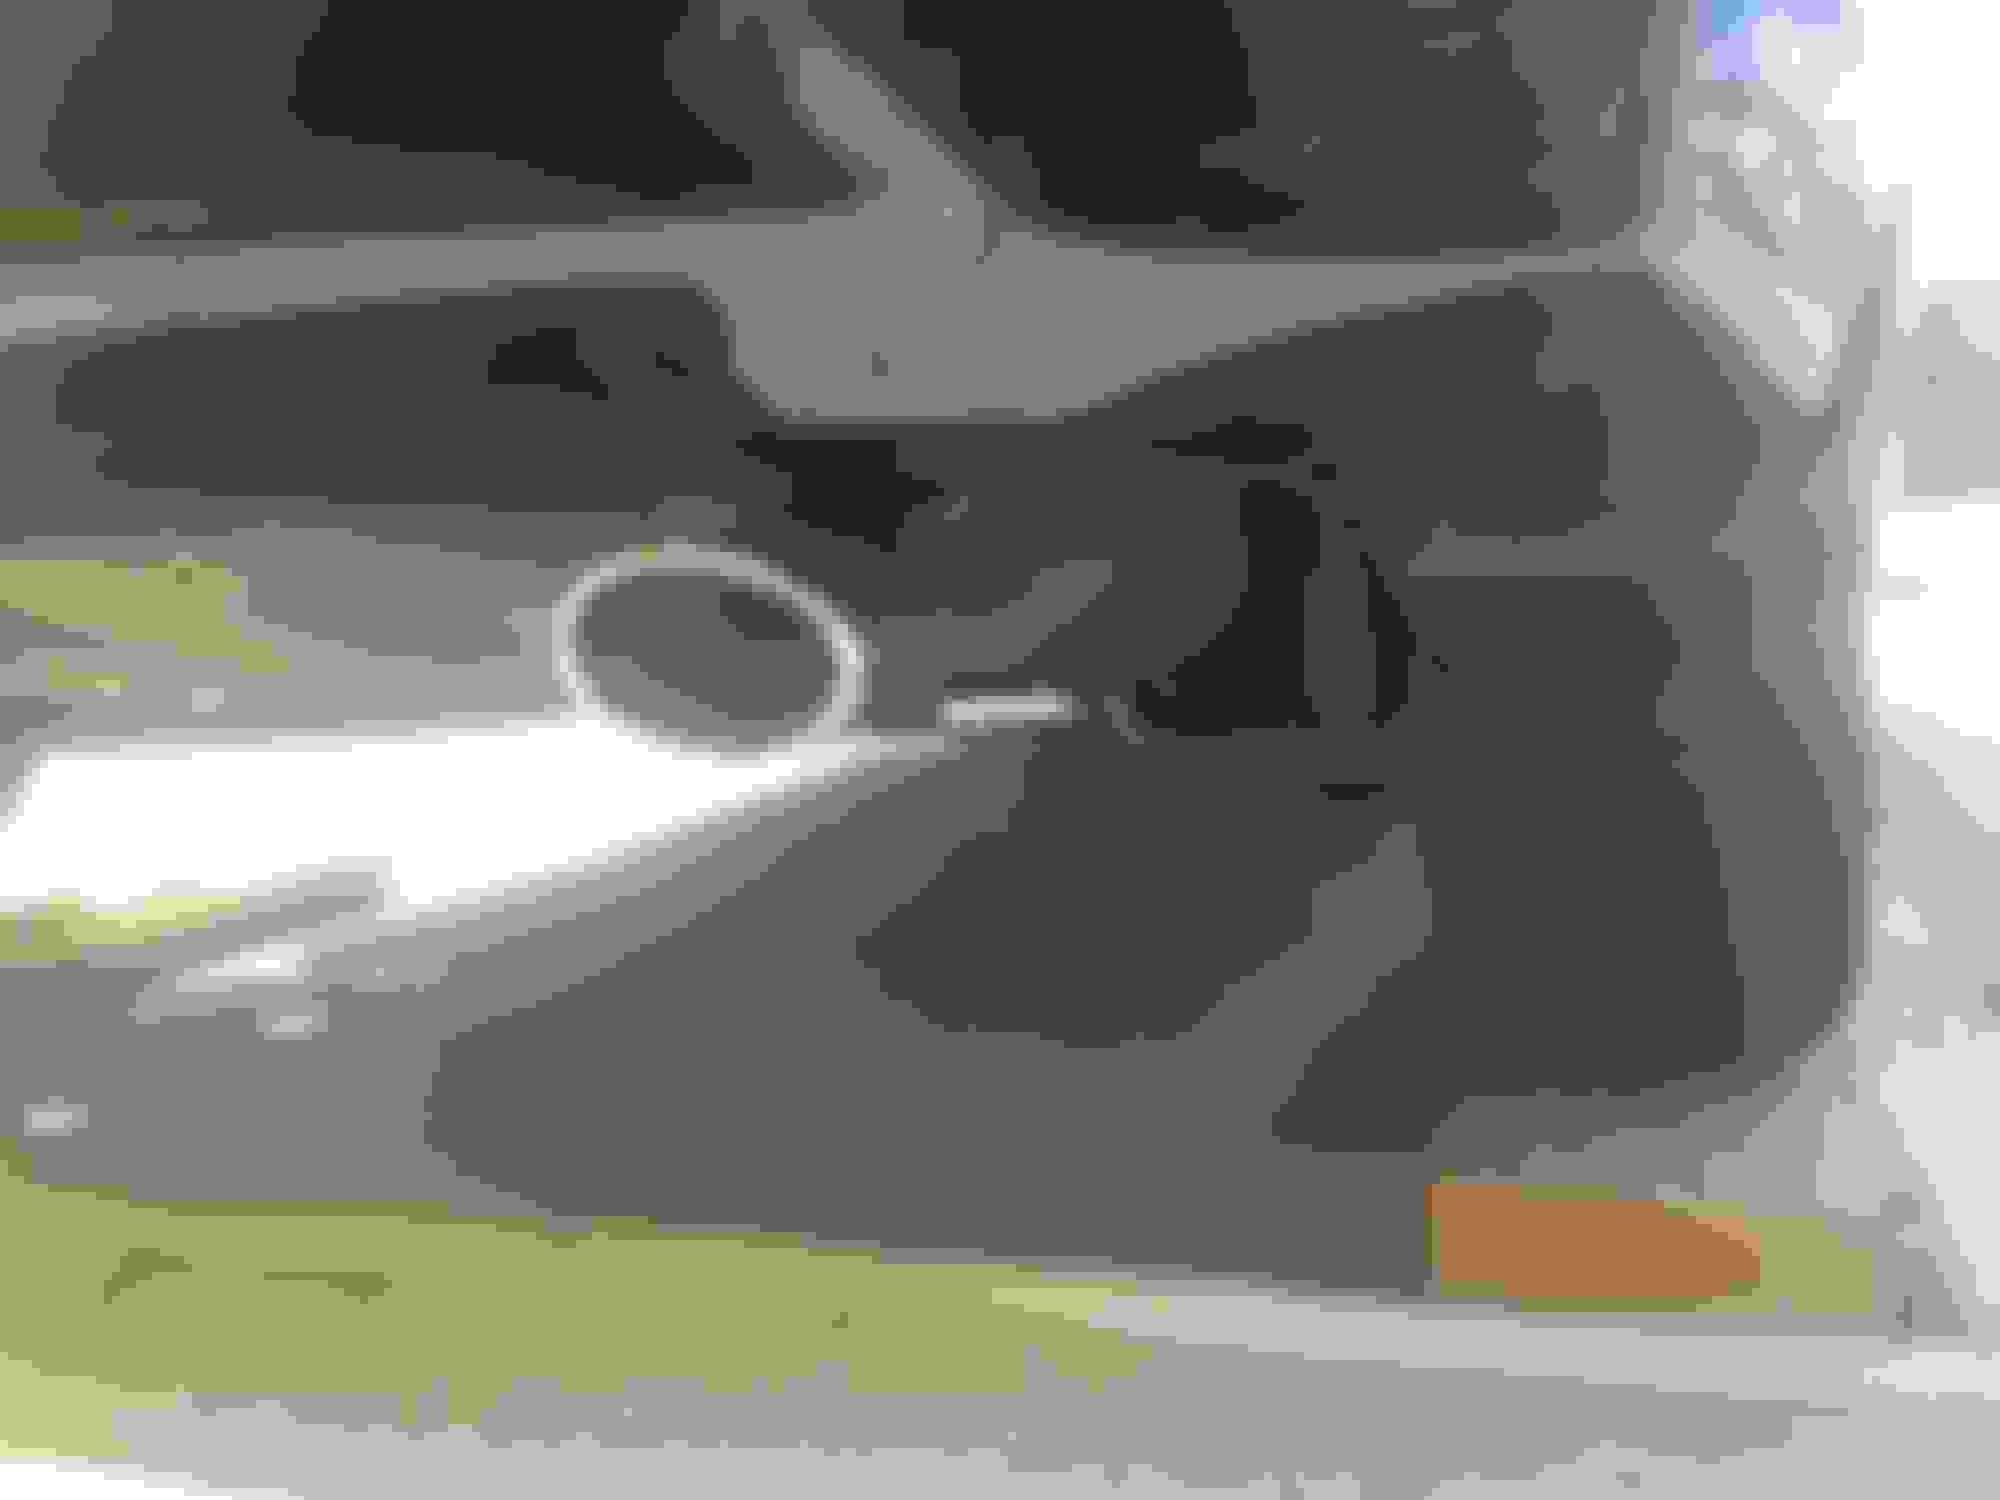
Added Tip
LED Door Sills from china
They came with a plug for the dome pins!!
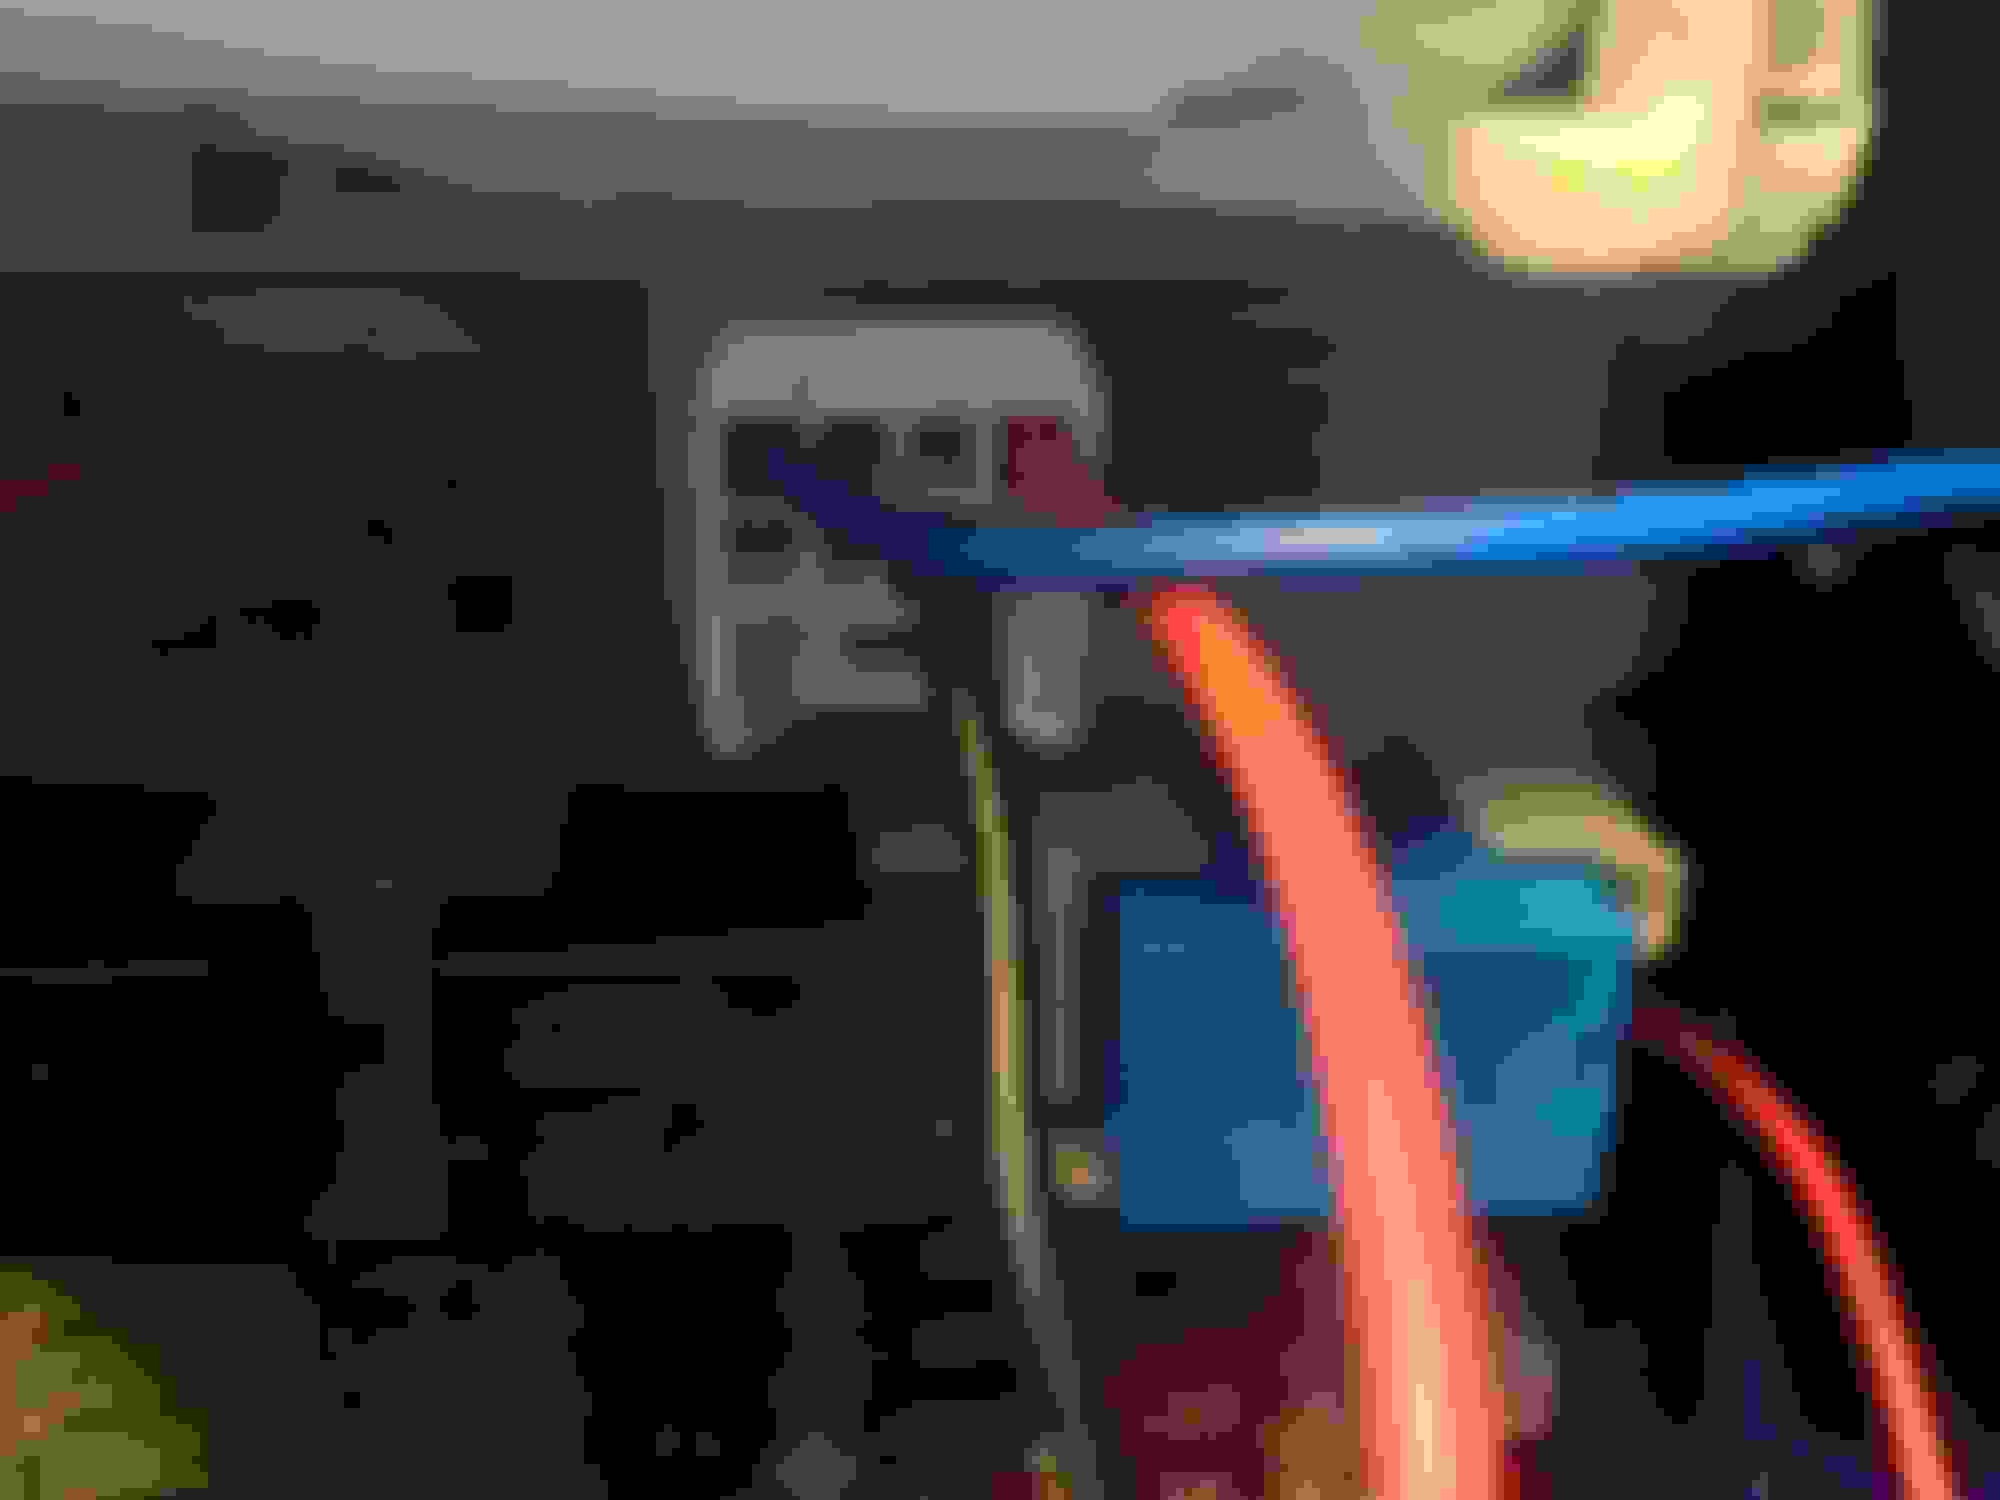
Illumination Switch Pins
Connector for Switch
Illumination Switch, not a perfect fit but works!
Finished Installing Door Sills
Will try to getter a better quality pic
before
after debadged and plasti dipped chrome piece
50/50 Paint correction
50/50 Paint Correction
After Paint correction
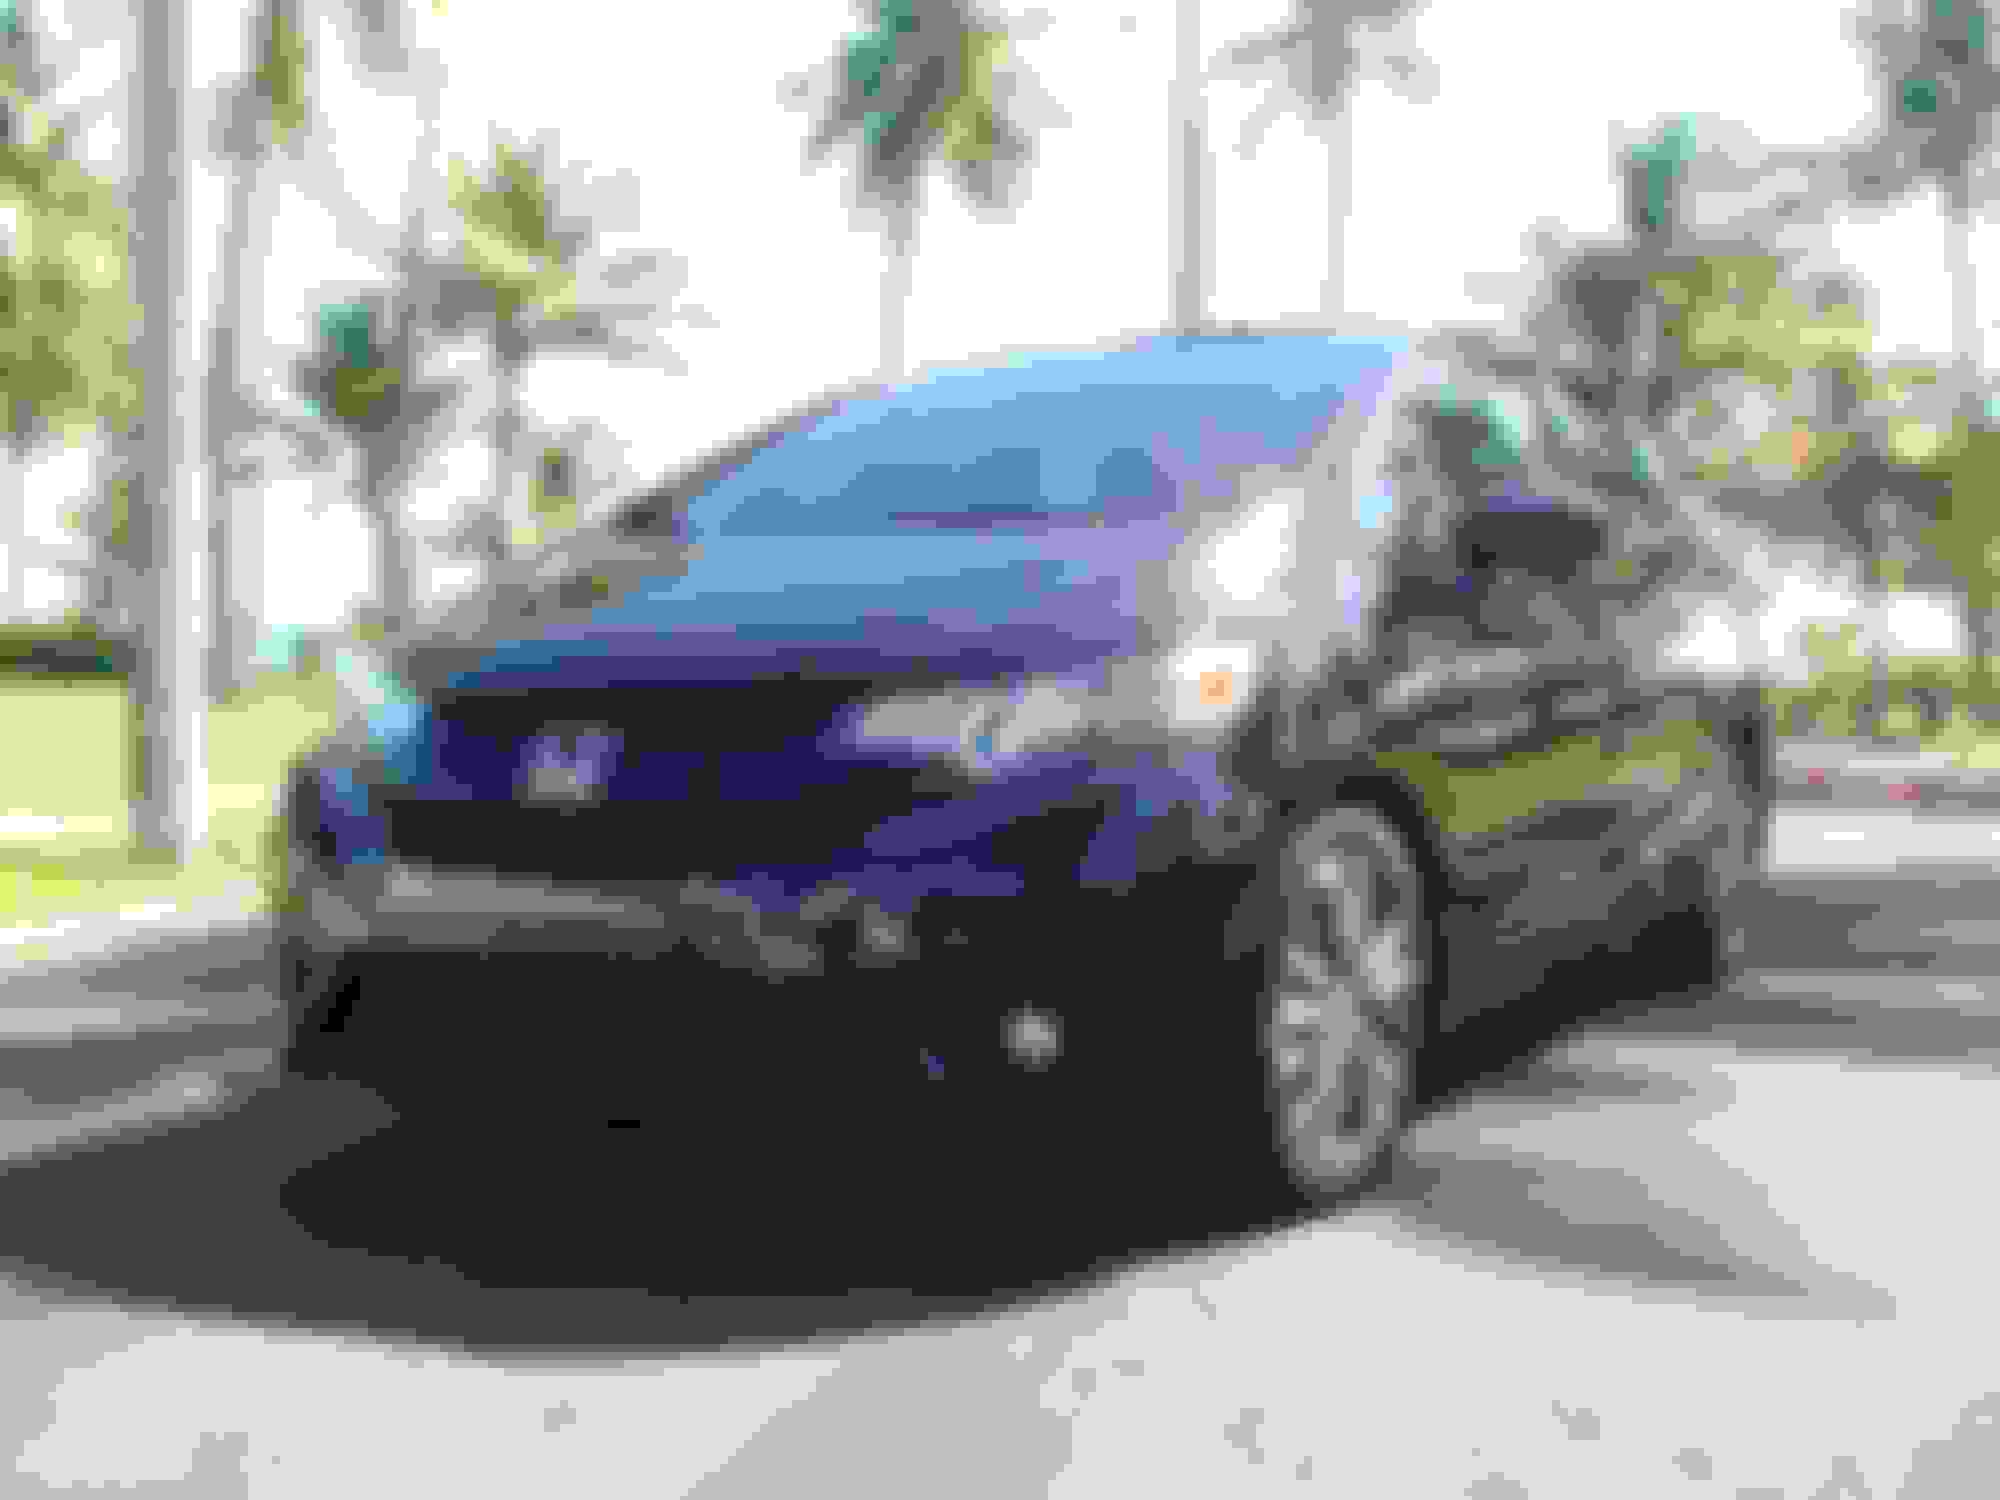
My Fit
Also if there is anyone from the island here and would like professional detailing please let me know, i love detailing Honda Fits!
Last edited by Iam4fitness; Oct 12, 2016 at 04:36 PM.
Sweet ride there. You must not have the tire pressure monitoring system on cars sold there. Your supplemental light switch is installed where my TPMS reset button is located.
I have the same exhaust tip added to my car. Neat!
Sweet ride there. You must not have the tire pressure monitoring system on cars sold there. Your supplemental light switch is installed where my TPMS reset button is located.
I have the same exhaust tip added to my car. Neat!
I still have he tpms switch but i moved it up because the illumination switch was a better fit down there. Btw i just noticed that my exhaust tip is starting to rust a bit but i guess its bound to happen since i live next to the beach.
I still have he tpms switch but i moved it up because the illumination switch was a better fit down there. Btw i just noticed that my exhaust tip is starting to rust a bit but i guess its bound to happen since i live next to the beach.
I noticed that the mesh grille in my exhaust tip is starting to rust a bit, too, since they salt the roads up here in winter. I'll repaint it in the spring, then maybe take it off in the winter, hereafter.
WOW your fit look bad ass. I wanted black it was my first option because I have never owned a black car neithr one of my familiy so I wanted to tried out but they do not sell them in mexico even tho we produce them. smh
What did you do with your paint? It looks pretty cool and drastical.
WOW your fit look bad ass. I wanted black it was my first option because I have never owned a black car neithr one of my familiy so I wanted to tried out but they do not sell them in mexico even tho we produce them. smh
What did you do with your paint? It looks pretty cool and drastical.
Thanks KikeDiaz, the paint looks like that because it has been polished so all the swirl marks and scratches that the dealer made while washing the car improperly have been removed. Then it was topped with a good wax for protection and shine enhancement. I used Sonax perfect finish on a white pad for polishing and the wax i used is Collinite 845. You can see the difference in clarity on the 50/50 picture. Anyways its crazy that you dont get this color even tho they are being made there! I had to wait a month for another shipment to arrive because they didn't have it in black in any of the dealers here. The only other color i really like is the passion berry.
Why would you not mount the light switch in the empty slots where it's designed to go?
Yes i actually had it there but because this switch is for the previous Fits it is bigger than the other ones so it was basically sticking out and didn't look good. Unfortunately theres no oem illumination switch for the 2015 Fit yet. I saw that the ambient kit for the 2015 now uses the headlights so im not sure if they will even make one.
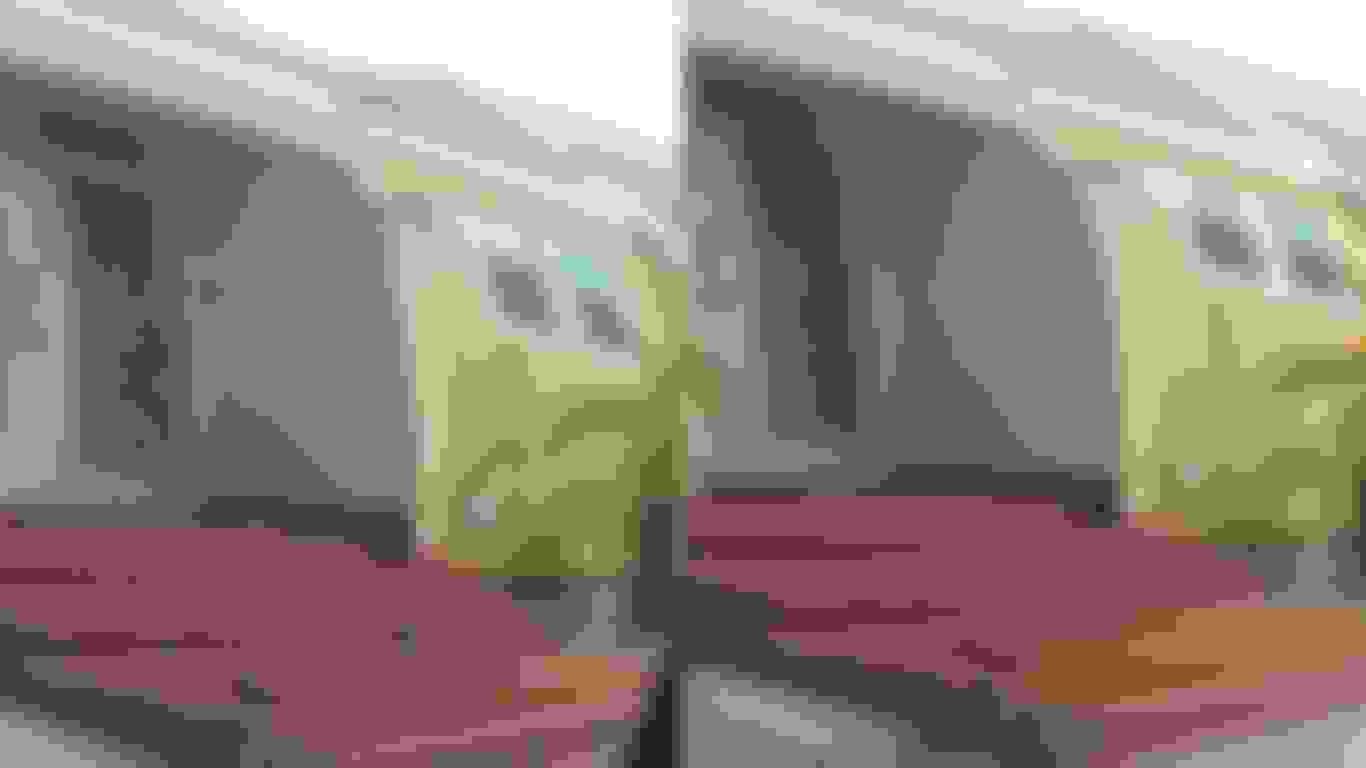
Thanks guys! I have been recently working on a new project trying to reduce the orange peel before applying cquartz to the paint. I am using the carpro's denim pads and the results are amazing but i have only been able to work 1 panel every other day. Here are some pictures of the orange peel before and after:
What you did to your car paint is amazing, I am assuming that something professionals can do? I want to do something similar, but wondering what tools I would need? I looked up some of the items you used and not your typical off the shelf priced items.
I would like to know more on the orange peel procedure.
What you did to your car paint is amazing, I am assuming that something professionals can do? I want to do something similar, but wondering what tools I would need? I looked up some of the items you used and not your typical off the shelf priced items.
I would like to know more on the orange peel procedure.
Hi atvfit16, for the tools all you need is a dual action polisher, a good pad and polish. After that you just need to maintain it by using proper washing technices to avoid the swirls and scratches. I've done all the paint correction using the basic porter cable 7424xp. In regards to the orange peel its something that almost everyone has to live with and i would not recommend trying to remove it unless you have something to measure paint thickness or if your car has been repainted and has a few good layers of clearcoat to work with. The reason is because the oem clear coat is so thin that removing the orange peel will reduce the protection on the paint. So what im doing is a bit risky and i honestly wish this orange peel didn't bother me so much but im just trying to reduce it and not remove it completely. I'll also be adding a few layers of cquartz after to add more protection and try to make up for what i have removed.
Man, I wish I lived near you so you can teach me how to detail my car. I got a black LX, will be following you for sure. What exactly is a 50/50 paint correction (for those of us who are ignorant)?
Man, I wish I lived near you so you can teach me how to detail my car. I got a black LX, will be following you for sure. What exactly is a 50/50 paint correction (for those of us who are ignorant)?
Im so sorry for the extremely late response! I would love to help you out in person if you lived nearby but anyways for a basic detailing just start with the wheels and tires. Then start washing the car from top to bottom starting with the horizontal panels first. Use the 2 bucket method to avoid putting dirt back into the car and wash it in the direction that the wind hits the car and not in circles to avoid swirl marks. The 50/50 picture is just an example of half the panel done and the other half without the paint correction so you can see the difference. I highly recommend a product called hydro2 by carpro. Is protects the paint for up to 3 moths and leaves a really nice glow. The best part is that the apllication is really easy you only have to spray it and rinse it off. Let me know if you have any more quesions, I'll be happy to help.
Im so sorry for the extremely late response! I would love to help you out in person if you lived nearby but anyways for a basic detailing just start with the wheels and tires. Then start washing the car from top to bottom starting with the horizontal panels first. Use the 2 bucket method to avoid putting dirt back into the car and wash it in the direction that the wind hits the car and not in circles to avoid swirl marks. The 50/50 picture is just an example of half the panel done and the other half without the paint correction so you can see the difference. I highly recommend a product called hydro2 by carpro. Is protects the paint for up to 3 moths and leaves a really nice glow. The best part is that the apllication is really easy you only have to spray it and rinse it off. Let me know if you have any more quesions, I'll be happy to help.
No worries, i appreciate your help! I knew about the two bucket method, but not starting at the wheels and tires. Makes sense though! I also did not know about washing the car in the direction the wind hits it, I just used to stick to one direction as long as I did not circle back and forth. Good stuff.
So do I need to go to a paint shop to get a paint correction? Would hydro2 be done after the wash kinda like a quick detail wax?
No worries, i appreciate your help! I knew about the two bucket method, but not starting at the wheels and tires. Makes sense though! I also did not know about washing the car in the direction the wind hits it, I just used to stick to one direction as long as I did not circle back and forth. Good stuff.
So do I need to go to a paint shop to get a paint correction? Would hydro2 be done after the wash kinda like a quick detail wax?
Yes hydro2 or any paint protection should be applied after the wash. You can also use a clay bar after the wash if you feel like going the extra mile and then protect it. The clay bar will remove any contaminants from the paint. You can do a test after you wash the car and dry it, put your hand inside a plastic bag and then feel the paint. If it feels rough like sand paper then it needs to be clayed. As far as paint correction you need a polisher to do it so its up to you if you want to invest in one and do it your self or have someone with experience do it for you. Basically the full detail would be: wash,clay,polish (paint correction) and then protect or seal the work.