When you click on links to various merchants on this site and make a purchase, this can result in this site earning a commission. Affiliate programs and affiliations include, but are not limited to, the eBay Partner Network.
2nd Generation GE8 Specific DIY: Repair & Maintenance Sub-ForumThreads discussing repairs and maintenance you can do yourself on the 2nd generation Honda Fit (GE8)
So this isn't really so much a step by step as it is just a place to locate the files needed for making the template. Please read tutorial before downloading template files.
[Imgur]
Its a relatively simple job, but just time consuming.
The over all piece measures 24" exactly across. Go on Amazon.com and purchase a 1/8" thick black acrylic sheet measuring 24"x12"should be about $20. I recommend buying 2 just in case you screw up the first sheet you have a back up. The sheet will come with a paper protective layer. Do not remove this until the very end. You will draw the template directly onto the protective paper sheet and not on the acrylic directly
First print out all 4 template sheets. Make sure they are all 100% scale after printing. I put a little 1"x1" square on each sheet. Measure that and make sure it measures 1" on all 4 sheets. This will verify that you have printed at full scale.
Some home printers print "fit to page" or something like that and won't print full size unless selected.
Then cut out all 4 shapes and attach to its respective side. Side A/B to A/B and C/D to C/D etc. Tape them together and place on top of the acrylic sheet.
Trace out the shape using a pencil on marker. Make sure the top part of the template (the part that measures 24" across) is placed directly at the top of the acrylic sheet. Thus having to make one less cut.
You will need to make 3 cuts. Start first with the bottom cut. Measure twice and cut once. Score straight across for about 20 passes. That may seem like a lot but you want a clean snap. After scoring place the score line at the edge of table and push down on the smaller section to snap it off. If you are unfamiliar with this method, watch a youtube video. It's very simple.
Next score and snap the 2 diagonal side. You will have to score a straight line across the diagonal sections. Don't worry about the rounded corners that will come later with the Dremel.
After all 3 sides have been cut sand down any burs or small fragments that didn't snap cleanly. Next its Dremel time. Follow the outline that is on the paper protective layer and cut using a Dremel cutting disk or a sanding bit. Go slow and steady if you accidentally notch into the acrylic sheet its game over. Its better to go slow with the Dremel sanding bit than get reckless with the cutting disk.
After both corners are rounded out drill a 3/4" hole into the template. Make sure you have a the protective sheet still on. and place a spare piece of wood behind the acrylic sheet to drill into. Without the scrap wood block, the stress from the drill can cause fragmentation or cracks. Practice first on one of the scrap pieces of acrylic you snapped off, if you are not familiar with this process.
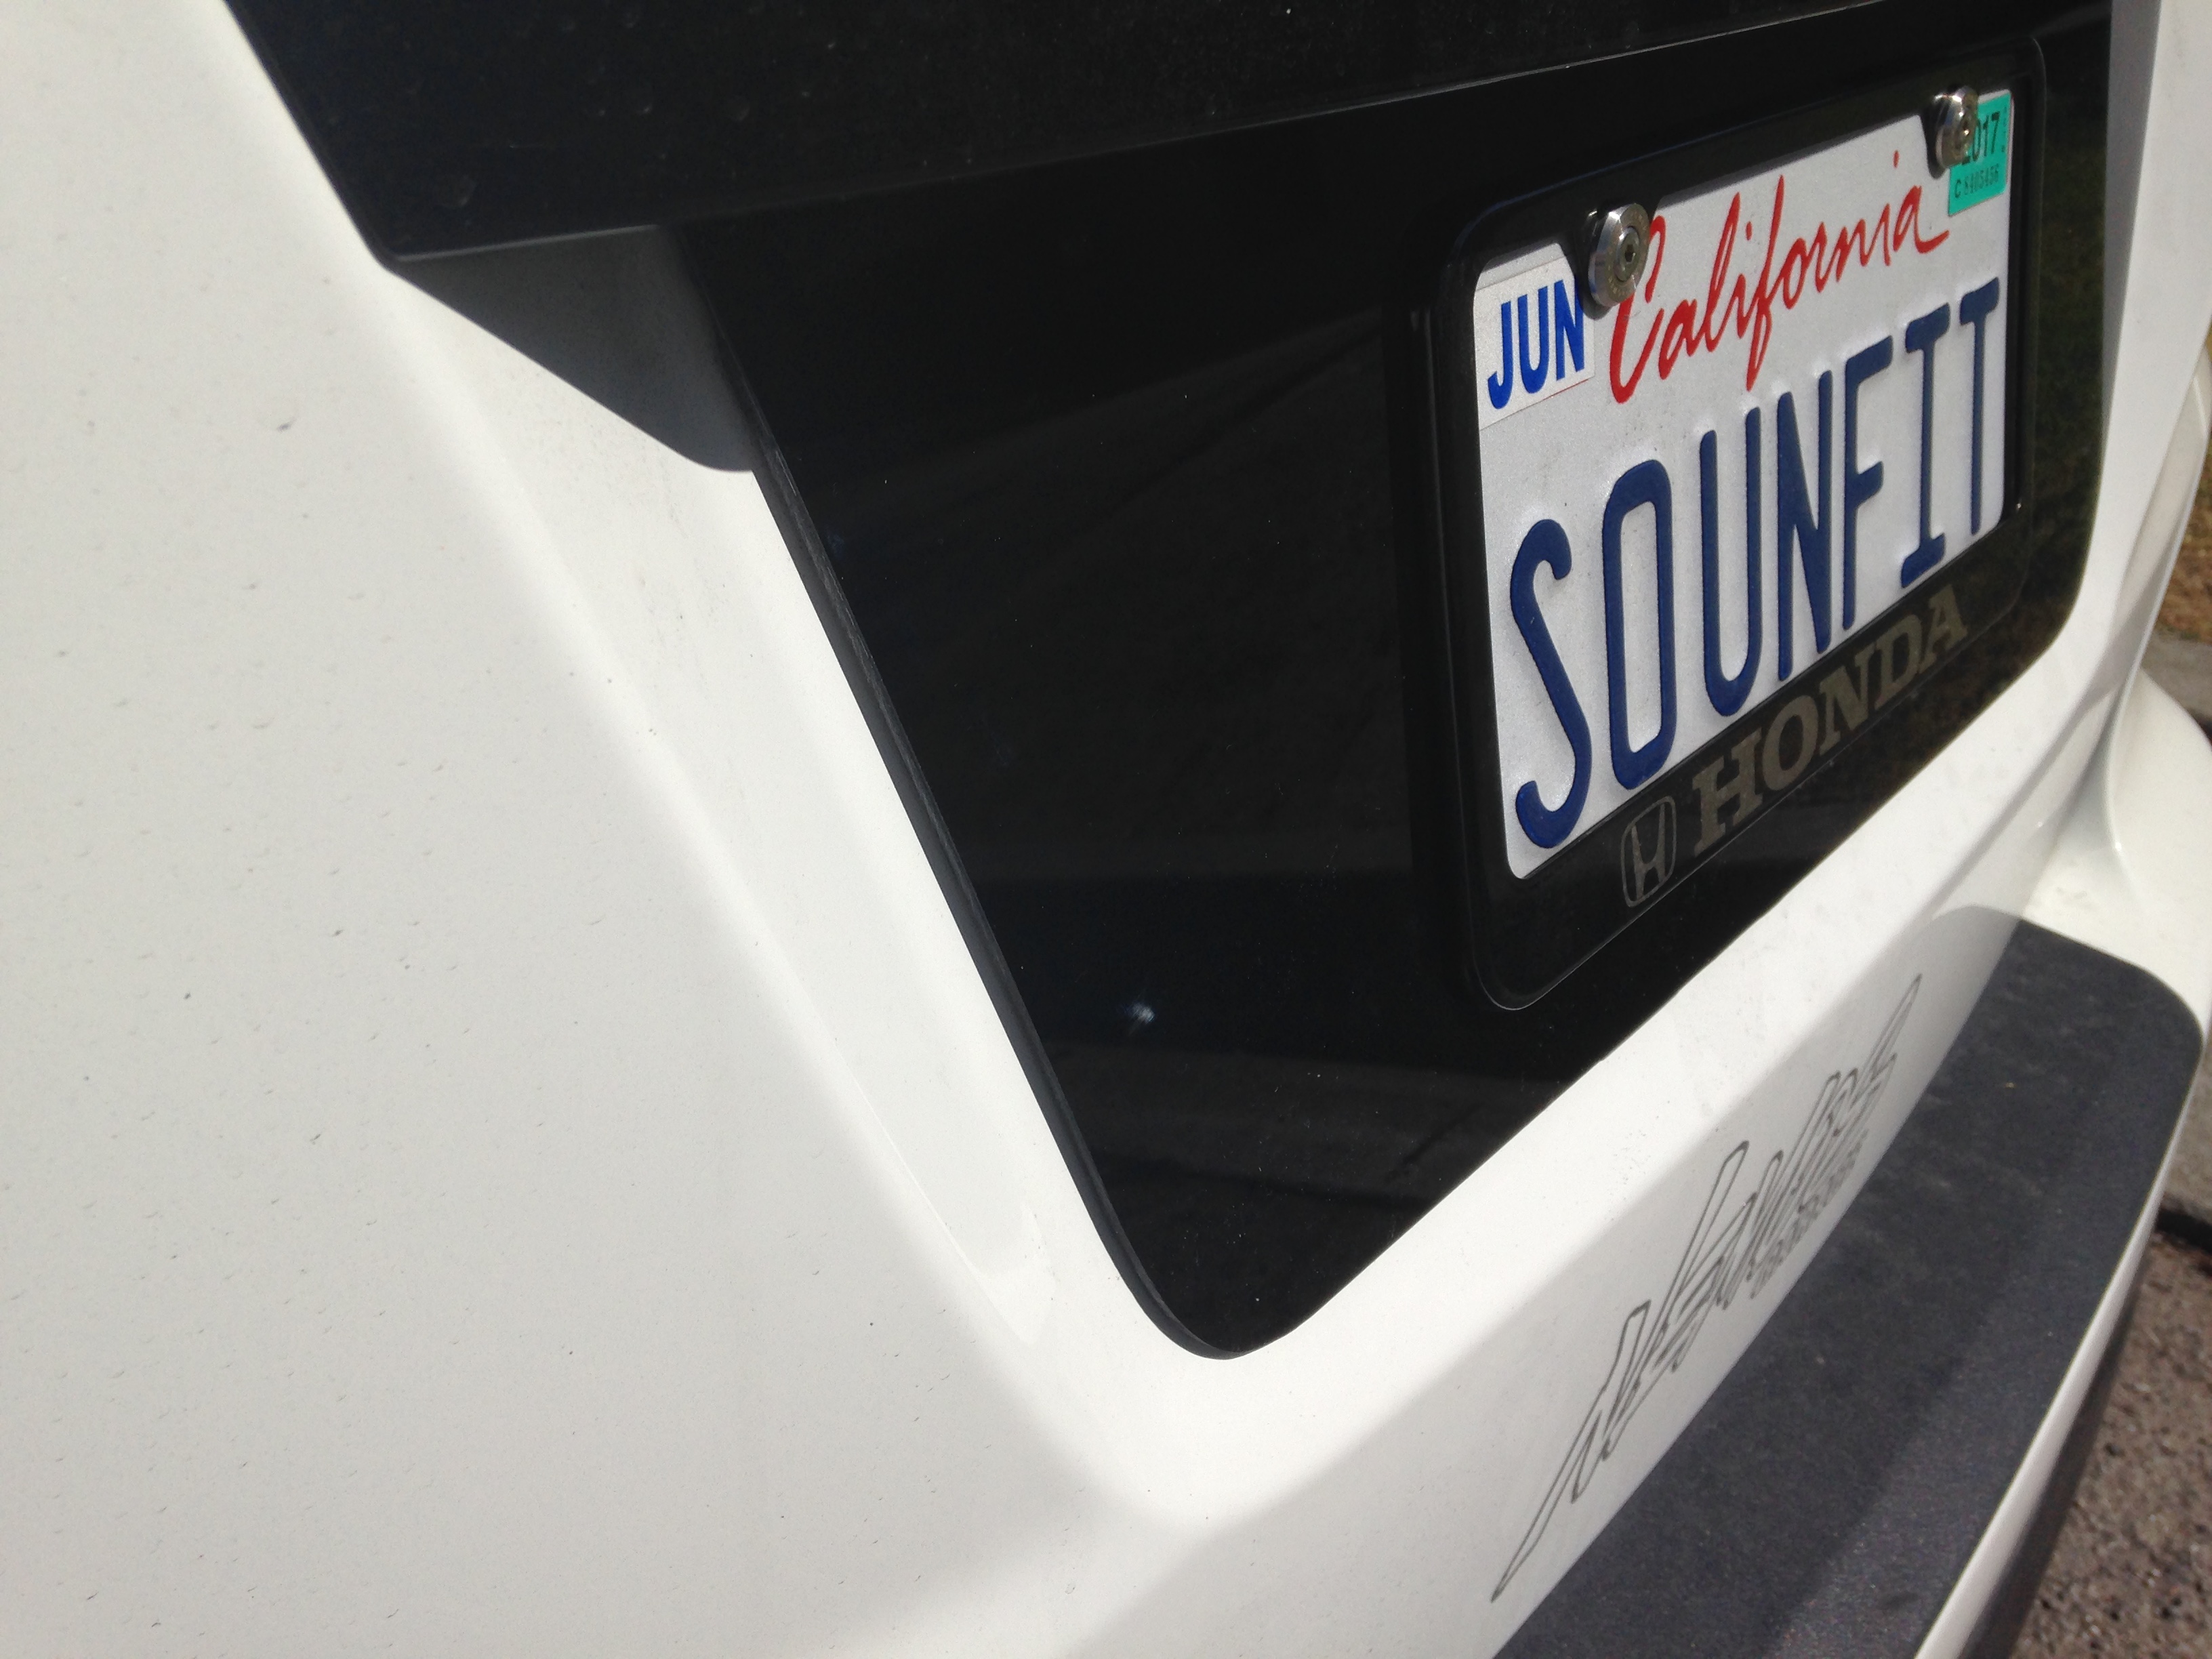
After all 4 holes are drilled out, finally remove the remaining portion of the paper protective sheet. Add a strip of 3m VHB tape to the just the backside edge of the acrylic sheet. Remove your license plate/and or frame and carefully place the acrylic piece over the 4 bolt holes. Line them up and remove the 3m tape backing and secure for 30 seconds. Screw back on plate and frame and presto! You are done.
Tools needed:
black acrylic sheet 1/8 " thick. 12Hx24W via amazon (about $20)
Sharp box cutter (blades)
24" long straight edge (aka ruler)
Dremel with sanding bits
sand paper (220 & 150)
drill gun or drill press with 3/4" thick drill bit or step bit
Patience
It consists of 3 cuts and using the Dremel to make the rounded edges. and sanding of edges.
Build time 2-3 hours depending on level of distraction.
Final dimensions of valence per the templates is roughly 23.125" wide by 8.25" tall.
Last edited by shinjari; May 16, 2017 at 04:17 PM.
Made my valence today while I was waiting between polyurethane coats on this vintage desk I'm restoring.
Sourced the 1/8" black acrylic locally at a place I used to buy my plexiglas from when I used to build custom reptile terrariums and custom cases/cabinets. Bought 2 sheets of 24" x 8.25" x 1/8". They cut to the 8.25" I wanted so that saved me (1) manual cut.
(2) 24" x 8.25" x 1/8". $15 for both sheets. Bought two in case I messed up...which I didn't
Fairly straight forward.
Printed the cool template Mr. Hollow provided above. Placed it on the acrylic and used a sharpie to draw the lines.
I clamped down a metal straight edge so I had a guide for my razor/utility knife to follow. I did roughly 30-35 "scores" or passes with the blade.
First snap, didnt go all the way across because I wasn't applying pressure in the entire piece, only on the thicker end. Used my pliers to get the smaller piece off. It snapped easily.
Changed blades, another 30-35 passes. Applied even pressure across the whole thing. Better snap.
As you can see, even a "clean" snap leaves a pretty bad edge.
Used my dremel and plastic cutting disc to get the rounded corner started.
My make-shift routing table. Made sanding straight edges a breeze. Just had to be careful about not applying too much pressure which would cause a notch.
Corners and straight edges done. I followed up with some 150 then 180 grit sand paper to make them uniform.
Used my 3/4" hole bit to make the (4) 3/4" holes. Made sure to support the acrylic with some scrap wood. This was easily the scariest part. Had to go slow and careful. It sounds so bad when you "break thru" the back side. Almost like a cracking sound.
I was curious why the holes needed to be so large and I learned why after removing my license plate. They are to clear the welded nut and plastic mount on the trunk.
Test fitted, had to elongate the lower holes to eliminate the gap between the top of the valence and the trunk garnish. Not sure if that was my mistake or something the template needs fixing.
As you can see the bottom plastic nuts are in the top end of the "slot". Then when you look at the top of the valence you can see a 1/8"-1/4" gap between it and the trunk garnish.
I didn't want to put LONG strips of 3m tape. I didn't want it impossible to remove in the future haha. So I did several small strips in what I felt were "key" locations. Look how shiny that is.
Now you can see the bottom plastic nut is in the bottom of the "slot" and the previous gap is gone.
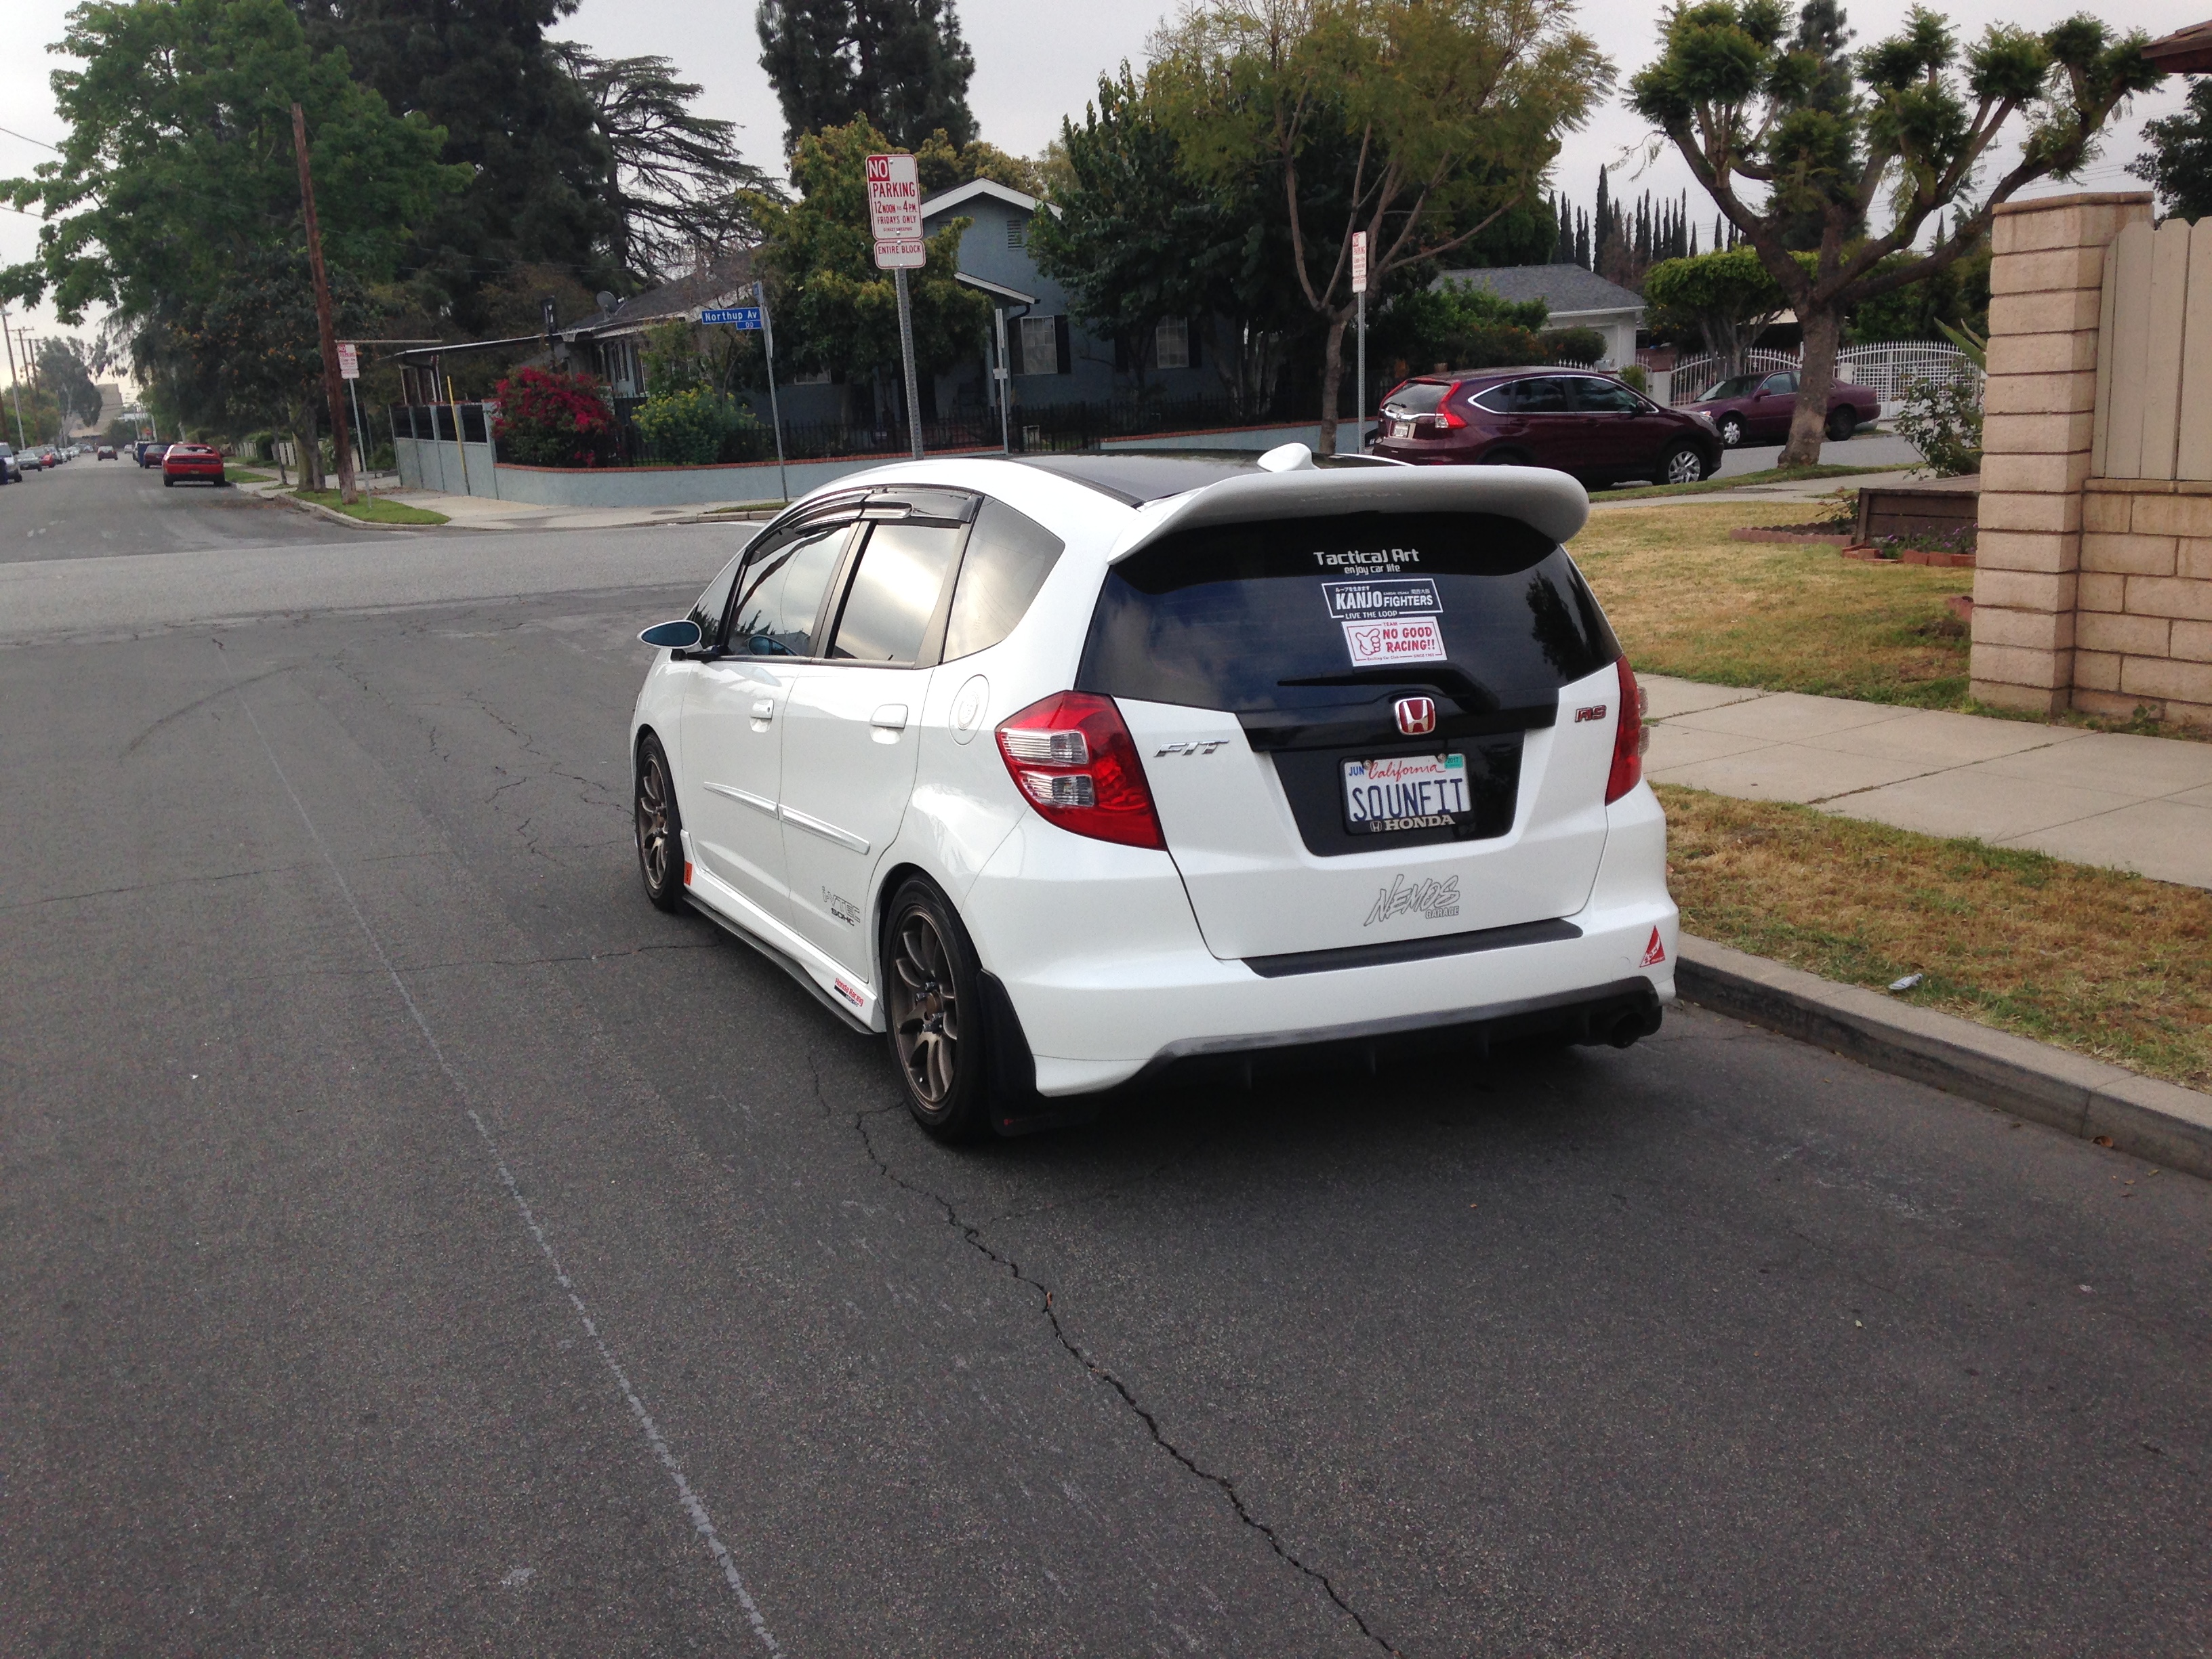
Thanks Mr. Hollow for the template, made things super easy. Now I gotta find a nice license plate frame that'll compliment the shiny valence. About an hour and a half of work. Not bad for ~$12 in materials ($7.50 for one sheet and needed double sided 3m tape $5).
Last edited by shinjari; May 28, 2017 at 05:35 PM.
*** SECRET ***
When you drill through plastic, Arcylic, Lexan...ect.... Start on one side until you get about half way through then flip over and finish from the other side, that way it doesn't break or chip the edges of the hole when you "punch" through .
*** SECRET ***
When you drill through plastic, Arcylic, Lexan...ect.... Start on one side until you get about half way through then flip over and finish from the other side, that way it doesn't break or chip the edges of the hole when you "punch" through .
Yeah thats what I ended up doing after the first hole. Thanks for reminding me.




 [Imgur]