Fit DIY: Repair & Maintenance Threads discussing repairs and maintenance you can do yourself

Who wants to meet Jewel? Twin Turbo Viper Detail

Thread Tools
 
Search this Thread
 
Old Sep 20, 2010 | 08:29 AM
  #1  
Fallen_Rock's Avatar
Thread Starter
|
Member
iTrader: (2)
Joined: Jun 2009
Posts: 365
From: Knoxville TN
Who wants to meet Jewel? Twin Turbo Viper Detail



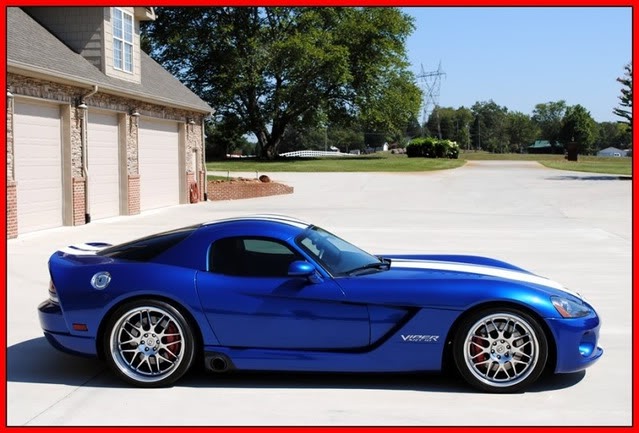
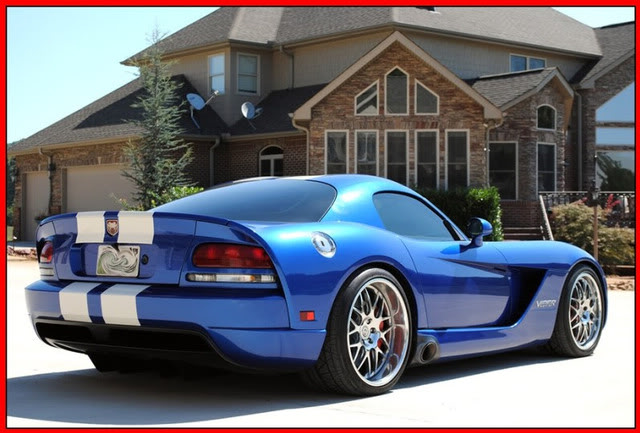
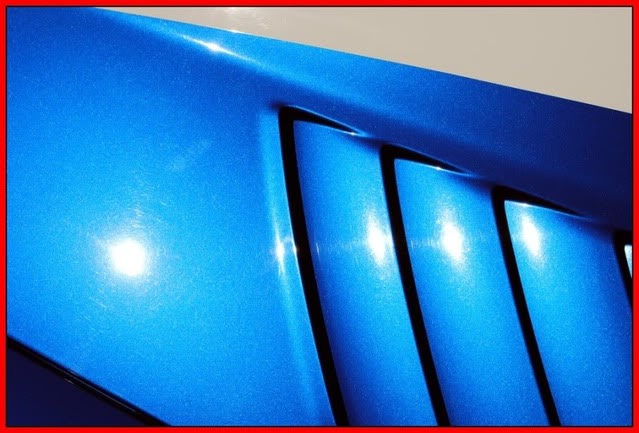
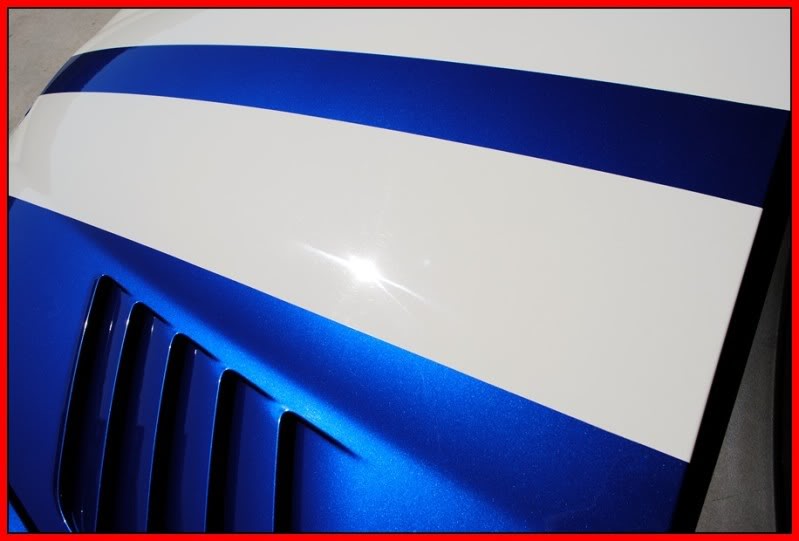
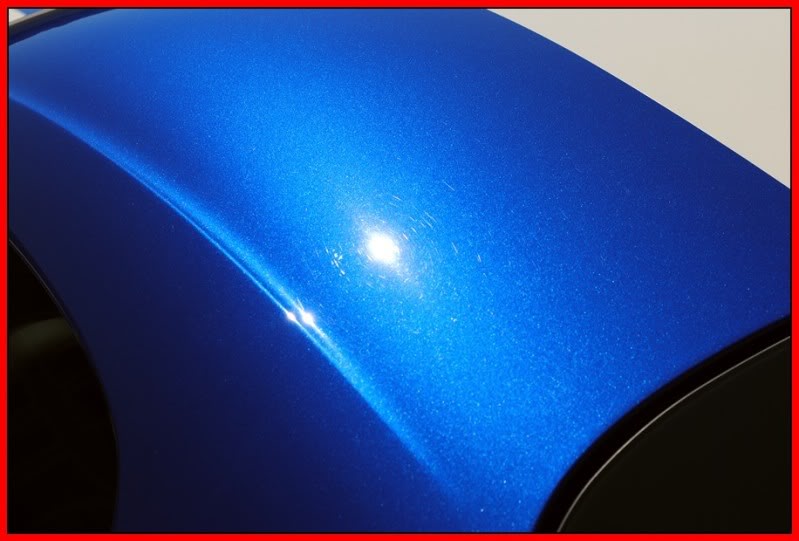
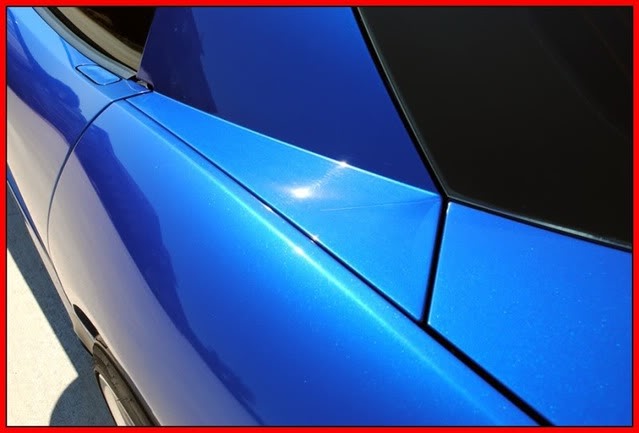
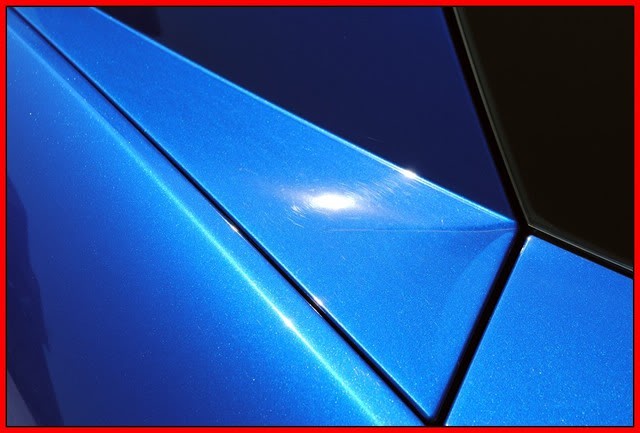
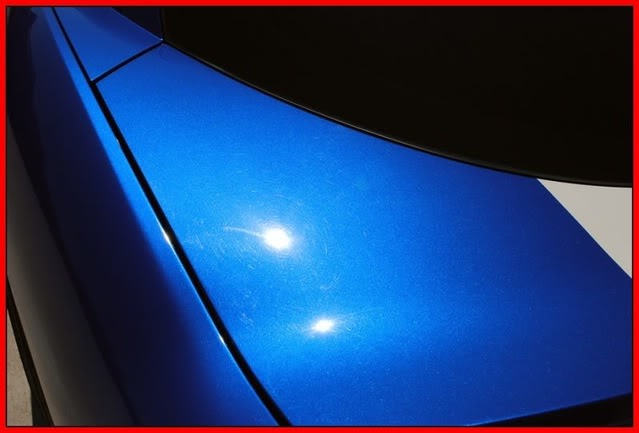
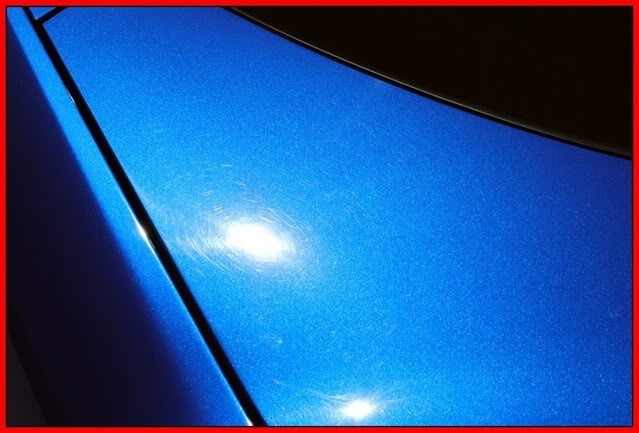
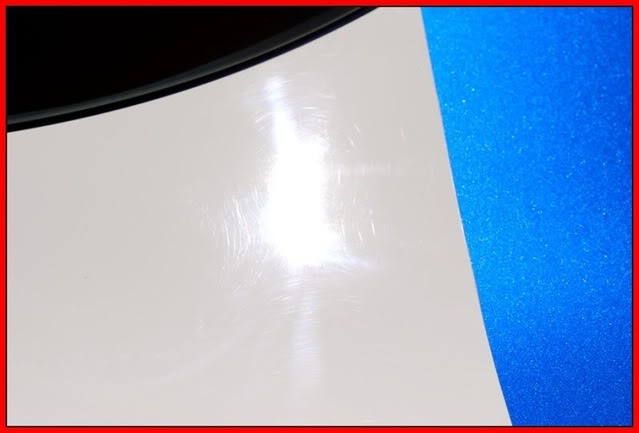
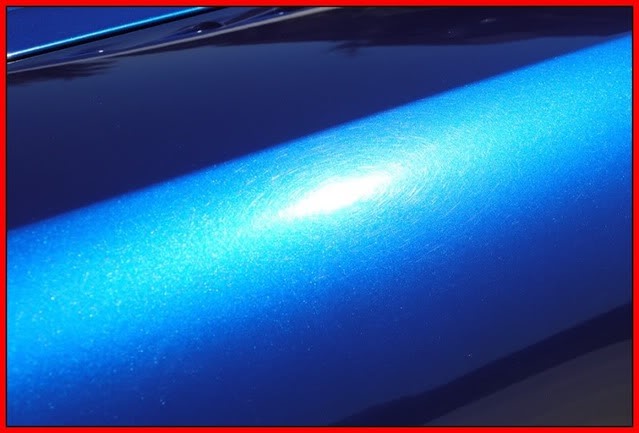
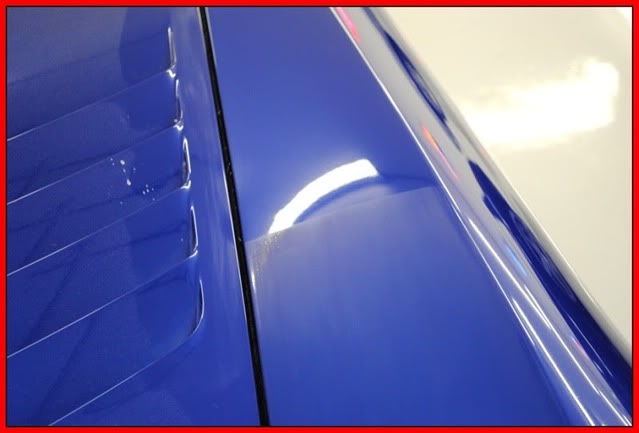
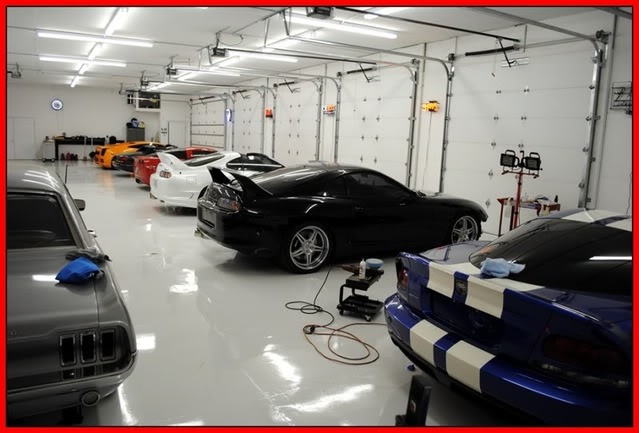
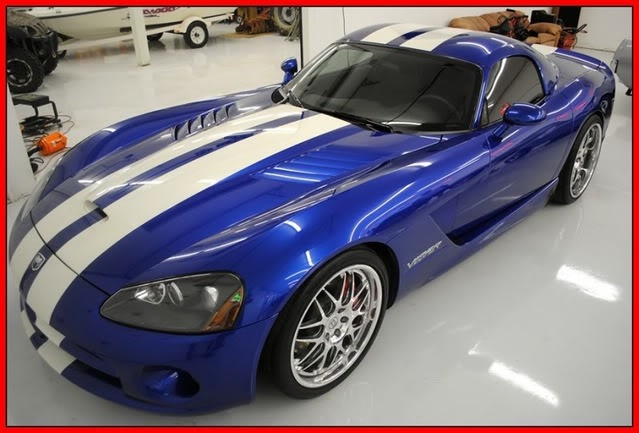
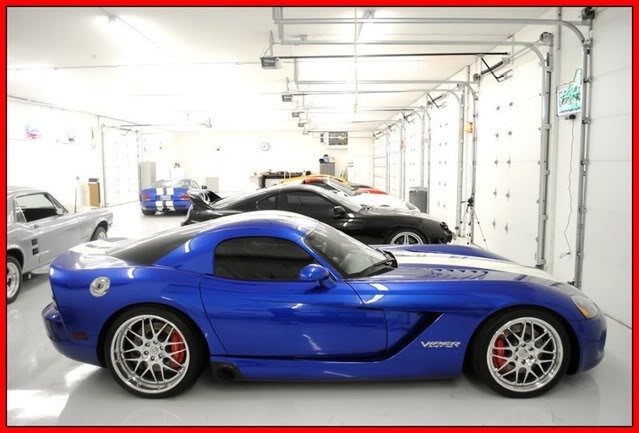
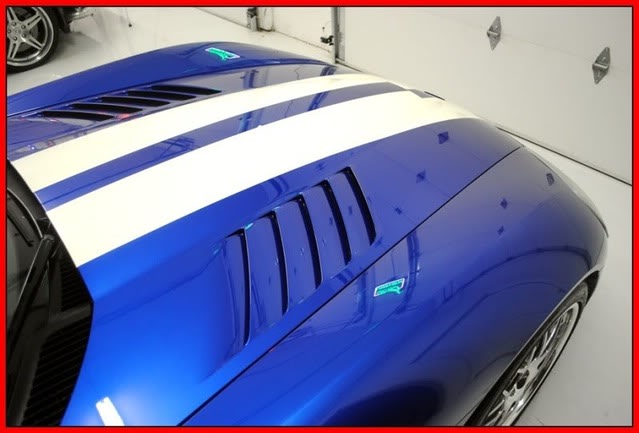
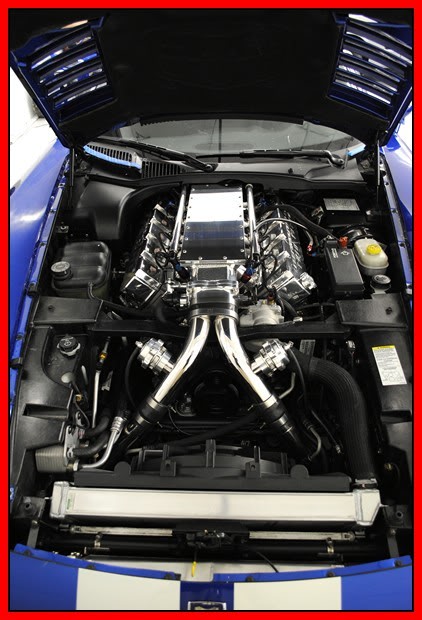
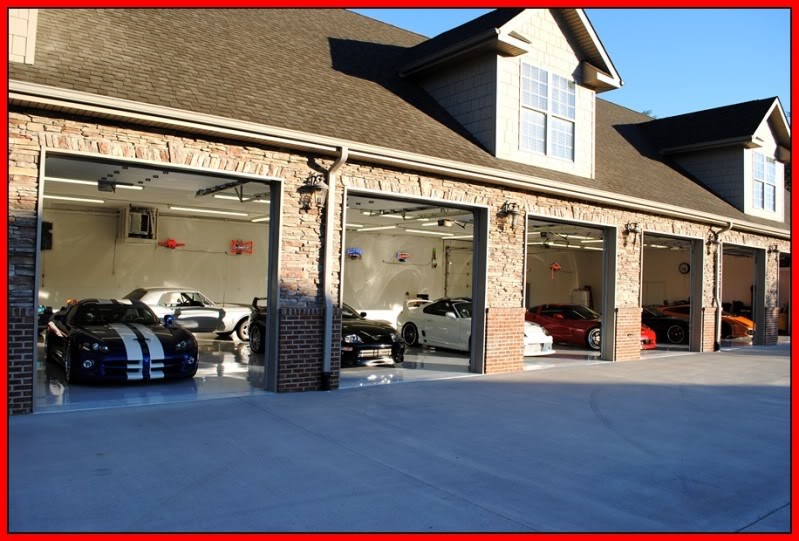
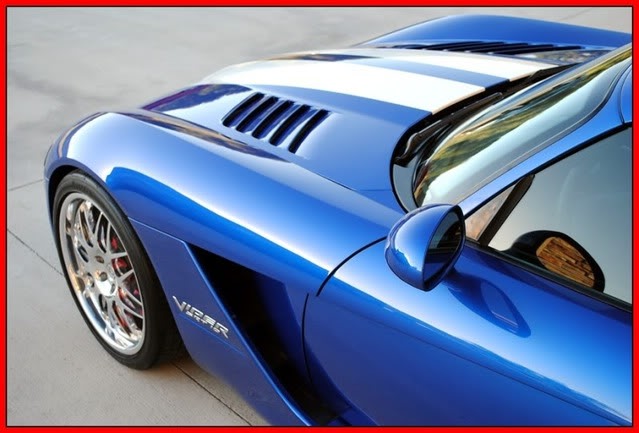
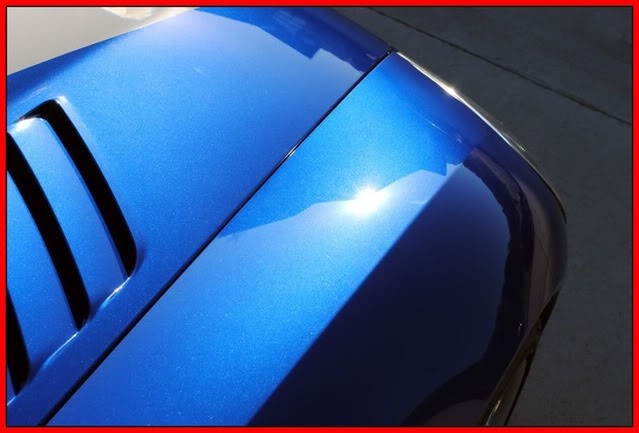
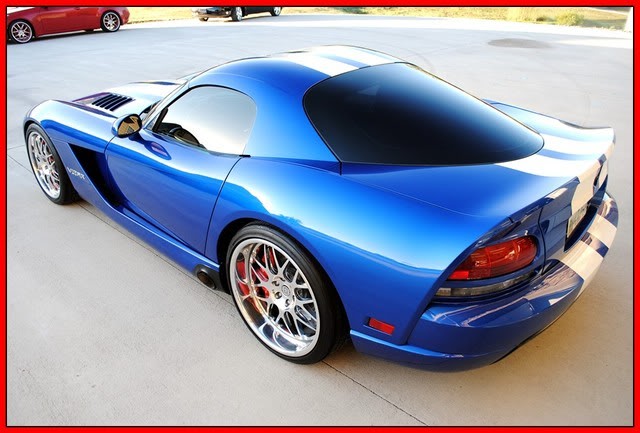
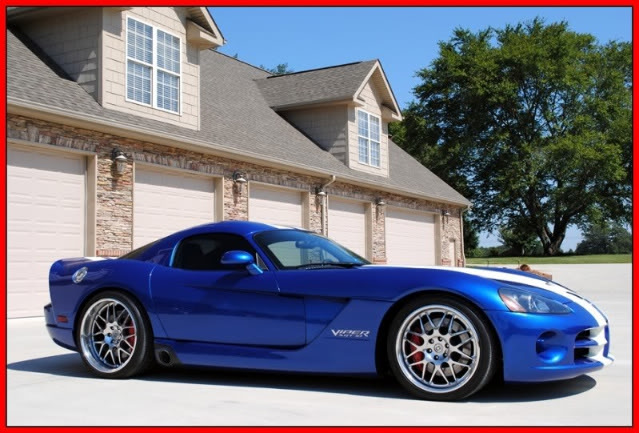
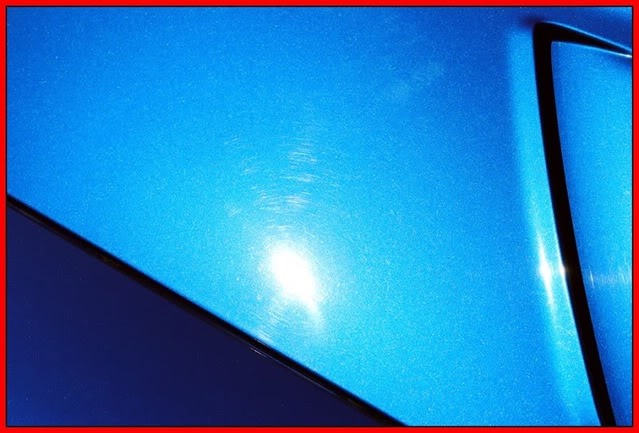
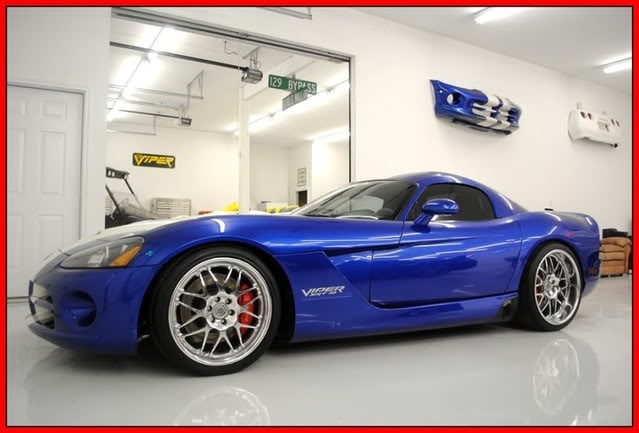
This is Jewel, a 2006 SRT10 Dodge Viper that has been fully built by under ground racing. She dyno'd at 1600whp but has been tuned down for the streets. I got to take a ride in this one and luckily had my video camera. This was the fastest car I had ever ridden in at the time, until the lambo...... but anyways. This car had some pretty bad acid rain spots etched into the hood, I had to do some wet sanding to remove most of it. But without further ado here she is!


This is how she looked when I arrived.

Name:  0be2f914.jpg
Views: 125
Size:  91.5 KB

Name:  7ee3fa91.jpg
Views: 84
Size:  66.2 KB

Name:  382a1c23.jpg
Views: 76
Size:  80.0 KB

Not to bad right? Lets look closer.........
Name:  b98bd801.jpg
Views: 73
Size:  57.0 KB

Name:  f409a873.jpg
Views: 84
Size:  37.8 KB

Name:  f9fc802c.jpg
Views: 81
Size:  57.6 KB

Name:  5c4a318b.jpg
Views: 69
Size:  40.7 KB

Name:  8cf3ba83.jpg
Views: 76
Size:  54.1 KB

Name:  04eb41ea.jpg
Views: 68
Size:  37.5 KB

Name:  d11361ff.jpg
Views: 71
Size:  46.5 KB

Name:  8d58fd10.jpg
Views: 71
Size:  34.8 KB

Name:  de17c5c2.jpg
Views: 83
Size:  52.1 KB

Name:  56f81c73.jpg
Views: 72
Size:  28.6 KB

Name:  d4225bdc.jpg
Views: 65
Size:  40.8 KB

Name:  89cf1c8e.jpg
Views: 111
Size:  65.6 KB

Name:  c4a7f095.jpg
Views: 72
Size:  58.7 KB


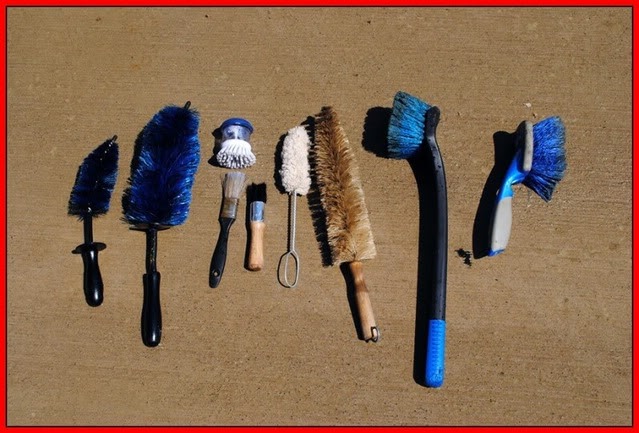
Here are the various tools that were used in the wash process
Name:  bf1a0d2a.jpg
Views: 75
Size:  70.4 KB


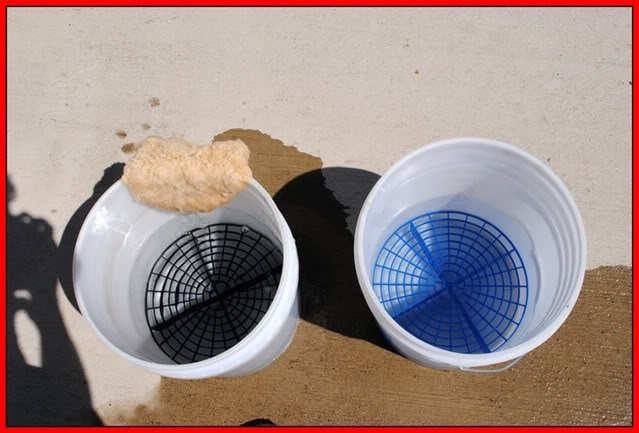
Two Bucket method with Grit Guards and 100% sheep skin wash mitt
Name:  545e6993.jpg
Views: 62
Size:  56.1 KB

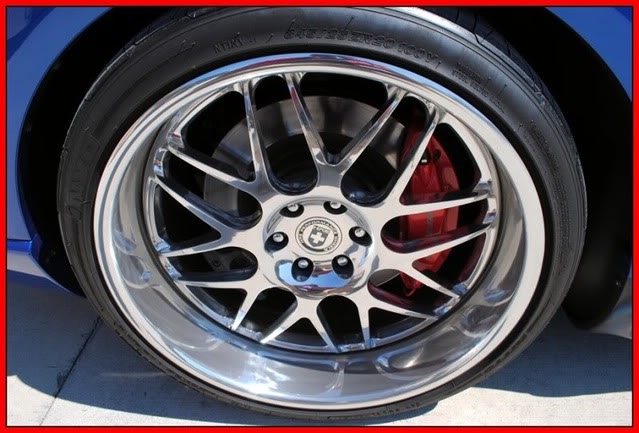
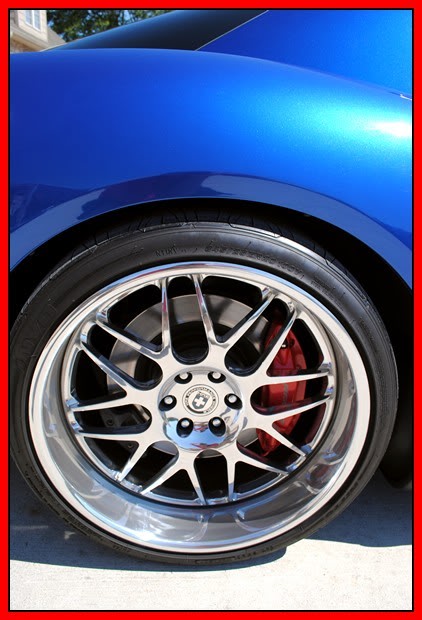
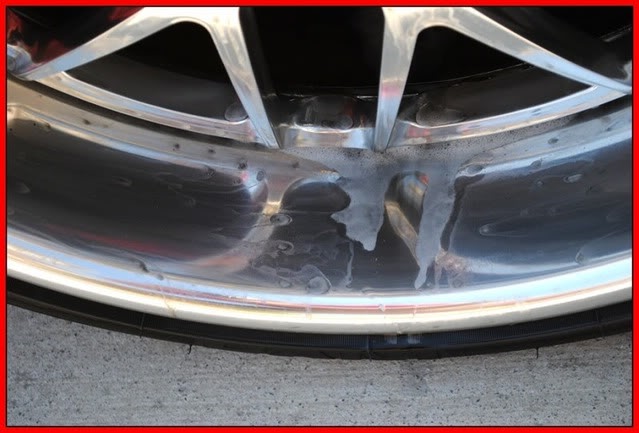
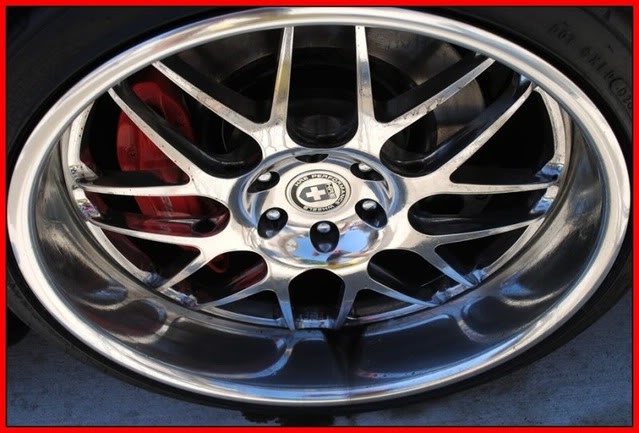
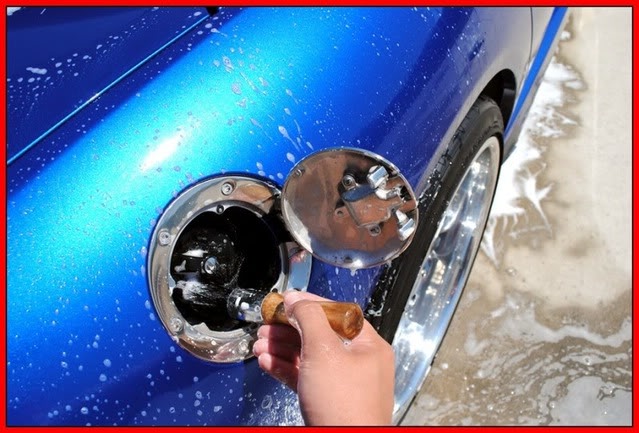
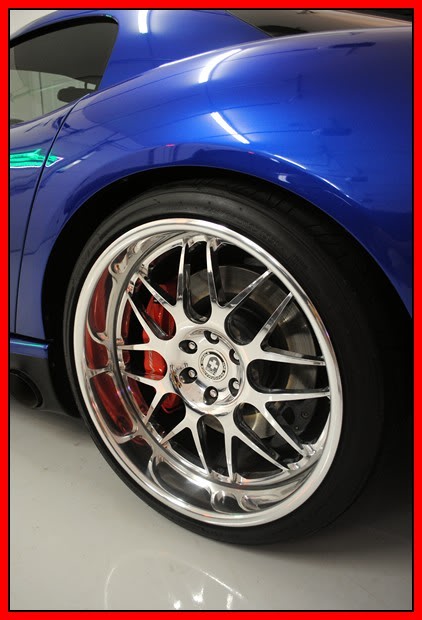
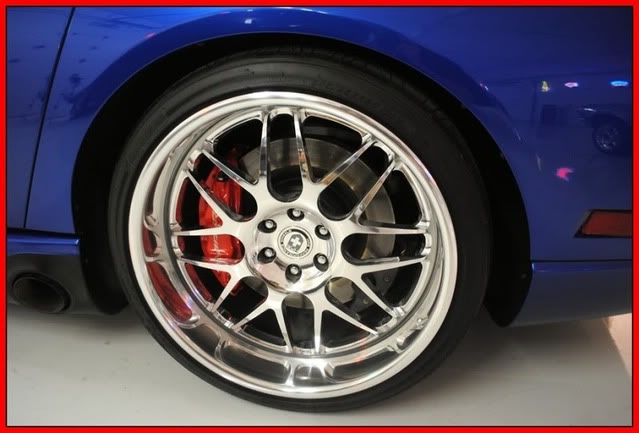
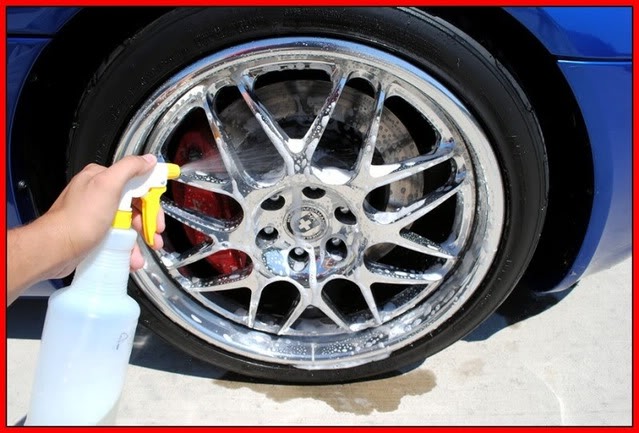
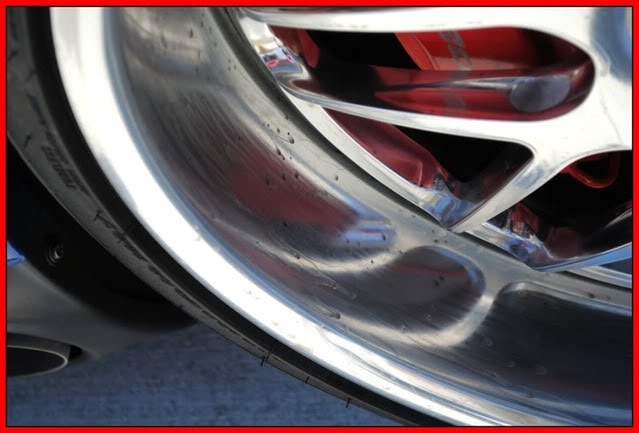
I began by spraying some P21s wheel gel onto the wheels letting it dwell and eat at all of the break dust.
Name:  466a362c.jpg
Views: 77
Size:  67.6 KB

Name:  c217e203.jpg
Views: 75
Size:  44.2 KB

Name:  ff56cf61.jpg
Views: 57
Size:  52.7 KB

Name:  087d5fa7.jpg
Views: 87
Size:  65.1 KB

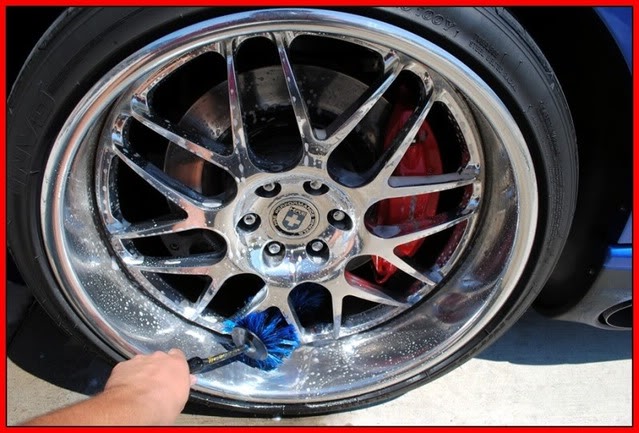
Then agitated the wheels.....

Name:  132365a4.jpg
Views: 76
Size:  76.0 KB


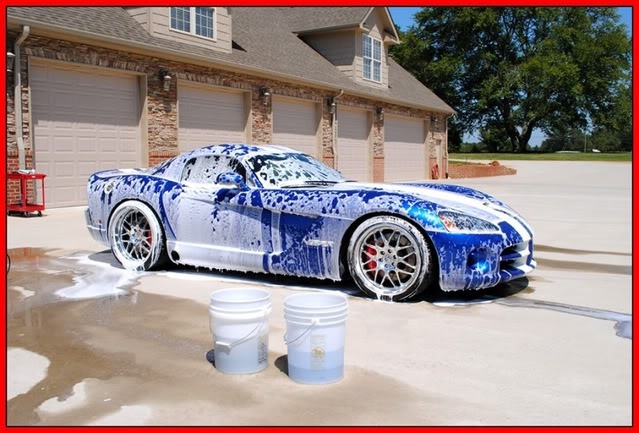
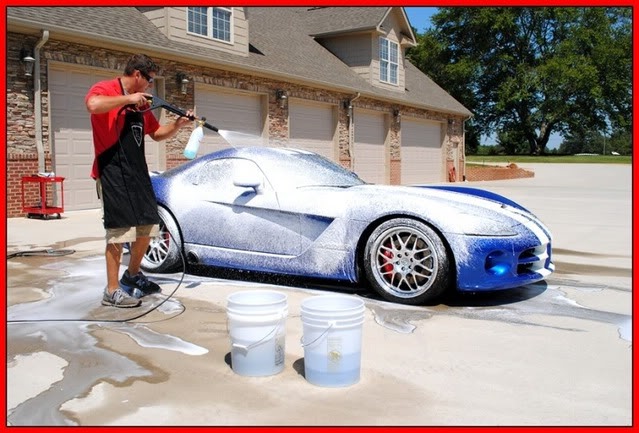
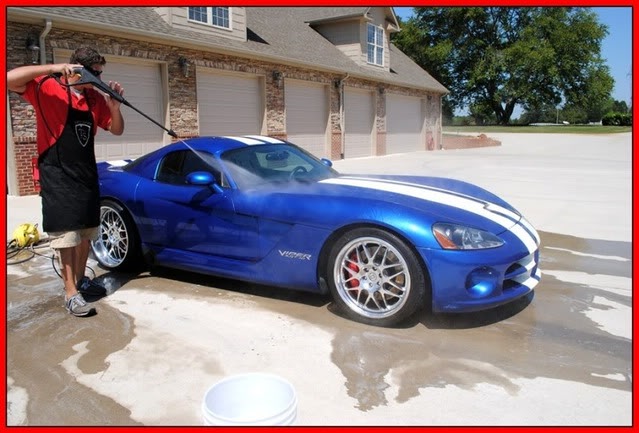
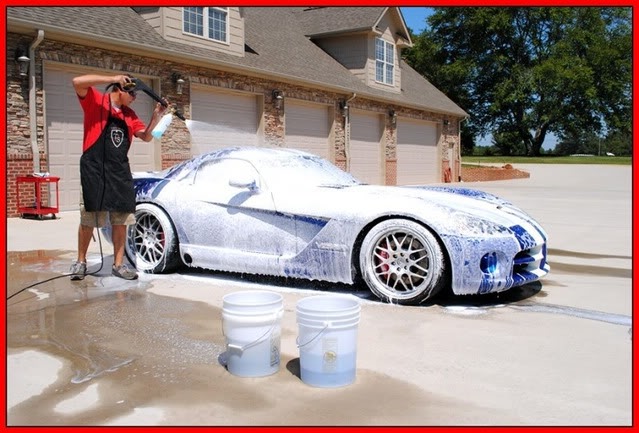
Then I covered the car in Foam using my Foam cannon and Dawn detergent to strip away any waxes or oils off the surface.
Name:  46244f1f.jpg
Views: 67
Size:  74.8 KB

letting it dwell....

Name:  3b72ffd9.jpg
Views: 99
Size:  76.9 KB

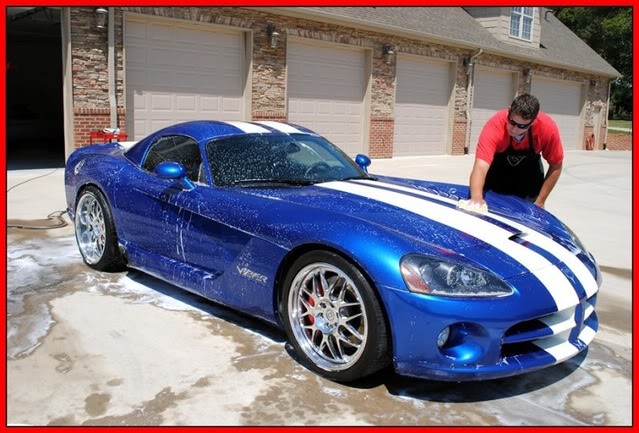
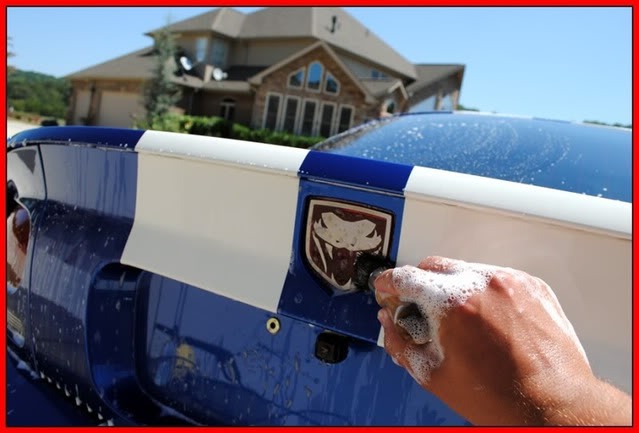
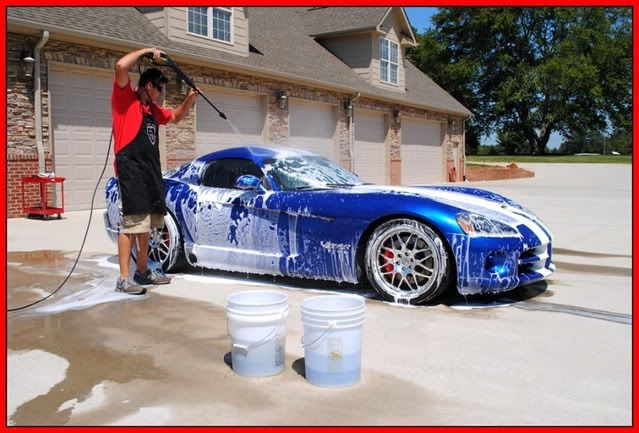
Then Rinsed and refoamed and washed and then rinsed again.

Name:  9c63ce5e.jpg
Views: 59
Size:  77.2 KB

Name:  69b3e01c.jpg
Views: 64
Size:  75.7 KB

Name:  4b155951.jpg
Views: 63
Size:  78.3 KB

Name:  d64e37fc.jpg
Views: 71
Size:  45.5 KB

Name:  3bbdb1bd.jpg
Views: 74
Size:  71.1 KB

Name:  e6191d6c.jpg
Views: 67
Size:  67.4 KB


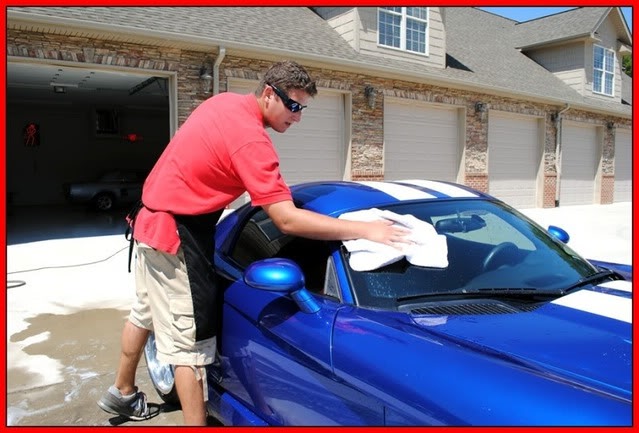
I used a ReThickulous microfiber towel to dry off the car.
Name:  221edcc5.jpg
Views: 91
Size:  63.8 KB

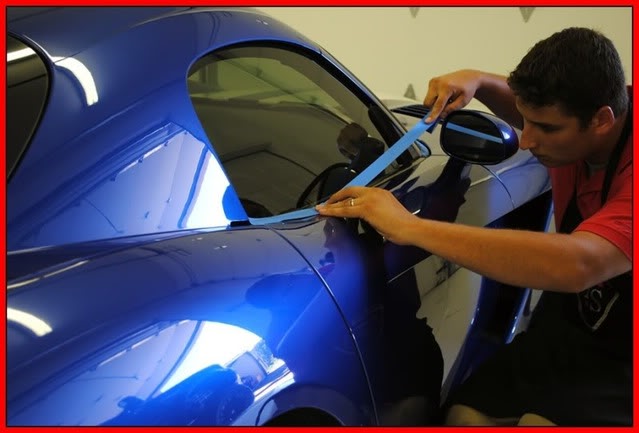
Next I brought the car in to prep it for the paint correction. This includes taping up the plastic moldings and clay baring the surface.
Name:  10690ebd.jpg
Views: 71
Size:  42.9 KB

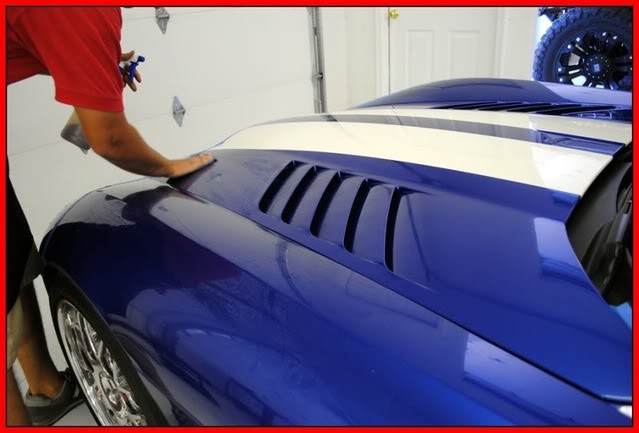
I clay bared using Clay magic blue fine clay and show room shine for lube.
Name:  49982399.jpg
Views: 75
Size:  41.6 KB

Name:  550a6eb3.jpg
Views: 142
Size:  41.3 KB

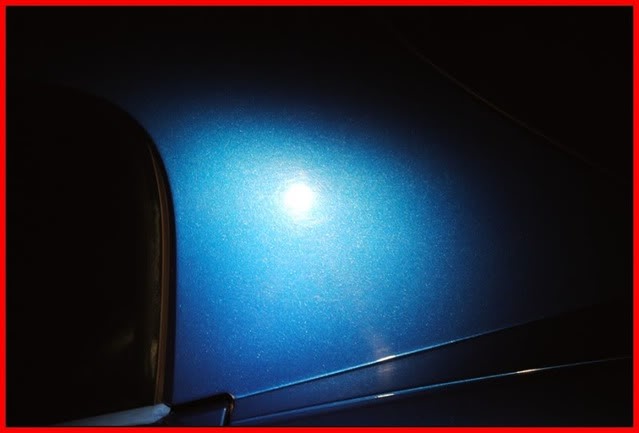
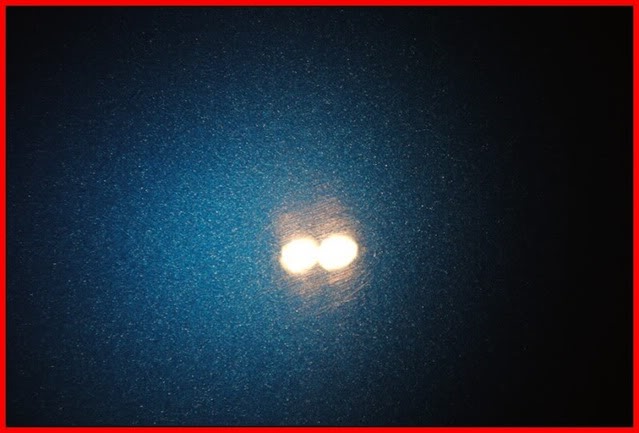
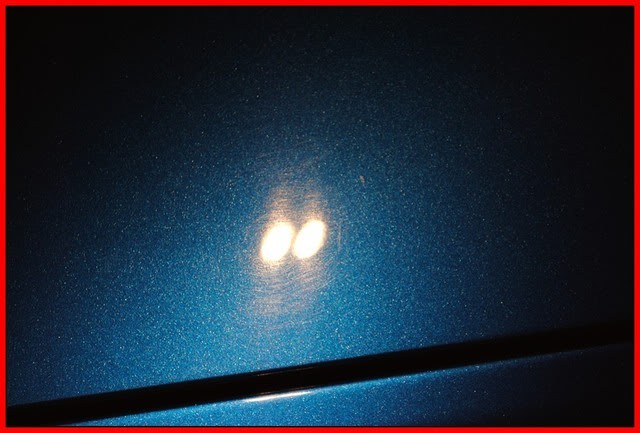
Next I decided to see what it looked like in the dark using my Brinkmans Duel Xenon light.
Name:  a7a9c1b5.jpg
Views: 61
Size:  50.2 KB

Name:  6c53bb05.jpg
Views: 68
Size:  28.6 KB

Name:  75ab9f81.jpg
Views: 56
Size:  43.3 KB

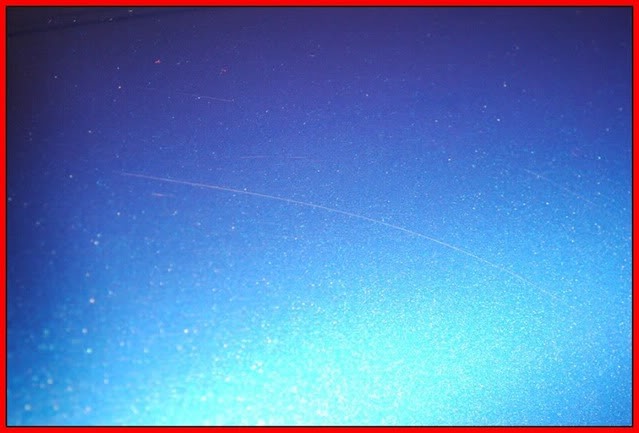
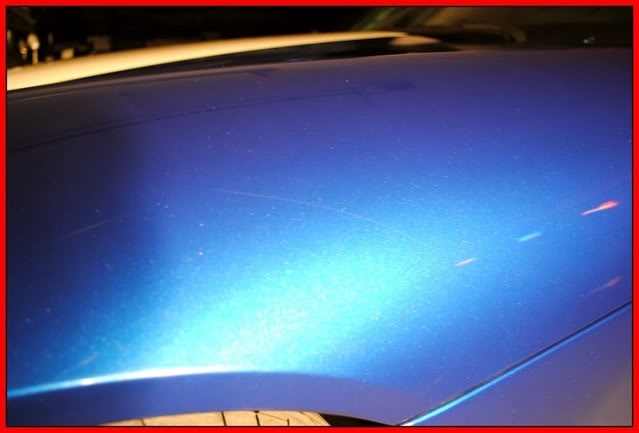
here is a long scratch that was removed during the wet sand process.
Name:  20245430.jpg
Views: 52
Size:  29.8 KB

Name:  cf36f897.jpg
Views: 68
Size:  42.3 KB

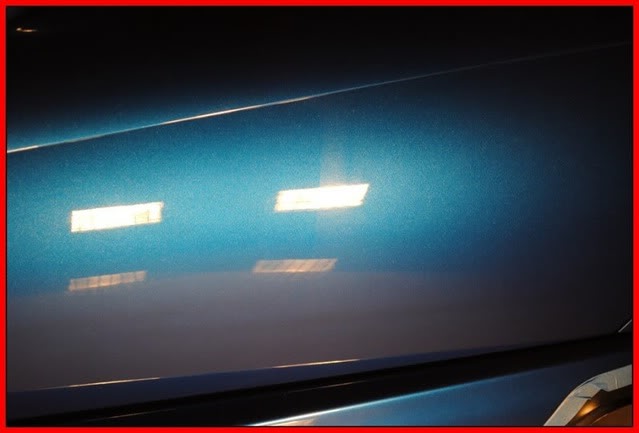
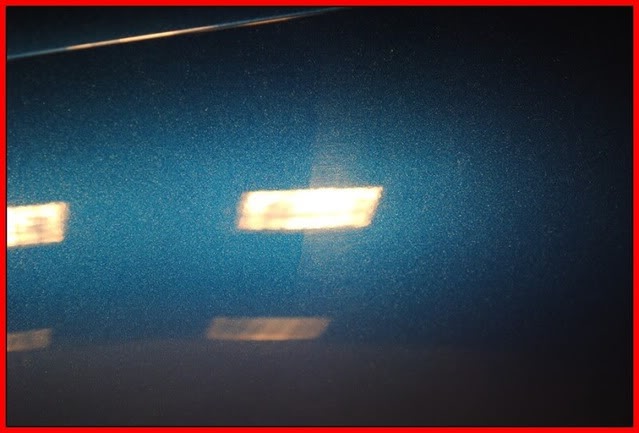
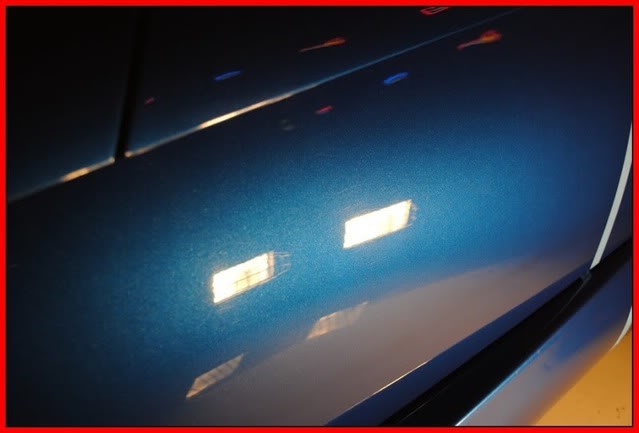
You might now be able to tell from here, but in this pic the paint has a slight fade around the lights.
Name:  fa3c25f4.jpg
Views: 66
Size:  29.0 KB

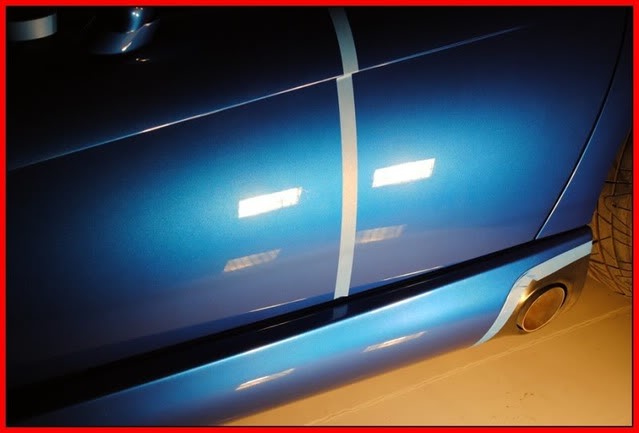
I taped off an area and did a 50/50, now you can really tell.
Name:  ca21f33b.jpg
Views: 81
Size:  33.0 KB

Name:  43200cd4.jpg
Views: 61
Size:  29.6 KB

Name:  3f64efbc.jpg
Views: 56
Size:  43.0 KB

Name:  TTViper1001.jpg
Views: 58
Size:  121.9 KB

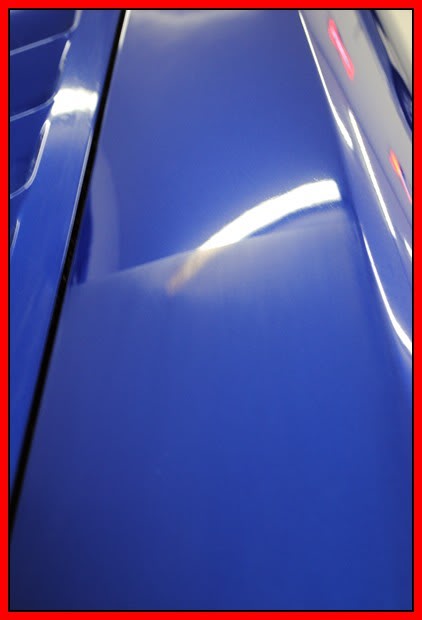
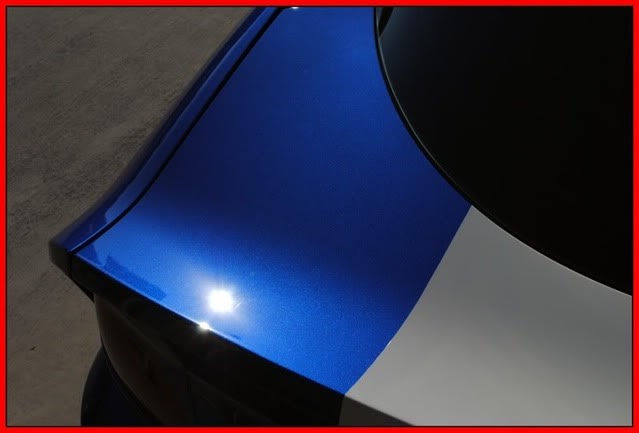
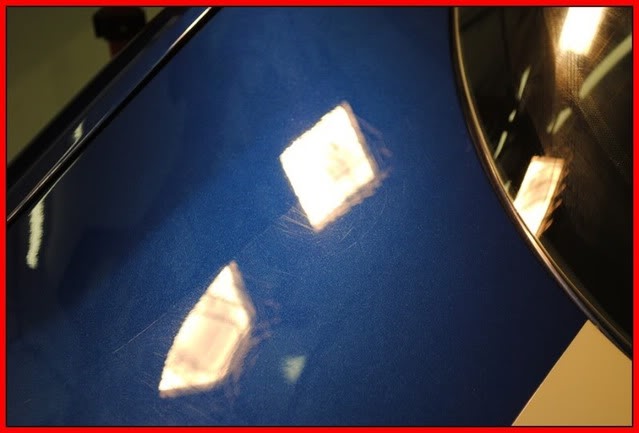
here is another 50/50 shot of the rear deck lid.
Name:  5b15bf8e.jpg
Views: 70
Size:  35.9 KB

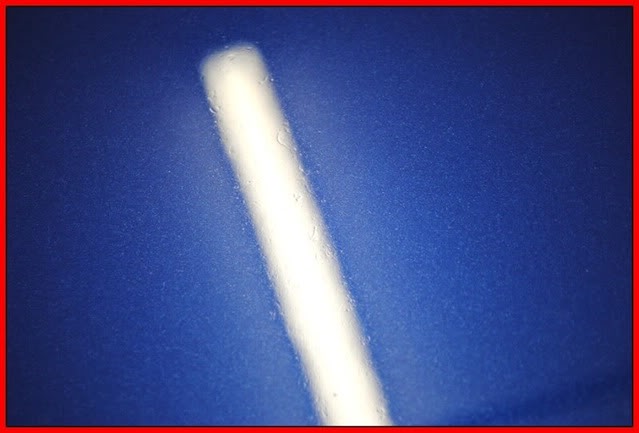
This is an example of the pits from the Acid rain that were on the hood and front fenders.
Name:  65251621.jpg
Views: 148
Size:  35.0 KB

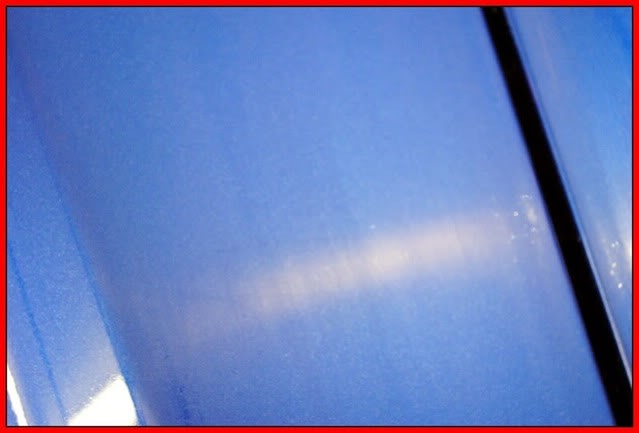
I done a test spot on the fender with 1500 grit followed by 3000 grit.
Name:  fb486611.jpg
Views: 56
Size:  26.8 KB

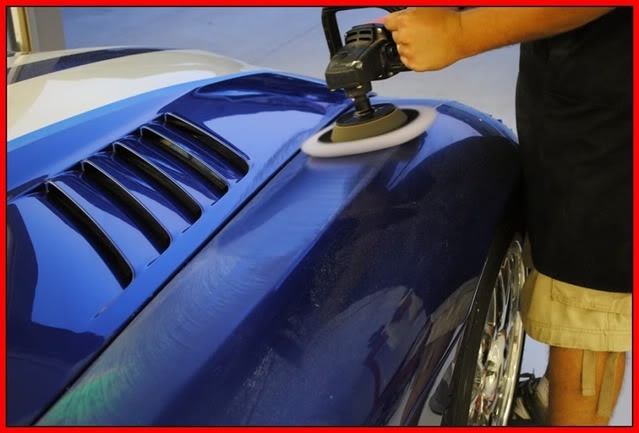
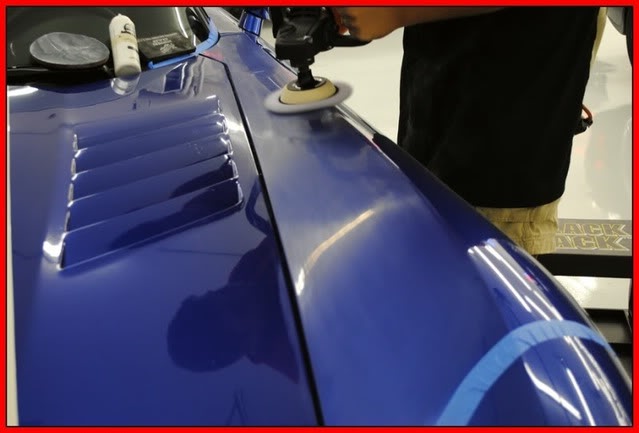
I used a 4" PFW pad and Meguiars M105 on a rotary buffer w/ LC 4in backing plate
Name:  7d44a5c5.jpg
Views: 58
Size:  37.2 KB

here is a 50/50 shot

Name:  7396d1d5.jpg
Views: 71
Size:  32.7 KB

Name:  64d8da2c.jpg
Views: 65
Size:  23.2 KB

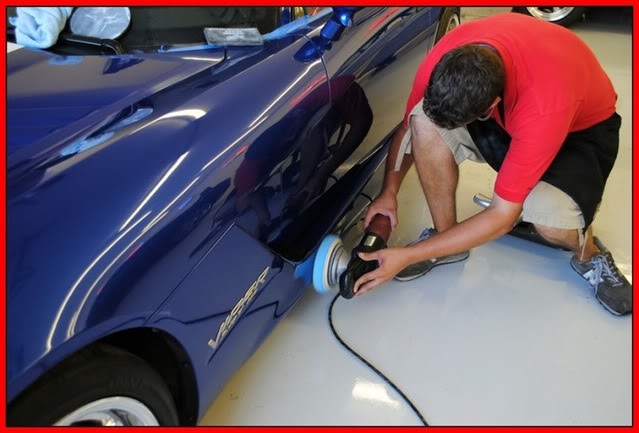
I compounded the entire car with a Flex 3401 with LC Hydrotech cyan pad with Meguiars M105 compound.
Name:  33703542.jpg
Views: 72
Size:  50.4 KB

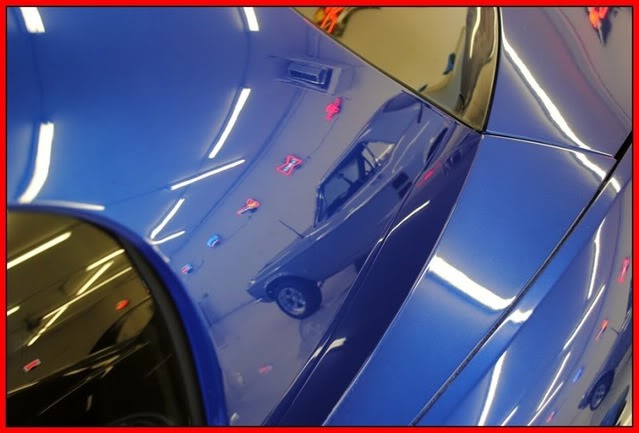
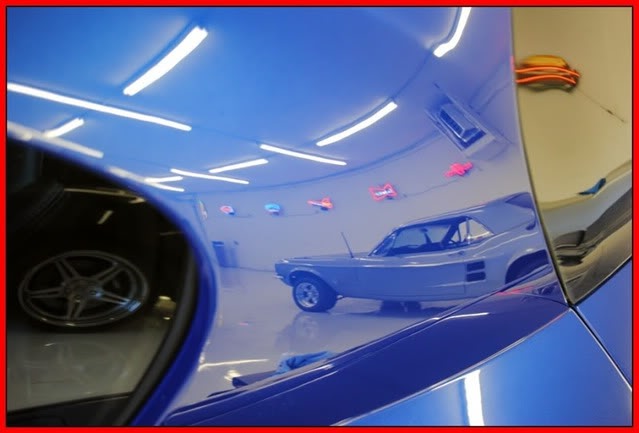
Check out this reflection shot!

Name:  5a9e9df4.jpg
Views: 82
Size:  44.5 KB

Name:  4c772c27.jpg
Views: 62
Size:  38.3 KB

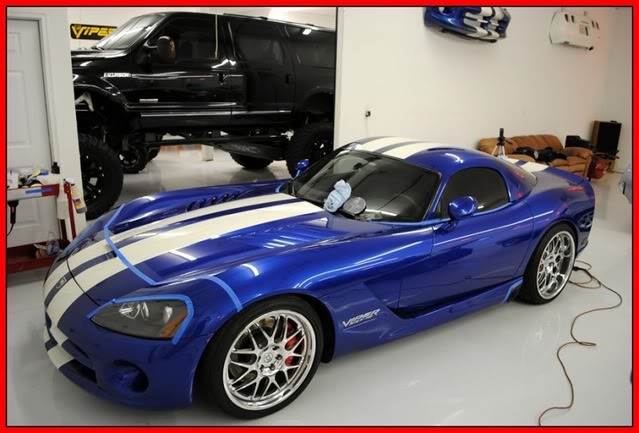
This was the end of day 1, all of the compounding was done except for the hood which needed to be wet sanded.
Name:  46b96cda.jpg
Views: 78
Size:  58.3 KB

Name:  2f66fc18.jpg
Views: 65
Size:  51.2 KB

Name:  51d178cd.jpg
Views: 76
Size:  54.7 KB


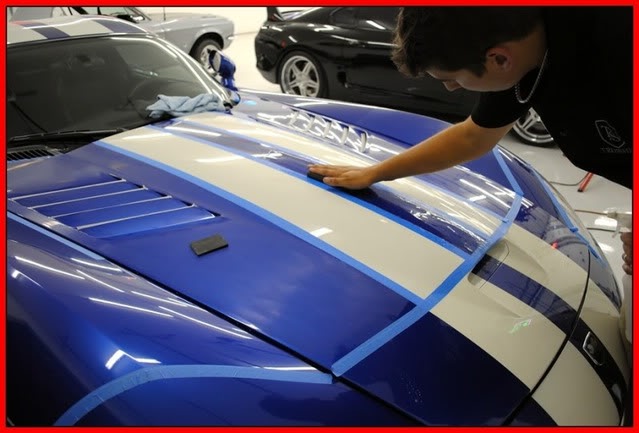
Day 2 begins the wet sanding.

I used 2000 grit sheets wrapped around a Meguiars sanding block
Name:  c5066da3.jpg
Views: 75
Size:  52.9 KB

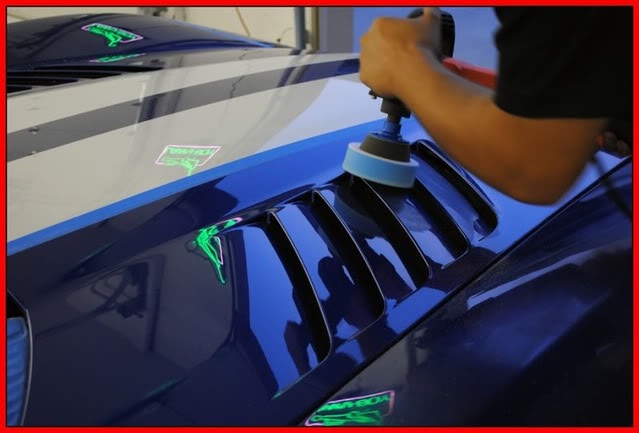
all areas were buffed with LC PFW pads and LC cyan pads.
Name:  410c38eb.jpg
Views: 61
Size:  39.8 KB

Name:  009eec11.jpg
Views: 128
Size:  45.4 KB

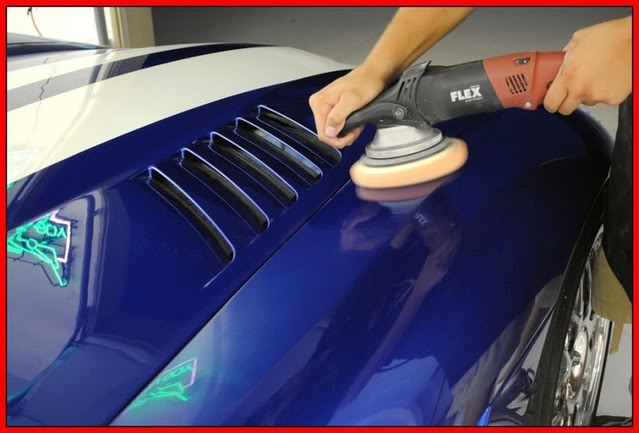
Next
I polished everything with my flex 3401 using a LC tangerine Hydrotech pad and M205
Name:  141e4001.jpg
Views: 63
Size:  45.4 KB

Name:  f193c22a.jpg
Views: 64
Size:  54.3 KB

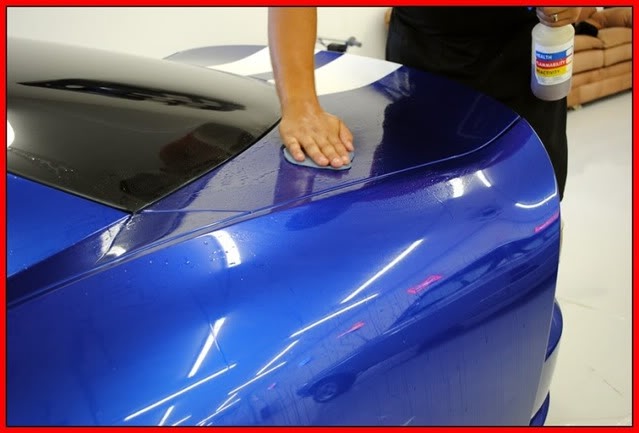
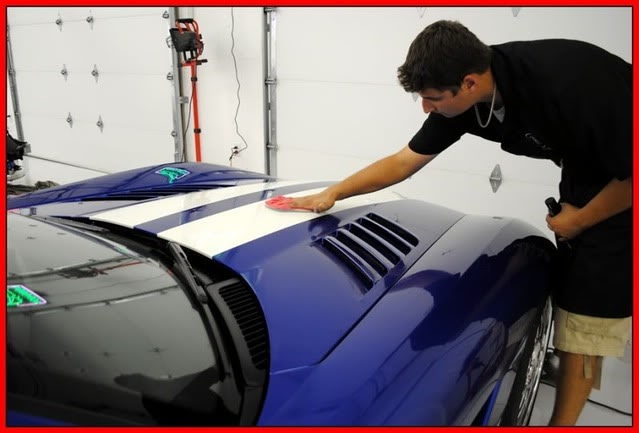
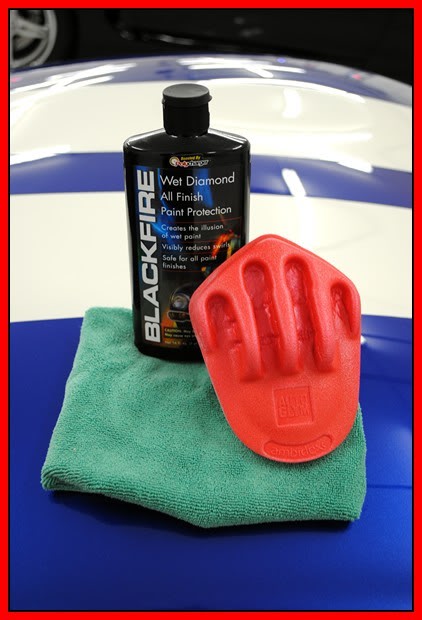
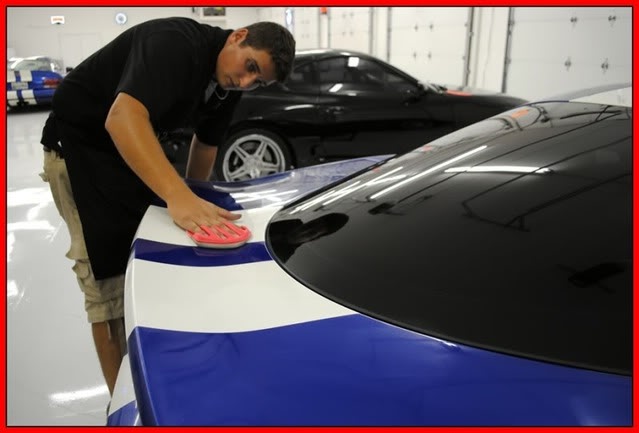
After the paint was buffed and polished it was ready for the sealant. My number one choice is always Black Fire Wet Diamond.
Name:  3faa1140.jpg
Views: 62
Size:  47.4 KB

Name:  ccddc29c.jpg
Views: 64
Size:  37.1 KB

Name:  93255d68.jpg
Views: 91
Size:  43.7 KB

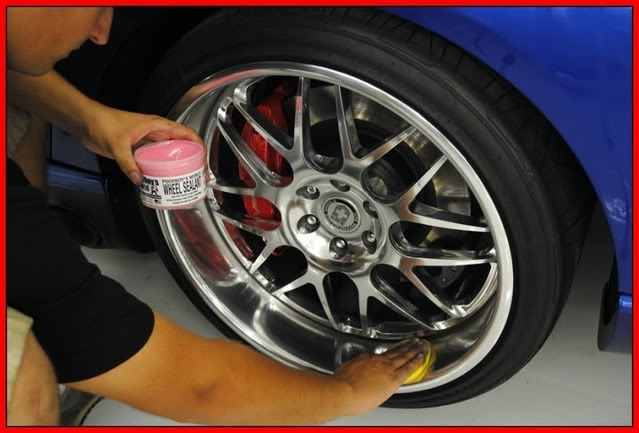
while that was drying, I applied some PB's Wheel sealant to the wheels. *I LOVE this stuff*
Name:  7637ec5d.jpg
Views: 95
Size:  49.8 KB

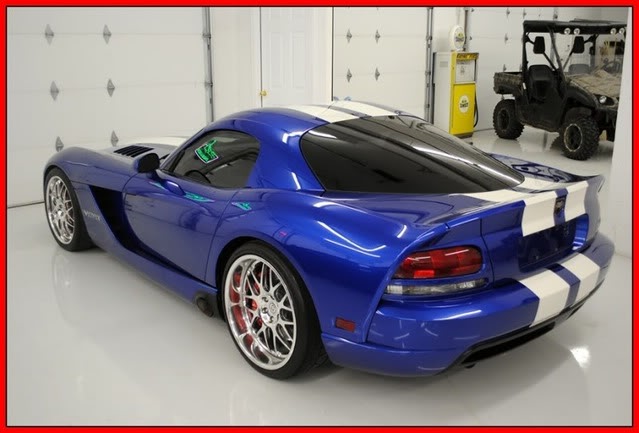
I wiped off all the sealants and shined the tires and are the Final Shots! It was midnight when I finished so there are some night shots and then came back the next morning and got some more sun shots.
Name:  b534d196.jpg
Views: 78
Size:  48.8 KB

Name:  28e5a21c.jpg
Views: 82
Size:  46.5 KB

Name:  64950fba.jpg
Views: 72
Size:  58.9 KB

Name:  96f77cb4.jpg
Views: 130
Size:  54.2 KB

Name:  92851e39.jpg
Views: 69
Size:  43.6 KB

Name:  636e161b.jpg
Views: 53
Size:  50.3 KB

Name:  549a7c18.jpg
Views: 66
Size:  50.4 KB

Name:  d557a8a2.jpg
Views: 52
Size:  63.8 KB

Name:  96f77cb4.jpg
Views: 130
Size:  54.2 KB

Name:  ccaf6611.jpg
Views: 64
Size:  92.0 KB

Name:  b91180b2.jpg
Views: 74
Size:  54.0 KB

Name:  4867bb20.jpg
Views: 72
Size:  25.2 KB

Name:  da2db8a4.jpg
Views: 75
Size:  39.8 KB

Name:  2beea4ce.jpg
Views: 67
Size:  58.1 KB


here is a Video that I threw together real quick.

YouTube - Tru Shine Detailing - 1000hp Dodge Viper SRT10 Full Paint Correction

and the other videos are also on my youtube channel.


Thanks and have a Blessed day!


Attached Images
File Type: jpg
96f77cb4.jpg (54.2 KB, 133 views)
Old Sep 20, 2010 | 08:03 PM
  #2  
angryfit's Avatar
Member
iTrader: (9)
Joined: Aug 2010
Posts: 497
From: puyallup wa
im gunna need mod lists for those supras thanks! and an adress beautiful job the viper is truely one of the only vehicles that gets me excited everytime i see it, not to sure why lol but i will own one by 30 im only 21 i have some time
 
Old Sep 21, 2010 | 02:54 AM
  #3  
trancedsailor's Avatar
Member
iTrader: (6)
Joined: Apr 2008
Posts: 4,235
From: Holmdel, NJ --Exit 114
that's one hell of a job there, man. Excellent stuff. That's my dream garage you get to work in
 
Old Sep 21, 2010 | 07:28 PM
  #4  
honda2112's Avatar
Member
5 Year Member
iTrader: (1)
Joined: Sep 2006
Posts: 315
From: Springfield, MA
I'd like to meet Jewel, and do terrible things to her!

I actually just finished up my car today, practice makes perfect, getting better and better. Just need to test a wet sanding now.
 
Old Sep 22, 2010 | 01:34 AM
  #5  
bmxman's Avatar
Member
5 Year Member
iTrader: (2)
Joined: Aug 2009
Posts: 894
From: Vancouver Island, BC
how much does a treatment like that typically cost?
 
Old Sep 22, 2010 | 04:46 PM
  #6  
Fallen_Rock's Avatar
Thread Starter
|
Member
iTrader: (2)
Joined: Jun 2009
Posts: 365
From: Knoxville TN
Originally Posted by bmxman
how much does a treatment like that typically cost?


this one was around $600, but each car is different
 
Old Oct 13, 2010 | 01:29 AM
  #7  
Vash's Avatar
Member
Joined: Aug 2009
Posts: 1,053
From: North Carolina
5 Year Member
all of your work is simply amazing
 
Old Oct 13, 2010 | 09:52 PM
  #8  
DecalDude's Avatar
Merchant / Group Buy Organizer ( non-certified )
Joined: Sep 2010
Posts: 374
From: Ga
come on man why ya gotta show my cars to everyone =D
 
Old Oct 18, 2010 | 01:37 AM
  #9  
KweenJD's Avatar
Member
Joined: Sep 2010
Posts: 28
From: Santa Ana, CA
really nice! I need something like this done to my car. Too much $$$. I'll stick to cheaper DIYs haha.
 
Related Topics
Thread
Thread Starter
Forum
Replies
Last Post
FELIXY69
Fit Photos & Videos
13
Sep 1, 2010 07:15 AM
FELIXY69
Fit Photos & Videos
9
May 4, 2010 09:33 PM
FELIXY69
Fit Photos & Videos
22
Apr 19, 2010 07:25 PM
FELIXY69
Fit Photos & Videos
42
Jan 12, 2009 07:01 PM
FELIXY69
Fit Photos & Videos
26
Oct 4, 2008 01:01 AM


All times are GMT -4. The time now is 05:57 PM.