
DIY: Changing Headlight Bulbs

DIY: Changing Headlight Bulbs
Since there actually is not a real DIY for changing headlights/parking lights at all, I figured I would go ahead and make one today.
Disclaimer: The following is provided as a GUIDE ONLY, and neither myself, nor FITFREAK.NET endorse, recommend, encourage, nor take any responsibility for the possible outcomes of performing this DIY. You follow these steps at your own risk.
Step 1: Get a jack, set the parking brake, and chock the rear tires for safety reasons.
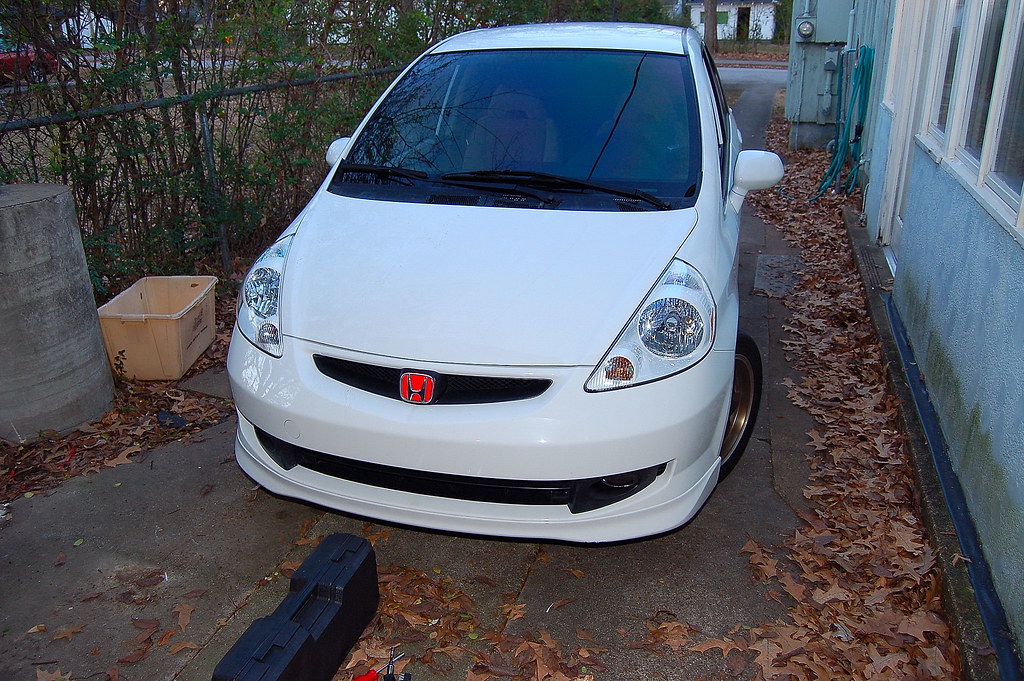
Step 2: Jack up one side of the vehicle. Check the owners manual to see where to actually place the jack before jacking it up
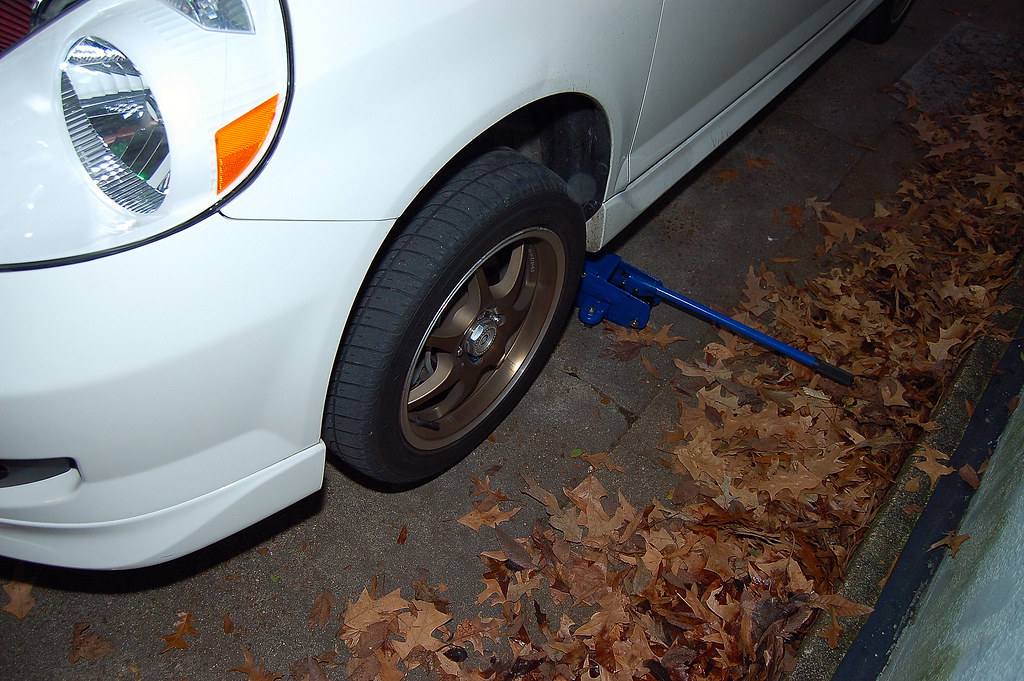
Step 3: Remove the front wheel from the car.
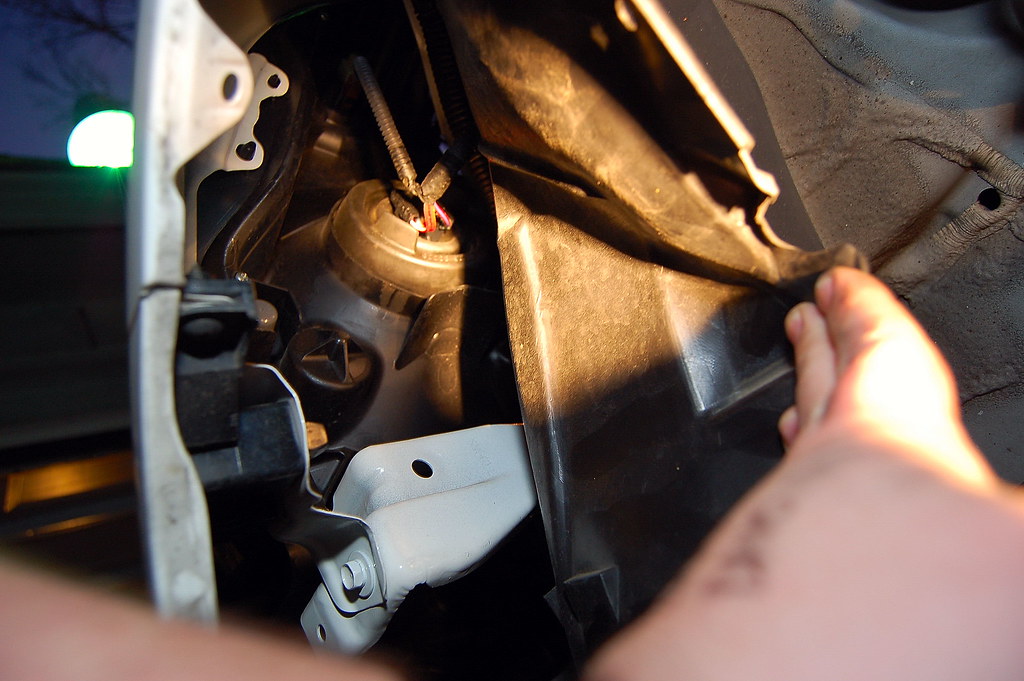
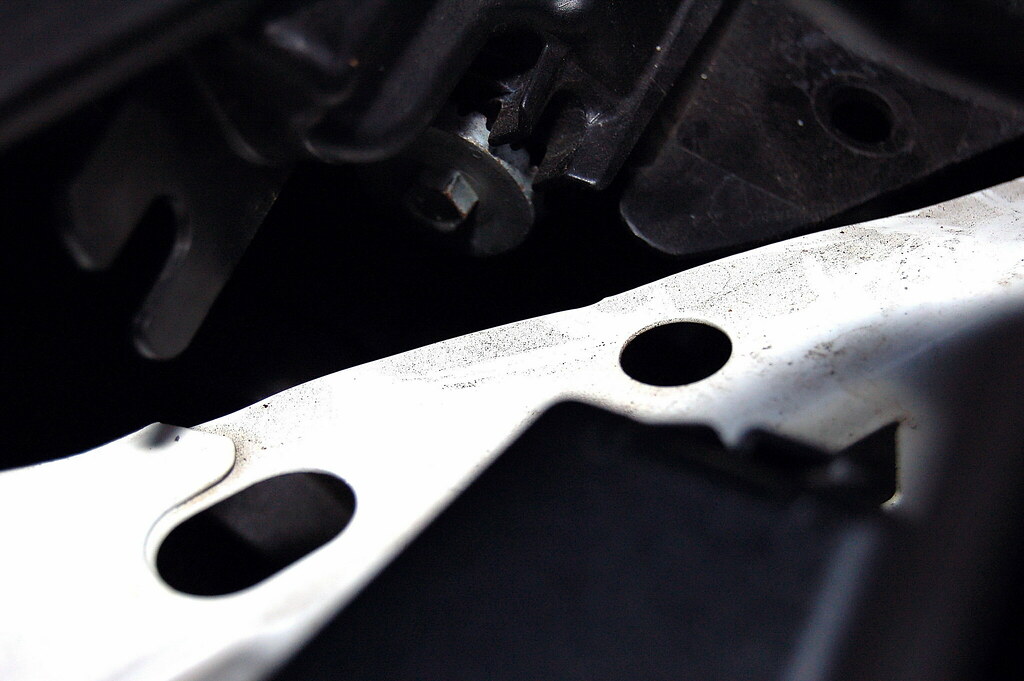
Step 4: Take notice of the retaining clip the connects the inner fender liner to the fender that is right next to the bright light spot to the left. It is really the only retaining clip you have to remove. The liner will move enough to reach the bulb without removing any other clips.

Step 5: When you pull back the fender liner you can see the headlight bulb wiring harness and seal.
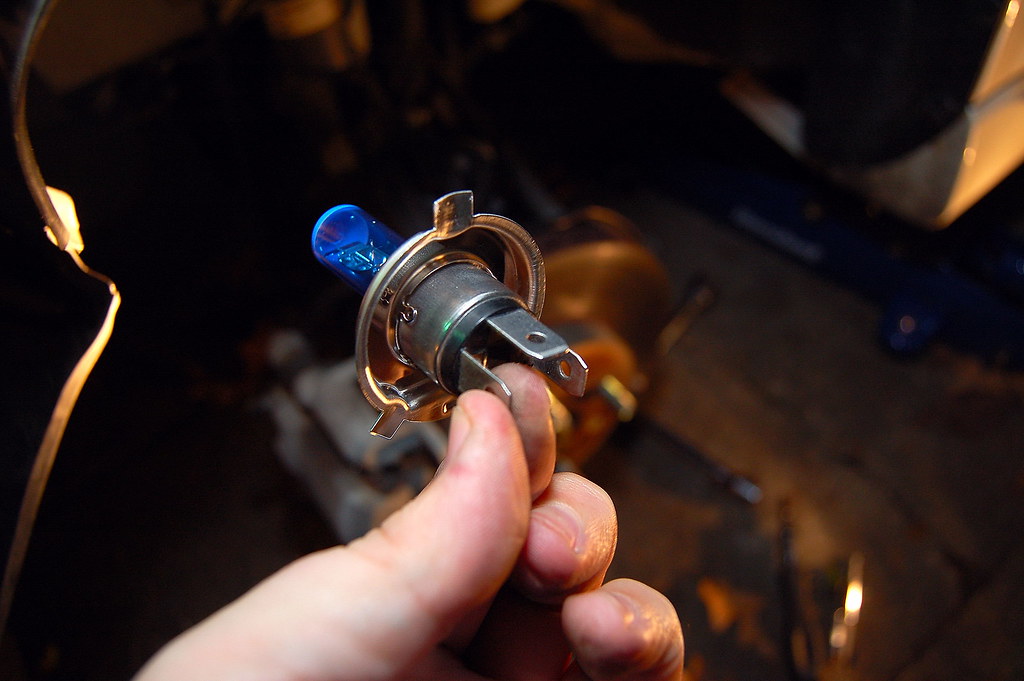
Step 6: Remove the harness clip from the bulb terminal and remove the rubber seal. Here you can see the retaining clip that holds the bulb in. You will need to push it in and toward the top to release the bulb. Take notice the pattern of the 3 light bulb rear terminals. The middle horizontal terminal is located on the top with the vertical terminals on either side.
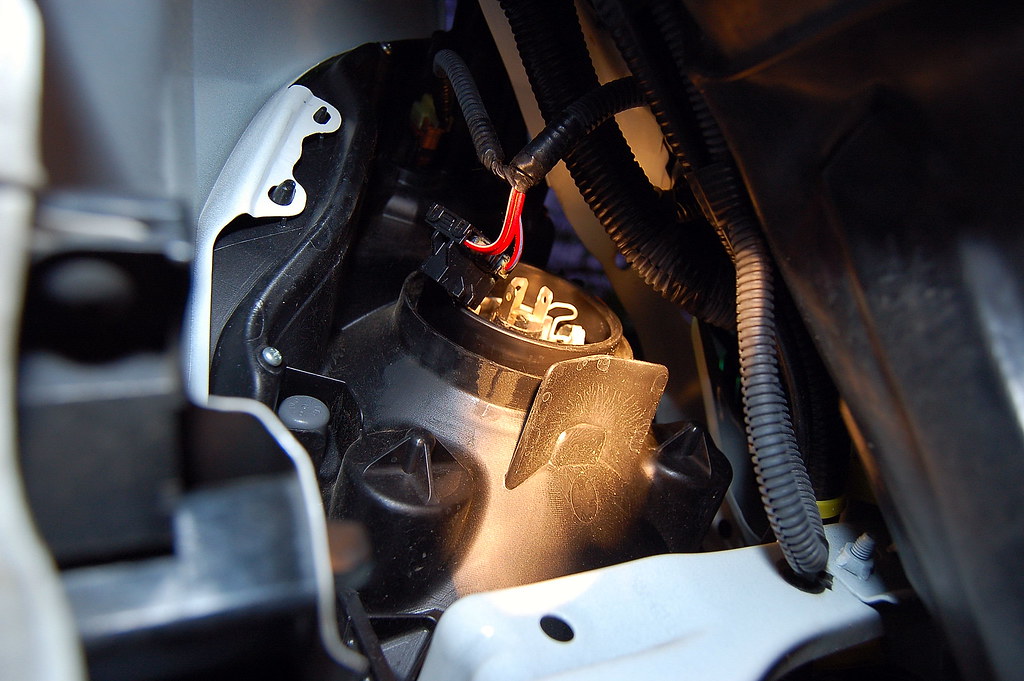
Here is the new bulb I am installing. It is a bulb I got from a motorcycle shop. It's an H4 bulb with 90w low and 100w high beam. They are super bright and look awesome. Notice again the middle terminal is on the top.
Step 7: Place the new bulb in and push in the retaining clip in and down.

Step 8: Then you want to replace the rubber seal making sure all three terminals poke through the center. Then replace the harness clip.
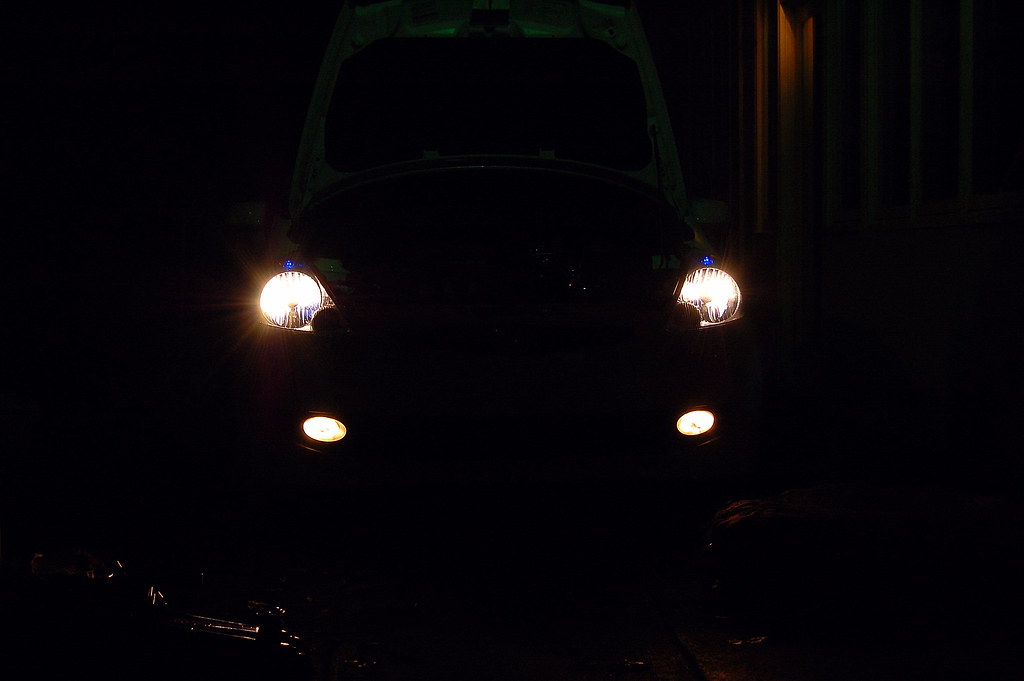
Here you can see a SilverStar Ultra H4 on the left and the new 90/100w H4 on the right. It is considerably brighter. I did not have the camera on a tripod and there seems to be some glare or blooming, but it's only showing that way in the picture. I thought the SilverStar Ultras looked good and bright, but man they pale in comparison to these new 90/100w H4s.

Step 9+: Repeat the proceeding steps for the passenger side. Then replace the wheels and make sure the lugnuts are torqued properly.
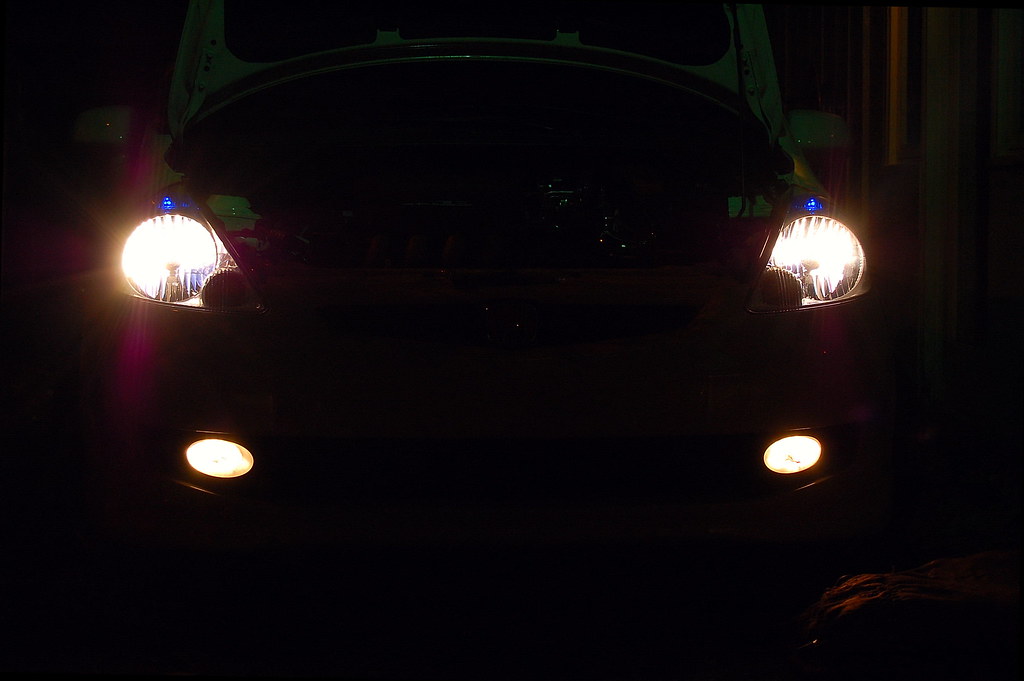
Here are what both new H4 bulbs look like.
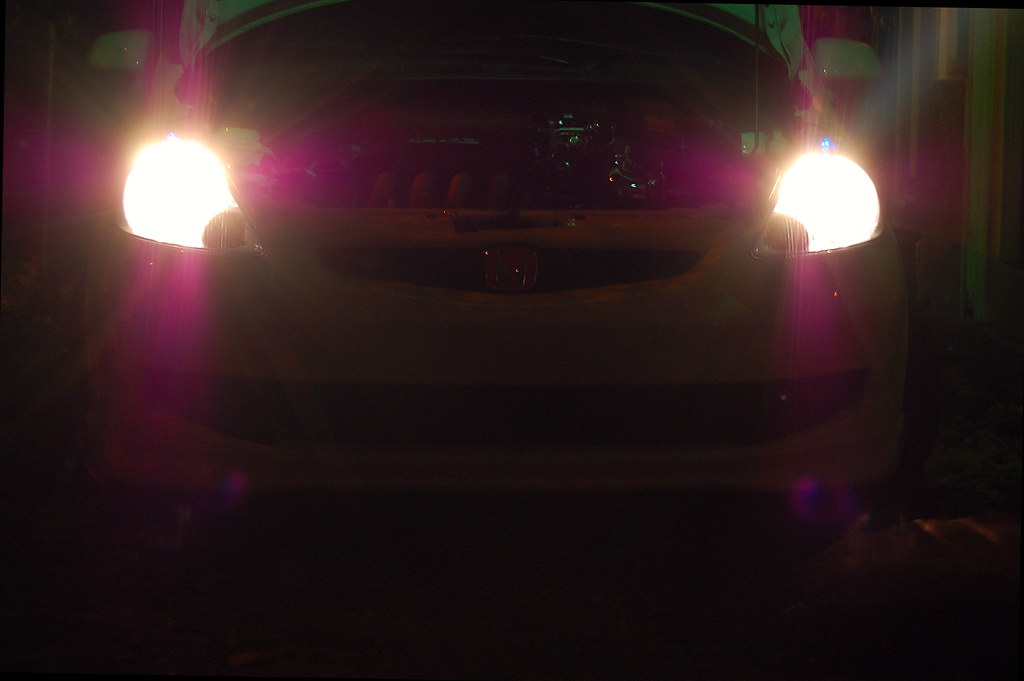
And here are the brights.

For adjustment:
And to adjust the vertical position of the headlights you want to turn the following silver colored gears clockwise to raise and counter-clockwise to lower them. You can use an 8mm wrench or a Phillips screwdriver to adjust the gear. There are other threads that address the adjustment of the headlights.
Passenger Side gear:

Driver side gear:
Disclaimer: The following is provided as a GUIDE ONLY, and neither myself, nor FITFREAK.NET endorse, recommend, encourage, nor take any responsibility for the possible outcomes of performing this DIY. You follow these steps at your own risk.
Step 1: Get a jack, set the parking brake, and chock the rear tires for safety reasons.
Step 2: Jack up one side of the vehicle. Check the owners manual to see where to actually place the jack before jacking it up
Step 3: Remove the front wheel from the car.
Step 4: Take notice of the retaining clip the connects the inner fender liner to the fender that is right next to the bright light spot to the left. It is really the only retaining clip you have to remove. The liner will move enough to reach the bulb without removing any other clips.
Step 5: When you pull back the fender liner you can see the headlight bulb wiring harness and seal.
Step 6: Remove the harness clip from the bulb terminal and remove the rubber seal. Here you can see the retaining clip that holds the bulb in. You will need to push it in and toward the top to release the bulb. Take notice the pattern of the 3 light bulb rear terminals. The middle horizontal terminal is located on the top with the vertical terminals on either side.
Here is the new bulb I am installing. It is a bulb I got from a motorcycle shop. It's an H4 bulb with 90w low and 100w high beam. They are super bright and look awesome. Notice again the middle terminal is on the top.
Step 7: Place the new bulb in and push in the retaining clip in and down.
Step 8: Then you want to replace the rubber seal making sure all three terminals poke through the center. Then replace the harness clip.
Here you can see a SilverStar Ultra H4 on the left and the new 90/100w H4 on the right. It is considerably brighter. I did not have the camera on a tripod and there seems to be some glare or blooming, but it's only showing that way in the picture. I thought the SilverStar Ultras looked good and bright, but man they pale in comparison to these new 90/100w H4s.
Step 9+: Repeat the proceeding steps for the passenger side. Then replace the wheels and make sure the lugnuts are torqued properly.
Here are what both new H4 bulbs look like.
And here are the brights.
For adjustment:
And to adjust the vertical position of the headlights you want to turn the following silver colored gears clockwise to raise and counter-clockwise to lower them. You can use an 8mm wrench or a Phillips screwdriver to adjust the gear. There are other threads that address the adjustment of the headlights.
Passenger Side gear:
Driver side gear:

i wish i saw this earlier. I changed my bulbs today, and unhooking that metal wire holding the bulb was such a PITA! But I just locked the wheel to get more space in the wheel well and replaced the bulbs without having to take off the wheels.

Member
Joined: Jul 2009
Posts: 405
From: Phoenix
Why does Honda persist in using that wacked-out spring for their bulbs? I hated it on my 95 Civic, and still hate it on my 09 Fit! Put Silverstar Ultras in and they are better than stock, but not a huge amount. Now need to raise the aiming point.

Member
Joined: Jul 2009
Posts: 405
From: Phoenix
You can definately access the bulbs from the hood on an 09, but they have that idiotic spring to deal with. Can't believe that Honda still uses that bulb and mount. if it's like my old PT Cruiser, through the wheel well was the only way. I lost about a pint of blood replacing those! Razor sharp edges, braces and angles. The wires were cut through by the bare metal before I even got them out.


New Member
Joined: Aug 2009
Posts: 9
From: Las Vegas NV

I need to replace the yellow lamp above the headlight up in the corner. Do I need to use this method and reach up where that other wire goes and plugs in to remove and replace that bulb? and is it fastened in the same way as the headlight? and which bulb is it? can't figure out what I need to find to replace it with. thanks!
Last edited by VegasFit; Apr 20, 2013 at 10:04 PM.


New Member
Joined: Nov 2017
Posts: 7
From: Buckeye, AZ
Just an update, I replaced the bulbs on my 2007 Fit this weekend (Osram Nightbreakers). I am 5"11 175 lbs and I was able to replace them by just turning the wheels all the way and removing two clips from the fender well. I ordered new clips along with the bulbs, so I could just put in fresh ones.
The driver side is more difficult, as there is another cable assembly behind the light that gets in the way. But, all told, about 30 minutes.
The driver side is more difficult, as there is another cable assembly behind the light that gets in the way. But, all told, about 30 minutes.
Member
Joined: Feb 2008
Posts: 4,329
From: Cleveland, GA
I hate fender liners so much that we just remove the whole front fascia. I know that sounds ridiculous, but it comes off quickly and painlessly. That gives access to the bolts that hold the lights to the chassis. We remove the headlight assembly entirely and then can access all bulbs with ease. Grants easy access to the foglights as well. I'm usually changing all bulbs at one time, so it makes sense for us.
The method in this DIY is the correct and fastest way to go. Just don't get frustrated if there's something you can't reach. Can always go with my method if needed.
The method in this DIY is the correct and fastest way to go. Just don't get frustrated if there's something you can't reach. Can always go with my method if needed.
New Member
Joined: Nov 2017
Posts: 7
From: Buckeye, AZ
Just an update, I replaced the bulbs on my 2007 Fit this weekend (Osram Nightbreakers). I am 5"11 175 lbs and I was able to replace them by just turning the wheels all the way and removing two clips from the fender well. I ordered new clips along with the bulbs, so I could just put in fresh ones.
The driver side is more difficult, as there is another cable assembly behind the light that gets in the way. But, all told, about 30 minutes.
The driver side is more difficult, as there is another cable assembly behind the light that gets in the way. But, all told, about 30 minutes.

Thread
Thread Starter
Forum
Replies
Last Post