
My Headliner, Take 2


My Headliner, Take 2
So this is my second headliner attempt (actually third, but tape as my second was temporary)
This was the first try:
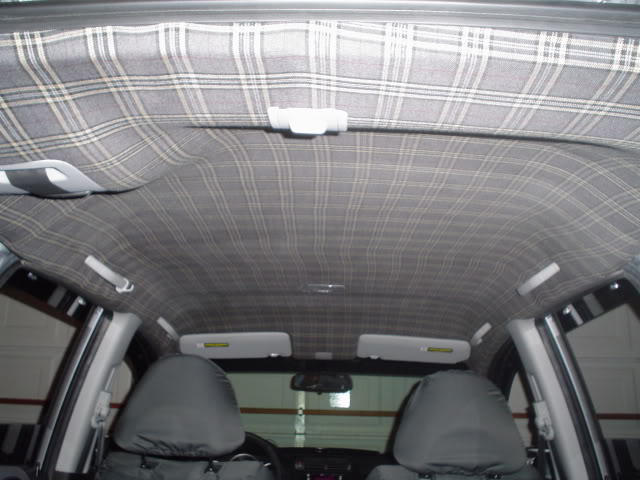
I really like the material but it started to come down in some places after a short period of time. DON'T USE 3M SUPPER 77, unless you want it to come down.
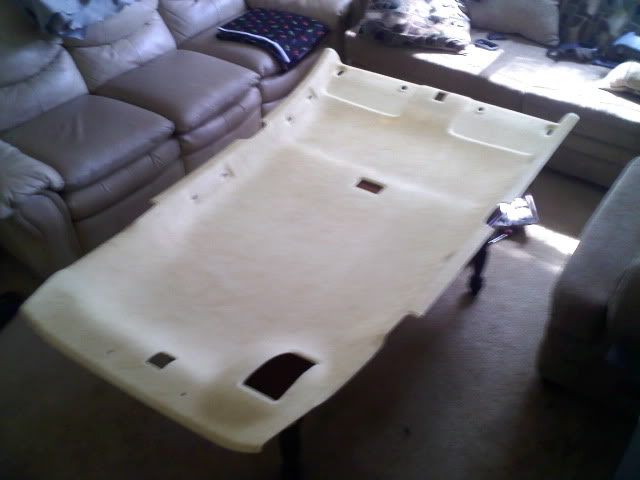
Next I stripped the old material off the headliner and was left with the naked base
Then a headliner ghost appeard out of no where
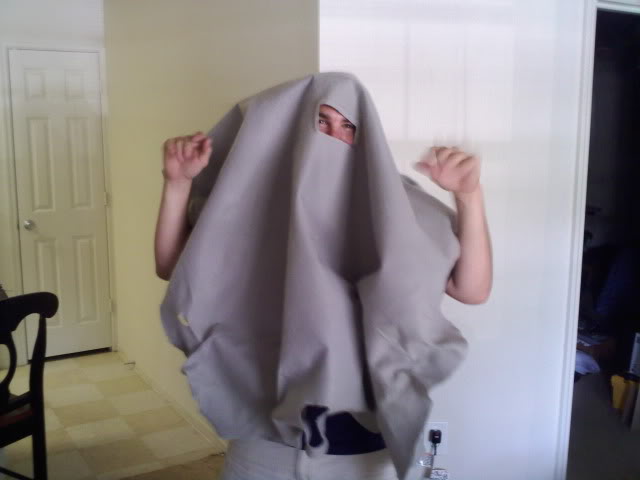
Scary, huh? My friend and helper thought it would make a good haloween coustume.
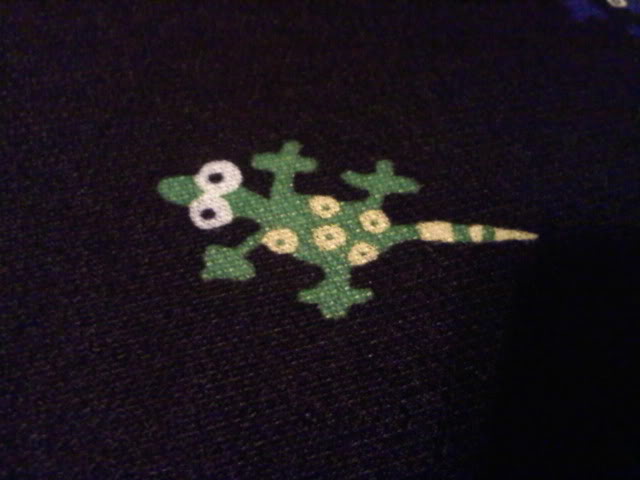
Test fitting the material
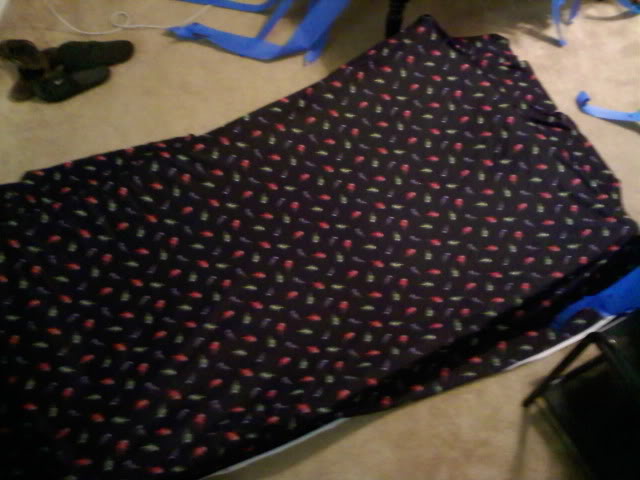
Yes they are geckos

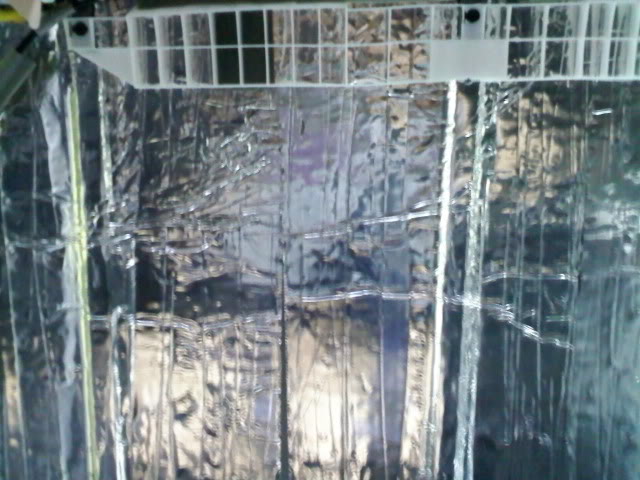
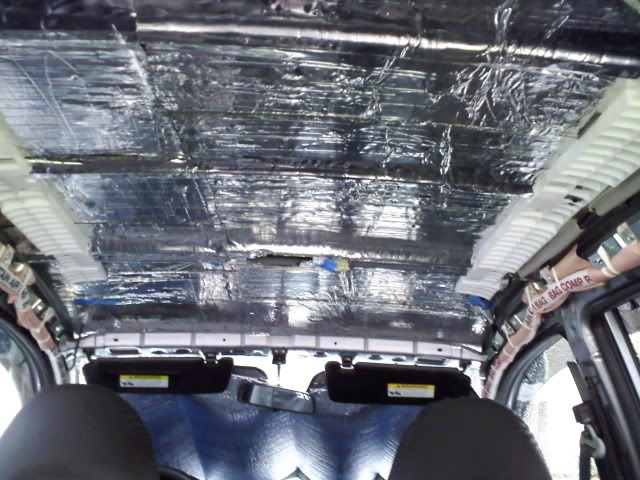
I then took some pictures of my roof deadening as I forgot to do so when I put it in
healiner glued on with contact cement

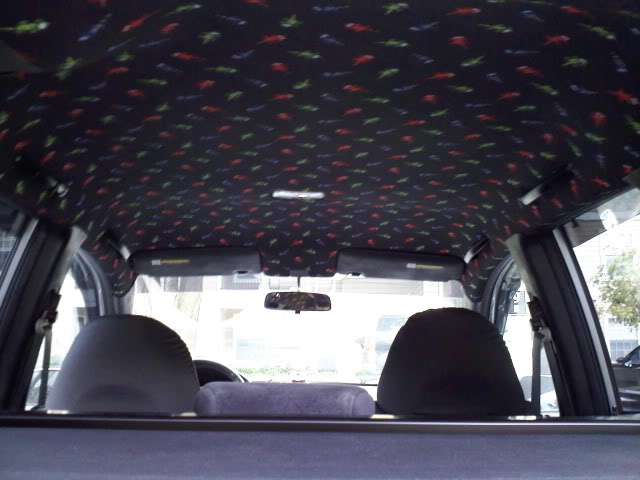
Finished pic along with the rest of the black interior
That is all. Hopefully it wont come down this time around. The contact cement is rated to 150+ degrees so it should be enough.
This was the first try:
I really like the material but it started to come down in some places after a short period of time. DON'T USE 3M SUPPER 77, unless you want it to come down.
Next I stripped the old material off the headliner and was left with the naked base
Then a headliner ghost appeard out of no where
Scary, huh? My friend and helper thought it would make a good haloween coustume.
Test fitting the material
Yes they are geckos
I then took some pictures of my roof deadening as I forgot to do so when I put it in
healiner glued on with contact cement
Finished pic along with the rest of the black interior
That is all. Hopefully it wont come down this time around. The contact cement is rated to 150+ degrees so it should be enough.

I found it at one of the JoAnnes locally. It was in the giant clearance pile. It was $5 a yard which is a steal. On top of that I had a coupon for 10% off. If you are looking for something make sure that it is wide enough (forgot how wide it has to be but mine was 60in and I had plently left on the sides) and that it is not too thin. My material was a bit on the thin side. You need to be very careful with thin materials or the contact cement will go right through.
Well since I wished there was a write up of when I did this the first time and from a PM I got, I decided to kind of put one together.
Headliner removal guide:
In this guide you will be taking many plastic panels off of your car. Myself nor FitFreak.net are not responsible if you break any clips or anything else during the process.
Tools needed:
phillips head screwdriver
very small eyeglass size flathead
torx screwdriver (I used a t20)
clip puller
metric sockets
a helper for a second set of hands is nice
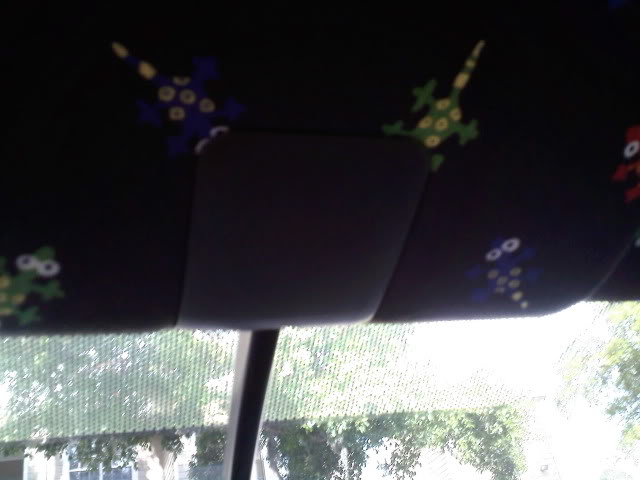
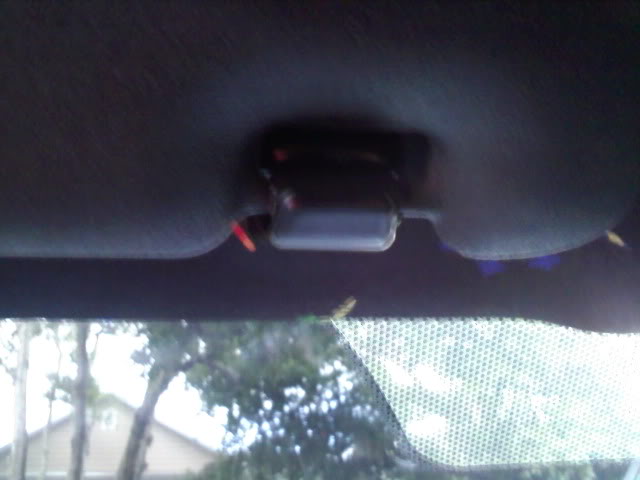
Step 1: Remove the cover by the rear view mirror. Just slide it out forward toward the windshield.
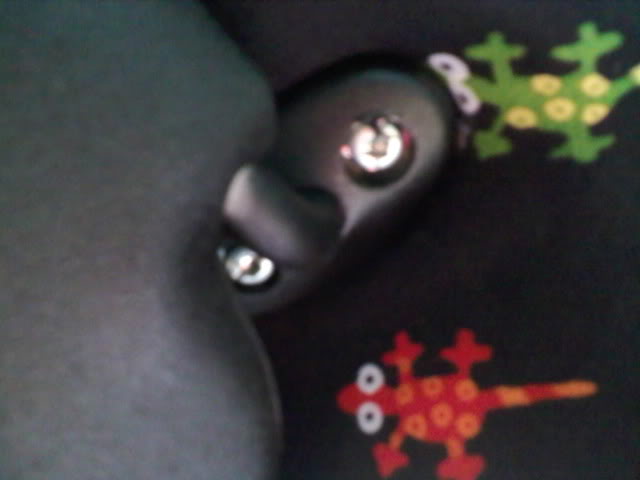
Step 2: Remove the three phillips screws holding the rear view on, then remove the mirror
Step 3: Remove the two torx screws holding the sun visor on (you can also use a flathead instead)
Step 4: Remove the mount things for the sun visor by twisting them 90 degress in whichever direction is easier, then pulling down.
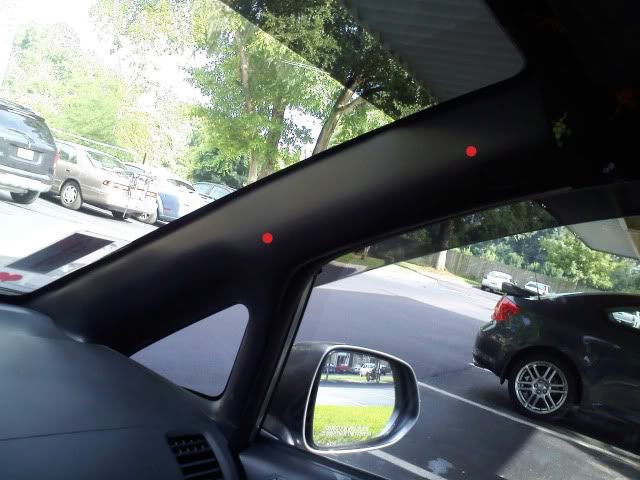
Step 5: Next is removing the A pillar. There isnt an easy way to do this. The top clip is damn near impossible to get out (someone know an easier way?). Removing the weatherstriping around the outside of the door frame in that area can help. Red dots are about where the clips are. The A pillar is two separate pieces if the bottom piece stays in just pull it out. It is held in by some small tabs. Repeat for the other side.
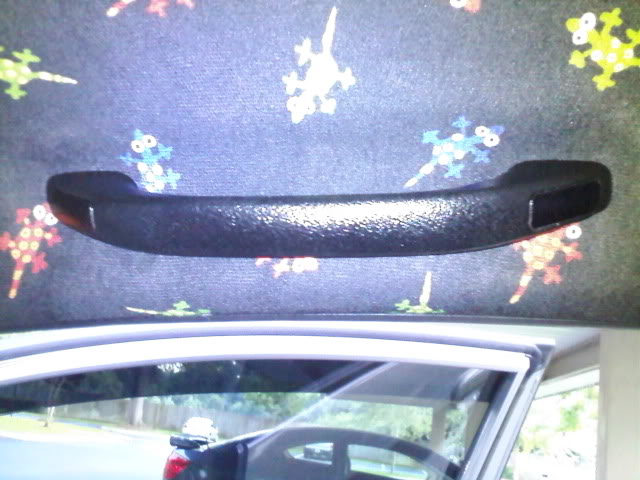
Step 6: Remove the "Oh-Shit" handles. remove the covers on both sides with the small flathead. then remove the phillips screw on each side. Repeat for the other three.
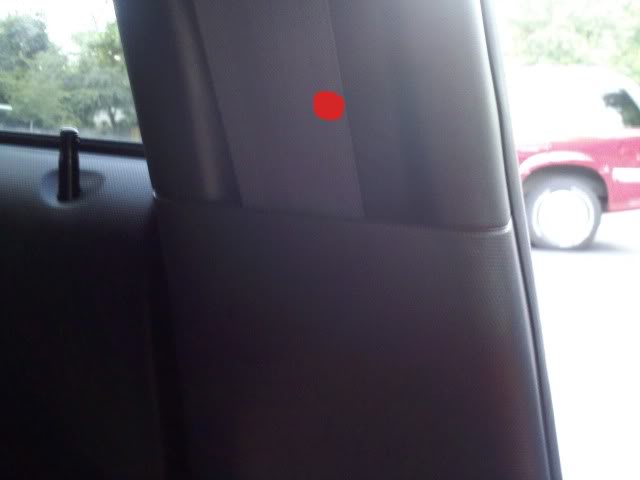
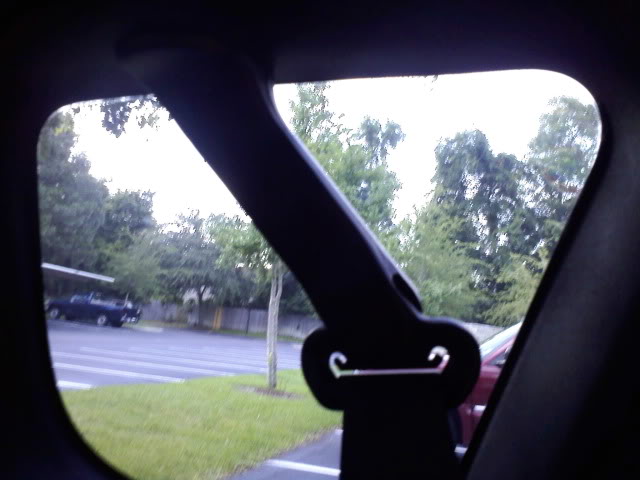
Step 7: Remove the top part of the panel below the B pillar. Pull outwards on the area that the seat belt comes out of. Then pull the bottom of the B pillar outwards to remove the clip. Then you can just slide them down a bit so they are out of the way. This red dot is the only clip location on the B pillar. Repeat for the other side.
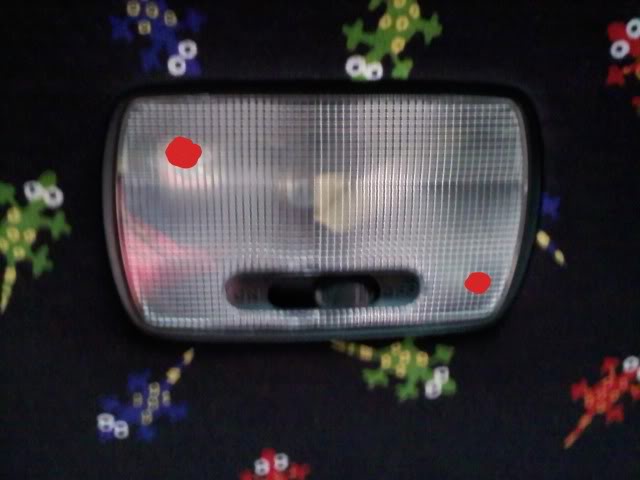
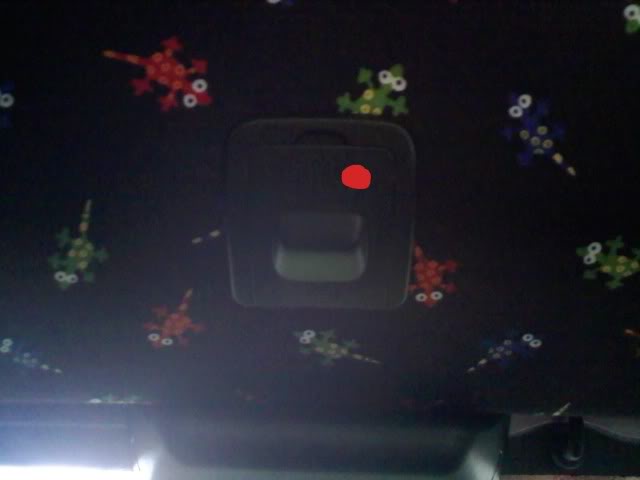
Step 8: Remove the dome light by first removing the inner clear plastic piece with a small flathead. Then remove the two phillips screws shown by the red dots. Then disconnect the wiring connector from the assembly.
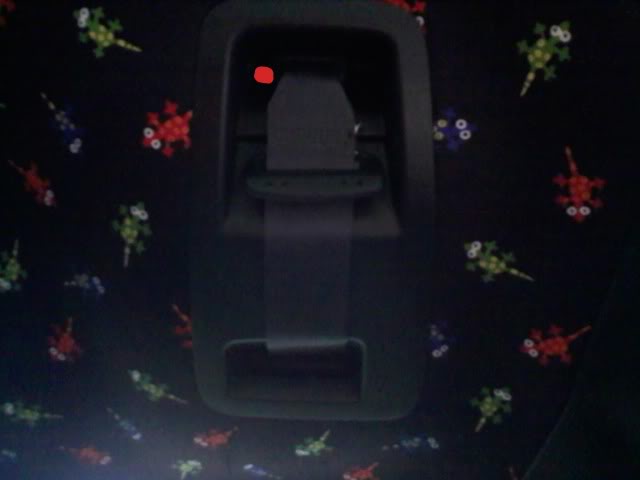
Step 9: Remove the plastic covering for the middle seat belt. I think there is only one clip in the area that I marked red. Either way it is easy to get out. Then remove the plastic frame if it does not come off with the first piece.
Step 10: Remove the other plastic covering shown. The red dot shows where the clip is (it could be on another corner but I think its right)
Step 11: Remove the rear seat belts. First remove the plastic piece that covers where the bolt is near the C pillar. Then remove the bolt with a 15mm socket. Repeat for the other side
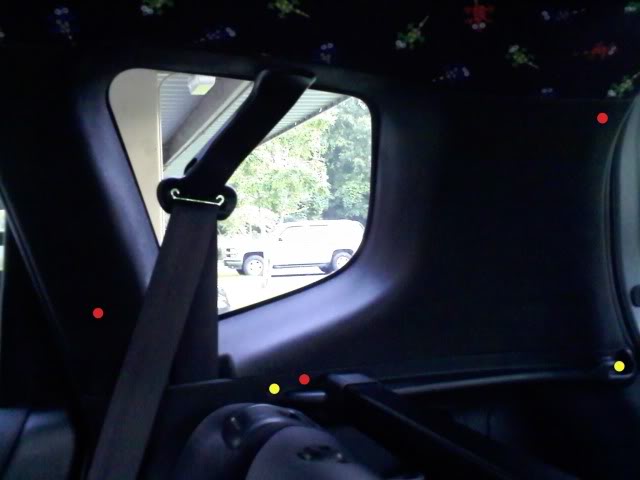
Step 12: Remove the C pillar. First remove the two phillips screws shown by the yellow dots. Then pull the lower panel outwards. pop the clips out of place, shown as red dots, and then the panel should be able to come out downward. Repeat for the other side.
Step 13: Remove the headliner. The front is too wide to come out of the hatch. It takes a little convincing to squeeze it out.
I hope that was all the steps that are necessary to remove the headliner. If anyone feels that I should add a step somewhere feel free to let me know and I will change it. Also if more or better (not at dusk) pictures are needed feel free to ask and I will take them.
Headliner removal guide:
In this guide you will be taking many plastic panels off of your car. Myself nor FitFreak.net are not responsible if you break any clips or anything else during the process.
Tools needed:
phillips head screwdriver
very small eyeglass size flathead
torx screwdriver (I used a t20)
clip puller
metric sockets
a helper for a second set of hands is nice
Step 1: Remove the cover by the rear view mirror. Just slide it out forward toward the windshield.
Step 2: Remove the three phillips screws holding the rear view on, then remove the mirror
Step 3: Remove the two torx screws holding the sun visor on (you can also use a flathead instead)
Step 4: Remove the mount things for the sun visor by twisting them 90 degress in whichever direction is easier, then pulling down.
Step 5: Next is removing the A pillar. There isnt an easy way to do this. The top clip is damn near impossible to get out (someone know an easier way?). Removing the weatherstriping around the outside of the door frame in that area can help. Red dots are about where the clips are. The A pillar is two separate pieces if the bottom piece stays in just pull it out. It is held in by some small tabs. Repeat for the other side.
Step 6: Remove the "Oh-Shit" handles. remove the covers on both sides with the small flathead. then remove the phillips screw on each side. Repeat for the other three.
Step 7: Remove the top part of the panel below the B pillar. Pull outwards on the area that the seat belt comes out of. Then pull the bottom of the B pillar outwards to remove the clip. Then you can just slide them down a bit so they are out of the way. This red dot is the only clip location on the B pillar. Repeat for the other side.
Step 8: Remove the dome light by first removing the inner clear plastic piece with a small flathead. Then remove the two phillips screws shown by the red dots. Then disconnect the wiring connector from the assembly.
Step 9: Remove the plastic covering for the middle seat belt. I think there is only one clip in the area that I marked red. Either way it is easy to get out. Then remove the plastic frame if it does not come off with the first piece.
Step 10: Remove the other plastic covering shown. The red dot shows where the clip is (it could be on another corner but I think its right)
Step 11: Remove the rear seat belts. First remove the plastic piece that covers where the bolt is near the C pillar. Then remove the bolt with a 15mm socket. Repeat for the other side
Step 12: Remove the C pillar. First remove the two phillips screws shown by the yellow dots. Then pull the lower panel outwards. pop the clips out of place, shown as red dots, and then the panel should be able to come out downward. Repeat for the other side.
Step 13: Remove the headliner. The front is too wide to come out of the hatch. It takes a little convincing to squeeze it out.
I hope that was all the steps that are necessary to remove the headliner. If anyone feels that I should add a step somewhere feel free to let me know and I will change it. Also if more or better (not at dusk) pictures are needed feel free to ask and I will take them.


Thanks for all comments everyone
The roof deadening helps a good amount in my opinion. The roof is very solid now. It still has some movement to it with my system turned up, but way less that it had before.
If you have access to an air compressor and a spray gun, spraying the contact cement on both surfaces would be the easiest and give the lowest chance of it seeping through the material. I brushed mine on since I do not have an air compressor at school. I just took my time and worked on reasonable sized sections at a time.
Yes I painted my interior panels black. It changes the whole feel of the inside along with the dark headliner.
Last edited by mike410; Jun 8, 2009 at 11:33 AM.
