
Skunk2 Pro-C Groupbuy Tax refund special $850 Free Shipping!


Member
Joined: Jan 2011
Posts: 246
From: LA CA


Member
Joined: May 2010
Posts: 61
From: San Diego
I was thinking about that but I doubt it. The tension from from the other side still keeps it in place. I was worried about dips on the freeway when the rear lifts and the spring might come out, but it doesn't lift high enough for that to happen.
Member
Joined: Jan 2011
Posts: 246
From: LA CA
okay! i just got done with messing with it! heres is wat i did, i ended up taking out the bottom rubber thing, and replacing it with some all weather rubber floor mate (its skinnier) then i just removed the 2 black lock rings, and jsut used the spring perch. then i took the smaller ring and put in on the spring perch in the middle of the spring so that the 2 can come completely apart, this ensures i will not loss a spring on the free way!
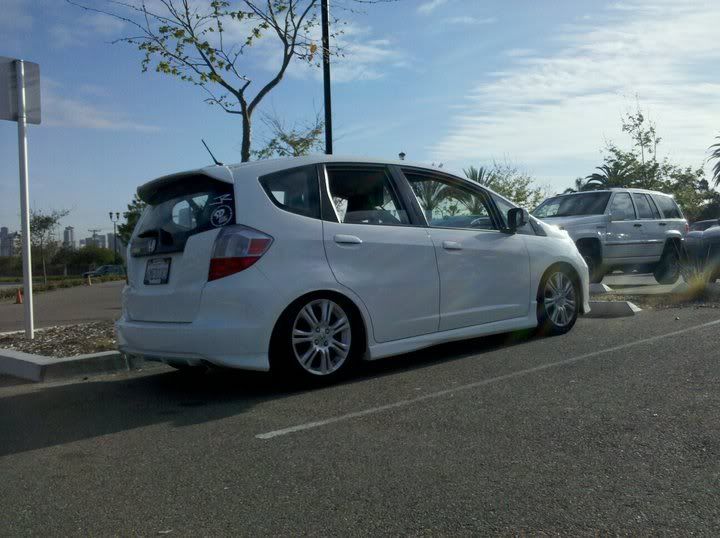
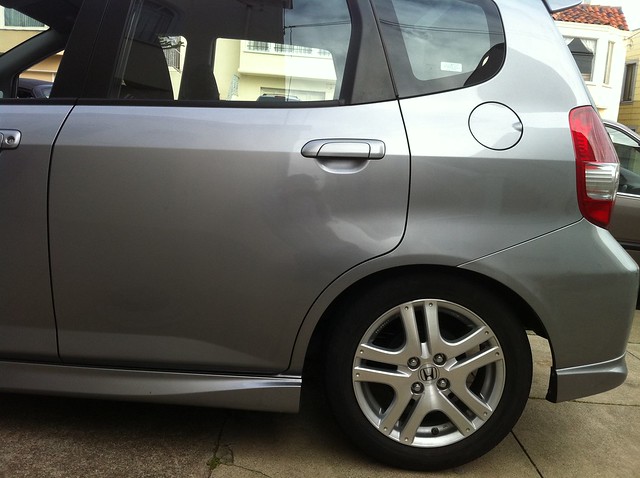
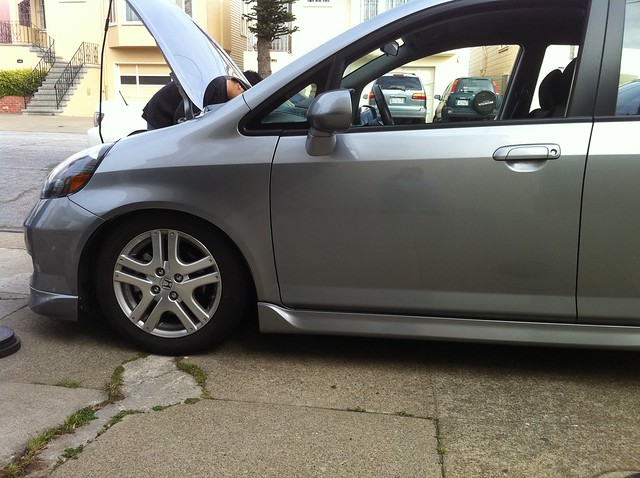
before: (i was super disapointed at the rake)

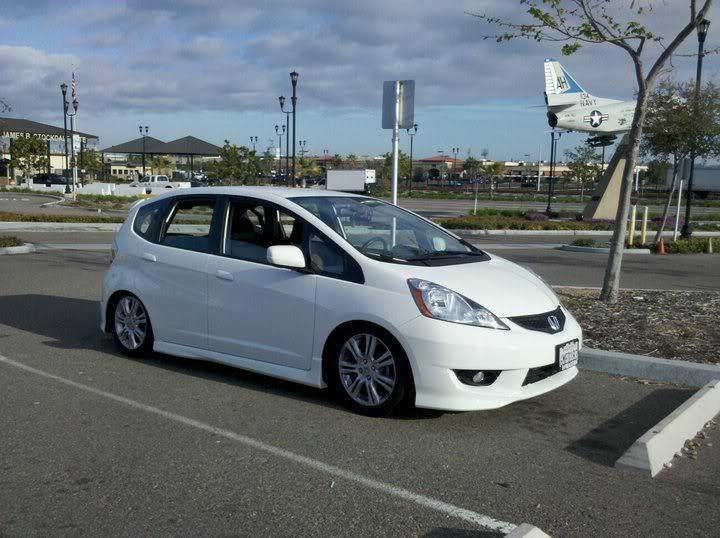
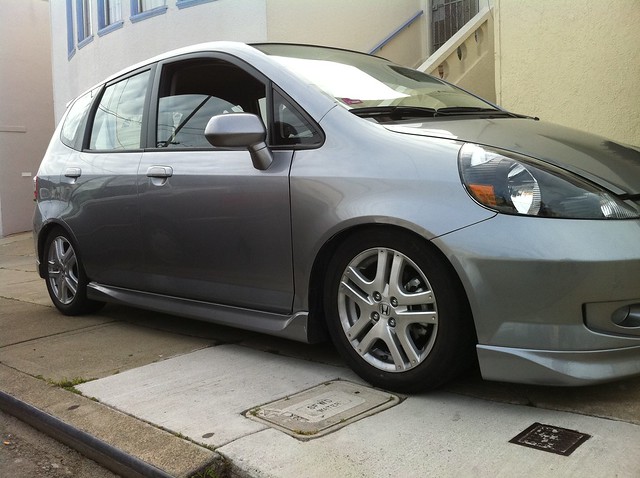
after: (hard to tell in this dark photo but its much better!)

before: (i was super disapointed at the rake)
after: (hard to tell in this dark photo but its much better!)
Member

Joined: May 2007
Posts: 72
From: Lake Dallas, Tx
okay! i just got done with messing with it! heres is wat i did, i ended up taking out the bottom rubber thing, and replacing it with some all weather rubber floor mate (its skinnier) then i just removed the 2 black lock rings, and jsut used the spring perch. then i took the smaller ring and put in on the spring perch in the middle of the spring so that the 2 can come completely apart, this ensures i will not loss a spring on the free way!
before: (i was super disapointed at the rake)
after: (hard to tell in this dark photo but its much better!)
before: (i was super disapointed at the rake)
after: (hard to tell in this dark photo but its much better!)
Man i like the back drop of your car...where'd you get the rubber mate thing to replace the old one and also i dont get the part where you took the two rings off and then put one back on?? confused >.<


Member
Joined: May 2010
Posts: 24
From: San Francisco, CA
I had the same problem too the back wasn't drop enough what I did was remove one of the black lock rings now my rears dont have that one finger gap I'll take and post pics of the update when it stops raining lol
Member
Joined: May 2010
Posts: 61
From: San Diego
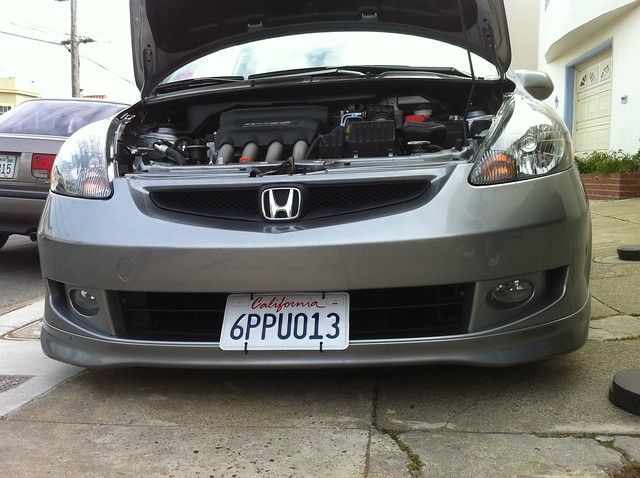
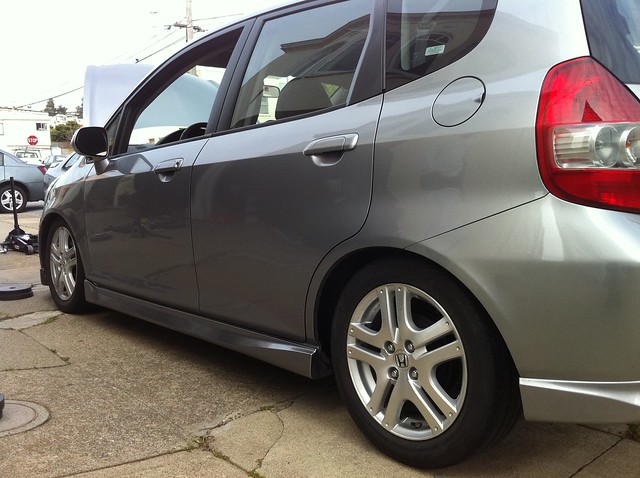
any new updates from anyone? how did the installs go? in my install process, i damaged my passenger side CV boot and my rear passenger ABS Sensor. both caused by lack of attention to detail and knowledge. so just be careful when youre working on it! the CV boot is about $450 online ($700 at the dealer) and the ABS Sensor is about $130 at the dealer. =(
BUT on another note, theyre slowly settling so now it looks better. does anyone elses creek and squeak on bumps and when you turn the wheel at a stop? im assuming that its still breaking in so thats why its still making those noises.
BUT on another note, theyre slowly settling so now it looks better. does anyone elses creek and squeak on bumps and when you turn the wheel at a stop? im assuming that its still breaking in so thats why its still making those noises.
Member
Joined: Apr 2008
Posts: 236
From: Chesapeake, VA
After initial install I waited a week to pull the wheels back off and re-tighten the installed parts. Just got back from the alignment shop. Everything is running great. Fronts tucked and rear collar removed, looks awesome and i love the ride. No weird noises or creaks.... :-D
Member
Joined: May 2010
Posts: 61
From: San Diego
Yeah, I'm pretty sure that its normal. Everyone is telling me that its going to creek like that till they're broken in.
Member
Joined: Jan 2011
Posts: 246
From: LA CA
i have now lowered mine as low as it could go while still being able to turn  and i match the back by making custom urethane bushings/spring seats. works great!
and mine make some noise every once in a while, it doesnt bother me though, cause i went back i tightened everything so i dont know what it could be?! :/
and i match the back by making custom urethane bushings/spring seats. works great!and mine make some noise every once in a while, it doesnt bother me though, cause i went back i tightened everything so i dont know what it could be?! :/
Last edited by jmag310; Mar 20, 2011 at 04:29 AM.