DIY headlight painting
#101
 04-01-2012, 08:45 AM


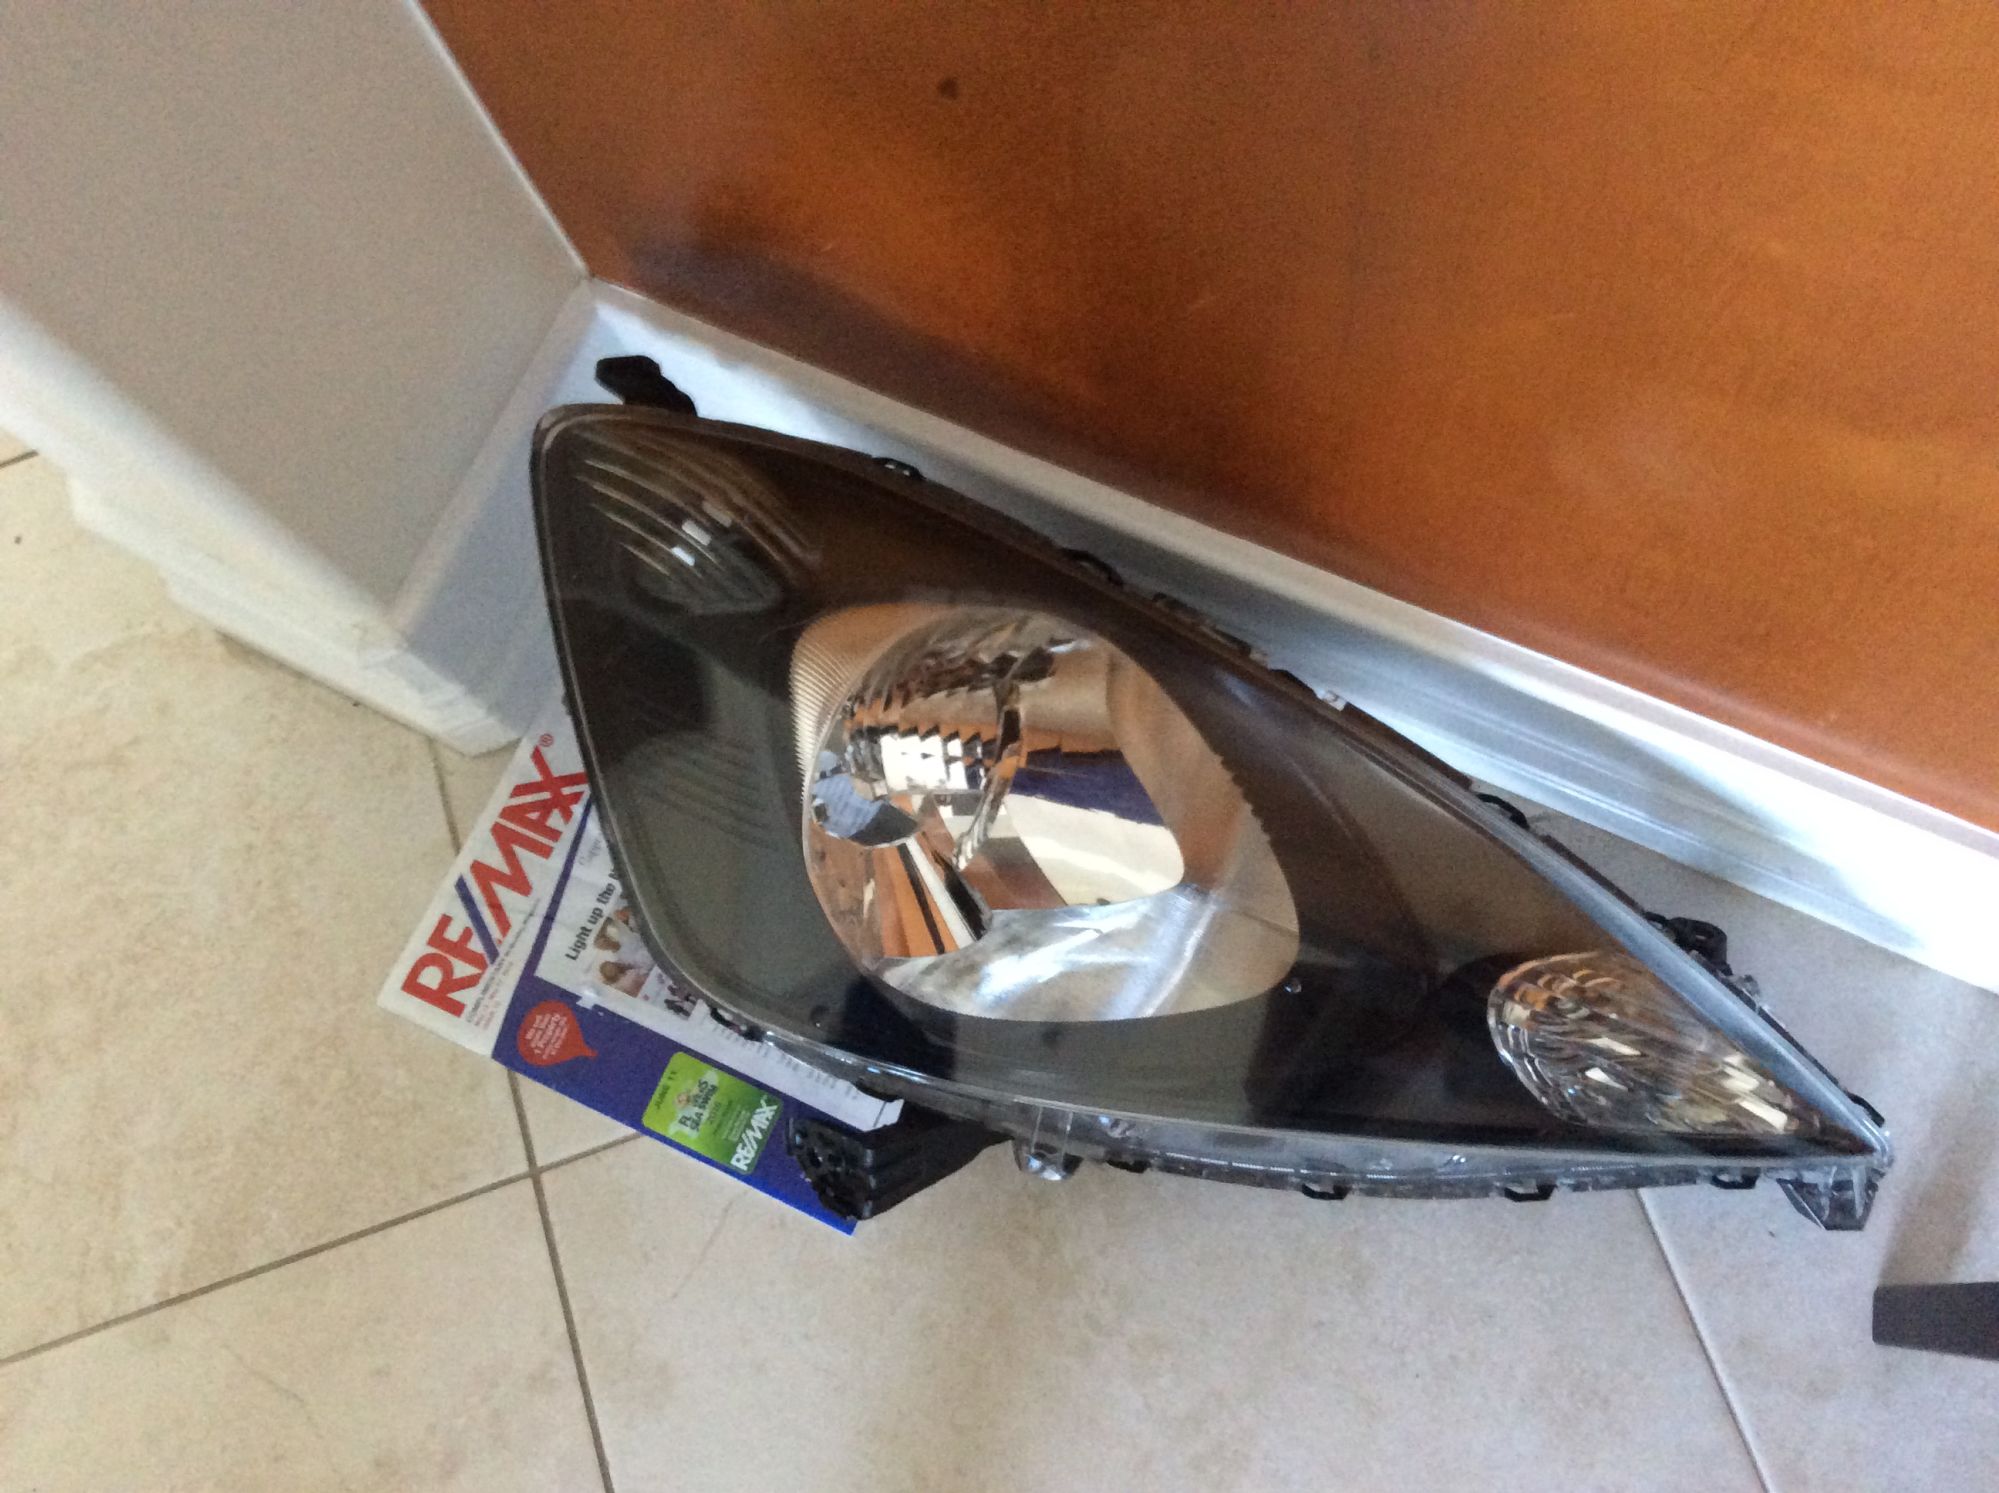
So I bought a 2nd set of Sport headlights a few weeks ago and I finally got the time to attempt this operation. Caution, noob alert. 
I have tried about 5 times and the headlights won't crack open.
BTW my oven door will not close all the way. I have tried with the oven partially open @ 300 F for 7 minutes, and 200 F for 15 minutes. The grey (sealant?) stuff was soft but I couldn't pry it open. And it wasn't soft all around, just the part of the headlights farthest from the door (makes sense it's hotter).
So my question is for those that tried it with oven doors partially open. How wide is the crack ( ) to your oven? Because mine can only close about 45 degrees and any more and it will be pinning my headlights against the inner walls (which happened on the first try and I ended up scarring the face of the headlight.) My concern is that the headlight isn't being baked evenly all the way and so it's not hot enough to make the grey stuff softer.
Also, when you guys pry it open, do you go all out and twist your flathead, effectively gouging the lip of the black back half of the headlight?
I have tried about 5 times and the headlights won't crack open.
BTW my oven door will not close all the way. I have tried with the oven partially open @ 300 F for 7 minutes, and 200 F for 15 minutes. The grey (sealant?) stuff was soft but I couldn't pry it open. And it wasn't soft all around, just the part of the headlights farthest from the door (makes sense it's hotter).
So my question is for those that tried it with oven doors partially open. How wide is the crack (
) to your oven? Because mine can only close about 45 degrees and any more and it will be pinning my headlights against the inner walls (which happened on the first try and I ended up scarring the face of the headlight.) My concern is that the headlight isn't being baked evenly all the way and so it's not hot enough to make the grey stuff softer.Also, when you guys pry it open, do you go all out and twist your flathead, effectively gouging the lip of the black back half of the headlight?
i def did some damage to the black half of the headlight. but nothing
that noticeable.
even fully heated it still is a pain to break the seal. you just have to
keep prying.

#105
06-19-2012, 01:29 PM
Fog light HID
Couple of questions for you:
What are the sizes for the fog light bulbs?
Where did you get your kit from?
What are the sizes for the fog light bulbs?
Where did you get your kit from?
#106
11-06-2012, 04:03 AM
okay before i start just like to tell everyone this is a great
time to do you horn mods.
by this i mean your alarm horn and your regular horn.
please do a search and find the Honda Accord parts #'s.
very easy plug and play. or whatever horns you desire.
Back on track now.
make sure you get yourself spay paint and
adhesion promoter.

first start off by removing your fog lights.
it's just one screw right in the front and a clip in the back.

pop your hood and take a look at my picture.
pop all these tabs off with a screw driver. i have
circled everything to make it easy.

if you noticed two of the clips are a different color.
this is because two of my clips are longer.
they yellow ones are longer and the red ones
are shorter.

time to do you horn mods.
by this i mean your alarm horn and your regular horn.
please do a search and find the Honda Accord parts #'s.
very easy plug and play. or whatever horns you desire.
Back on track now.
make sure you get yourself spay paint and
adhesion promoter.
first start off by removing your fog lights.
it's just one screw right in the front and a clip in the back.
pop your hood and take a look at my picture.
pop all these tabs off with a screw driver. i have
circled everything to make it easy.
if you noticed two of the clips are a different color.
this is because two of my clips are longer.
they yellow ones are longer and the red ones
are shorter.
hi nice diy !! i just wanted to know that is is necessary to use adhesion promoter or not.. can i just spray heat resistant black spray on the housing ?
and by chance if i get condensation how difficult is it to take apart the headlight after sealing it with silicone ?
#107
11-06-2012, 08:31 AM
hi nice diy !! i just wanted to know that is is necessary to use adhesion promoter or not.. can i just spray heat resistant black spray on the housing ?
and by chance if i get condensation how difficult is it to take apart the headlight after sealing it with silicone ?
and by chance if i get condensation how difficult is it to take apart the headlight after sealing it with silicone ?
You shouldn't have any issues with condensation. If you do, you can just cut the silicone with a razor blade, and then follow the over procedure again to reopen them.
#108
11-06-2012, 09:17 AM
Since the surface has a chrome covering, I recommend using the adhesion promoter. This will prevent chipping later. Either that, or you should sand and prime before paining.
You shouldn't have any issues with condensation. If you do, you can just cut the silicone with a razor blade, and then follow the over procedure again to reopen them.
You shouldn't have any issues with condensation. If you do, you can just cut the silicone with a razor blade, and then follow the over procedure again to reopen them.
and can i use regular silicone instead of rtv ?
Last edited by singhonwheels; 11-06-2012 at 09:22 AM.
#109
11-06-2012, 09:23 AM
Unfortunately no. The bumper cover actually clips into a bracket that is mounted on the headlight housing.
#110
11-06-2012, 09:31 AM
and can i use regular silicone instead of rtv ? will it protect it from condensation ?
#111
11-06-2012, 09:45 AM
I didn't even use silicone to be honest. I just heated the pieces back up, and put them back together using the adhesive that was left on there.
#112
11-07-2012, 12:47 PM
Went to hardware store... Got plastic primer rattle can, glossy black can and some silicone... Hope plastic primer works well in there.... I have seen people heating their lights with heat gun.. Is it good to do it that way as my oven is not very big? waiting for weekend now.
#113
11-07-2012, 12:59 PM
Heat gun would probably be better because there would be less risk of melting other parts of the light housing; you can better control where the heat goes. It will def take longer because you'll have to go bit by bit instead of having the whole thing heated at the same time, but it's probably worth it. When I did mine in the oven part of the back side black plastic started to deform because it was closest to the oven wall. No real damage other than cosmetic, but it's the back of the housing anyway so not even visible.
#114
11-07-2012, 02:28 PM
Heat gun would probably be better because there would be less risk of melting other parts of the light housing; you can better control where the heat goes. It will def take longer because you'll have to go bit by bit instead of having the whole thing heated at the same time, but it's probably worth it. When I did mine in the oven part of the back side black plastic started to deform because it was closest to the oven wall. No real damage other than cosmetic, but it's the back of the housing anyway so not even visible.
#115
11-08-2012, 01:35 AM
on the plastic primer rattle can it is written that i need to sand the surface before using the product.. can i use it directly on the housing without sanding ? i know patience is all i need but anything else that could help me is always appreciated ?
#116
11-08-2012, 08:51 AM
You could probably just prime without sanding though, because it will be inside the housing, and protected from anything hitting it and causing chips.
#117
08-02-2013, 09:48 PM

Well this hasn't had a post in a while...
Can this work with plasti dip? I'd like to be able to take off the paint if I end up not liking it.
And do you need to put it back in the oven when you're done painting or can you just clip it back together and re-install the headlight?
Can this work with plasti dip? I'd like to be able to take off the paint if I end up not liking it.
And do you need to put it back in the oven when you're done painting or can you just clip it back together and re-install the headlight?
#118
05-20-2016, 12:02 AM
Ge8 headlights done! This is a factory hid jdm headlight btw...

Before the storm

During the storm
Aftermath
Before the storm
During the storm
Aftermath
#119
10-02-2016, 02:33 PM

Question what did you set the light housings on in the oven? I may have overlooked that but I'm just nervous about trying this
#120
10-03-2016, 01:19 PM
Just throw them on a baking tray. First cover the tray with a small damp towel or some lightly dampened paper towel (do maybe 2-3 layers if using paper towel).
Even better, you could use parchment paper or aluminum foil if you have those around.
Good luck man.
Last edited by 345ge8RS5mt; 10-03-2016 at 01:21 PM.