When you click on links to various merchants on this site and make a purchase, this can result in this site earning a commission. Affiliate programs and affiliations include, but are not limited to, the eBay Partner Network.
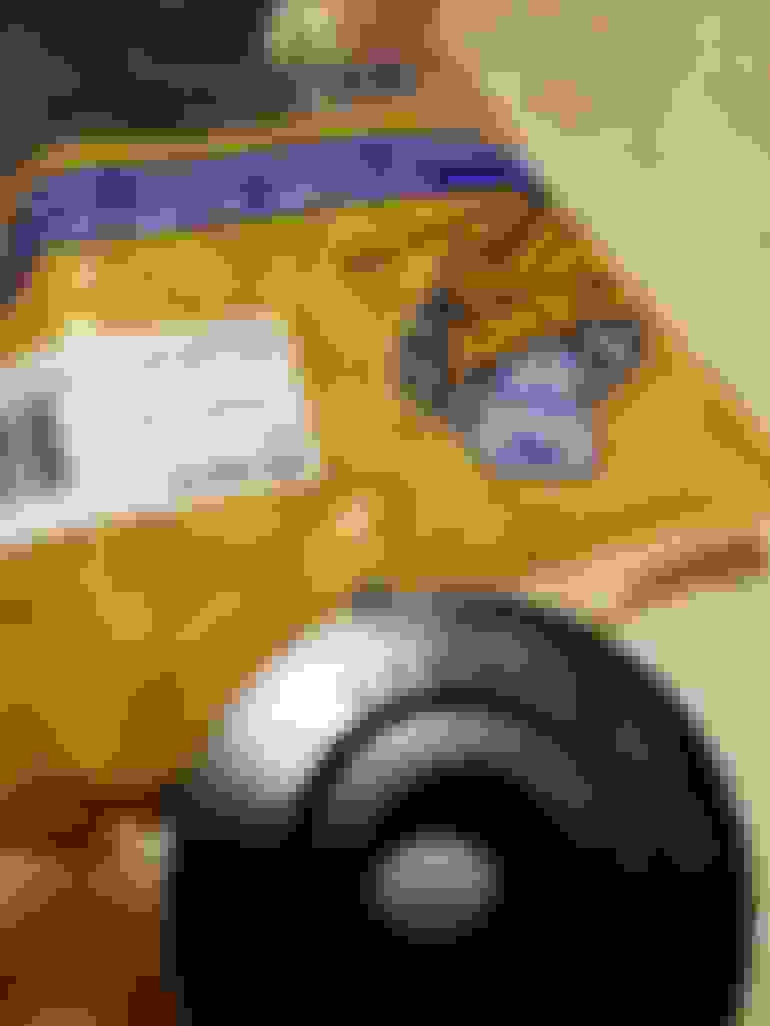
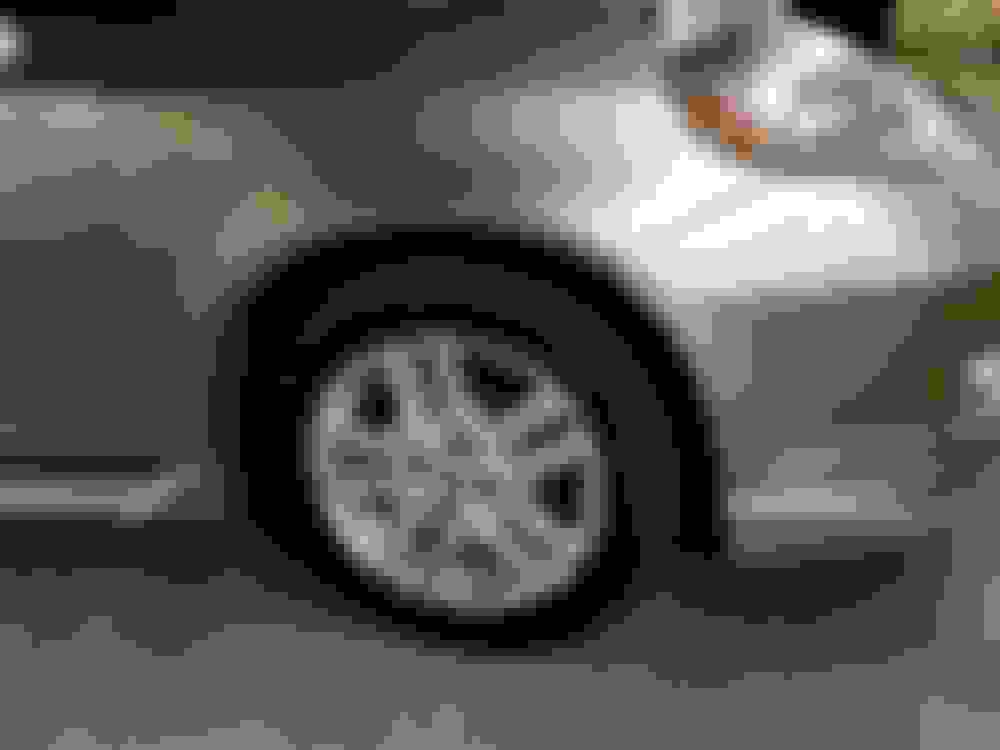
Yesterday was good fun. The new Wilwood DPHA's with BP-10 pads, Stoptech SS lines, Centric rotors and CDV delete went on with ATE Typ 200 fluid. The brakes were straight forward. Off with the old, on with the new and no hassles both ways. Couldn't have been easier, kudos to Wilwood for that. I need/want to bleed the system one more time and bed in the pads, the pedal still feels a bit soft so I haven't done a full test just yet. The brakes look great in the meantime though! Pretty sneaky hiding behind the sport wheels. But the clutch pedal... feels MUCH better now! Having done CDV deletes on BMWs I know that there is an improvement to be had, but I wasn't expecting it to be this varied. IMO crap like that CDV is why people have been saying that Soichiro Honda is rolling in his grave over the mid-2000s production models- now I get it!
So how did I do my CDV delete with the master cylinder adapters in the other threads being NLA (and overpriced)? Easy. The Fit MC line-out is 12 x 1.00mm, which is typically a very difficult size to find unless you know where to look. Rear brake caliper line-in banjo bolts on all 1999.5-2005 VWs and Audis (Golf, Jetta, Passat, A4, A6, etc) use 12 x 1.00 x 39mm banjo bolts (voila!). And most all fitting companies make a 12mm to -3an banjo fitting. I had to shorten the bolt slightly to fit the thin washers I had available (I used a lathe to do this but a Dremel would do just fine). The rest of the parts and steps outlined in the other DIYs are fine. IIRC I spent ~$30 total on the two fittings plus a 20" -3an SS line and shipping, the banjo bolt came off of a Jetta at the local junk yard where there were 50 bajillion to choose from. The 20" line is too long and I had to loop it in the under the brake MC btw. A 14-16" line would have been perfect.
Great build man, we've actually have a bunch of the same parts. i love my DC front strut bar, it's definitely a solid unit. I may need to look in to that skid plate you've got, I do a lot of highway driving so it should benefit me pretty well. Keep up the good work! I've got to go find that thread on the CDV delete now lol.
Thanks guys! Again, both CDV delete threads use a master cylinder adapter that is NLA but the process and other parts are still valid. I chose to retain the OEM hard line from the top of the transmission to the slave cylinder, like the latter CDV delete thread does.
The skid plate has been great although I'm kind of strategically planning when I want to take it off next. The retention hardware in the core support and subframe is kind of a PITA to assemble and align. I want to find a better solution for it. I also need to cut the vertical pieces off of the original splash panel and adapt them to the plate. IIRC there was another member on here that had done it and it looked great. Nice security for the crank pulley too.
The DC strut brace is off for now. I found that most of the hardware had stretched when I removed it to bleed the brakes and clutch, so I need to find better stuff before it goes back on. I think that'll be a project for this week, definitely before the auto-x on the 3rd.
Update on the Wilwoods - They were re-bled and feel much better but I'm thinking that a 15/16" MC may be in order. I want just a smidge more pedal force. Swapping to the BP-20 pads may make up the difference, and that's the next plan, so we'll see. The BP-10 pads and the pedal as-is is fine for daily driving but I'm thinking the pedal may be a issue on track, and the pads definitely will be. Luckily new Dynapro pads are cheap!
^Exactly! I grew up driving '80s cars and the GD is a pretty close draw. Simple, fun, good on fuel and low maintenance but without the risk of dying in a 5 mph crash.
try adjusting the rear drums, mine has a ton of pedel pressure like almost on my brz with stainless lines and MCS as well. trust me adjust the rear and you will get more pedel presure for sure.
i still have the oem hard-line as well mine is only from the master to the oem hard line.
Originally Posted by idrivemyself
Thanks guys! Again, both CDV delete threads use a master cylinder adapter that is NLA but the process and other parts are still valid. I chose to retain the OEM hard line from the top of the transmission to the slave cylinder, like the latter CDV delete thread does.
try adjusting the rear drums, mine has a ton of pedel pressure like almost on my brz with stainless lines and MCS as well. trust me adjust the rear and you will get more pedel presure for sure.
The rear drums are self adjusting. But you're right in that I should do an inspection, it is possible that the components are weak and went unnoticed before. IIRC everything back there is original.
The BLOX FSB went in yesterday along with new Moog FSB end links and tie rod ends. I also put the front strut brace back in with new 12.9 hardware. Big difference in the end links vs stock and I like that they have zerk fittings with pocketed boots. $20 each and these things should last forever. The FSB was a pretty easy job. I dropped the subframe as low as the photo shows, and had I not needed to replace the tie rod ends (torn boots) I probably could have left them attached with the axles and control arms. The FSB came out the back, under the exhaust. My only correction is that the steering wheel is now off to the left as I misaligned the steering shaft coupler going back in, I think it's off 1 tooth, so not too bad. Other than that I'm happy with the upgrades. The front end feels tighter, more darty than before, I like it. Should be great for auto-x but I'll have to string up and reset the car before any fast tracking.
I also took a photo of the clutch line setup, for anyone wondering.
the clutch line is pretty much like my set up exact, as far as the red drums trust me adjust them more you will thank me later i have to the point where its only 3 clicks for the ebrake, before min was spongy and the feel was not great after doing do rock solid. the moog units looks great its like a lot more beefy.
One thing that I've found ironic about the GD is that the front cabin can comfortably seat someone 6'4", yet the stock pedals are for someone with size 5 shoes. If this was a '70s or '80s Italian car it would make perfect sense, but it isn't. Not even close. As much as my eyes say "yes!" to the look of the Mugen pedals my mind says "hell no!" to the price. These Sparco's were $40 and attach with real hardware, not tape, and they don't look horrible nor add any measurable weight. Unfortunately, Sparco shipped the pedals with only 6 screws and nuts, not the 12 needed, so I sourced the rest (they don't match). Now there's plenty of room to do the pedal dance and I'm much happier for that. The installed photo is with each pedal cover square to the factory pedal itself and there's quite a bit of factory misalignment, but it's an econo-box so I'm just thankful that there are 3 actual pedals and none of them have broken yet.
That is not my recollection. But I am no expert. Isn't there a star wheel adjuster on each drum?
There is a star wheel that can be turned manually as well as a spring tensioned self adjust lever that rides beneath it and rotates the star wheel as need. IIRC on our Fit, engaging the parking brake activates the self adjuster. It's either that or the system adjusts when the wheel cylinders are extended outward. I'll double check when mine are apart later this week. So it may have been the case that mangosmoody's self adjust springs were weak, or broken, and manually adjusting his rear brakes did the trick.
Last edited by idrivemyself; May 29, 2017 at 01:13 PM.
you have to manual adjust over time when the brake shoes wear down, they dont just manually adjust like you think they do. I did have to click the wheel to adjust them out. mine is 3 clicks from full braking. car brakes very well from 80mph to almost a standstill in a short amount of time. All i have it juts upgraded pads and rotors thats it.
Originally Posted by idrivemyself
There is a star wheel that can be turned manually as well as a spring tensioned self adjust lever that rides beneath it and rotates the star wheel as need. IIRC on our Fit, engaging the parking brake activates the self adjuster. It's either that or the system adjusts when the wheel cylinders are extended outward. I'll double check when mine are apart later this week. So it may have been the case that mangosmoody's self adjust springs were weak, or broken, and manually adjusting his rear brakes did the trick.
you have to manual adjust over time when the brake shoes wear down, they dont just manually adjust like you think they do. I did have to click the wheel to adjust them out. mine is 3 clicks from full braking. car brakes very well from 80mph to almost a standstill in a short amount of time. All i have it juts upgraded pads and rotors thats it.
Then please explain the purpose of the self adjuster spring and self adjuster lever in the drum brake system. Aesthetics? Lol
I took a flyer on some upside-down foreign parts through the US distributor DST roughly a month ago and today the package arrived from half-way around the world. SuperPro control arm bushings. Unfortunately the rear set was mis-packaged and not what I ordered. The SPF4262K should fit our USDM GD3 while the SPF4261K double caster adjustable bushings should fit and provide an additional 2* of caster(!). The unfortunate part is that I received SPF4263K bushings in the SPF4261K package, which are standard 0* bushings. Sure, they're vastly better than the currently installed stock bushings, which are shot and flexing more than Arnold in the '80s, so they may go in temporarily for the auto-x this weekend while I wait to hear from SuperPro and DST as to how to resolve this.
I took yesterday afternoon to install the control arm bushings and found out that neither the SPF4261K or the SPF4262K are a direct swap in. But they can be made to work with access to a lathe and band saw. The rear bushings are 5mm too large in diameter (easy fix) and then they'll slide in. The front bushings are 5mm too long (another easy fix; saw them in half removing 5mm from the bushing center) and then they'll slide in. The front bushing sleeve is drilled for a 14mm bolt when our USDM GD3 control arms use a 12mm bolt, so I'll have to make a new sleeve with a 12mm ID, which sucks, but is solvable as well. Unfortunately with the mis-packaged rear bushings and no response from SuperPro yet, I decided to hold off on modifying and installing what I have until further notice.
I took out the Fit for an autocross this past weekend (click here), but I will say here that the Wilwoods had enough bite to pick up the rear end (until the shitty front tires gave and plowed out) and the Beatrush under tray was completely unscathed after running over four cones and dragging one of them through half of the course. So kudos to Beatrush for making a part that survives autocross abuse, and tires are next on the purchase list before the next event.
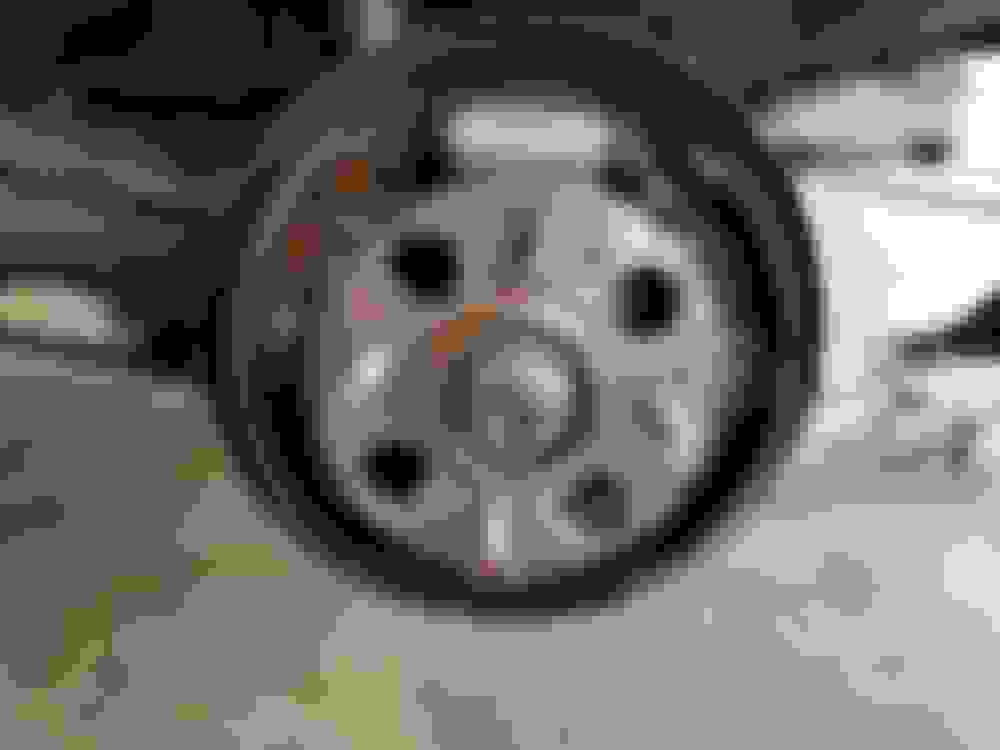
Since the Fit is kind of dead in the water while waiting on a few things to materialize, I took the opportunity to (finally) do a drum-off rear brake inspection. I had previously only drive tested and stuck a bore scope through the backing plate (and bled the system), neither findings warranted an immediate concern for further disassembly. Looks like the PO replaced the entire assembly with factory parts including bearings and hubs prior to selling the car and didn't disclose it, or forgot, and I didn't receive any paperwork when I bought it stating it had been done. So that's great!
I've also decided that I will be selling the Tanabe Sustec subframe brace, if anyone is interested. I'm going in another direction with the subframe is all. It is in great shape having been protected by the Beatrush panel and will be coming off of the car the next time I have it in the air. IIRC I paid ~$110 for it, so $70 plus shipping? I'll put up a FS post once it's off if it isn't spoken for by then. https://thmotorsports.com/tanabe/tan.../i-248307.aspx
As everyone here knows, the tin-can GD Fit is prone to rear chassis flex resulting in the seam sealer around the hatch breaking away and, subsequently, the spare tire well filling up with water. Luckily mine wasn't leaking when I bought it and I've been keeping an eye on everything since then, waiting for the day. A car wash after the auto-x earlier this month showed that the day had come. I'm not 100% happy with just re-sealing the roof as it's just masking the problem, not actually addressing it. So I bought Devmail's old UR "C-pillar" brace as a means to firm up the rear, given that it's the only off-the-shelf part that doesn't use heim joints and I won't have to spend time building a brace myself. While their design isn't completely ideal (stupid coupling bolt), my hope was to install it and be done. Unfortunately that's a big no. Perhaps all is fine for a Malaysian GD Fit (and maybe the Canadian Fit too?), but not for the USDM model.
For starters, (I'm not blaming Dev for this) the bar is bent. According to him, UR doesn't have the highest QC standards and this is how they're shipped out, traveling the world wrapped in saran wrap with a shipping label and nothing else. Which is highly plausible, they're not Mugen or Spoon after all and we should only expect so much. So ok, it isn't too far out, I can make it work, it'll still be better than nothing, right? Not quite. There's a MASSIVE opening in the bar end given that a 7/16" bolt passes through it. I'm going to have to cut off the bar ends and weld on an end cap then drill a 15/32" hole for the bolt so the brace can tighten securely and fit properly. And then I'll straighten out the brace while I'm at it. And trim the large fender washer on the stock washer stack because it won't fit in the UR bar end opening. And maybe repaint it to match the headliner. And... Anyhow, it's all do-able small stuff and Dev sold it for a fair price, so I'm not complaining. But FYI for anyone looking at this as a future purchase.


 But the clutch pedal... feels MUCH better now! Having done CDV deletes on BMWs I know that there is an improvement to be had, but I wasn't expecting it to be this varied. IMO crap like that CDV is why people have been saying that Soichiro Honda is rolling in his grave over the mid-2000s production models- now I get it!


 The FSB was a pretty easy job. I dropped the subframe as low as the photo shows, and had I not needed to replace the tie rod ends (torn boots) I probably could have left them attached with the axles and control arms. The FSB came out the back, under the exhaust. My only correction is that the steering wheel is now off to the left as I misaligned the steering shaft coupler going back in, I think it's off 1 tooth, so not too bad. Other than that I'm happy with the upgrades. The front end feels tighter, more darty than before, I like it. Should be great for auto-x but I'll have to string up and reset the car before any fast tracking.


 Unfortunately the rear set was mis-packaged and not what I ordered.
  The SPF4262K should fit our USDM GD3 while the SPF4261K double caster adjustable bushings should fit and provide an additional 2* of caster(!). The unfortunate part is that I received SPF4263K bushings in the SPF4261K package, which are standard 0* bushings.