When you click on links to various merchants on this site and make a purchase, this can result in this site earning a commission. Affiliate programs and affiliations include, but are not limited to, the eBay Partner Network.
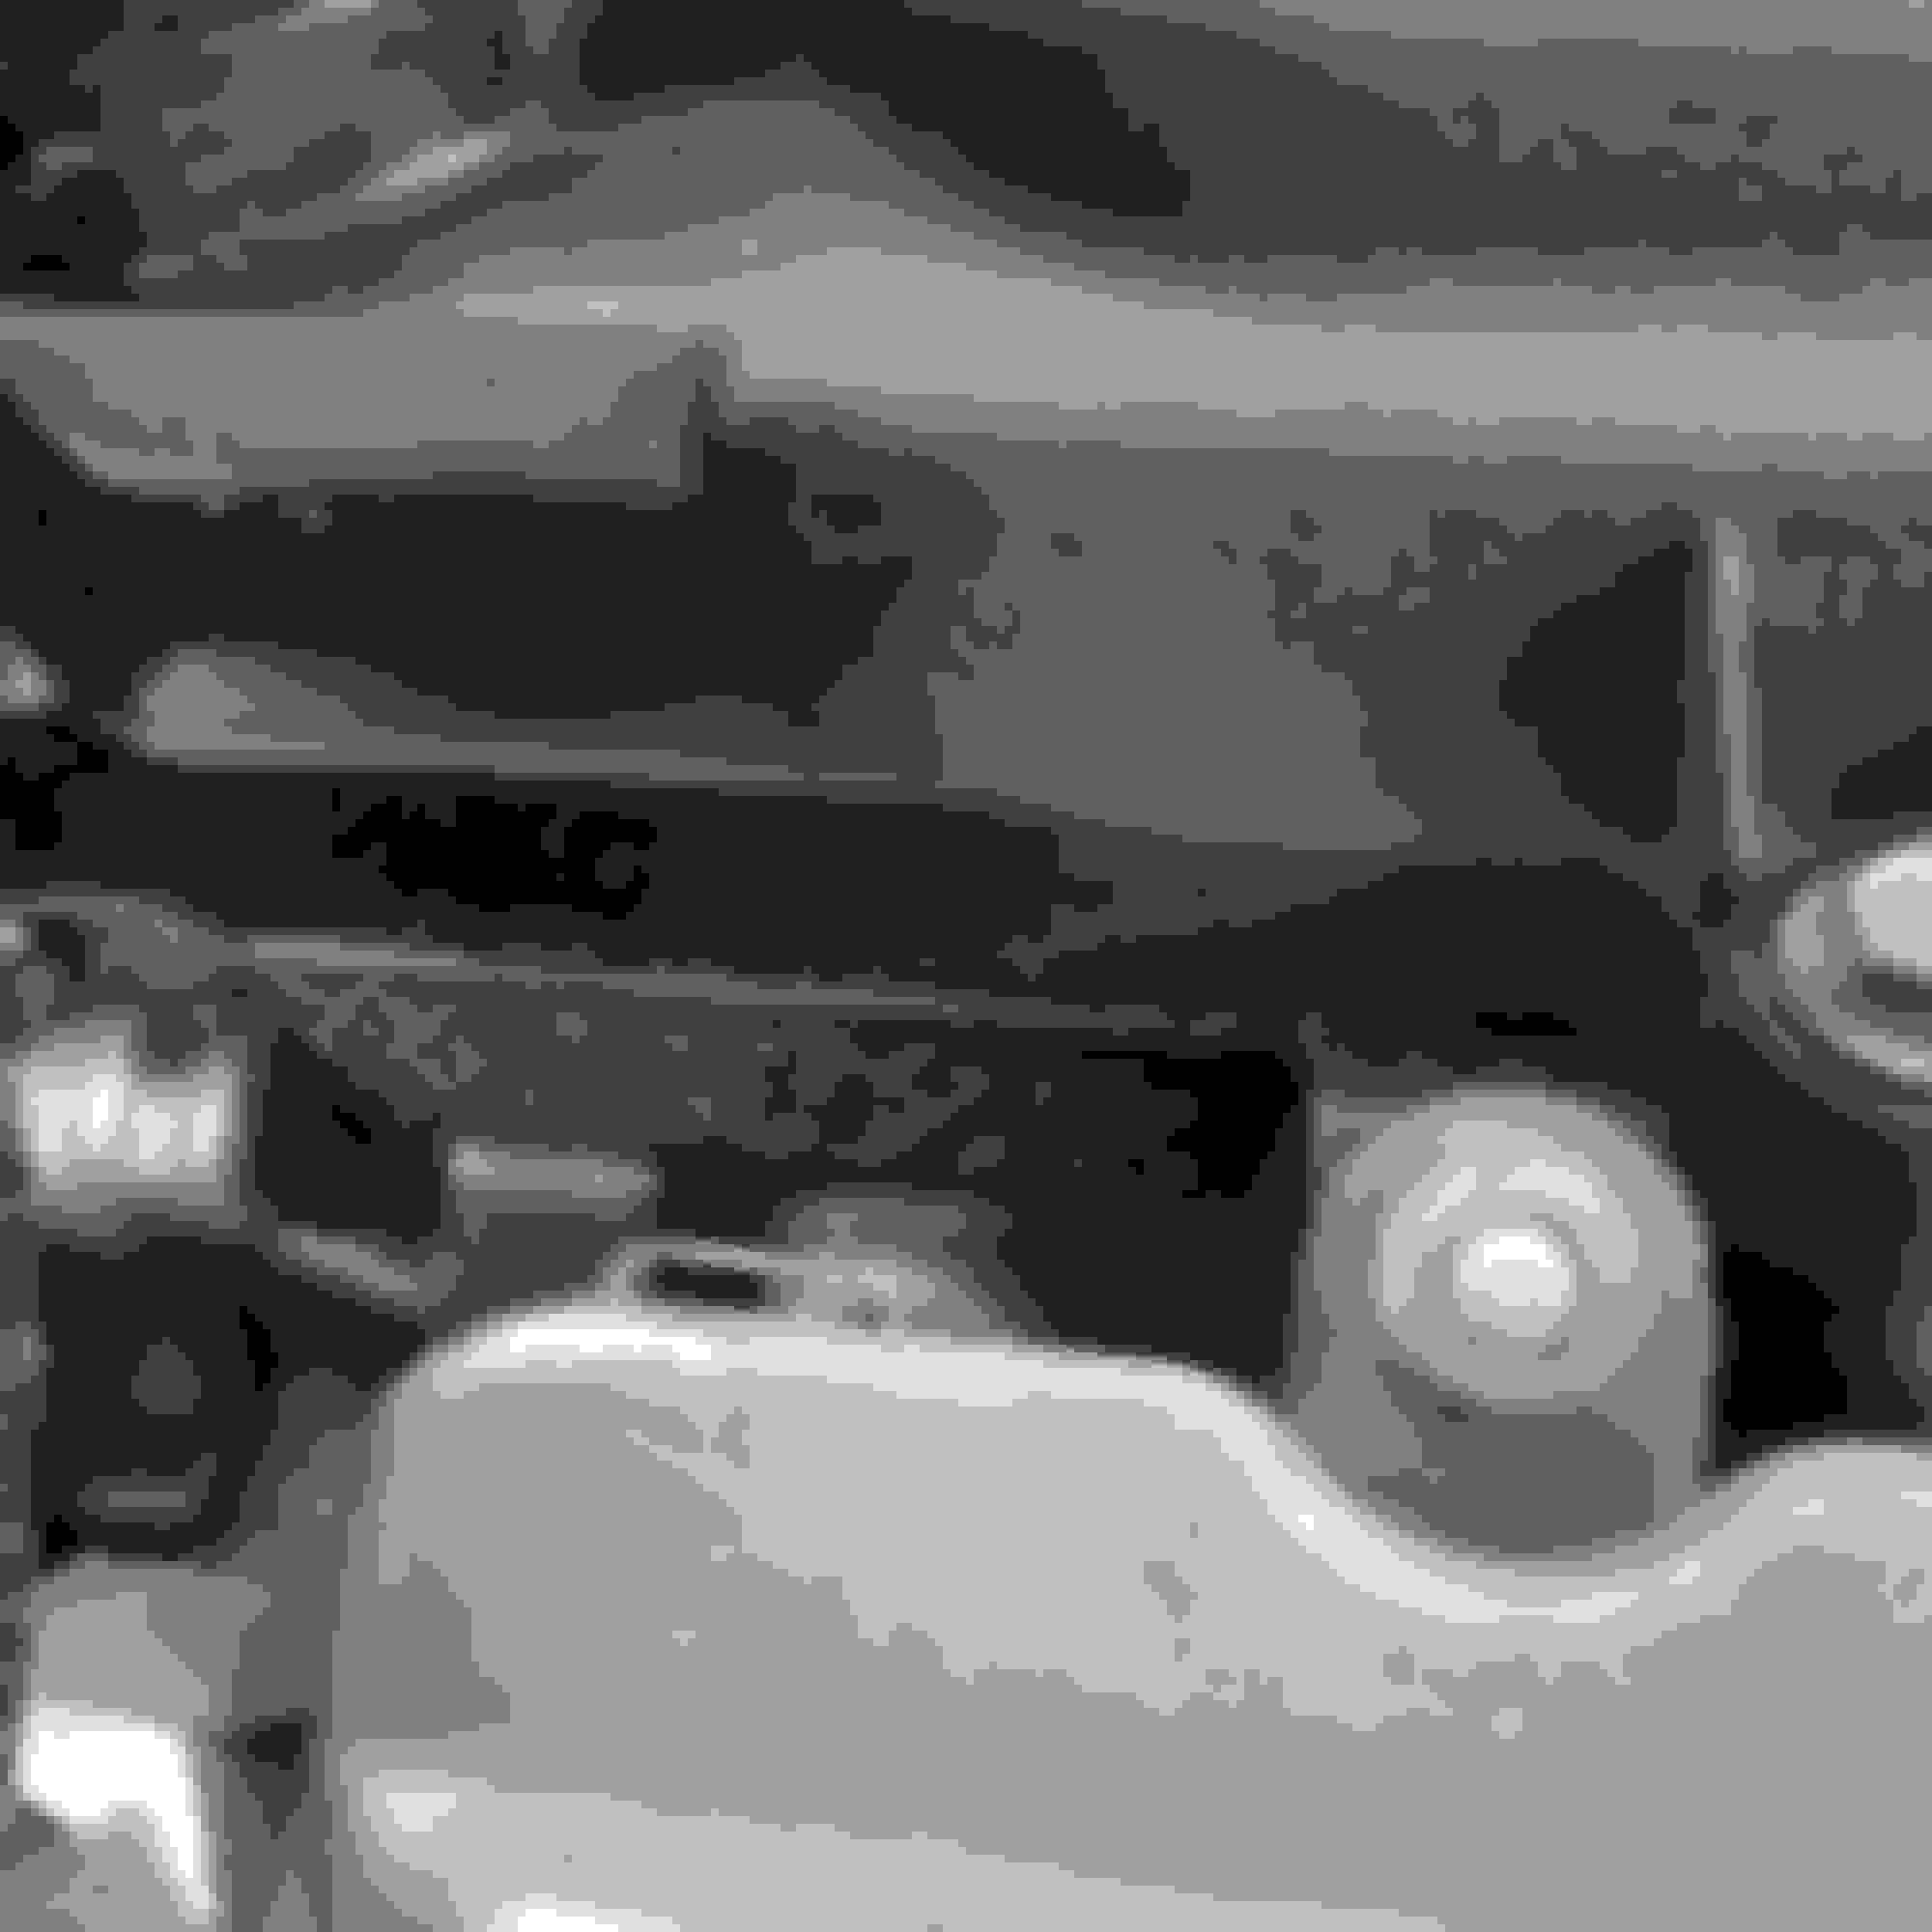
Started the valve adjustment. Got to the valve cover. Gonna post a few pics.
One question, though. Gonna wait until morning to do the actual valves, is it okay to leave everything as is until then? Or should I reassemble the car if I dont plan on actually adjusting tne valves until tomorrow? (Will be leaving valve cover on until then)
Please let me know what you think about the pics.
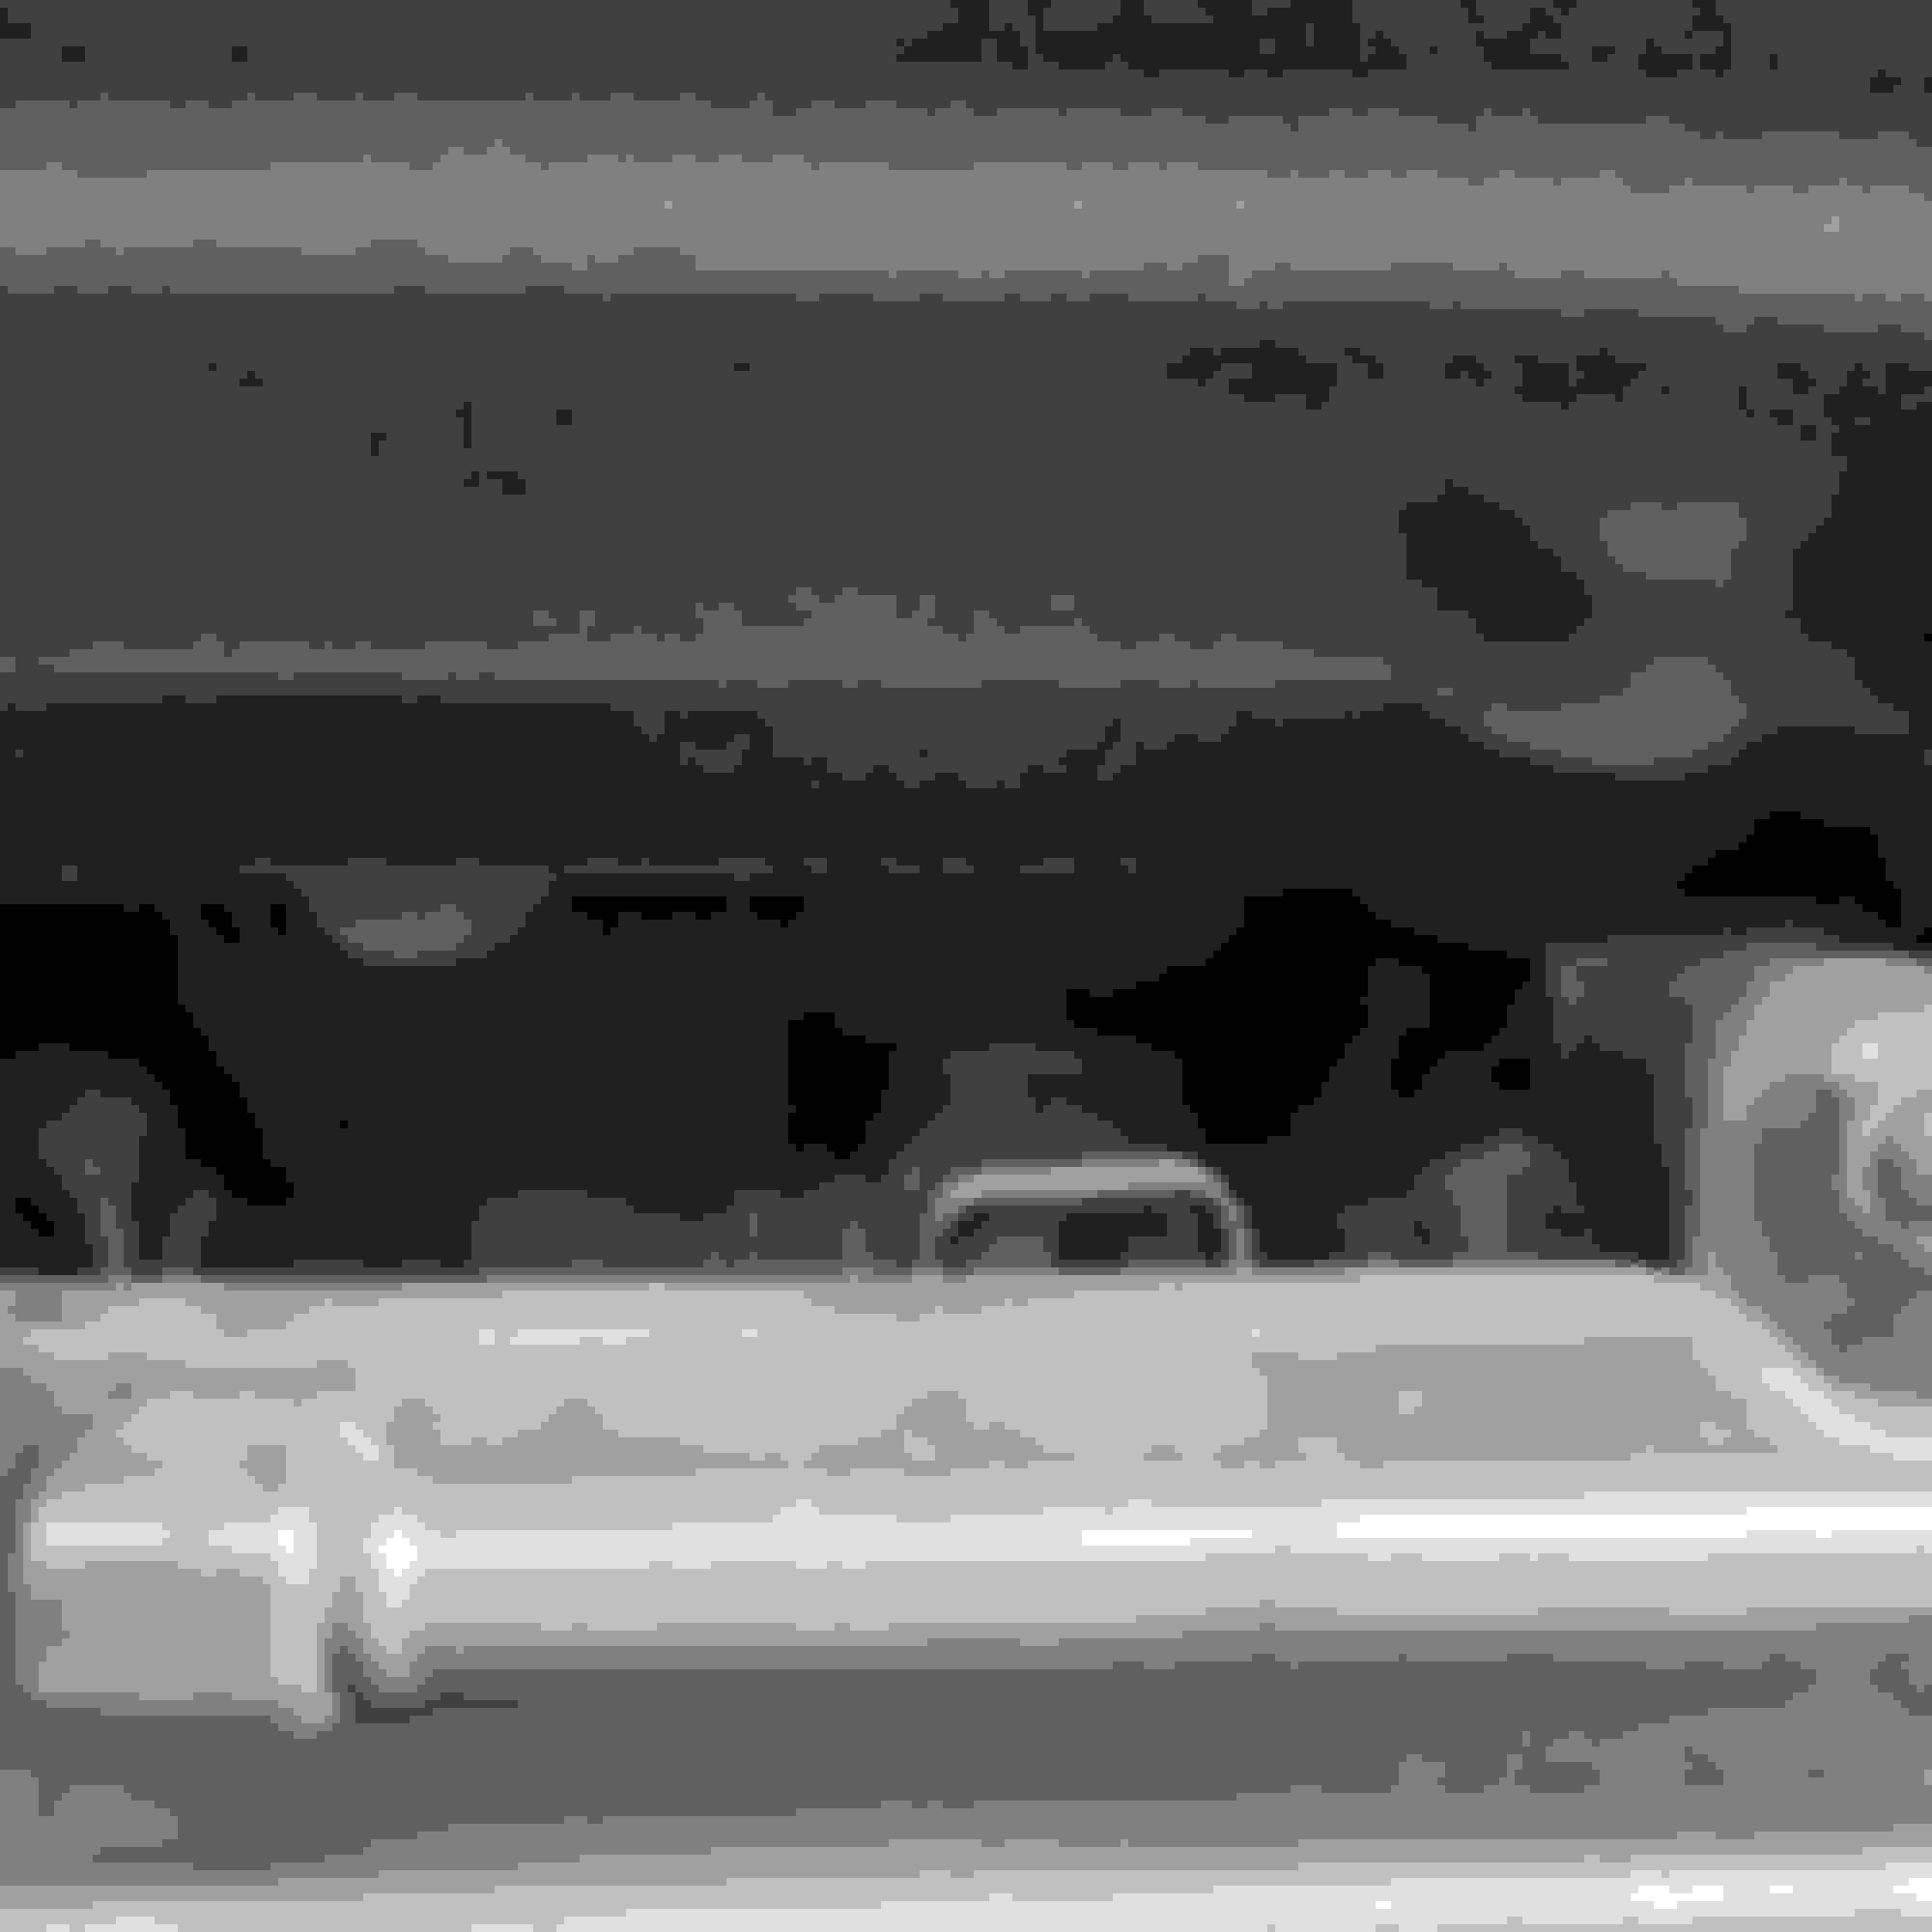
Valve cover looks ok It looks to me like theres a gap between the cover and the valves with a bunch of crap inbetwern. Is this normal? Another view. Yet another view. When i took this bolt out of the manifold, was covered in white. Was the only bolt like this. Whats going on here?
Im afraid to open the valve cover at this point, and have to wait for the car to cool so I can begin adjusting. Any thoughts/concerns?
Pics look pretty normal to me. I have no idea about the white stuff but I wouldn't worry too much about it. I worked on doing the valves along with a bunch of other stuff over the course of 3 days after work in my garage. Just make sure to cover anything that you open up like the head or intake to make sure nothing flies or drops in. I made sure to clean my intake plenum. With 72k it was definitely dirty enough to need cleaning. Throttle body needed wiping out also.
Take them all out, you’re going to change them anyway, and it makes turning the engine easier. Cover your plug holes and intake holes. Donot forget the dab of Honda Bond at the timing chain cover. Take your time, do it once and then check it again, do not be in a rush.
Torque that plug down to 20 next time around. honda recommends anti-seize. I used copper head gasket spray, and its been holdin a few months now (inspected today), albeit I'm not excited to eventually clean the threads out. If the coating on that bolt is a film you can scrape off, rest easy, it's probably thread sealant. If it isn't I still wouldn't worry. So long as nothing's cracked, you're in good shape.
Cleabned everything up around valve cover. Awaiting on bent feeler gauges and the special valve adjustment tool to get in before I start inspecting/adjusting valves.
Just a couple of quick questions. Where do I apply the hondabond after opening the valve cover?
Cant wait to get started! Hurry up, Amazon!
Oh, and while inspecting my sparks.. they were all gapped incorrectly so I readjusted to about 0.47. Hope thatll make some difference. Also, each spark was very loose upon removal. Gonna re torque to 20ft lbs after adjusting valves.
Wish me luck. If I get through this without fing anything up Ill be happy!
Cleabned everything up around valve cover. Awaiting on bent feeler gauges and the special valve adjustment tool to get in before I start inspecting/adjusting valves.
Just a couple of quick questions. Where do I apply the hondabond after opening the valve cover?
The bent feeler gauges are a must. It's easier to get to the exhaust valves if you keep the coil packs out while adjusting. Put the gasket sealant (I used Permatex black) around the left side where the timing chain is as there is no bolt on the left side and only on the corners. I watched a YouTube video several times as it is very helpful :
Thanks for the info, that was actually the video Ive been referencing.
My car is in park, do I need to move it into neutral once I begin adjusting? And if Im standing right infront of the passenger side looking at the the crank, I turn it to my right until dead center?
On the video he motions to the left so I got a little confused. I know it's clockwise so I figure that means rotate to the right.
Hang on boss. don't do it yet and i'll post up procedures. just give me like.. a half hour to get em all
EDIT: Here you go. Start at 4, work down to 1. print em all if you can.
I left out the wipers, the hood hinge covers, the upper cowl, the wiper motor, and the lower cowl. again, you can just torque all that stuff to 84 in.lbs. and it'll be fine.
Hope I'm not too late.
Thanks man I appreciate it. Currently waiting on Amazon to deliver my offset spark feeler gauges and the valve nut tool. I probably won't start for another few hours or so.
Yes if you are on the passenger side facing the crank which is where the nut to rotate the engine is, you turn clockwise. You aren't going to be able to rotate the engine in park. Put on the parking brake, chock a rear wheel, and put it in neutral.
I'm not trying to be mean or anything, but you are having to ask some very basic questions which concerns me about you being able to correctly adjust the valves. They are very touchy and need to be right.
Granted it's been over a decade since I've had to do a manual valve adjustment, but it took me a lot of checking and rechecking to get them right myself.
Yes if you are on the passenger side facing the crank which is where the nut to rotate the engine is, you turn clockwise. You aren't going to be able to rotate the engine in park. Put on the parking brake, chock a rear wheel, and put it in neutral.
I'm not trying to be mean or anything, but you are having to ask some very basic questions which concerns me about you being able to correctly adjust the valves. They are very touchy and need to be right.
I'm very capable of doing it, just making absolutely sure that I do everything correctly and not have any doubts about any parts of the process. No worries, LOL I know some of the questions are basic and probably stupid, but better off asking stupid questions then make a stupid mistake and be without a car.
I have an automatic transmission so I'm not sure if that means I have to put the car in neutral or not. I'm going to do it anyway just to be safe.
Stick to those procedures and it'll go perf. what youll need is some needle nose pliers (for the hose clamps) a phillips screw driver (for the air filter), 10, 12mm sockets, 14mm for the wiper blades, and 19mm for the engine's crank (harmonic balancer). 1/4 ratchet with extensions, 3/8 ratchet (for the balancer), inch pound torque wrench, aggressively angled feelers, a 10mm crows foot (open ended wrench head that attaches to the 1/4 drive ratchet) for loosening and tightening the nut that holds the nut in place while torquing valves, flat head screw driver for adjusting the stud that actually adjusts the valves. if possible, I'd also recommend some hose pliers available at harbor freight. They are needle nose pliers with long jaws that are shaped to go around hoses to aid in pulling them off. Uhhhh. Honda bond..
Shop towels and rubbing alcohol to remove oil and nonsense (especially where you apply the silicone), and a scraper of some sort for removing the old silicone. Choose your scraper based on effectiveness AND ability to avoid scratching the mating surface (Only needed to remove old silicone). you may use a razor/utility blade if you're careful.
I think that's everything.
Oh, non-marring trim tool kit to remove plastic cowls safely... I hope that's it
I'm glad to hear it went well. On my daughter's FIT all of the exhaust vales were too tight and after the adjustment, the car has very noticeably more power.
Similar here. Opened everything up and it really changed a lot! Turns out this car was near perfect when it was new. With nothing but preferential modifications to controls I'm actually pretty darned content with the power she puts out. If I nail my shifts and keep rpms up shes now right with or not far behind much sportier cars up to 4th gear.


 Similar here. Opened everything up and it really changed a lot! Turns out this car was near perfect when it was new. With nothing but preferential modifications to controls I'm actually pretty darned content with the power she puts out. If I nail my shifts and keep rpms up shes now right with or not far behind much sportier cars up to 4th gear.