When you click on links to various merchants on this site and make a purchase, this can result in this site earning a commission. Affiliate programs and affiliations include, but are not limited to, the eBay Partner Network.
I recently made a bed for the back of my GE8 for road trips, and some folks have been bugging me for measurements so here you go. I hope this helps someone one day. This is my first ever attempt at a project like this, and I hardly have any experience using some of the power tools I used for this build. What I'm saying is that it was very easy to do someone who is by no means a wood worker. That being said, I'm sure there are many ways I could have made this better. I've seen some other camper builds which I certainly used for reference, however I built this one to my spec. There are some important things to note for anyone using these measurements:
- the measurements are for a GE8. The GD and GK vary in trunk dimensions, though not by much. RHD/LHD won't matter.
- as you'll see in the pics, when I was building this I was also in the middle of swapping the OEM seats out for Recaro's. When the Recaro's went in, I had to trim the headboard by a couple of inches as the Recaro seat backs are actually considerably thicker than the OEM seats. Measurements in the drawings are what I used to make it fit with the Recaro's
- I am 5'10" and this is very comfortable for me, once 4" bedding and a pillow was added. The pillow arcs your neck up and as a result shortens your overall length, giving you more room. Yes, you can fit two people here depending on what you use for bedding.
- If you are over 6 feet tall this build is still very possible, especially if you have the OEM seats. All you need to do is raise the bed higher than 7". This will allow for a longer headboard extension
- using this wood (1.5x3.5") results in a very sturdy bed, but also a heavy one. I am debating punching holes in the sides to save some weight. Others have used PVC pipes to save weight. I am about 200lbs so I don't think that would support and I didn't want to take the chance
- this setup allows for a single side to be used rather than a full bed, should you need to carry lots of cargo
Tools to make this job much easier: Miter saw, table saw (or a circular saw with saw horses and clamps) and a power drill. You will also need 3" screws and wood glue.
Measurements (I used a flimsy brush pen for this drawing so please excuse any inaccuracies as I ran out of patience):
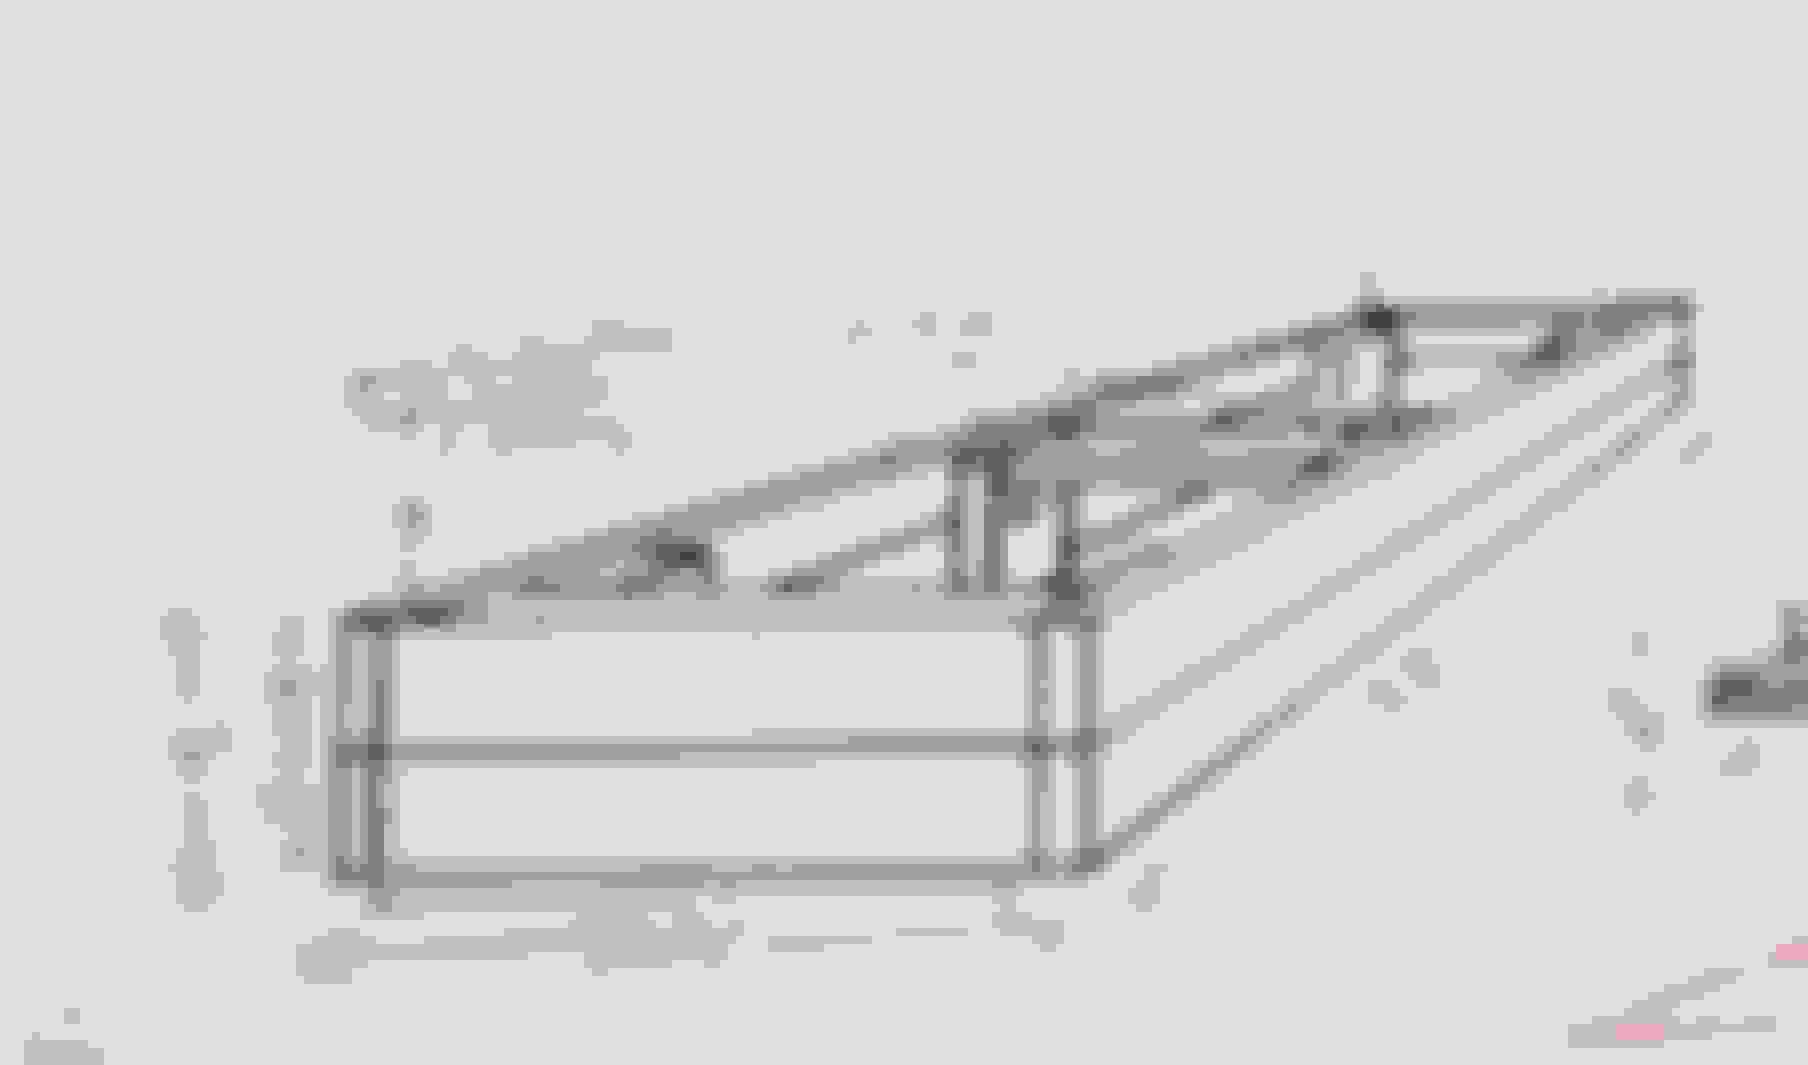
Here is an initial design that I later revised. I used extra panels on the side that sat slightly higher than the rest of the frame so that the top layer wouldn't move around when driving or even sleeping. This is a photo of just the driver side.
Later, in an effort to save weight and make a bit more room I removed the extra panels and instead took metal pegs from IKEA (from the free bins!) and inserted them between the top layer and the frame. I used a drill to bore it out.
Had some fun with the miter saw and decided to make some reinforcements for the middle brace (shorter screws would have been much better here)
Here it is in half size. I built it so that I could have one side of the bed while keeping the passenger side free for cargo, and so that the other seat can also fold up.
Both sides in the car, headboards folded back. Note the rectangular pieces on the headboard.
Full extension
I hope this shot explains how the headboards work. The seats must be fully reclined forward and tilted forward. This is a separate piece of wood that goes all the way down to the ground. Again, shorter screws would have been better here.
It just so happens that the stock Sport wheels fit on the wider side
Shot of how the boards fold up
I bought a giant roll of 4" thick foam from Army and Navy ($100 Canadian), and cut it so that the headboards could fold (not pictured)
And here we are! Lot's of room.
Test fit (I am 5'10"). It's enough room for me to almost sit up straight. I have to bend my neck a bit.
Alternatively, an air mattress will fit! This is a single adult sized one. I had to squish it a bit to make the hatch shut. This option is a bit thinner than the foam as it's not custom like the foam, but would probably be more comfortable/convenient if you're travelling solo versus dealing with the multiple pieces of foam.
Thanks for looking. Here's to adventure!
Last edited by Chantastic; Nov 1, 2018 at 03:07 AM.
Thanks guys. No current trips planned, as we are moving into the winter season! But every year I make my way out to Vancouver to visit family (about a 12-15 hr drive depending on stops), and always sleep in the car for a few hours along the way. Now it can actually be comfortable to do so!


 But first I have to get a driver's seat that won't destroy my lower back.
