
The Blue Dragon: 2010 Fit LX


Thread Starter
|
Member
Joined: Jan 2012
Posts: 533
From: Alberta, Canada

Sadly, the battery & intake have once again taken a back seat. I would suspect, though, the intake would make a reasonable difference for the cost. The design it somewhat similar to the K&N, so I suspect gains would be similar, too. Only difference is the lack of heat shield.
The J's cap is a nice little extra to make the car stand out a bit. Once I get a little further, I wouldn't mind taking it to the few local car shows that pop up in the summer.
Edit: Tires went on today. I kind of chuckle about it, because I was thinking about how Toyota mentioned in literature for the FR-S that it will hold a set of four tires to take to the track. With the R81s with tires in the back I fit the winters on top of those, I could have fit two more sets of wheels/tires in the back no problem, and I still would have been able to use the rear view mirror.
Last edited by spryter; Oct 3, 2014 at 05:00 PM.
Thread Starter
|
Member
Joined: Jan 2012
Posts: 533
From: Alberta, Canada
So I raved a bit in the "What did you do to your GE fit today?" thread, but a little more information about the R81s being on the car.
First off, they look amazing. Every time I look at my car now, I smile. More importantly, the difference in the steering! Its sooooo light now. I can flick the steering wheel, and it reacts immediately. Its so much lighter, too. I used to like a steering feel with more weight to it. But this is awesome! There is zero effort in hard cornering. It also takes less throttle to stay rolling at a given speed.
Basically, anyone who says lighter wheels don't make a difference have no idea what they're talking about. This is way better than the stock wheels.

List is looking good. But before upgrading your speakers, you might want to look into upgrading the HU first. I bought both HU and speakers for my GD a week ago but installed the unit first and boy those oem speakers can take a beating from an upgraded head unit.
And put the Progress anti-sway bar and springs on priority, they make a difference.
And put the Progress anti-sway bar and springs on priority, they make a difference.
Thread Starter
|
Member
Joined: Jan 2012
Posts: 533
From: Alberta, Canada
Wheels & tires! Yes, its a dirty car, but this is also the "bad side", where some kids egged the car, so the dirt hides that. I also tried to find an interesting location to take pictures this time. Ended up using the side of a board shop (skate/snow/etc.). It was either that or the condemned water store by my house. This place had no bums hanging out by it, so I went with it.
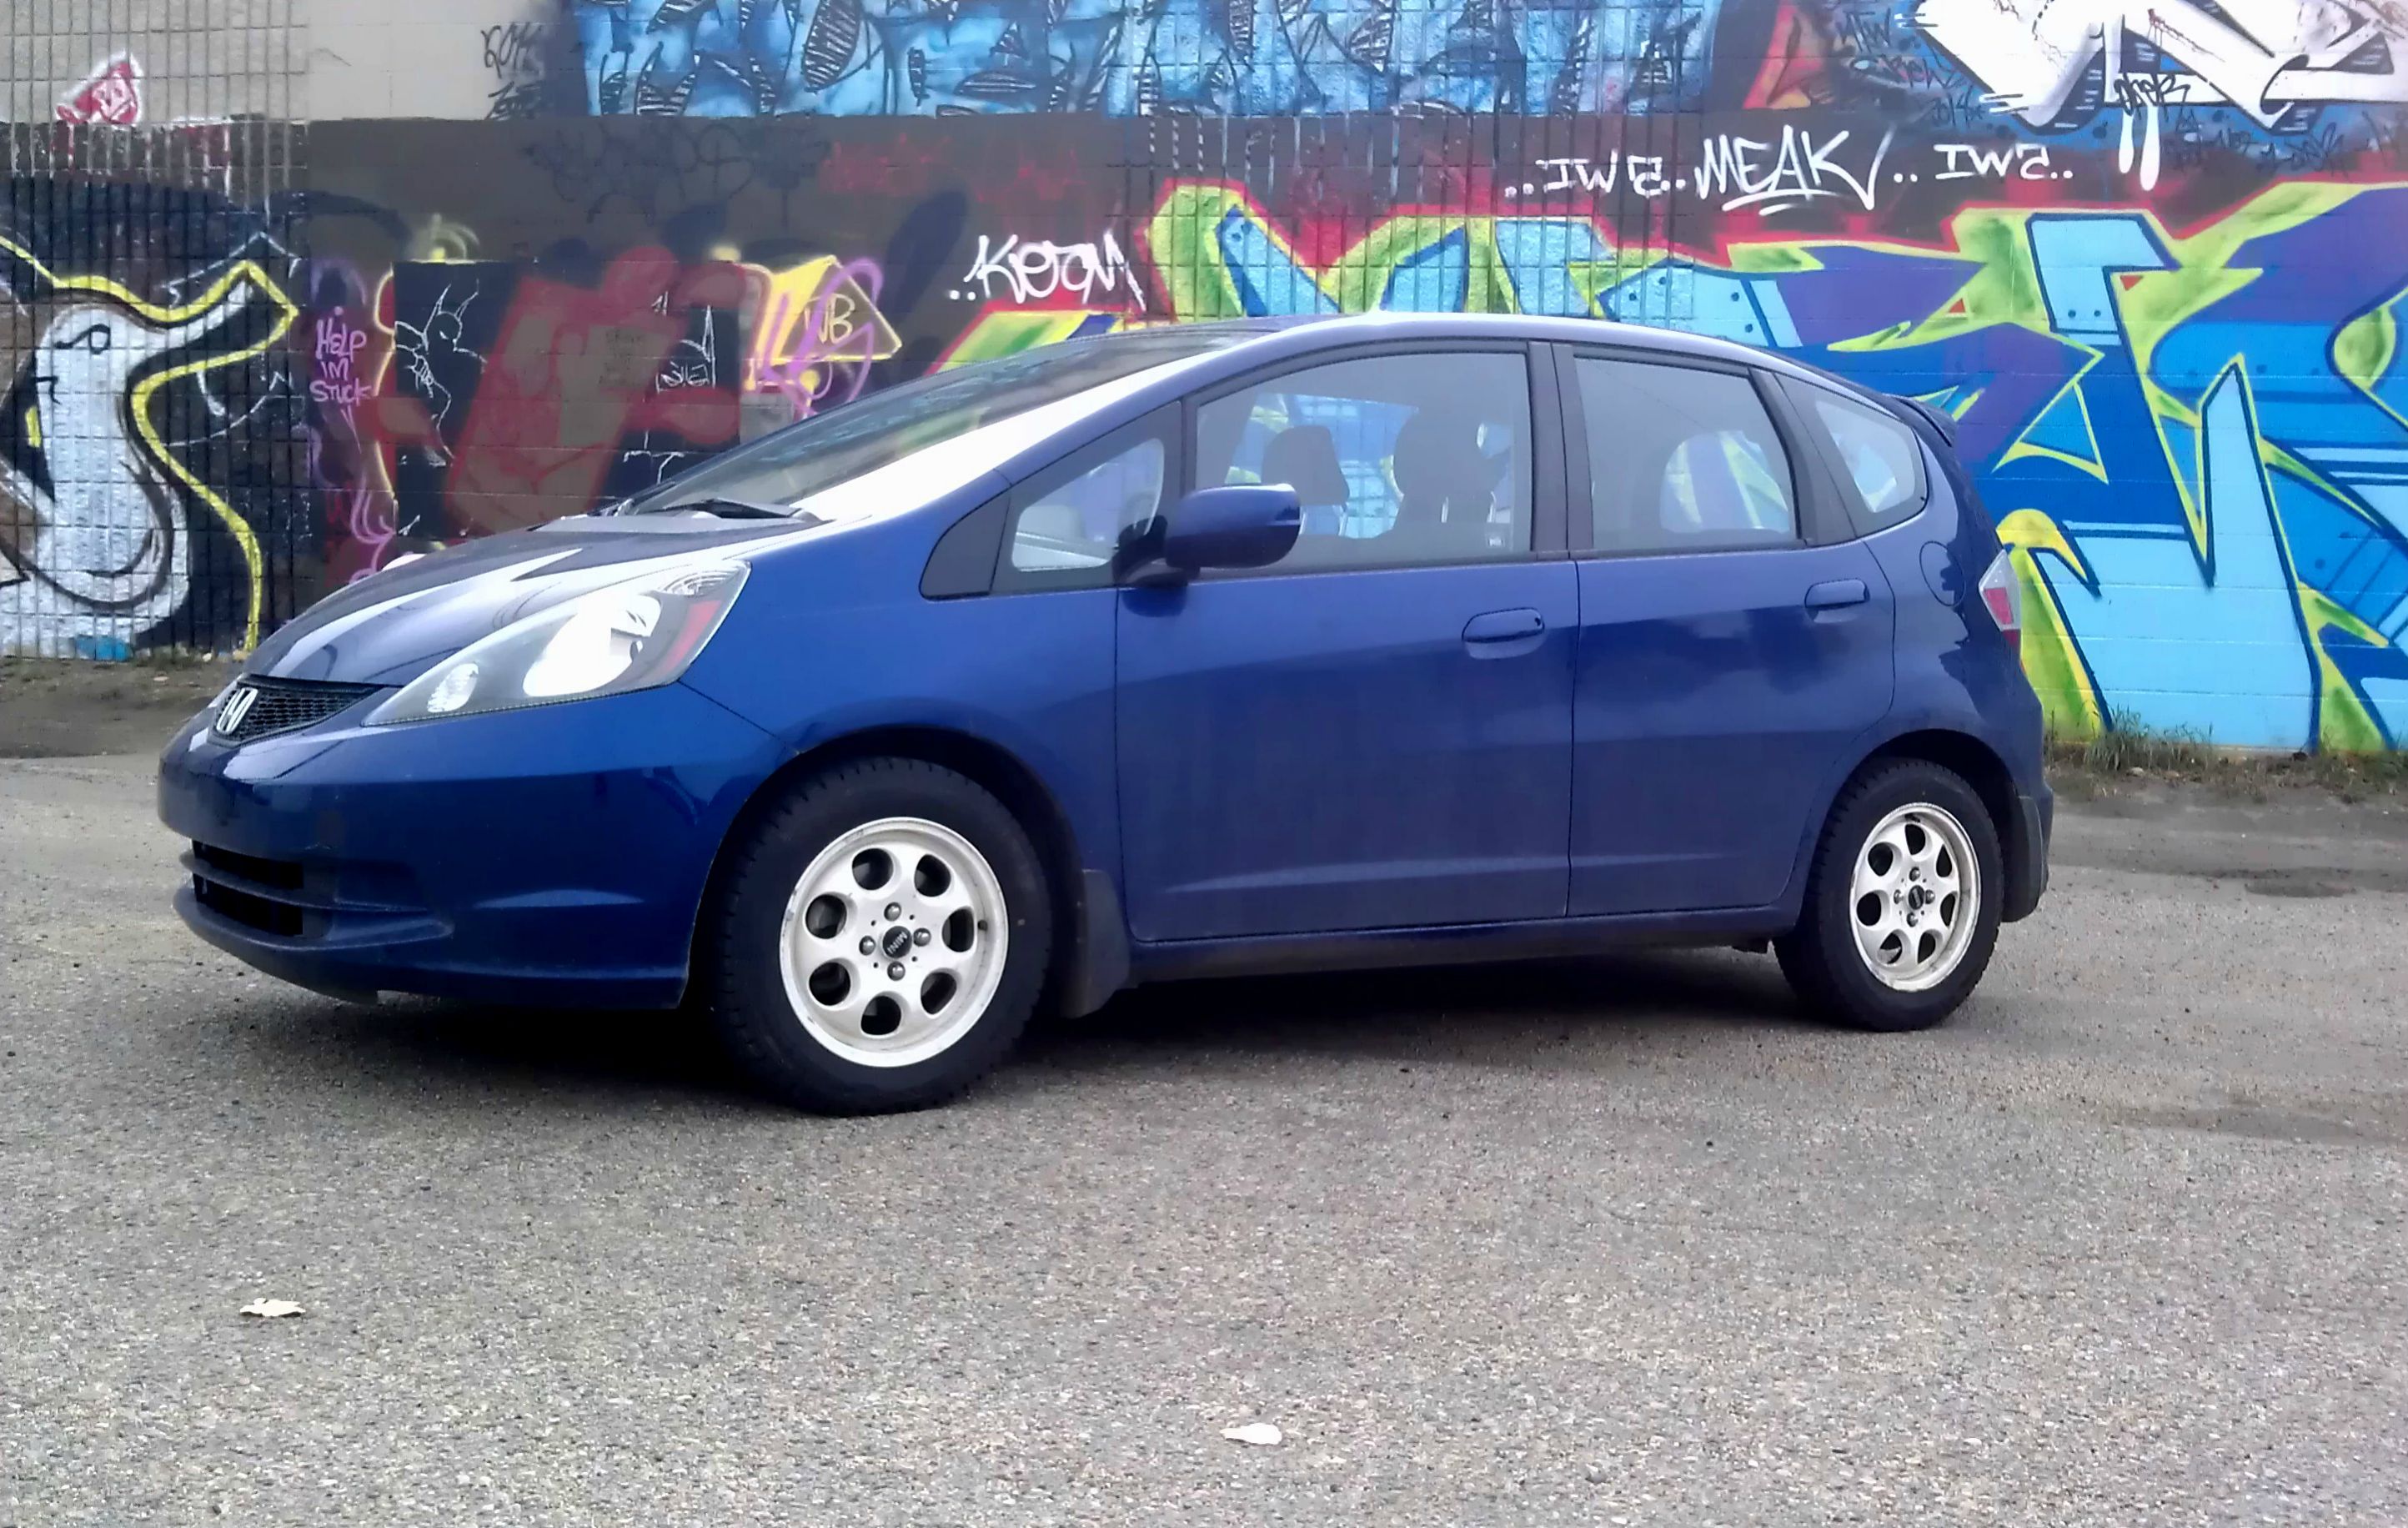
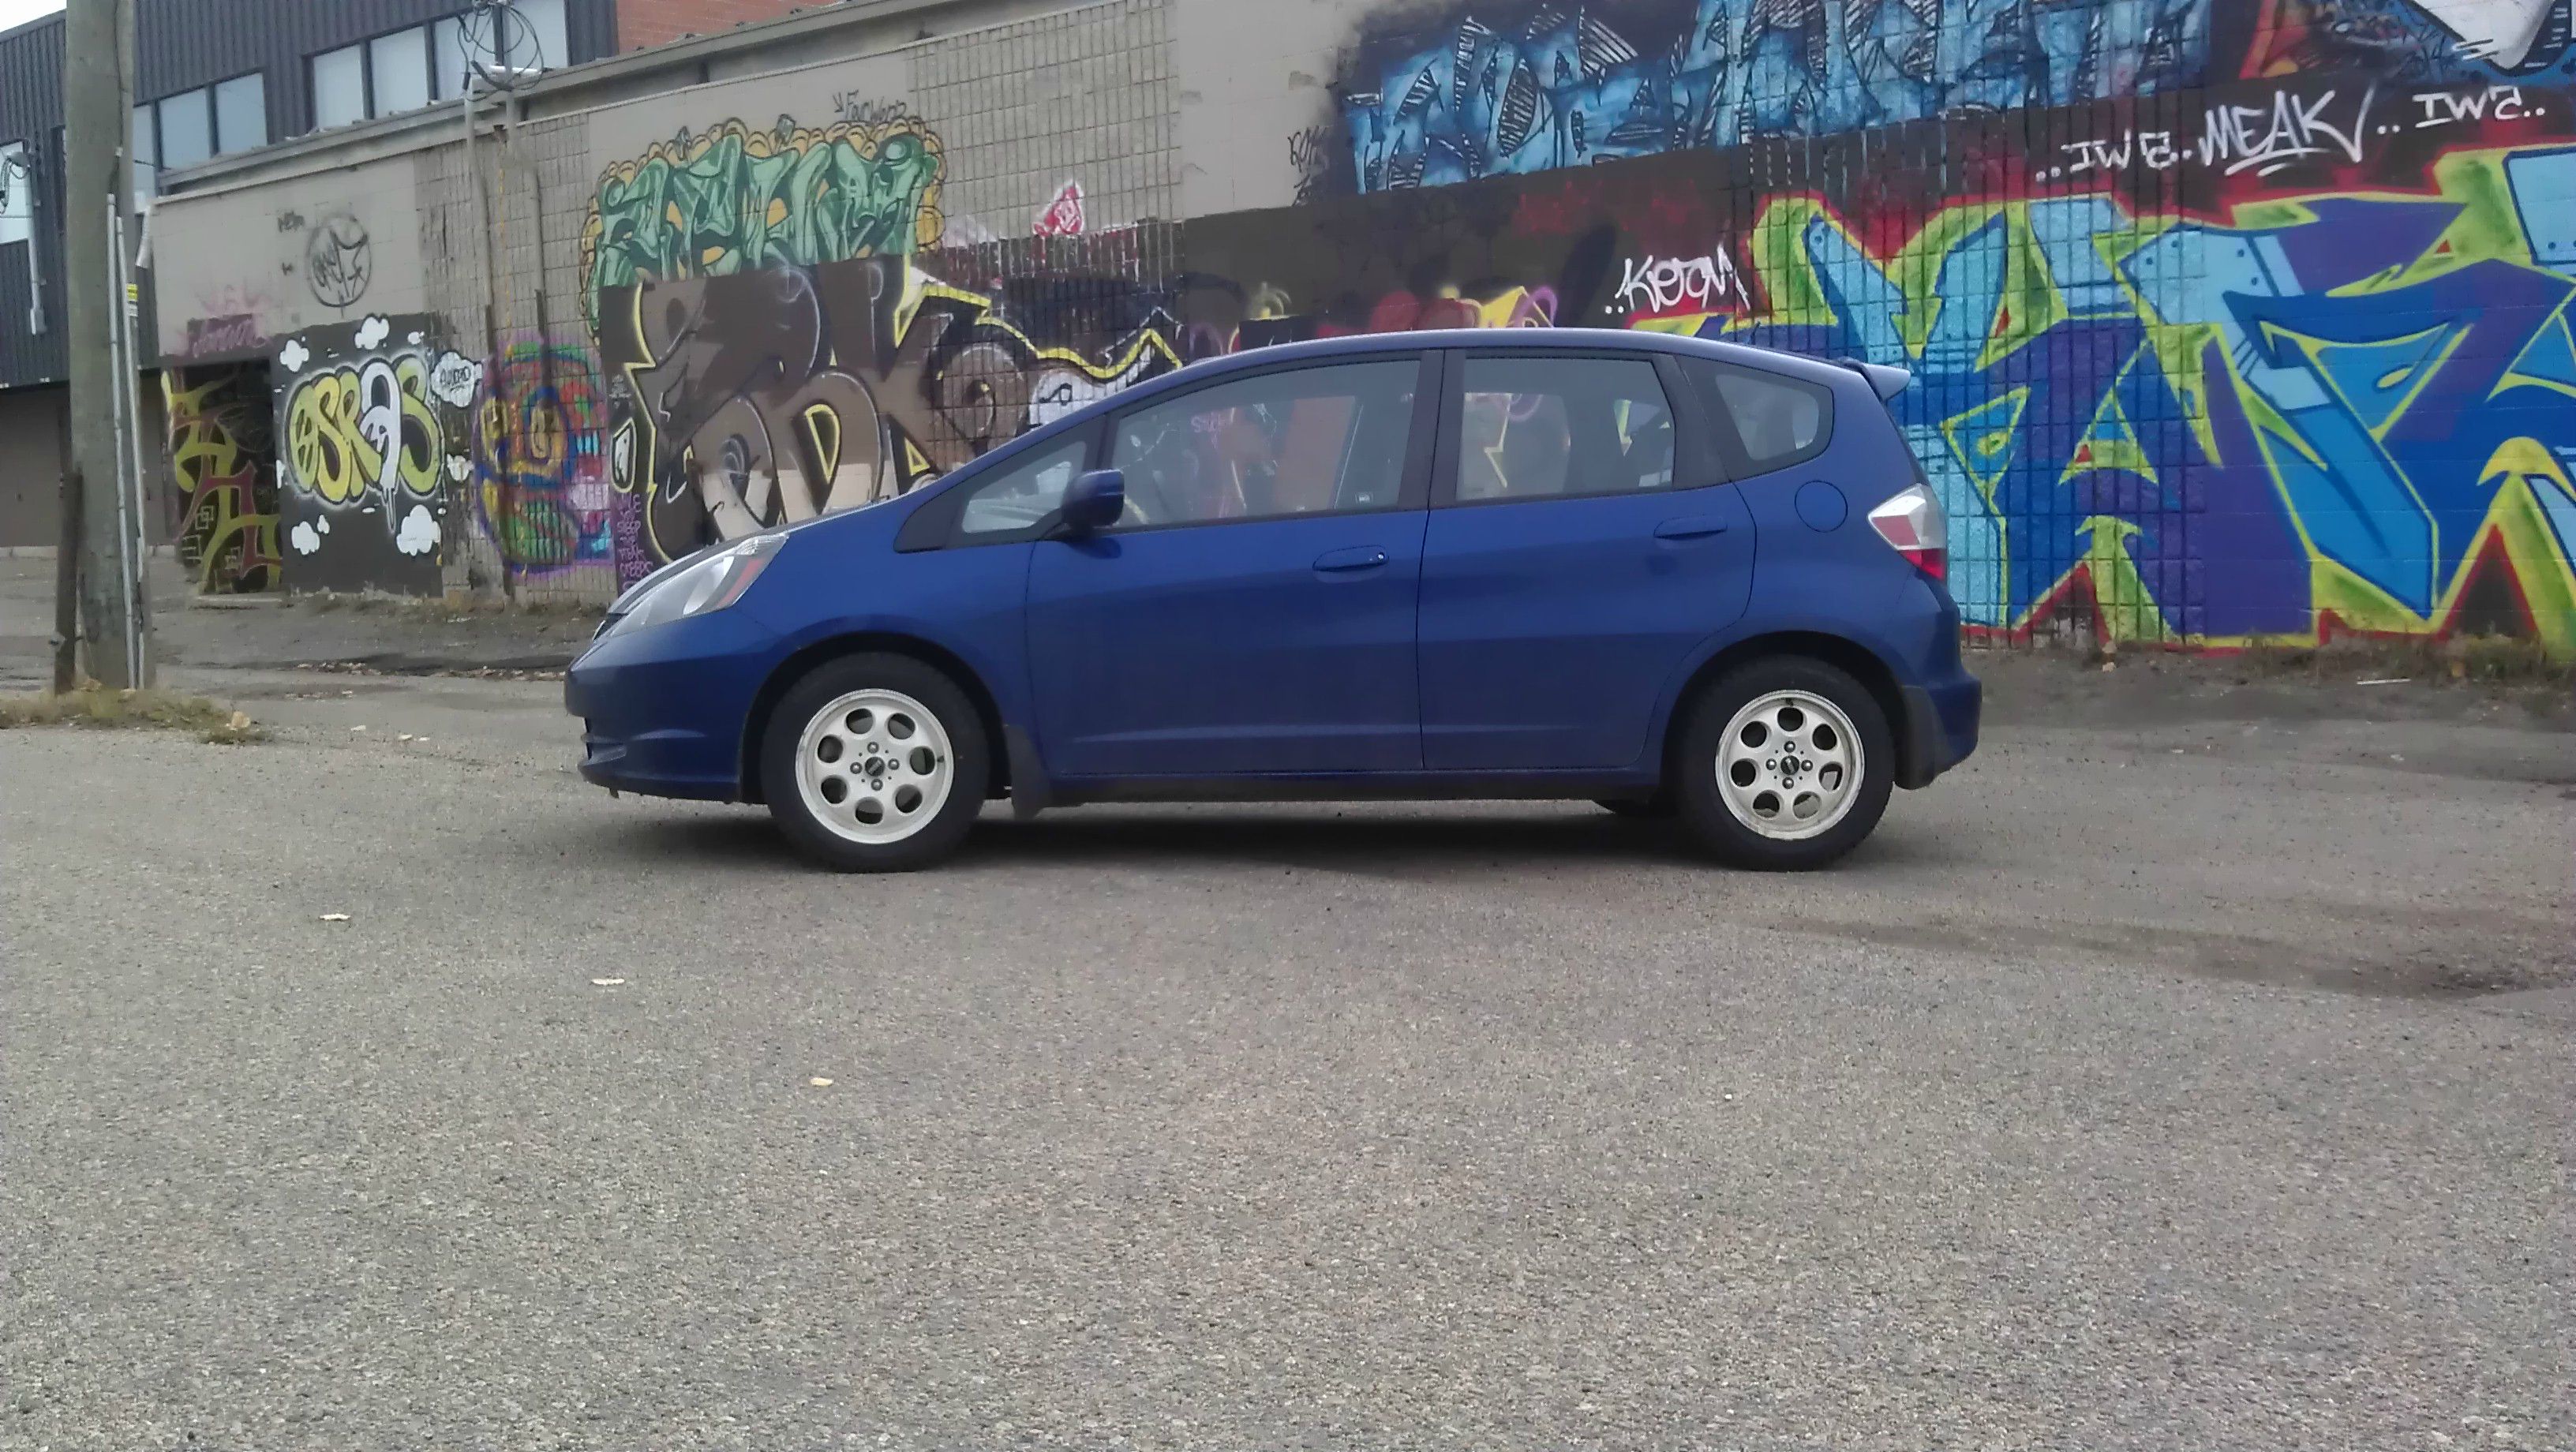
Last note: First photo is edited to remove the edge of my thumb, and clean up the white balance.
Last note: First photo is edited to remove the edge of my thumb, and clean up the white balance.
Thread Starter
|
Member
Joined: Jan 2012
Posts: 533
From: Alberta, Canada
Thanks! When I saw them on the kijiji ad a few years ago, I fell in love with them. It was just a matter of getting the right wheel nuts for them, and some tires that weren't completely ruined. They had lots of tread, but there were signs of poor storage and rot.
I'm thinking of getting something similar in a 16 for summer. I know they aren't one of the "cool" brands, but I was actually thinking Drag DR-16s in white.
I'm thinking of getting something similar in a 16 for summer. I know they aren't one of the "cool" brands, but I was actually thinking Drag DR-16s in white.
Thread Starter
|
Member
Joined: Jan 2012
Posts: 533
From: Alberta, Canada
FINALLY!
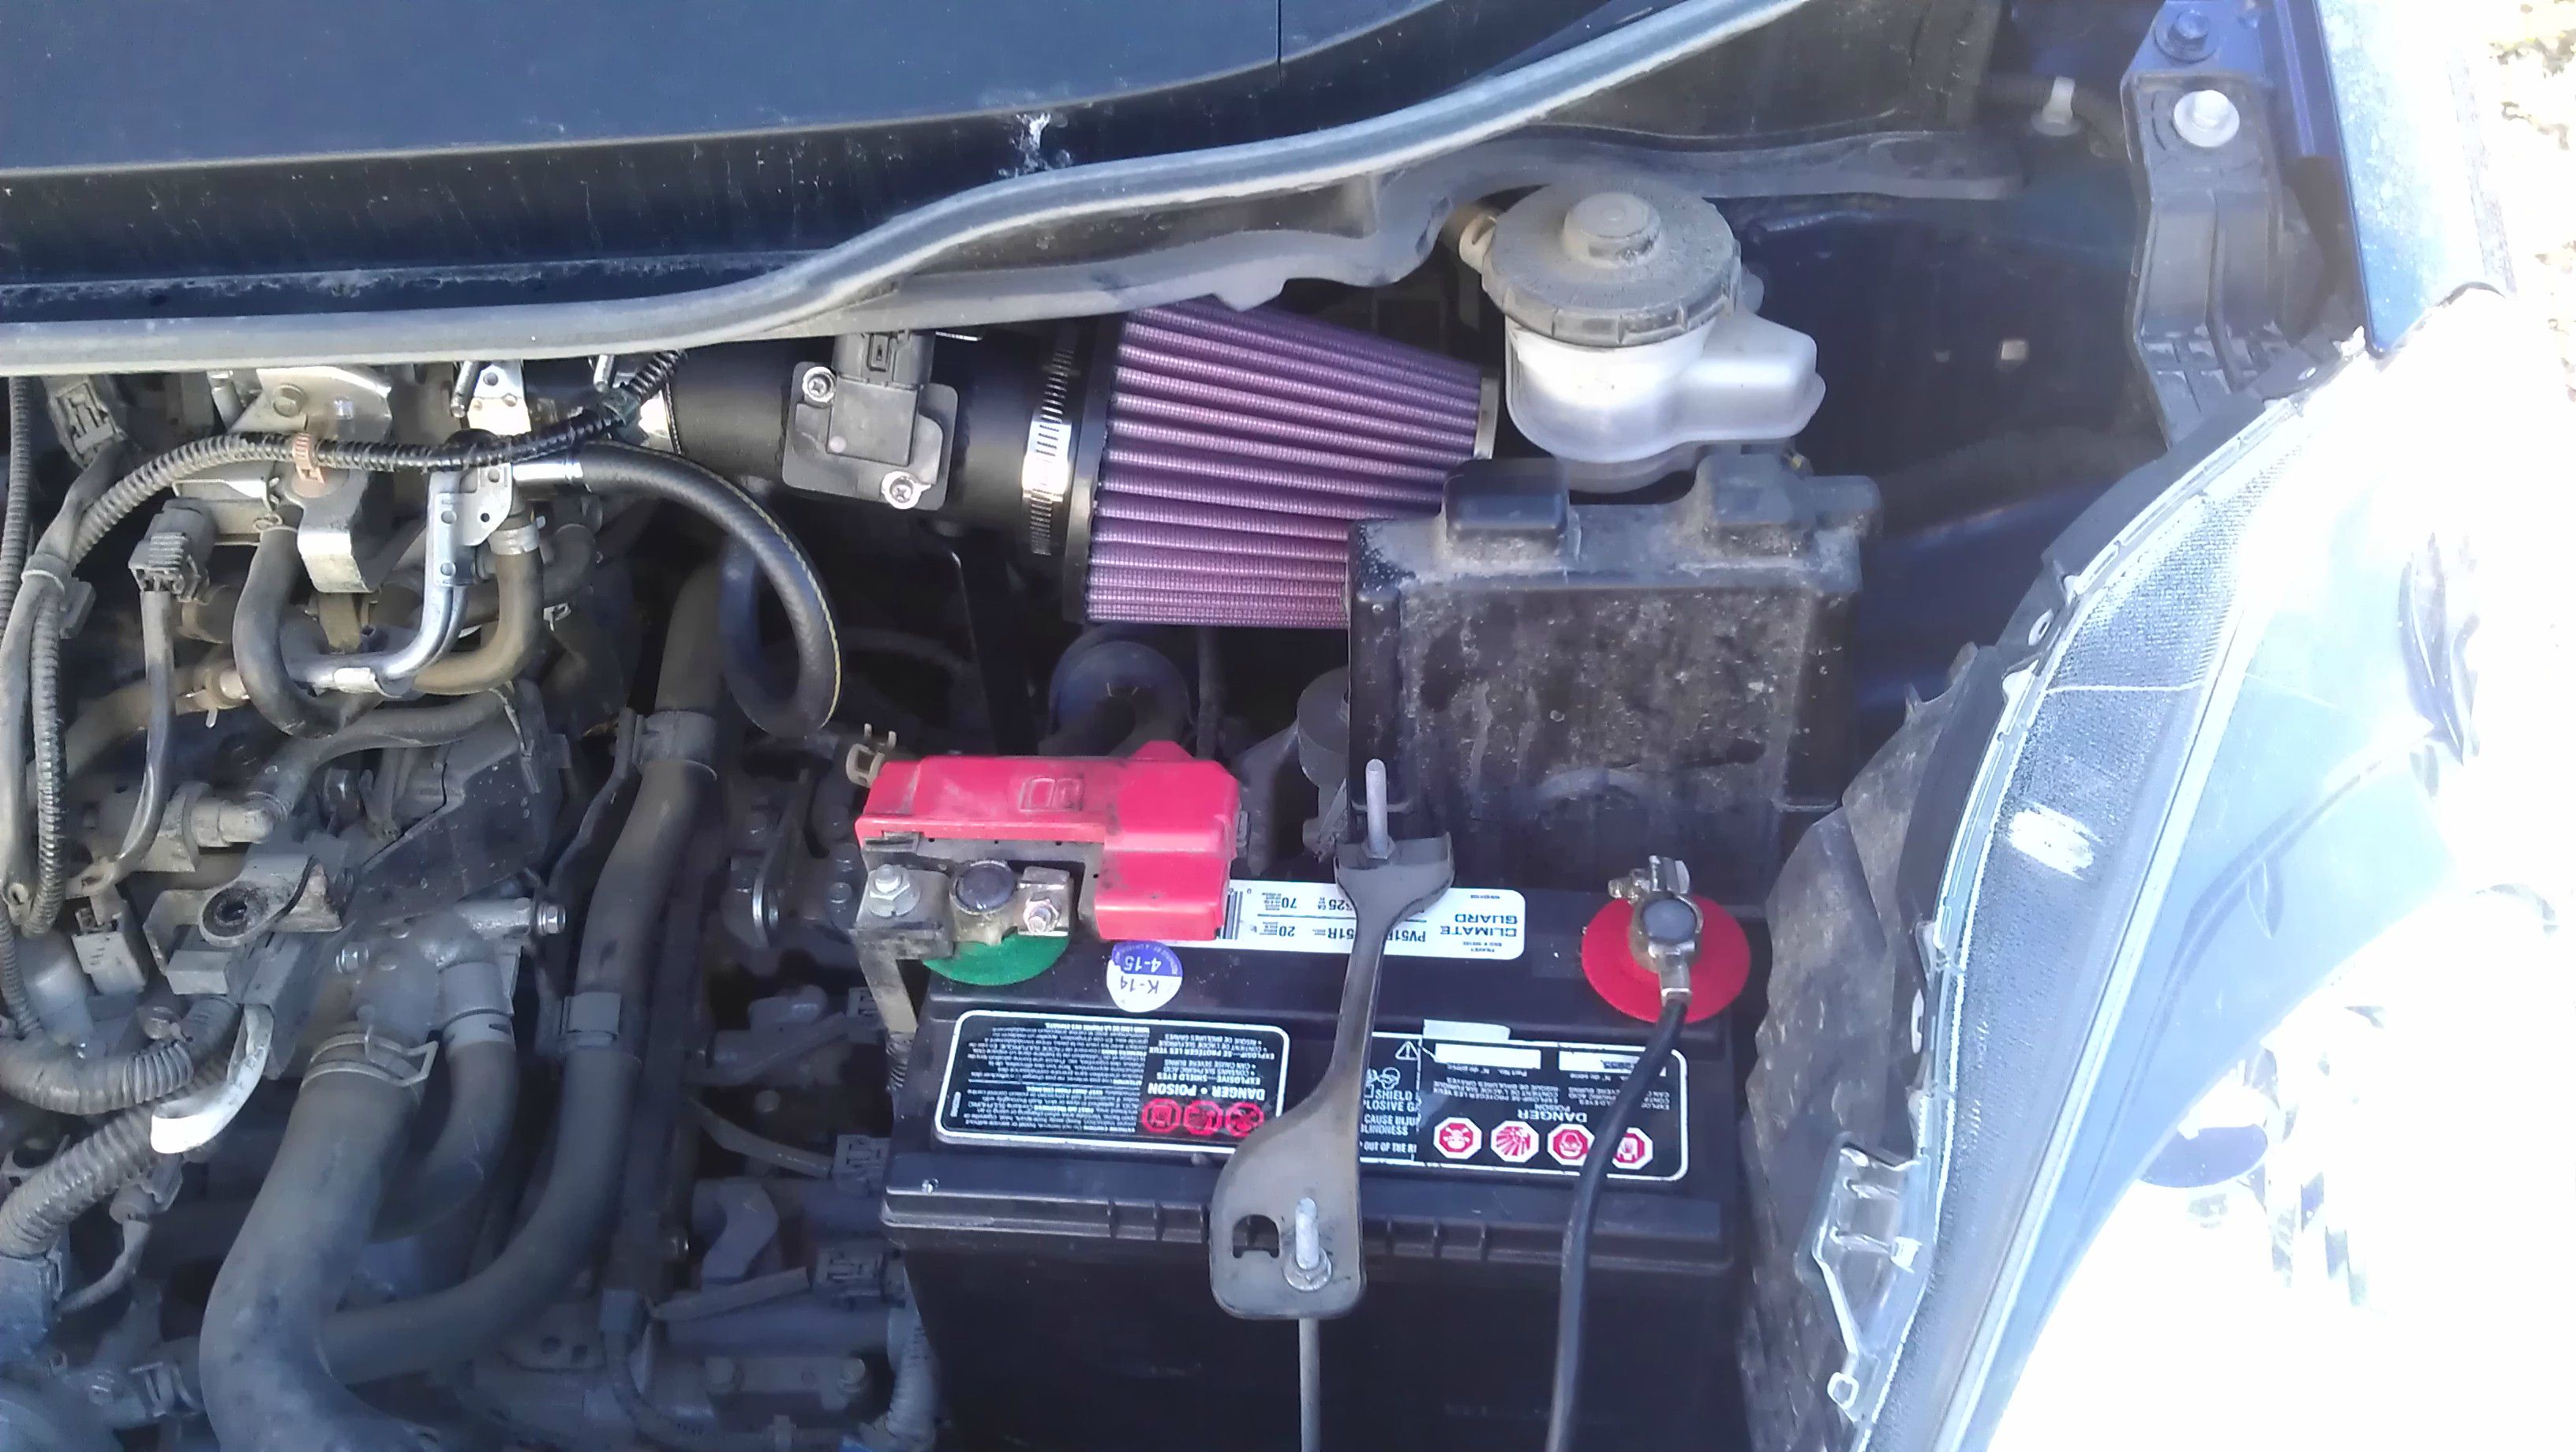
51R battery & HPS intake installed. Its definitely louder once you hit about 1/3 throttle, and not necessarily feels any faster. but it does feel smoother. New battery takes half the cranks to start the car, too.
Two things to know about a 51R battery swap:
1) You WILL need an aftermarket intake for it to fit well. Otherwise you'll have to fiddle with the positioning a bit.
2) On the positive battery terminal, there are some plastic pieces that will need to be removed that protrude downward. A pair of side cuts will break it evenly.
Things to know about an aftermarket intake install.
1) This is a very easy first or second mod for anyone. Just keep the instruction sheet handy.
2) Having the tools you need nearby before you start saves a lot of walking back and forth. I used a 10mm deep socket, an extension bar, a socket wrench (you could use a nut driver, too if you have one that's a deep socket), a small slot screwdriver, a #1 phillips head screwdriver (HAS to be a #1. #2 will strip the MAF screws).
3) The stock airbox is hell to get out of its little corner. I had so much less trouble with my Corolla's intake install.
4) Vacuum lines fit very tight. Be prepared to use some muscle. Alternatively, buying a length of silicone vacuum line would save a lot of trying to flex thick rubber hoses over the vacuum ports.
5) install the MAF and vacuum lines last. They're tough to get on in a tight space, but they will be in the way of your tools when you try to tighten hose clamps and in the case of the HPS intake, installing the "Z" bracket that holds the intake pipe in place.
All in all, just disappointed I didn't do these things earlier.
Thread Starter
|
Member
Joined: Jan 2012
Posts: 533
From: Alberta, Canada
Little update: My gaming rig died last week. I had almost enough saved for my two biggest mods (the exhaust and RSB), now it's all going into a new processor and motherboard. I will be getting new tires with my tax money, and I'm thinking I should just mount them on the R81s and put my winters on the pie cutters.
Just feeling a little frustrated right now with the whole thing. Money just seems to have to disappear into fixing everything I own, and when it doesn't, someone needs something that I seem to have to pay for, and never get paid back for.
Just feeling a little frustrated right now with the whole thing. Money just seems to have to disappear into fixing everything I own, and when it doesn't, someone needs something that I seem to have to pay for, and never get paid back for.
Thread Starter
|
Member
Joined: Jan 2012
Posts: 533
From: Alberta, Canada
My tax return is taking care of the computer, so I used some money to get a couple toys for the Fit. Nothing too crazy, just some LEDs for the interior, and a set of hood struts that should arrive Thursday. If the weather cooperates this weekend, I'll install them on Saturday.
Thread Starter
|
Member
Joined: Jan 2012
Posts: 533
From: Alberta, Canada
My dome light came in yesterday, so I installed it before work today. As with most things I do myself, some notes:
This is the easiest thing I've ever done mod-wise. The done light panel pops off by inserting a flat head screwdriver at the back of the panel near each side. Gently pry back, and the cover will pop off. The light takes a bit of pulling to free from its home, but don't worry about breaking anything. It will give way long before you break the tabs. Just pop the new light in, and enjoy a much brighter interior. If you want to do this yourself, the bulb number is DE3022. I bought a pack of four on Amazon.ca for $3.20, and they arrived in three weeks. If you're concerned about the quality of "cheap" LEDs (they literally cost pennies to manufacture anywhere), or want them faster, I recommend Super Bright LEDs(.com). They have bulb sizes on file for almost every car you can think of, and the prices are still pretty cheap. Your whole interior is under $20, and the entire car could be done for under $100 (excluding head lights and flashers, which require extra hardware). Here's a quick shot taken tonight. No flash on the camera.
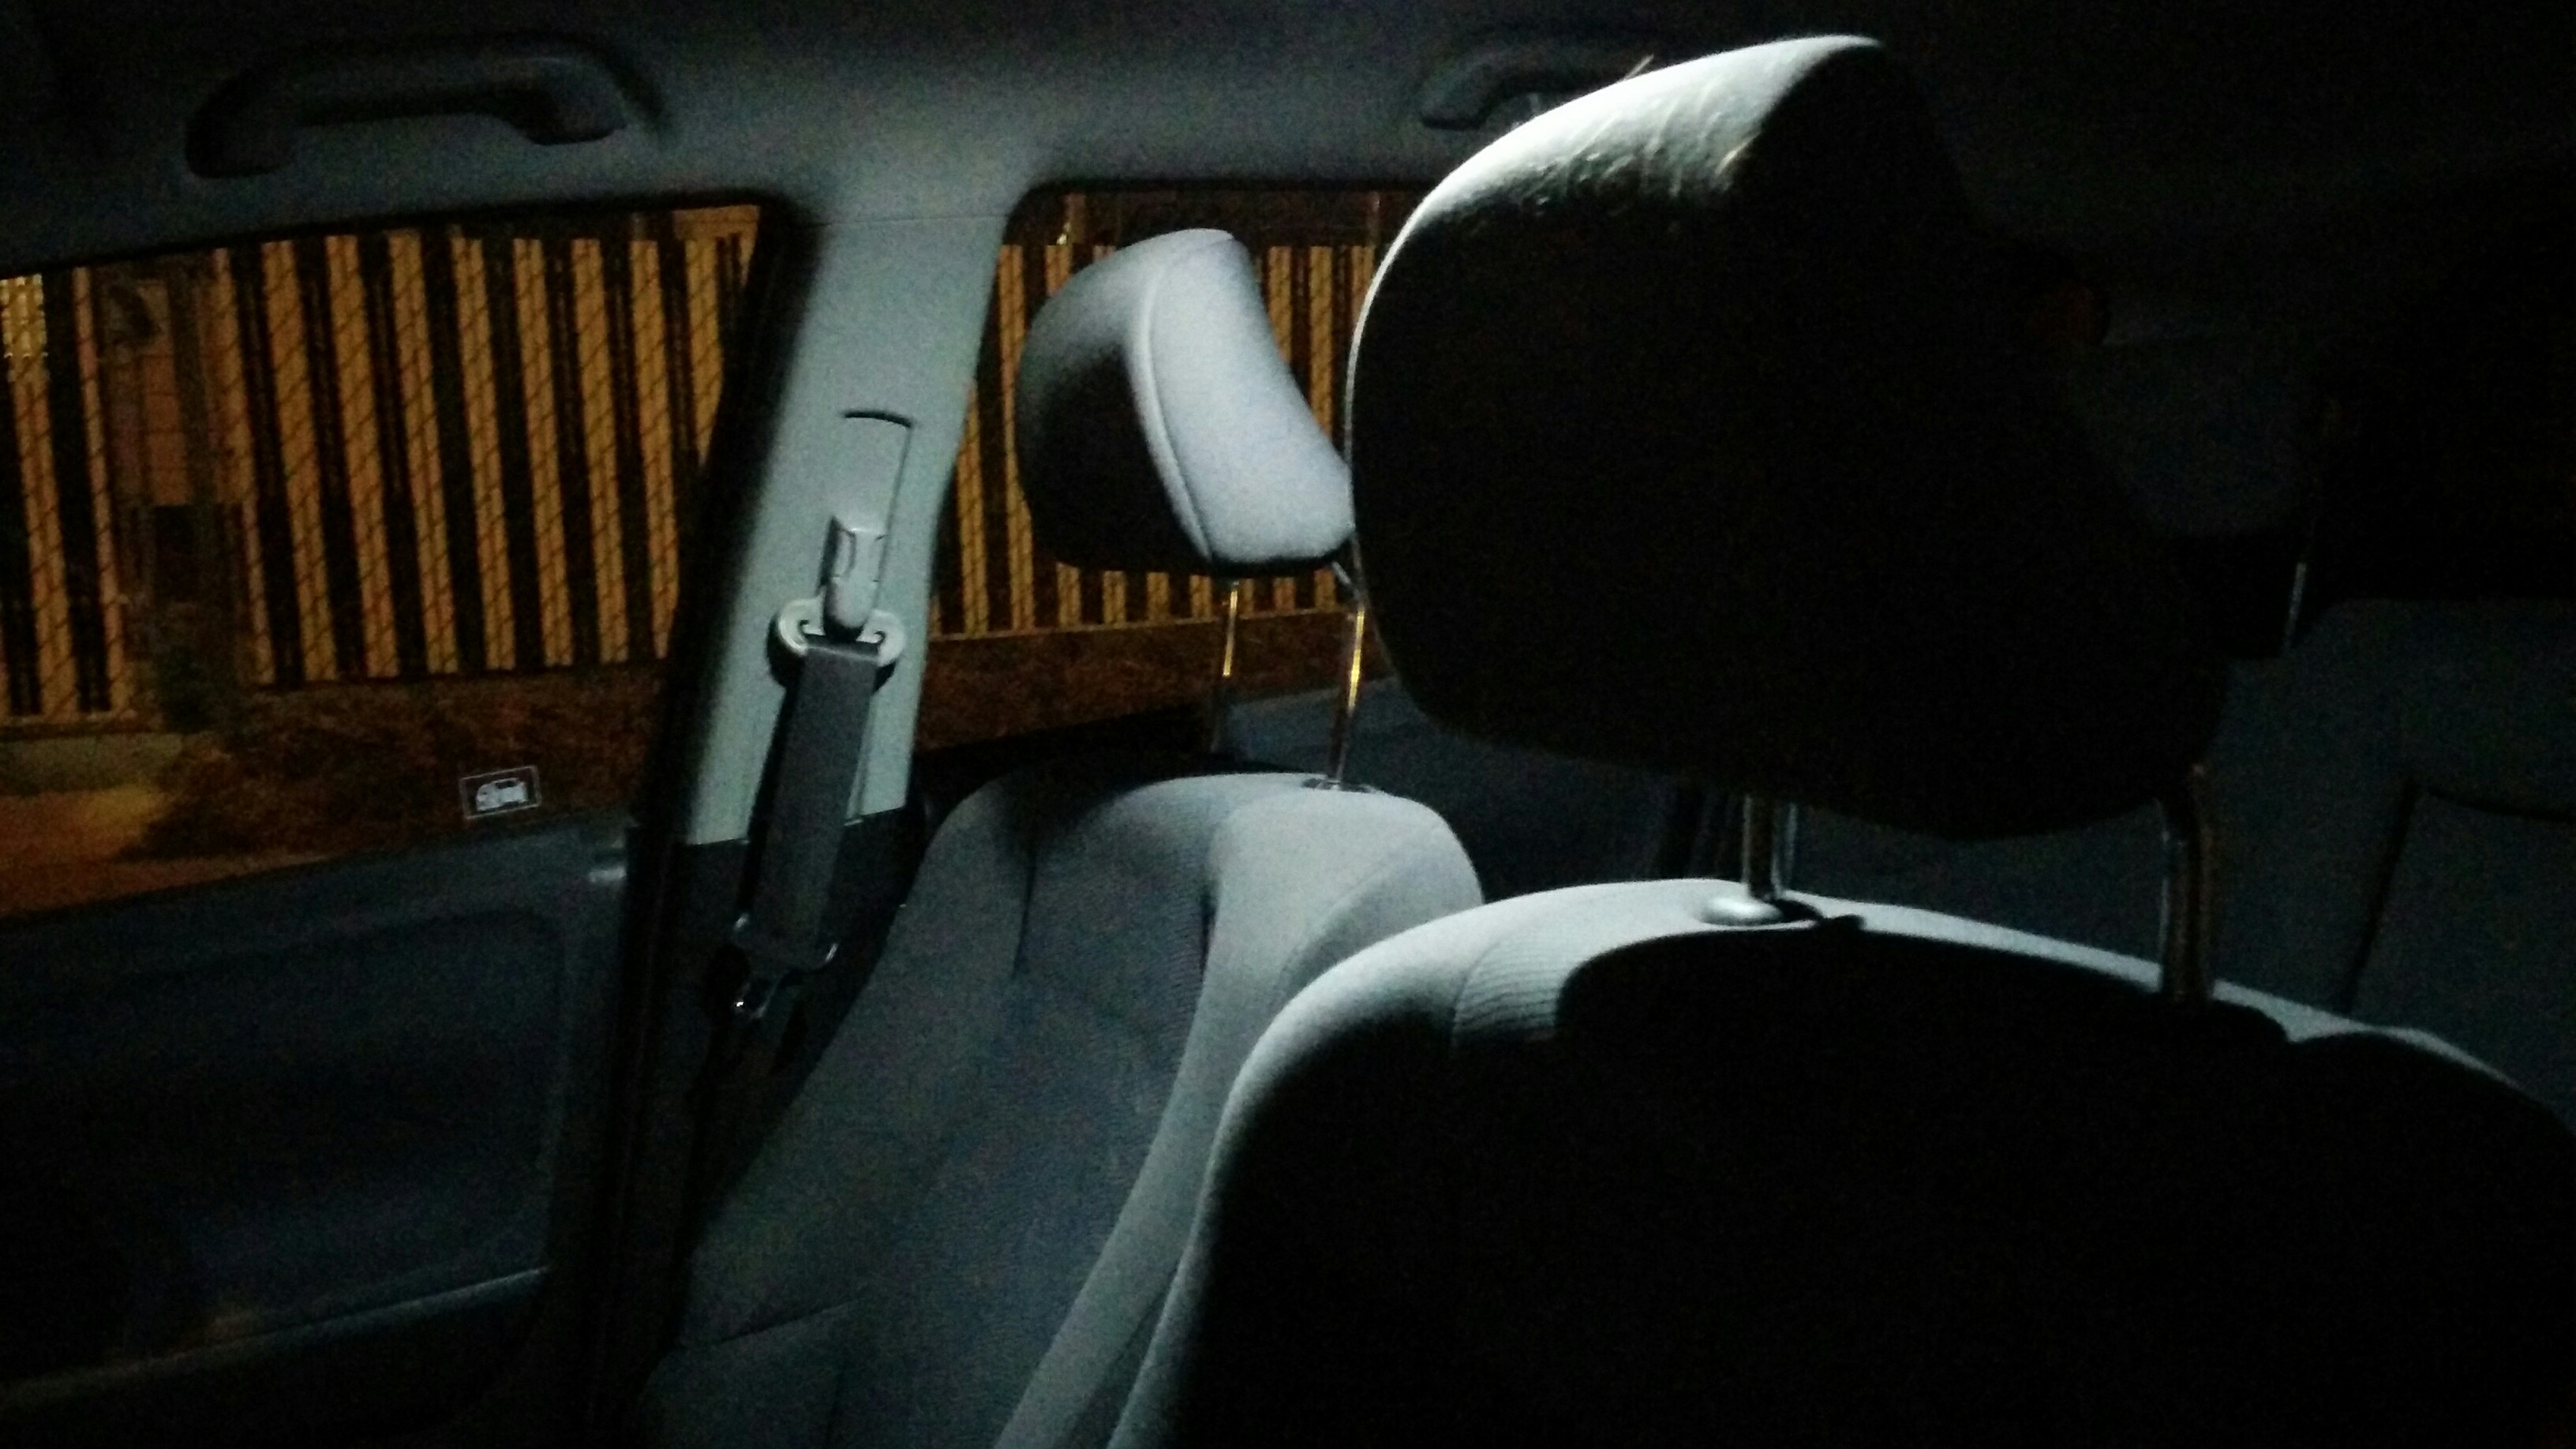
This is the easiest thing I've ever done mod-wise. The done light panel pops off by inserting a flat head screwdriver at the back of the panel near each side. Gently pry back, and the cover will pop off. The light takes a bit of pulling to free from its home, but don't worry about breaking anything. It will give way long before you break the tabs. Just pop the new light in, and enjoy a much brighter interior. If you want to do this yourself, the bulb number is DE3022. I bought a pack of four on Amazon.ca for $3.20, and they arrived in three weeks. If you're concerned about the quality of "cheap" LEDs (they literally cost pennies to manufacture anywhere), or want them faster, I recommend Super Bright LEDs(.com). They have bulb sizes on file for almost every car you can think of, and the prices are still pretty cheap. Your whole interior is under $20, and the entire car could be done for under $100 (excluding head lights and flashers, which require extra hardware). Here's a quick shot taken tonight. No flash on the camera.
Thread Starter
|
Member
Joined: Jan 2012
Posts: 533
From: Alberta, Canada
Little update: I finally got my LED 194 bulbs, and installed the cargo light. Much brighter. Still not bright, per se, but you can actually see stuff in the trunk now. Once the weather isn't complete bollocks, I'm going to replace the license plate lights.
Thread Starter
|
Member
Joined: Jan 2012
Posts: 533
From: Alberta, Canada
May have just found the first part of my custom grille. I have a design in mind that kind of says "OEM+". I want to make it a bit of a surprise, but it will involve new mesh, and a simple looking badge. Just need to figure out how to make it all fit together.
Thread Starter
|
Member
Joined: Jan 2012
Posts: 533
From: Alberta, Canada
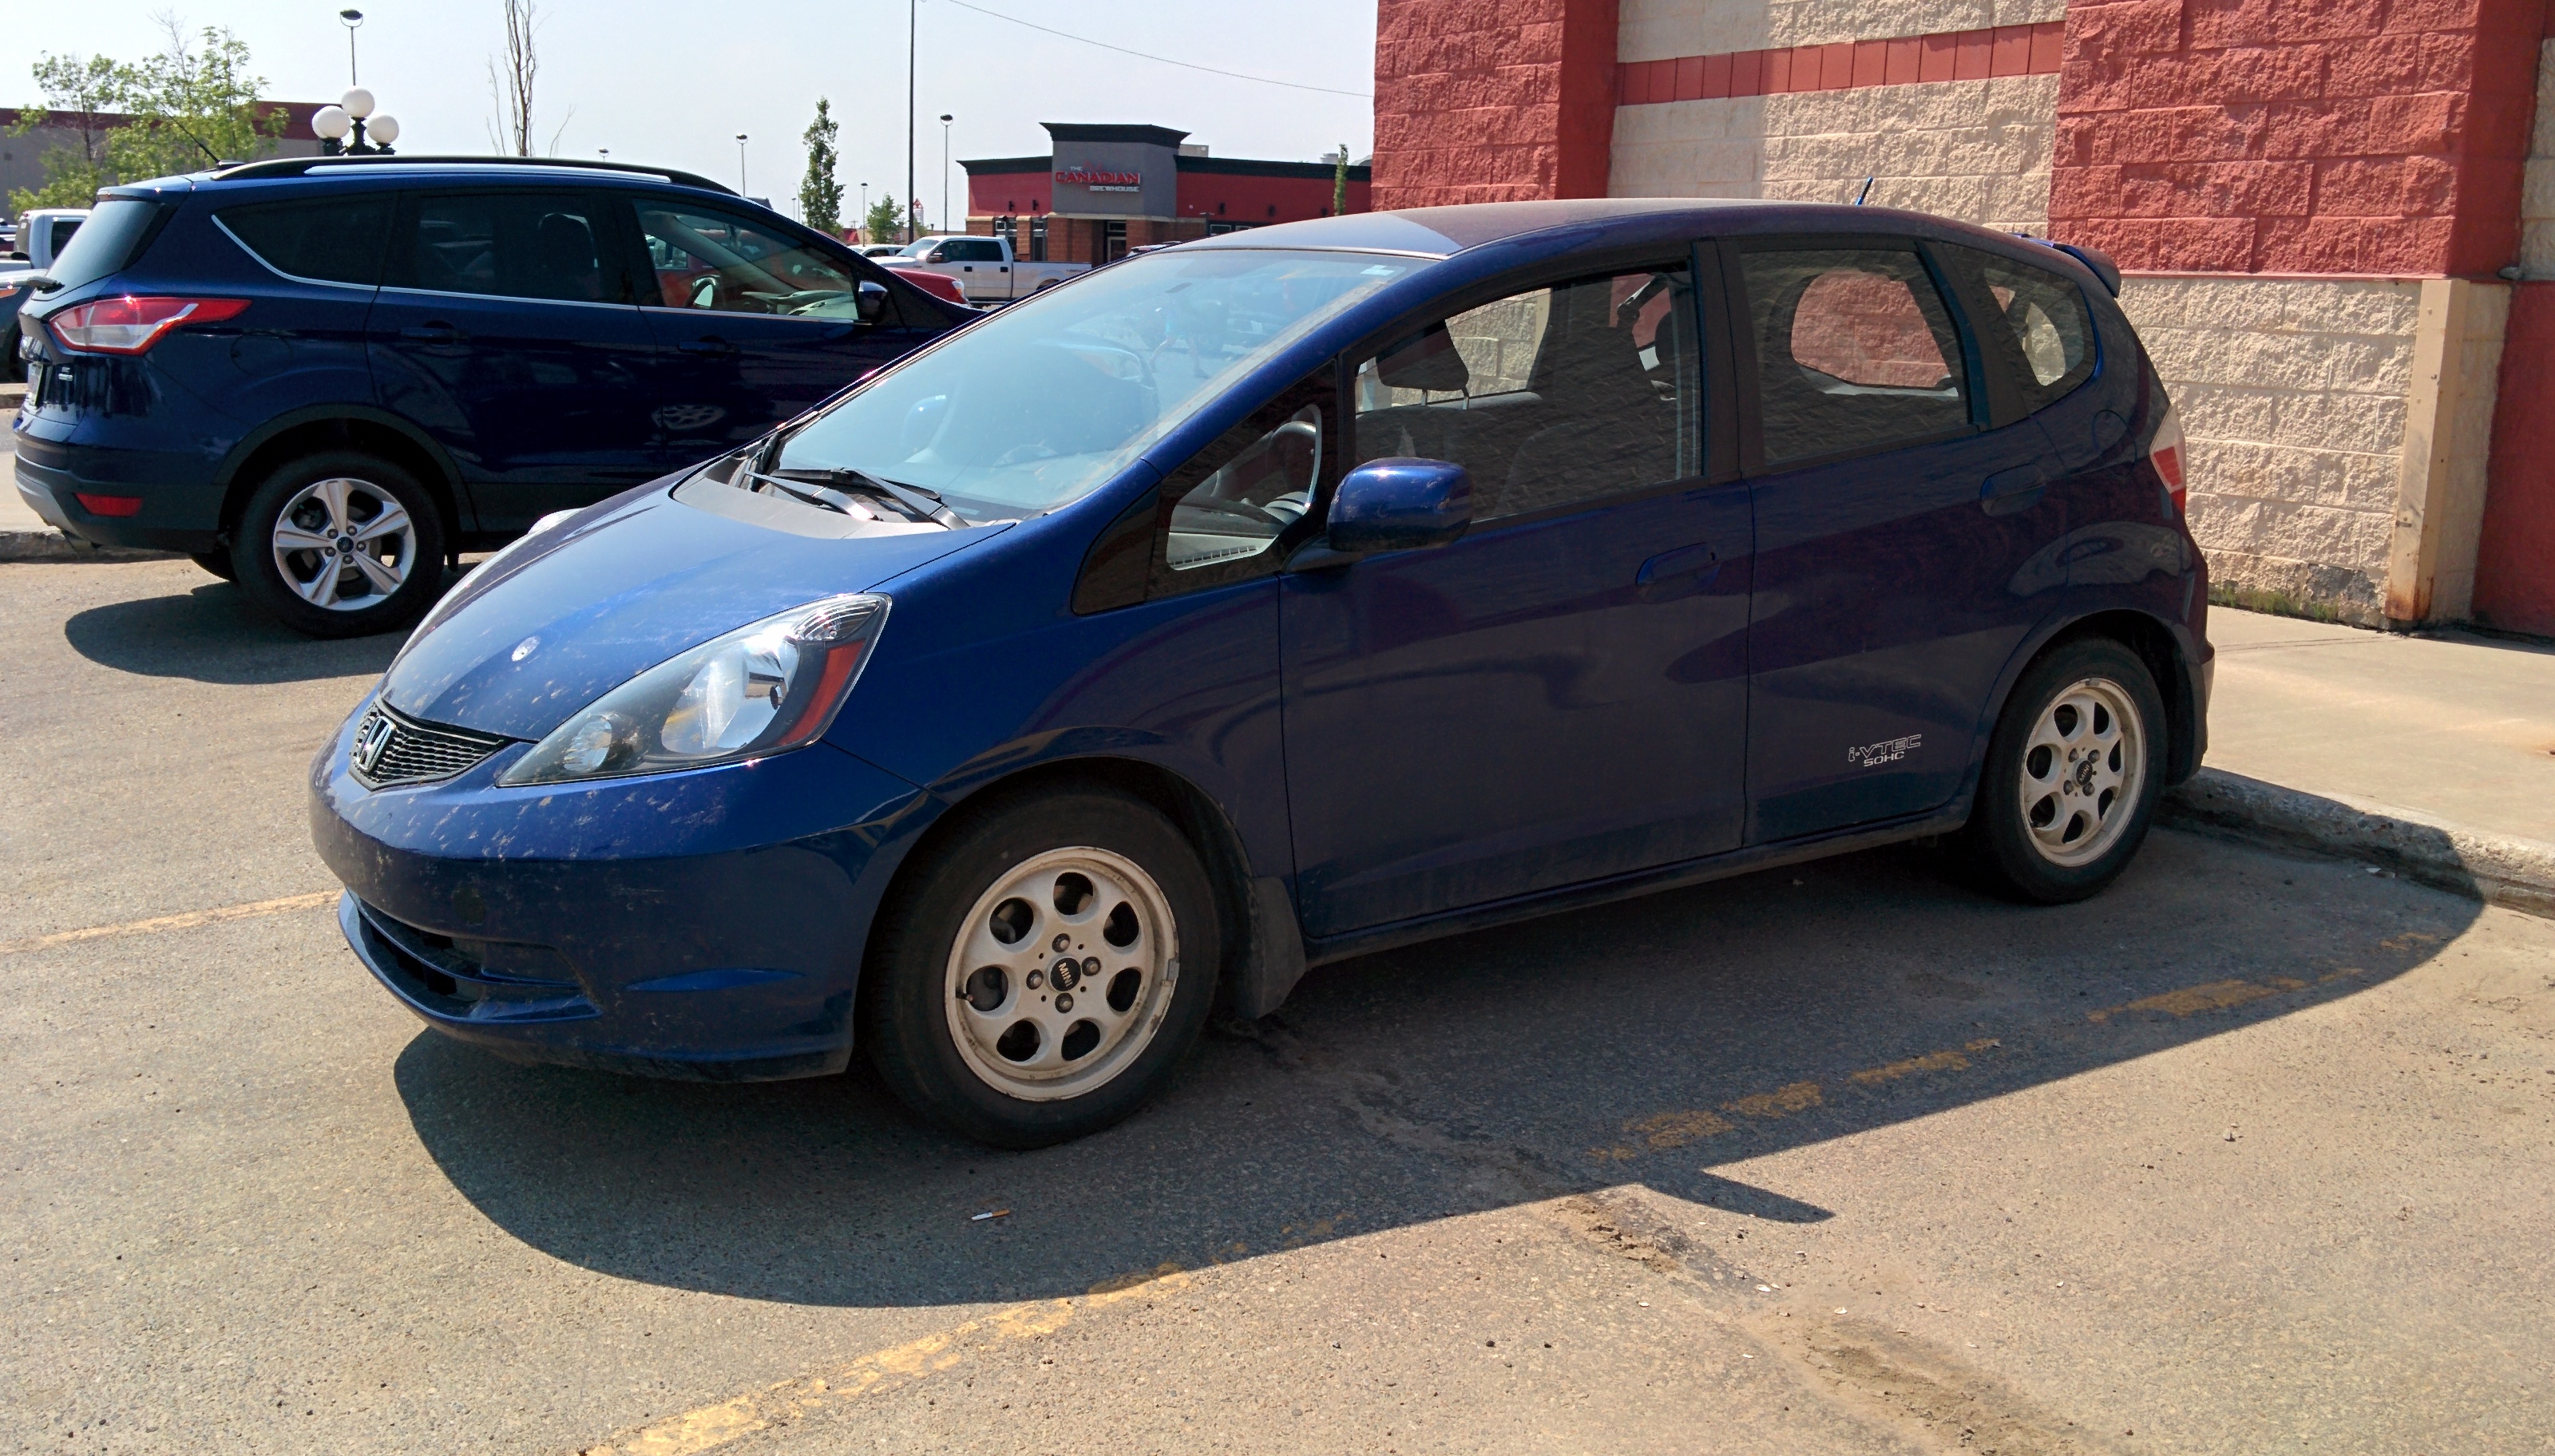
A picture for my i-VTEC SOHC decals. Exterior mods are almost done. I want to focus a little more on the engine bay, then tackle the handling. I'm going for a simple solution for better handling that when I sell the car, people won't run screaming at the sight of lowering springs and scrape marks. Namely, the Progress RSB and Spoon Rigid Collar kit. Between the two, there should be adequate improvement, and it means not worrying about throwing the geometry of the suspension off.
The car sorely needs a bath, but I need to fix the outside tap first. Would be a breeze if it weren't in such a weird spot. The tool I need to remove it would be like the back half of a wrench that is also adjustable so I could slip it over the top. I'm going to attempt to remove it on Friday with the help of a plumber friend.
Thread Starter
|
Member
Joined: Jan 2012
Posts: 533
From: Alberta, Canada
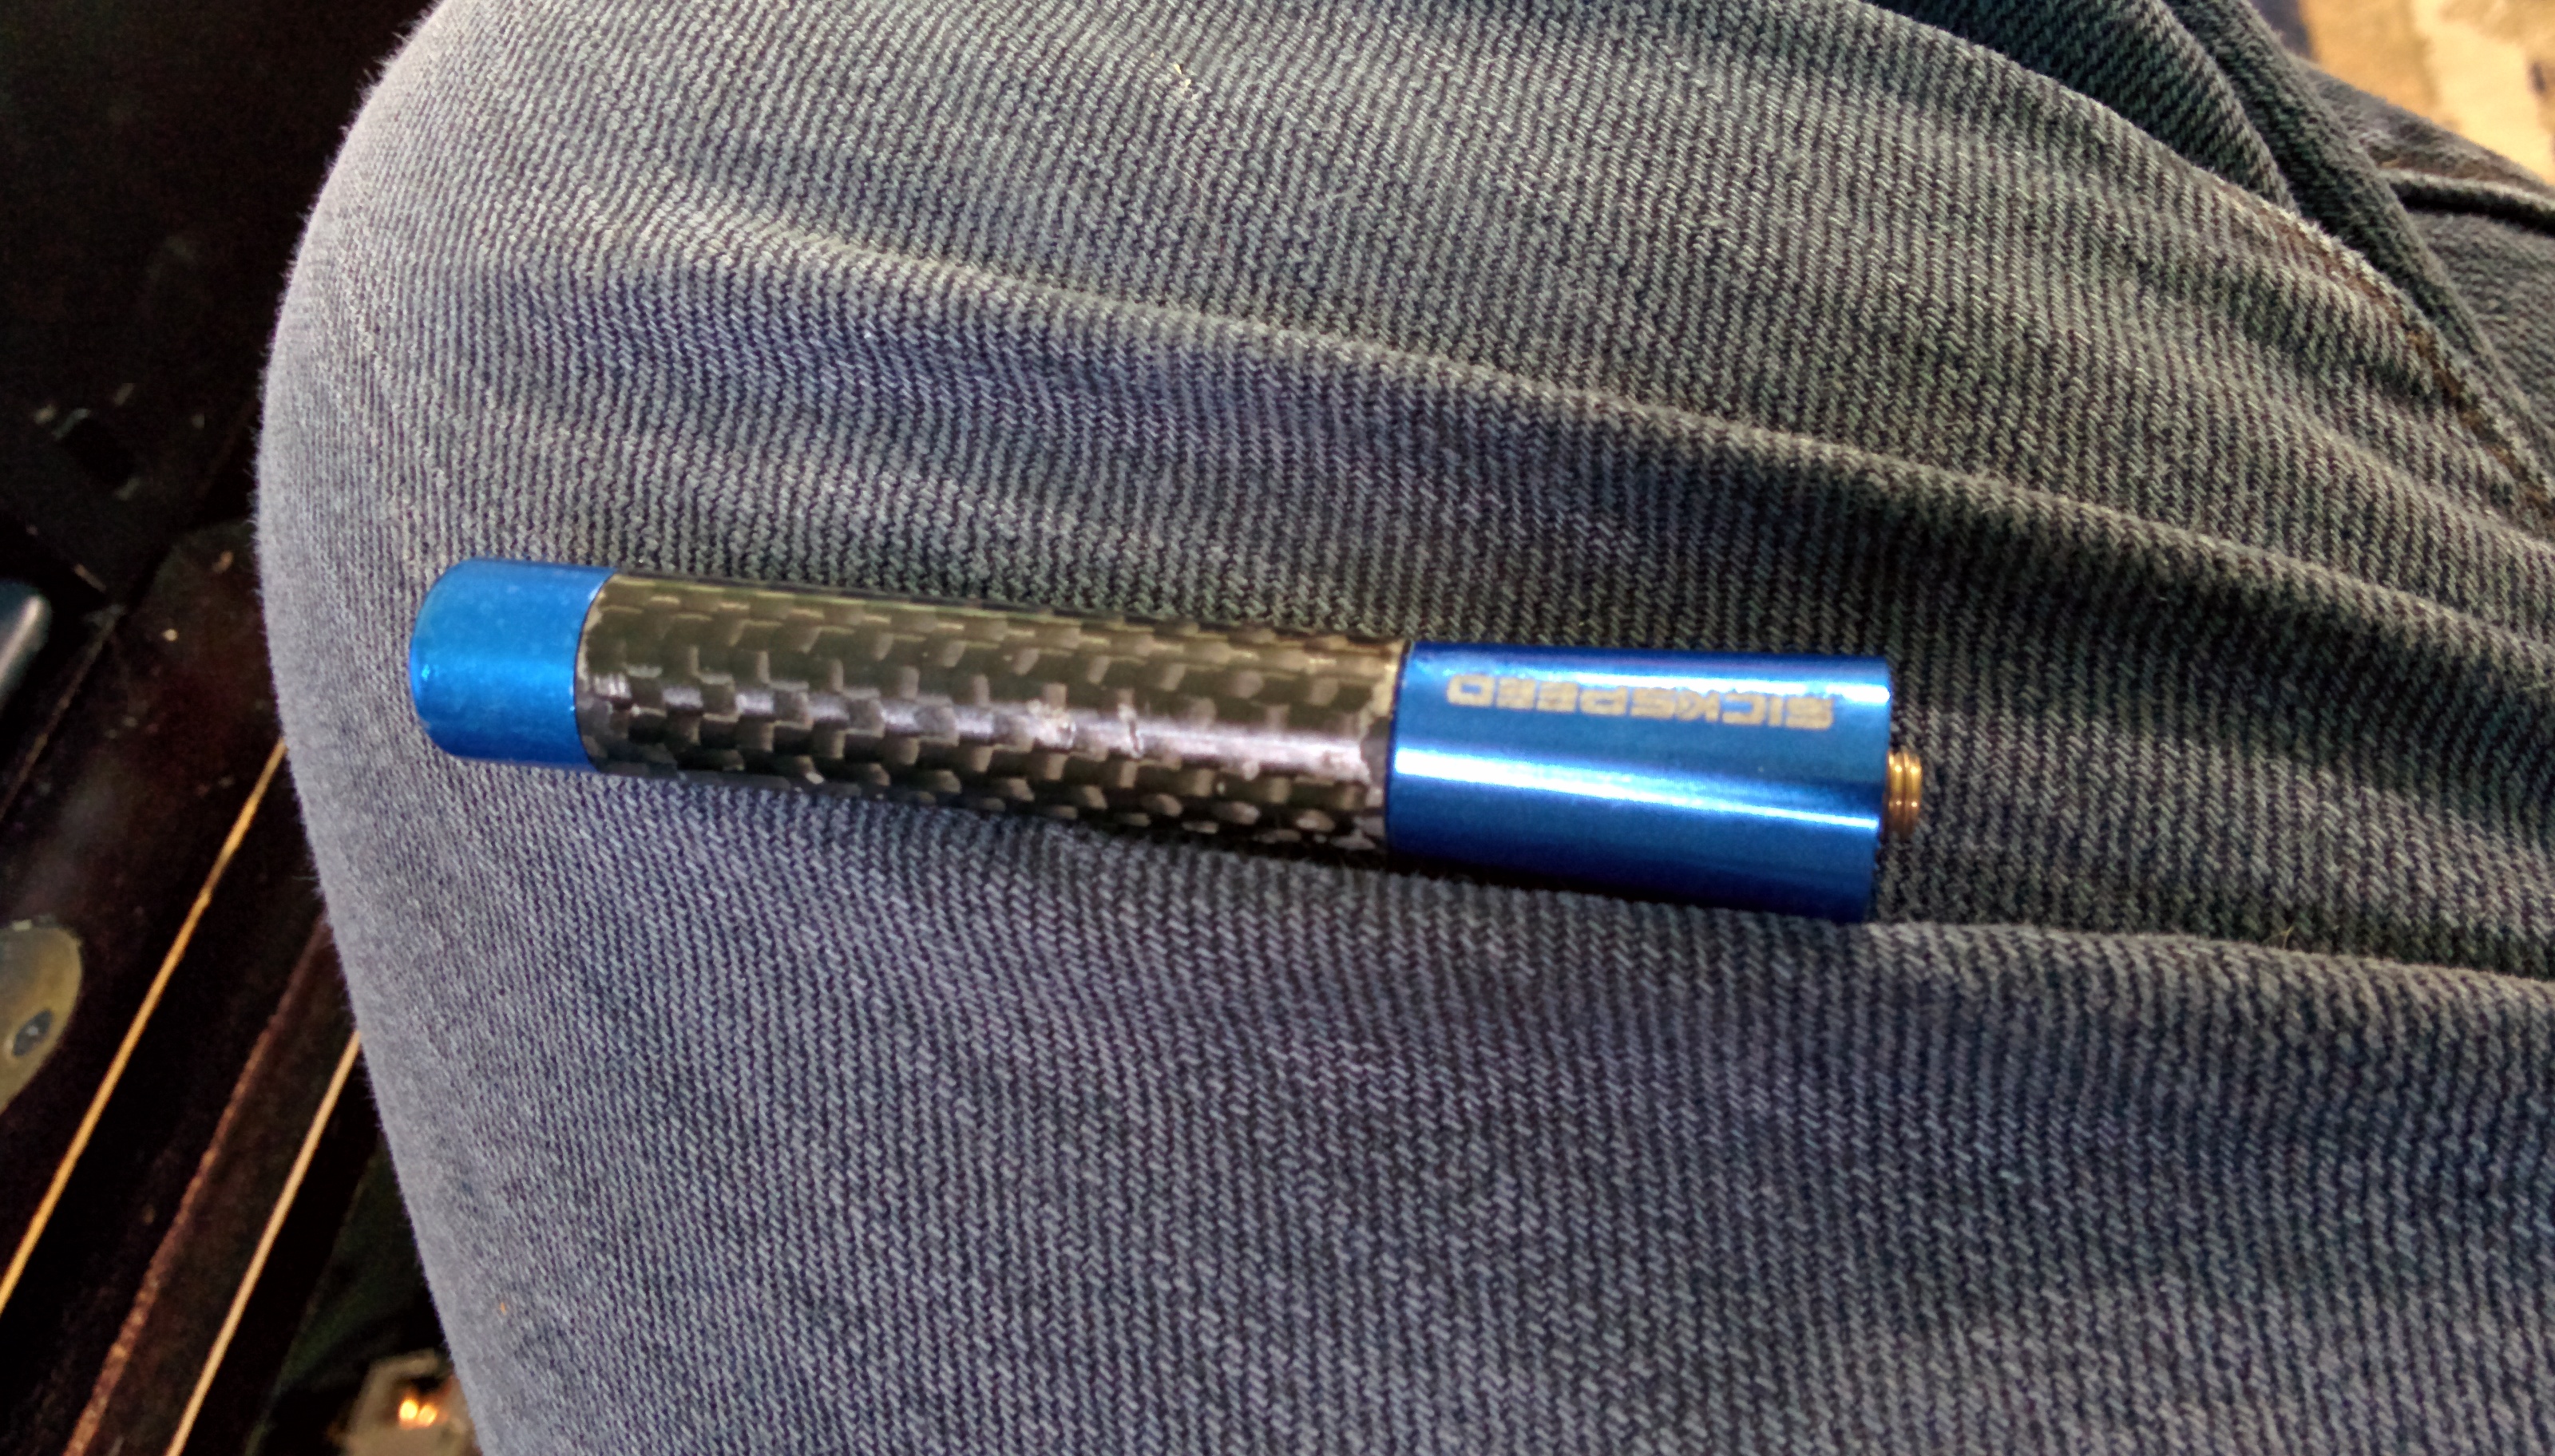
New stubby! After much abuse, the SickSpeed antenna had to be replaced. The clearcoat on what may or may not be carbon fiber was starting to peel, and it had been too battered to make use of. It lasted a while, though. I'm not at all disappointed in the SickSpeed antenna, I just feel like the elements got to it. Up here, the weather is so varied, and there are a lot of extremes (hot and cold, dry, sudden heavy rain), and I think it was just too much abuse for the design. You can see the extent of the damage below:
And here's the Blox one. I like the lower profile of this antenna. I think shark fins look weird on these cars, tbh. The Blox large and small stubbies look about right. The medium one doesn't have the flared base like stock, and I think it would look a little odd sitting on that base piece the Fit has underneath the antenna.
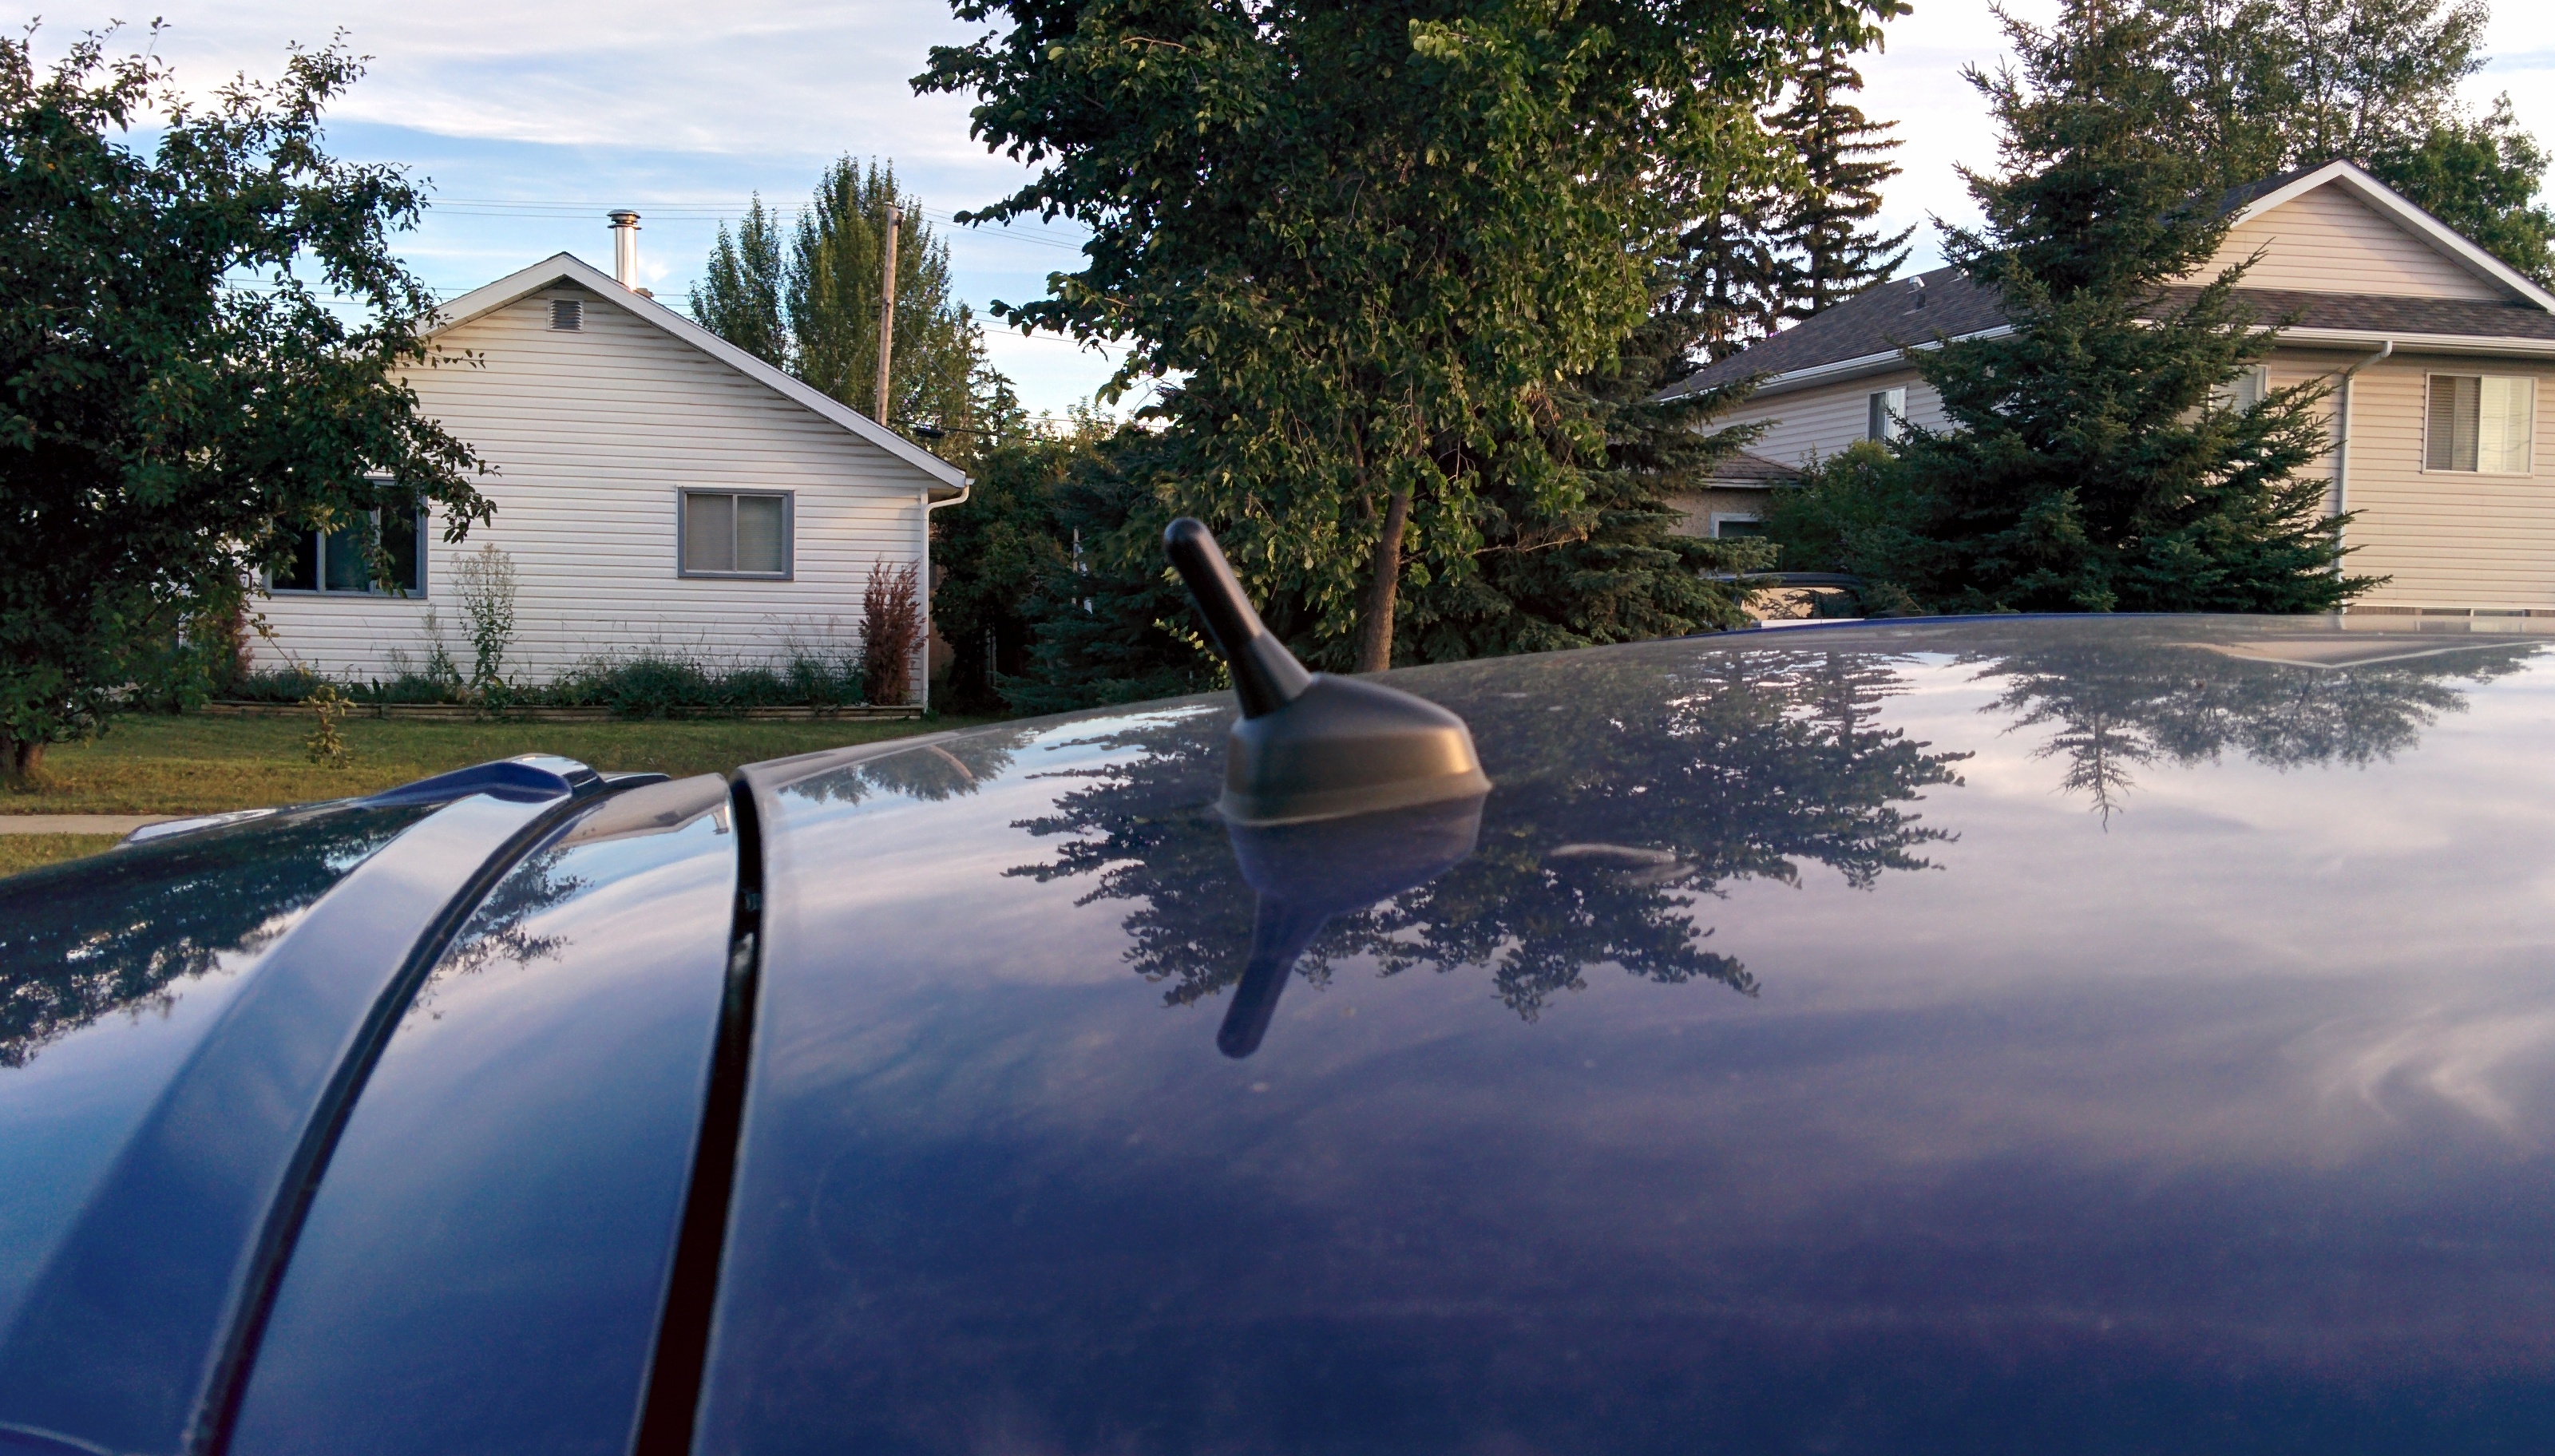
And here's the Blox one. I like the lower profile of this antenna. I think shark fins look weird on these cars, tbh. The Blox large and small stubbies look about right. The medium one doesn't have the flared base like stock, and I think it would look a little odd sitting on that base piece the Fit has underneath the antenna.
Thread Starter
|
Member
Joined: Jan 2012
Posts: 533
From: Alberta, Canada
40 lbs of rotating mass is a lot. With all the various theories as to how much rotating mass means in terms of static weight, I would expect the car to feel about 120 lbs lighter. I've heard estimates from 3-5 lbs of static weight and up to 30 lbs (believe it or not, that's Enkei's estimate), so it should feel great by comparison.
yeah i got them but they came with some accelera alphas that are are in fair condition. problem is: they are 185/65/15 and weigh 22 lbs a tire. so with the hub I'm looking at 34 lbs and also a diameter increase (badbad) thats still a 4 lbs drop per corner, but with the diameter increase (from 23.5 to 24.5) that will eat any wheel weight savings.... grrr. ill probably put them on and abuse the hell out of them to get rid of them sooner. But loving the R81s!
thinking about getting the 15 lbs kuhmo sense tire 185/60/15 when it comes time to replace tires. thats when I'm expecting to feel a significant difference
thinking about getting the 15 lbs kuhmo sense tire 185/60/15 when it comes time to replace tires. thats when I'm expecting to feel a significant difference
Last edited by space egg; Oct 27, 2015 at 09:08 PM.