
Plasti Dip + Paint on 2010 Sport Wheels


Plasti Dip + Paint on 2010 Sport Wheels
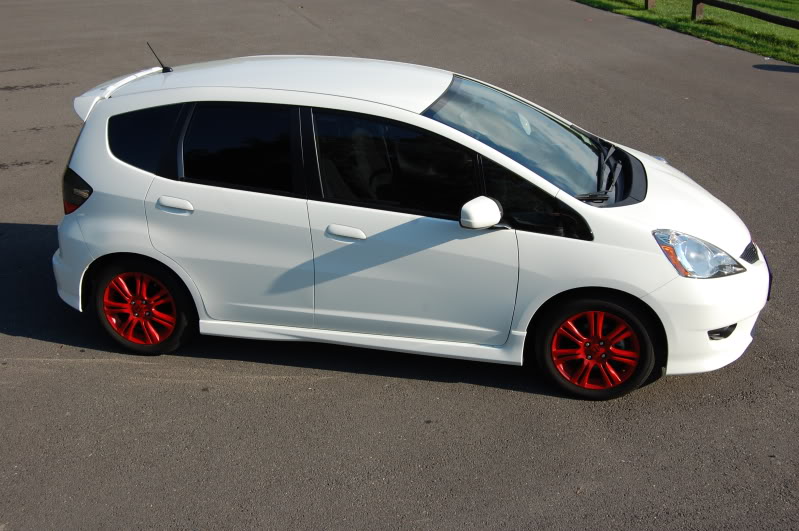
Last year did this with just straight Red Plasti Dip and really liked the look, tore it off over the winter and going for what I hope to be a long lasting and removable bronze finish + clear.
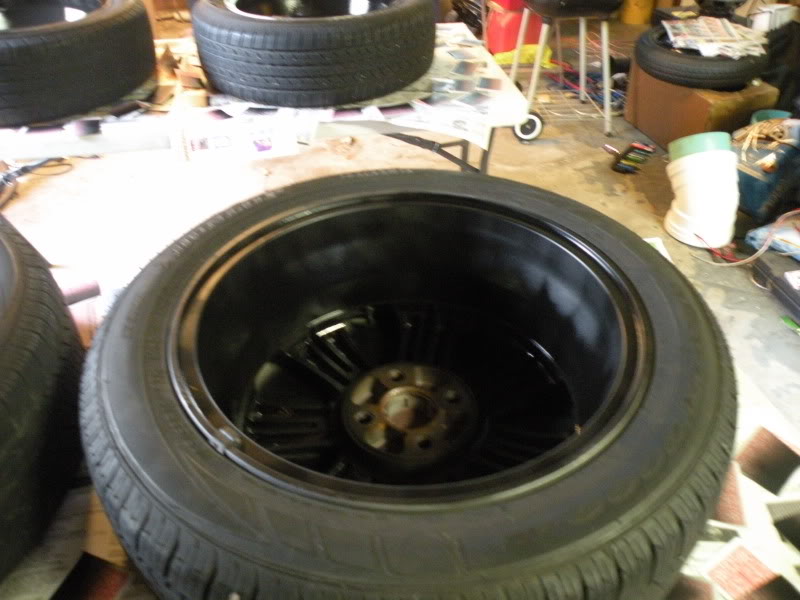
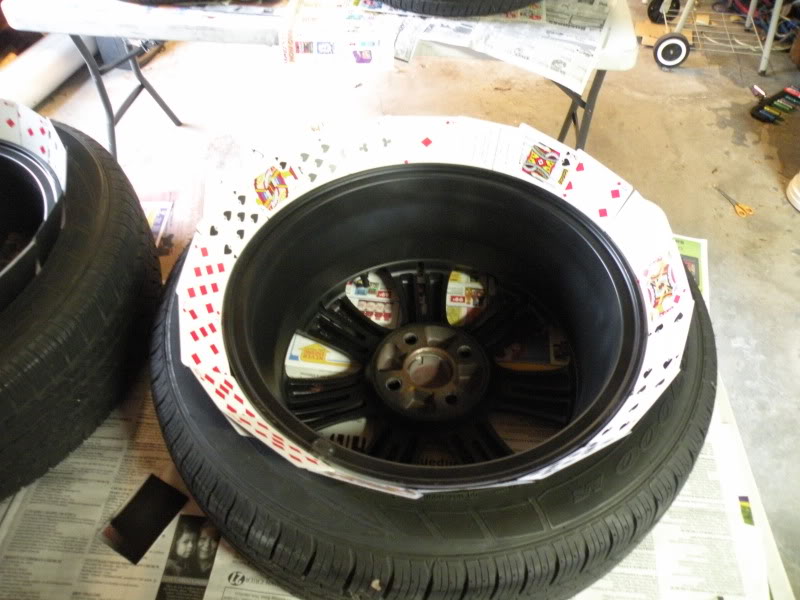
Here is progress so far, just put on 3 layers of Black Plasti dip on the backside of each wheel. Hopefully will get 4-5 layers on the front tonight after the back dries. After that, i will be using Bronze Wheel paint 4 coats front and back, and then clearing it. Last year the Red got very dusty and dirty and slightly worn down at the end of summer, so I'm hoping the paint + clear will help protect it and give me that long lasting removable finish.
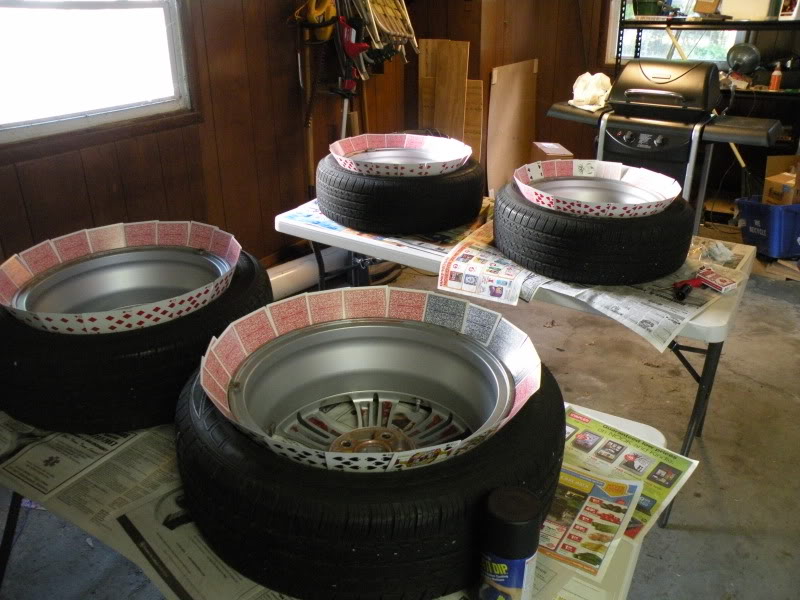
Here is progress so far, just put on 3 layers of Black Plasti dip on the backside of each wheel. Hopefully will get 4-5 layers on the front tonight after the back dries. After that, i will be using Bronze Wheel paint 4 coats front and back, and then clearing it. Last year the Red got very dusty and dirty and slightly worn down at the end of summer, so I'm hoping the paint + clear will help protect it and give me that long lasting removable finish.

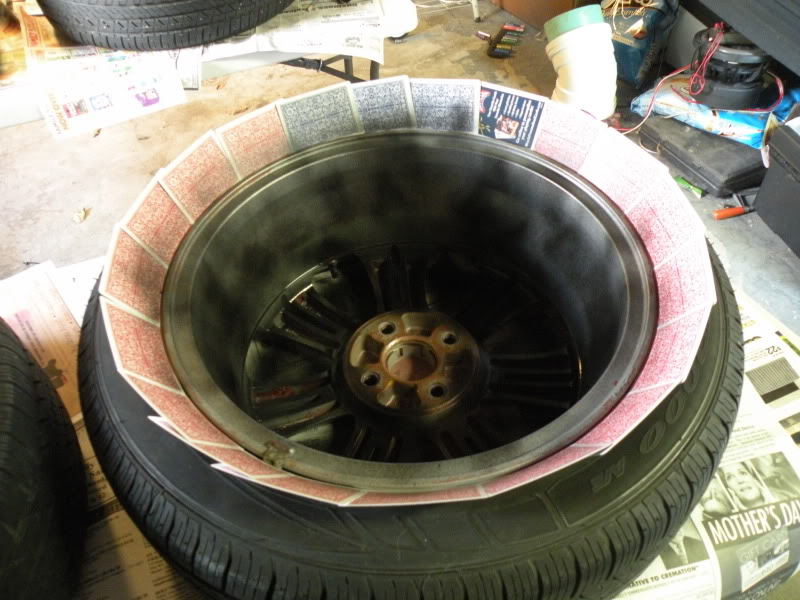
Coats on the front now
1st very light coat - the Fit Wheels are not the best for PD'ing, due to the very small opening in the spokes at places, but it still gets in there and comes off fairly easily with a pressure washer, some elbow grease and a few hours of your time
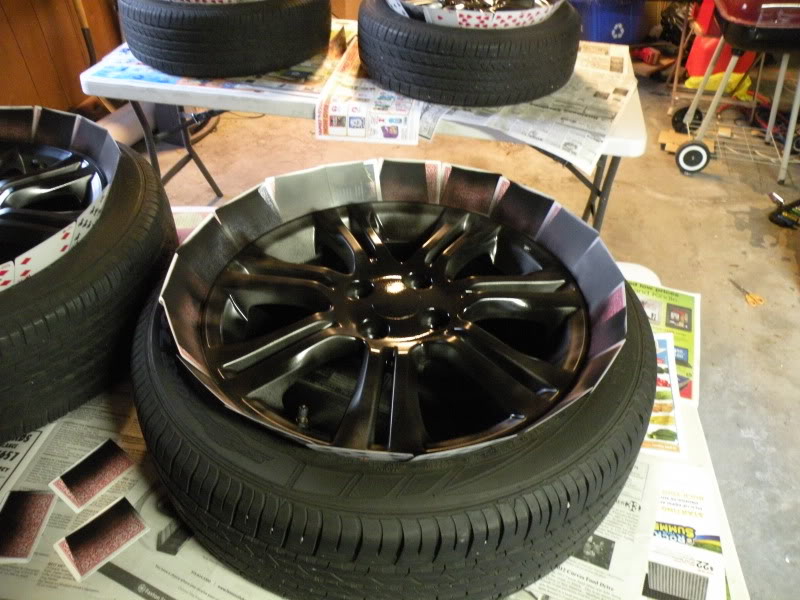
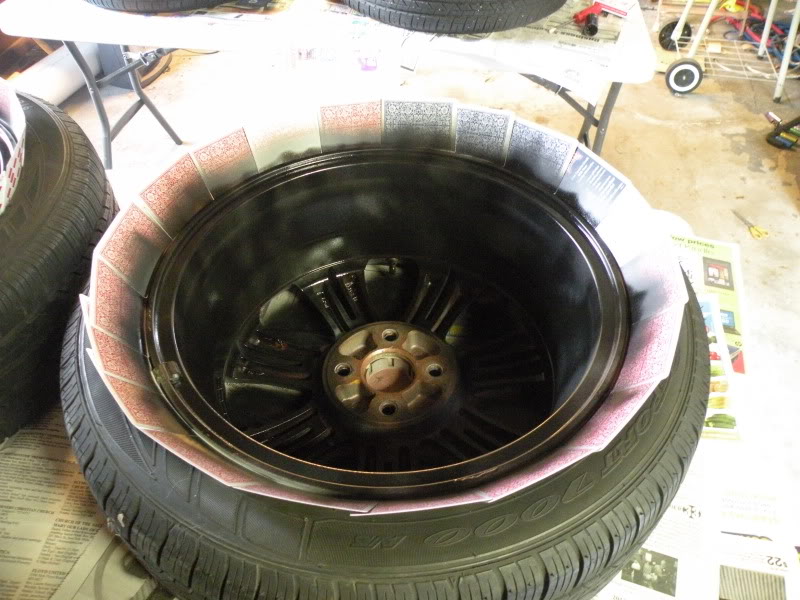
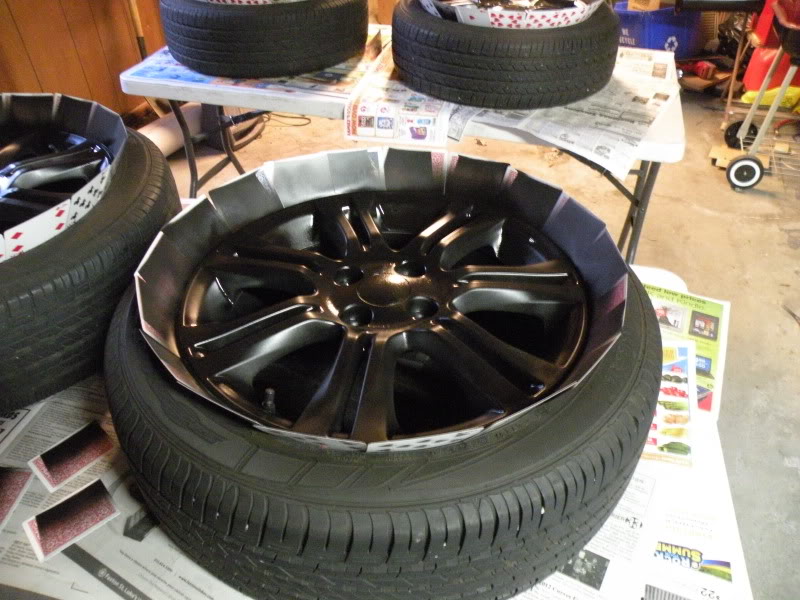
2nd coat - Going to do 4 coats on the front
1st very light coat - the Fit Wheels are not the best for PD'ing, due to the very small opening in the spokes at places, but it still gets in there and comes off fairly easily with a pressure washer, some elbow grease and a few hours of your time
2nd coat - Going to do 4 coats on the front
Last edited by britdevine; May 20, 2012 at 08:12 PM.
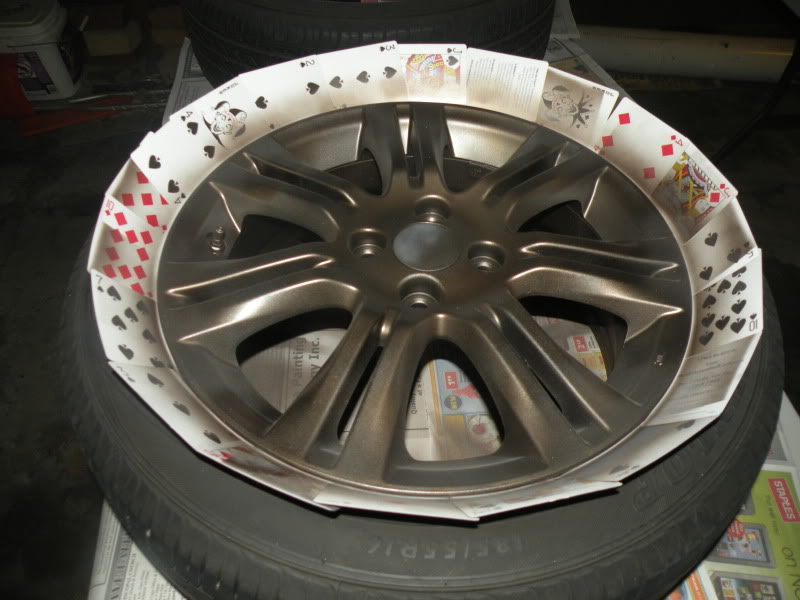
5 coats on the front, drying overnight, Paint tommorow!
Much better job on these this time, then last year IMO, Really looking forward to the final product
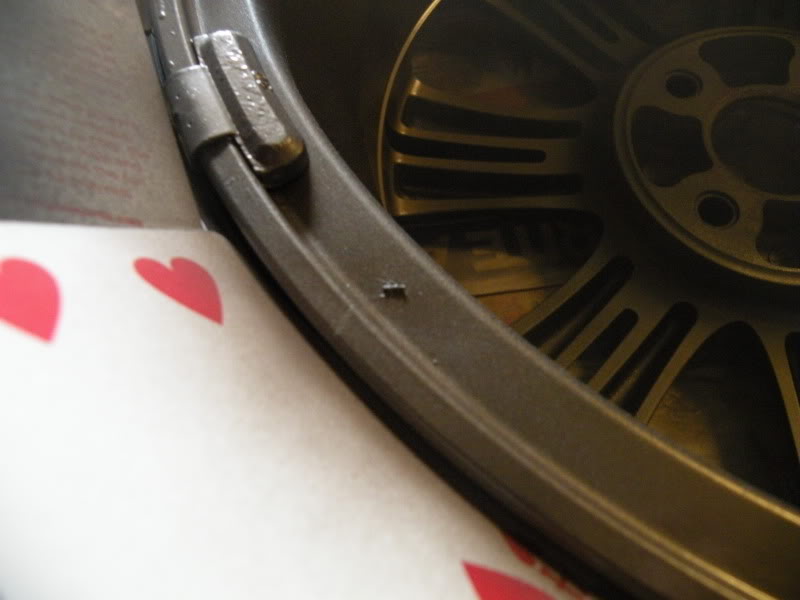
Pro tip - Don't forgot to exacto knife the the very small contact area where the lugs hit the rim when done, otherwise when the wheels get tightened, you could easily rip the PD and have to start all over
Much better job on these this time, then last year IMO, Really looking forward to the final product
Pro tip - Don't forgot to exacto knife the the very small contact area where the lugs hit the rim when done, otherwise when the wheels get tightened, you could easily rip the PD and have to start all over
Last edited by britdevine; May 20, 2012 at 09:40 PM.
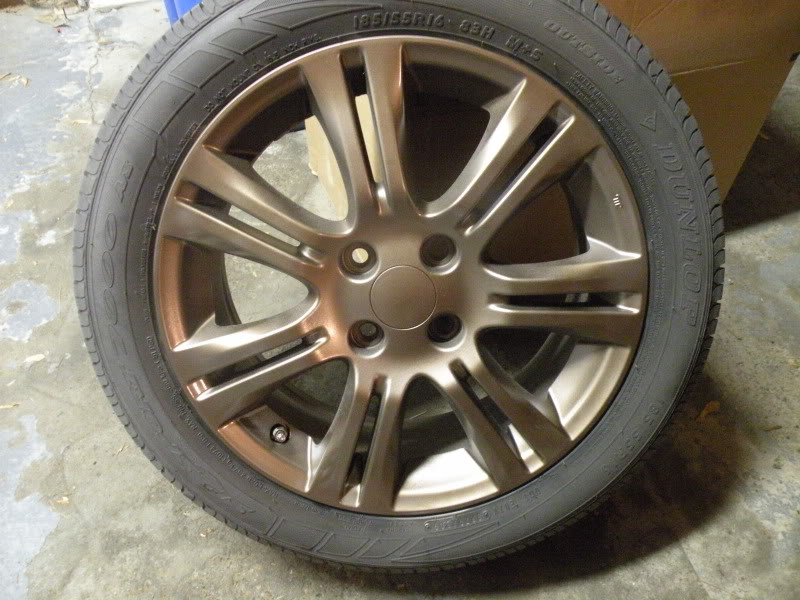
1st super light coat of Bronze, high as fuck spray painting this
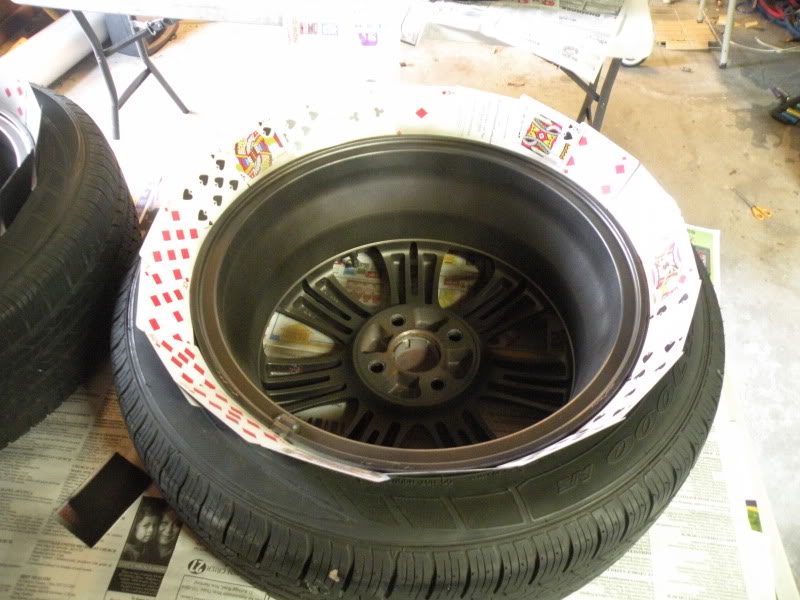
2nd light coat

Stupid Fkin Bug, i guess it now has a new perman"ANT" home on the back of my rim
Gonna take 2 light coats + 3 heavy coats to cover up this plastidip, holy lots of spray painting to do, only have 4 cans of bronze, and no local place has it, I have to order it online, probably just going to do 2 heavy coats on the backside which will put me at about 1.5 - 1.75 cans used, and leave me 2.25-2.5 cans for the front side to get that looking real good
2nd light coat
Stupid Fkin Bug, i guess it now has a new perman"ANT" home on the back of my rim
Gonna take 2 light coats + 3 heavy coats to cover up this plastidip, holy lots of spray painting to do, only have 4 cans of bronze, and no local place has it, I have to order it online, probably just going to do 2 heavy coats on the backside which will put me at about 1.5 - 1.75 cans used, and leave me 2.25-2.5 cans for the front side to get that looking real good
Last edited by britdevine; May 21, 2012 at 04:00 PM.
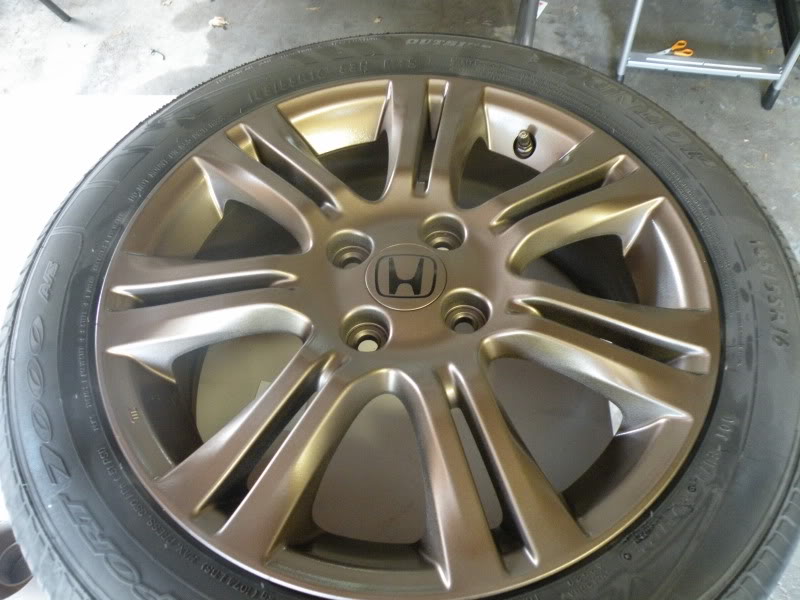
1st light coat on the front, the center caps are having some weird reaction and are turning white, hopefully this goes away after a few more coats or after it dries, the back side gave me no problems at all
Edit: Any ideas on what to use for my center cap problem, I already have some Black H Vinyl Emblems coming to go over them, but its not going to cover the whole center cap, its just the H outline..
I'm thinking of getting some form of a circle vinyl cutout and putting that over the center cap, then the H emblem over that, what color vinyl should I go for for over the center cap, that white is just not going away after 5 coats.
Last edited by britdevine; May 21, 2012 at 10:21 PM.


Look up Can I Bass Inc on Facebook, tell him you want the same thing I just ordered, he will know what your talking about..I got 5 for $10 shipped
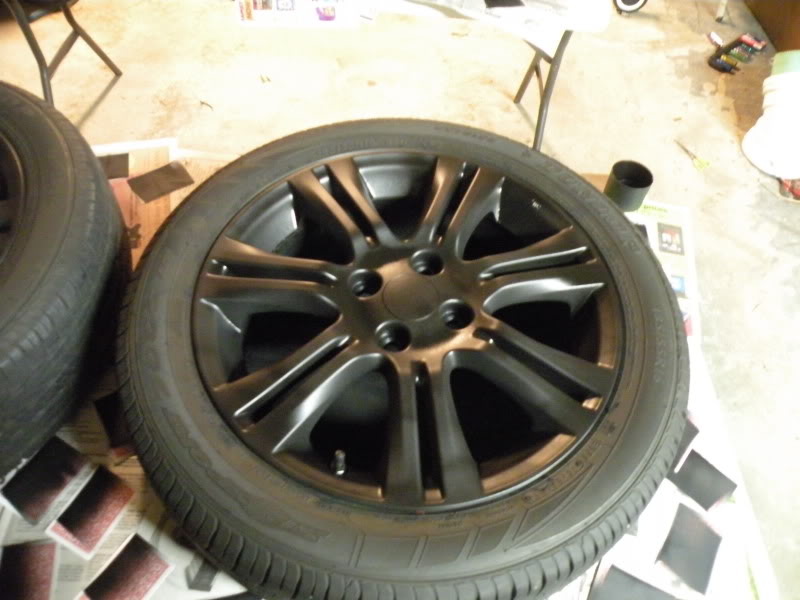
Final Product, going on the car in a few days, if you need decals look up Can I Bass on FB and tell him you need them, he has them rdy to print and can make any decals you want and he does it very cheap.

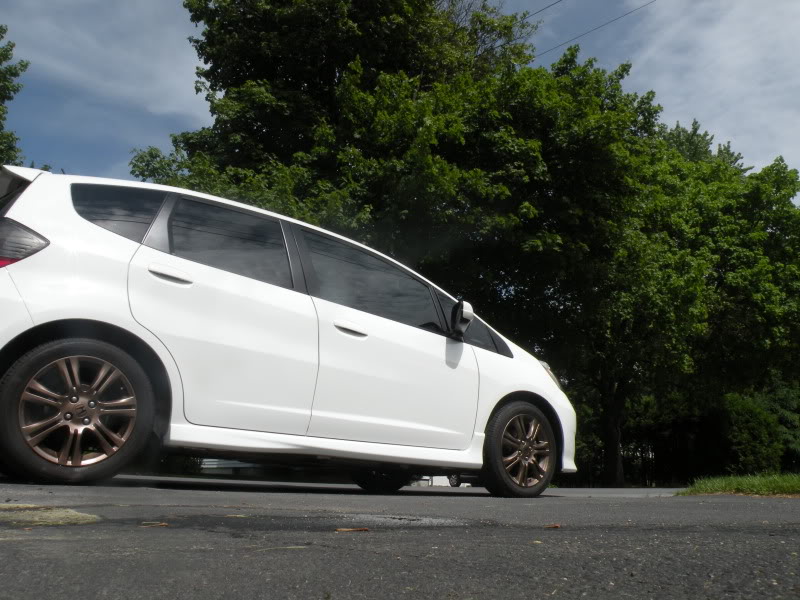

That looks awesome! So you'll be able to just peel it off like normal plasti-dip, correct? I might do something similar if that's the case.
Also, could you post some more pictures of the back of your car? Those look like the taillights I was looking at on eBay, but I want to see more pictures of them. Thanks!
Also, could you post some more pictures of the back of your car? Those look like the taillights I was looking at on eBay, but I want to see more pictures of them. Thanks!
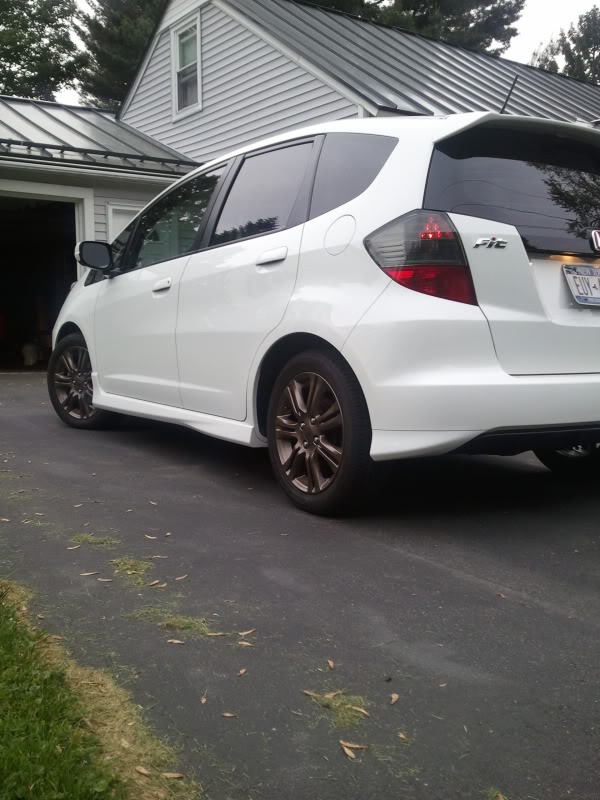

Had these on for almost a month now, no chipping, no anything, still perfect.
Gotten a few compliments from total randoms on them, and even got a random guy with a Chevy Avalance that asked for a quote to do his and he paid me $300 to dip + paint his rims Gunmetal.
Gotten a few compliments from total randoms on them, and even got a random guy with a Chevy Avalance that asked for a quote to do his and he paid me $300 to dip + paint his rims Gunmetal.