
Adding Switches


Thread Starter
|
Member
Joined: Jul 2014
Posts: 3,278
From: Shokan, NY

Adding Switches
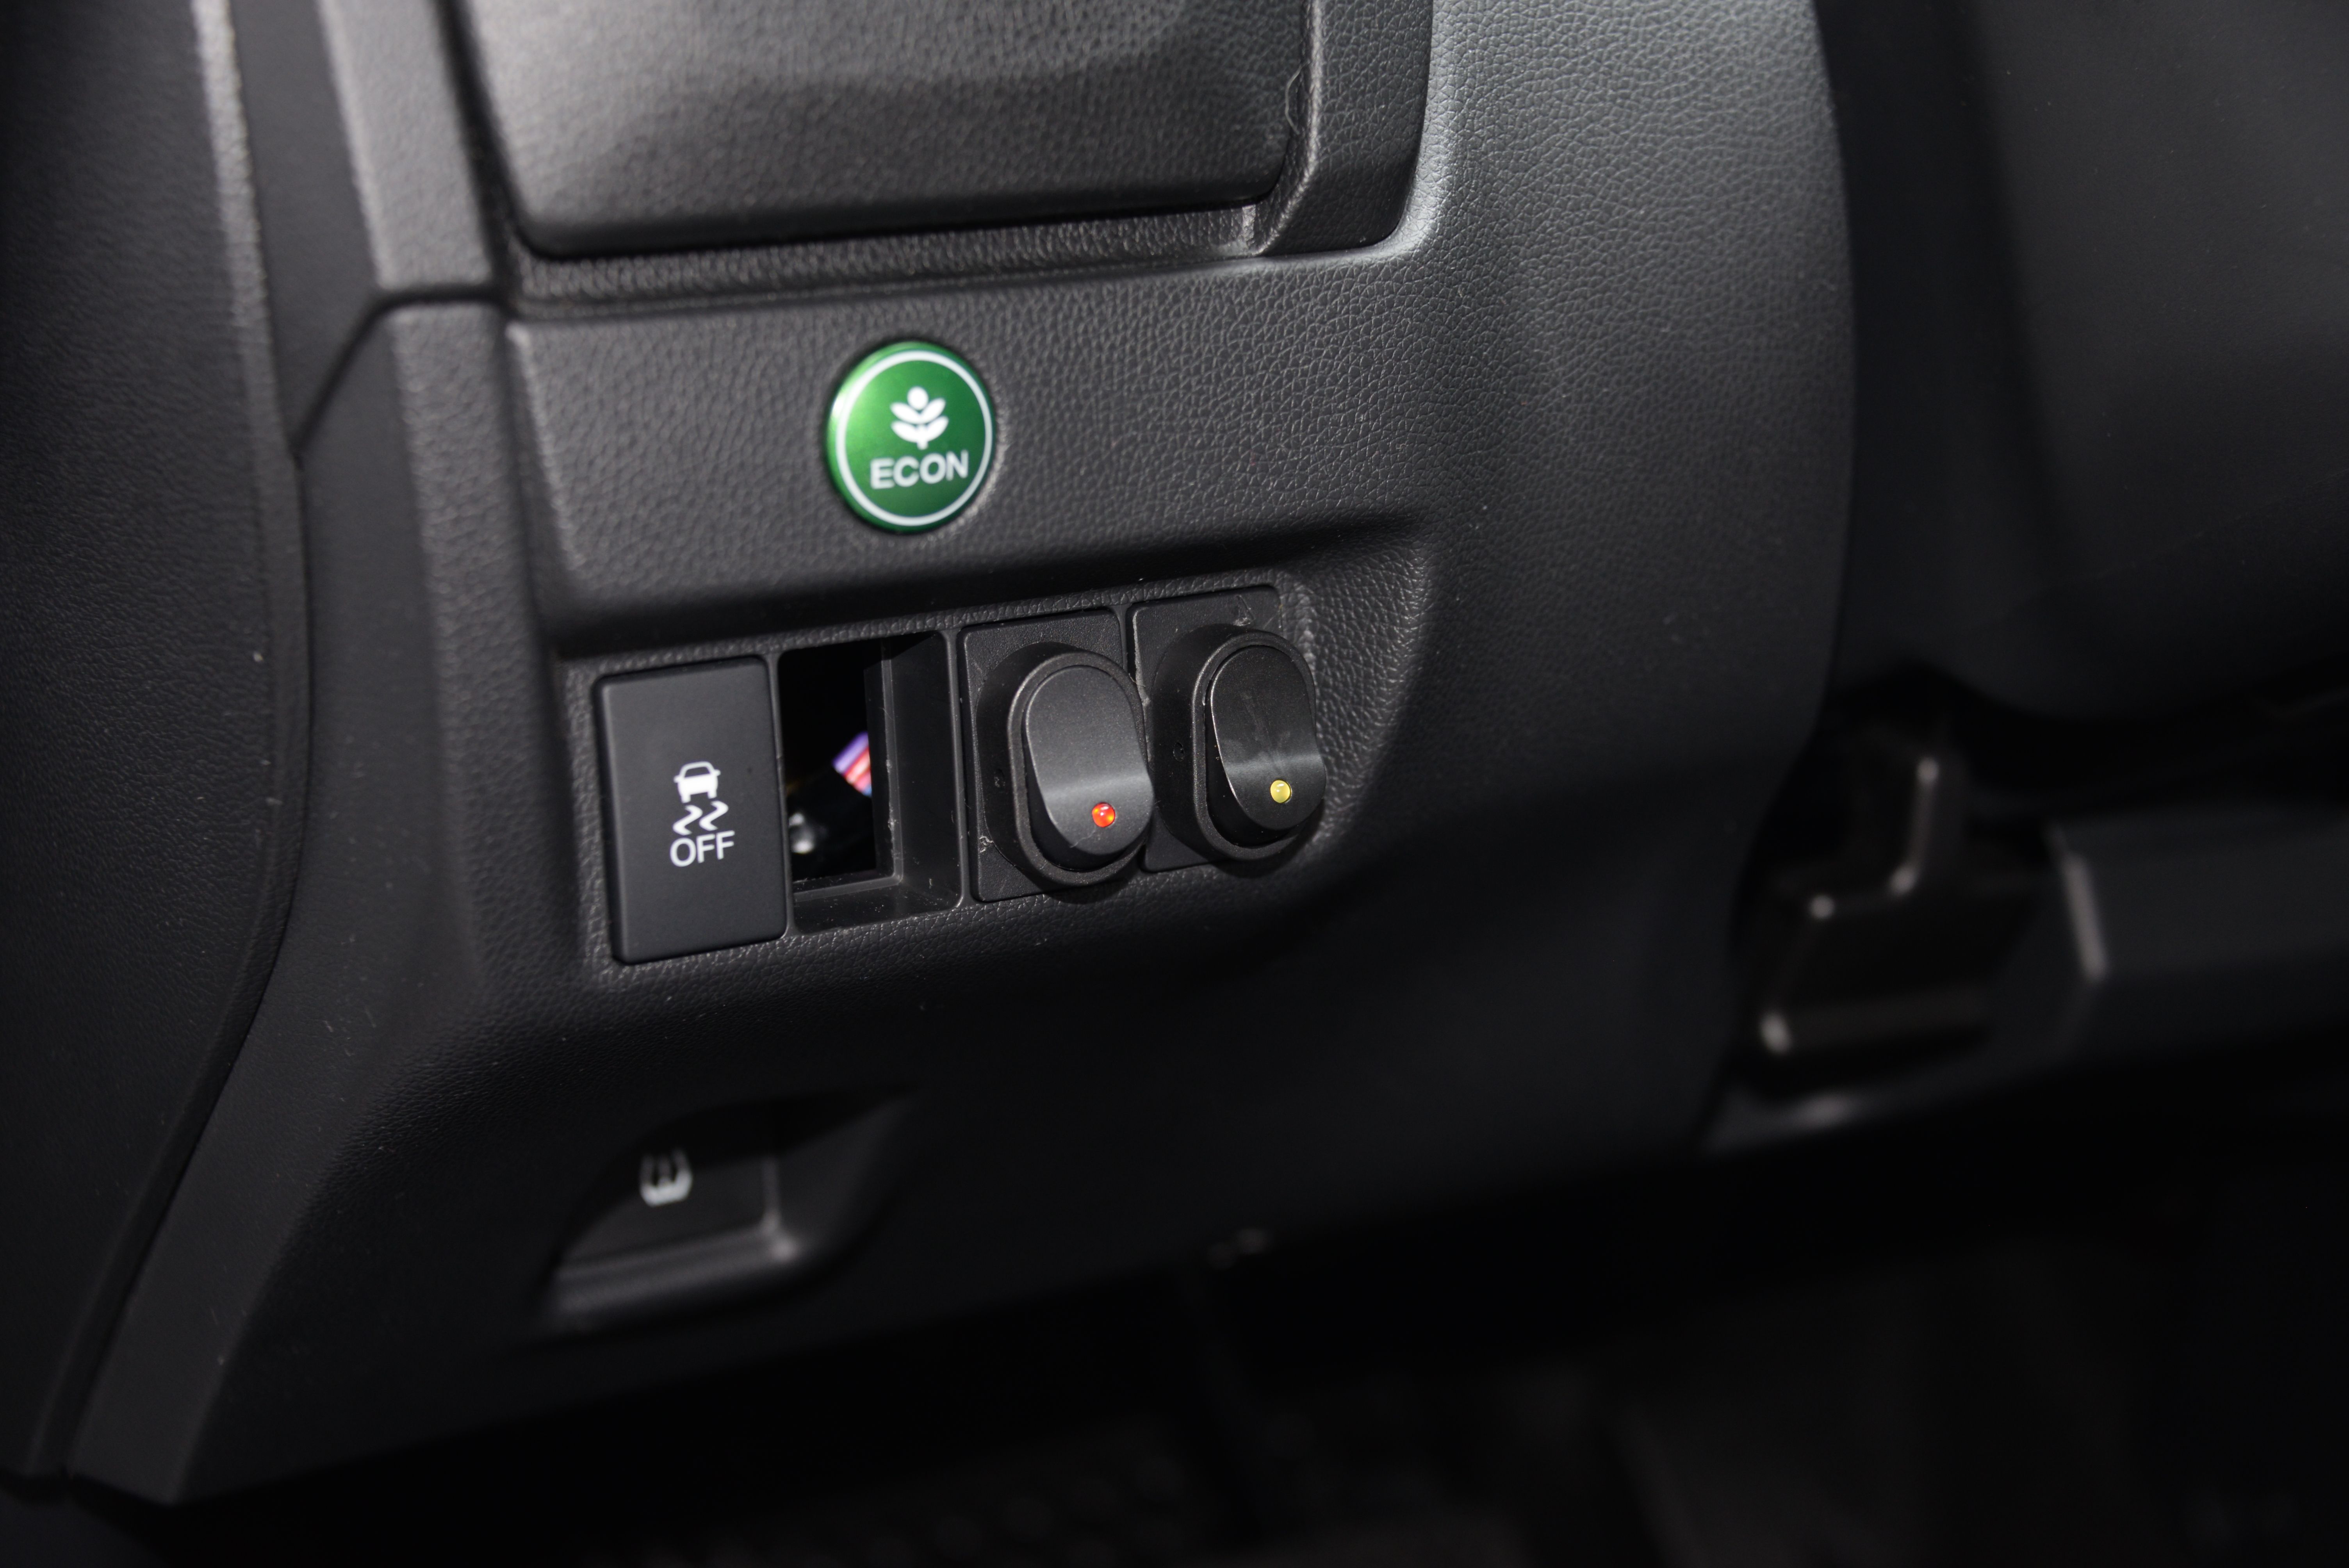
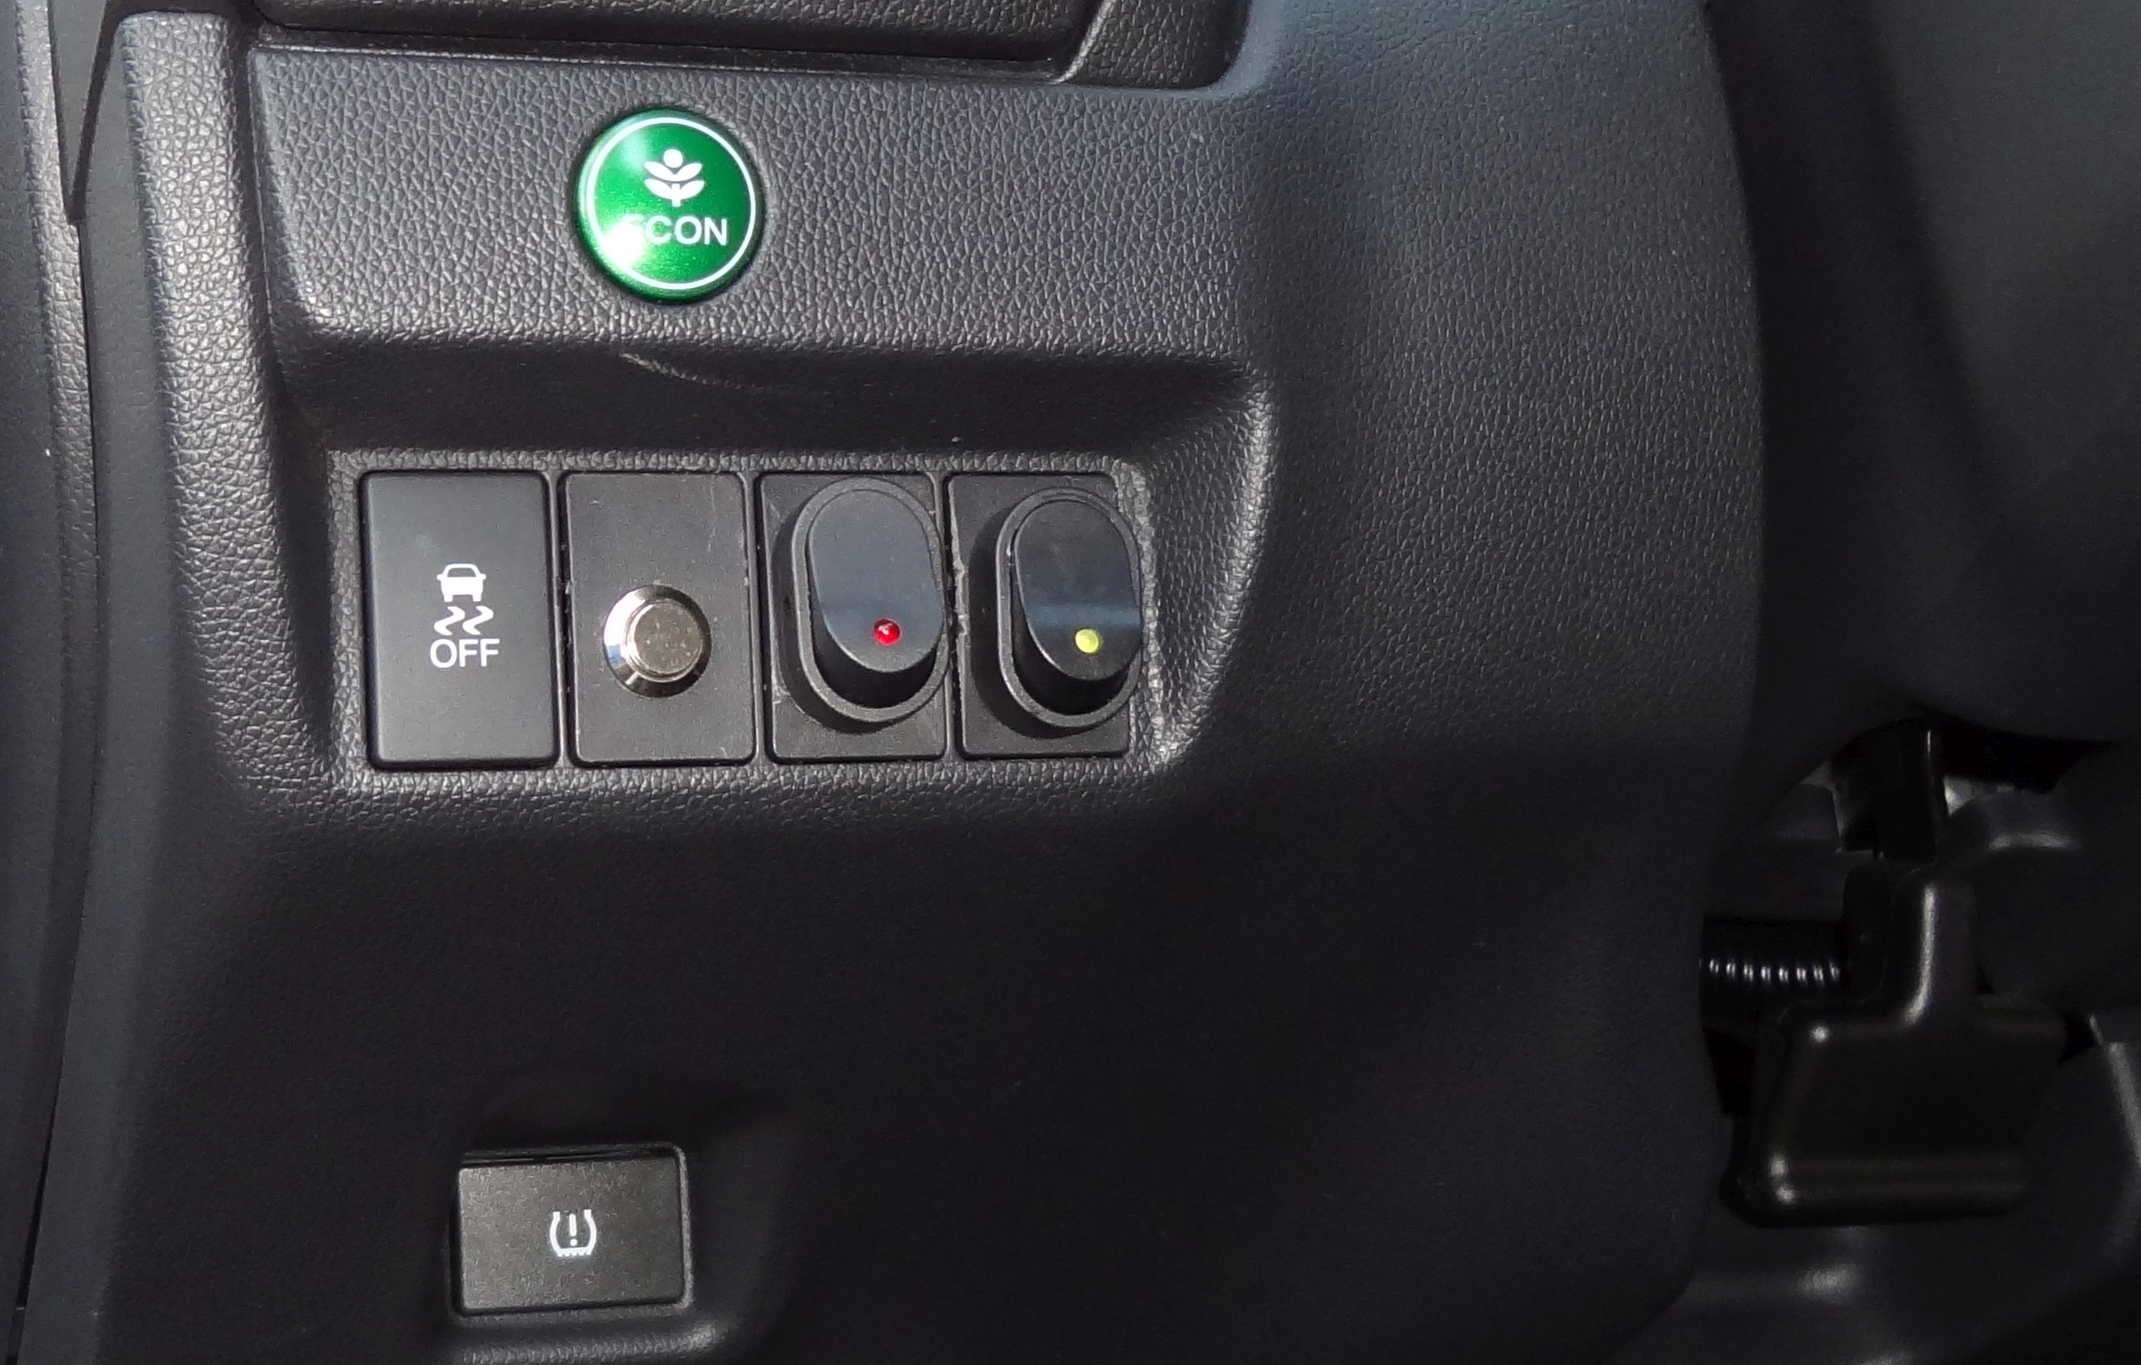
I wanted to put switches in those cut-outs to the left of the steering wheel, but I wasn't able to find switches that would fit the opening. Long story short, I bought these at Autozone. I drilled a hole through the center of the plate, and inserted the switches.
The switch on the left controls two 12v outlets I installed, and the one on the right turns on LED colored lighting.
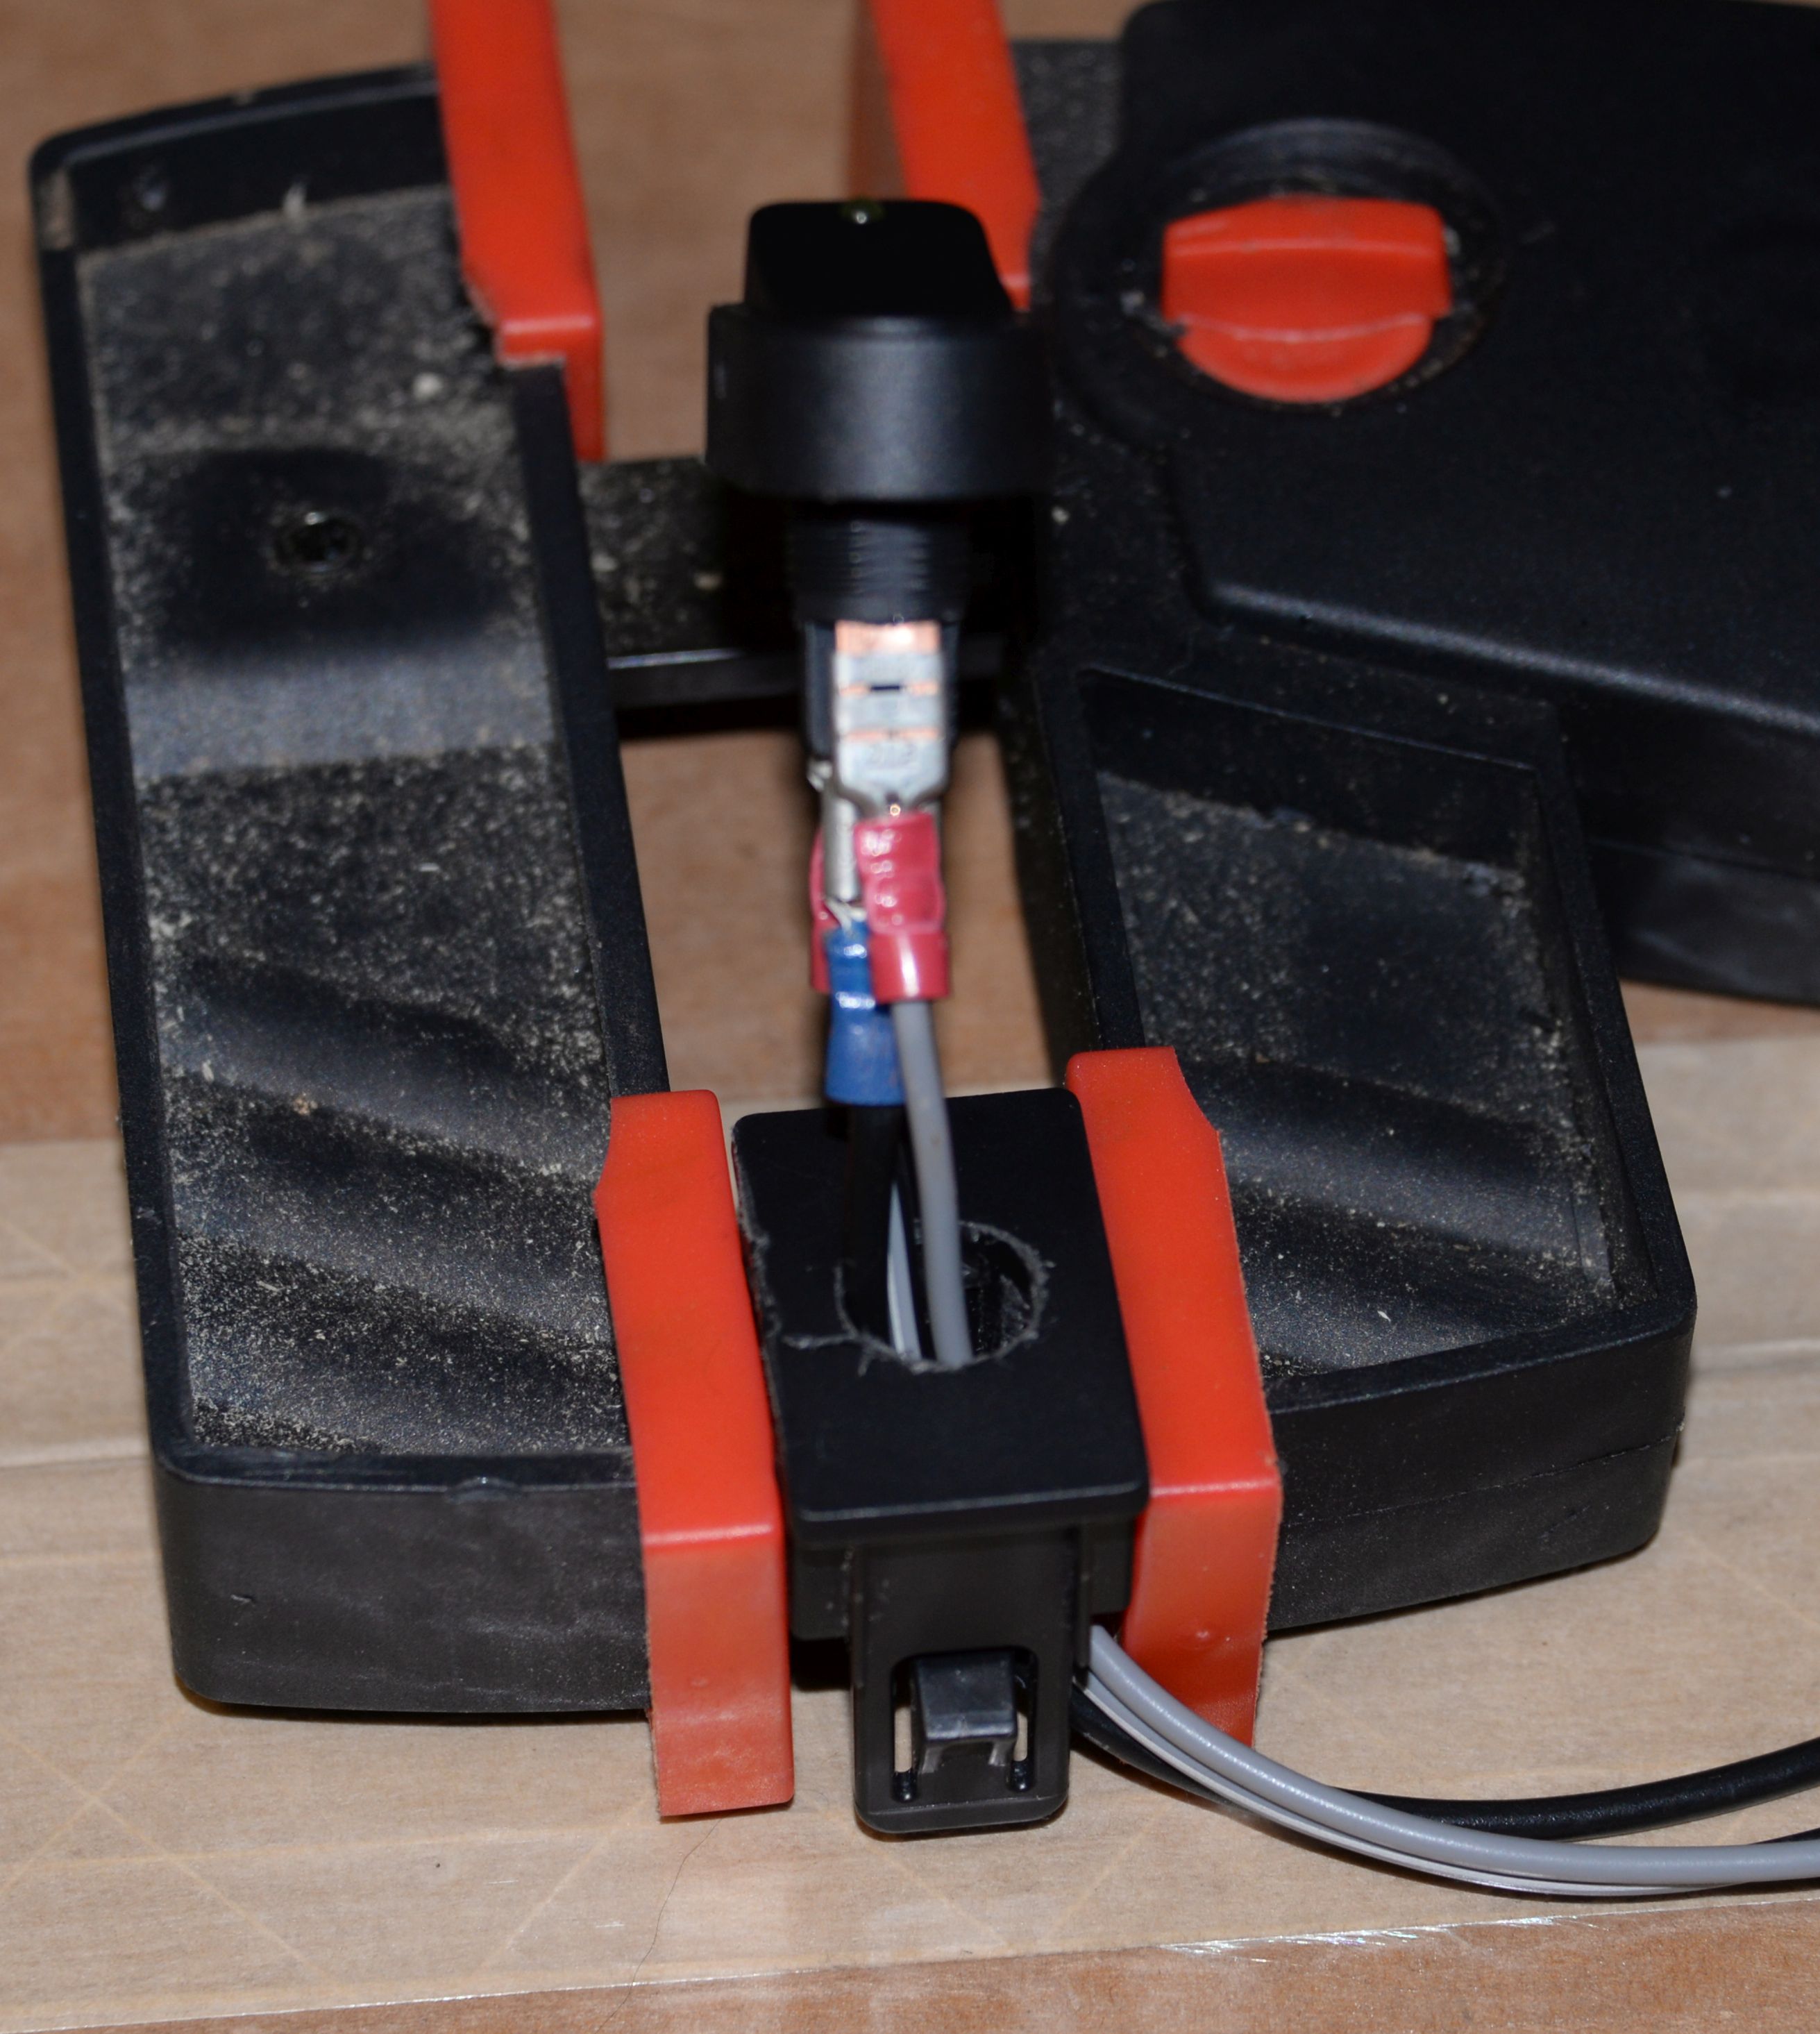
This is a bit blurry, but you can see how I ran the wires through the hole in the plate and to the switch. I had to clean out the area inside the plate to fit the nut that holds the switch in place.
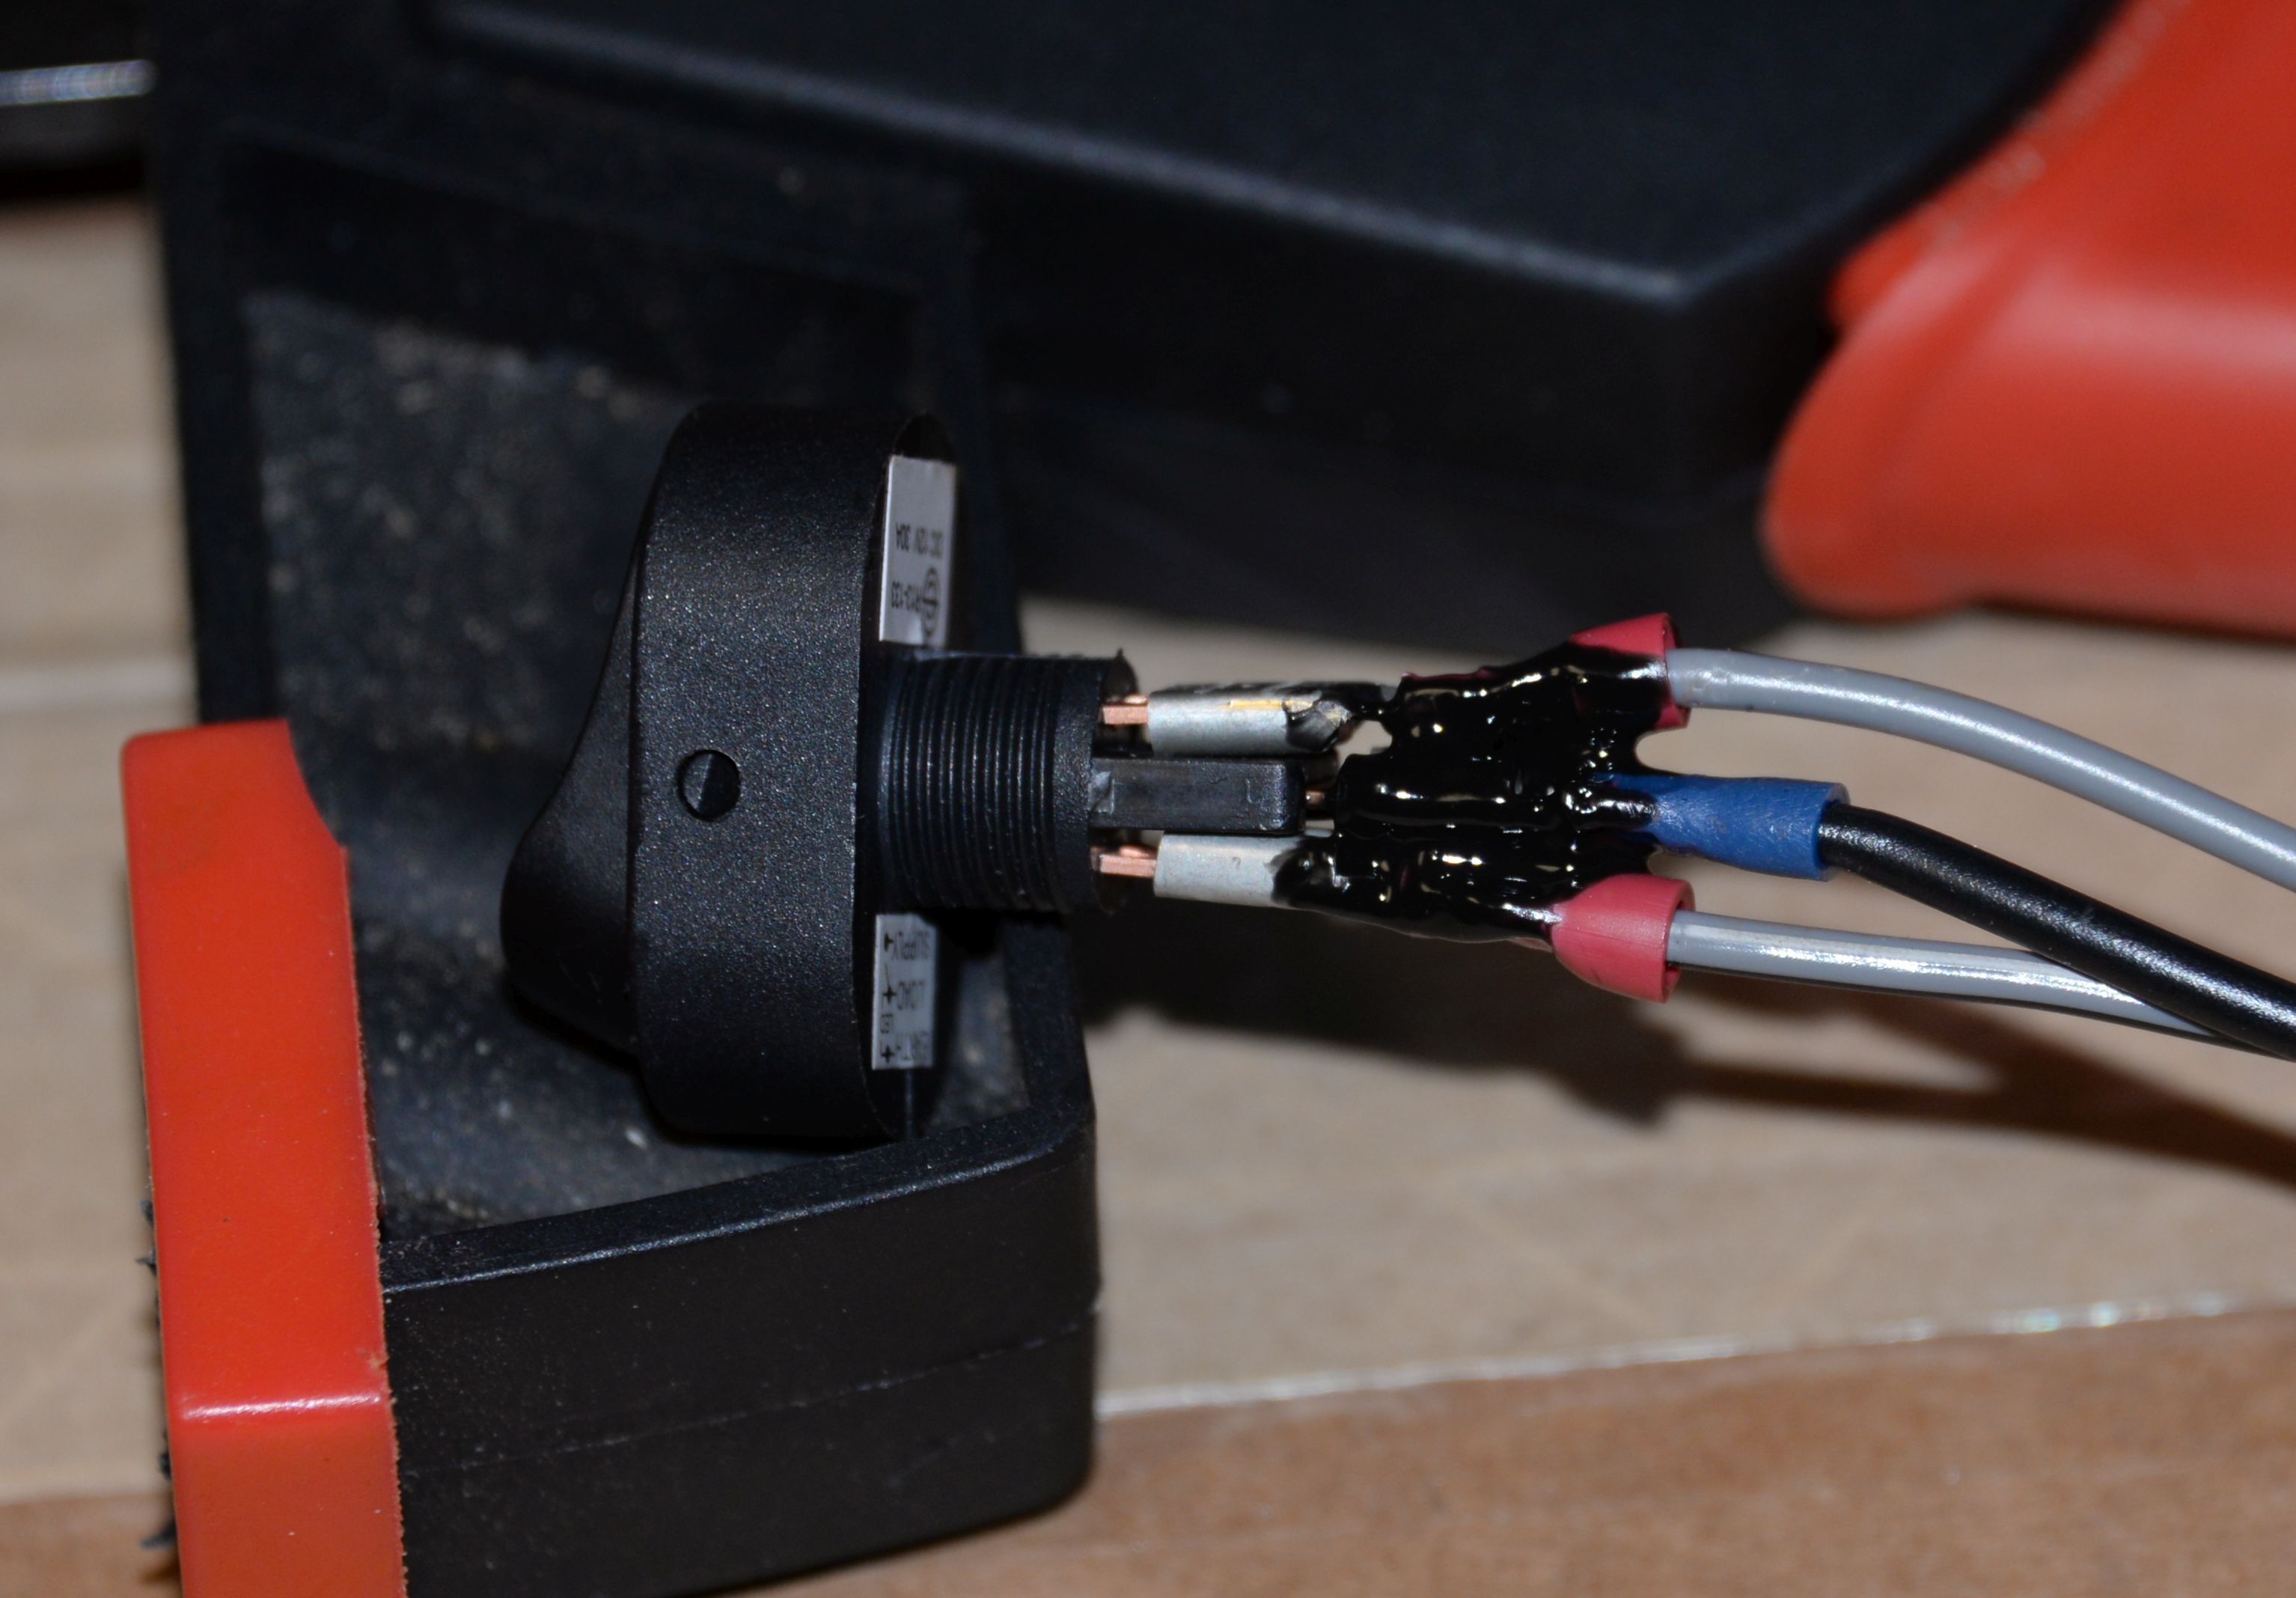
The terminals are close together, so I used Liquid Tape to insulate them.
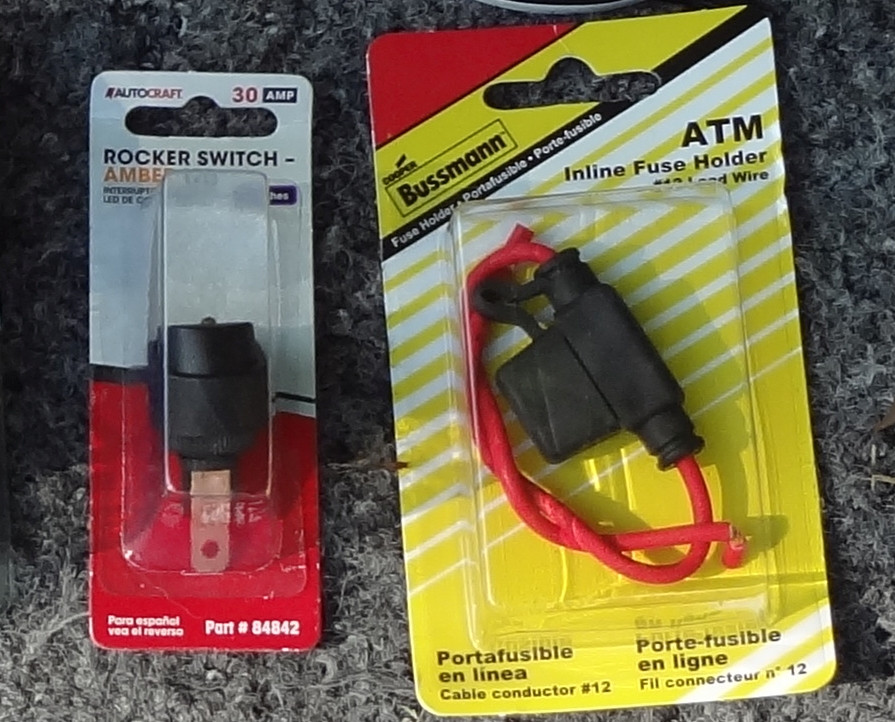
Here is the switch I got from Autozone. I like those fuse holders, too. I use them whenever I put in anything electrical.
The switch on the left controls two 12v outlets I installed, and the one on the right turns on LED colored lighting.
This is a bit blurry, but you can see how I ran the wires through the hole in the plate and to the switch. I had to clean out the area inside the plate to fit the nut that holds the switch in place.
The terminals are close together, so I used Liquid Tape to insulate them.
Here is the switch I got from Autozone. I like those fuse holders, too. I use them whenever I put in anything electrical.


huh? lol I have a switch on my 08' Fit as well in the same location, so I was just giving props for taking the time and showing us how it was done. Mine hooks up to an array of interior LEDs 
I installed a 2(?) way switch so it acts exactly like the dome light, "On" "Door" or "Off" mode
I installed a 2(?) way switch so it acts exactly like the dome light, "On" "Door" or "Off" mode

Member
Joined: Aug 2012
Posts: 1,199
From: Vermont, USA
Assuming it's like the older models, you pull the section of dash off its clips (which it is designed to do for access to various things), and then they unclip easily from the back by squeezing the long prongs together slightly. It's rather easier to understand when you see it from the back, but not the easiest to describe.
Thread Starter
|
Member
Joined: Jul 2014
Posts: 3,278
From: Shokan, NY
EDIT: Come to think of it, I might have used a penknife and pushed straight into the dash as soon as I could to pry it out that way. It's not a big deal. I've pried mine out several times as I was playing around with adding switches. The picture sows the scratch marks from my first rough attempt. No big deal.
Last edited by SilverEX15; Mar 1, 2015 at 07:36 AM.

New Member
Joined: Feb 2015
Posts: 4
From: Deltona, Florida
Thanks. I suppose all the removals after the first time aren't so bad, once you get a feeling for how it is supposed to come out. My concern is not knowing quite how the panel comes out, and end up damaging something on my one-week-old Fit.
Thanks again for the info
Thanks again for the info
Thread Starter
|
Member
Joined: Jul 2014
Posts: 3,278
From: Shokan, NY
Although there is no Shop Manual available for the 2015 Fit, there are detailed directions for taking things apart available online. I've downloaded and saved several.
Member
Joined: Aug 2012
Posts: 1,199
From: Vermont, USA
By the way, these installation instructions for the ambient lighting accessory describe how to remove this lower dashboard panel (among a number of other steps). I see that it's rather more complicated than on the GE8, where this portion was literally a little hinged door sort of arrangement and a five-second pull on a moulded-in handle sort of thing gives access to the blanks.
Thread Starter
|
Member
Joined: Jul 2014
Posts: 3,278
From: Shokan, NY
By the way, these installation instructions for the ambient lighting accessory describe how to remove this lower dashboard panel (among a number of other steps). I see that it's rather more complicated than on the GE8, where this portion was literally a little hinged door sort of arrangement and a five-second pull on a moulded-in handle sort of thing gives access to the blanks.

Thread
Thread Starter
Forum
Replies
Last Post
trashercan
3rd Generation (2015+)
5
Mar 13, 2015 04:13 PM