
Grand Prix White NSX Detailed by Tru_Shine

Grand Prix White NSX Detailed by Tru_Shine
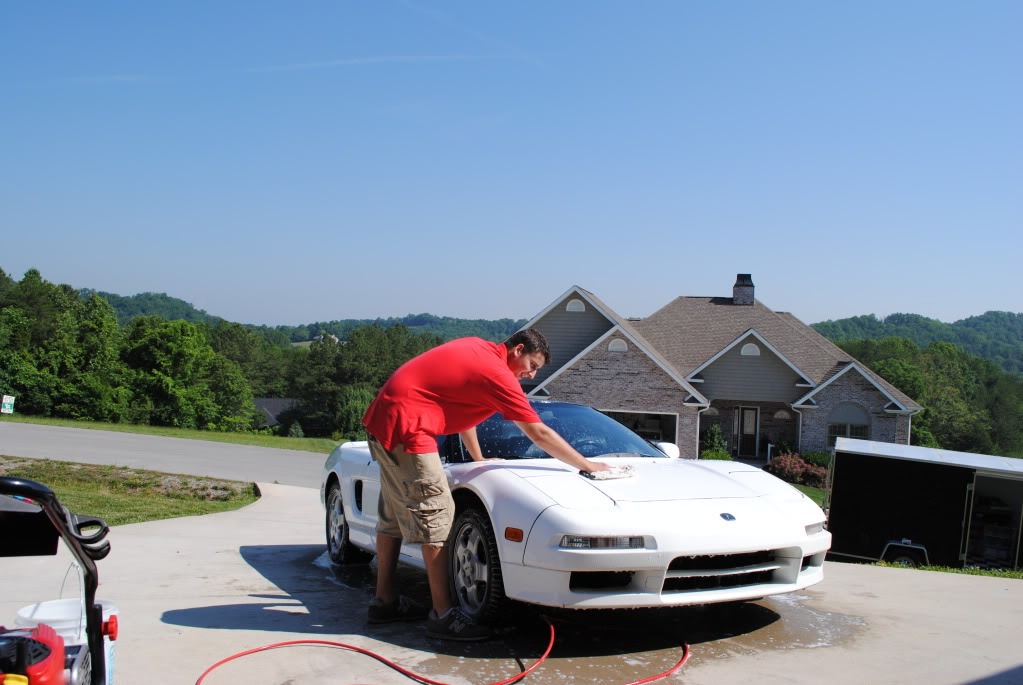
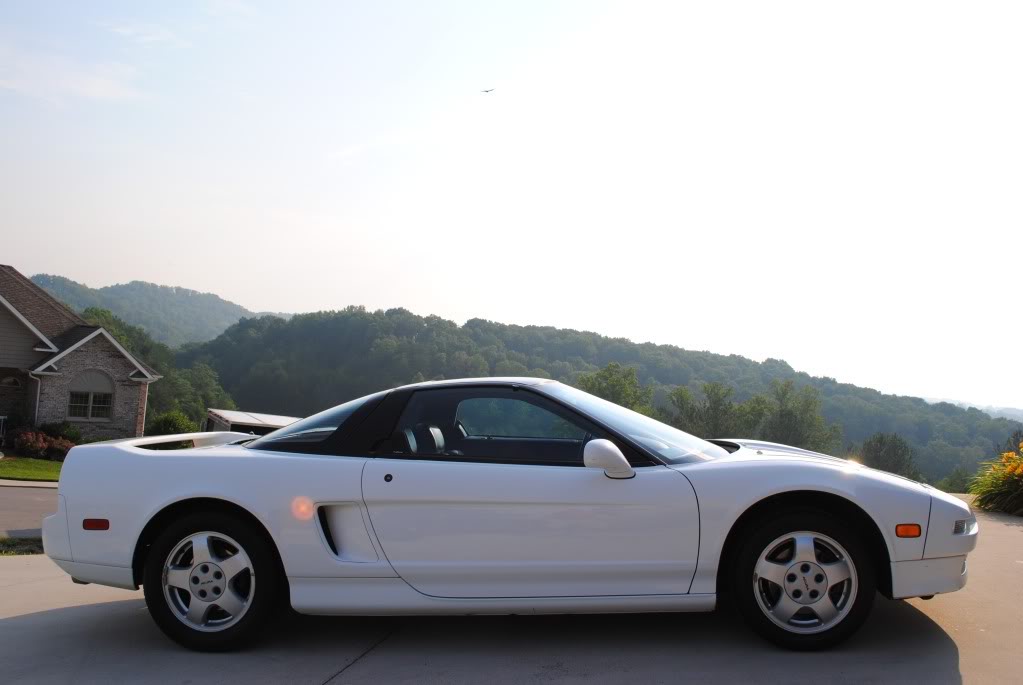
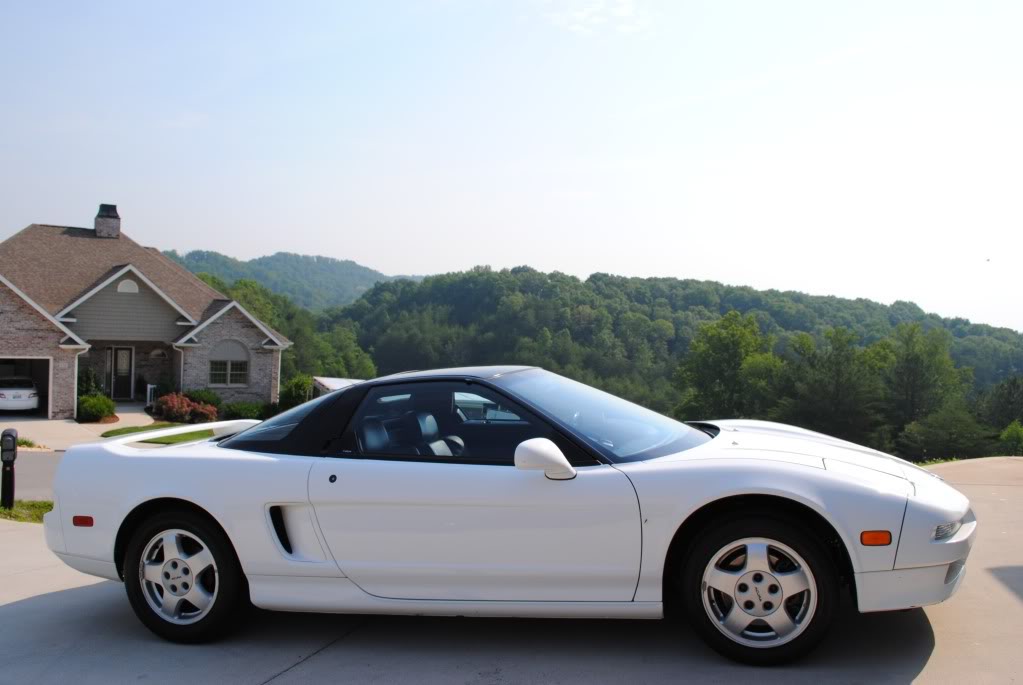
So I was really excited about doing this NSX, this is a 1992 Grand Prix White NSX, a very rare color. they only made 300 in 1992 in this color. This car was #209 out of 300.
I started off with my normal routine on removing all dirt and any wax's or sealants on the paint surface. Honda clear coat is a VERY soft clear coat so I knew that I was in for some bad defects. Unless these cars are properly maintained, then it is real easy to marr up the surface.
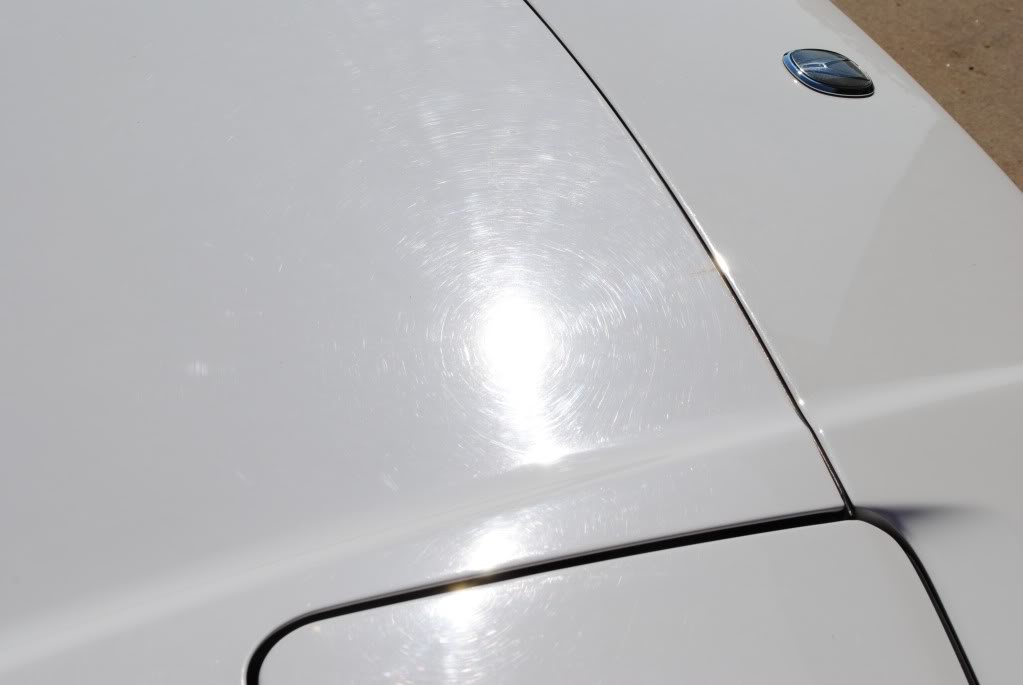
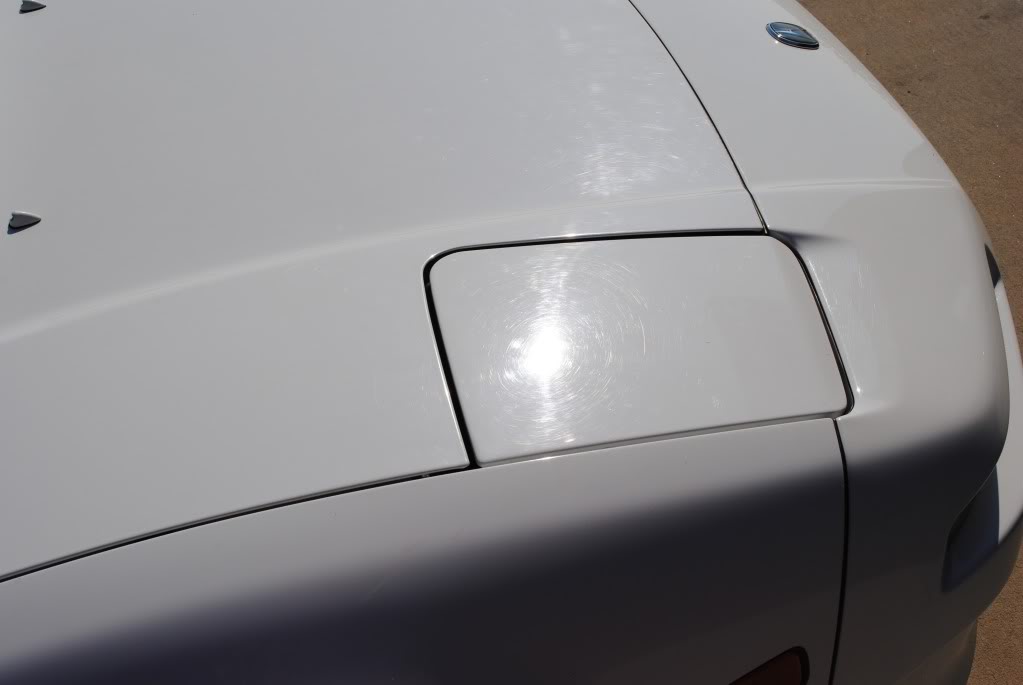
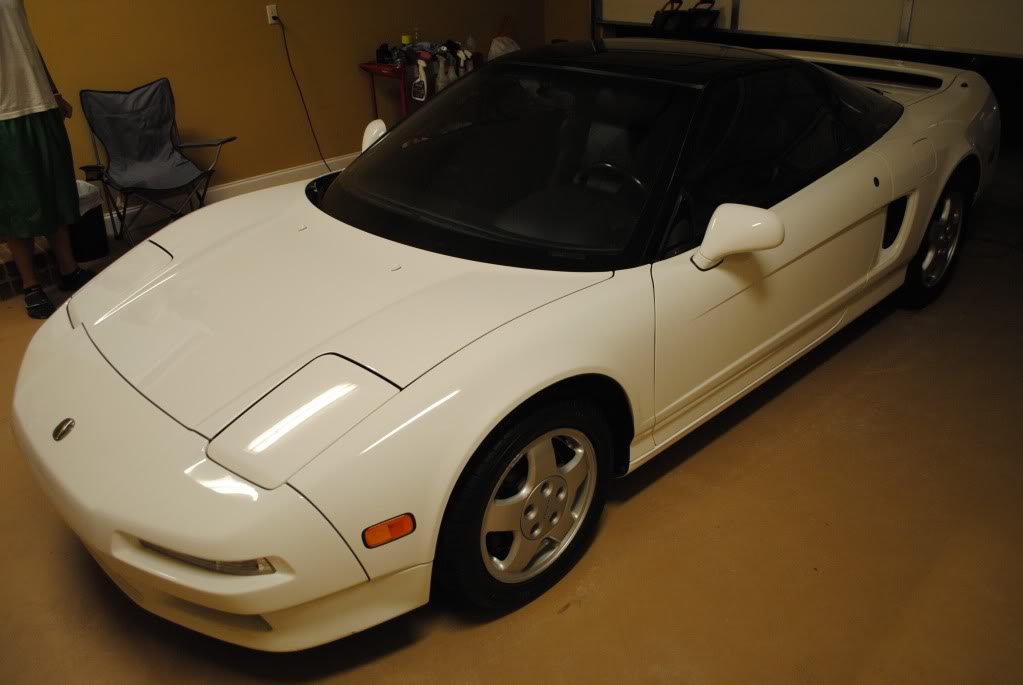
Lets take a look at what I arrived to.

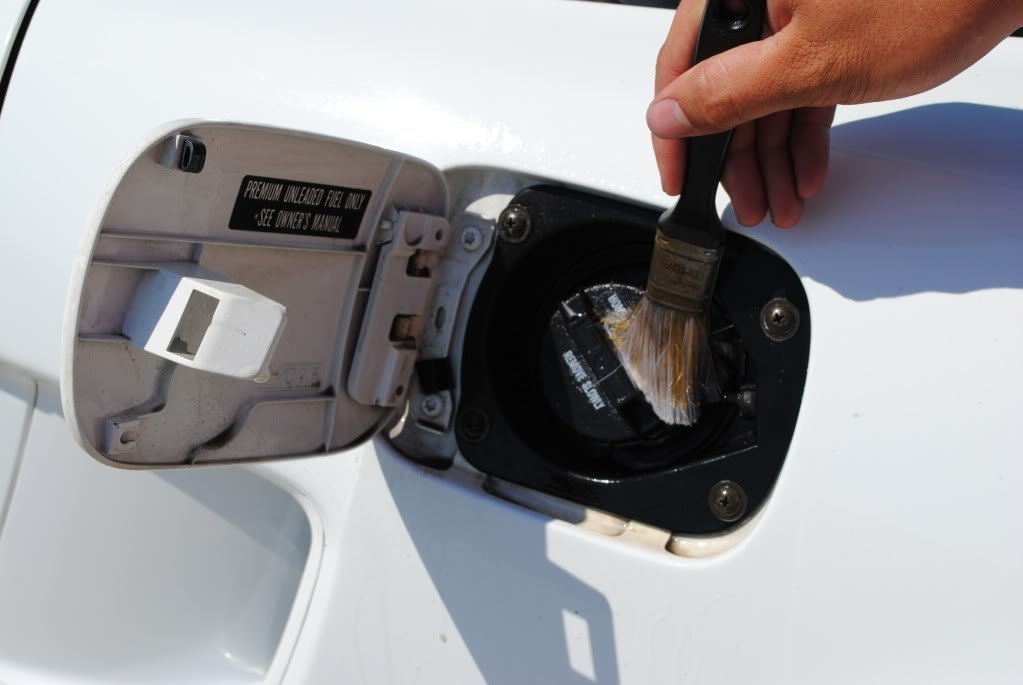
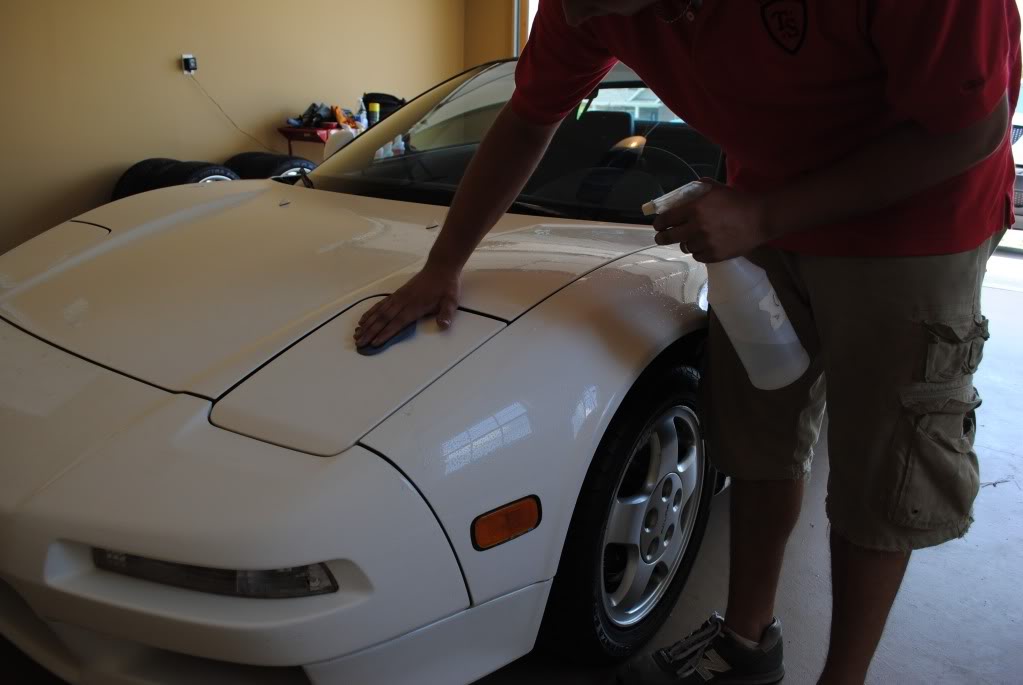
I began by spraying some Stoners Tarminator to remove the bugs and tar off the paint.
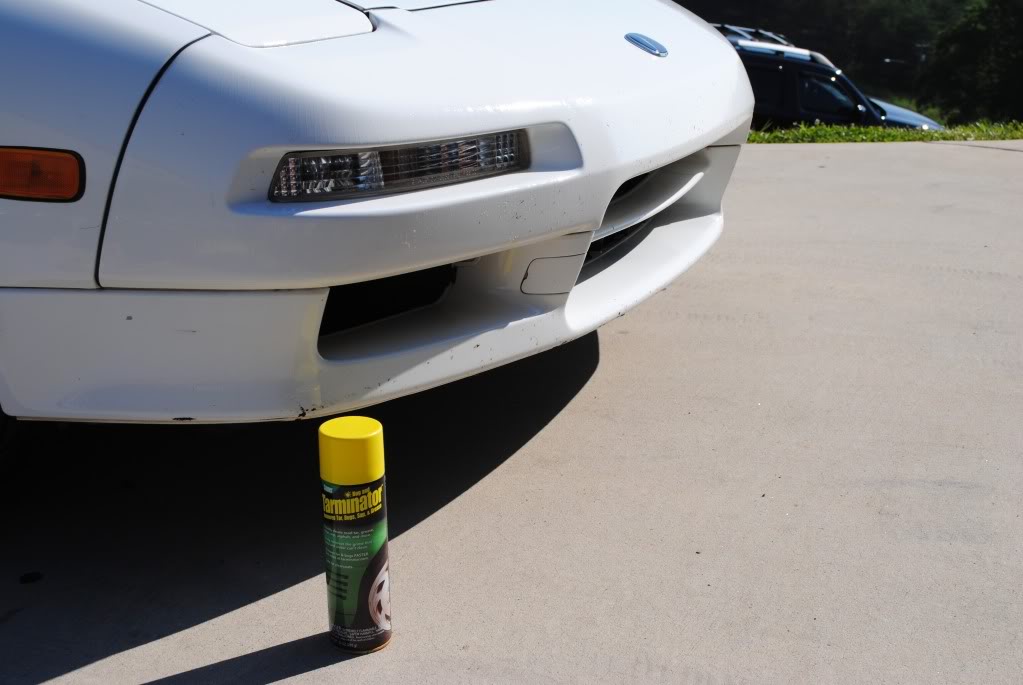
After that, I began to pre-spray the car off to dislodge any grit and prepare the surface for a good wash job.

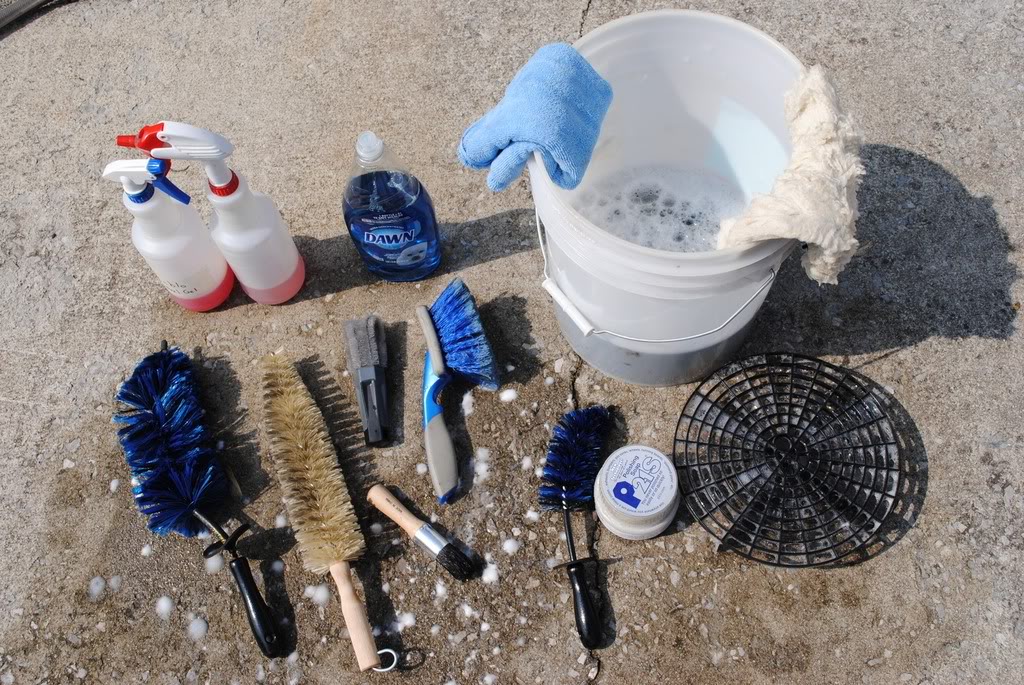
My weapons of choice for the Prepping the car
5 gal bucket
Grit Guard
100% Sheep skin wash mitt
Dawn ultra concentrate
EZ detail brush small and large
Chemical Guys Diablo wheel Gel 3:1 ratio
misc wheel brush
spoke wheel brush
lug nut brush
P21s polishing soap
Clay magic blue fine Claybar
other misc bushes
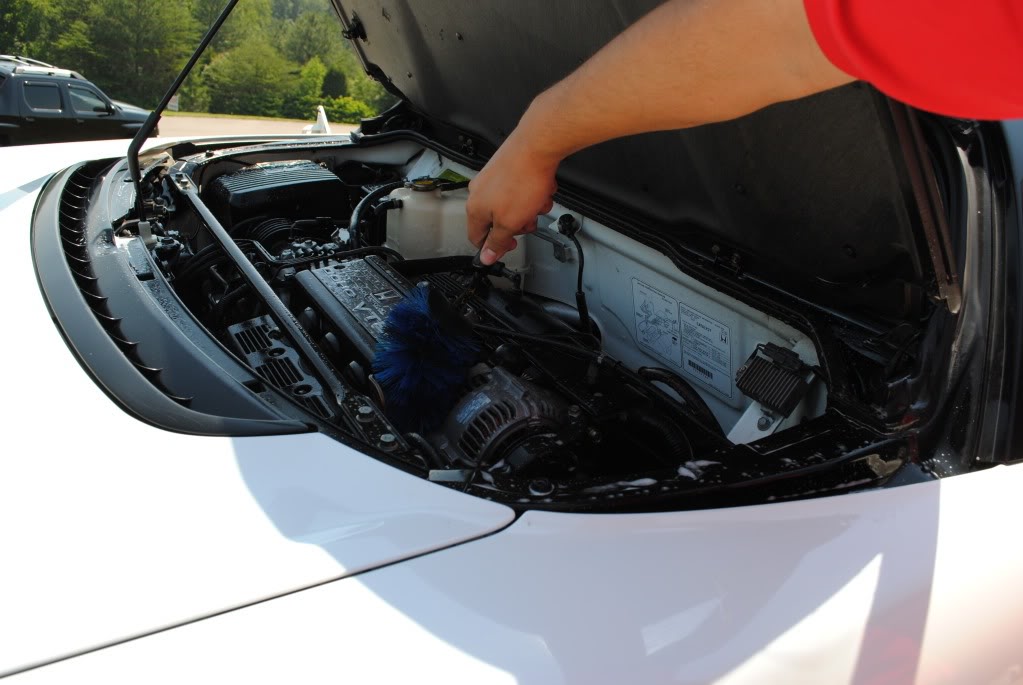
The engine and front and rear trunk were really nasty. I used some APC, and red degreaser and scrubbed them using various brushes.
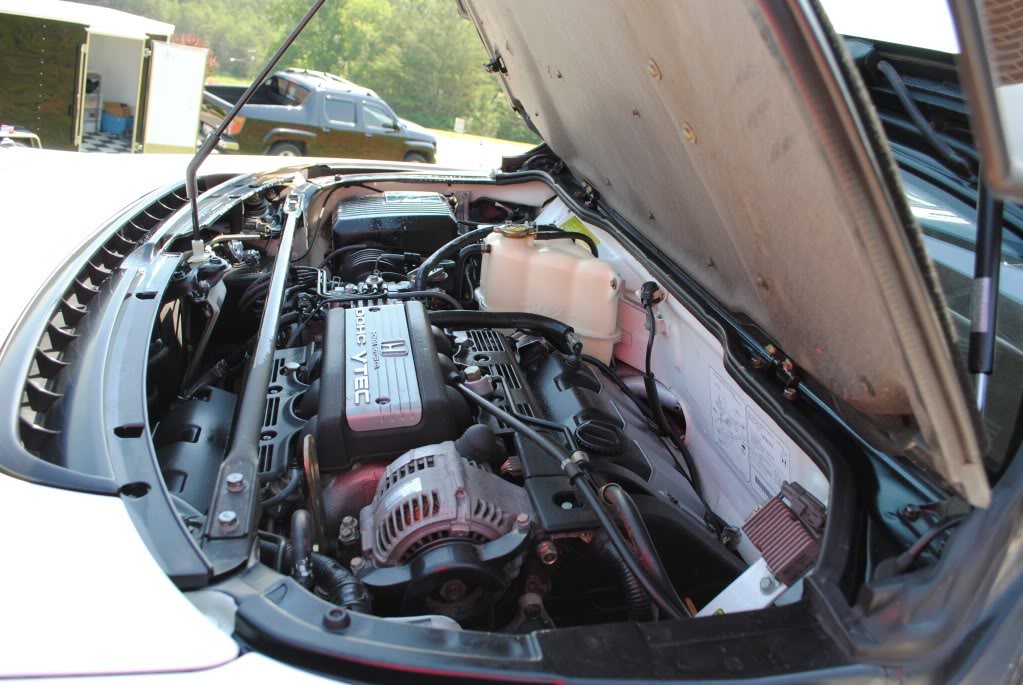


All areas were dressed with 303 aerospace protectant.


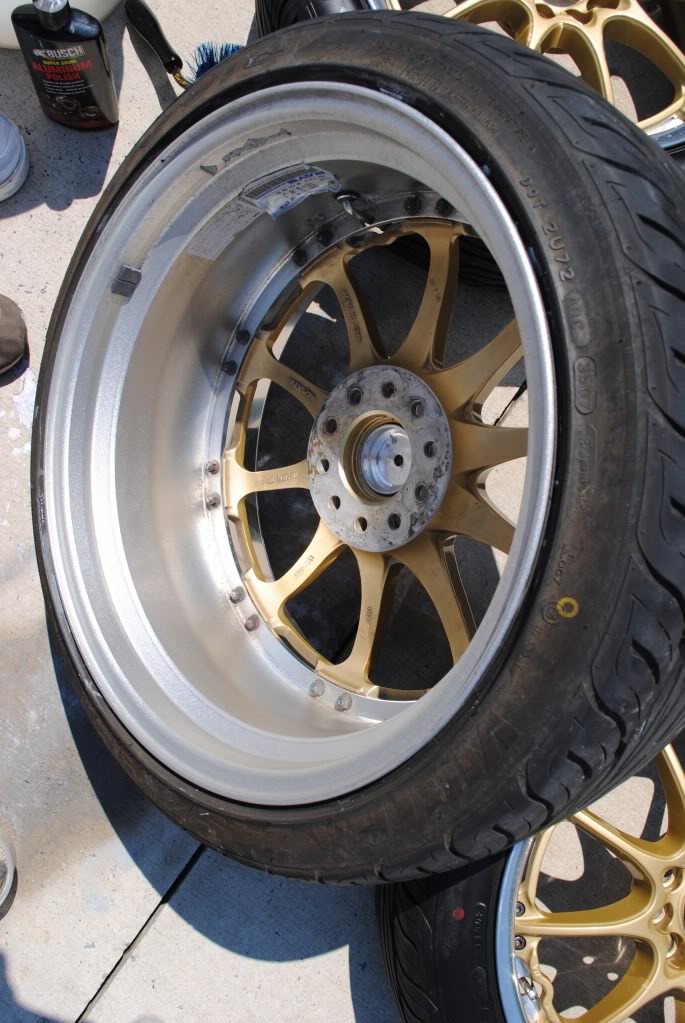
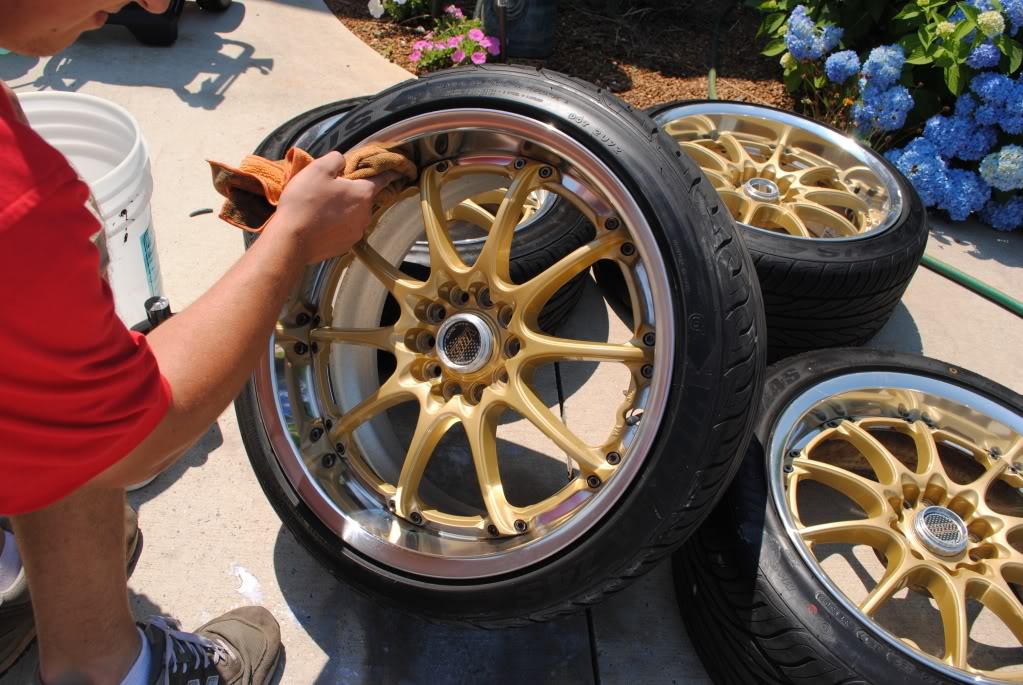
Next were the wheels. 17" for the front and 18" for the back Volk GT-N's

These wheels were absolutely horrid, these have been neglected for such along time, that getting them back to new wasn't going to happen. So I used some P21s Polishing soap along with some fine steel wool.


So I pulled the car inside and started the second stage of the prepping

I clayed the car using both the Blue Fine clay and Red Medium clay, Some areas were just to ruff for the blue fine.
Some areas had Really bad Rail Dust.

which needed some Red Clay


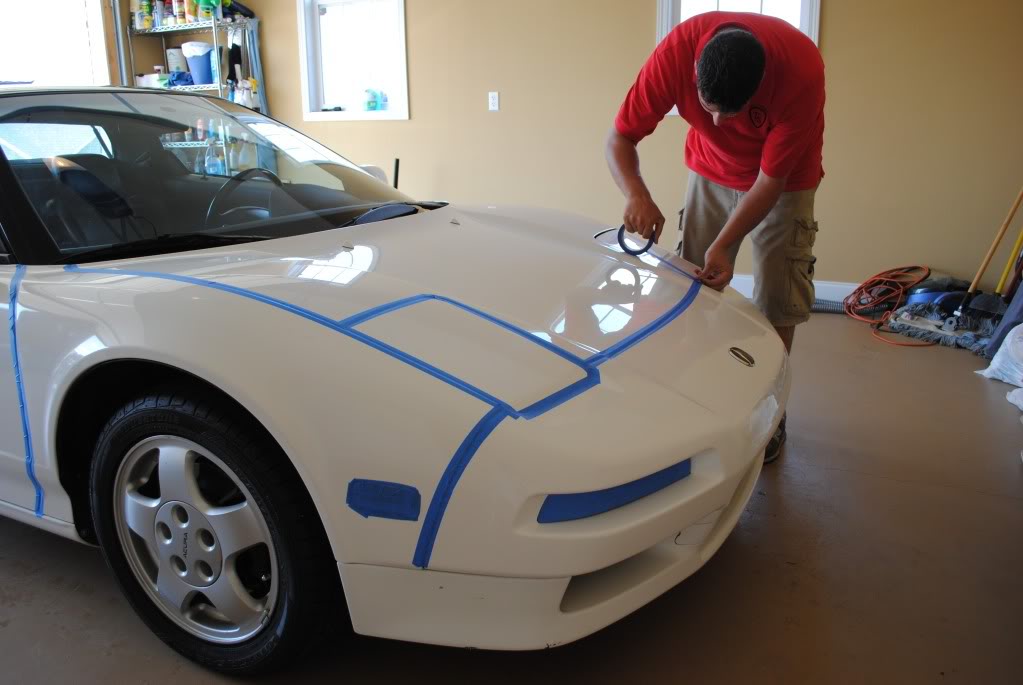
After the Clay step I began to tape up the car and all of the jams

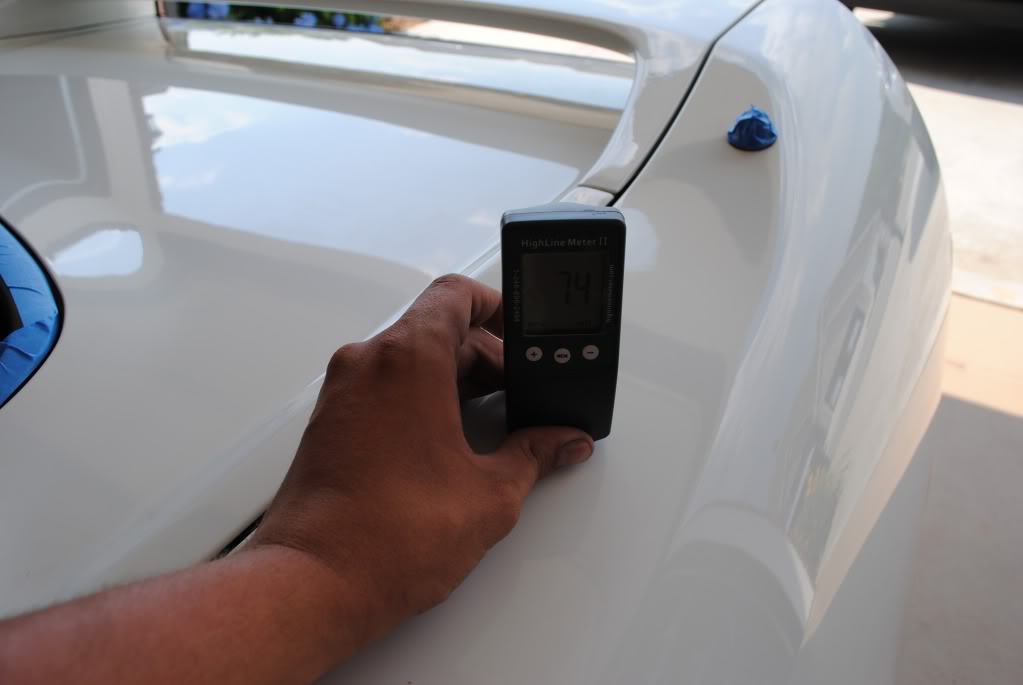
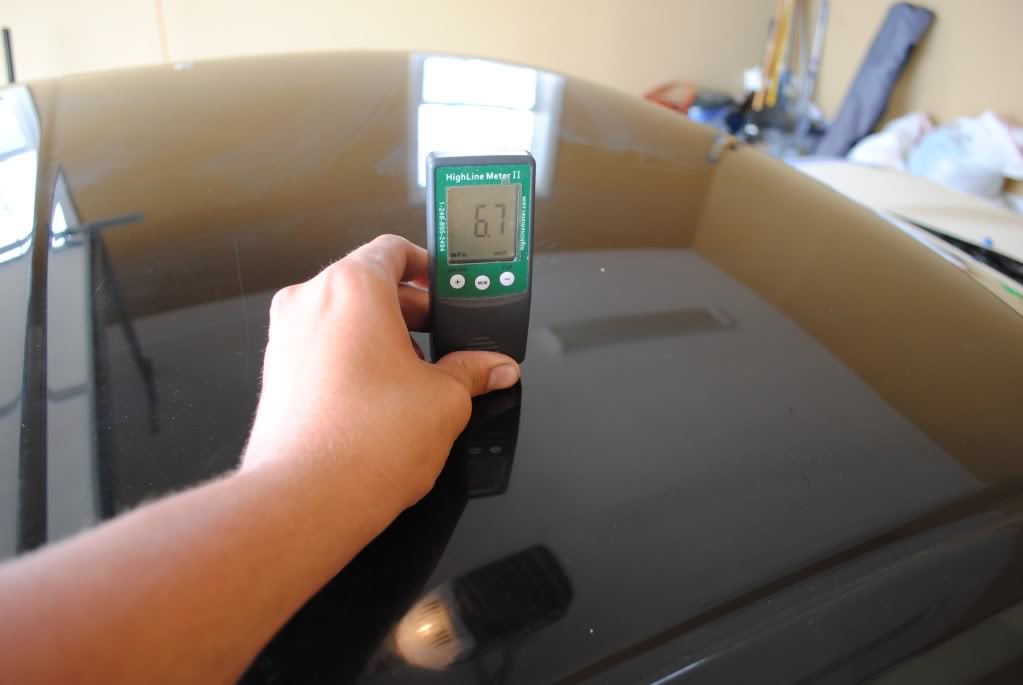
I took measurements of the paint thickness and the scale was all over the place with low 5's to mid 8's


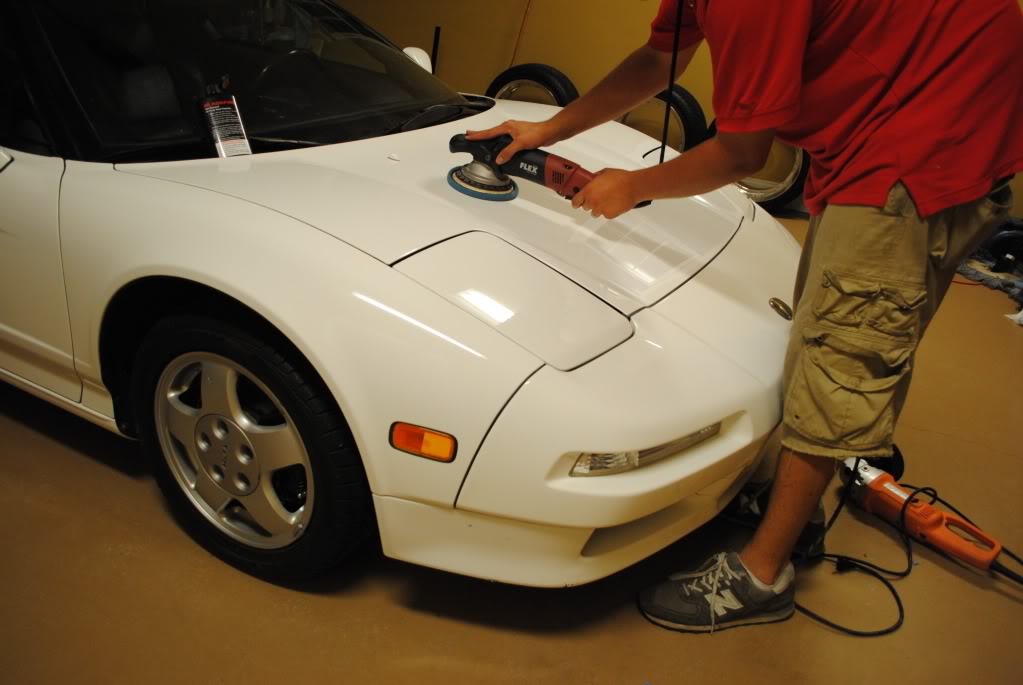
Now for the paint correction.
This paint was very soft and not to hard to level out.
Weapons of choice:
Flex 3401
Griot's 3" polisher
Rotary with various backing plates
Lake country Hydrotech pads (Cyan/Tangerine/Crimson)
Meguiars M105/M205
Black Fire Wet Diamond (Last step product)


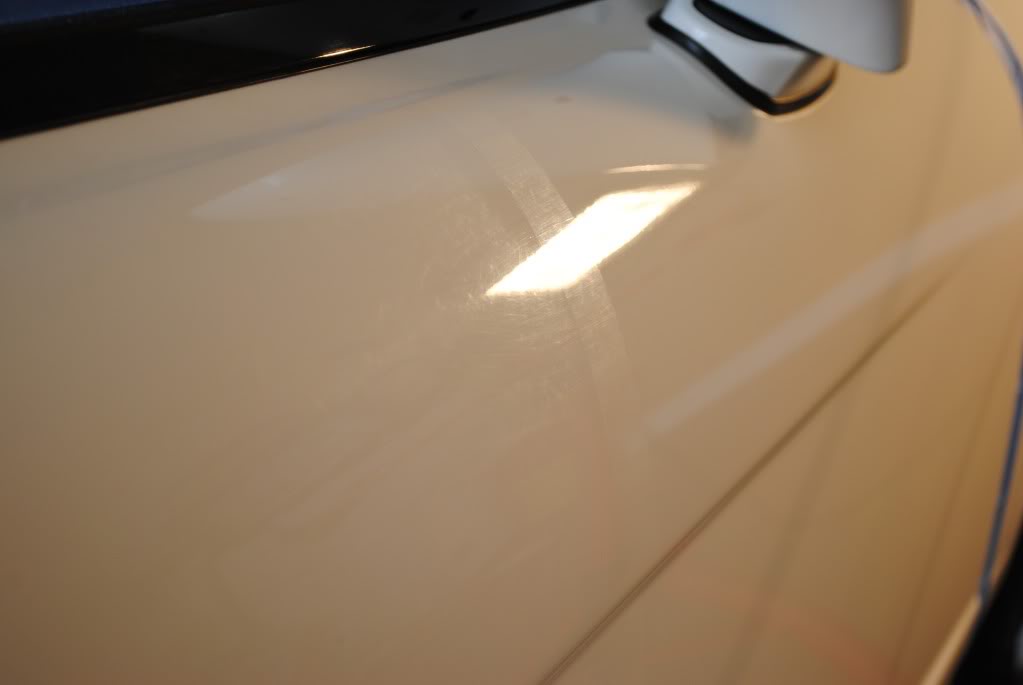

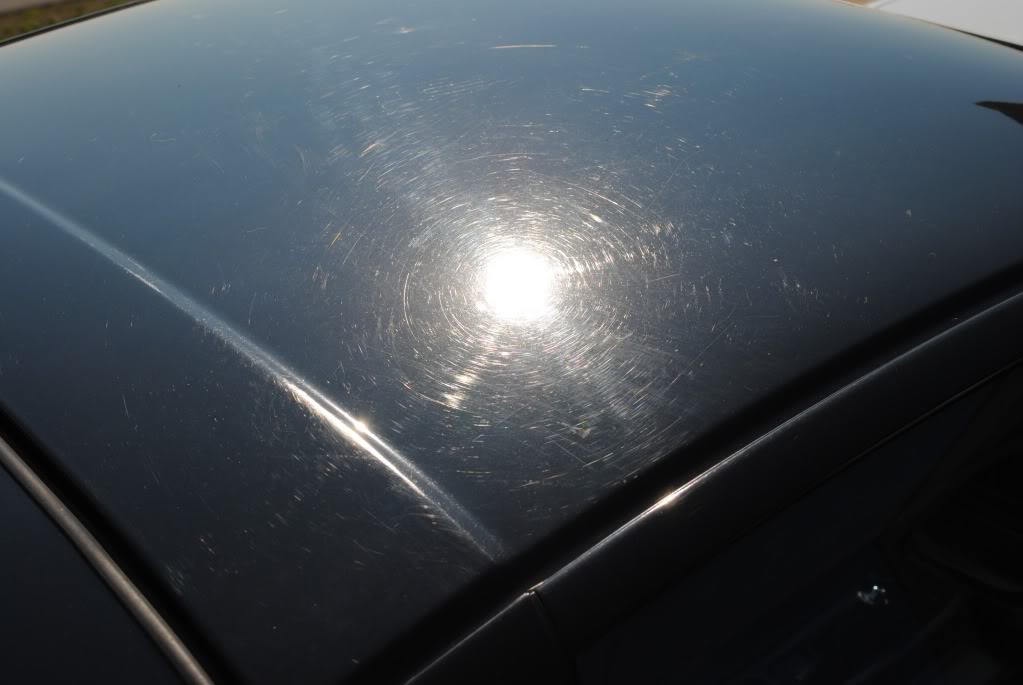
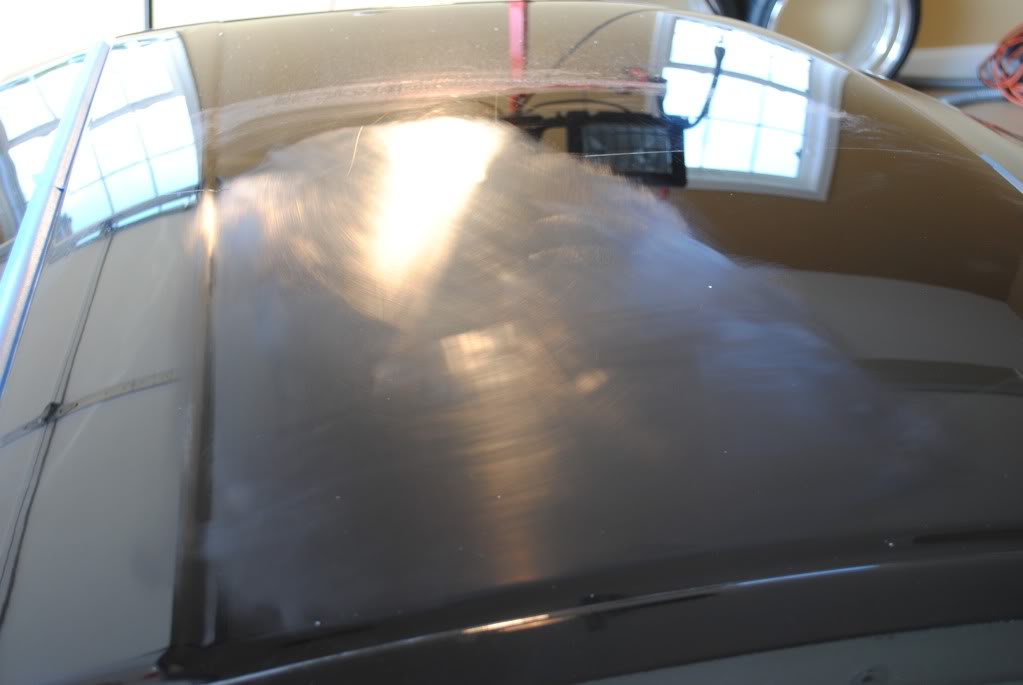
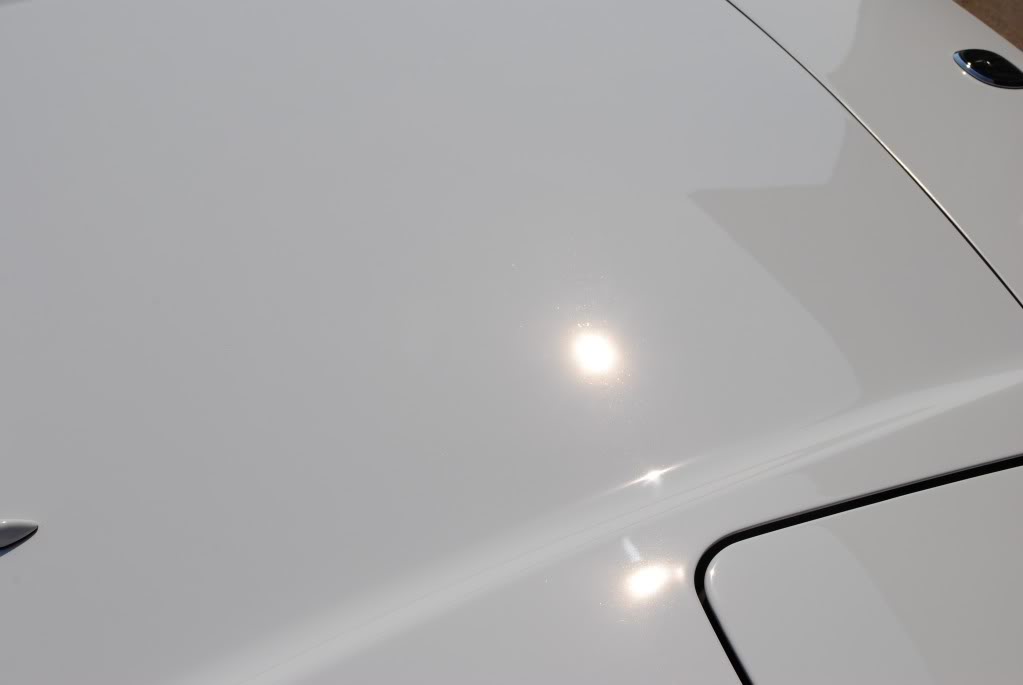
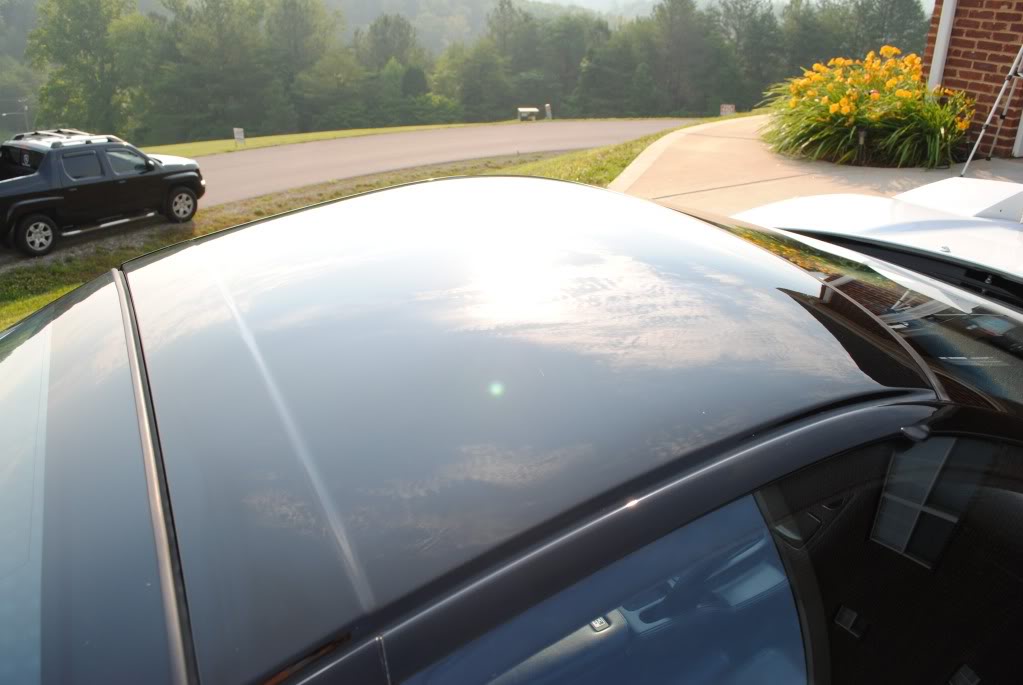
This roof had some REALLY bad scratches and some pretty deep swirls
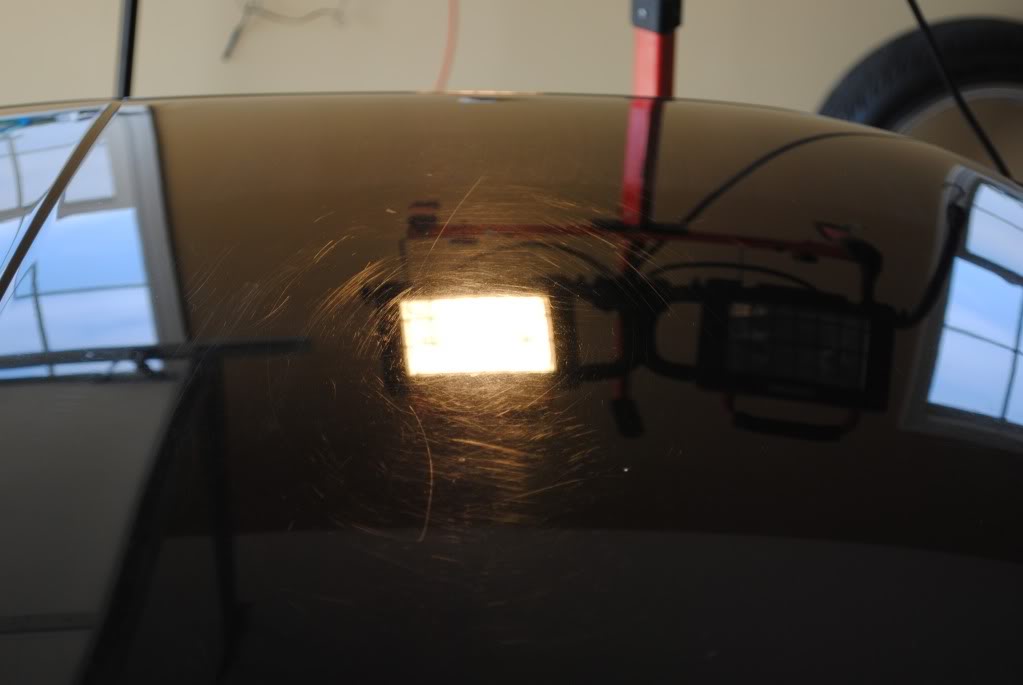
I decided to wet sand the deeper scratches on the roof using 1500 Eagle Bufflex disc dry sanding, and followed it up with 3000 grit wet sanding.
Then I Buffed it out with my Rotary buffer using a Lake country purple foamed wool pad on a meguiars W66 backing plate.

Followed up with 3000 grit.
then buffed it all smooth with Meguiars M105 compound and PFW pad via Rotary, then polished it with my FLEX 3401 and M205 Tangerine pad so there wouldn't be any swirls
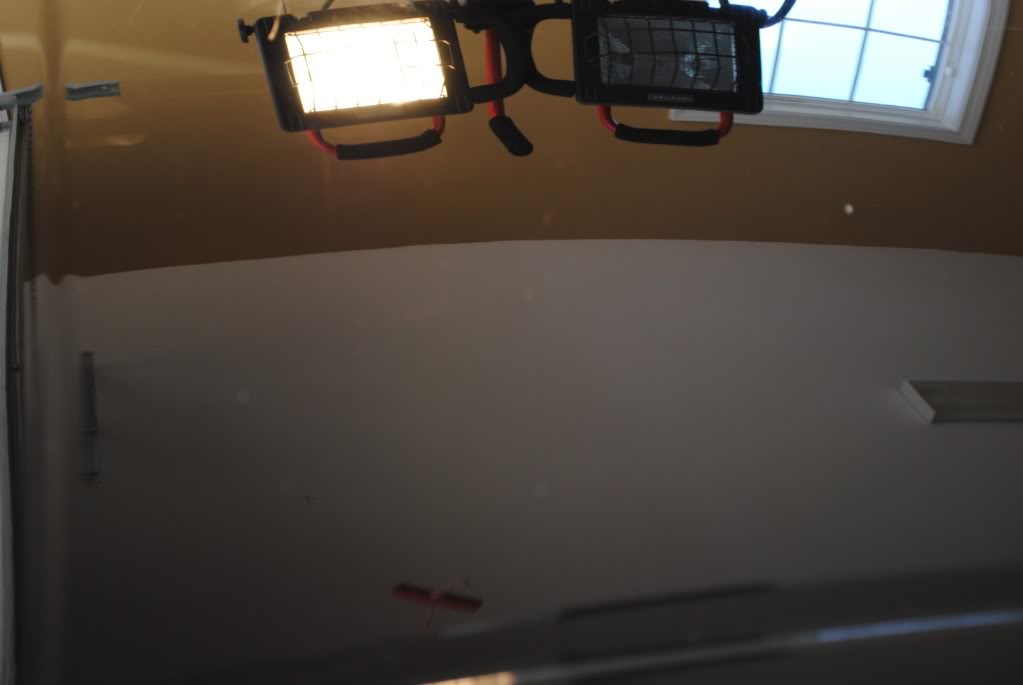
The whole roof was wet sanded with 1500 then 3000 to remove 95% of the defects.

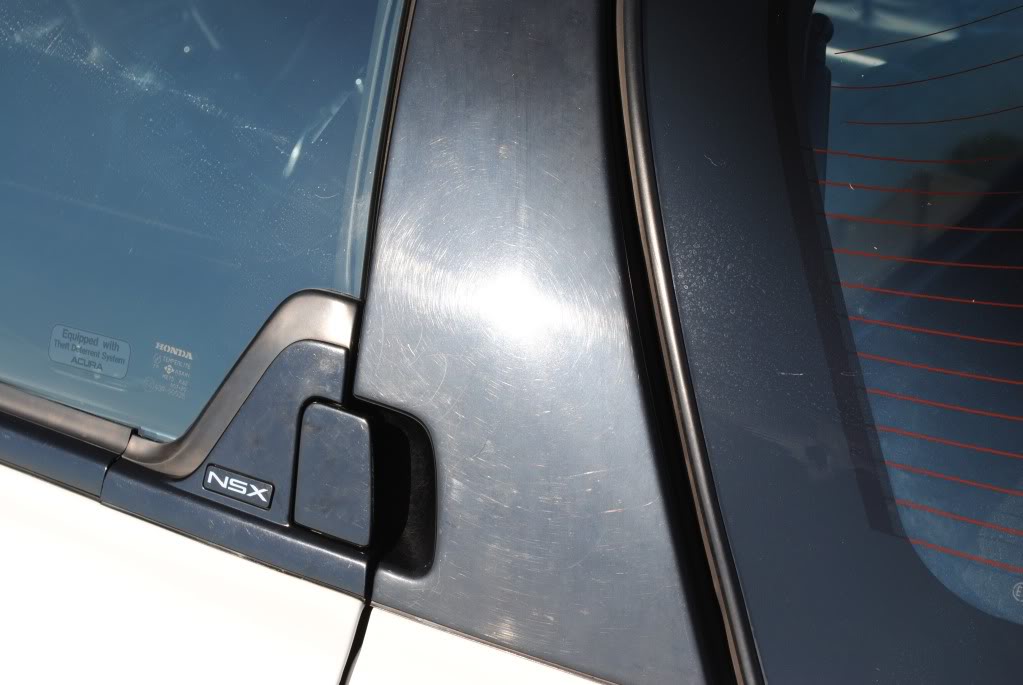
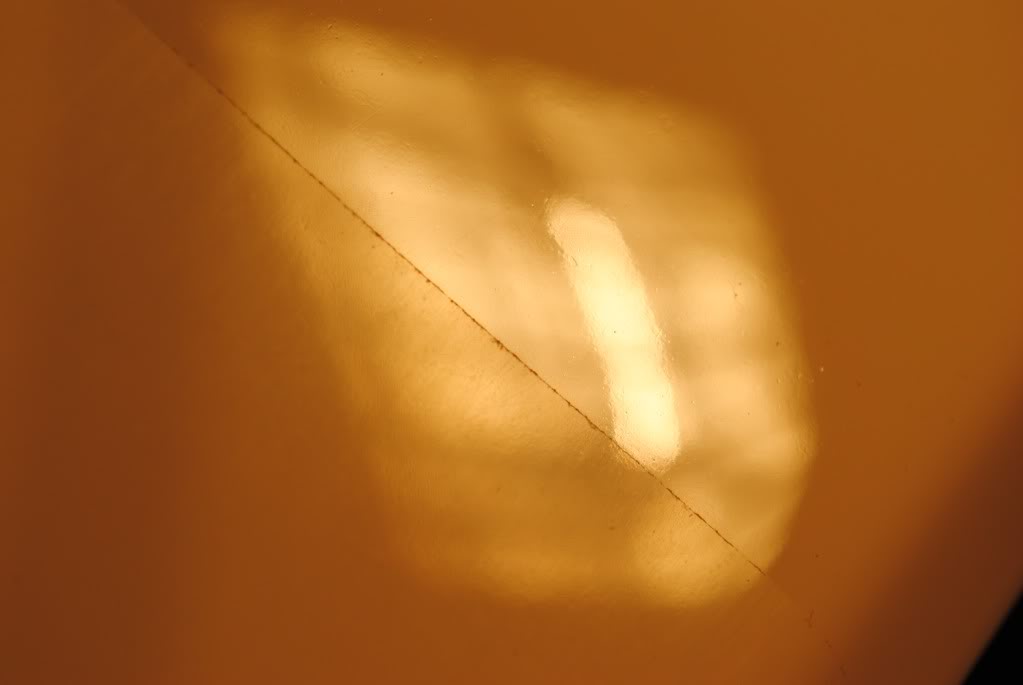
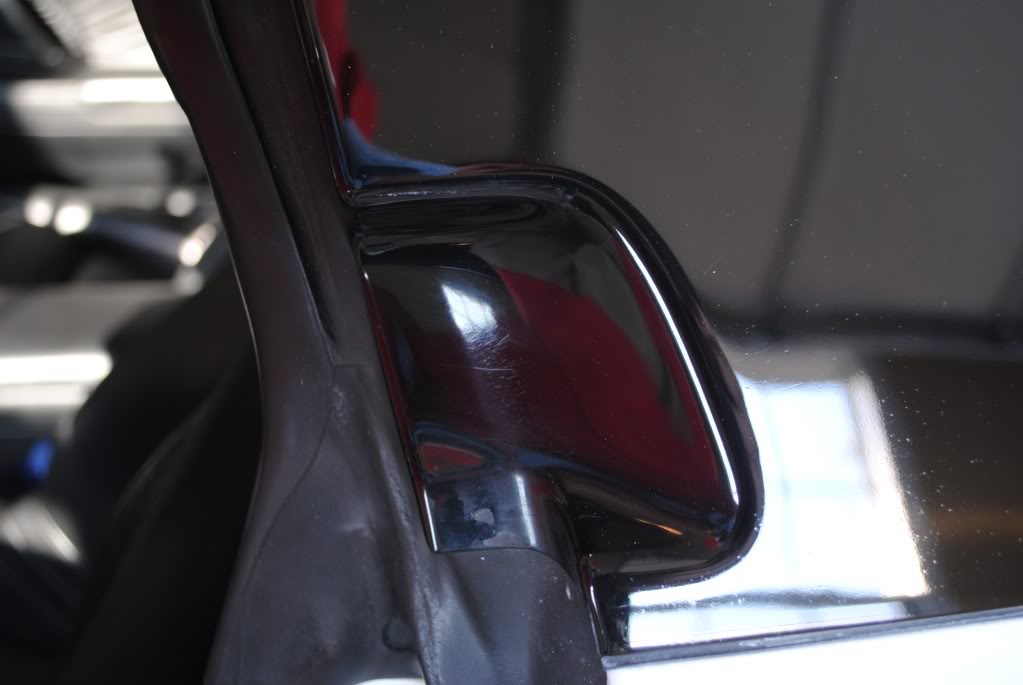
Next were the were pillers, These always show a lot of swirls and are at the most visible level on a car for a person to see.
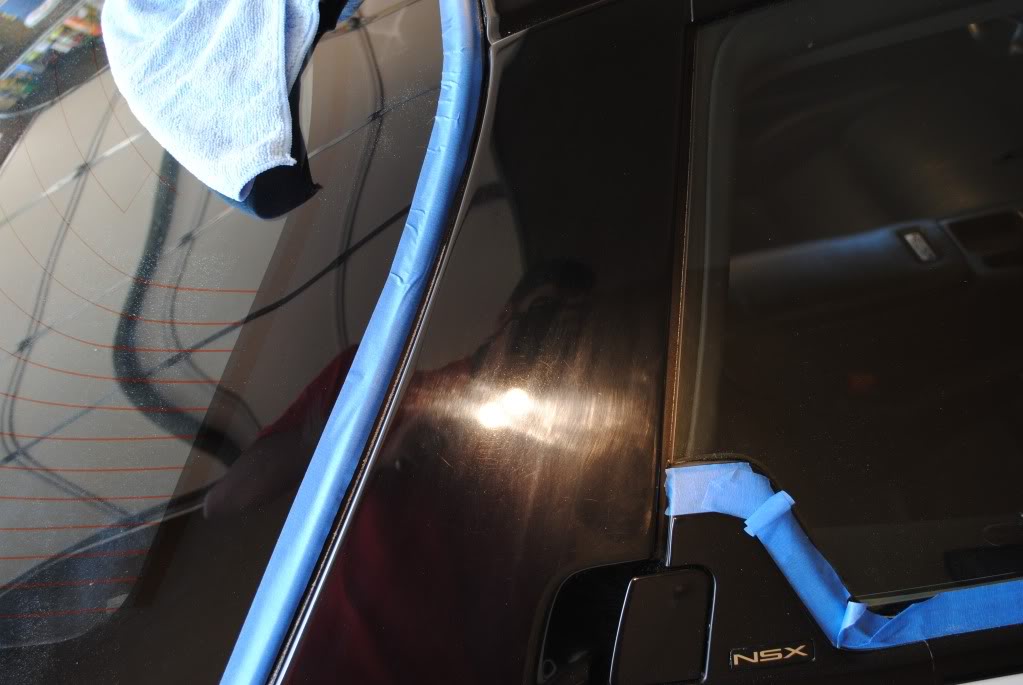
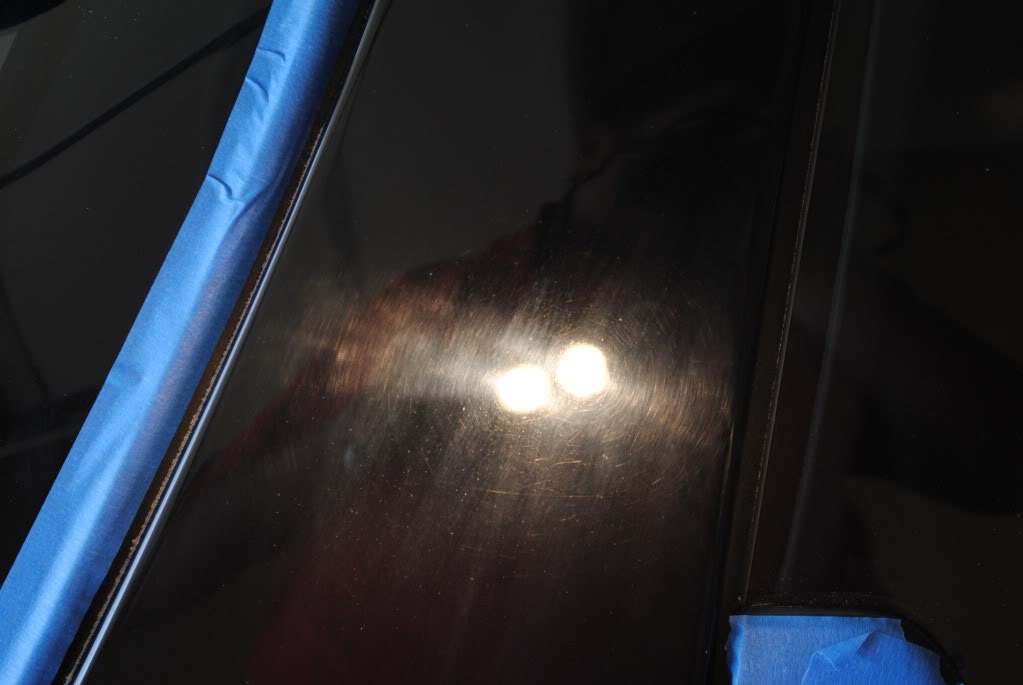
I taped off a 50/50 to show the dramatic difference between the before and after


There were still a few little pits on the surface from acid rain over the past 18 years but overall came out great.
I used a Rotary buffer with a 3" Gloss it backing plate and a 3" Lake country Cyan pad. The Flex just didn't cut it hard enough being such a small tight area. after I leveled it out with the Rotary I polished with the Flex and M205/Tang pad.


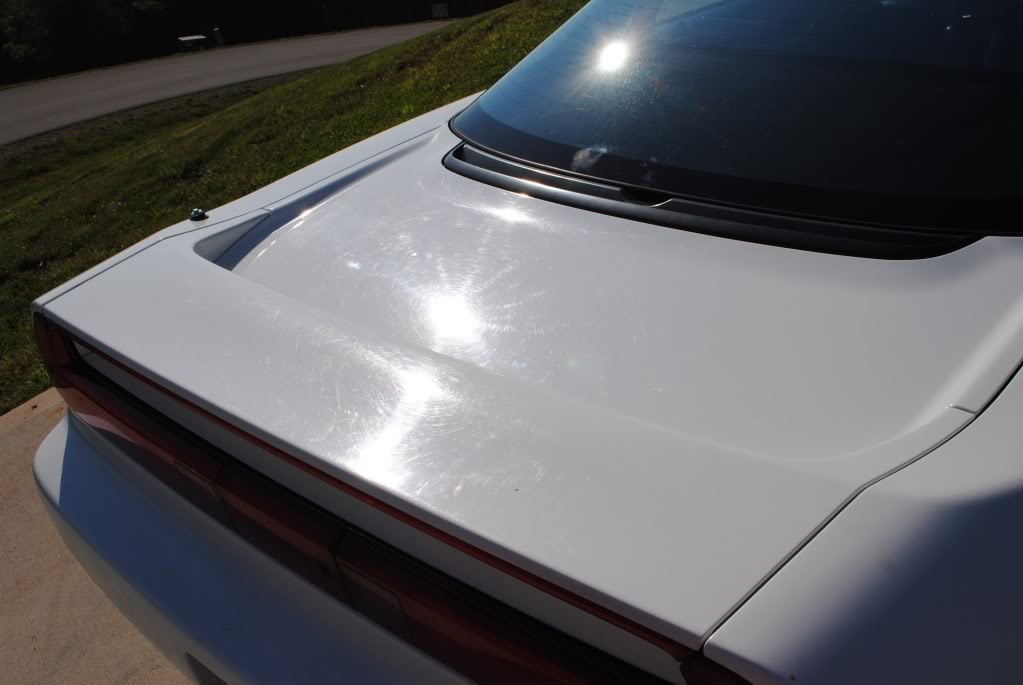
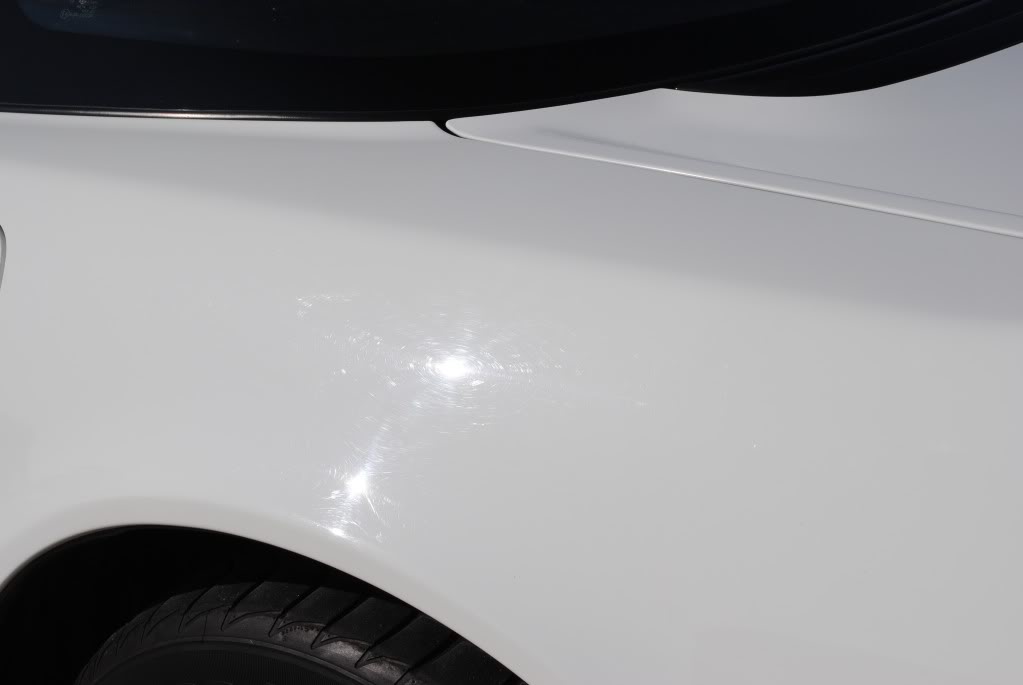
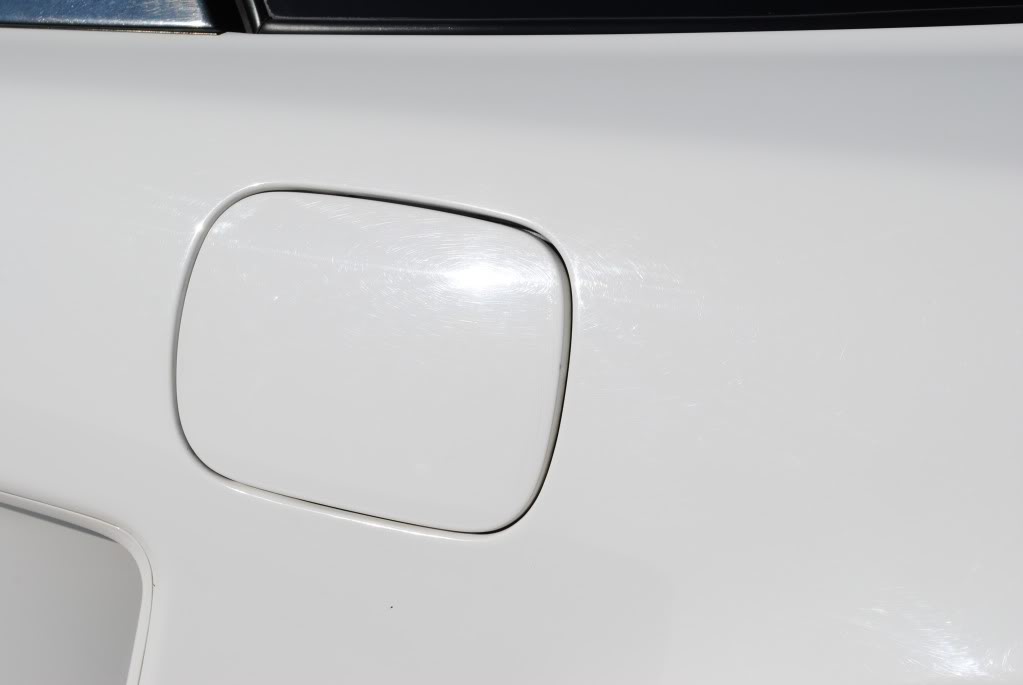
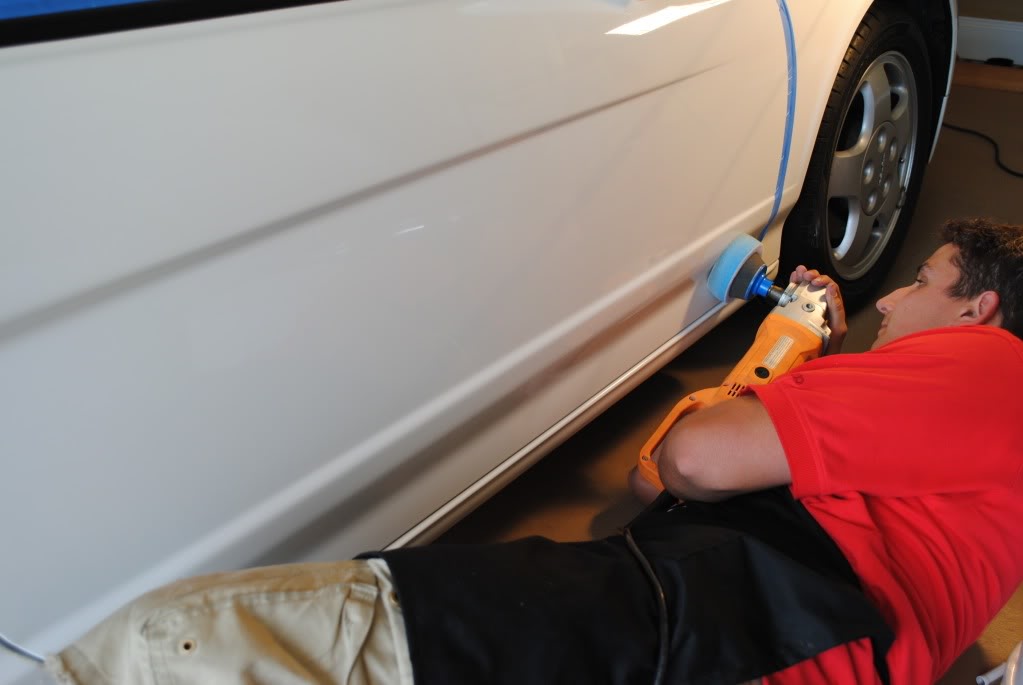
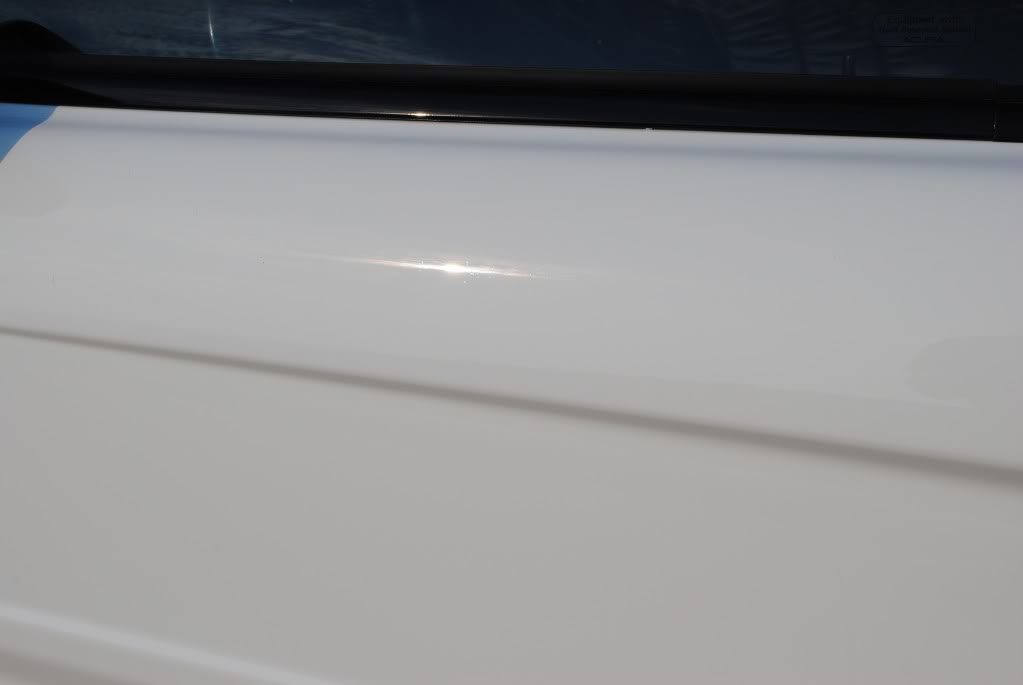
now on to the back, the horizontal panels get the most sun and the most environmental damage from acid rain and the sun, bird poop and all of that, so my cyan/M105 combo didn't get the level of correction that I was looking for, so I upped my cutting ability a little by using the Purple foam wool pad to really give a good cut, but finish down amazingly.

I worked my way around the car from the pass. fender to the driver side. I was almost done going on Midnight.

After All of the compounding stage I polished with M205 and the lake country Crimson Ultra finishing pad

Then I applied the Black Fire Wet Diamond Sealant with a blue finishing pad via Flex 3401
The car was mostly finished up arround 12:30am, I had a few small things left to walk around and check, like the windows and jams all those small things. from 8:30am to 12:30am so 16 hours night 1 and then 2 more hours the next morning.


So the Next morning I woke up and took care of a few small things before the final pics were taken.
The insides of the door handles were severely scratches by fingernails over the years

I used some M105 on a Microfiber towel and rubbed the area until they were mostly gone.

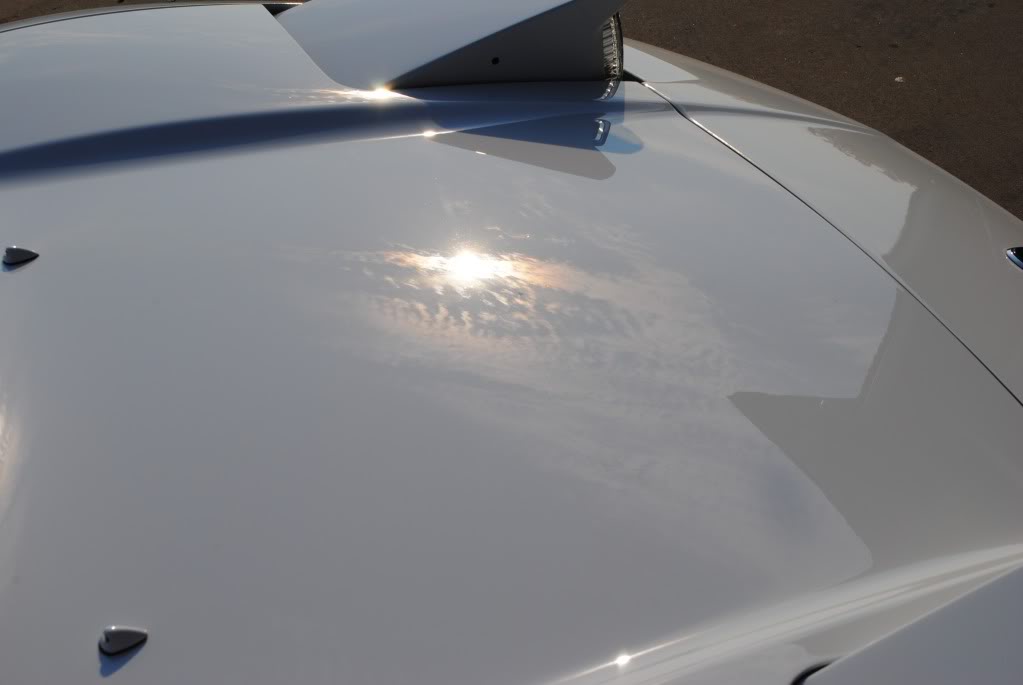
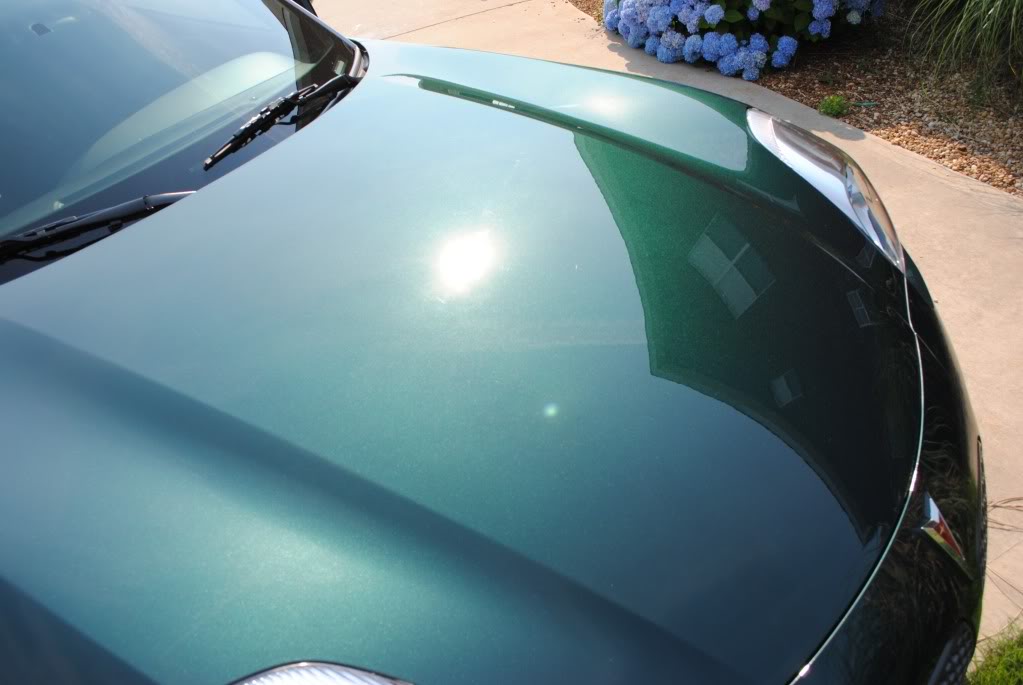
NOW FOR THE FINAL SUN SHOTS from the next morning!!!!!! Drum roll please............


Just in case you forgot what It looked like before. here is a second glance


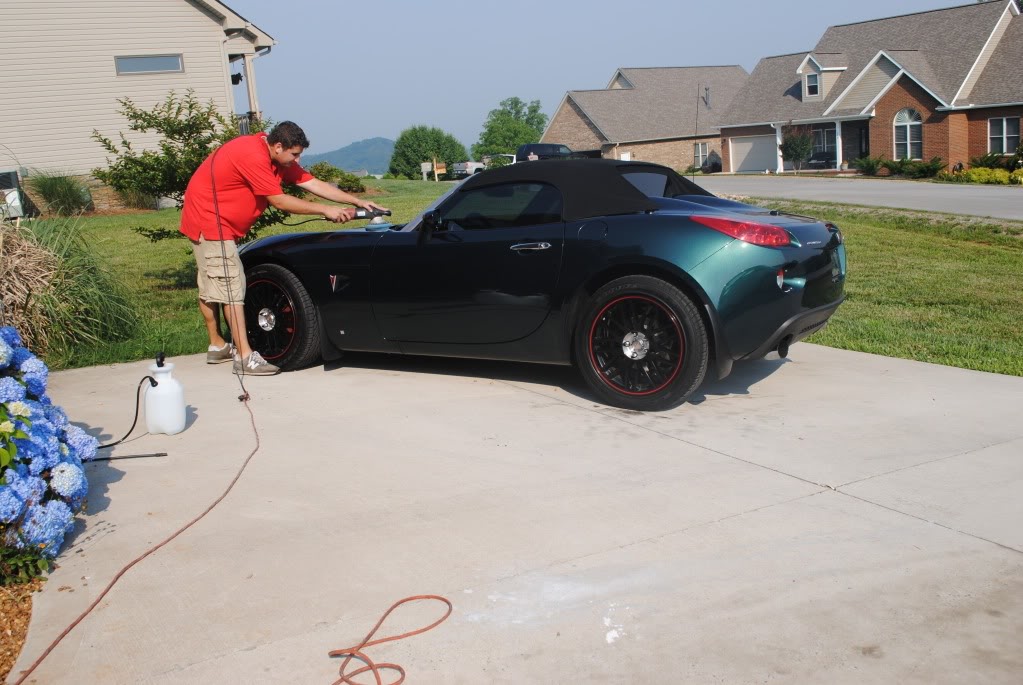
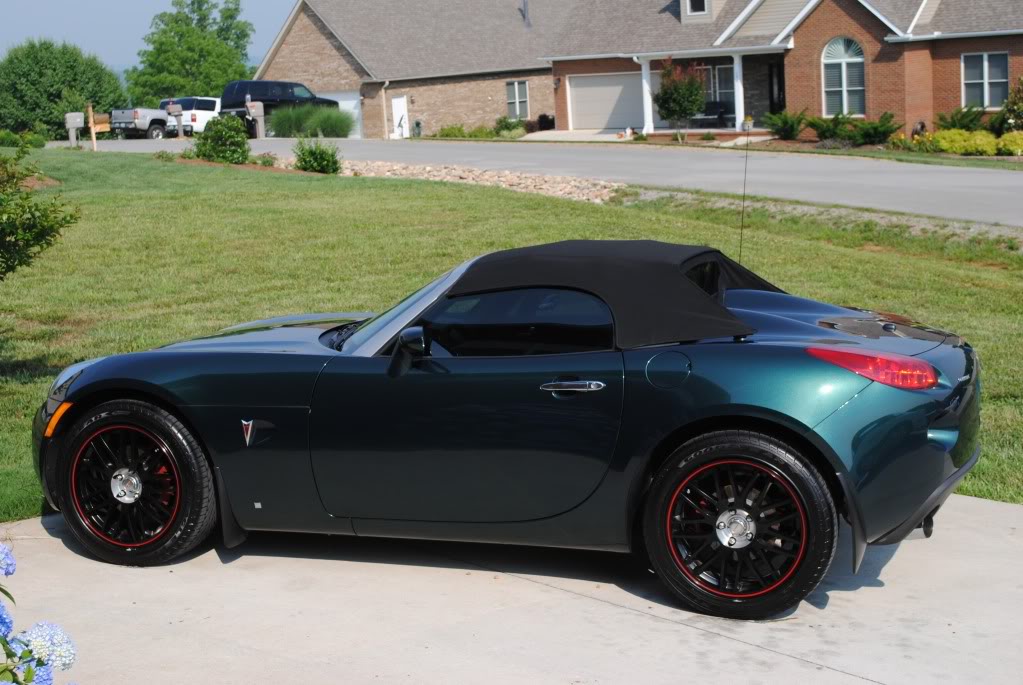
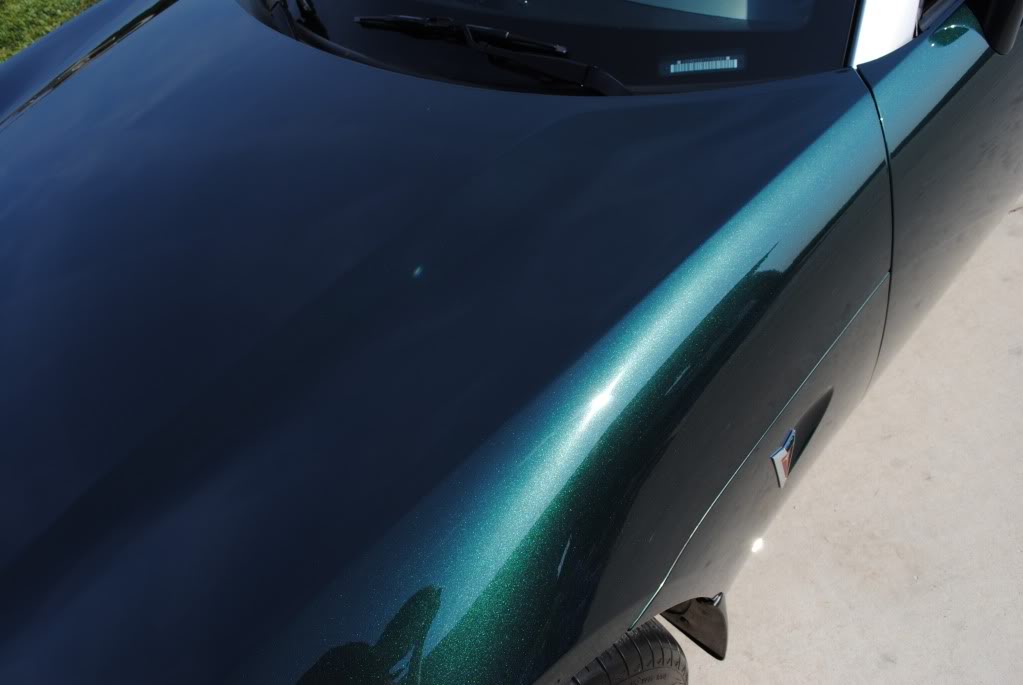
So while I was there I did a quick ONR wash on the Pontiac Solstice in the back ground. after the wash I applied a coat of Black Fire Wet Diamond
Thanks For Viewing!!! Have a Blessed Day!!!!
You did an awesome job! That is one of my favorite cars - what a great thing to be able to work on it. I bet the owner was very happy to see it retored to what it use to look like.
Cat :x
Cat :x

 I hate cleaning my own car cause no one pays me
Another excellent job.
Can you explain in more detail on cleaning the engine bay, as far as the water flow and what you cover.
Have you dry/wet sand some deeper scratches and not be able to remove the scratches?
Can you explain in more detail on cleaning the engine bay, as far as the water flow and what you cover.
Have you dry/wet sand some deeper scratches and not be able to remove the scratches?

Member

Joined: Jan 2009
Posts: 1,433
From: CT
i need a lesson on how to do some of this stuff on my own.
It is very simple.
Engine Cleaning 101
Most newer cars you dont have to worry about covering anything! you just spray the car down, ( or just the fenders and bumper and windsheild) because the degreaser can spot up the paint. but as long as they are wet you'll be fine, done let it dry.
1) pop the hood
2) spray surrounding panels with water
3) go ahead and spray lightly under the hood and engine area with water.
a) water hose: if you only have a hose, stick your finger mostly over the hole so that is sprays very wide and all over the place, you dont want a water fall effect, so spray it everywere lightly
b) pressure washer: if you are using a PW, keep it back about 3 feet, and DON'T stick it right on top of wires and things, just keep it back and spray everything. under the hood too.
4) goto walmart or your favorite automotive store and get some engine degreaser, and spray it every were, (Foam or liquid) and let it eat at the grease for a minute.
5) then agitate with a brush, any type of brush will work. there are a few pics above in my write up that can show you what to use.
6) Then just rinse very thoroughly and keep it back 2-3 feet,
7) (Optional) if its not good enough, just repeat steps 4-6.
and for dressing it to make it look shiney just spray tire dressing if you want, or order some 303 protectant, that stuff works great on all plastics
Last edited by Fallen_Rock; Jun 2, 2010 at 09:02 AM.


Member
Joined: Dec 2010
Posts: 31
From: Cumming, GA
Fantatsic work!
Just out of curiosity, if you tape over the seams ( I assume to prevent polish from getting in there ), when you remove the tape, don't you have some small areas on the edge of each panel that haven't been polished?
Just out of curiosity, if you tape over the seams ( I assume to prevent polish from getting in there ), when you remove the tape, don't you have some small areas on the edge of each panel that haven't been polished?


Member
Joined: Feb 2011
Posts: 428
From: Harmaston, TX

Outstanding work and very impressive end result, two thumbs up!
Plenty of hours and material costs involved though. How much does a complete detail like this bill for? 18 hours would be cumulative of 3 years (30 minutes month) of car washes for my Fit, haha.
_
Plenty of hours and material costs involved though. How much does a complete detail like this bill for? 18 hours would be cumulative of 3 years (30 minutes month) of car washes for my Fit, haha.
_

Thread
Thread Starter
Forum
Replies
Last Post
Fallen_Rock
Fit DIY: Repair & Maintenance
8
Mar 9, 2011 08:29 PM
SpoonFitGD3
2nd Generation GE8 Specific Fit Photos & Videos Sub-Forum
16
Mar 13, 2010 03:53 PM