Fit DIY: Repair & Maintenance Threads discussing repairs and maintenance you can do yourself

"Swirl City" Black 2008 Club Racer (CR) S2000

Thread Tools
 
Search this Thread
 
Old Jul 26, 2010 | 01:23 PM
  #1  
Fallen_Rock's Avatar
Thread Starter
|
Member
iTrader: (2)
Joined: Jun 2009
Posts: 365
From: Knoxville TN
"Swirl City" Black 2008 Club Racer (CR) S2000


Hey Everyone,

While I was down in Murfreesboro TN for the Import Alliance meet, I had a client with a couple of S2000's that he wanted Tru shined up. The White one was finished and now it was time for the black one. Forgive me for not getting as many pics as I would have liked, but it was somewhere around 98 degrees with crazy humidity outside and my camera was acting up.

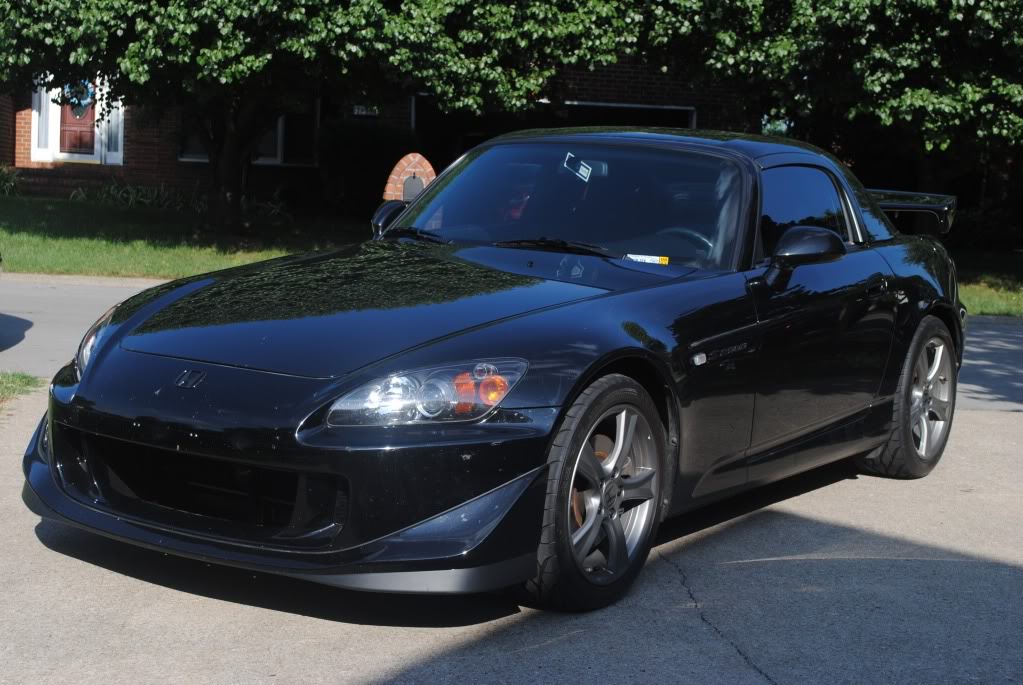
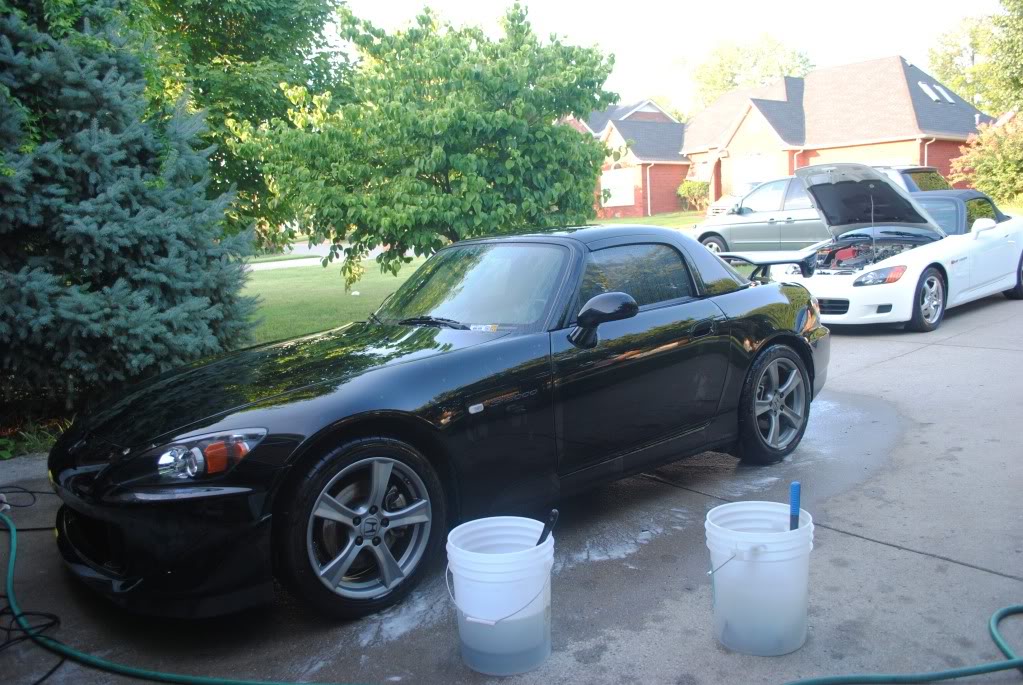
So Lets see what I was working with.

Name:  DSC_0162.jpg
Views: 2937
Size:  131.0 KB

Name:  DSC_0163.jpg
Views: 403
Size:  114.4 KB

Name:  DSC_0164.jpg
Views: 335
Size:  65.3 KB

Name:  DSC_0168.jpg
Views: 309
Size:  50.5 KB

Name:  DSC_0171.jpg
Views: 311
Size:  54.6 KB

Name:  DSC_0173.jpg
Views: 331
Size:  81.6 KB

Name:  DSC_0177.jpg
Views: 322
Size:  40.4 KB

Name:  DSC_0179.jpg
Views: 341
Size:  54.5 KB

Name:  DSC_0181.jpg
Views: 321
Size:  72.7 KB

Name:  DSC_0184.jpg
Views: 359
Size:  28.0 KB

Name:  DSC_0185.jpg
Views: 331
Size:  66.7 KB

Name:  DSC_0188.jpg
Views: 314
Size:  29.8 KB

Name:  DSC_0190.jpg
Views: 310
Size:  39.7 KB

Name:  DSC_0194.jpg
Views: 321
Size:  56.0 KB

Name:  DSC_0199.jpg
Views: 329
Size:  85.5 KB

For the wash method I wanted to try out some new Chemical guys Bugg & Tar remover and I applied it via the Foam cannon to let it dwell on there and eat at all the bugs.

Name:  DSC_0222.jpg
Views: 333
Size:  155.7 KB

Name:  DSC_0223.jpg
Views: 325
Size:  130.2 KB

Name:  DSC_0225.jpg
Views: 335
Size:  153.9 KB

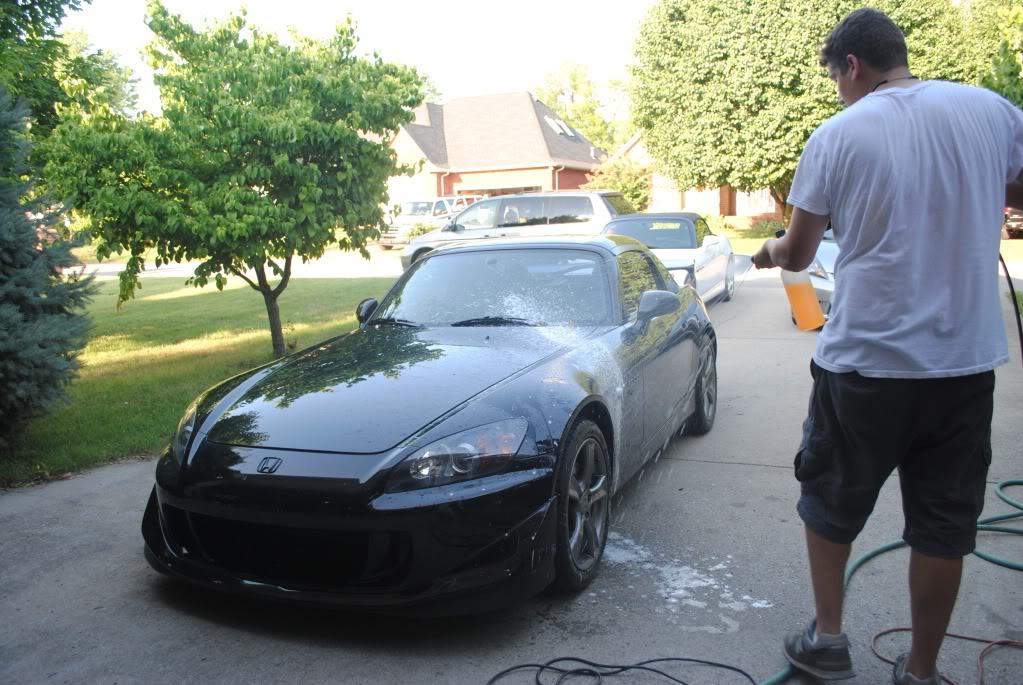
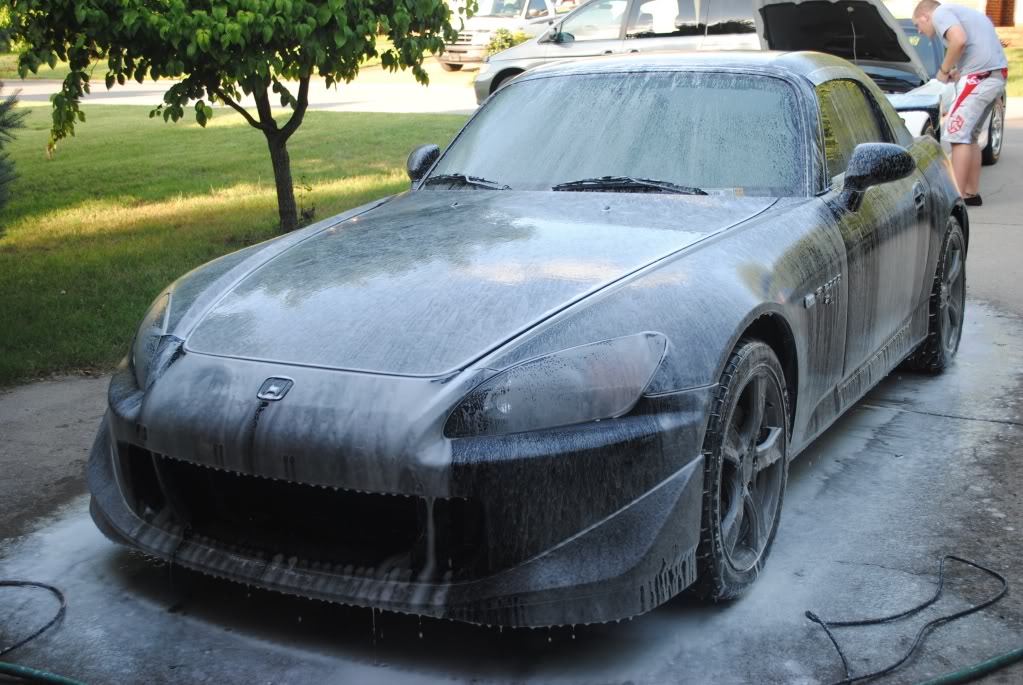
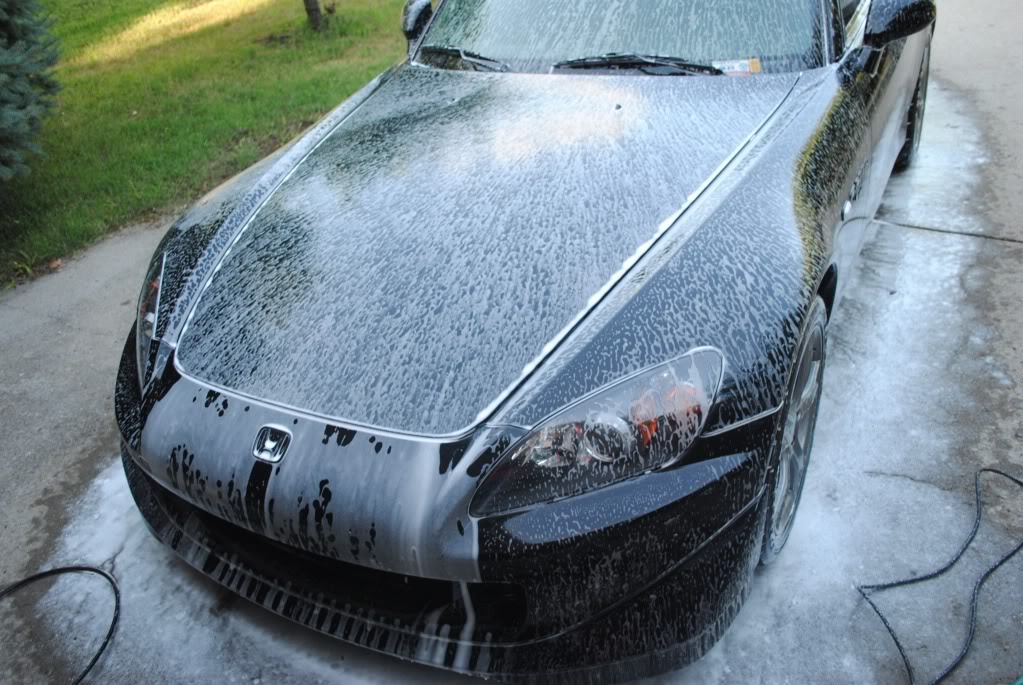
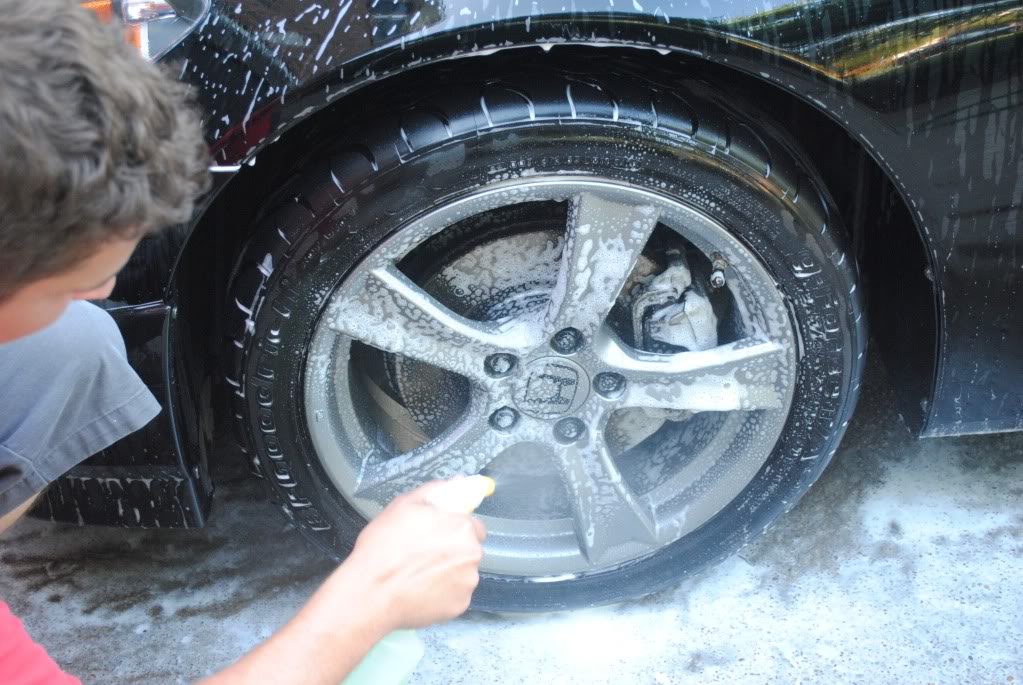
While that was dwelling I sprayed some P21s wheel gel onto the wheels to let it do its job.

Name:  DSC_0227.jpg
Views: 325
Size:  140.6 KB

Then I rinsed off the CG B&T remover. and the bugs would just melt right off. the dilution was about 2oz CG B&T to 10oz water. So far it works really well.

Name:  DSC_0231.jpg
Views: 316
Size:  158.7 KB

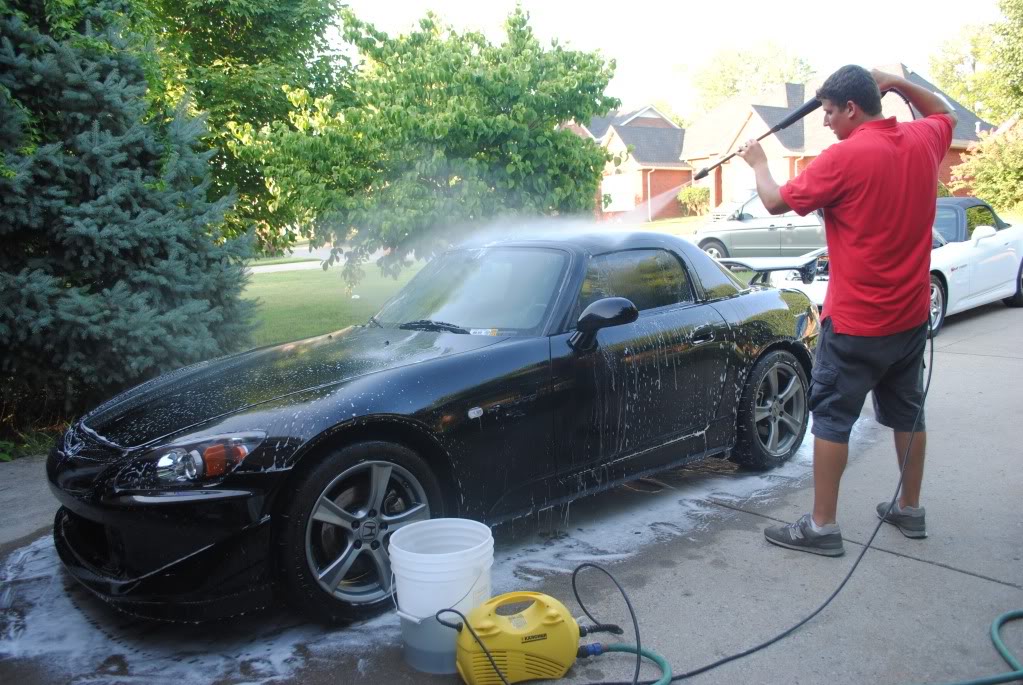
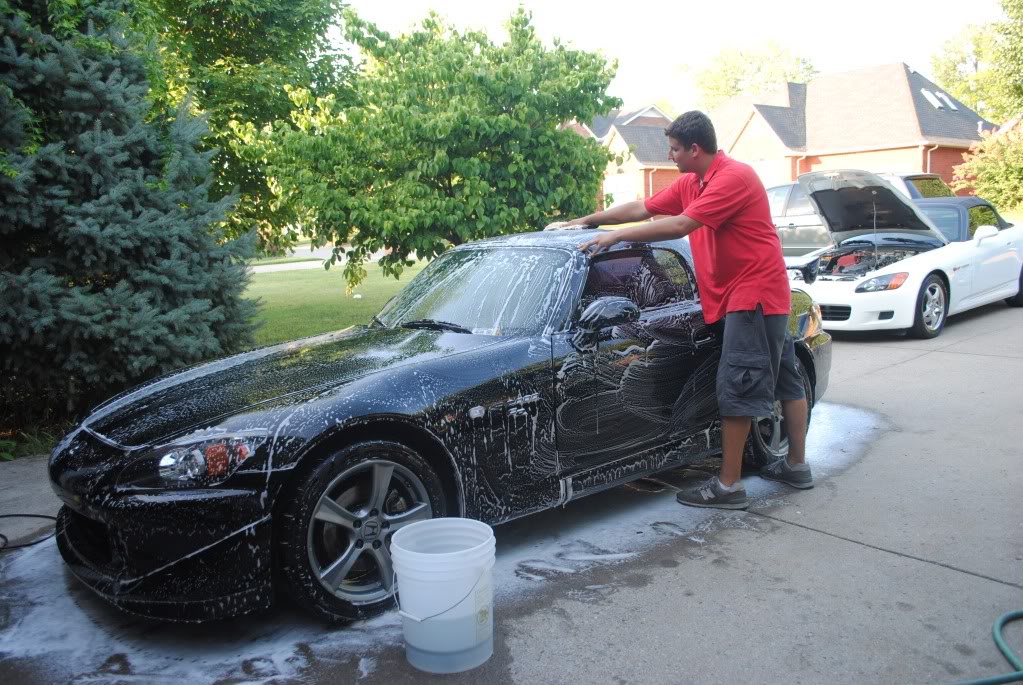
Then I Refoamed the car with Dawn Dish detergent and began the washing with a single bucket with grit guard and 100% washmitt.

Name:  DSC_0229.jpg
Views: 318
Size:  181.3 KB

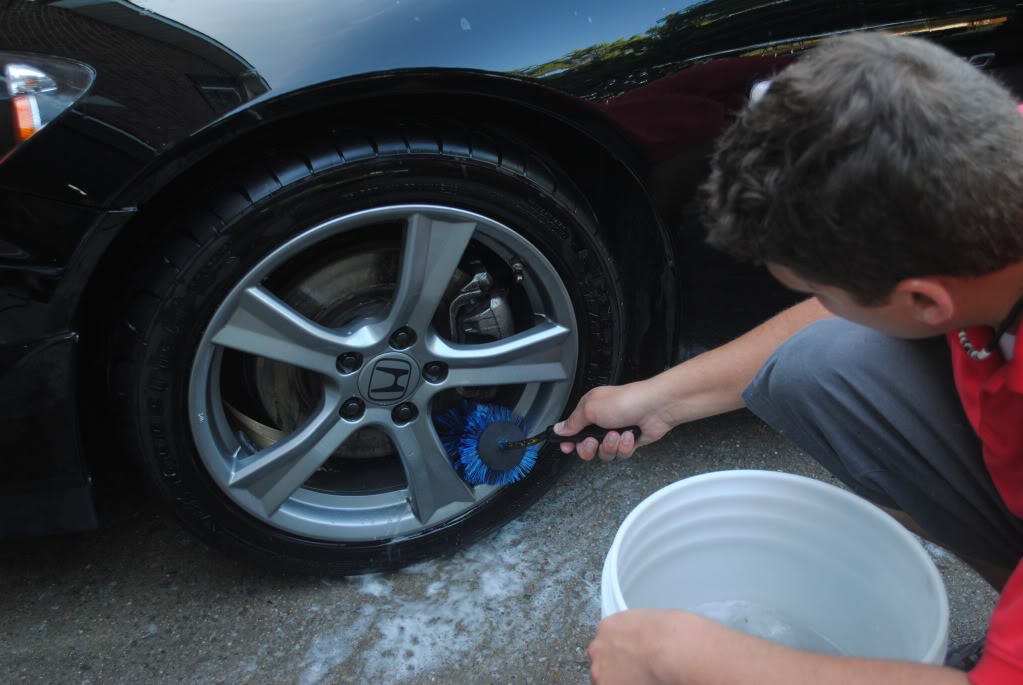
the wheels were scrubbed with a EZ-Detail brush, these brushes are great for getting into just about any type of wheel. and the P21s wheels gel made the brake dust come right off with ease.

Name:  DSC_0233.jpg
Views: 311
Size:  84.1 KB

The car was then rinsed and dried and then clay bared with Claymagic Blue fine clay with Showroom shine as lube. The reason I chose Show room shine is because it doesn't add any protection to the surface, which would make it more difficult to polish out to a Tru_Shine.

Name:  DSC_0232.jpg
Views: 324
Size:  152.9 KB

Name:  DSC_0234.jpg
Views: 337
Size:  123.9 KB

So now that the car has been cleaned, I can start the second stage of the prepping.

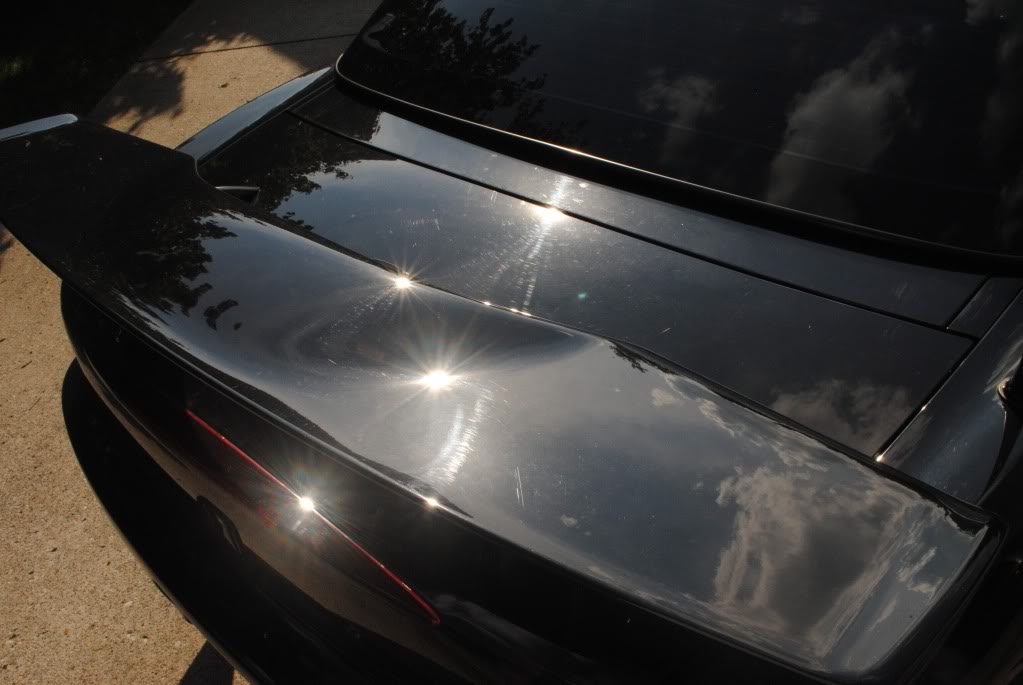
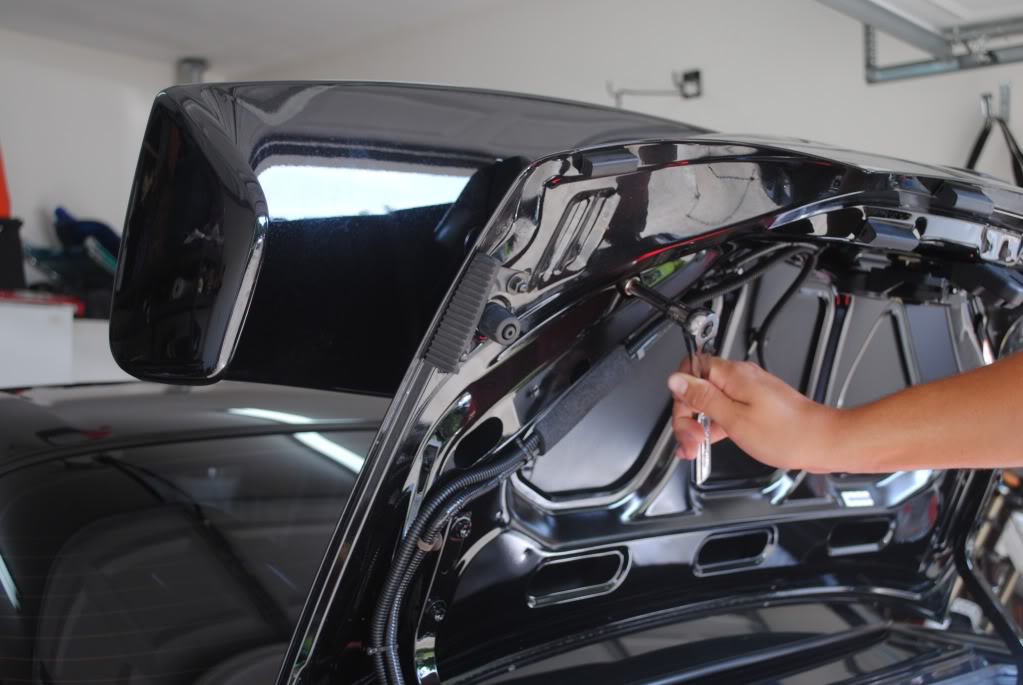
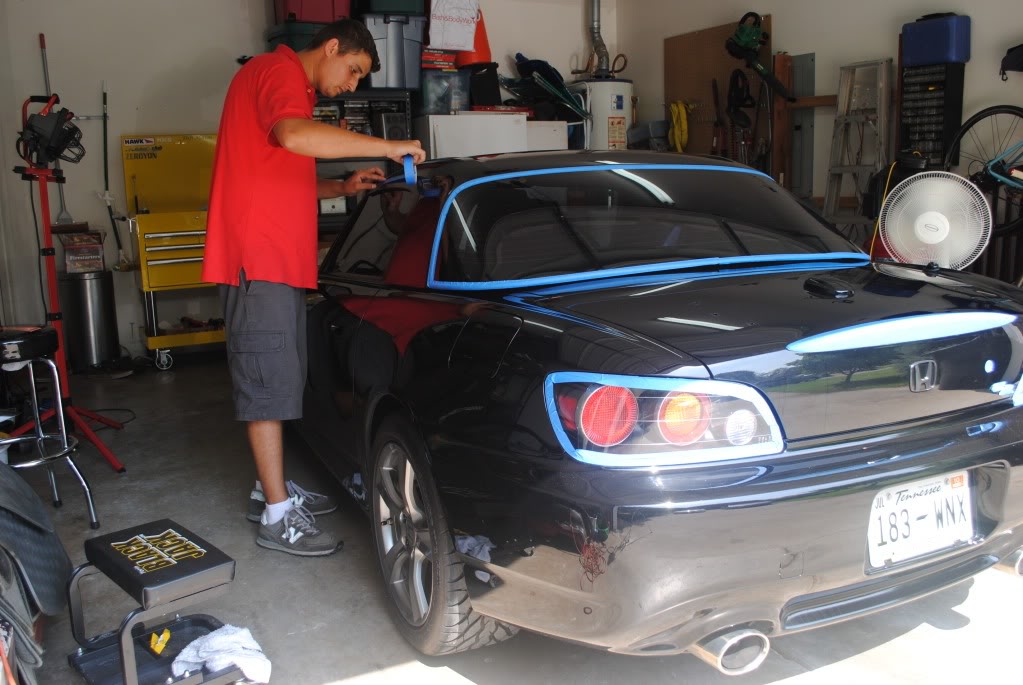
I started by removing the rear wing because there were just as many swirls and scratches under the spoiler as there were on top.

Name:  DSC_0247.jpg
Views: 327
Size:  83.9 KB

Name:  DSC_0248.jpg
Views: 338
Size:  87.4 KB

Then I began taping up all plastic trim and moldings.

Name:  DSC_0250.jpg
Views: 314
Size:  113.7 KB


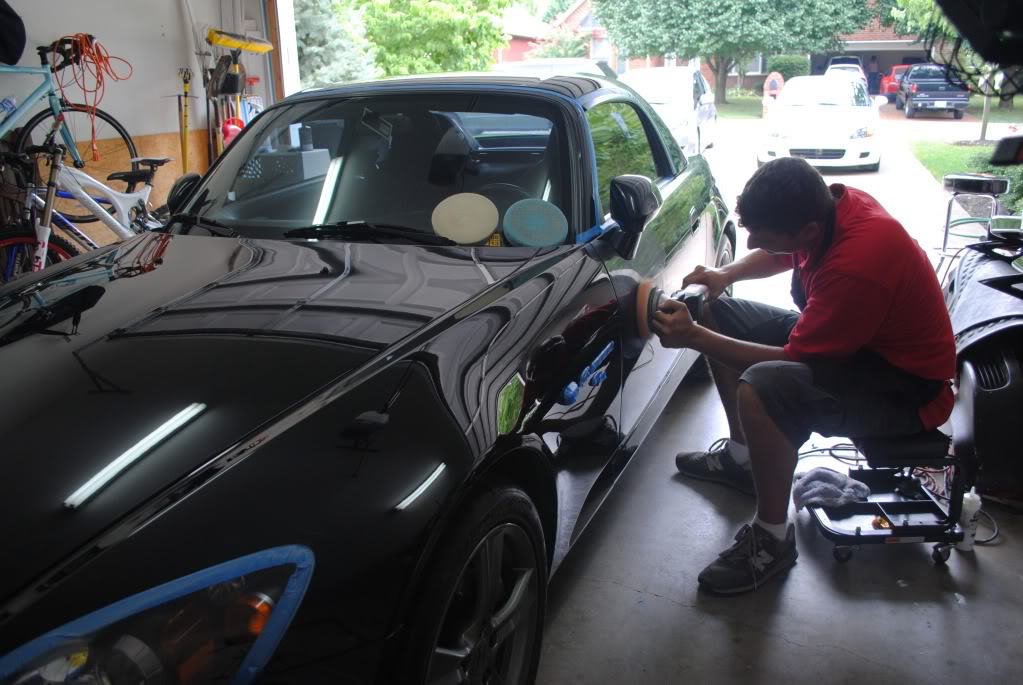
For the buffing and polishing, I used my Flex 3401 and Griots 3in orbital.


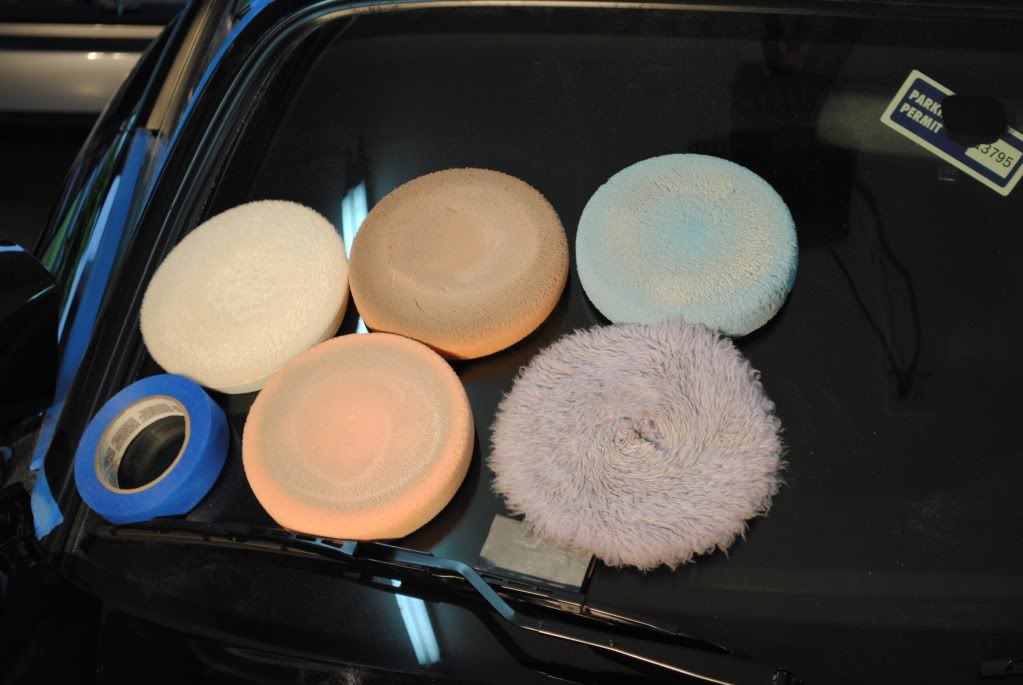
I used a variety of pads in 6.5in and 4in sizes:
Lake country Hyrdotech Cyan
Lake country Hydrotech Tangerine
Lake country Purple Foamed Wool
Surbuff R series
LC orange
LC blue finishing

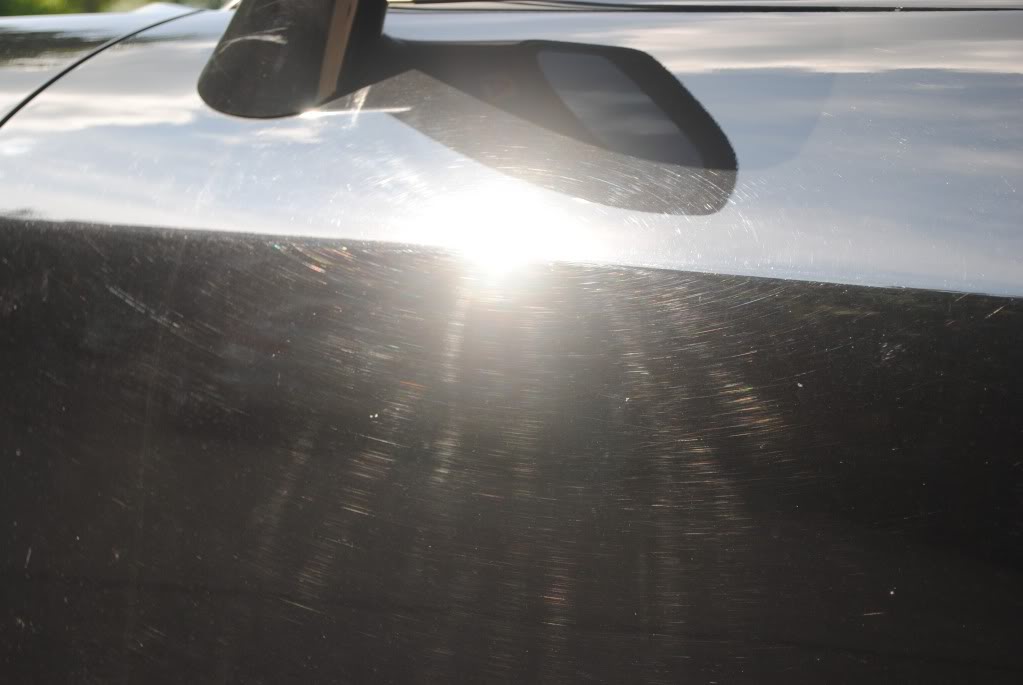
Since Honda clear coat is so soft, most of the paint was corrected with M205 and Tangerine pad. but some defects were just too deep and needed to be cut with some PFW/M105 and I also tried out the new Surbuff pad. I'm still not to sure how i feel about the Surbuff pads on the FLEX as the M105 dries up real fast and leaves some sever marring, I used Meguiars M105 for compound and Meguiars M205 for polish.


Name:  DSC_0257.jpg
Views: 334
Size:  118.5 KB

Name:  DSC_0258.jpg
Views: 319
Size:  62.8 KB

Name:  DSC_0260.jpg
Views: 349
Size:  70.3 KB

Name:  DSC_0261.jpg
Views: 314
Size:  35.4 KB

Name:  DSC_0265.jpg
Views: 356
Size:  27.8 KB

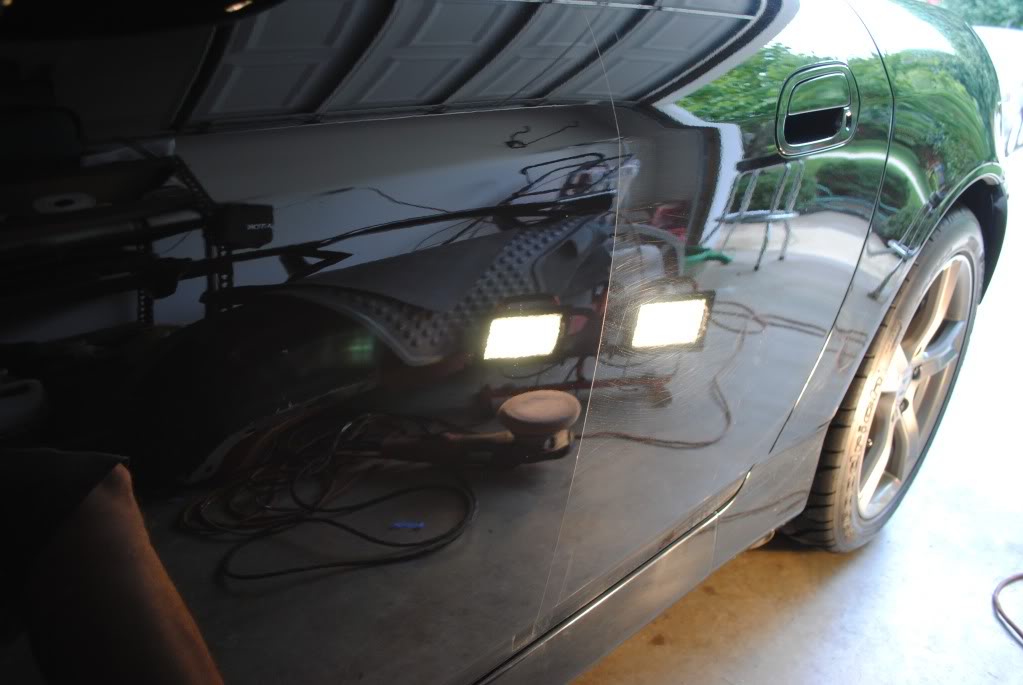
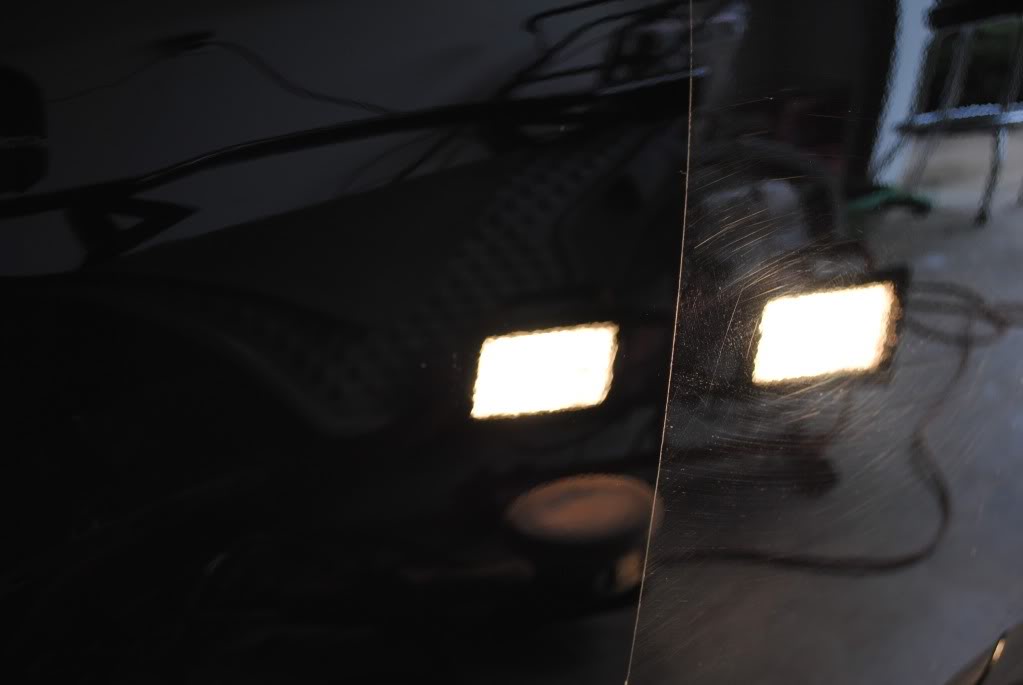
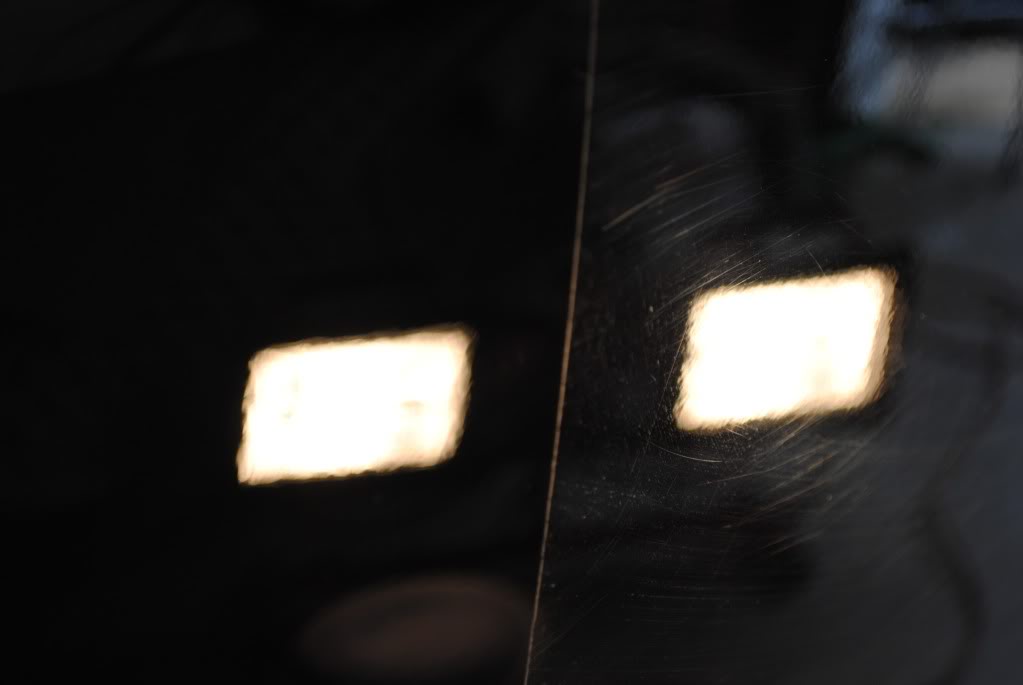
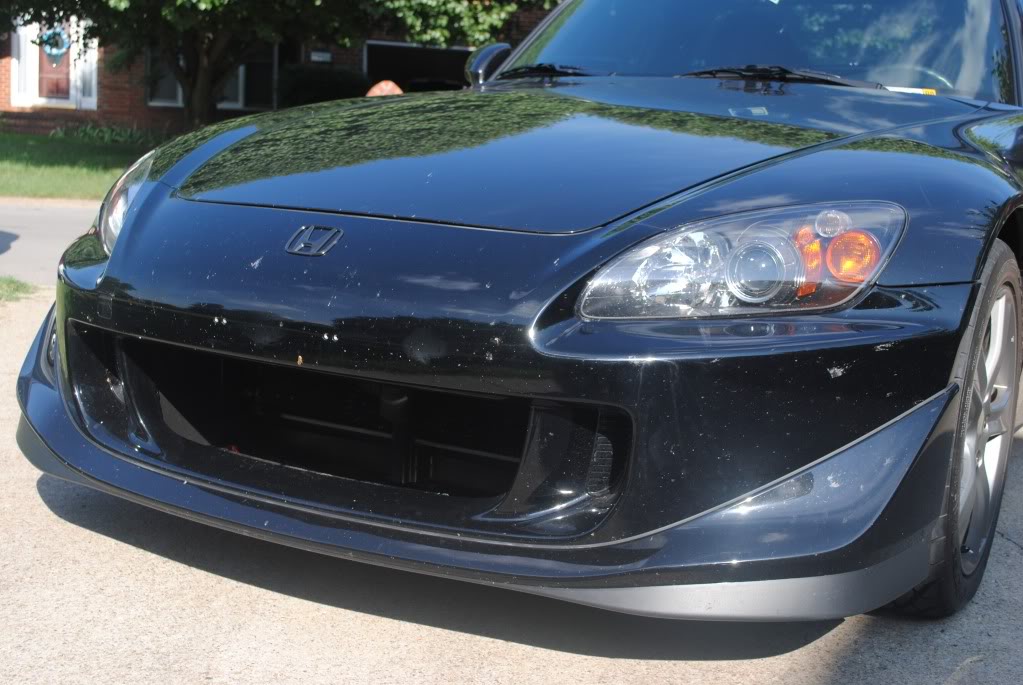
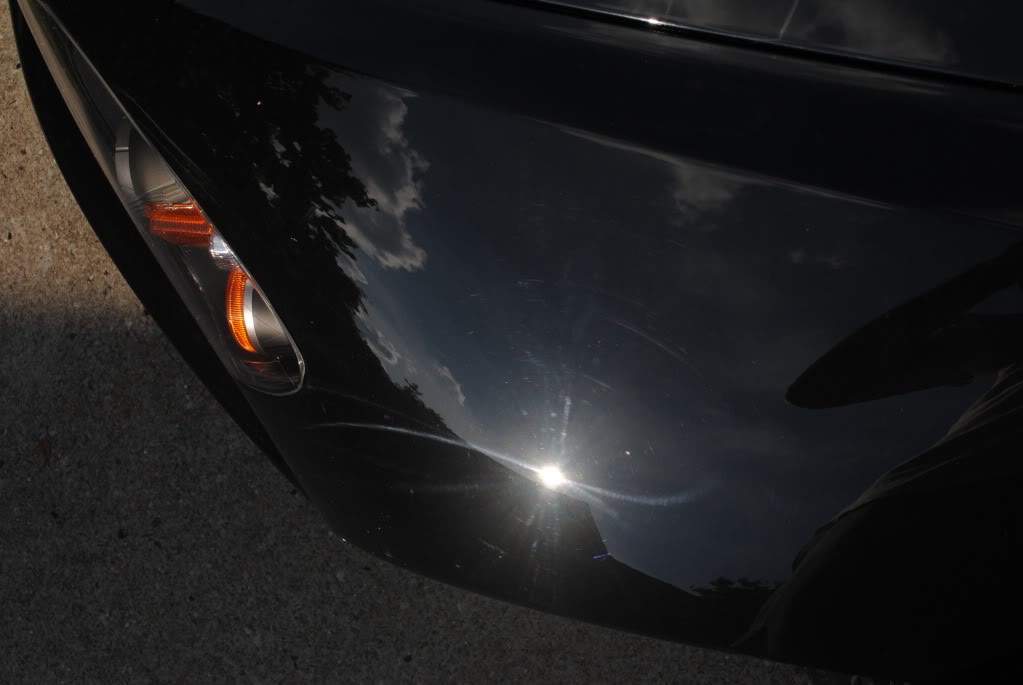
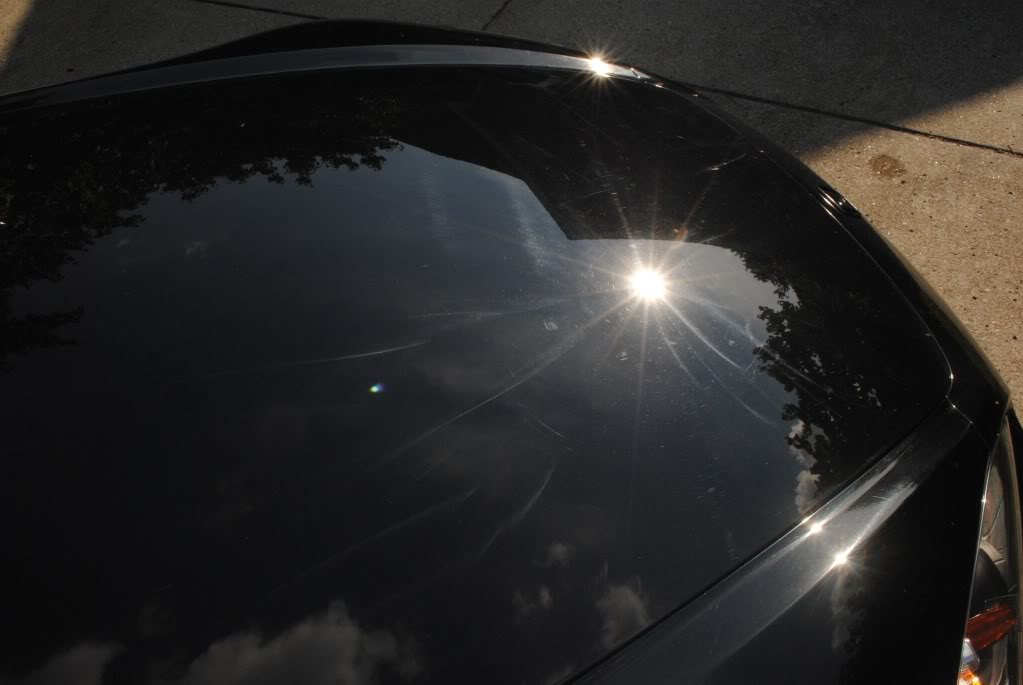
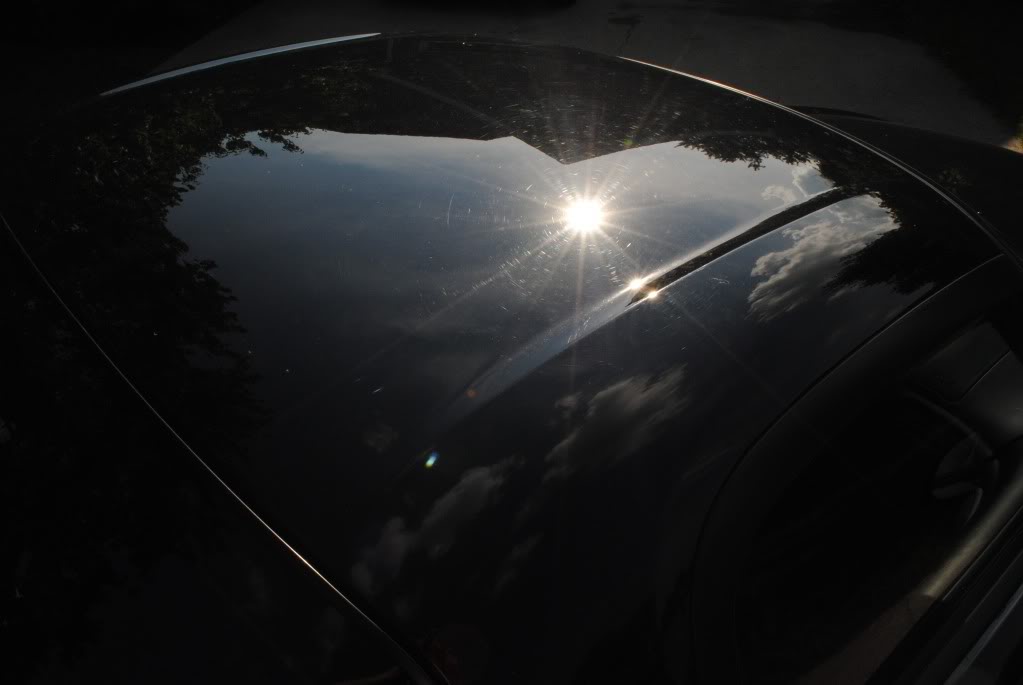
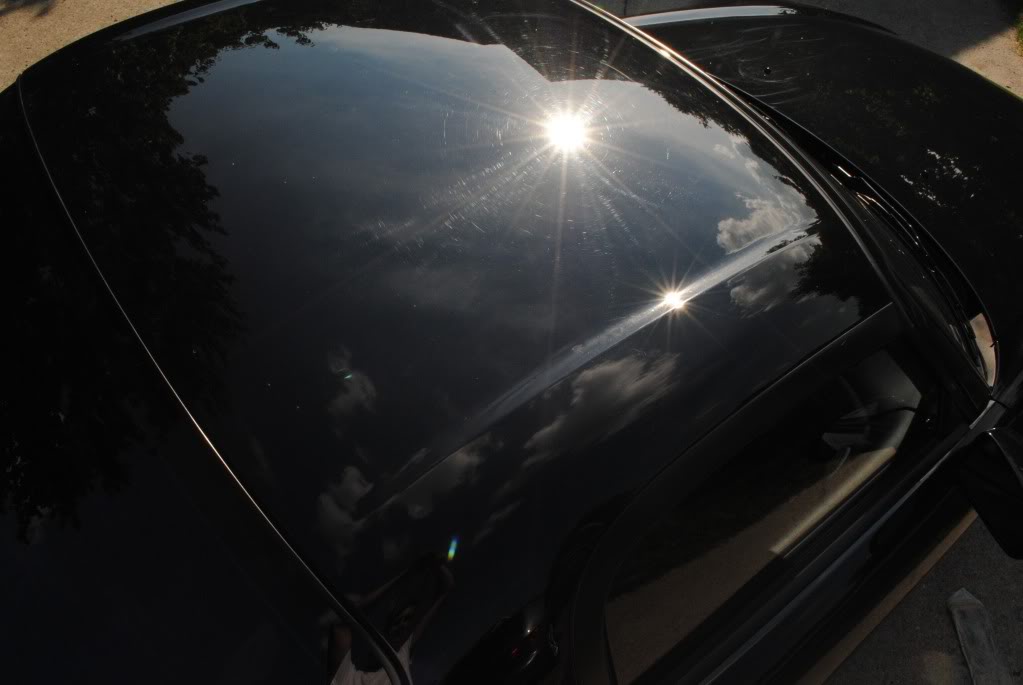
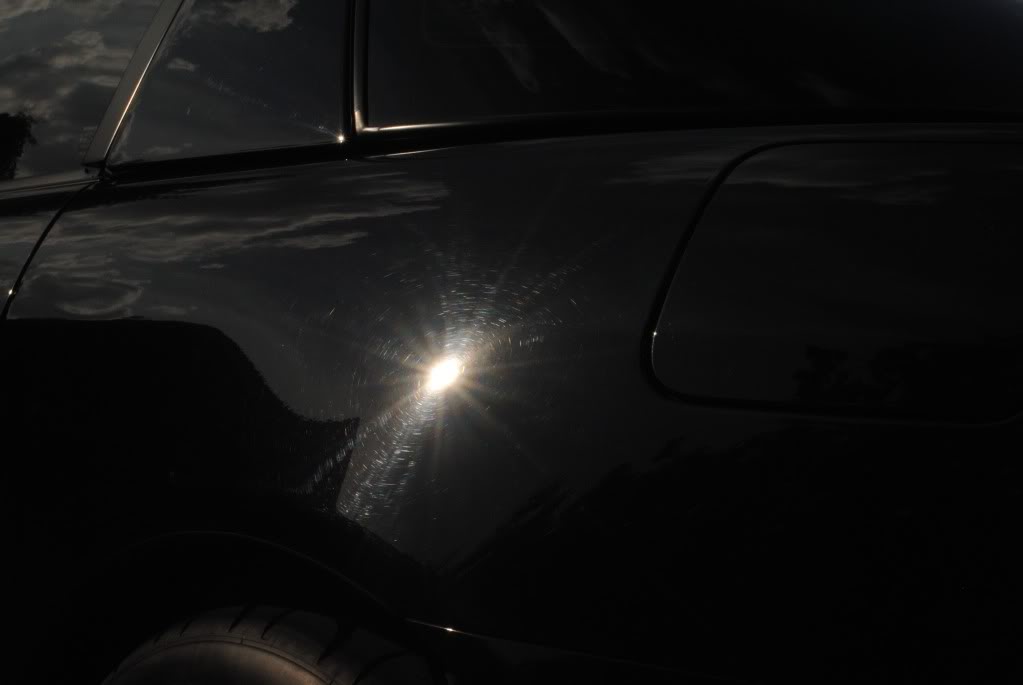
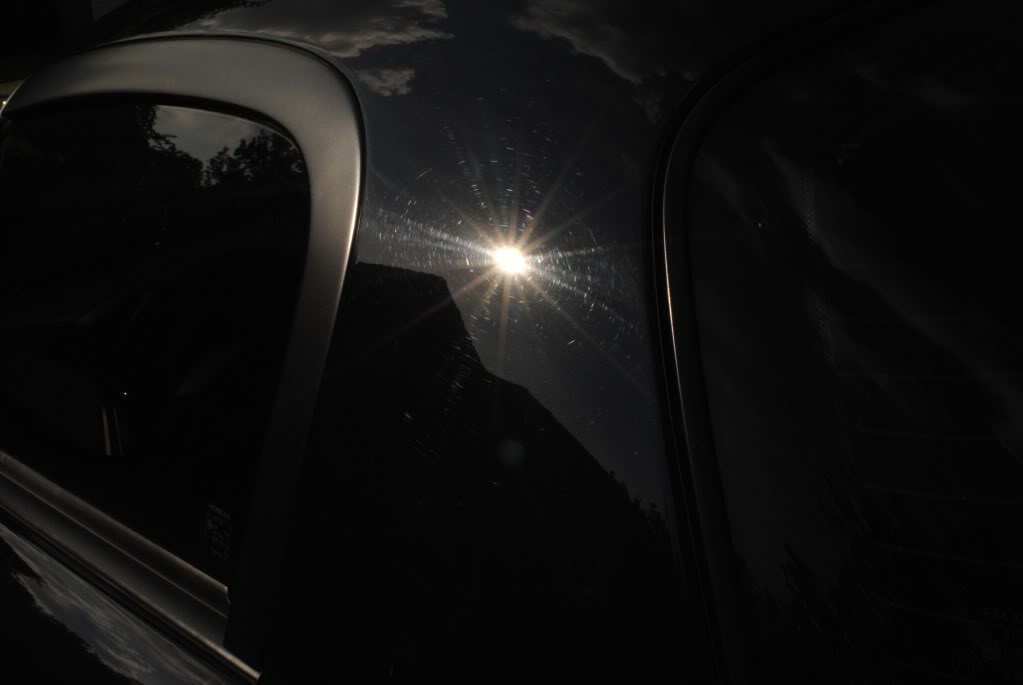
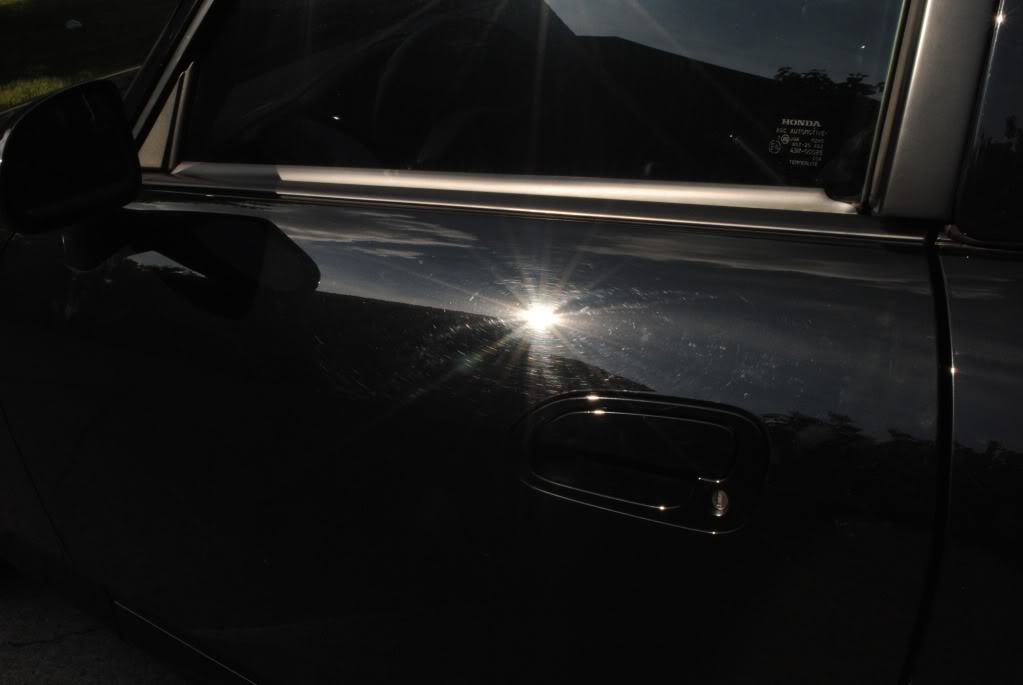
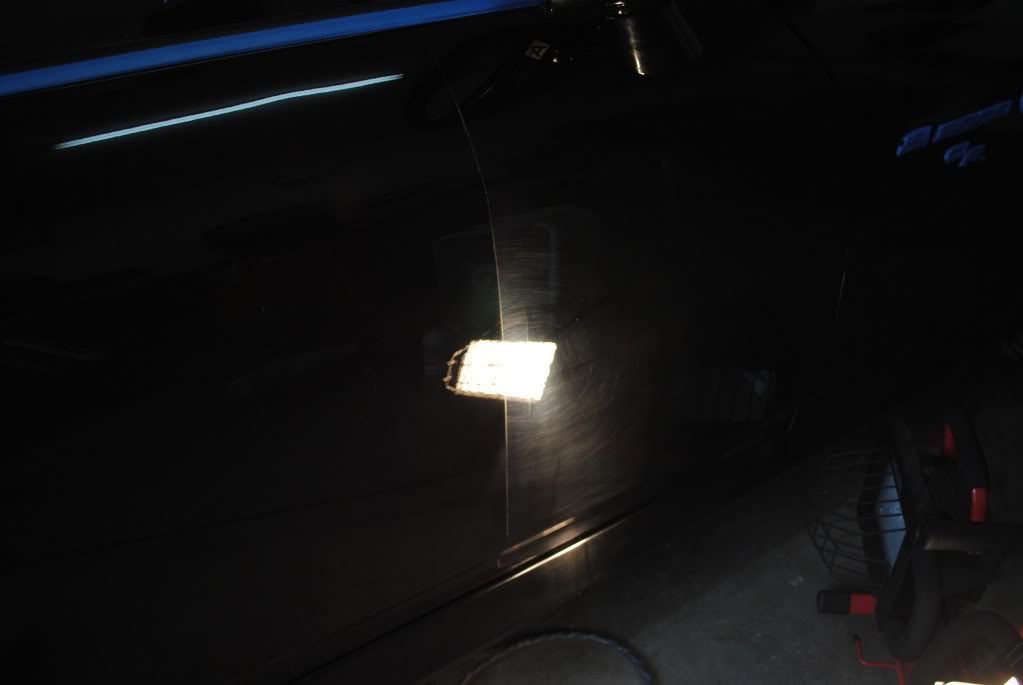
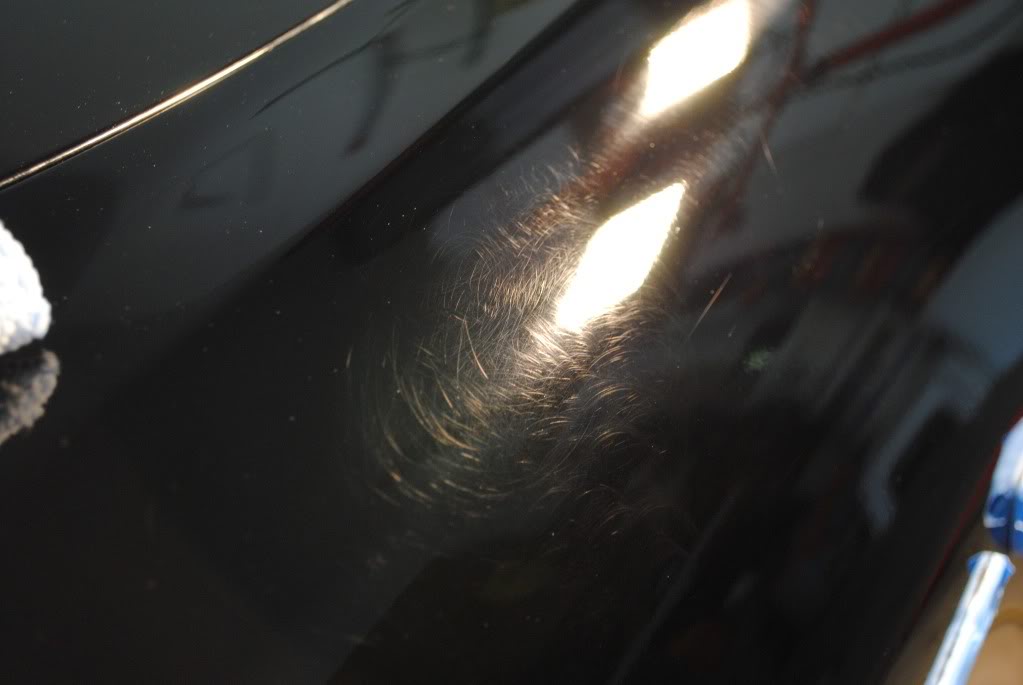
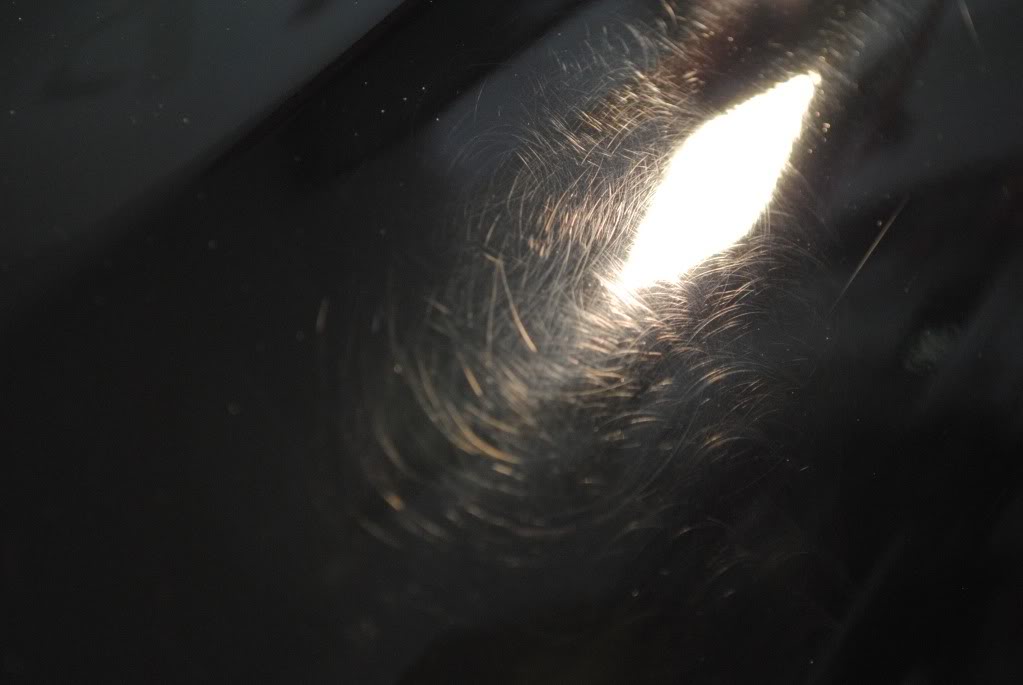
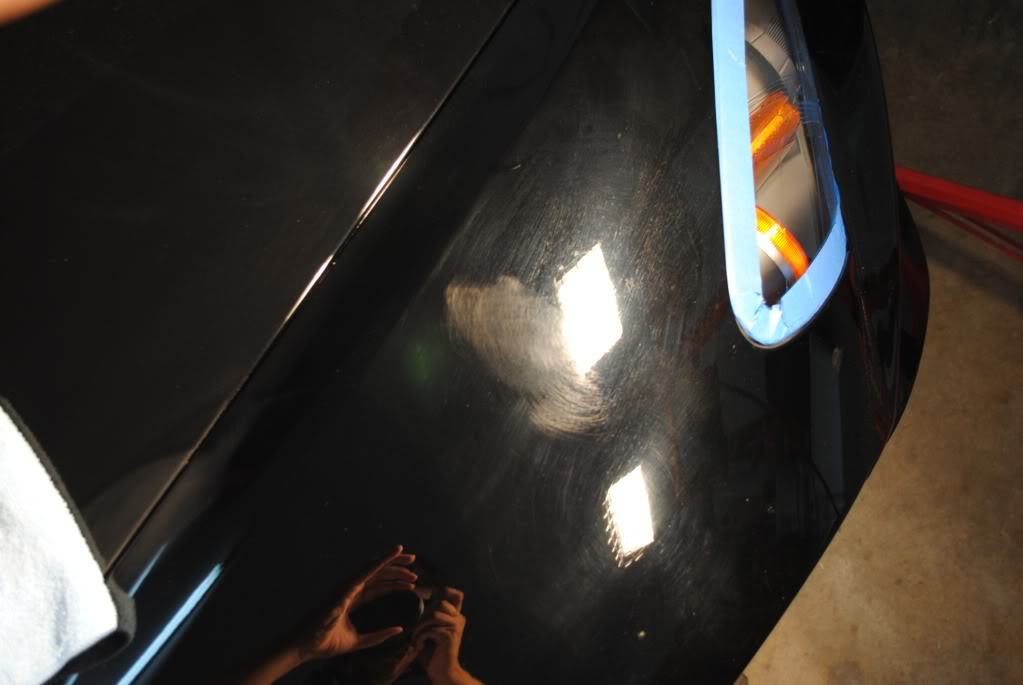
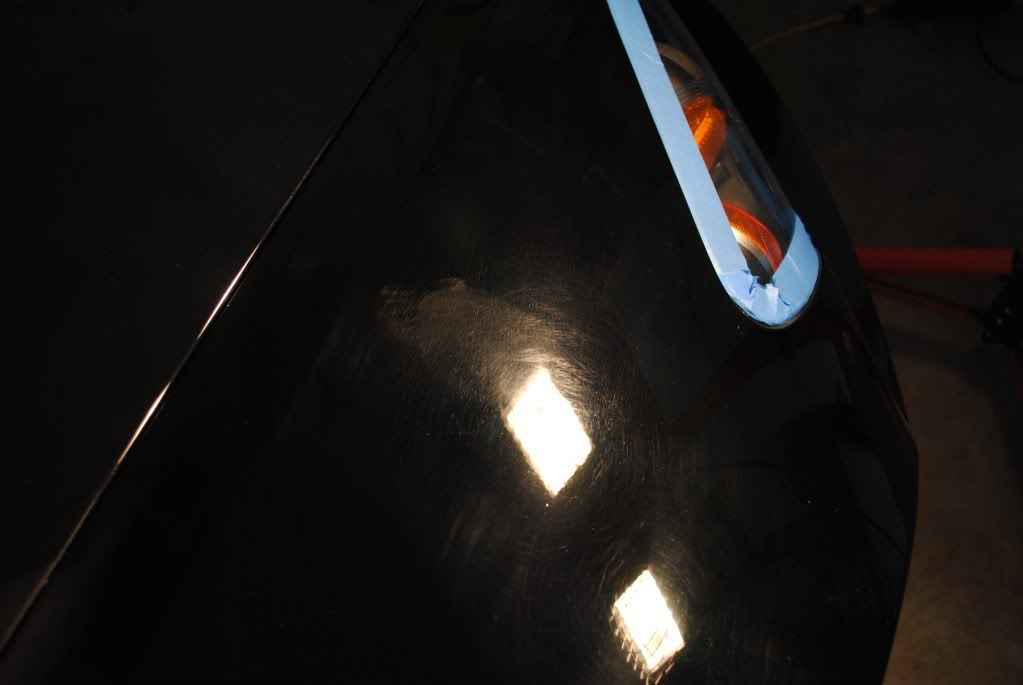
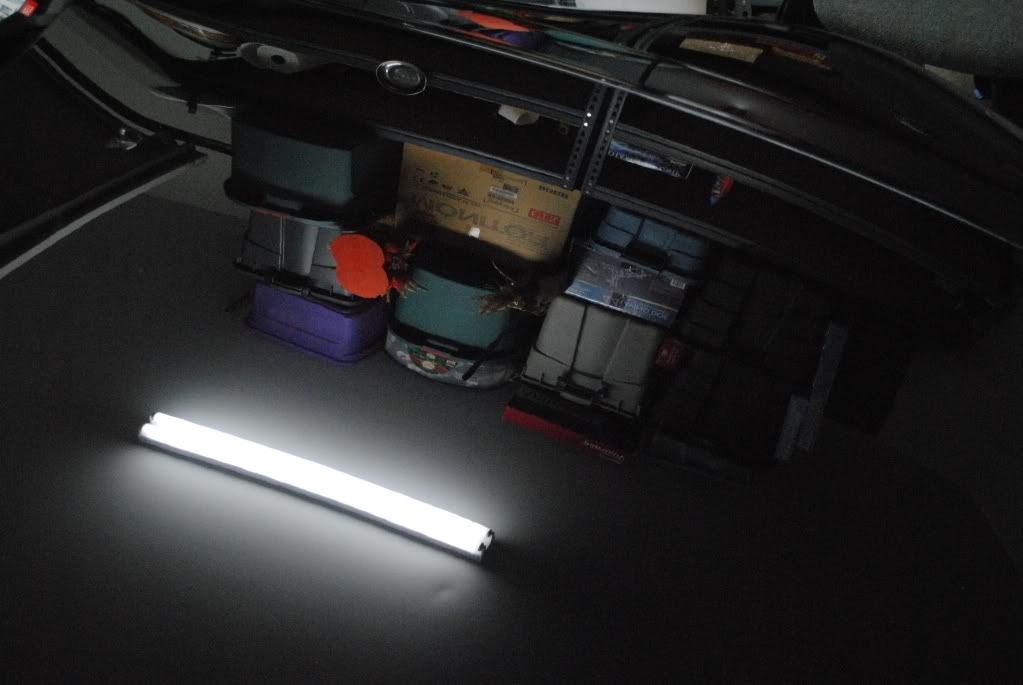
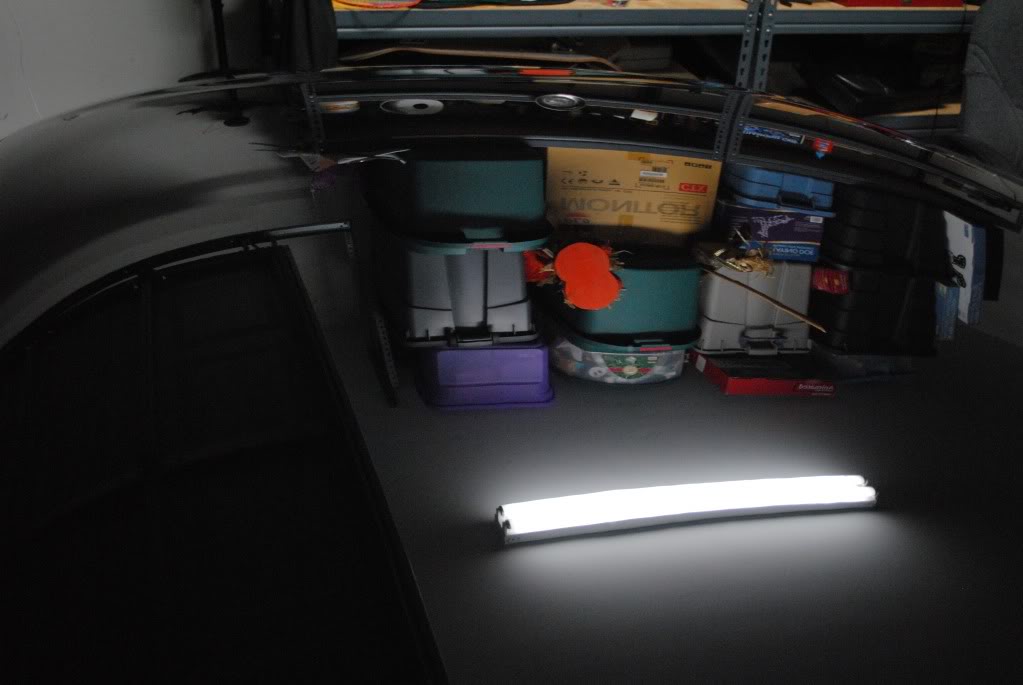
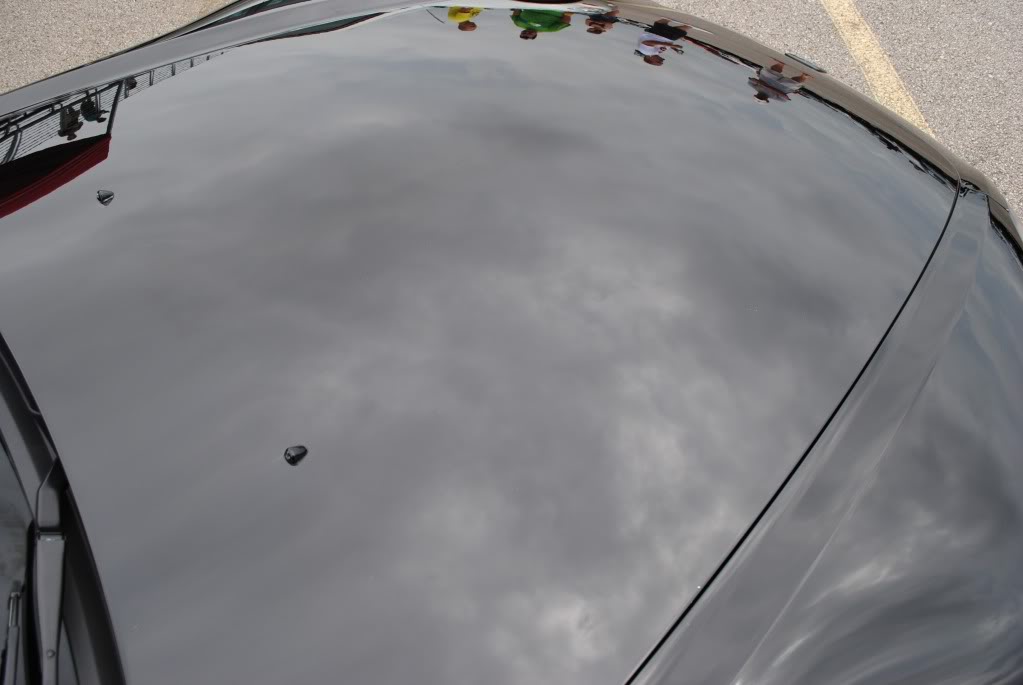
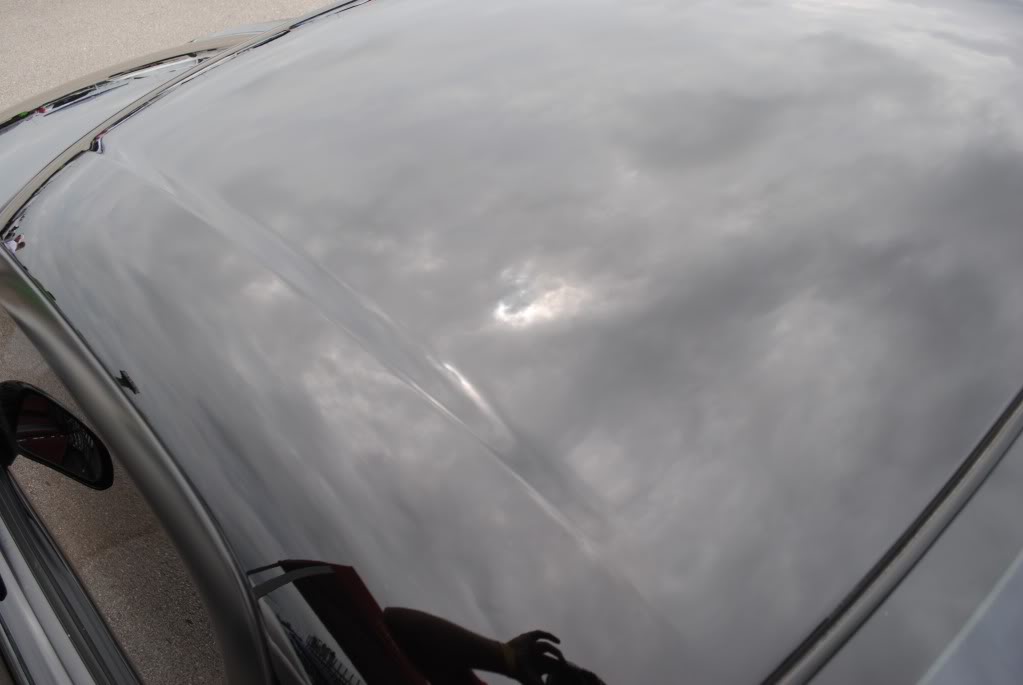
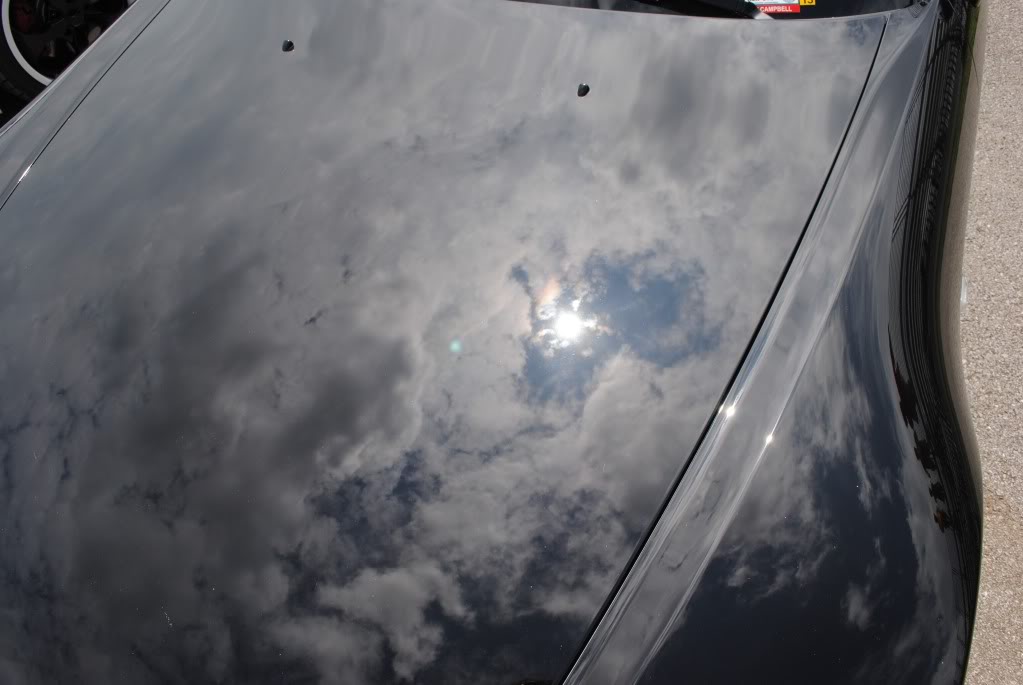
Look at how all the Surface defects reflect all of the light in all different directions making the paint dull and faded!

Name:  DSC_0275.jpg
Views: 319
Size:  19.4 KB

Name:  DSC_0276.jpg
Views: 318
Size:  25.0 KB

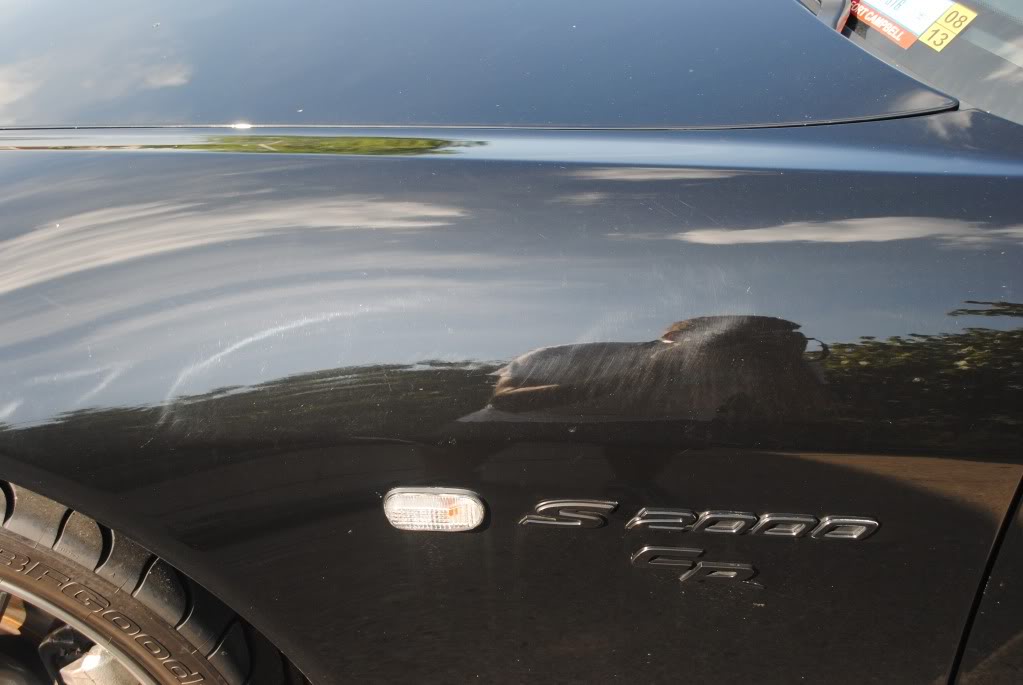
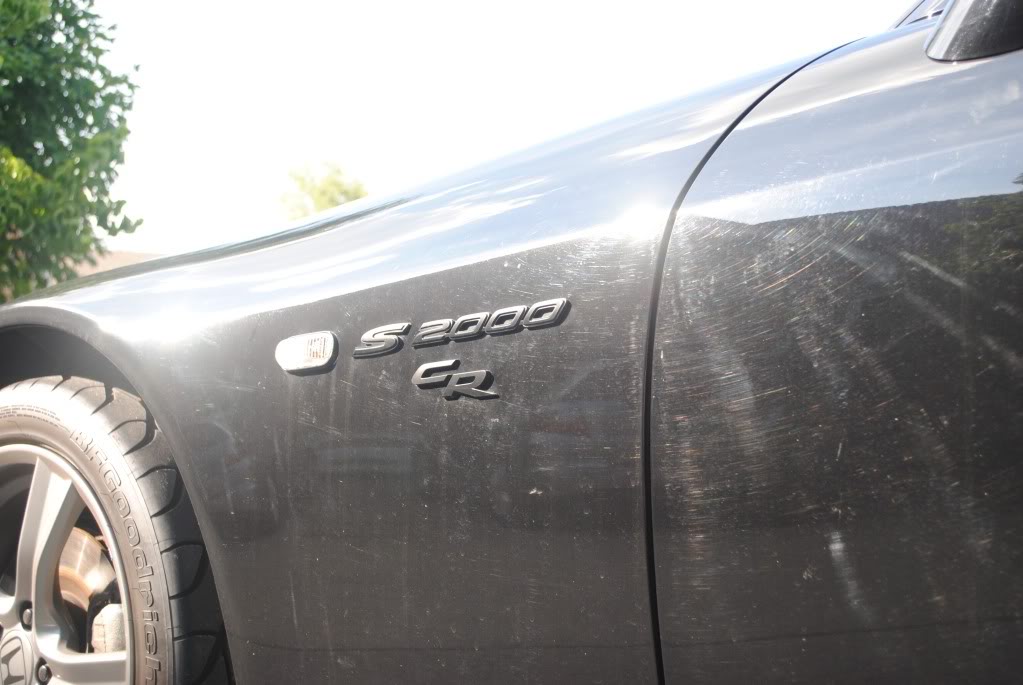
The front fender had some real bad scratches on it. It looks like some one tried to sand on certain areas and didn't even bother buffing it off.

Name:  DSC_0279.jpg
Views: 311
Size:  45.6 KB

Name:  DSC_0278.jpg
Views: 308
Size:  47.7 KB

Name:  DSC_0280.jpg
Views: 319
Size:  50.6 KB

Name:  DSC_0286.jpg
Views: 338
Size:  37.0 KB

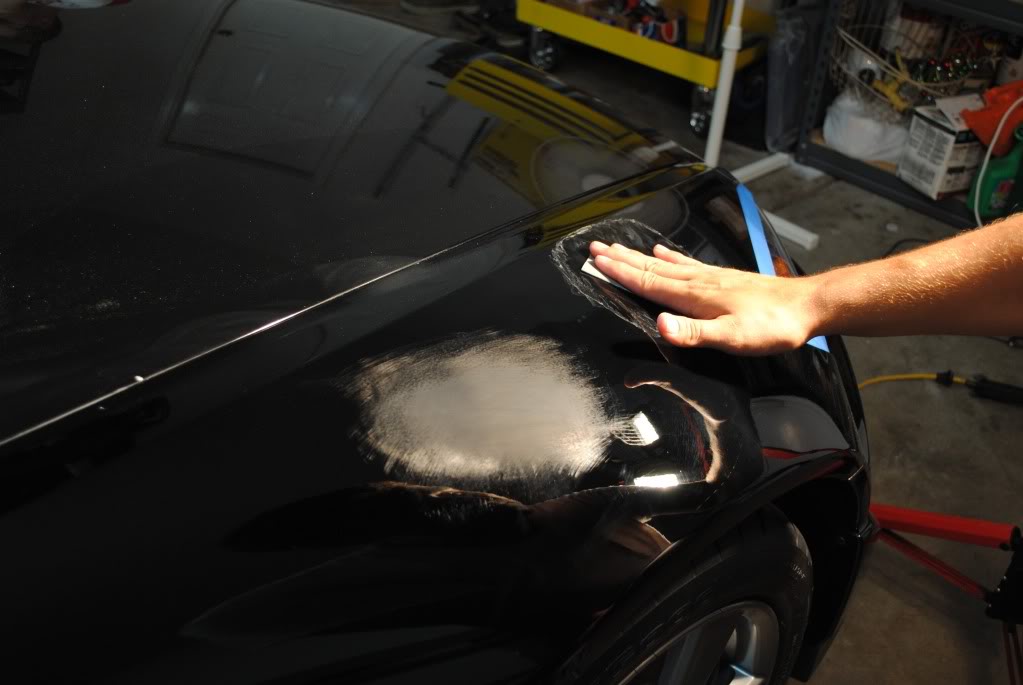
I wetsanded all of the areas with 2000 grit paper .

Name:  DSC_0288.jpg
Views: 339
Size:  61.8 KB

Name:  DSC_0289.jpg
Views: 320
Size:  92.2 KB

Here are the variety of pads that were used.
Name:  DSC_0290.jpg
Views: 307
Size:  76.3 KB

It was going on Midnight and I didn't have time to take all of the pics that I wanted but the car was sealed with Black Fire Wet Diamond paint sealant. We had to get up at 5:30am to get ready for the Show and I still had to do the final walk around to make sure all of the jams and crevices were cleaned up.

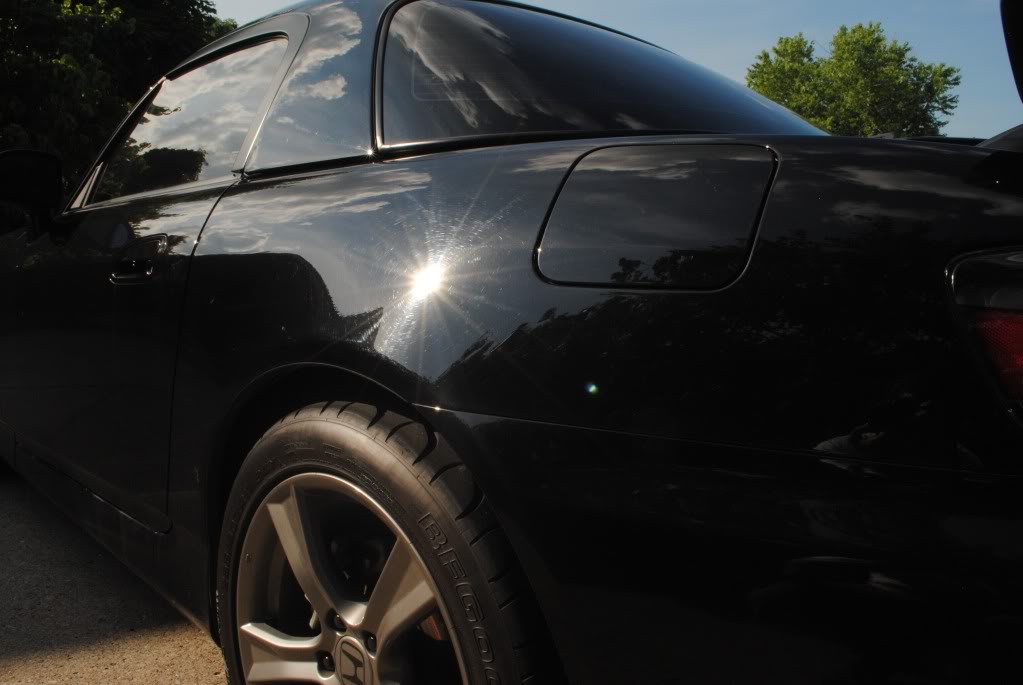
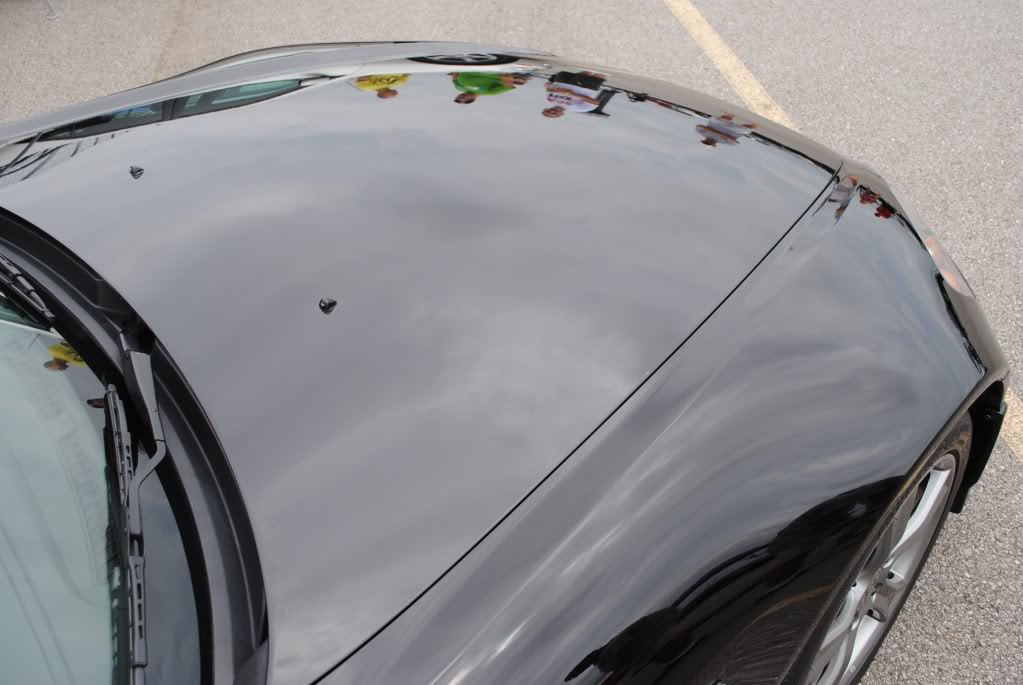
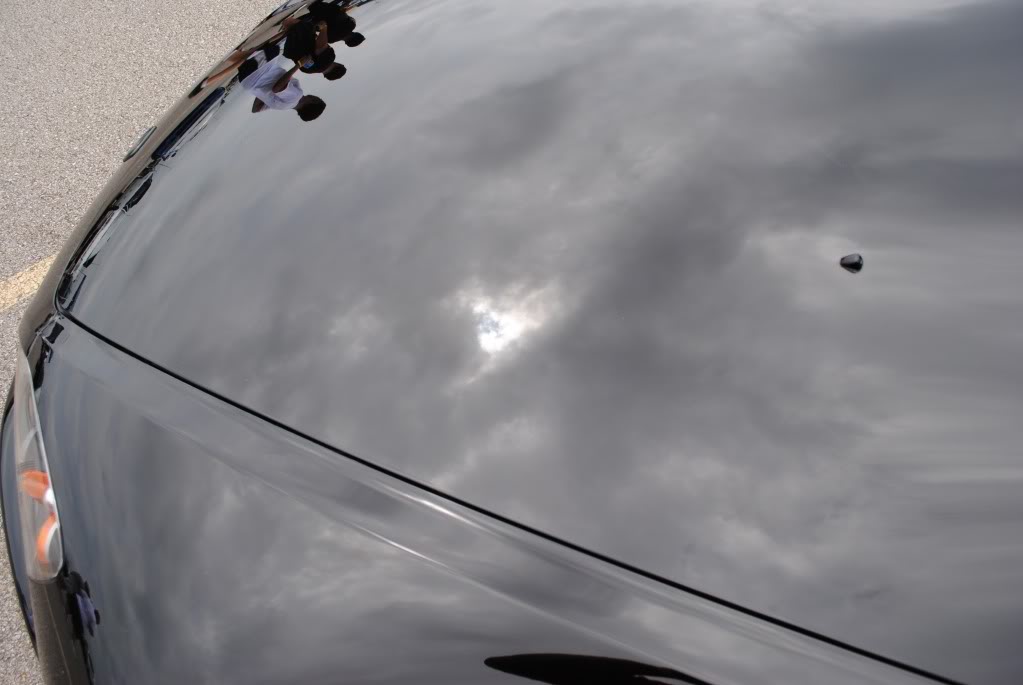
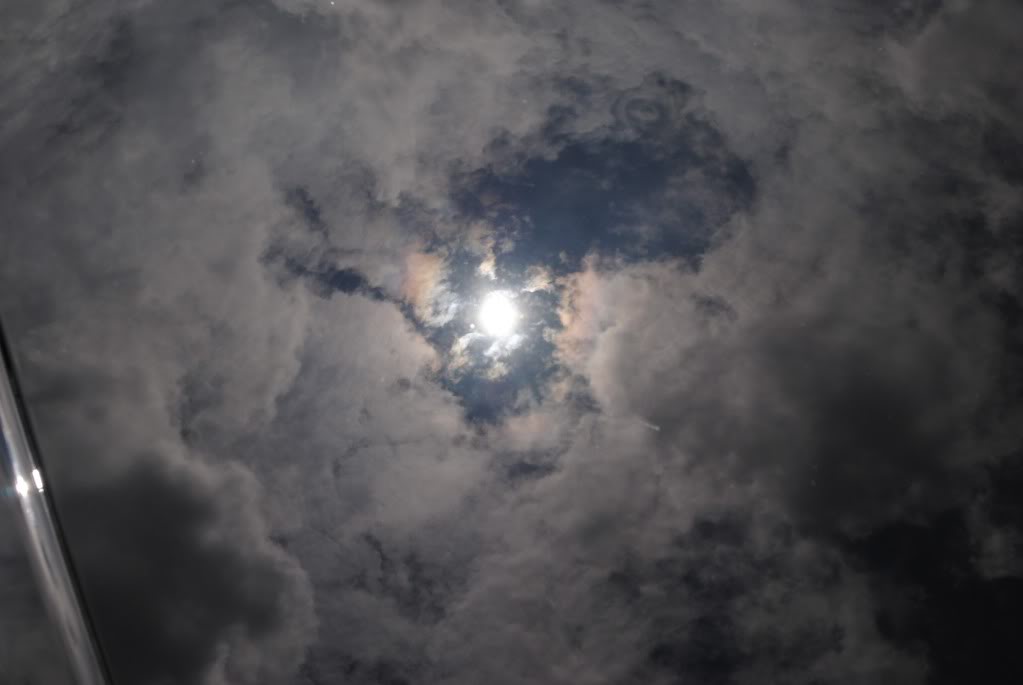
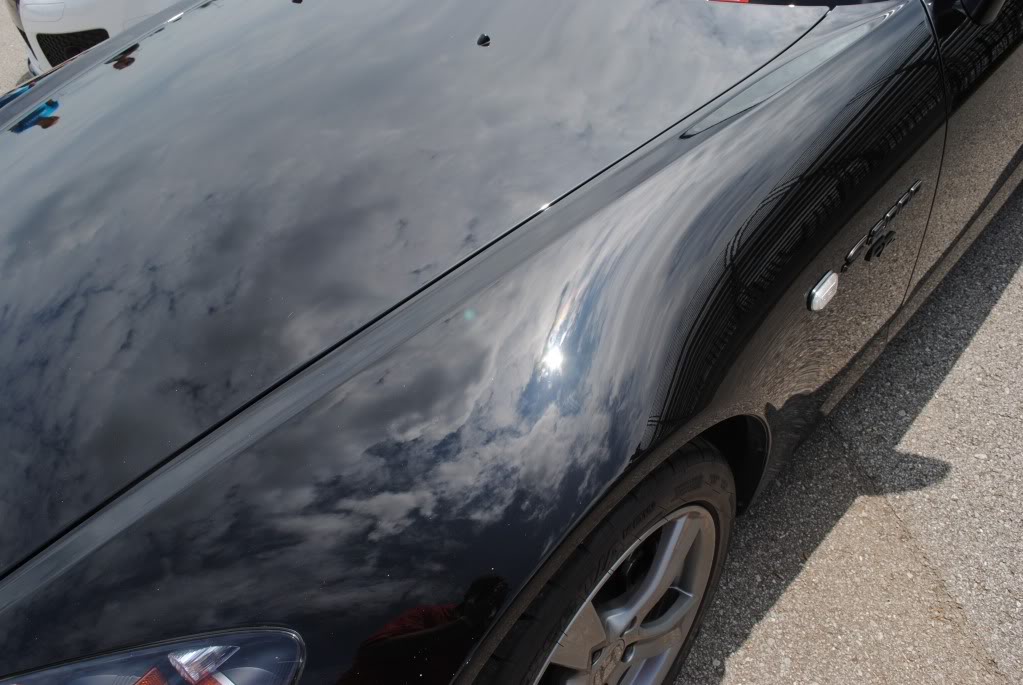
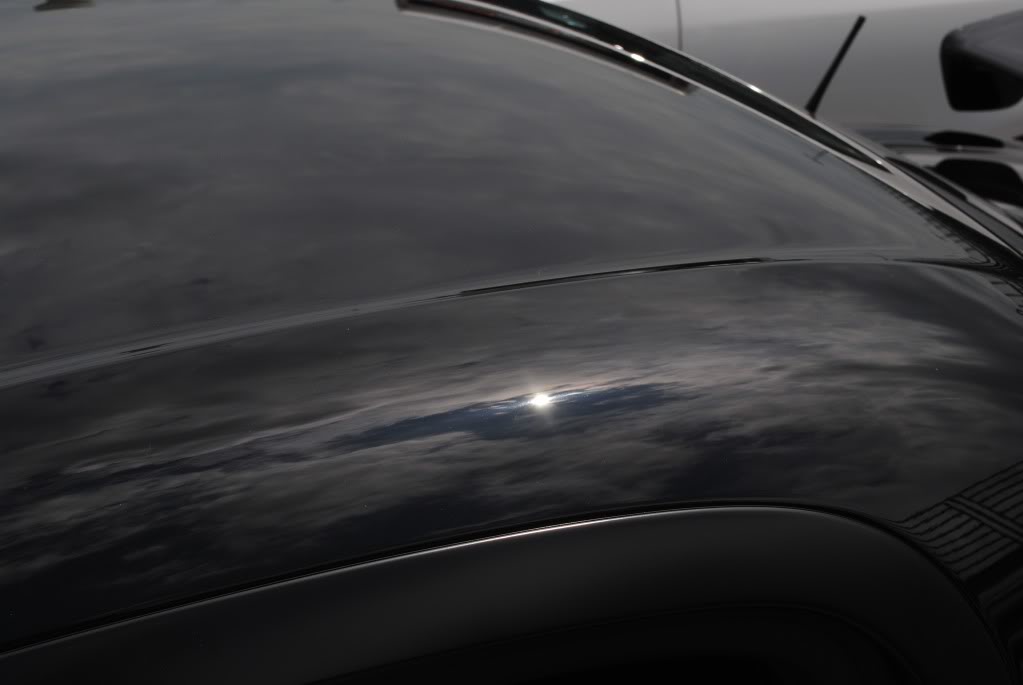
Here are some of the Final shots in the Garage and the Show.

Name:  DSC_0291.jpg
Views: 304
Size:  54.0 KB

Name:  DSC_0292.jpg
Views: 313
Size:  98.7 KB

Name:  DSC_0293.jpg
Views: 329
Size:  97.6 KB

Name:  DSC_0294.jpg
Views: 310
Size:  56.4 KB

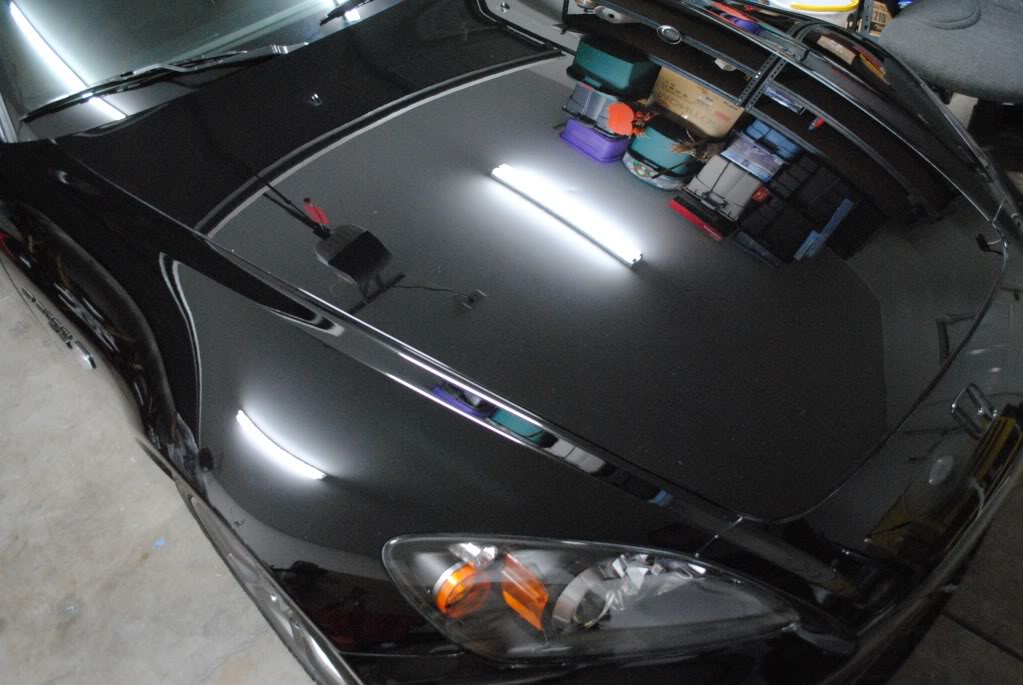
There wasn't much sun out while we were at the show, but I wasn't complaining because It felt real nice and I was able to enjoy it. here are what little sun shots that I got to capture. also the owner requested no tire shine for the tires.

Name:  DSC_0314.jpg
Views: 365
Size:  139.3 KB

Name:  DSC_0315.jpg
Views: 542
Size:  147.3 KB


Name:  DSC_0317.jpg
Views: 323
Size:  83.3 KB

Name:  DSC_0318.jpg
Views: 312
Size:  55.3 KB

Name:  DSC_0320.jpg
Views: 295
Size:  43.7 KB

Name:  DSC_0321.jpg
Views: 305
Size:  55.8 KB

Name:  DSC_0322.jpg
Views: 317
Size:  36.2 KB

Name:  DSC_0323.jpg
Views: 319
Size:  82.3 KB

Name:  DSC_0324.jpg
Views: 307
Size:  65.9 KB

Name:  DSC_0325.jpg
Views: 345
Size:  104.2 KB


Name:  DSC_0326.jpg
Views: 316
Size:  38.6 KB

Name:  DSC_0316.jpg
Views: 351
Size:  163.7 KB

Thanks for viewing and have a blessed day!

 
Old Jul 26, 2010 | 01:32 PM
  #2  
JDMxGE8's Avatar
Member
5 Year Member
iTrader: (6)
Joined: Oct 2008
Posts: 5,658
From: Temple City, CA
Another fantastic job man. Good shit.
 
Old Jul 26, 2010 | 05:50 PM
  #3  
Zackk's Avatar
Member
Joined: May 2010
Posts: 83
From: Hammond, La
Good god.

I really need to learn how to detail. Just washed my car and thanks to water spots it looks worse than it did before I started. :'(
 
Old Jul 26, 2010 | 08:47 PM
  #4  
Fallen_Rock's Avatar
Thread Starter
|
Member
iTrader: (2)
Joined: Jun 2009
Posts: 365
From: Knoxville TN
Originally Posted by Zackk
Good god.

I really need to learn how to detail. Just washed my car and thanks to water spots it looks worse than it did before I started. :'(
What did you wash it with?
 
Old Jul 30, 2010 | 12:18 PM
  #5  
honda2112's Avatar
Member
5 Year Member
iTrader: (1)
Joined: Sep 2006
Posts: 315
From: Springfield, MA
Wow....just, WOW! I've been doing my thing for years and now know how wrong I've been.
 
Old Aug 6, 2010 | 11:47 AM
  #6  
08fithappy's Avatar
Member
5 Year Member
iTrader: (8)
Joined: Jul 2008
Posts: 1,851
From: Pensacola, FL
Yea this is a detail. U don't have to do all that for a regular wash i love chemical guy and my foam gun. I will have to try the p21 for the wheels.
 
Old Aug 7, 2010 | 08:49 AM
  #7  
patyong's Avatar
Member
5 Year Member
Joined: May 2009
Posts: 90
From: Australia
Do you mind if I ask you why the usage of a dish washing detergent (DAWN) instead of a proper car shampoo etc?
 
Old Aug 7, 2010 | 12:11 PM
  #8  
bmxman's Avatar
Member
5 Year Member
iTrader: (2)
Joined: Aug 2009
Posts: 894
From: Vancouver Island, BC
Originally Posted by patyong
Do you mind if I ask you why the usage of a dish washing detergent (DAWN) instead of a proper car shampoo etc?
I'm not detail expert but he probably used Dawn because he wanted to remove everything, grease, wax, etc... Since he planned on claying and sanding the car anyway it wouldn't really matter. I doubt he would use regular dishwashing soap for a car that didn't need the extra amount of cleaning the SK2 did.
 
Old Aug 9, 2010 | 09:18 AM
  #9  
Fallen_Rock's Avatar
Thread Starter
|
Member
iTrader: (2)
Joined: Jun 2009
Posts: 365
From: Knoxville TN
Originally Posted by patyong
Do you mind if I ask you why the usage of a dish washing detergent (DAWN) instead of a proper car shampoo etc?
Originally Posted by bmxman
I'm not detail expert but he probably used Dawn because he wanted to remove everything, grease, wax, etc... Since he planned on claying and sanding the car anyway it wouldn't really matter. I doubt he would use regular dishwashing soap for a car that didn't need the extra amount of cleaning the SK2 did.

This is correct. Using strong detergents can strip any and all protection off the of the paint, giving me a true surface to polish. If I buff on top of the waxes and contaminants, then I wouldn't be truly correcting the paint to it's optimum potential and it makes it very harder and time consuming to buff and polish out.
 
Related Topics
Thread
Thread Starter
Forum
Replies
Last Post
Fitting
California - Southern Community
60
Jul 2, 2011 01:45 AM
Fitting
California - Southern Community
73
Aug 9, 2009 07:03 PM
FELIXY69
Fit Photos & Videos
26
Oct 4, 2008 01:01 AM
mugenfit79
Other Car Related Discussions
19
Jul 13, 2008 09:36 PM
gofastredfit
Fit Photos & Videos
41
Jun 12, 2008 11:56 AM


All times are GMT -4. The time now is 05:06 AM.