
JDM LED Tail light DIY

JDM LED Tail light DIY
Disclaimer: The following is provided as a GUIDE ONLY, and neither myself, nor FITFREAK.NET take any responsibility for the outcome of someone else doing the following. You follow these steps at your own risk
This is my First DIY I have written up, Hopefully it will be use full and clear. Any feed back is appreciated
Tools you will need:
shop Light
8mm Socket/Wrench
Philips head screwdriver (longer the shaft the better)
(Optional)
Extra wire (20 gauge)
Wire Connectors
Wire strippers
Electrical tape
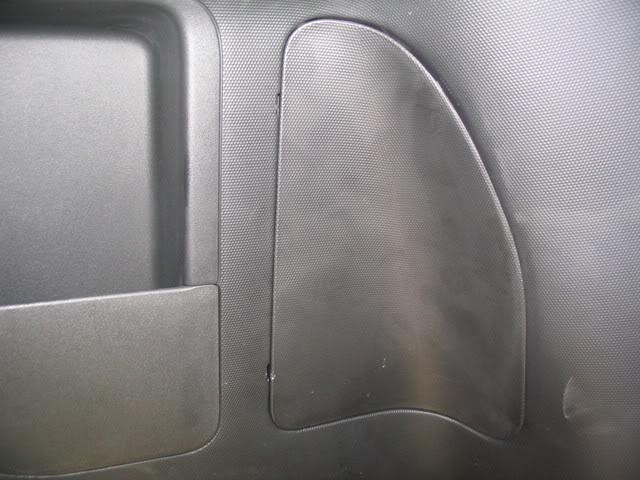
Step 1
Start By removing the cover to get to the bulbs
Step 2
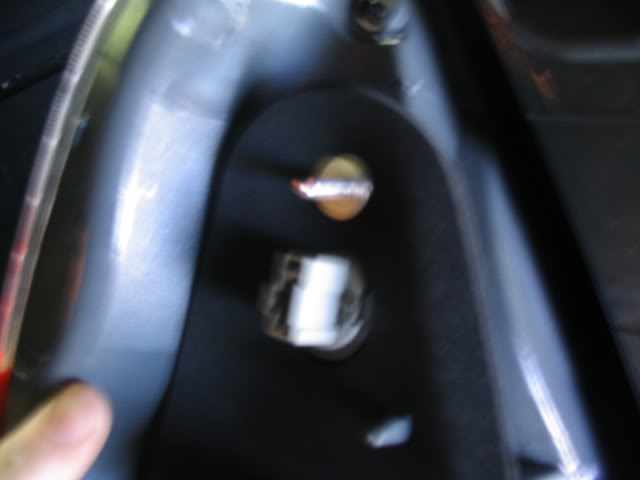
To get the Lights out you will need to remove these three nuts with a 8mm wrench. I found it a lot easier to get the to nuts by removing the bulbs from there sockets.
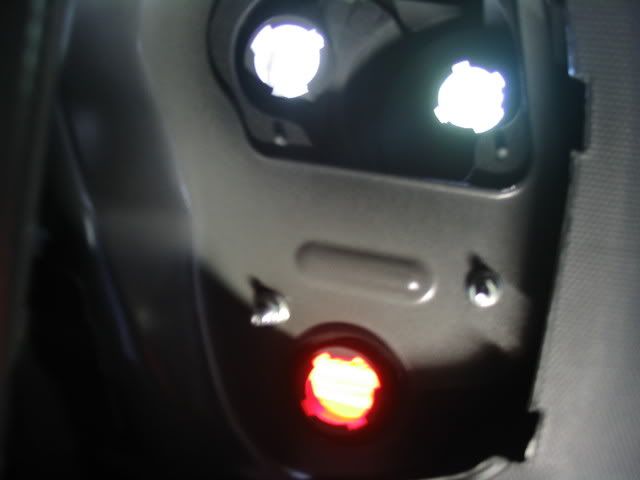
Note: You will just need to get the wrench in there and trun it enough to break them loose then you can remove the nuts by hand.
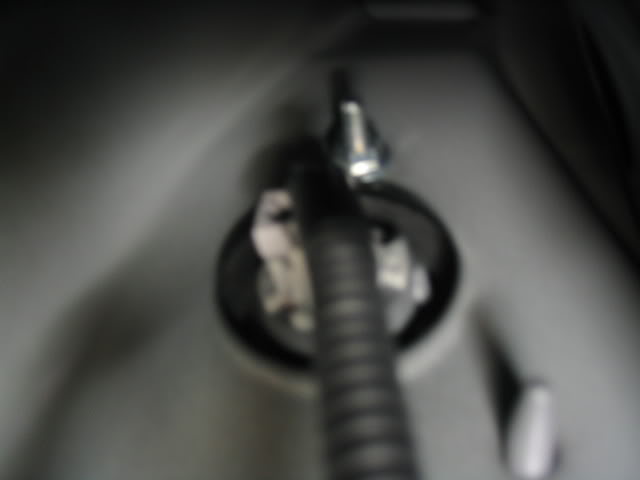
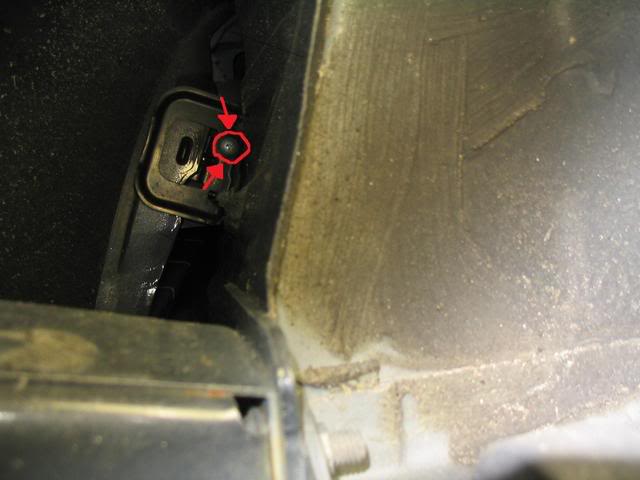
Step 3
There is one screw underneath the car you will have to remove as well. You can remove it with out having to take off the rear bumper, just use a screwdriver with a long shaft.
Step 4
Now that you have the screw out, the three nuts removed and the bulbs disconnected form the light you can remove the light. Its a little difficult to get it out, just use a little finesse and rock it back and forth until it comes out.
Step 5
Now that you got the light out you can put the new light in, again it takes a little finesse to get it in there.
Note: If you have bigger hands and had trouble reaching up and removing the upper brake bulb you can disconnect the trun light from the harness and install it into the new lights before you put it on the car.
Step 6
Now that you got the lights in you can thread the nuts on to the studs and tighten. Again you can hand tighten them, then use a wrench to finish the job.
For the screw underneath the car use a screwdriver with a magnetic tip or run the tip against a magnet to get the screw to stay and make install a lot easier.
Step 7
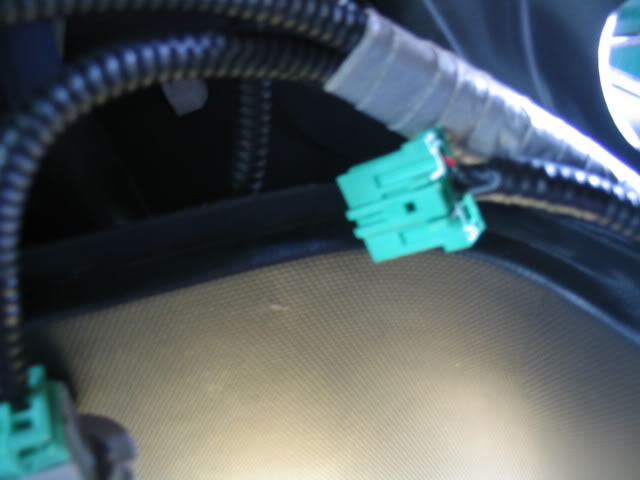
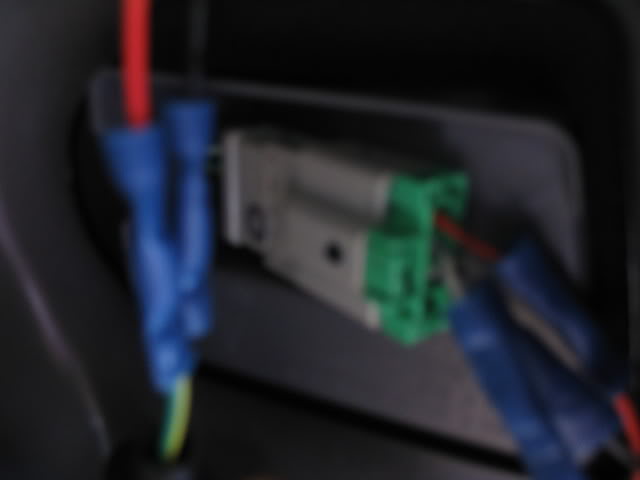
Now that you got the light in you have two options. Options one you can pull on the harness and try to get enough slack for the bulbs to reach. options two you can cut and extend the harness. I extended the harnesses. Driver side all I had to do was the Reverse light. Passenger Side I had to extend the Turn light and the brake light.
Note: If your going to go the route of cutting the wires its probable a good Idea to disconnect the battery for safety.
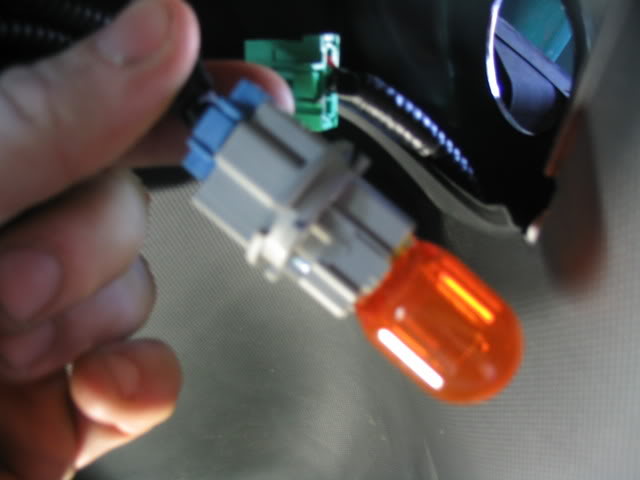
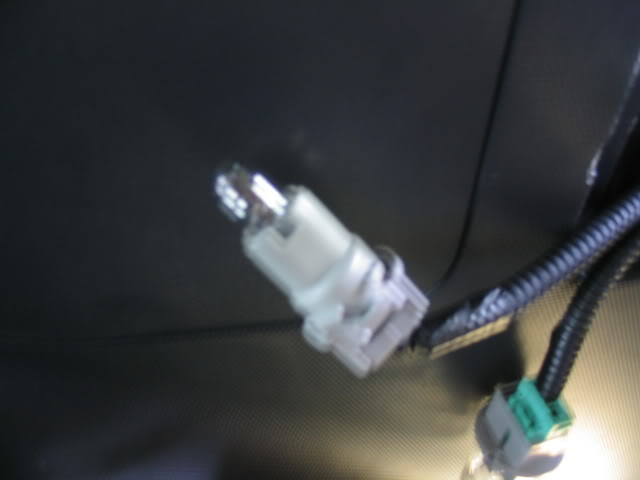
For the LED brake lights your going to be using the lower brake light.
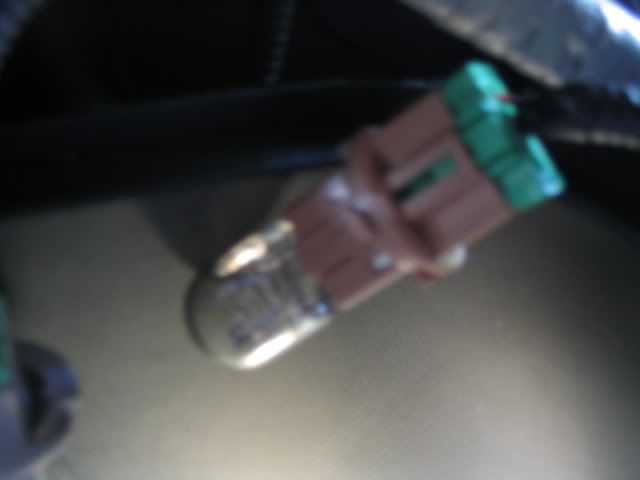
Your going to remove the bulb socket from the harness so it looks like this
now all you have to do is plug it into the harness on the back of the new lights.
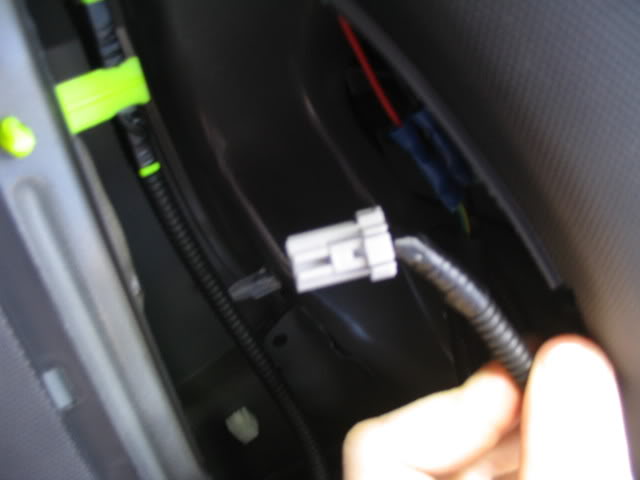
The smaller brake bulb your not going to use, I just disconnected the socket from the Harness and tucked it in.
Step 8
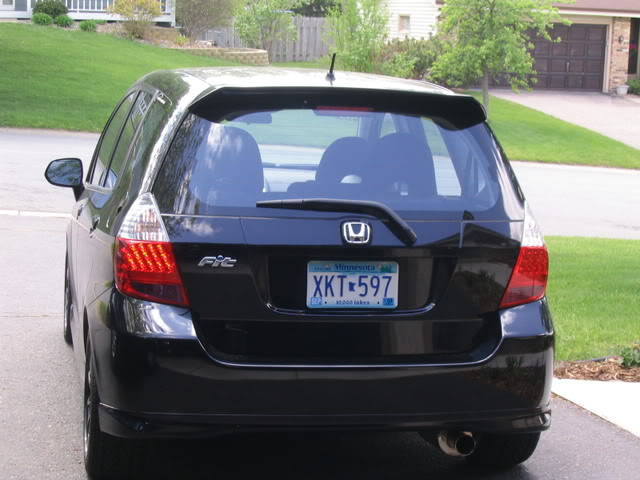
After you have either pulled the harnesses to get enough slack or extended them all you have to do is install the bulbs and plug the harnesses in, then reinstall the access panels. Now you can step back and enjoy your work
This is my First DIY I have written up, Hopefully it will be use full and clear. Any feed back is appreciated
Tools you will need:
shop Light
8mm Socket/Wrench
Philips head screwdriver (longer the shaft the better)
(Optional)
Extra wire (20 gauge)
Wire Connectors
Wire strippers
Electrical tape
Step 1
Start By removing the cover to get to the bulbs
Step 2
To get the Lights out you will need to remove these three nuts with a 8mm wrench. I found it a lot easier to get the to nuts by removing the bulbs from there sockets.
Note: You will just need to get the wrench in there and trun it enough to break them loose then you can remove the nuts by hand.
Step 3
There is one screw underneath the car you will have to remove as well. You can remove it with out having to take off the rear bumper, just use a screwdriver with a long shaft.
Step 4
Now that you have the screw out, the three nuts removed and the bulbs disconnected form the light you can remove the light. Its a little difficult to get it out, just use a little finesse and rock it back and forth until it comes out.
Step 5
Now that you got the light out you can put the new light in, again it takes a little finesse to get it in there.
Note: If you have bigger hands and had trouble reaching up and removing the upper brake bulb you can disconnect the trun light from the harness and install it into the new lights before you put it on the car.
Step 6
Now that you got the lights in you can thread the nuts on to the studs and tighten. Again you can hand tighten them, then use a wrench to finish the job.
For the screw underneath the car use a screwdriver with a magnetic tip or run the tip against a magnet to get the screw to stay and make install a lot easier.
Step 7
Now that you got the light in you have two options. Options one you can pull on the harness and try to get enough slack for the bulbs to reach. options two you can cut and extend the harness. I extended the harnesses. Driver side all I had to do was the Reverse light. Passenger Side I had to extend the Turn light and the brake light.
Note: If your going to go the route of cutting the wires its probable a good Idea to disconnect the battery for safety.
For the LED brake lights your going to be using the lower brake light.
Your going to remove the bulb socket from the harness so it looks like this
now all you have to do is plug it into the harness on the back of the new lights.
The smaller brake bulb your not going to use, I just disconnected the socket from the Harness and tucked it in.
Step 8
After you have either pulled the harnesses to get enough slack or extended them all you have to do is install the bulbs and plug the harnesses in, then reinstall the access panels. Now you can step back and enjoy your work
Last edited by MNfit; May 22, 2008 at 01:35 PM.


I have not heard anything about that, but I had no problems. It may be easier to get the lights in and out with the bumper off but I dint remove the bumper so I dont realy know. I guess it will have to be up the the guy that does the install of the lights, hopfully though that my DIY can still be use full with out having removed the Bumper.
Thanks, and yes they are the Real deal JDM Tail lights
I have not heard anything about that, but I had no problems. It may be easier to get the lights in and out with the bumper off but I dint remove the bumper so I dont realy know. I guess it will have to be up the the guy that does the install of the lights, hopfully though that my DIY can still be use full with out having removed the Bumper.
I have not heard anything about that, but I had no problems. It may be easier to get the lights in and out with the bumper off but I dint remove the bumper so I dont realy know. I guess it will have to be up the the guy that does the install of the lights, hopfully though that my DIY can still be use full with out having removed the Bumper.

Hope to have these on this weekend if Ca weather ever decides what its going to do. first heat/then rain/then hail/then a tornado/whats next

i have depos im tryin to install and i cant get ANY of the bulb sockets into the hole on the bottom. there is 4 notches and one is offset a little but doesnt match up with the oem socket. wtf do i do about that?
Yup just shave some of the opening and you can make it fit. I installed the lights I bought off someone here on the forum. Mine arent oem lights, and the quality of the seal around them was total garbage. Personally I think the set I got had been pryed open even though the seller said they weren't. Used some flowable silicone and went around the entire light to ensure they are sealed now. Also there is no need to take off the bumper, lights came out and went in without issue.
I dont know about the Depos but on My JDM Lights all I did was Line up the Big notch on the light and the plug and it fit fine, alittle snug but fine. Like the othere guys said you may need to trim them a bite.
-Mike
wait, so some people remove the bumper to install these. Can I actually do this without removing my bumper without causing damage or fitment issues? I will be installing my JDM (oem) ones in a week.
from reading the post it looks like it won't unless you modify the holes or force 'em in there. It will hold that way but not straight if I read all that right. I will be installing mines in a week. (JDM Honda clear LED's in a NHBP)
Okay just finished.
Thanks Junior40er, the sockets dont fit quite perfect but i made them work.
Taking off the bumper made this ultra easy!!! I highly recommend it, I started with the bumper on but as I was trying to use my finesse I just said f' it and took the bumper off.
i also didn't extend the wires. I clipped the zip ties on the wires and pulled them across for the passenger side, gave me about an extra 5"(rough estimation).
Now they look uber sexy!!!
Last edited by Fit4Trav; May 31, 2008 at 05:37 PM.
