Konix's VTI-S Jazz

UPDATE:
Well today i finally got around to trial fitting the volks and putting the carbon eyelids on.
Run into a few little issues:
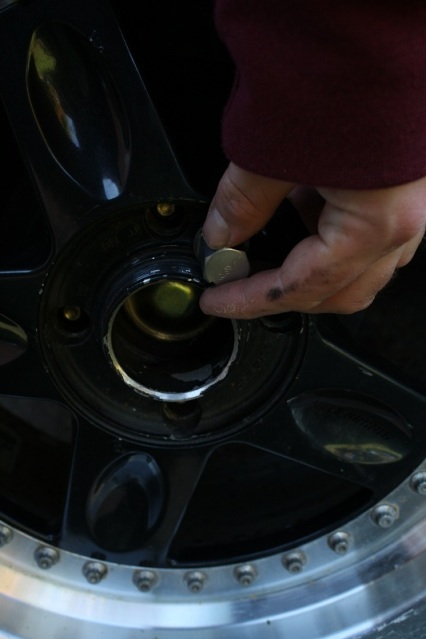
All three types of wheel nuts i own wont fit (stock vs project kics vs rays) seems i might have to run a special type of wheel nut to fit these bad boys (MORE money to put into them)
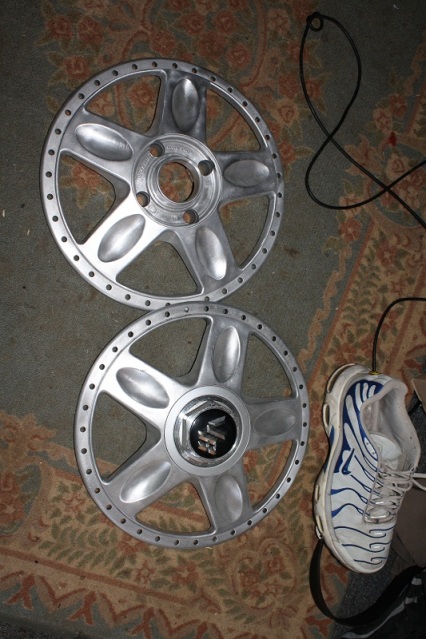
In Saying that, i did at least get them fitted up on the rear to see what they look like, now obviously this is one of the wheels i havent pulled apart yet to rebuild:
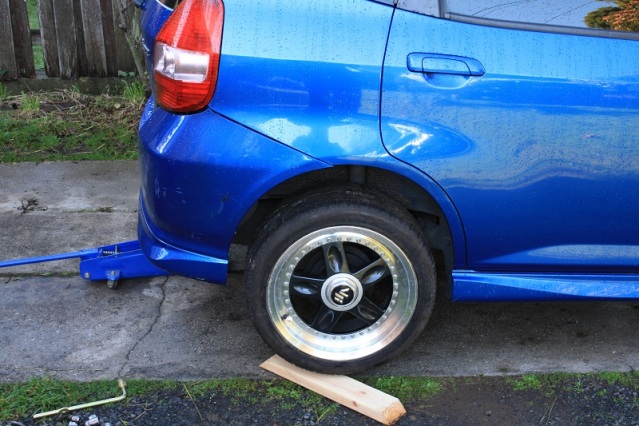

Fitment (problem here being tyre size and the need for a 5mm spacer)
16x8 +35 with 215/40 tyres:
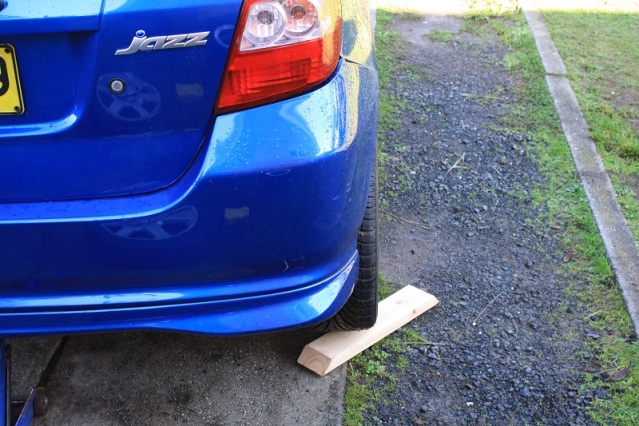

Oh well, back to the drawing board...
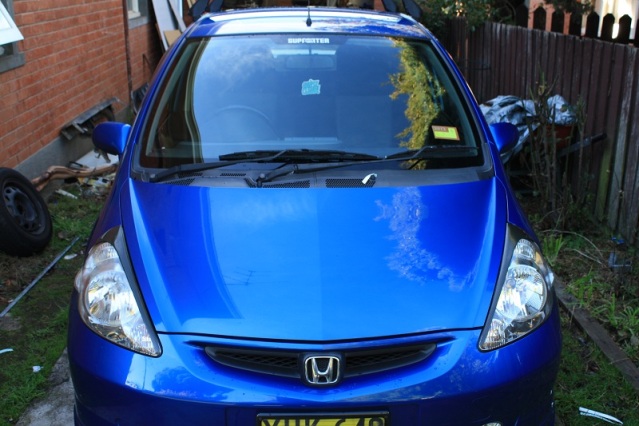
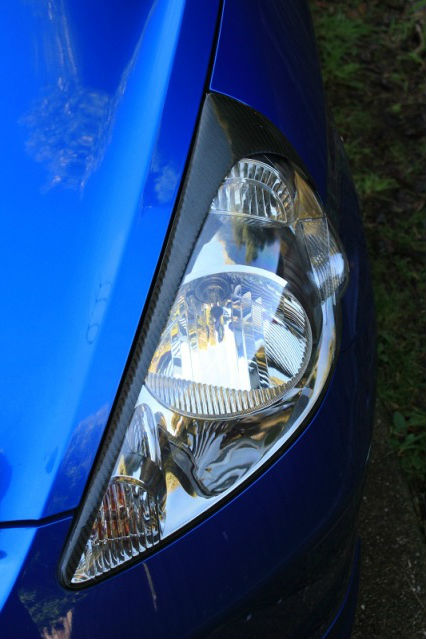
As for the carbon eyelids, i have test fitted them, but not overly happy with fitment once double sided tape has gone on. might try bodyworks tape next to see if it will sit flush better:
That's all for today, waiting on a fair few things to arrive. And also waiting on friend to come over to help with coilover install
Well today i finally got around to trial fitting the volks and putting the carbon eyelids on.
Run into a few little issues:
All three types of wheel nuts i own wont fit (stock vs project kics vs rays)
seems i might have to run a special type of wheel nut to fit these bad boys (MORE money to put into them)In Saying that, i did at least get them fitted up on the rear to see what they look like, now obviously this is one of the wheels i havent pulled apart yet to rebuild:
Fitment (problem here being tyre size and the need for a 5mm spacer)
16x8 +35 with 215/40 tyres:
Oh well, back to the drawing board...
As for the carbon eyelids, i have test fitted them, but not overly happy with fitment once double sided tape has gone on. might try bodyworks tape next to see if it will sit flush better:
That's all for today, waiting on a fair few things to arrive. And also waiting on friend to come over to help with coilover install

.....huh?
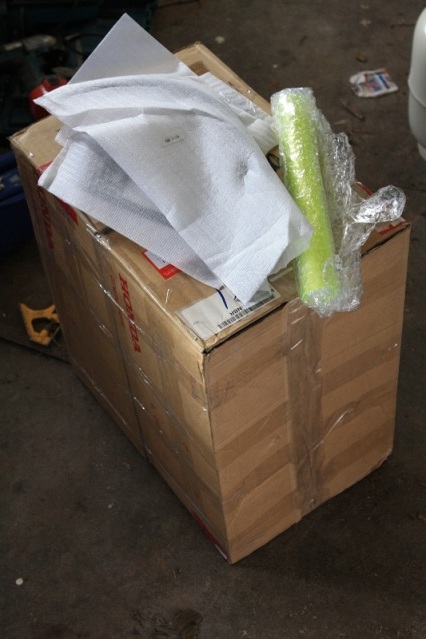
Carbon Interior Trim arrived today, hopefully it's not too hard to install, pics of install later. 06 taillights should be here tomorrow.
Ordered some stereo parts too. Usually i don't put anything major in my cars as i prefer lightweight and my ears to be intact but i bought a sub/amp combo out of an import:

looks small and lightweight and easily removable
Carbon Interior Trim arrived today, hopefully it's not too hard to install, pics of install later. 06 taillights should be here tomorrow.
Ordered some stereo parts too. Usually i don't put anything major in my cars as i prefer lightweight and my ears to be intact but i bought a sub/amp combo out of an import:
looks small and lightweight and easily removable


What is that from? It fits all my wants for a sub/amp!
I will let you know model number when it arrives, being packed and shipped as we speak. But yes Mike, agree with you it's perfect.. i don't need to be SPL Champion (Been There, Done That lol), i just want to try and recreate some sort of Sound quality.
it's perfect.. i don't need to be SPL Champion (Been There, Done That lol), i just want to try and recreate some sort of Sound quality.
UPDATE:
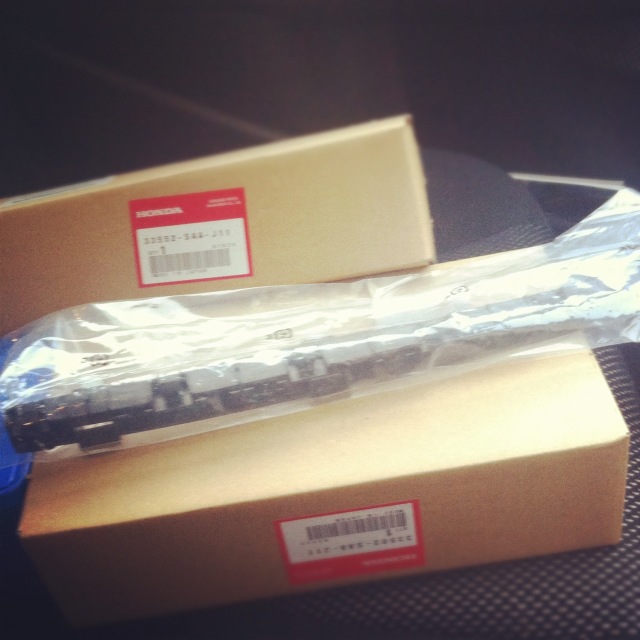
Some stuff arrive making me a very happy boy =D
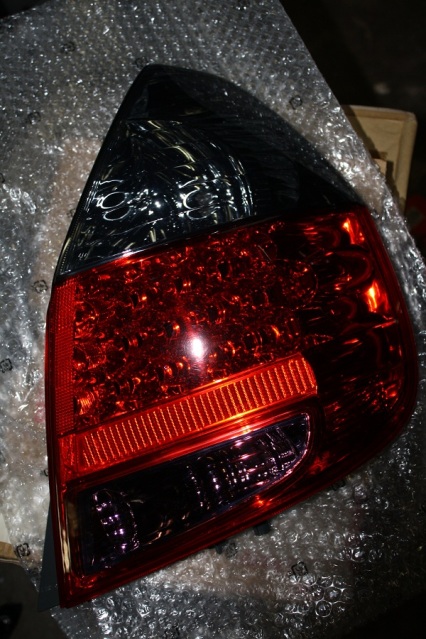
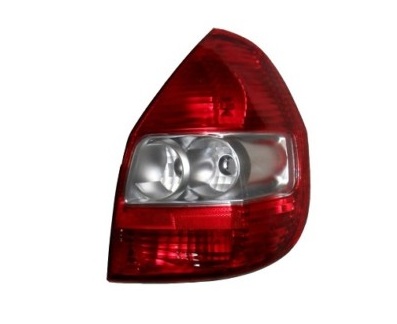
OEM Honda 06 tailights, yellow film for foglights, and some carbon interior parts
So i thought "why waste time having this stuff sitting around"
So i started to install the interior pieces as it was raining:
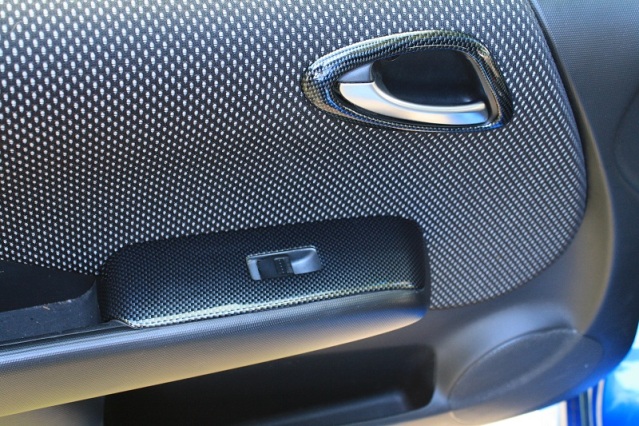
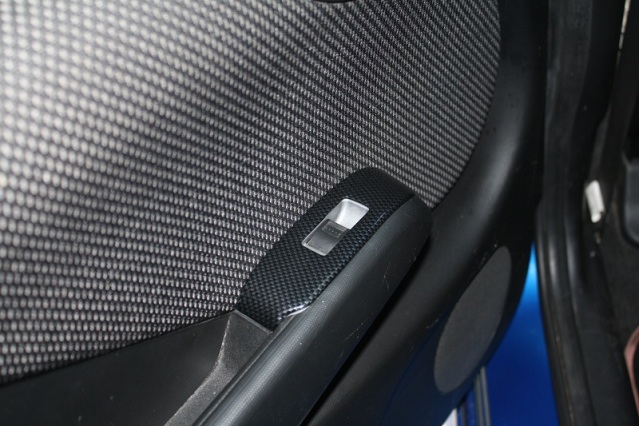
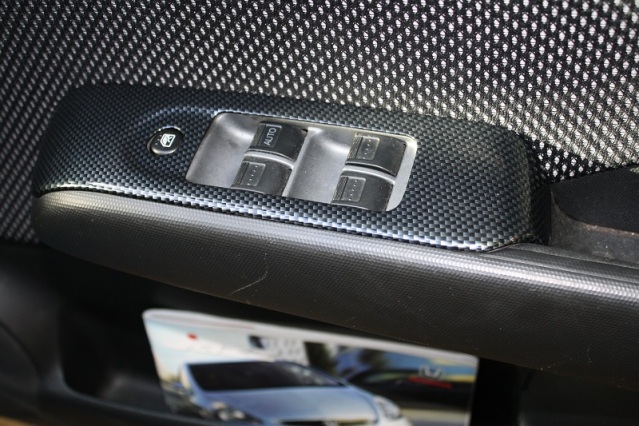
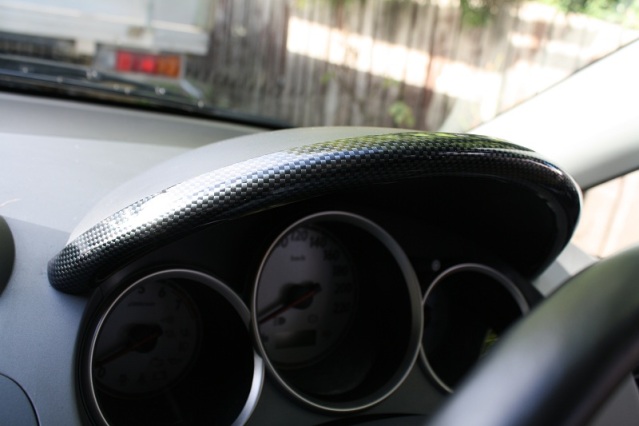
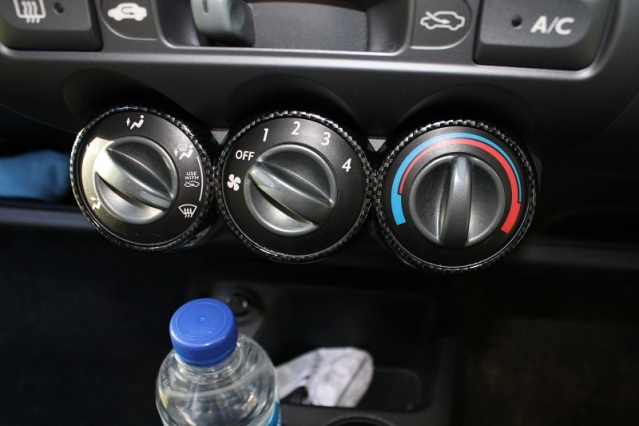
Overall, im happy with the kit minus the gauge cover was cracked upon arrival, and the HVAC surround doesn't seem to sit flush.
Will install the tailights when i get time to remove bumper :P
Some stuff arrive making me a very happy boy =D
OEM Honda 06 tailights, yellow film for foglights, and some carbon interior parts
So i thought "why waste time having this stuff sitting around"
So i started to install the interior pieces as it was raining:
Overall, im happy with the kit minus the gauge cover was cracked upon arrival, and the HVAC surround doesn't seem to sit flush.
Will install the tailights when i get time to remove bumper :P


Todays Little Update:
Went and saw honda re: fitting the 06 tailights, ended up walking out of there with an invoice of expensive l.e.d panels and they should be here next week
Also, a little side project of the jazz, i bought some Volk Racing Plate Frames for my custom plates off the rvr that i was to put on the jazz...
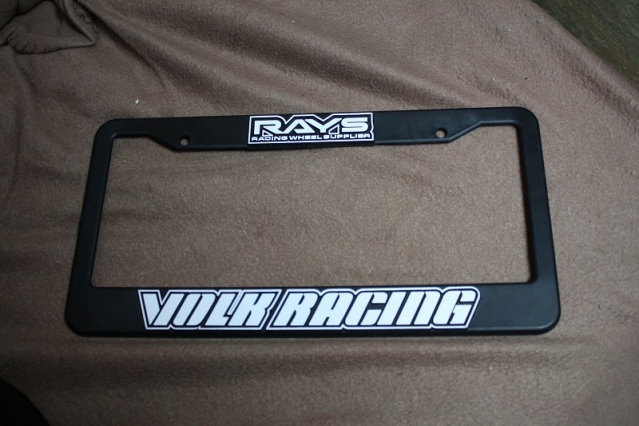
I reckon they look sweet and would compliment the wheels spot on
But this is the issue:
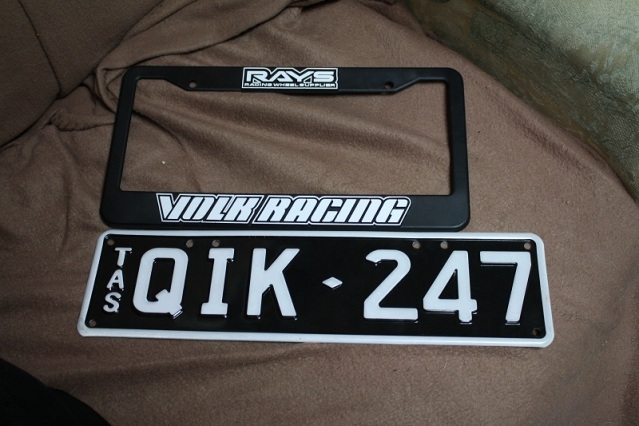
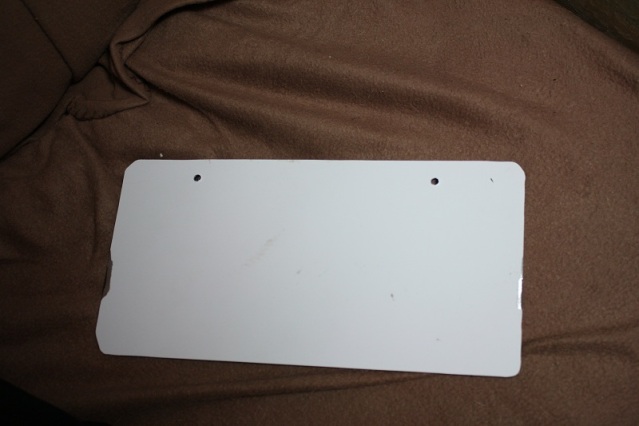
So i went and saw a mate who makes stickers, he re-designed the plate to fit in the frame, stuck it to a piece of aluminium composite sheet, routed the edges and filed where it sat into the frame:
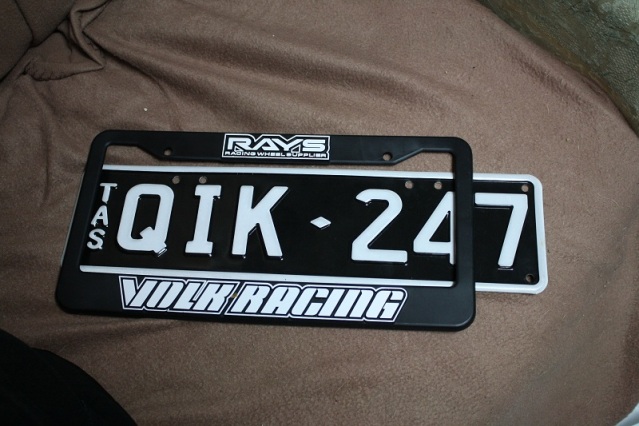
And this is the final result:
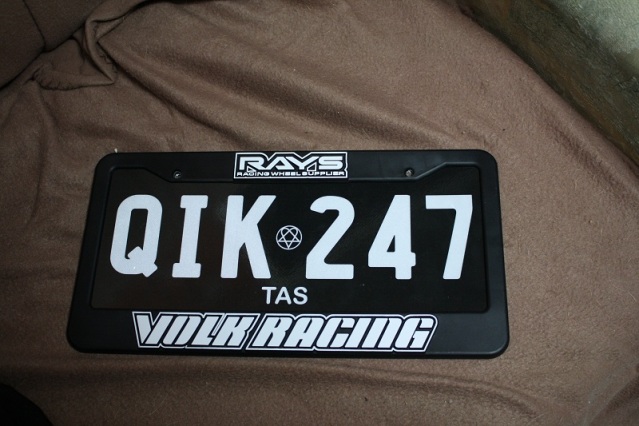
Im over the moon with how they came out US sized plates suit the jazz much better and will put pics up once i figure out how to mount the rear plate :P
Went and saw honda re: fitting the 06 tailights, ended up walking out of there with an invoice of expensive l.e.d panels and they should be here next week
Also, a little side project of the jazz, i bought some Volk Racing Plate Frames for my custom plates off the rvr that i was to put on the jazz...
I reckon they look sweet and would compliment the wheels spot on
But this is the issue:
So i went and saw a mate who makes stickers, he re-designed the plate to fit in the frame, stuck it to a piece of aluminium composite sheet, routed the edges and filed where it sat into the frame:
And this is the final result:
Im over the moon with how they came out
US sized plates suit the jazz much better and will put pics up once i figure out how to mount the rear plate :P
It arrived today Mike, the part number is: pioneer ts-wx99a
It's Japanese Only and it seems the remote gain has been cut from it plus its missing speaker input wire, but hopefully i can find the speaker line cable local.
It's Japanese Only and it seems the remote gain has been cut from it plus its missing speaker input wire, but hopefully i can find the speaker line cable local.
Small Update:
Few parcels arrived today, one being the Pioneer Carrozeria Sub/Amp Combo (Big Thanks to Xtreme Motorsports for that!) Organizing via Yahoo Japan for the gain remote as it was cut off in transit.
Other parcel arrived made me happy:
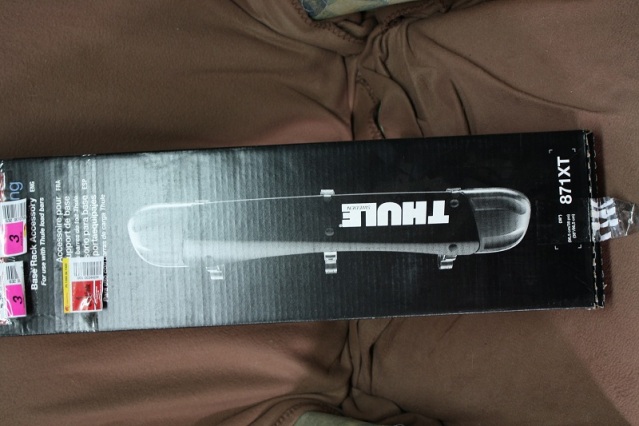
I learnt today that Swedish Instruction manuals suck the wang..sooo annoying!
Anyway so after some swearing and putting things where they were actually meant to go, this is the final result:
Looks complete there now
As for wheels, I have one pair of 8" all stripped, primered and painted vht black (only the inner barrels of course) and the centres are all stripped, primered and awaiting a lick of white. The other two wheels i stripped down today and sent them to be stripped and painted also. All coming along quite quickly considering i haven't owned the car for a month yet haha
Few parcels arrived today, one being the Pioneer Carrozeria Sub/Amp Combo (Big Thanks to Xtreme Motorsports for that!) Organizing via Yahoo Japan for the gain remote as it was cut off in transit.
Other parcel arrived made me happy:
I learnt today that Swedish Instruction manuals suck the wang..sooo annoying!
Anyway so after some swearing and putting things where they were actually meant to go, this is the final result:
Looks complete there now
As for wheels, I have one pair of 8" all stripped, primered and painted vht black (only the inner barrels of course) and the centres are all stripped, primered and awaiting a lick of white. The other two wheels i stripped down today and sent them to be stripped and painted also. All coming along quite quickly considering i haven't owned the car for a month yet haha
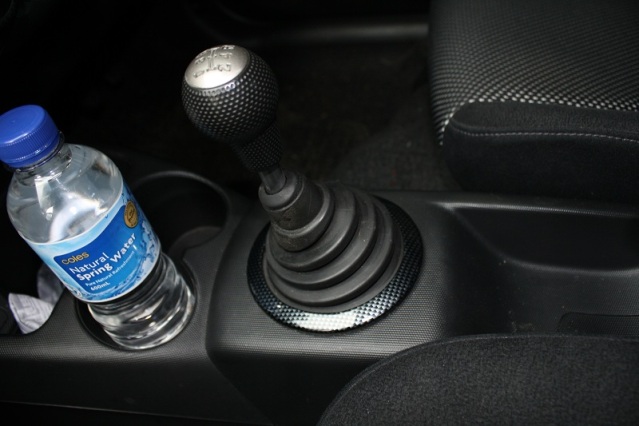
Another Parcel today this time from Blox, i ordered a Limited Neo 490 Gear Knob through Janie direct @ Blox, it was much cheaper and they are awesome to deal with
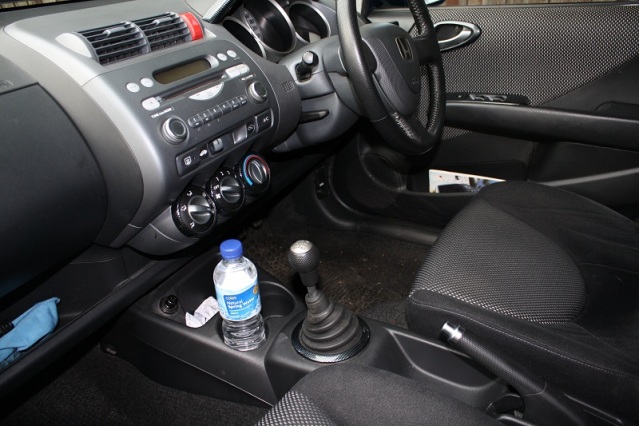
So i went straight out to the Honda and tried fitting it..
Old Worn Gear Knob:

New Blox 490 Neo:
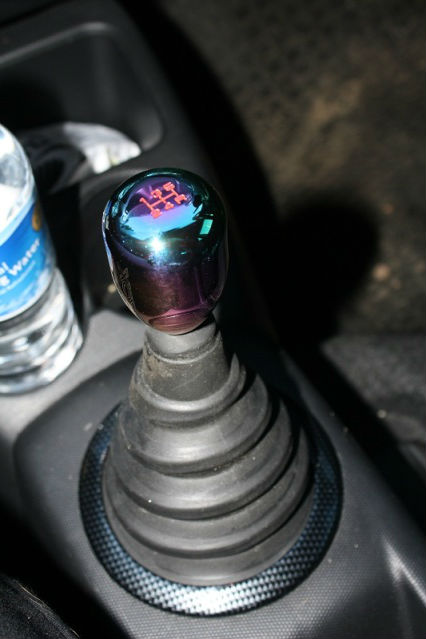
First thing you notice before even fitting it is the weight..it's damn heavy! and i thought it might be too heavy but i took it quickly around the block and it makes SUCH a difference, so much easier to shift...hardly any effort required
this time from Blox, i ordered a Limited Neo 490 Gear Knob through Janie direct @ Blox, it was much cheaper and they are awesome to deal with So i went straight out to the Honda and tried fitting it..
Old Worn Gear Knob:
New Blox 490 Neo:
First thing you notice before even fitting it is the weight..it's damn heavy! and i thought it might be too heavy but i took it quickly around the block and it makes SUCH a difference, so much easier to shift...hardly any effort required
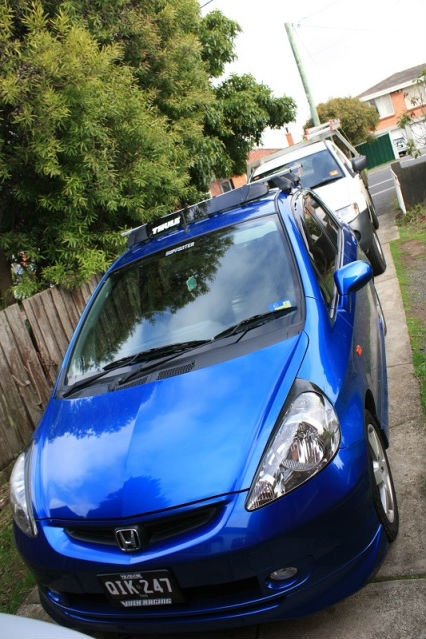
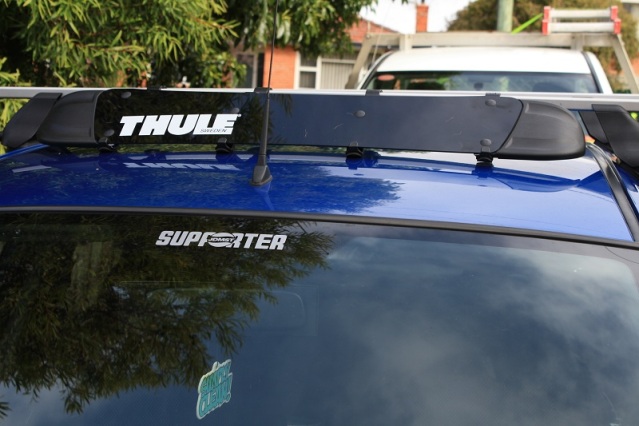
UPDATE:
Attempted to change the foglights with yellow film:

This is first attempt and found i cut it too short, i tried again and got it perfect but too dark now to take photo but they came up great
Attempted to change the foglights with yellow film:
This is first attempt and found i cut it too short, i tried again and got it perfect but too dark now to take photo but they came up great
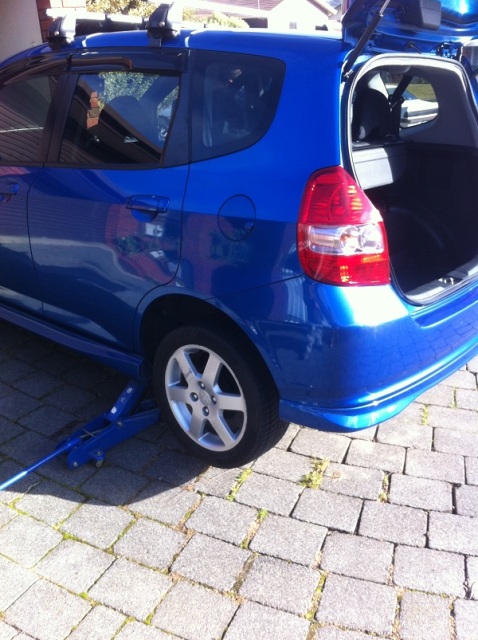
Install Day! =D
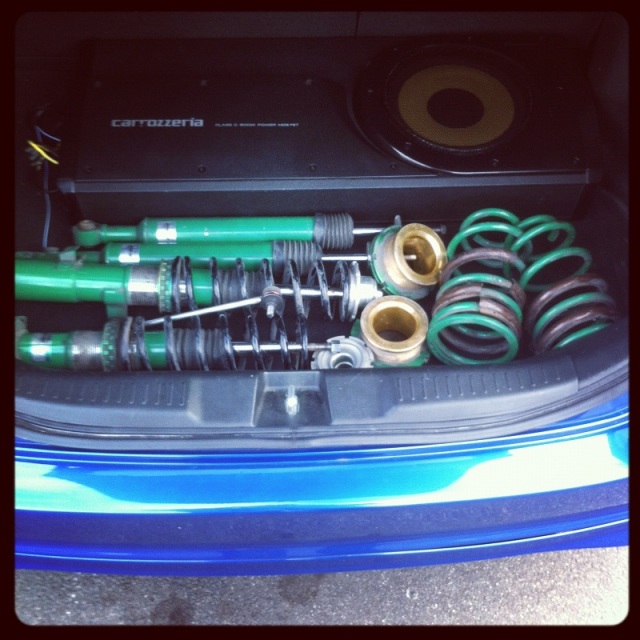
So, Packing the teins, some jack stands and a jack into the mighty jazz i set off for a mates place to install these shiny green things.
Soon as i got there we got stuck straight into it, as we both hadnt installed coilovers in a car with this style of suspension so we didnt want to get stuck halfway and it getting dark :P
Up It Goes:
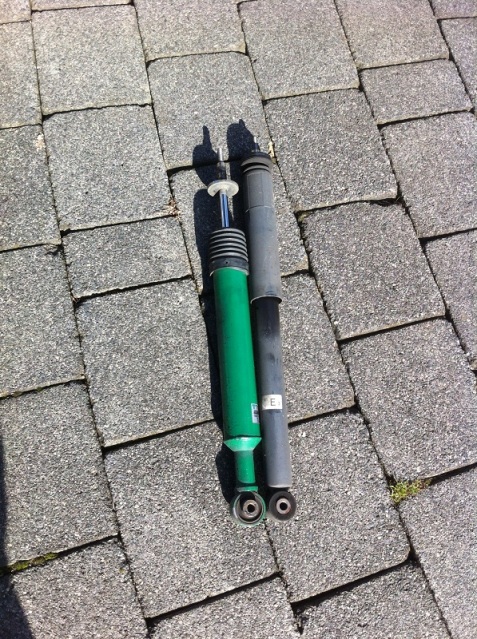
Size Comparison of Oem Shock Vs Tein Super Compact:
Getting There:
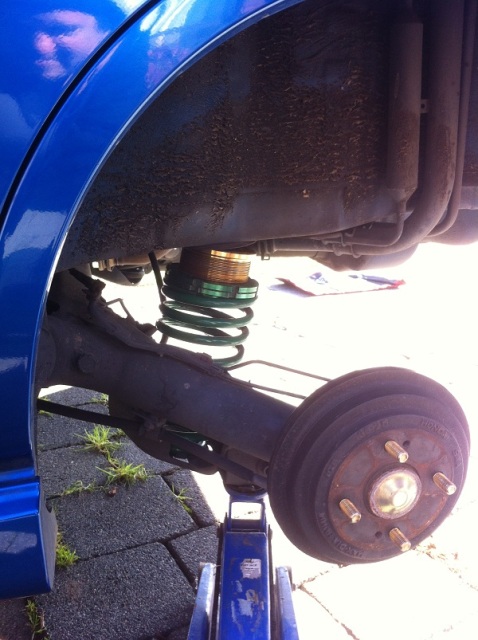
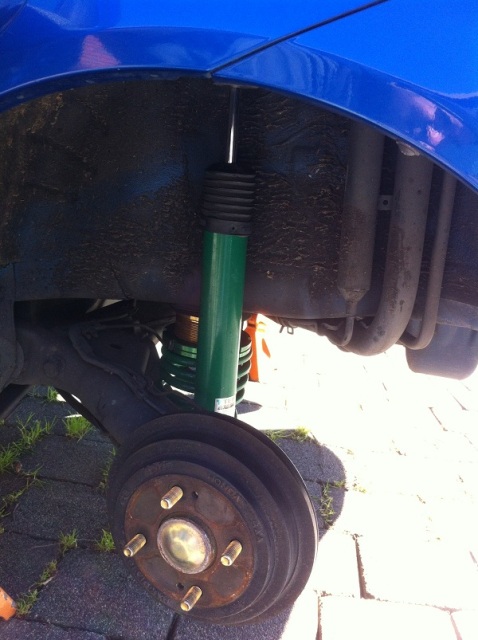
Finished Product of Rear Setup:
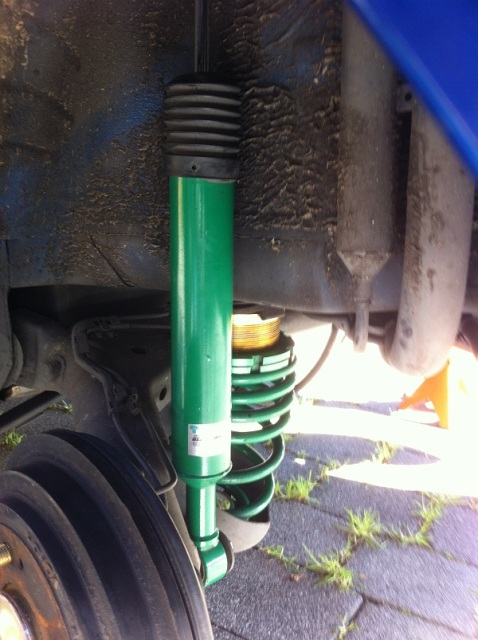
(This Pic is before we lowered it more lol)

Ready to tackle fronts:
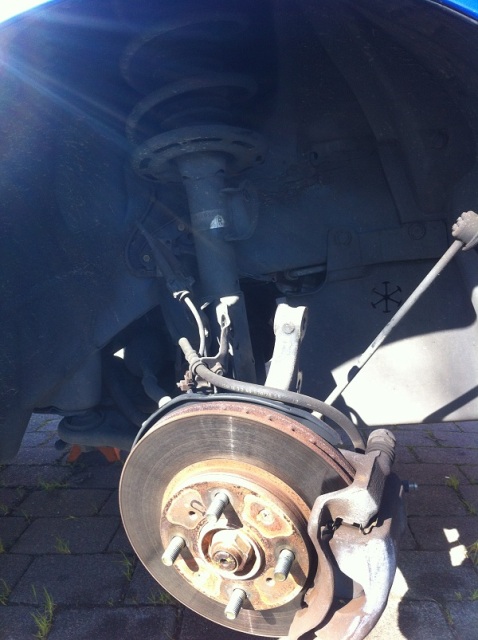
Size Comparison of OEM Front Strut VS Tein Super Compact:

These were a bit of a bitch due to the fact it uses stock strut hats, but after a while we got it all back in:

Now, we got it all in but weren't happy with height from previous owner..it was near stock so we gave it a "light" adjustment and this is end result:
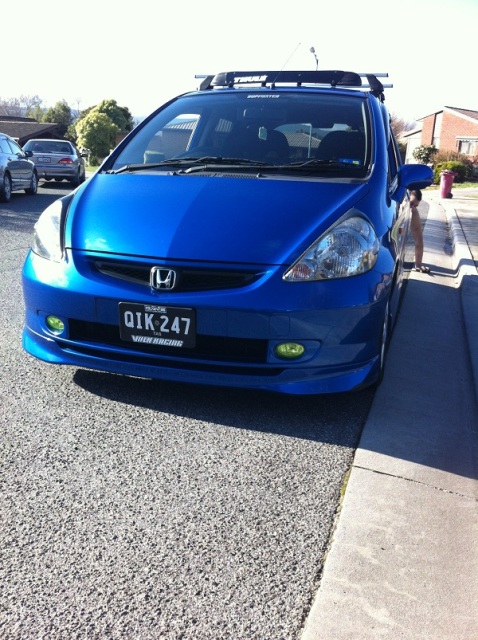
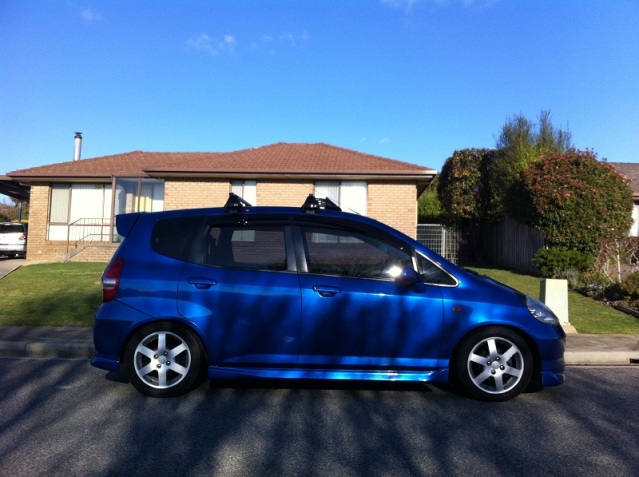
Overall, I'm impressed with Tein ride quality, it's not rough at all (haven't played with dampening yet) and handles well. Can't wait to put wheels on it now hahaha
So, Packing the teins, some jack stands and a jack into the mighty jazz i set off for a mates place to install these shiny green things.
Soon as i got there we got stuck straight into it, as we both hadnt installed coilovers in a car with this style of suspension so we didnt want to get stuck halfway and it getting dark :P
Up It Goes:
Size Comparison of Oem Shock Vs Tein Super Compact:
Getting There:
Finished Product of Rear Setup:
(This Pic is before we lowered it more lol)
Ready to tackle fronts:
Size Comparison of OEM Front Strut VS Tein Super Compact:
These were a bit of a bitch due to the fact it uses stock strut hats, but after a while we got it all back in:
Now, we got it all in but weren't happy with height from previous owner..it was near stock so we gave it a "light" adjustment and this is end result:
Overall, I'm impressed with Tein ride quality, it's not rough at all (haven't played with dampening yet) and handles well. Can't wait to put wheels on it now hahaha