
DIY: Koni Yellows for GD3 rear


Alright since there weren't any aftermarket performance rear shocks available, I did some research and figured out what would have the best chance of working.
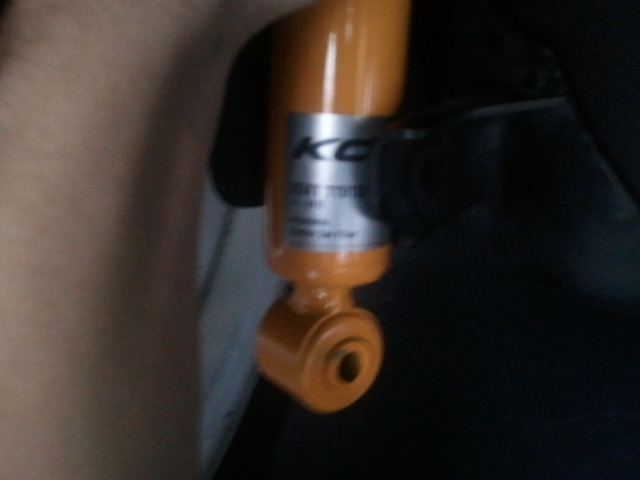
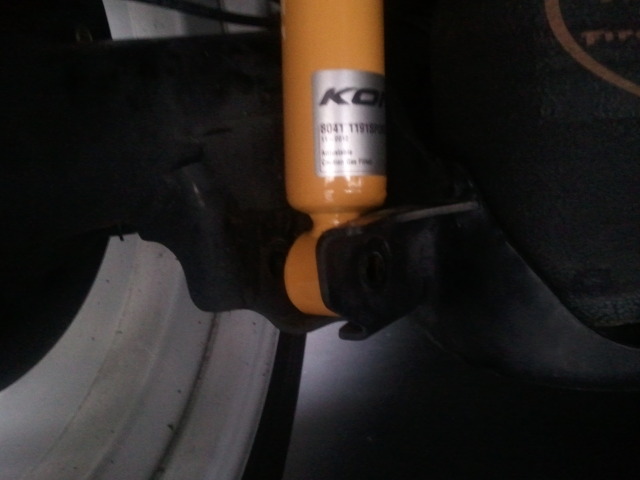
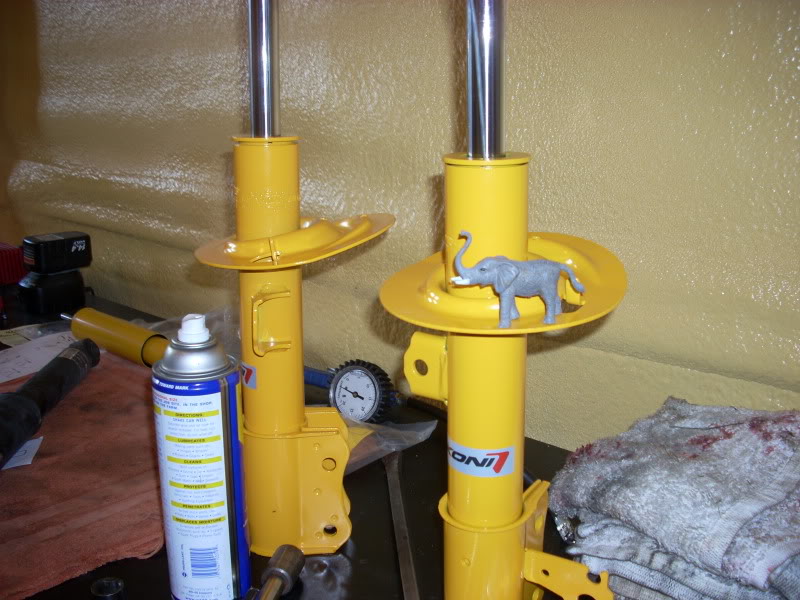
So first off the Koni's are the model 8041-1191 Sport, which are for a Saab 900 NG (94-98).
The Monroe air shocks that people use on the Fit is from a J-body (82-94). The J-body guys use the Saab Konis for their rear. So I figured I'd give it a shot. The shocks are a little bit longer but compress to be an inch or two shorter.
The only other part you need is washers that fit the bottom bolt and enough of them to make up about 14mm of space (7mm per side). I used a washer with a 3/8" hole.
Step 1: Jack the rear of the car up to take most of the load off the struts to make it easier to get the bottom bolt out.
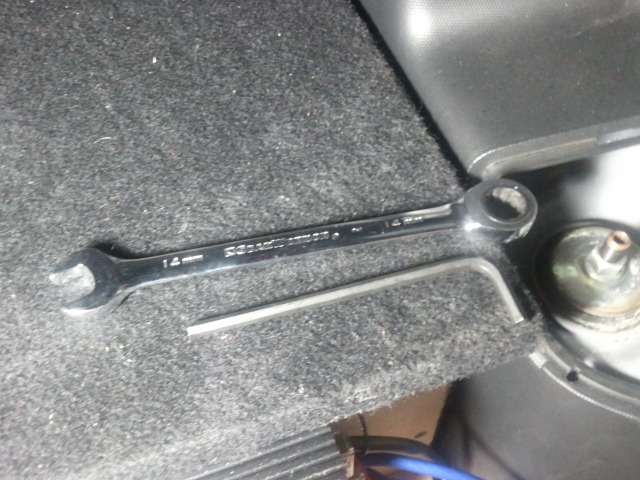
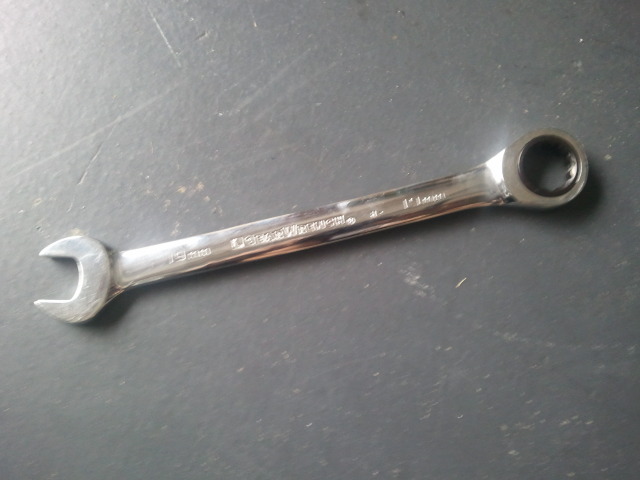
Step 2: Remove the bottom bolt with a 14mm socket/wrench.
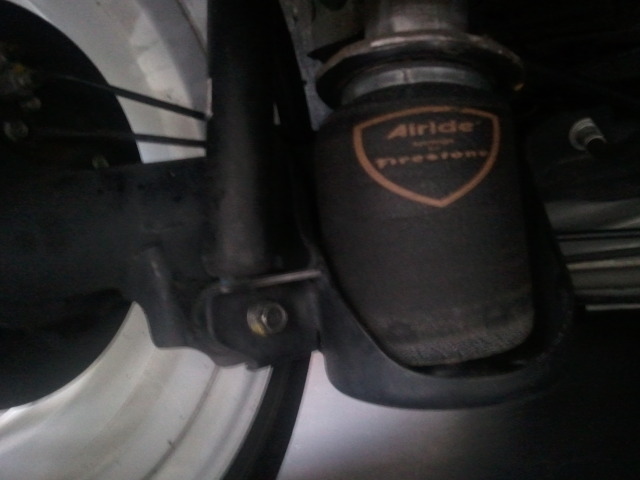
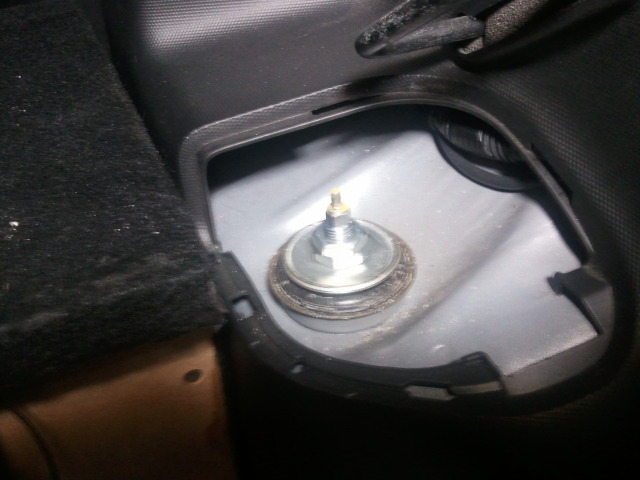
It is easier if you leave the shock sitting in it pocket as it won't fall down as the top nut is loosened.
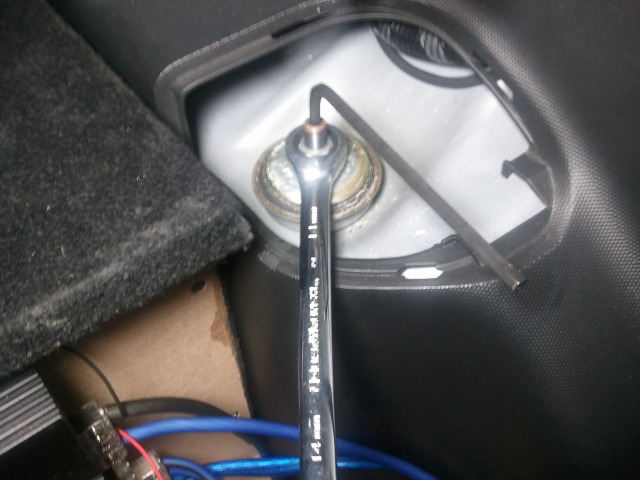
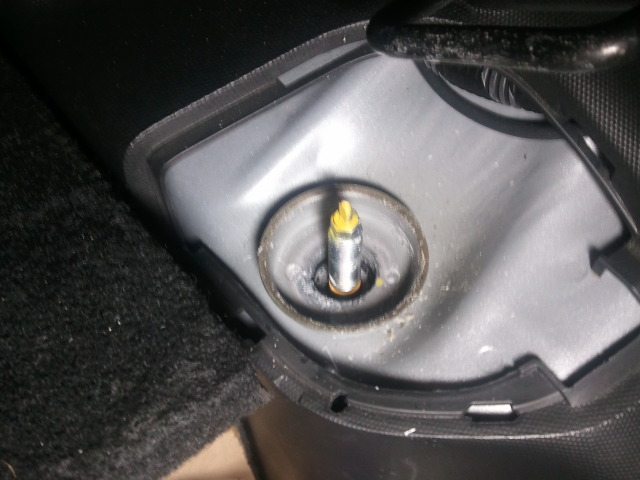
Step 3: Remove the plastic cover above the top of the shock.
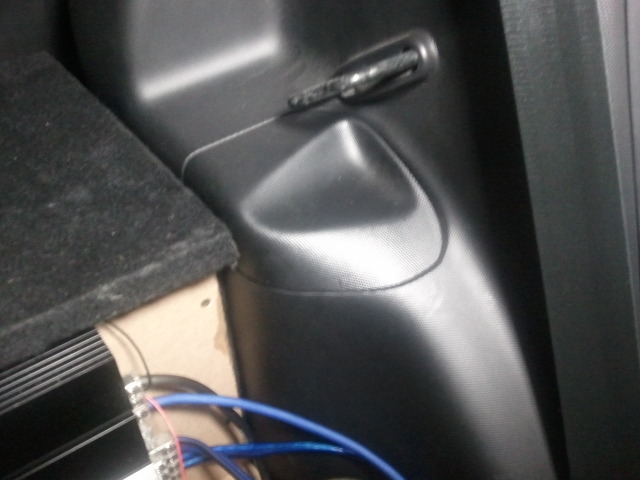
Just put your finger or a screwdriver in this slot and pull up.

Now you can see the nut that needs to be removed.
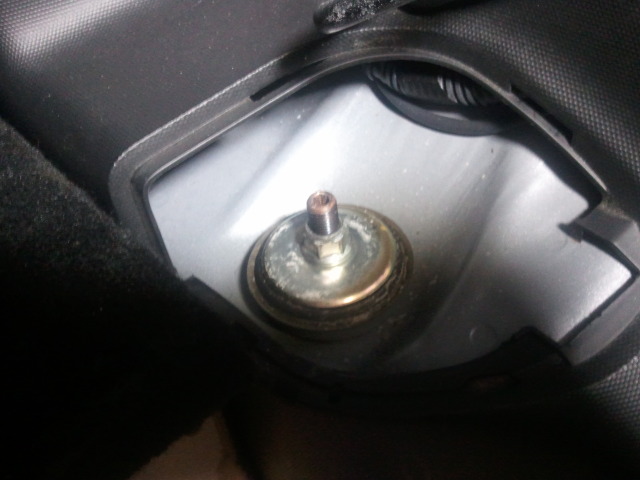
Step 4: Remove the nut with a 14mm wrench and a 5mm allen wrench in the center to keep the strut from spinning.
Once that is off you can remove the metal washer and the rubber mount and put them aside. Then remove the shock from the pocket and the other rubber mount from where the shock passes through the body if it didnt come off with the shock.
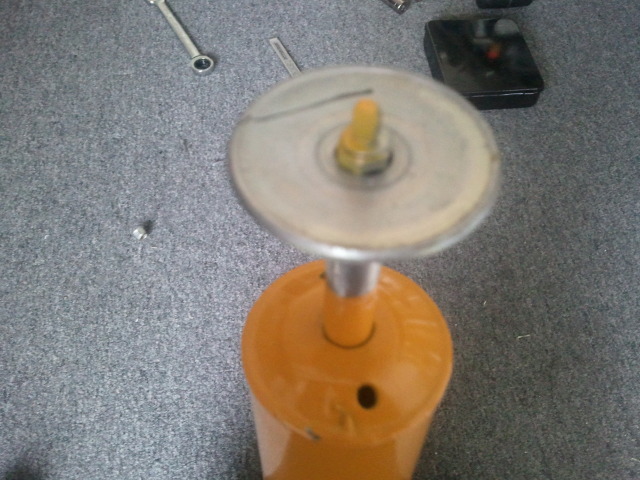
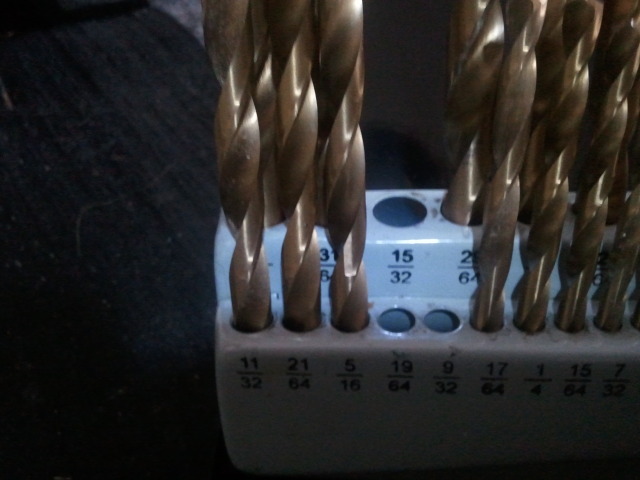
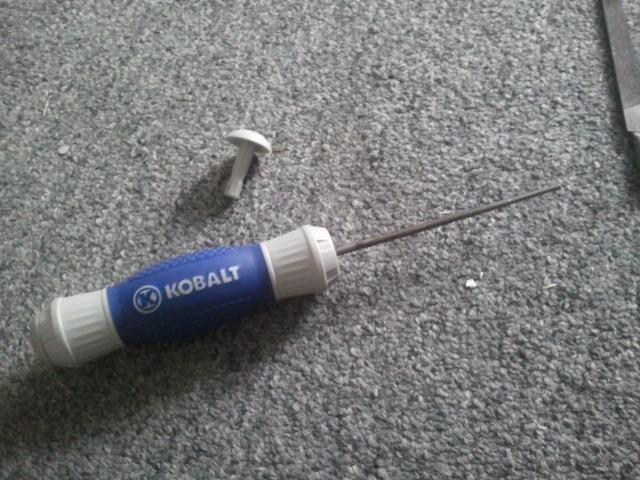
Step 5: Since the Koni has a larger top mount diameter the washer needes the hole drilled out to fit.
A 15/32 drill bit.
In the drill and ready to go.
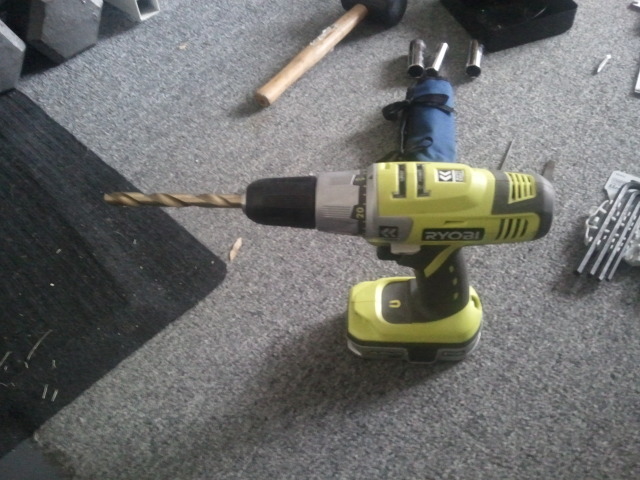
Secure it in a vice.
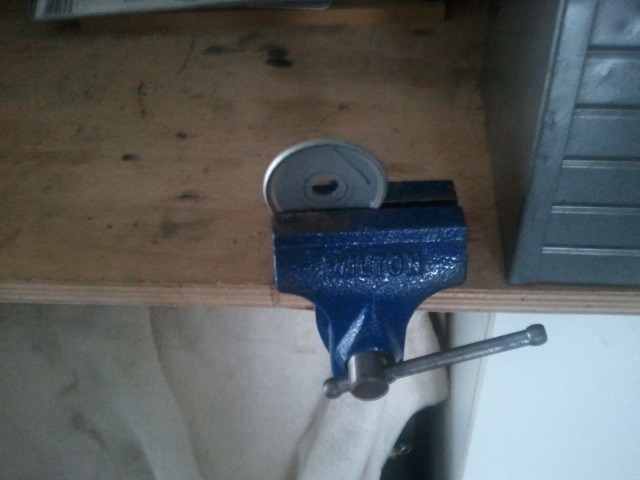
Hole enlarged.

I grabbed a file and smoothed out the edges from the drilling.
Slides right on.
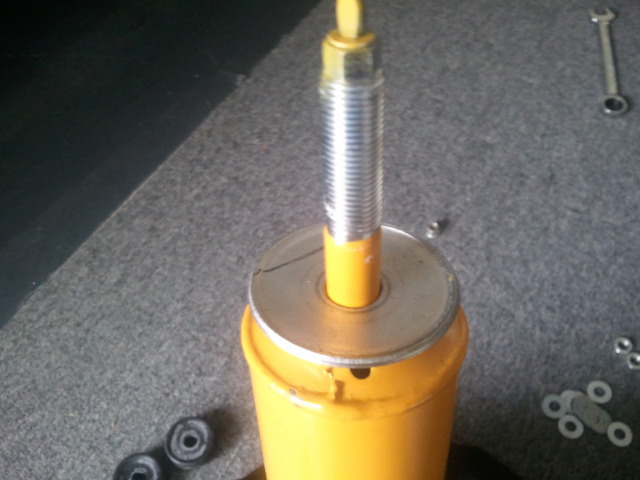
The mounts, washer, bolts in order they go on.

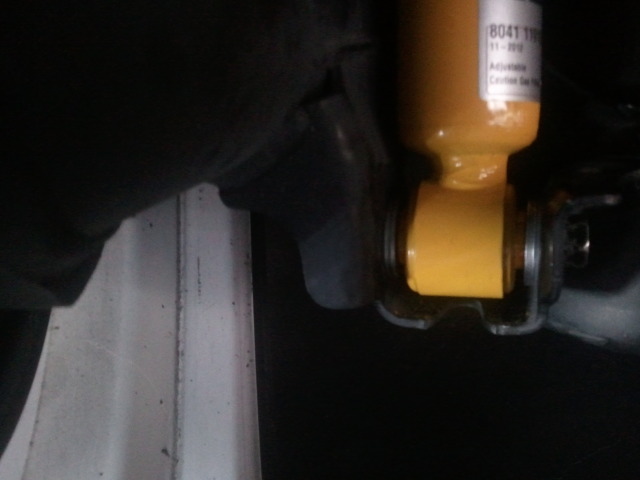
Step 6: Put the external rubber mount on the top of the shock.

Then place the top of the shock through its hole in the body and then place the bottom in its pocket.
Just a bit of manual compression needed to get it into place.
The view from the inside.
Step 7: Grab a 19mm wrench and put the rubber mount followed by the metal washer, then the first nut. Tighten that down, but dont over do it. No need to squish the rubber mount excessively. The stock setup had a metal bushing type thing that limited how far the bolt would go down. Put the second nut on to prevent the first one from backing off
Now the top is in and secure, time to finish up the bottom.
Since the shocks aren't for our car the bottom mount is a bit narrower.
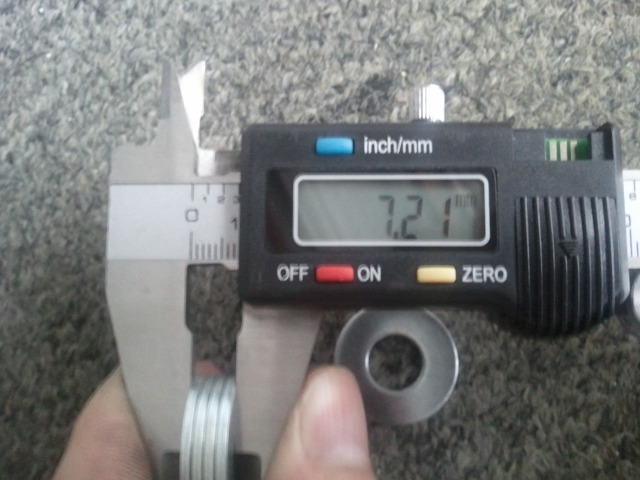
Stock lower mount width, mine measured 44.03mm
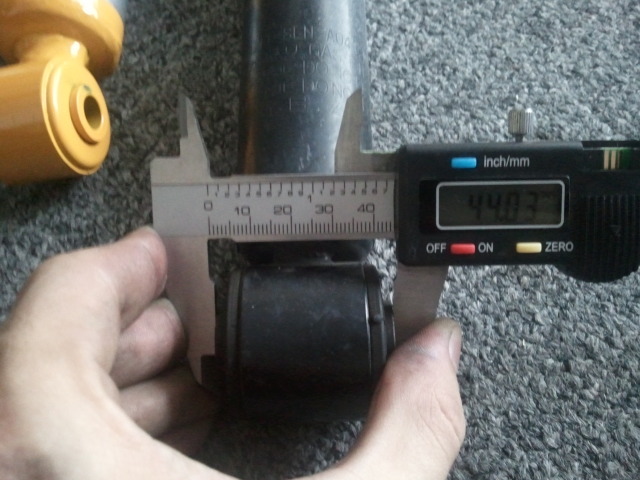
And the Konis measured 36.14mm
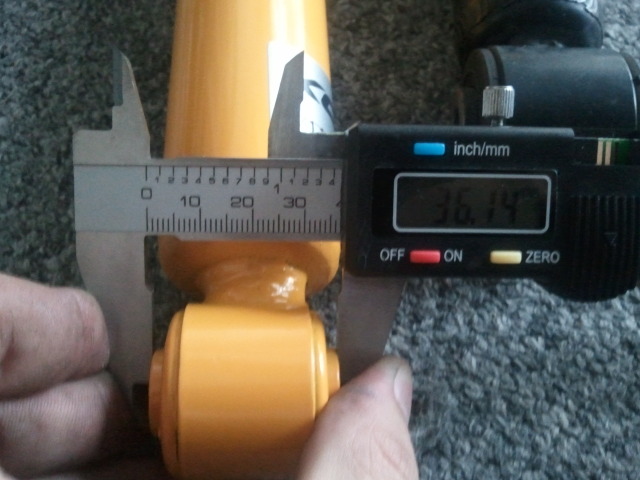
This leaves space (roughly 8mm) that is going to be made up by the washers
Step 8: Grab the washers that fit around the lower bolt.
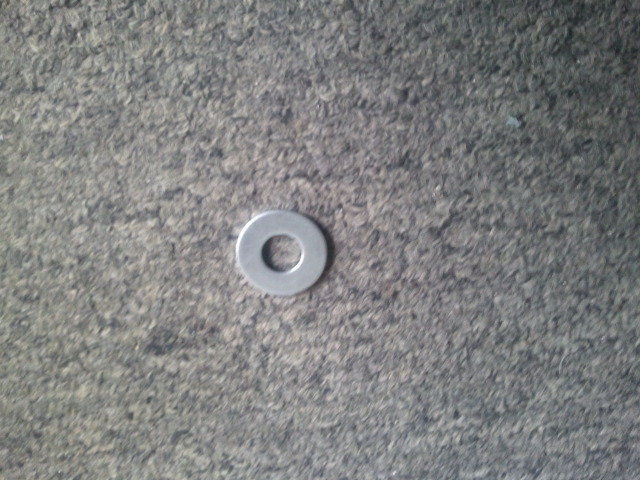
They all varied a bit but were roughly 1.7mm thick.
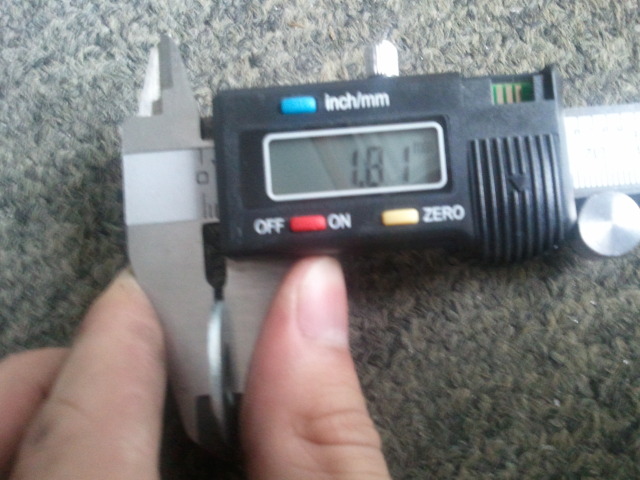
All four for one side together.
The front two are easy to get in. The rear ones could be a bit trickier. I used a screwdriver from the opposite side of the bolt to hold them in
place.
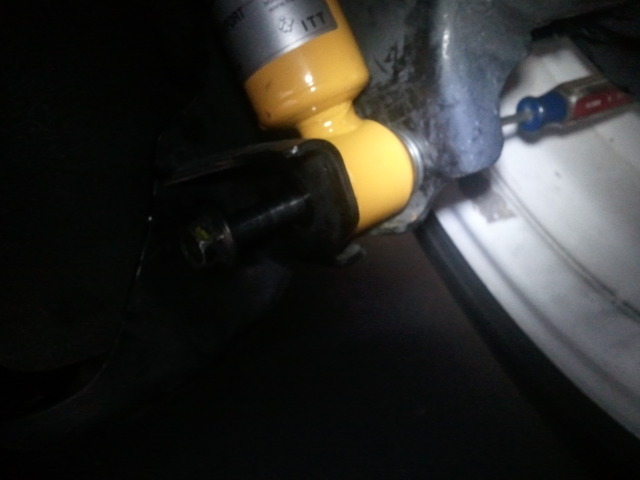
Tighten down the bolt (40 lbs-ft of tq) and that side is done.
Repeat the process on the other side and you now have a nice set of performance shocks for the rear of your car.
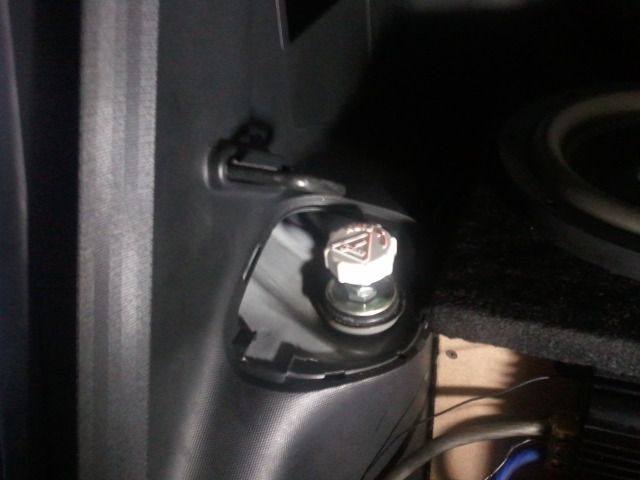
Also throw the adjuster knob on and set them to whatever setting you want.
Since I am bagged I don't see myself figuring out the front first hand. I do have a stock strut that I may be willing to cut open to determine which Koni insert would be necessary to use.
Any other questions feel free to ask and I will answer them to the best of my ability.
Thanks for reading,
Mike
So first off the Koni's are the model 8041-1191 Sport, which are for a Saab 900 NG (94-98).
The Monroe air shocks that people use on the Fit is from a J-body (82-94). The J-body guys use the Saab Konis for their rear. So I figured I'd give it a shot. The shocks are a little bit longer but compress to be an inch or two shorter.
The only other part you need is washers that fit the bottom bolt and enough of them to make up about 14mm of space (7mm per side). I used a washer with a 3/8" hole.
Step 1: Jack the rear of the car up to take most of the load off the struts to make it easier to get the bottom bolt out.
Step 2: Remove the bottom bolt with a 14mm socket/wrench.
It is easier if you leave the shock sitting in it pocket as it won't fall down as the top nut is loosened.
Step 3: Remove the plastic cover above the top of the shock.
Just put your finger or a screwdriver in this slot and pull up.
Now you can see the nut that needs to be removed.
Step 4: Remove the nut with a 14mm wrench and a 5mm allen wrench in the center to keep the strut from spinning.
Once that is off you can remove the metal washer and the rubber mount and put them aside. Then remove the shock from the pocket and the other rubber mount from where the shock passes through the body if it didnt come off with the shock.
Step 5: Since the Koni has a larger top mount diameter the washer needes the hole drilled out to fit.
A 15/32 drill bit.
In the drill and ready to go.
Secure it in a vice.
Hole enlarged.
I grabbed a file and smoothed out the edges from the drilling.
Slides right on.
The mounts, washer, bolts in order they go on.
Step 6: Put the external rubber mount on the top of the shock.
Then place the top of the shock through its hole in the body and then place the bottom in its pocket.
Just a bit of manual compression needed to get it into place.
The view from the inside.
Step 7: Grab a 19mm wrench and put the rubber mount followed by the metal washer, then the first nut. Tighten that down, but dont over do it. No need to squish the rubber mount excessively. The stock setup had a metal bushing type thing that limited how far the bolt would go down. Put the second nut on to prevent the first one from backing off
Now the top is in and secure, time to finish up the bottom.
Since the shocks aren't for our car the bottom mount is a bit narrower.
Stock lower mount width, mine measured 44.03mm
And the Konis measured 36.14mm
This leaves space (roughly 8mm) that is going to be made up by the washers
Step 8: Grab the washers that fit around the lower bolt.
They all varied a bit but were roughly 1.7mm thick.
All four for one side together.
The front two are easy to get in. The rear ones could be a bit trickier. I used a screwdriver from the opposite side of the bolt to hold them in
place.
Tighten down the bolt (40 lbs-ft of tq) and that side is done.
Repeat the process on the other side and you now have a nice set of performance shocks for the rear of your car.
Also throw the adjuster knob on and set them to whatever setting you want.
Since I am bagged I don't see myself figuring out the front first hand. I do have a stock strut that I may be willing to cut open to determine which Koni insert would be necessary to use.
Any other questions feel free to ask and I will answer them to the best of my ability.
Thanks for reading,
Mike
Last edited by mike410; Aug 23, 2012 at 10:58 PM.
That is slicker than a snot coated shift knob... I had a problem with the length of my air shocks with shorter than stock springs.. Whenever I raised the rear end off of the ground the springs would fall from the perches and onto the floor... Anyone using dropped springs would need to use shocks a couple of inches shorter...

this thread is winning in a huge way...
nice going mike... i'm willing to help out to find out what koni's will fit the fronts to match the yellow's you put on in the rears... lmk what i can do and it'll get done...
nice job
nice going mike... i'm willing to help out to find out what koni's will fit the fronts to match the yellow's you put on in the rears... lmk what i can do and it'll get done...
nice job

I've been expecting the drivers to go ahead and figure something out for themselves since the aftermarket won't put much out.
If you don't supply it, we'll find another way.
I'm glad someone is putting the time into this Mike410. A+, thank you.
If you don't supply it, we'll find another way.
I'm glad someone is putting the time into this Mike410. A+, thank you.


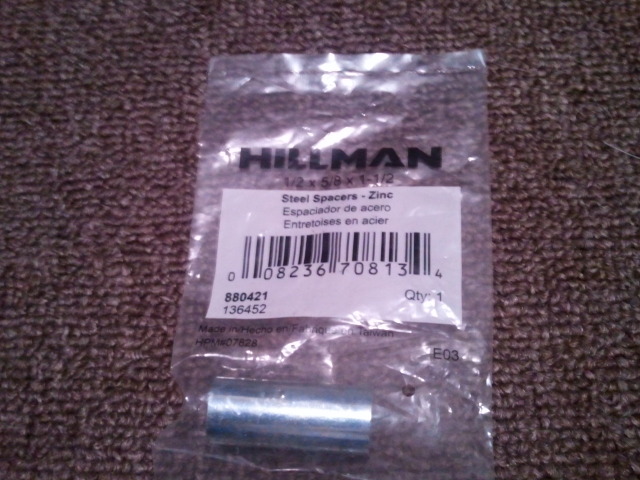
So in order to make the install more complete I wanted to find a metal bushing that could fit over the shaft as the stock one was too small.
I found this 1/2 x 5/8 x 1 1/2 bushing at lowes
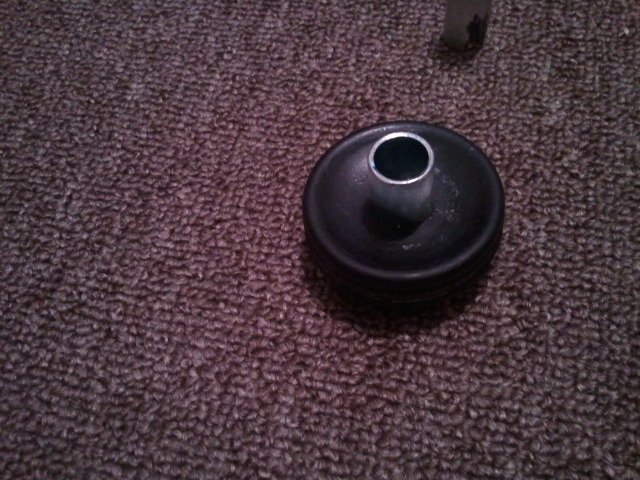
Stock on the right

Fits into the rubber mount with a little bit of force
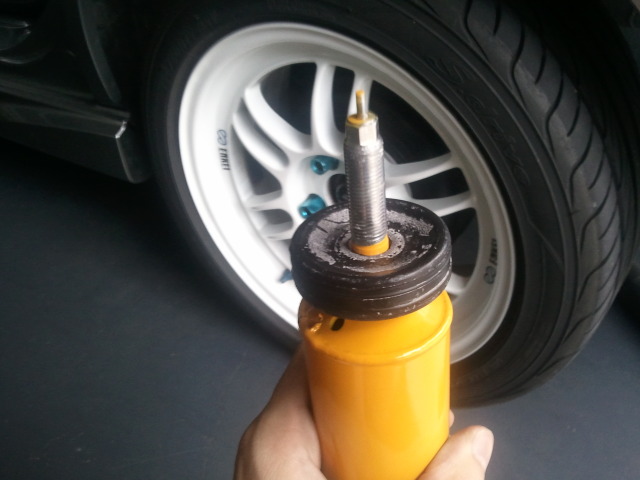
From what I read on their site it is the dampening force that is adjustable so that is compression
I found this 1/2 x 5/8 x 1 1/2 bushing at lowes
Stock on the right
Fits into the rubber mount with a little bit of force
From what I read on their site it is the dampening force that is adjustable so that is compression

then on this
then the other rubber thing goes over the bushing inside of the car with the metal washer and the two nuts, like so
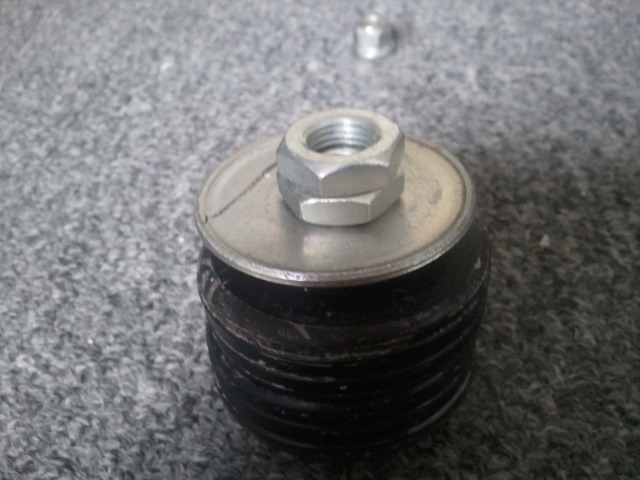
and if this doesnt make sense. It will when you take the stock stuff apart
The easiest solution is going to be their cut-a-strut system. You basically cut the top off the stock strut, remove the internals and then use the housing to put an insert in.
Here is a DIY for a chevy cobalt
How to Install Koni Yellow Front Struts - Chevy Cobalt Forum / Cobalt Reviews / Cobalt SS / Cobalt Parts
We would just need to determine the length of insert needed and the inner diameter of our strut housing. Then figure out if Koni makes something in that sizing for another car
Member
Joined: Sep 2005
Posts: 465
From: Central Valley, CA

The easiest solution is going to be their cut-a-strut system. You basically cut the top off the stock strut, remove the internals and then use the housing to put an insert in.
Here is a DIY for a chevy cobalt
How to Install Koni Yellow Front Struts - Chevy Cobalt Forum / Cobalt Reviews / Cobalt SS / Cobalt Parts
We would just need to determine the length of insert needed and the inner diameter of our strut housing. Then figure out if Koni makes something in that sizing for another car
Here is a DIY for a chevy cobalt
How to Install Koni Yellow Front Struts - Chevy Cobalt Forum / Cobalt Reviews / Cobalt SS / Cobalt Parts
We would just need to determine the length of insert needed and the inner diameter of our strut housing. Then figure out if Koni makes something in that sizing for another car
Back in 2007, "mrfroge" took an OEM strut, cut the top off, and determined the I.D. of the strut to be too small to accept any of the inserts that Koni had to offer at the time. Perhaps, things have changed. Hopefully, Koni has since started offering an insert that has an O.D. that will slip into the stock strut housing.