When you click on links to various merchants on this site and make a purchase, this can result in this site earning a commission. Affiliate programs and affiliations include, but are not limited to, the eBay Partner Network.
From what I've read, a sticky latch on the rear gate is pretty common on these 1st Gen Fits. I got mine a couple of months ago and it has been driving me nuts. This was a pretty easy fix, so I thought I'd make a post for the hesitant owner who isn't that much of a backyard mechanic.
TOOLS REQUIRED (minimum):
-Socket Set
-File
-Hammer
-Nail (slightly smaller in diameter than the latch pin)
-Sandpaper
-Wire Brush
First, remove the wiper arm. There is a piece of plastic trim that pulls off around the base of the arm. Next there is a 10mm nut that you have to back off, and then the wiper arm pulls straight off. If the arm is sticky (like mine was!), thread the nut back on a few turns and tap it with a hammer while pulling on the wiper arm until it comes loose.
Next, remove the inner plastic (on the inside of the hatch). To do this, open the hatch and on the bottom of the hatch I think there should be two trim tabs on either side of the latch, plus some sort of plastic housing where you grab to close the hatch. I'm not sure here as my Fit is missing these pieces. Remove them and the rest of the inner plastic should come free with gentle pulling. It has several attachment points so take your time and gently yank it off.
Next, remove the wiper motor. There are three 10mm bolts that hold it on. Grab a twist tie or piece of wire and string it up out of your way. You need it out of the way to get the outer plastic off of the gate.
Picture of wiper motor bolts:
Next, remove the outer plastic trim around the latch pull. There is one bolt that holds it on, which comes through to the left of the latch pull (pic below). This little buggar was rusted tight for me and it managed to do some damage to the outer plastic, and not come loose. The rest of what secures the plastic to the hatch are all little expanding fasteners that you need to compress from the inside of the car while pulling from the outside. I found it was useful to use some 8mm and 9mm sockets to push over the fasteners on the inside to compress them while I pulled from the other side. Work from the right to the left, and hopefully you are luckier than me and the bolt comes out. If you are like me and it is seized tight, you'll have to pry the outer plastic off, then try to grab the fastener with pliers to get the bolt to back out. Mine didn't and broke in half.
Picture showing location of angry fastener:
Picture showing broken angry fastener:
Next, remove the two 10mm nuts to remove the latch mechanism. Squeeze it open and the cable should be fairly intuitive to remove.
There is a metal housing that holds a plastic pull, held in by a metal pin, with a spring in the middle. The problem is primarily that the outsides of the metal housing rust out, which swells and pinches the plastic pull causing friction which does not like to let you open your gate. The pin also swells, adding to the friction.
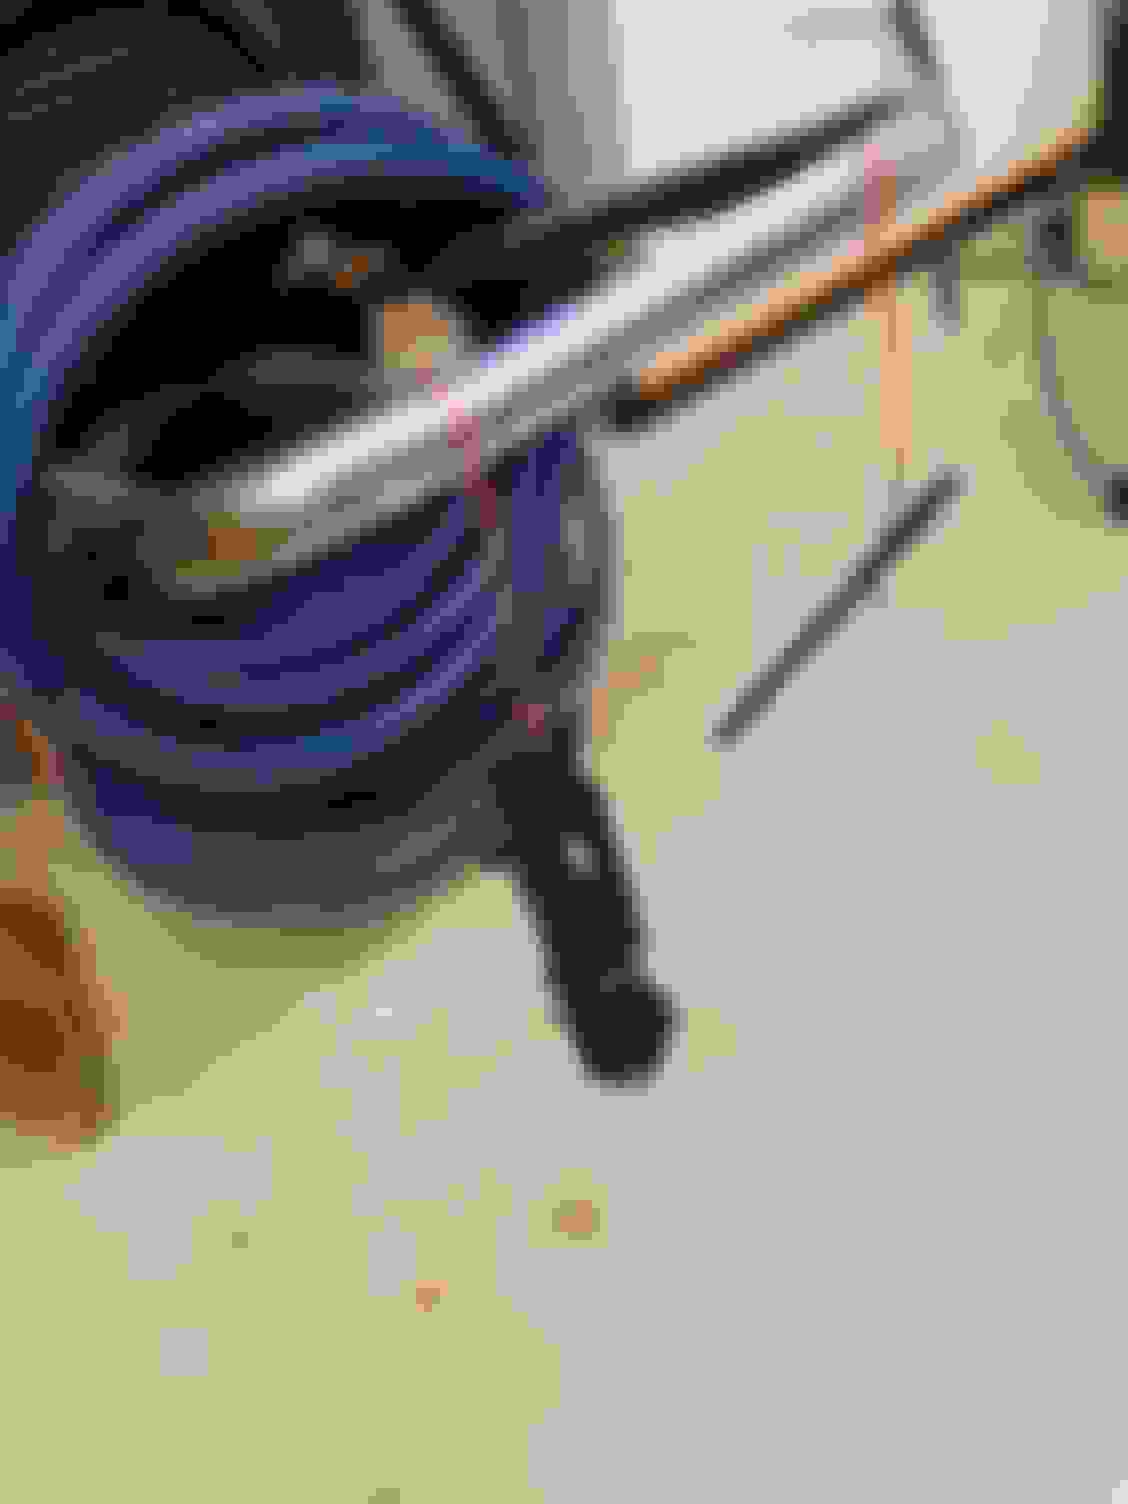
The pin is held in place by being pinched off at both ends. You need to narrow one end so that it can be pushed back through. I used a dremel with a sanding drum to do this, but it could also be accomplished with a file and some patience. Mine was rusted enough that it didn't require much sanding to reduce its side. Once the end is narrow, you can push it back through with a hammer and a nail. I found it was useful to open my bench vice a quarter inch and put the latch over it so that the pin could be punched through while I tapped it out with a hammer. Remember what the orientation of the spring looks like before pushing the pin through. Mine took a fair bit of convincing but eventually tapped through.
Now that it is all apart, here is where the patience comes in. You have to get all of that rust off, which is preventing the mechanism from functioning. I found it was best to use a couple of wire wheels in my drill press, followed by some sandpaper wrapped around a bamboo skewer, with a little help from a sanding drum on my dremel tool. With a little more patience, this can be done with a wire brush, some sandpaper, and a small file.
I was aiming for a fix that will last a few years, not a lifetime. My 2007 should function until I'm ready to send it to the boneyard after this fix.
Here we see the (almost) cleaned parts showing significant pitting:
Yes, it looks brutal but I promise you it will work like new.
I had a rattle can of rust protector spray paint, so I gave it a couple of coats, mostly to hide the rust I missed and make me feel better!:
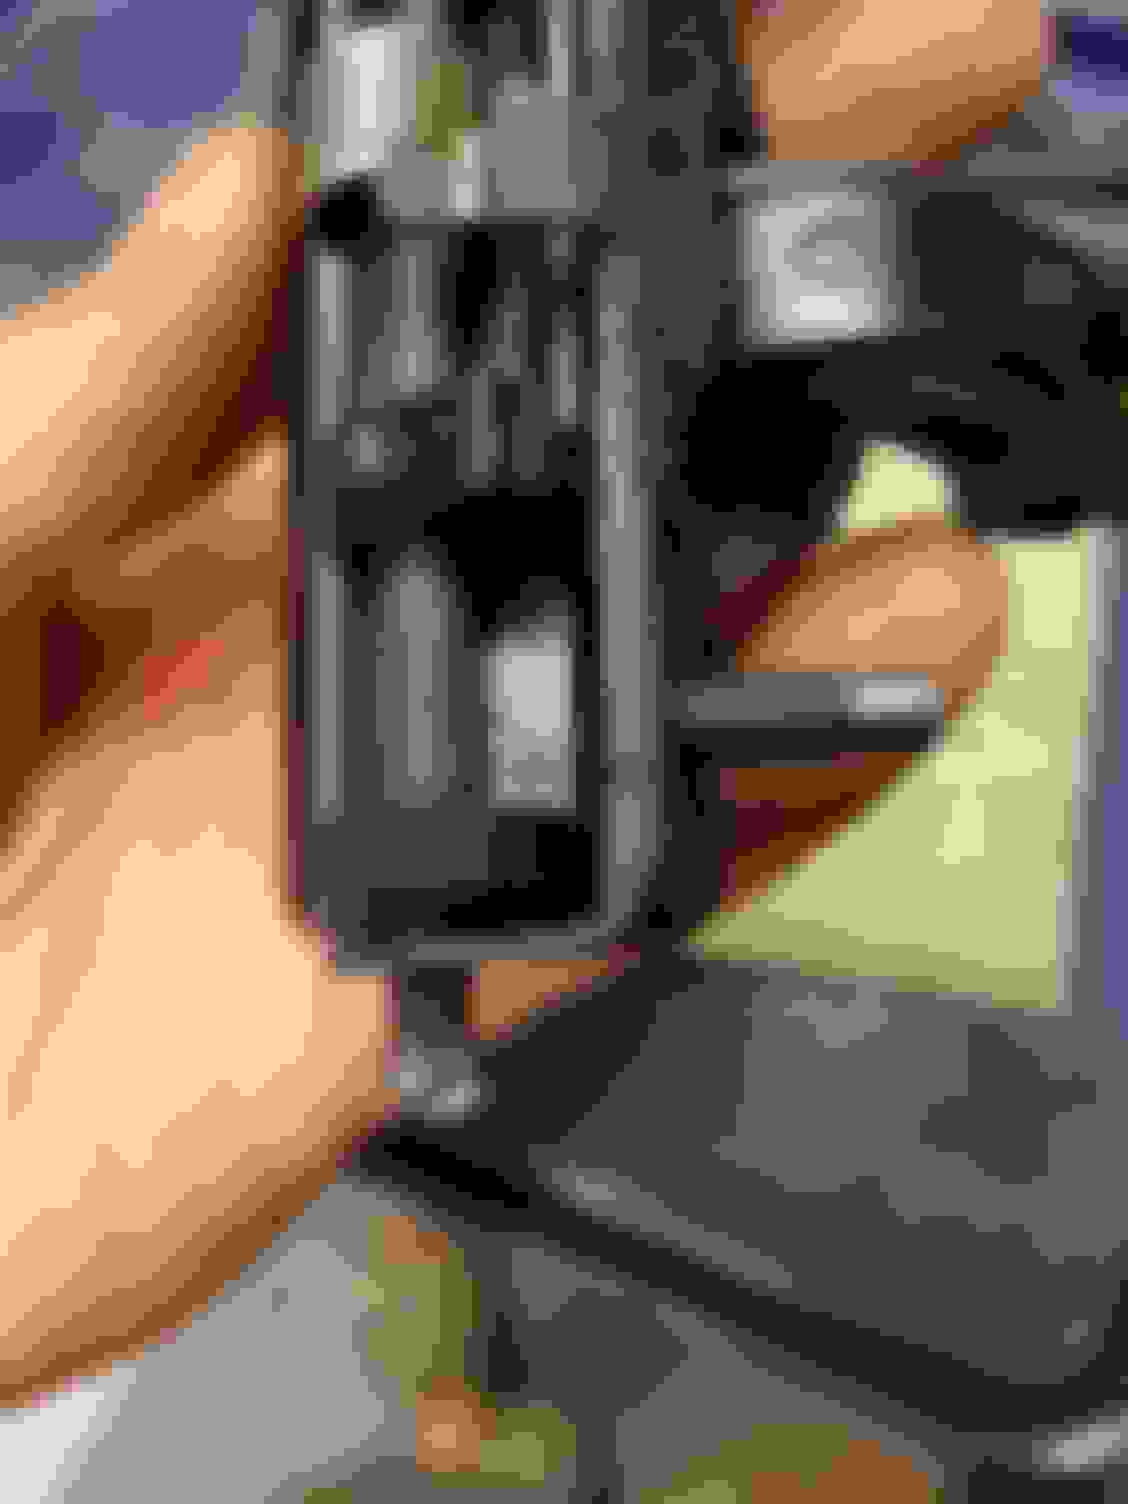
Next, clean the plastic pull up with a rag, and push the pin back through, inserting the spring as you go. You will need to keep the pin in place somehow, and I opted to simply flatten the ends by squeezing them in my vice. You could also do this with a pair of vice-grips, or by bashing the ends with a hammer.
A smart person would note that the paint has been disturbed and hit it again with the rattle can. I'm not that person, so I just shoved it back in the car.
Reassembly is essentially the reverse of disassembly. For me, with my broken bolt, I scavenged the plastic washer that it had, and replaced the bolt with another one I had on hand. This does nothing to hold the outer trim in place, but I don't think it will be an issue - I just wanted to ensure no water would enter the interior of the vehicle. I also added some anti-seize grease to the wiper motor spline when I replaced the wiper arm to try to keep it from seizing again.
This took me 2 hours with some basic tools (not counting paint drying time), and if you go at it without power tools it might add another half hour. Not bad tinkering for a Sunday morning. And yes, it works like new again. So satisfying and didn't cost me a dime.
Last edited by benjhind; Jun 18, 2018 at 09:51 AM.