


Diy ge8 usdm honda fit sport - mugen


Thread Starter
|
Member
Joined: Sep 2009
Posts: 697
From: USA

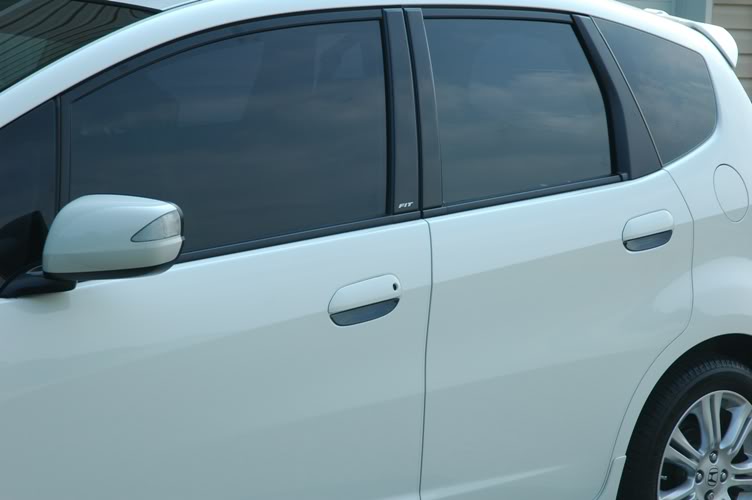
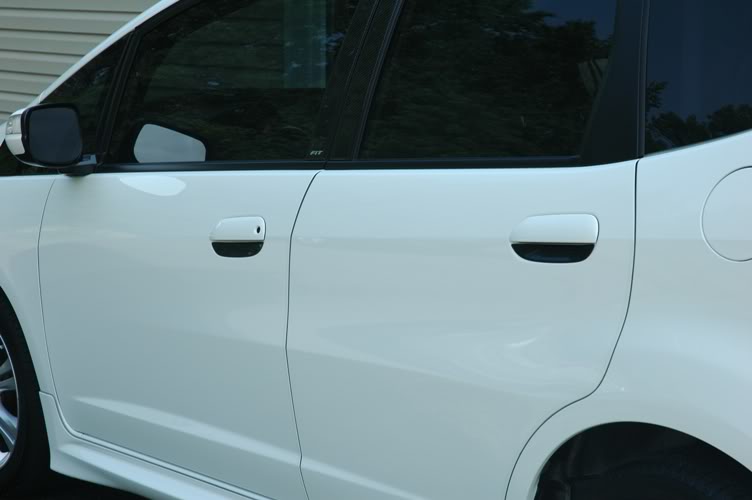
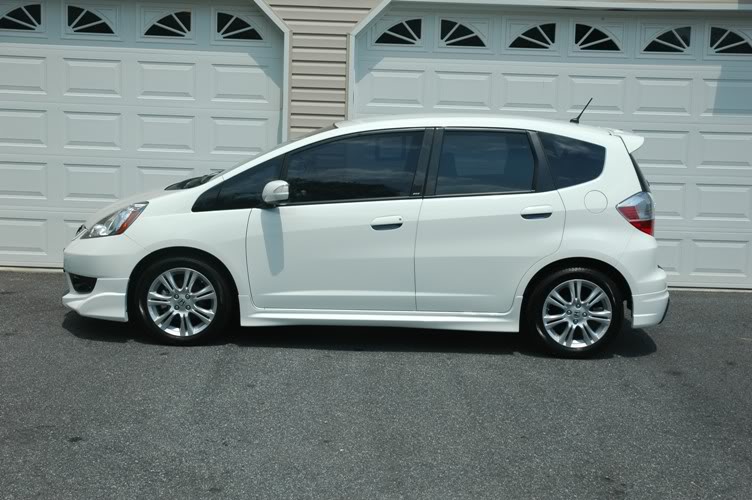
Carbon fiber door handle covers
Accessory: CARBON FIBER DOOR HANDLE COVERS
Part Number: 08F50-TF0-700X
Manufacture: HONDA
Cost: $70.00
Install Time: 20 Minutes.
Part Number: 08F50-TF0-700X
Manufacture: HONDA
Cost: $70.00
Install Time: 20 Minutes.
Last edited by FITMugen; Jun 26, 2010 at 02:40 PM.


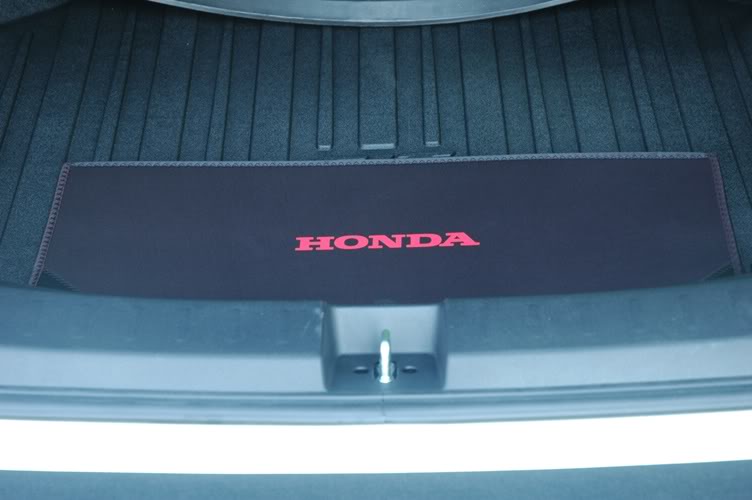
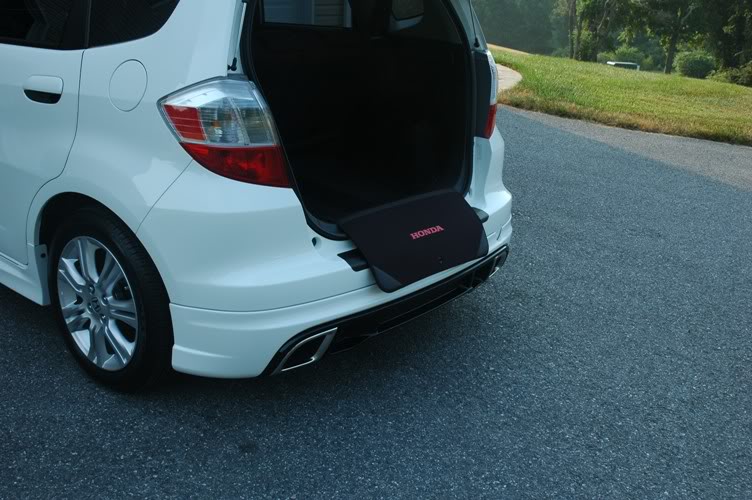


the Mugen kits are a bit pricey but i think its beacause they come painted and ready to install vs coming in primered and having to take it to a shop to get painted. I love all the Mugen Fit accesories besides the rear lip. i dont understand the triangle dual exhaust tips, i think Mugen should have made a rear lip that made the oem rear diffusers more agressive.
Last edited by Hondafrk; Jun 27, 2010 at 01:12 PM.
Thread Starter
|
Member
Joined: Sep 2009
Posts: 697
From: USA
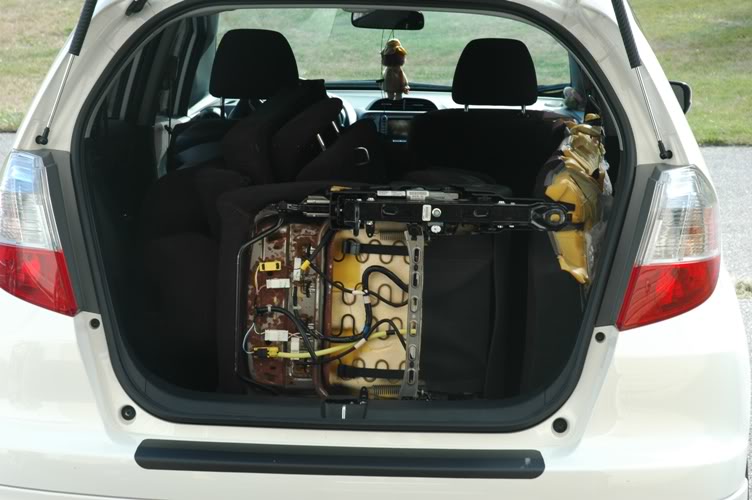
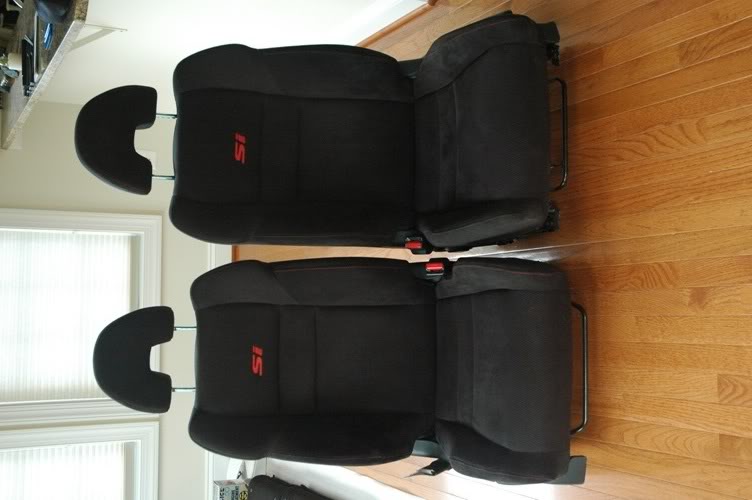
These were steps I took.
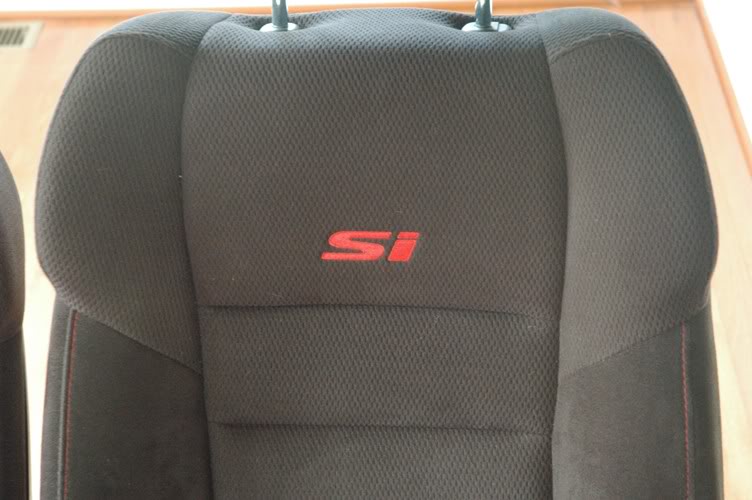
- Unbolt passenger side seat and unplug airbag from USDM GE8 / FIT.
- Remove seat rail from the USDM GE8 / FIT passenger seat.
- Remove seat rail from a USDM Civic Si / FD2 passenger seat.
- Bolt USDM GE8 / FIT rail to USDM Civic Si / FD2 passenger seat.
- Connect airbag and bolt the USDM Civic Si / FD2 seat with GE8 rail to USDM GE8 / FIT.
- Test airbag.
- Repeat on the driver side.
I will post picutures when I come back from business trip.
This is the idea that I got from before I did mine. https://www.fitfreak.net/forums/2nd-...it-friend.html. I installed Civic Type-R FD2 seats in my Civic Si and installed the Civic Si seats on the USDM GE8/ FIT.
Last edited by FITMugen; Jun 27, 2010 at 06:58 PM.

Member

Joined: May 2006
Posts: 653
From: Chicago, IL
Wow, This thread is quite exciting!
I'm very interested in seeing these SI Seats in the Fit.
I have an 07 and have been eyeing some 02-05 Civic SI seats.
My only concerns are fitment and airbag deployment.
Maybe we can figure out some more comfortable seats to put in our Fits.
I'm 6'1" 240lbs so for me, I feel the seats are a little on the small side.
I'm very interested in seeing these SI Seats in the Fit.
I have an 07 and have been eyeing some 02-05 Civic SI seats.
My only concerns are fitment and airbag deployment.
Maybe we can figure out some more comfortable seats to put in our Fits.
I'm 6'1" 240lbs so for me, I feel the seats are a little on the small side.

Thread Starter
|
Member
Joined: Sep 2009
Posts: 697
From: USA
i-VTEC Decals
Accessory: i-VTEC Decals
Part Number: N/A
Manufacture: N/A
Cost: $6.50
Install Time: 10 Minutes.
Civic Si i-VTEC vs FIT i-VTEC
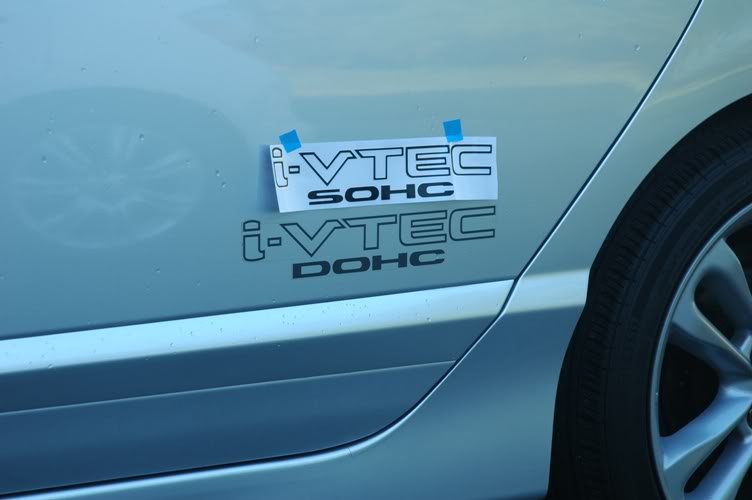
FIT i-VTEC
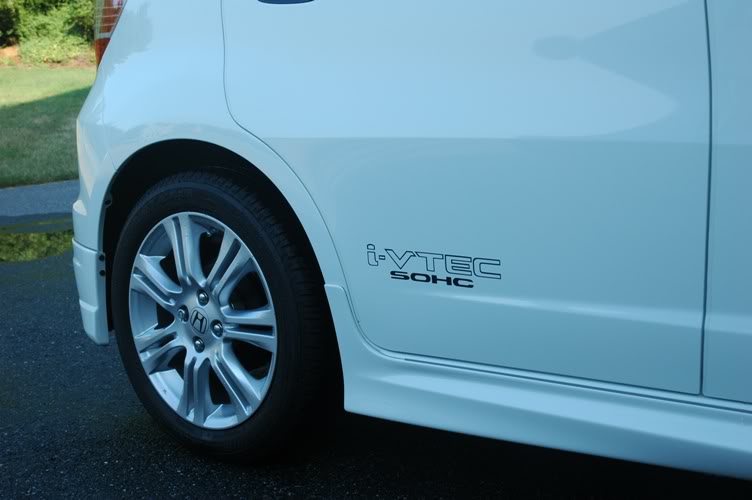
Part Number: N/A
Manufacture: N/A
Cost: $6.50
Install Time: 10 Minutes.
Civic Si i-VTEC vs FIT i-VTEC
FIT i-VTEC
Last edited by FITMugen; Jul 25, 2010 at 08:47 AM.
Thread Starter
|
Member
Joined: Sep 2009
Posts: 697
From: USA
Piaa super tera 6500k led
Accessory: PIAA SUPER TERA 6500K LED
Part Number: H-376
Manufacture: PIAA
Cost: $75.00
Install Time: 10 Minutes.
PACKAGE:
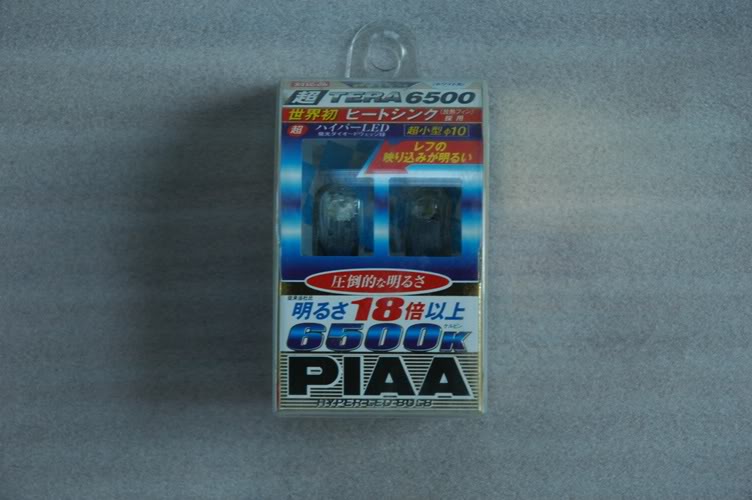
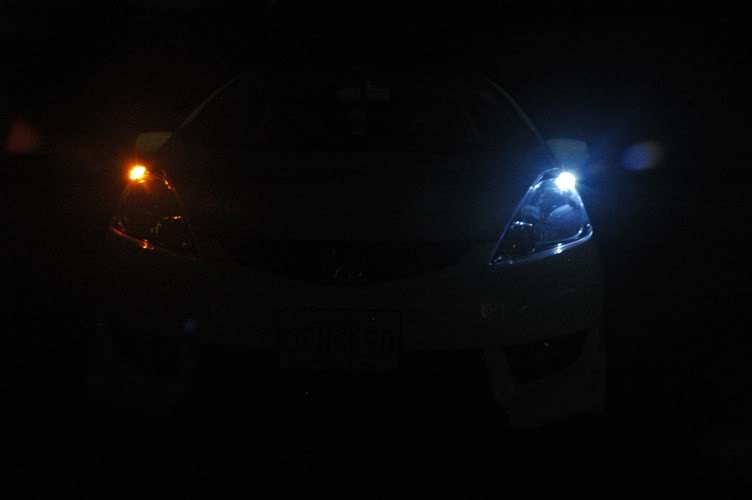
OEM vs PIAA SUPER TERA LED:
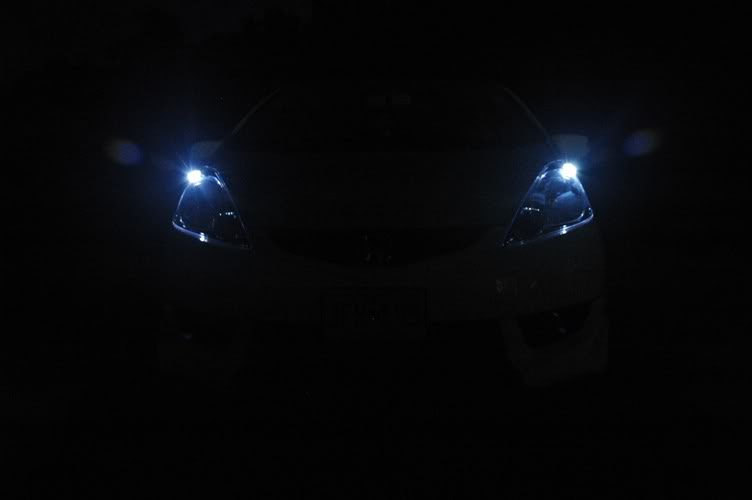
PIAA SUPER TERA 6500K LED:
Part Number: H-376
Manufacture: PIAA
Cost: $75.00
Install Time: 10 Minutes.
PACKAGE:
OEM vs PIAA SUPER TERA LED:
PIAA SUPER TERA 6500K LED:

Member
Joined: Mar 2010
Posts: 41
From: Woodstock, Maryland
i could be wrong, but did u go to security best buy the other day?
I had the m3 out.. but i noticed the euro tags under your plate..
not sure if that was you or not.
(would love for you to install my window visor things) =)
I had the m3 out.. but i noticed the euro tags under your plate..
not sure if that was you or not.
(would love for you to install my window visor things) =)

Member
Joined: Apr 2010
Posts: 1,316
From: Minnesota
Hmmm....after reading the first couple of pages I could have sworn this was an advertising campaign and that FitFreak had been infiltrated by Honda marketing department. I'm still not convinced otherwise. 
Too many OEM parts with "part numbers" conveniently posted.
Too many OEM parts with "part numbers" conveniently posted.
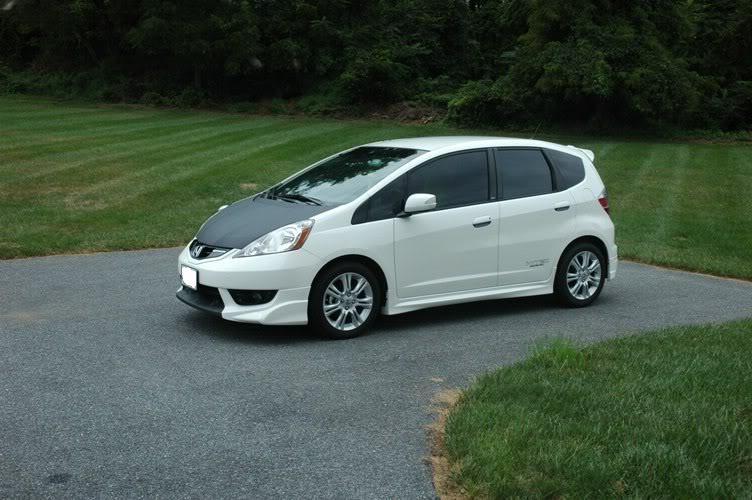
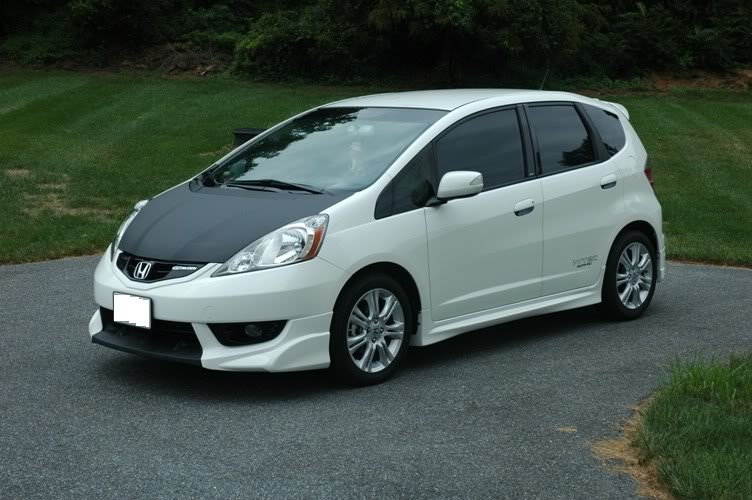
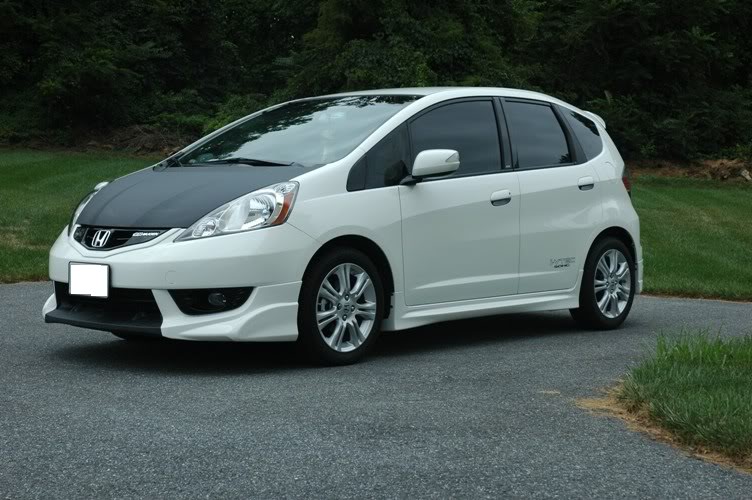
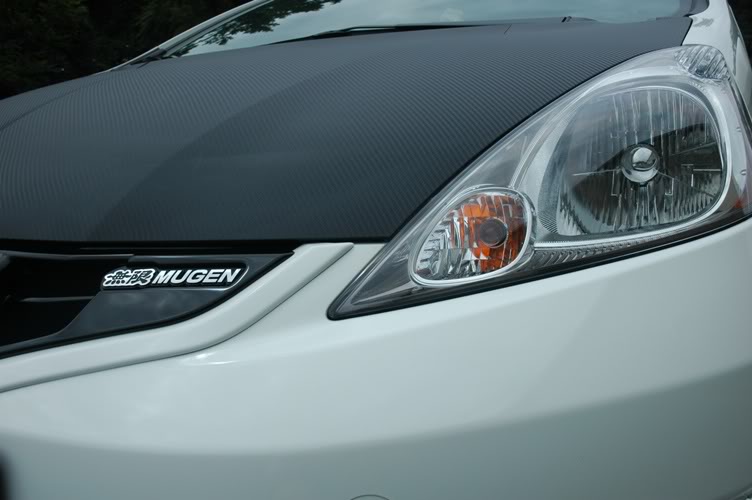
Member
Joined: Apr 2010
Posts: 1,316
From: Minnesota
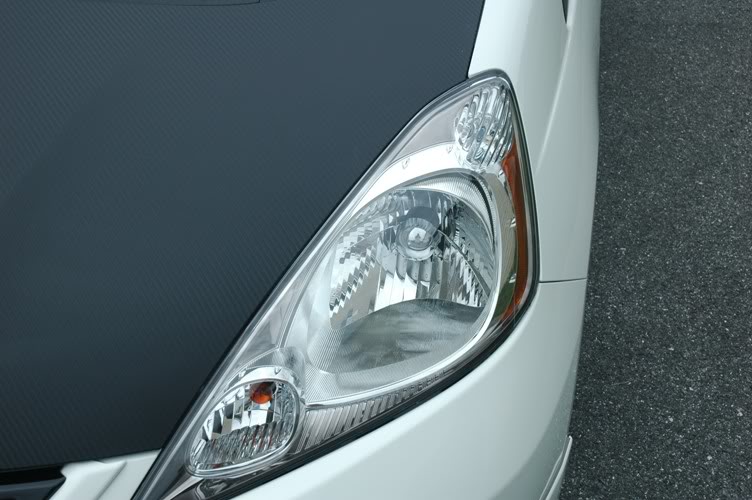
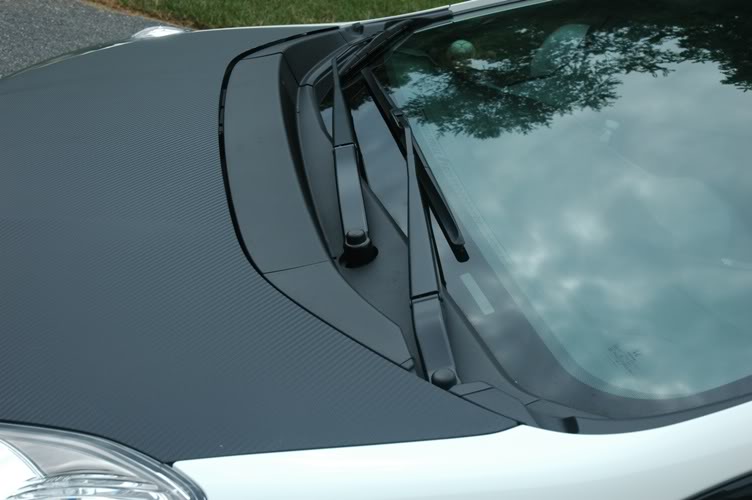
Personally, I'm not a fan of fake CF stickers...but you are doing your own thing and that is all that matters. Is there a wrinkle or dmple on hood in pic 4? I'm curious to see what happens when you get tired of the fake CF look in two months and peel this off.
Again props for going this far with the Fit.
Again props for going this far with the Fit.
Thread Starter
|
Member
Joined: Sep 2009
Posts: 697
From: USA
Personally, I'm not a fan of fake CF stickers...but you are doing your own thing and that is all that matters. Is there a wrinkle or dmple on hood in pic 4? I'm curious to see what happens when you get tired of the fake CF look in two months and peel this off.
Again props for going this far with the Fit.
Again props for going this far with the Fit.
It will be easier to remove fake CF than remove real CF hood for sure. I have not decided which direction I am going. So I just put 3m Di-NOC and see I like it or not. Additional, I have not seen really nice real CF hood for USDM FIT GE8 yet. I like the hood in your signiture but it is for JDM FIT. I will wait for JDP or whoever will duplicate it for USDM GE8. Then I might reconsider it. Furthermore, $500+ is a little expensive. I will get a new set of wheels and tires as my next item.
Thread Starter
|
Member
Joined: Sep 2009
Posts: 697
From: USA
I can definitely install window visor for you. However, I am going back and forth between MD and FL. I attend school there and work in DC. Otherwise, my brother can help you out.