
Pictures of Modifications in Progress


Thread Starter
|
Member
Joined: Jul 2014
Posts: 3,289
From: Shokan, NY

Pictures of Modifications in Progress
Let's see if I can post pictures from Imgur.
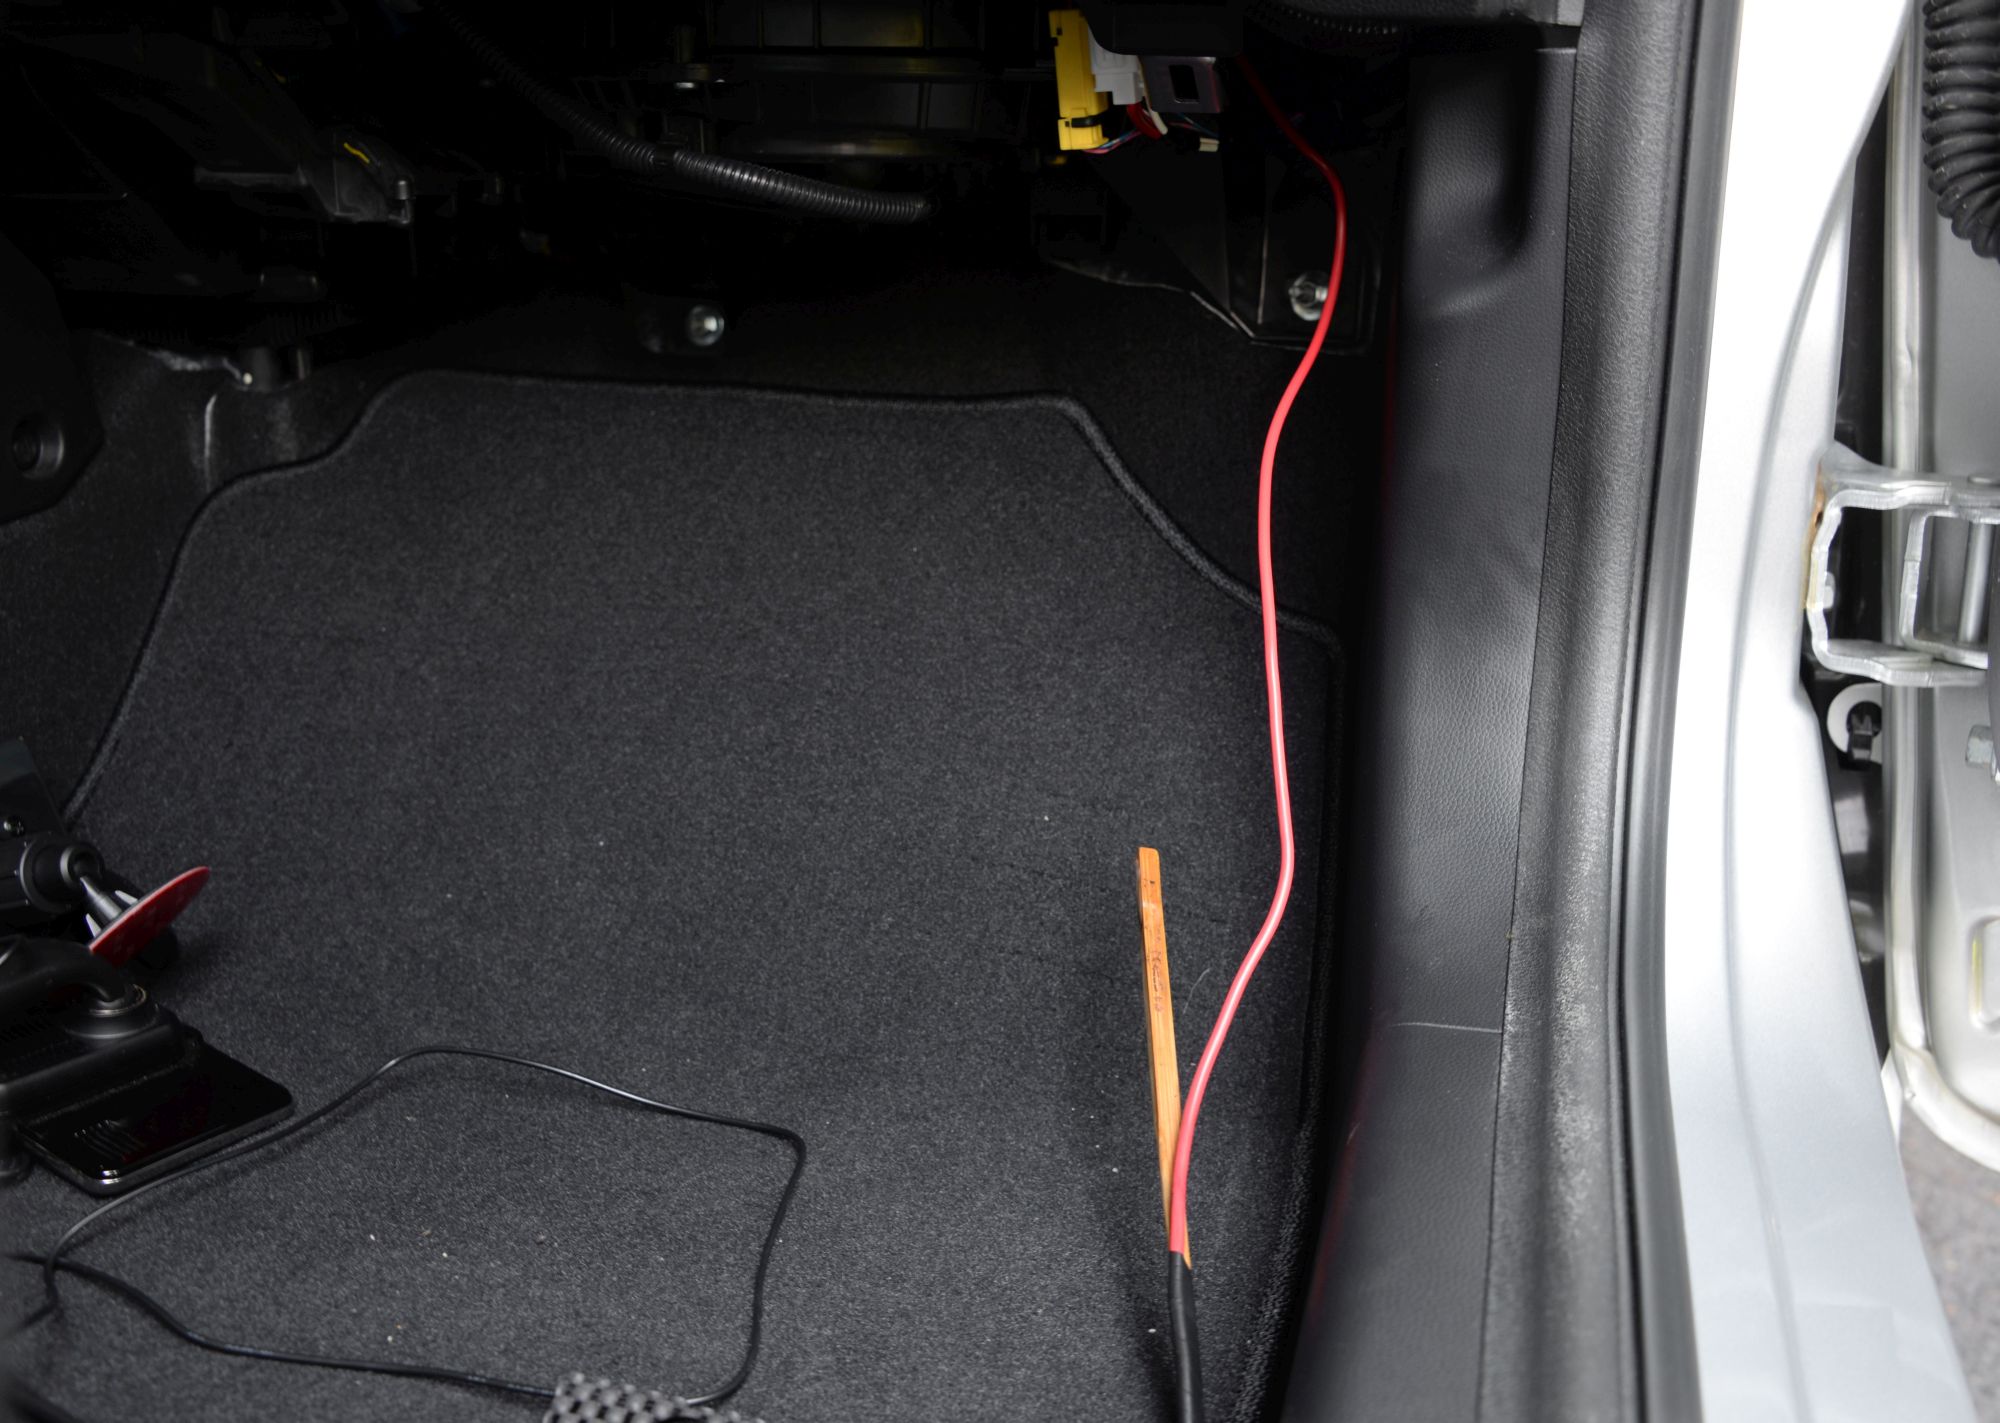
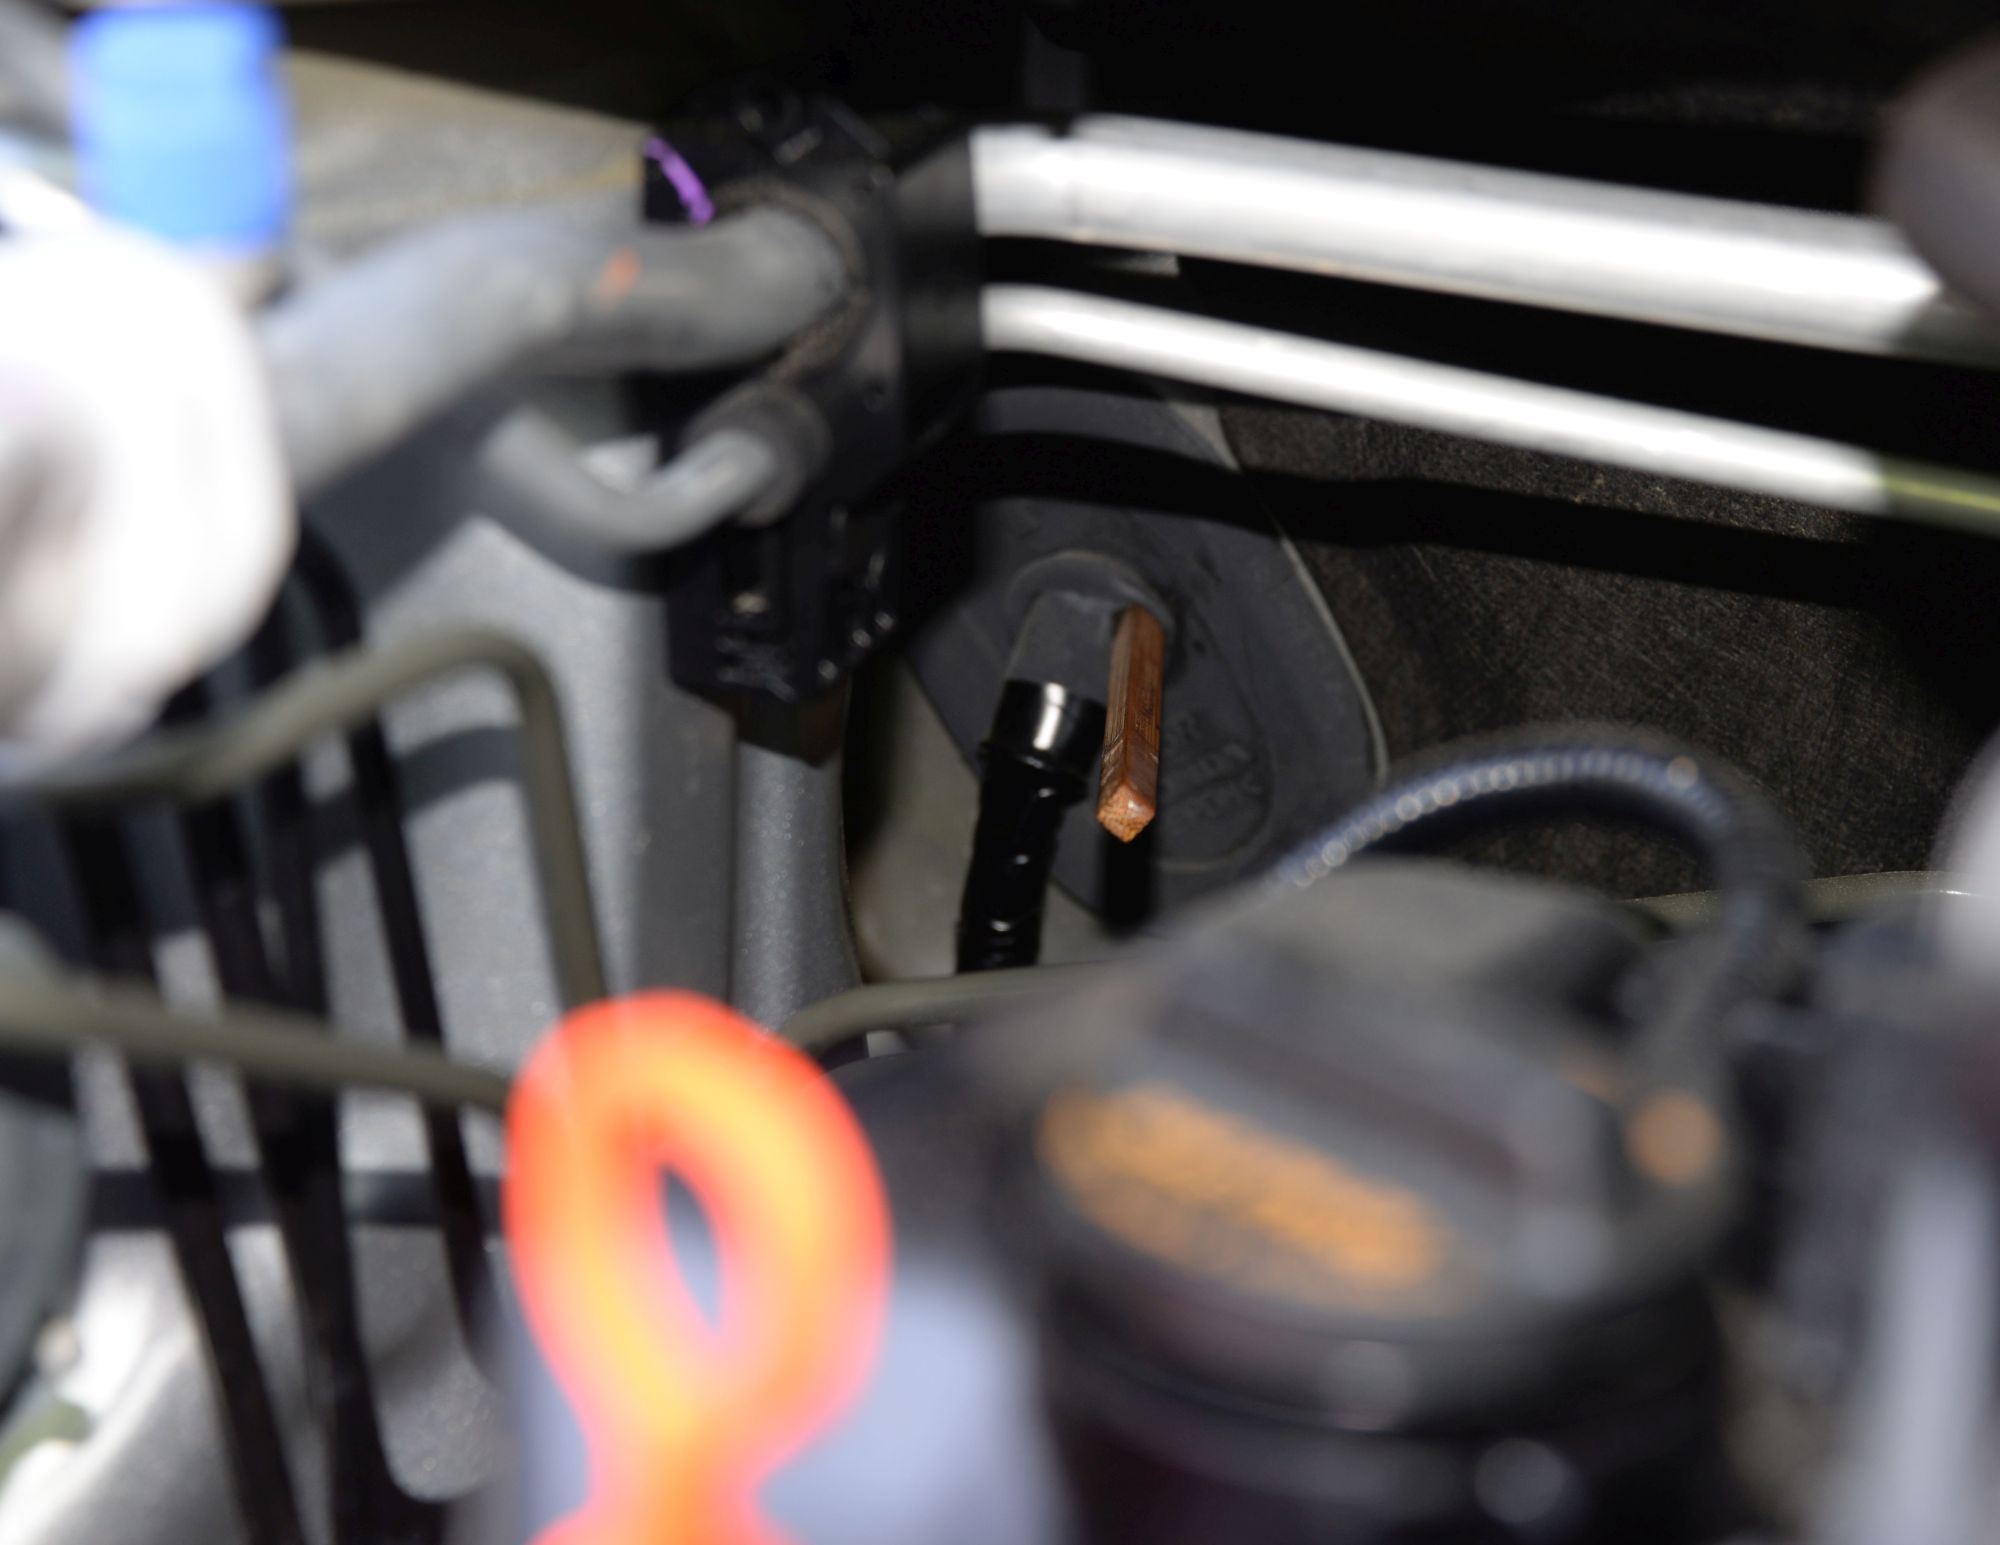
I ran a wire from the engine compartment into the car, That will power a separate fuse block that will power several other things. I used a chopstick to poke through a grommet on the passenger's side. you can see the wire in the engine compartment and then inside the car.
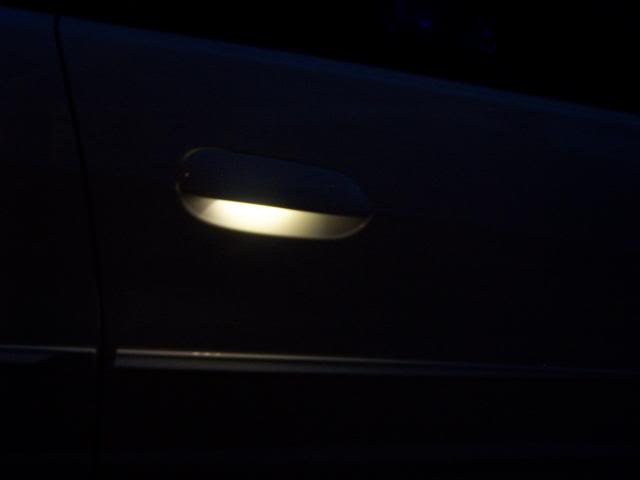
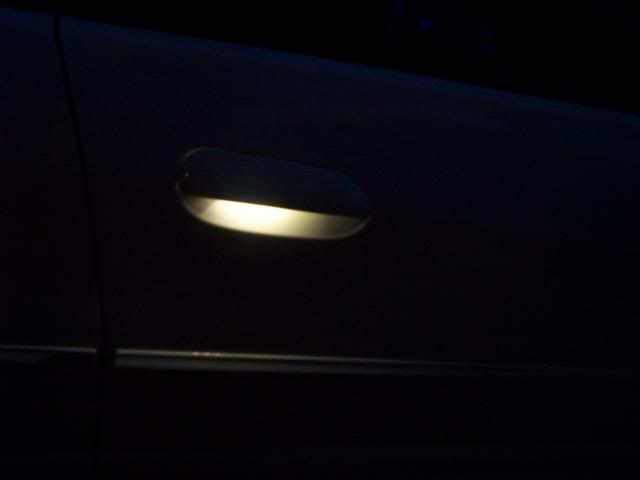
I put these door handle protectors on all four doors. They are magnetized, so they come off easily - from Amazon.
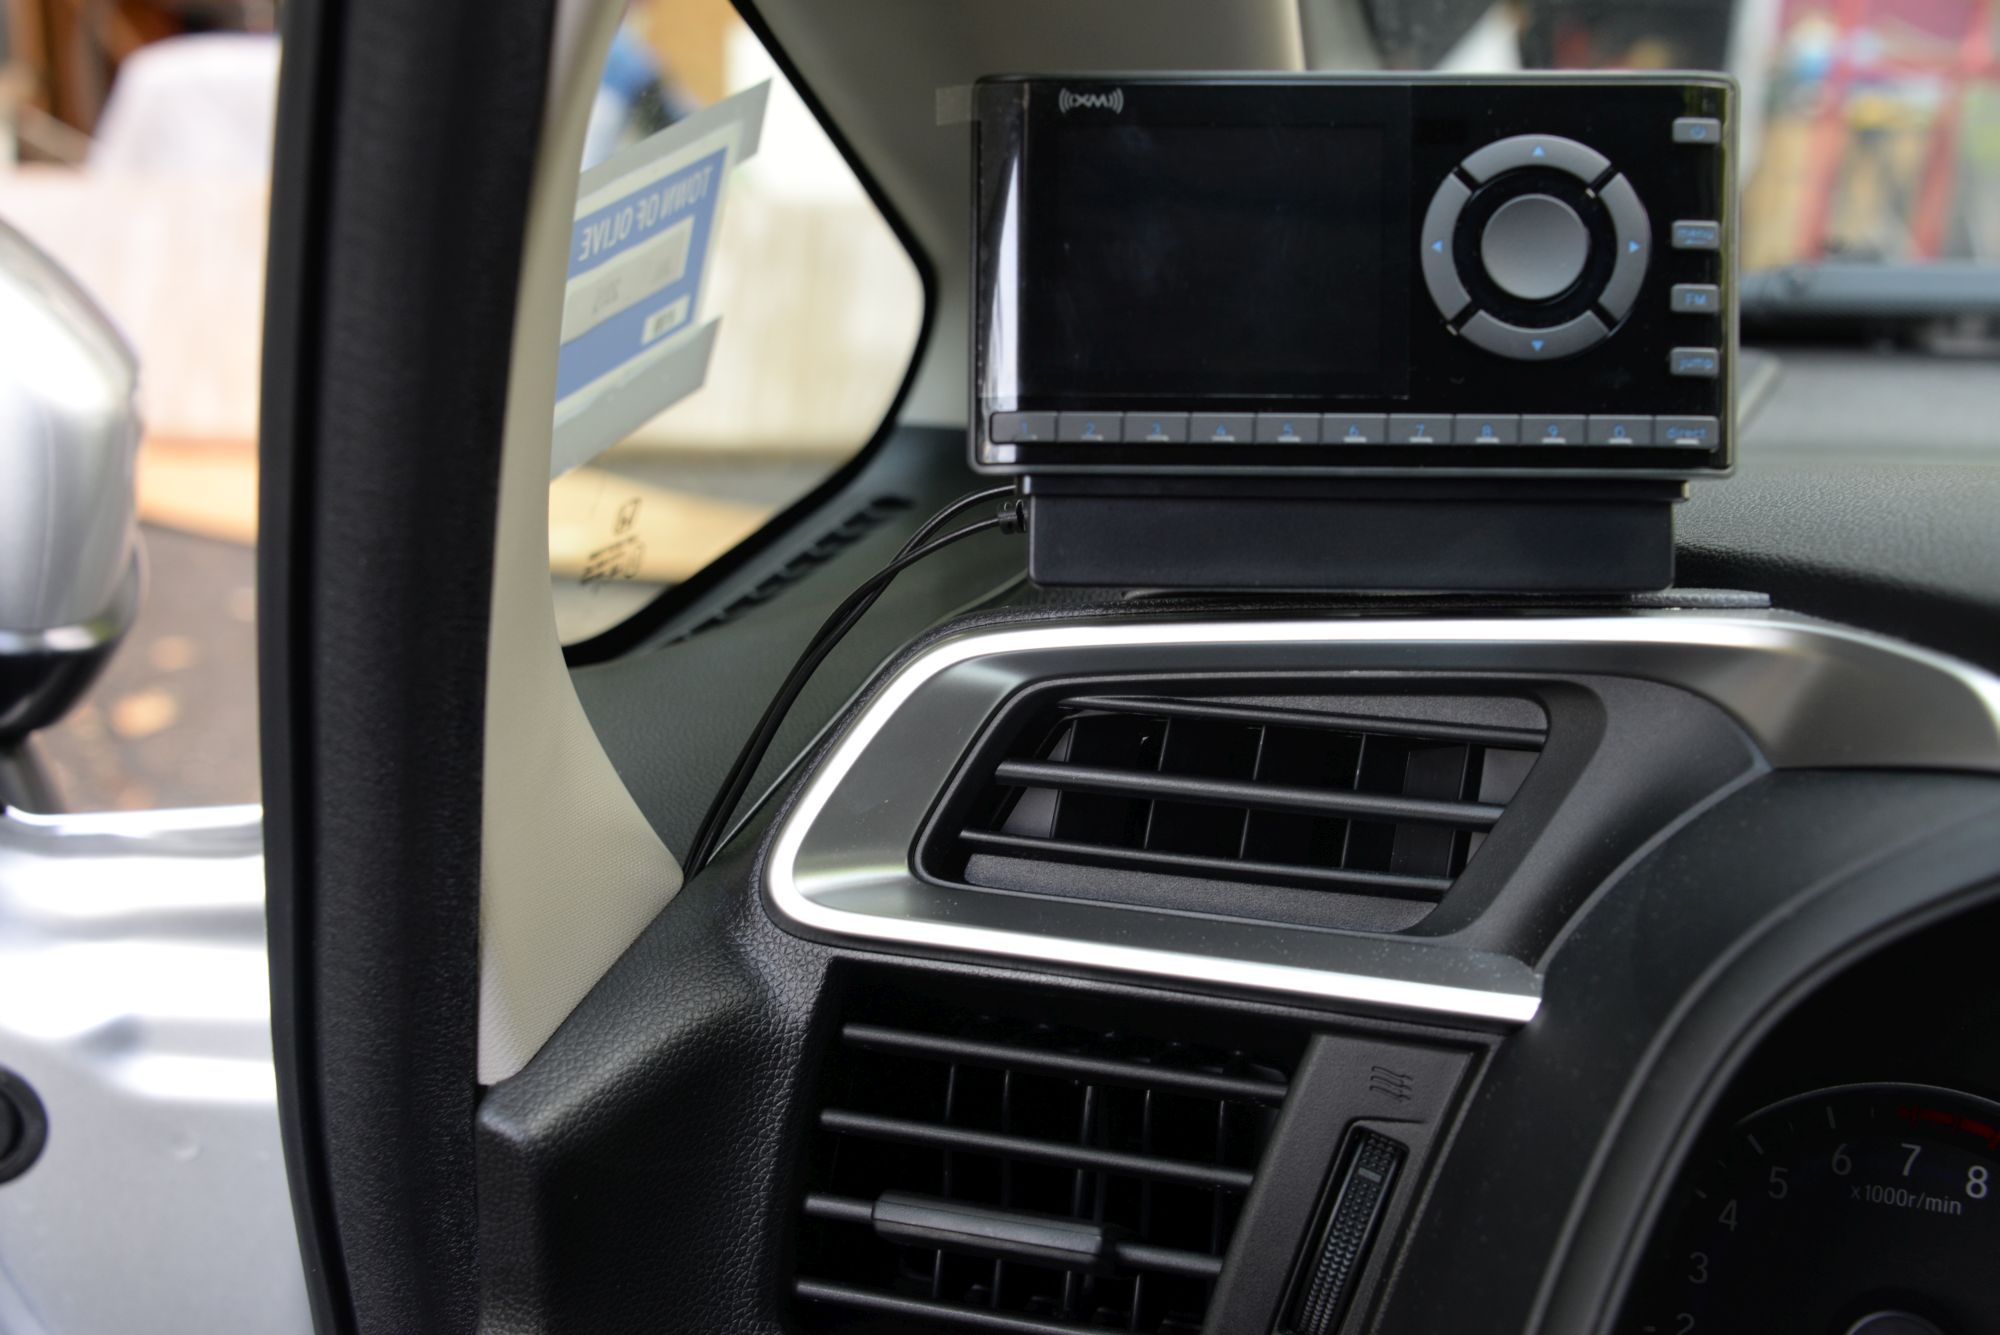
I found a good spot for my XM radio, with the wire sneaking down inside the paneling. I removed the door gasket to get it back there.
http://imgur.com/2xbw7IA,wgHDQCU,Zj6...s8gb,yQJ0Cmy#0
imgur: the simple image sharer
http://imgur.com/2xbw7IA,wgHDQCU,Zj6...s8gb,yQJ0Cmy#2
http://imgur.com/2xbw7IA,wgHDQCU,Zj6...s8gb,yQJ0Cmy#3
imgur: the simple image sharer
I ran a wire from the engine compartment into the car, That will power a separate fuse block that will power several other things. I used a chopstick to poke through a grommet on the passenger's side. you can see the wire in the engine compartment and then inside the car.
I put these door handle protectors on all four doors. They are magnetized, so they come off easily - from Amazon.
I found a good spot for my XM radio, with the wire sneaking down inside the paneling. I removed the door gasket to get it back there.
http://imgur.com/2xbw7IA,wgHDQCU,Zj6...s8gb,yQJ0Cmy#0
imgur: the simple image sharer
http://imgur.com/2xbw7IA,wgHDQCU,Zj6...s8gb,yQJ0Cmy#2
http://imgur.com/2xbw7IA,wgHDQCU,Zj6...s8gb,yQJ0Cmy#3
imgur: the simple image sharer
Last edited by SilverEX15; Aug 9, 2014 at 06:17 PM.

New Member
Joined: Jun 2014
Posts: 4
From: Pasadena
open up your image on the screen in imgur and right click the image and copy its location. Make sure this is on the largest version you have. once that is copied past it with in tags that look like this.
[img]*pasted portion*[/img]
the imgur page has these listed to the right of your photo. Just copy and paste it.
[img]*pasted portion*[/img]
the imgur page has these listed to the right of your photo. Just copy and paste it.

Thread Starter
|
Member
Joined: Jul 2014
Posts: 3,289
From: Shokan, NY
Thread Starter
|
Member
Joined: Jul 2014
Posts: 3,289
From: Shokan, NY
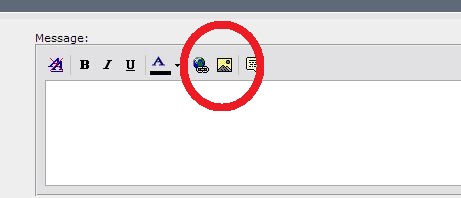
Right click on pic in your album. Then click on Image location. Go back to Forum and click on the little yellow icon at the top of message posting area. Then paste the link.
Last edited by Black3sr; Aug 10, 2014 at 07:01 AM.
http://i90.photobucket.com/albums/k2...FIT/004-15.jpg. I pasted this in the window that comes up when you click onthe little yellow mountain
Thread Starter
|
Member
Joined: Jul 2014
Posts: 3,289
From: Shokan, NY
Thread Starter
|
Member
Joined: Jul 2014
Posts: 3,289
From: Shokan, NY
It should be there when you copy. This is one I did from using Photobucket to store my pics. This is what I copied from there -
http://i90.photobucket.com/albums/k2...FIT/004-15.jpg. I pasted this in the window that comes up when you click onthe little yellow mountain
http://i90.photobucket.com/albums/k2...FIT/004-15.jpg. I pasted this in the window that comes up when you click onthe little yellow mountain
Member

Joined: Apr 2006
Posts: 831
From: Kentucky
Thread Starter
|
Member
Joined: Jul 2014
Posts: 3,289
From: Shokan, NY
I had the antenna on the dash of the Cube, and it worked fine there.
Thread Starter
|
Member
Joined: Jul 2014
Posts: 3,289
From: Shokan, NY
What program did you use to make the red circle?

Member
Joined: May 2014
Posts: 852
From: St Paris, Ohio
I have a couple of Roadys, but since I would be transferring a Lifetime subscription from my Cube, I wanted a new radio. I got the Onyx. I have the antenna on the dash, and it works okay. I didn't feel like tearing everything up to just it on the roof.
I had the antenna on the dash of the Cube, and it worked fine there.
I had the antenna on the dash of the Cube, and it worked fine there.

Thread Starter
|
Member
Joined: Jul 2014
Posts: 3,289
From: Shokan, NY
I also bought the Oynx but put the antenna right behind the radio antenna, other than the wire coming in the hatch . I tucked the wire in behind the trim along the ceiling all the way up front then down the trim and under the dash. Was easy and took about 5 minutes. Having said that the dash is still easier.
By the way, the power wire for the Onyx is not very strong. I caught my foot on it as I was getting out of the car yesterday, and it broke. It wasn't connected, since I still have everything apart. Looking on Amazon for a new one, I read quite a few negative comments about the SiriusXM product, so I got a different replacement.
The Onyx power cord doesn't have two wires side by side. One wire is in the center, with the other one surrounding it. Since it is so thin to begin with, cutting, stripping, and joining doesn't seem to be practical. The new one will arrive today. There's no plug, just two wires to connect to power.
I have a cord from a Roady, but that puts out 6 volts, and the Onyx cord puts out 5, so I didn't want to take a chance and use that one.

Thread
Thread Starter
Forum
Replies
Last Post