What did you do to your GK Fit today?
#241
 06-06-2015, 02:33 PM


Anyone got specific measurements on the front and back Honda emblems? I'm looking at these, but am open to suggestions.
Amazon.com: 2006-2015 Honda JDM BLue CIVIC 4dr. SEDAN ONLY Emblem logo badge 2 pieces SET: Automotive
Amazon.com: 2006-2015 Honda JDM BLue CIVIC 4dr. SEDAN ONLY Emblem logo badge 2 pieces SET: Automotive
Dimension for these are front 123mm x 100mm and rear 92mm x 75mm
The front emblem fits fine, but the rear emblem is little bit small, not really noticeable
#242
06-07-2015, 03:09 PM


I bought these awhile ago Amazon.com: 08-12 Honda JDM RED Accord Emblem Logo Badge 2 Pieces SET E11/e01: Automotive
Dimension for these are front 123mm x 100mm and rear 92mm x 75mm
The front emblem fits fine, but the rear emblem is little bit small, not really noticeable
Dimension for these are front 123mm x 100mm and rear 92mm x 75mm
The front emblem fits fine, but the rear emblem is little bit small, not really noticeable
Front
75700-TA0-A00
8652786
Rear
75701-T5A-000
9662087
Anyone know how to decipher Honda part numbers to get related items? I REALLY want the blue emblems.


#244
06-09-2015, 10:22 PM
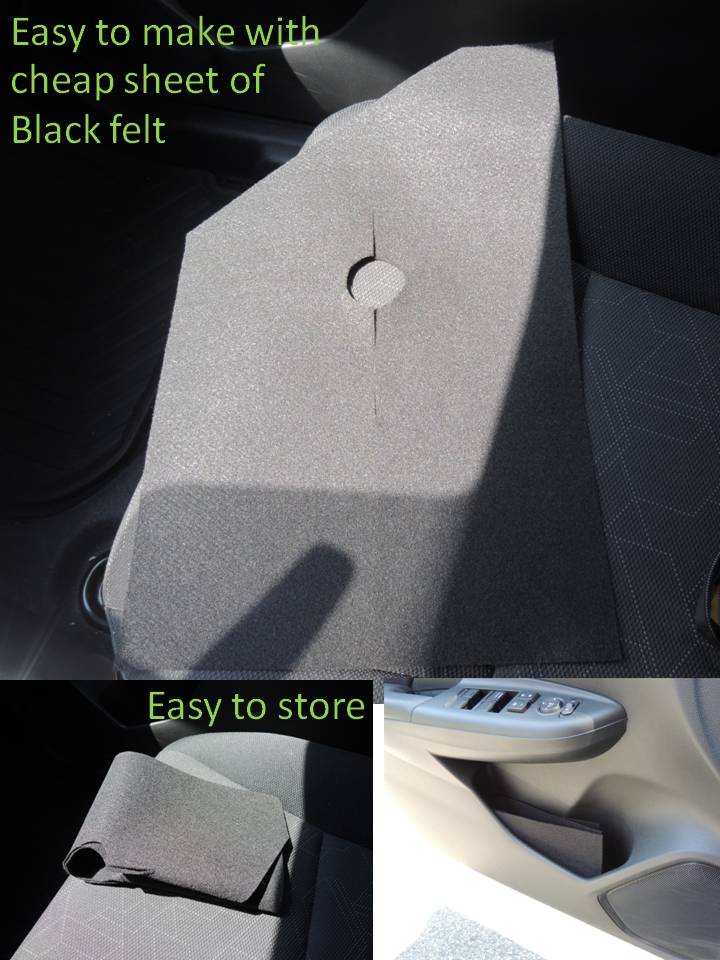
Garmin Quest
I've been driving around familiar territory the last few days with my new Garmin, in preparation for a lengthy trip up north. It's pretty clever, but the little lady sure doesn't have a handle on short-cuts! That aside, does anyone have a tweek for the Garmin's tendency to tell you that you've reached your destination about 2 seconds too late (just past the turn-off)?? Oh, and the Garmin looks way cool on Loki-chan's dashboard. I went to Michael's and bought a $1.79 piece of black felt, and cut out a "Christmas tree skirt" that slips around the base of the display and reduces dashboard reflection glare dramatically. I will include a pic as soon as my camera is fixed (rolled over on the LCD in Japan while reading a book). 

Last edited by Fitster C.; 06-11-2015 at 03:40 PM. Reason: add pix


#248
06-14-2015, 01:53 AM

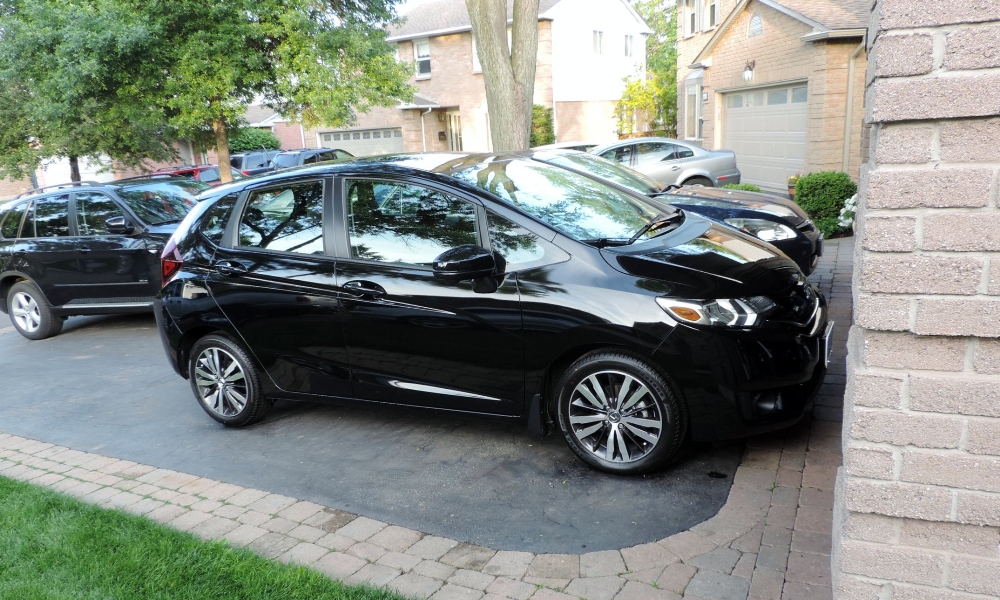
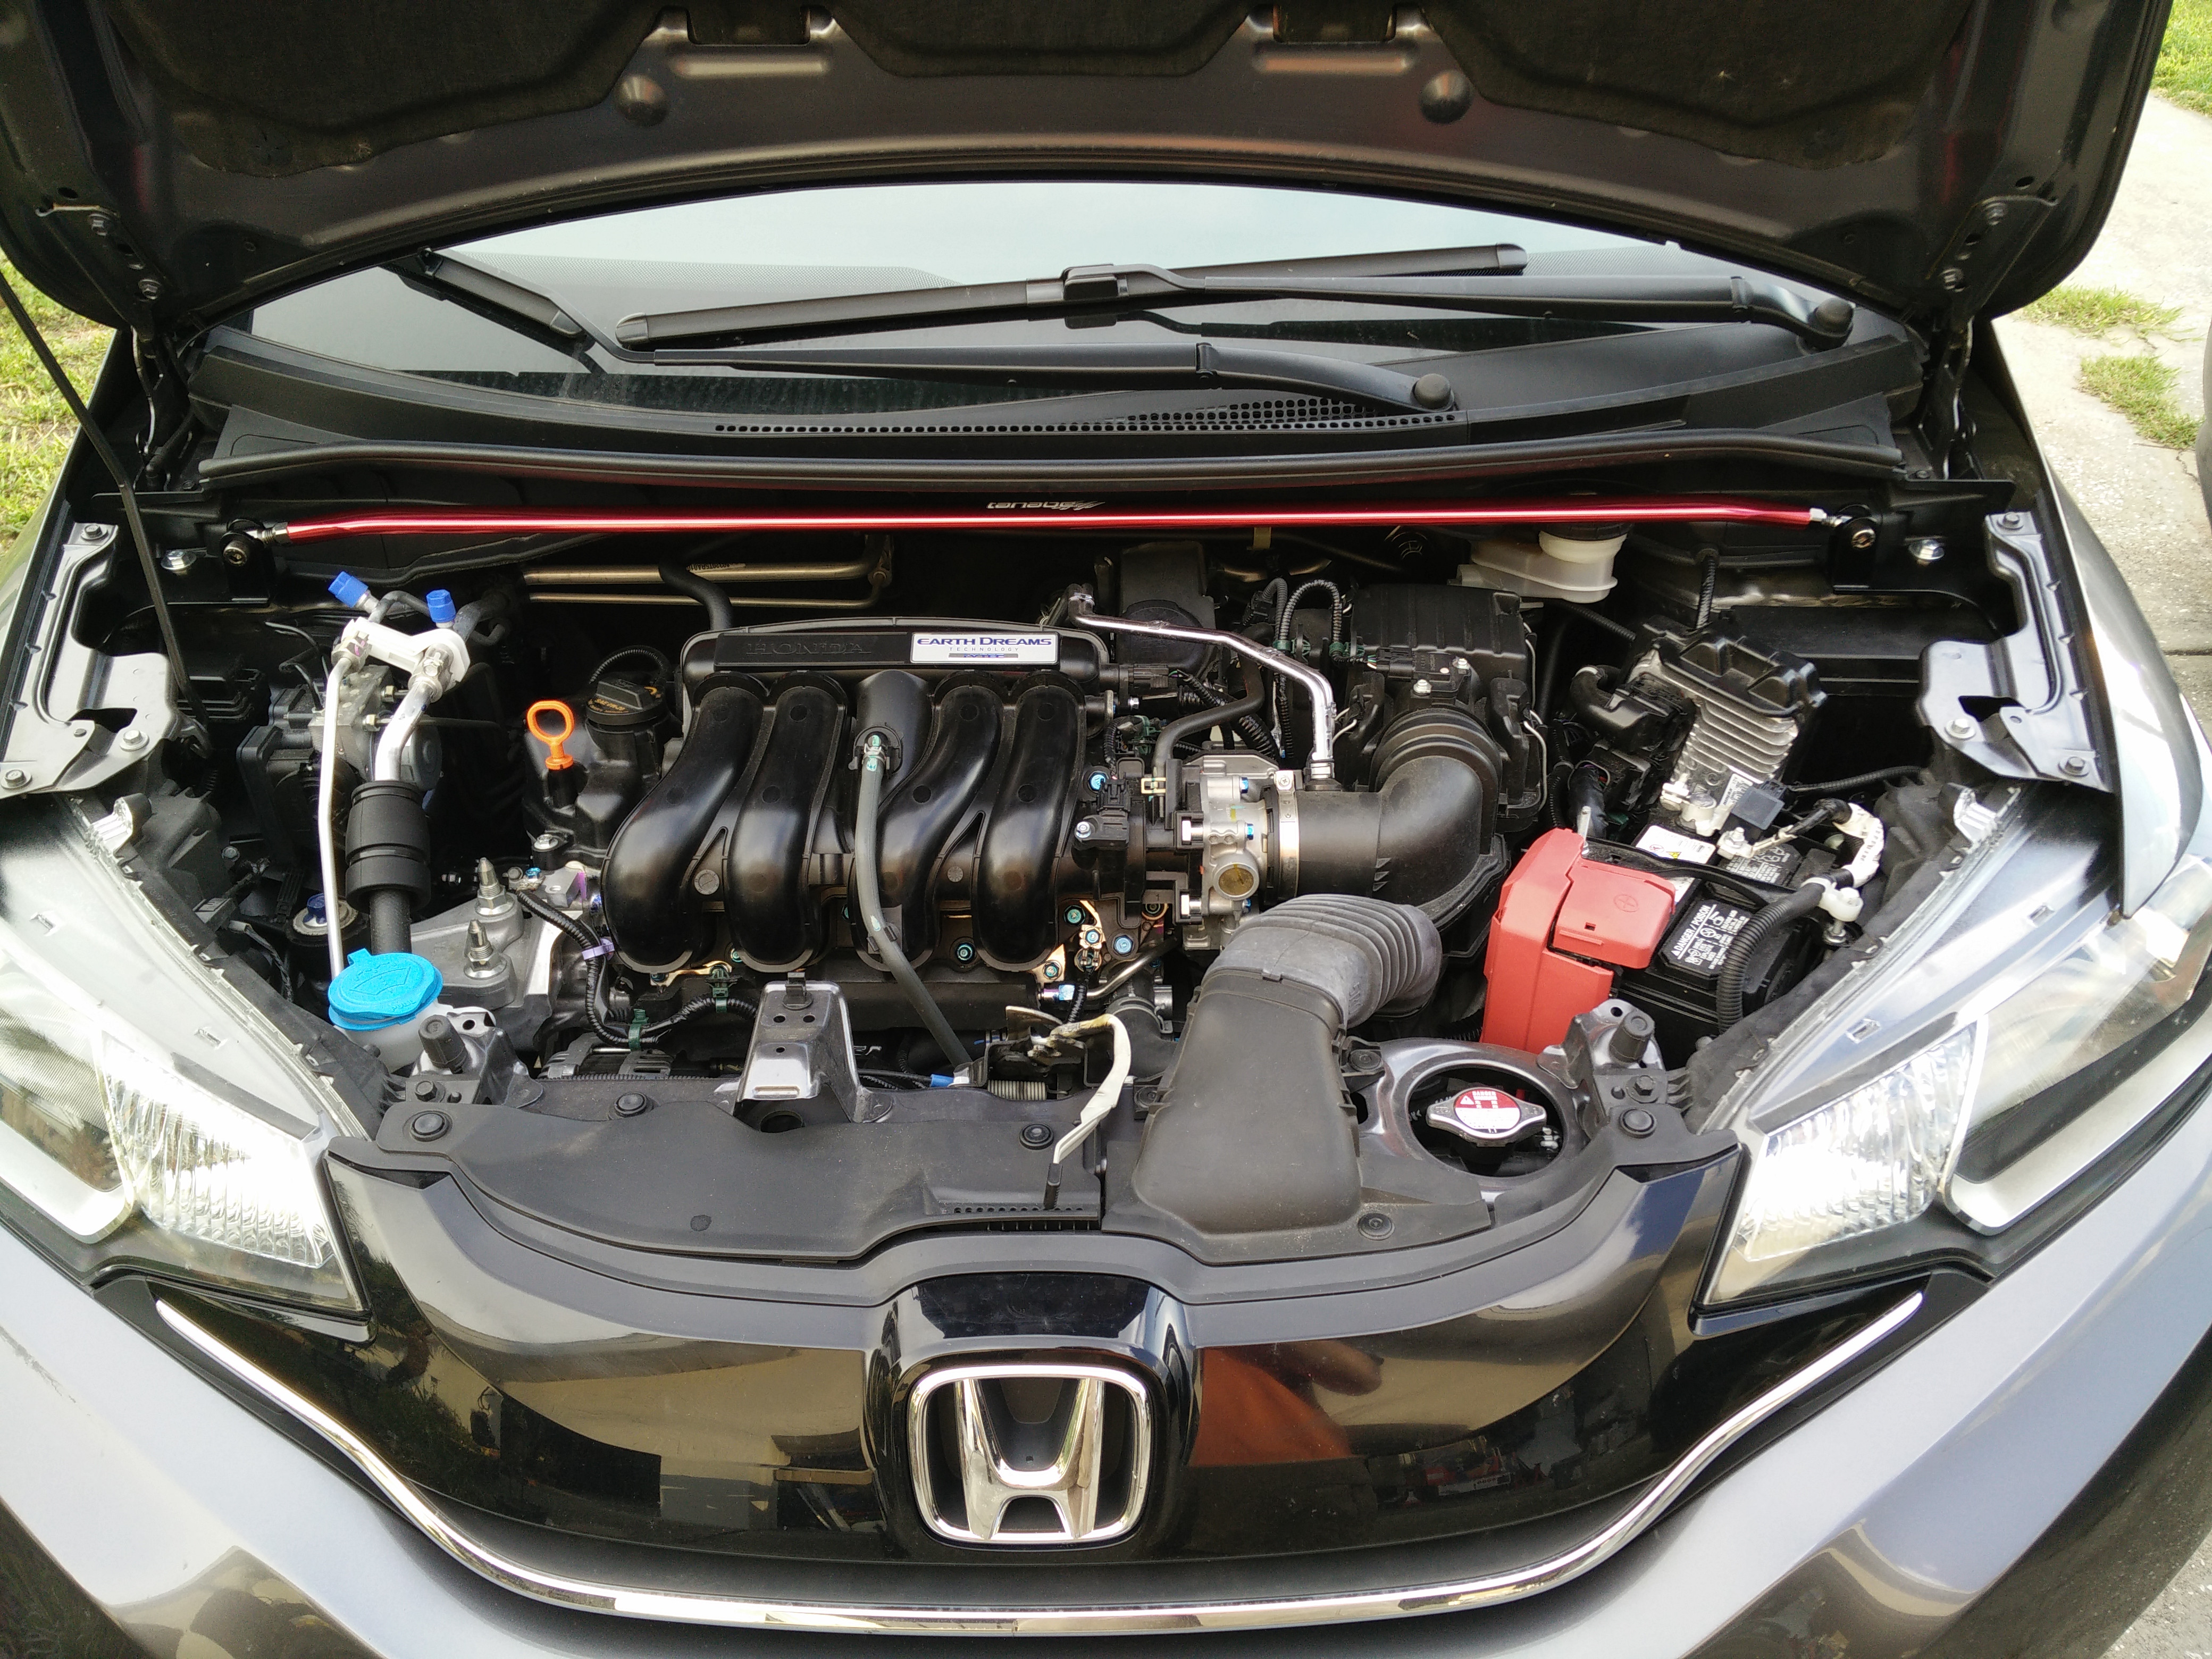
Brand new black EX
After picking up my new Fit Ex from the dealership a few days ago, i didn't know if they waxed it or not so i decide to spend my afternoon washing, cleaning with clay bar, and waxing my new Honda..Im a volkswagen fanatic but decided to give this a shot. So far Im not too impressed with the quality of paint on this car. Luckily I have the 3M clearsheild on the front end. Over the next few month I will cake on more wax before the harsh winter and salt gets at it. Here's she is.. (I chose the 6 speed manual!)

#249
06-16-2015, 01:48 AM

Upgrades today
Installed a new shift knob including shift boot adapter. I went with Buddy Club Racing Spec Type A in white.
I also installed LEDs in all interior lights and the rear license plate lights. So much brighter and very easy.
Thanks to this forum I knew exactly how do both installs.
Looking for my next mod......any suggestions?
I also installed LEDs in all interior lights and the rear license plate lights. So much brighter and very easy.
Thanks to this forum I knew exactly how do both installs.
Looking for my next mod......any suggestions?

#252
06-20-2015, 08:43 AM
Last Saturday, I got around to using the clay bar on the car. Finish looks and feels amazing now.
Yesterday, I pulled the rear wheels and painted the brake drums, since they're starting to show some rust. I still have to do the fronts, maybe tomorrow, since it's supposed to rain.
Yesterday, I pulled the rear wheels and painted the brake drums, since they're starting to show some rust. I still have to do the fronts, maybe tomorrow, since it's supposed to rain.
#253
06-20-2015, 01:21 PM
Wet sanding pilgrim

#254
06-20-2015, 01:47 PM
If I understand correctly, you filled a chip and now it is a raised paint spot?
It depends on the size and contour on the location. Flat surface can be block sanded. Concave, convex, edges, etc not so much.
The way I've repaired chips is after the paint has fully cured, you can wet sand first with 2500, then finish w/ 5000 grit, Polish, and wax. Make sure area is thoroughly clean. Spray paint chip with water in a spray bottle or hose, and wet sand paper. Fold 2500 into thirds and begin lightly sanding area to bring down the high spot. Constantly stop and check progress and wash particulate from area and paper. This is important for a glass like finish. Remember, go slow and take your time. Anything you remove cannot be put back except by reshooting.
Sanding will give it a flat finish but that's ok. Polishing compound will take care of it. After your satisfied with it hit it with 5000 same way. Plenty of water. I was out of polishing compound and used Mother's Billet metal polish. I recommend using a paint finishing polish but this stuff works great on non-enamels.
I did this process like 3-4 times on my rear hatch piece. I thought it looked great, then I find an angle that shows a spot I missed, then I go back and do these steps over until I'm happy. Remember there's no reason to rush and if you find it still incomplete go at it again.
Sometimes minor scratches can be feather edged and hidden with this technique, but like anything, if you don't feel confident in your ability to handle this task, take it to a professional. And if you have an old beater car or painted surface to practice give it a go on that first.
Hope this helps. Sorry for typos my cell is a bish to write with
#255
06-20-2015, 01:58 PM
Oh I forgot: when using polishing compound by hand, I prefer clean 100% cotton only. An old white cotton t shirt. Be careful of tags, stitching, silk screening, etc as this can scratch the surface. Also, this process can "over polish", creating a nicer shiny spot than the rest of the area finish.
#256
06-20-2015, 02:52 PM
Oh I forgot: when using polishing compound by hand, I prefer clean 100% cotton only. An old white cotton t shirt. Be careful of tags, stitching, silk screening, etc as this can scratch the surface. Also, this process can "over polish", creating a nicer shiny spot than the rest of the area finish.

#257
06-20-2015, 05:13 PM
Finally got my Pedals installed
Well almost, I need to figure out the accelerator pedal. it all plastic not sure how to mount the aluminum one.

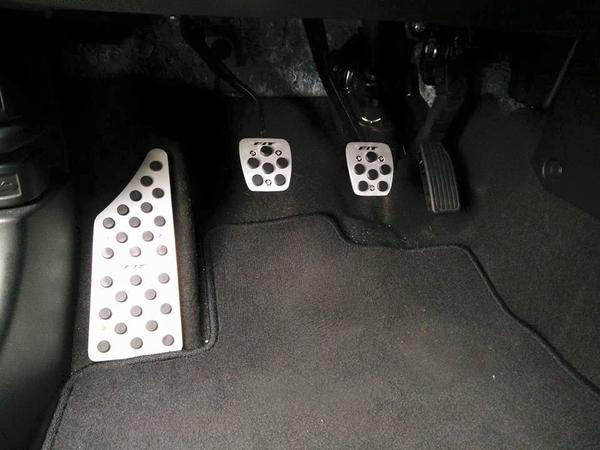
Well almost, I need to figure out the accelerator pedal. it all plastic not sure how to mount the aluminum one.
#258
06-20-2015, 09:06 PM
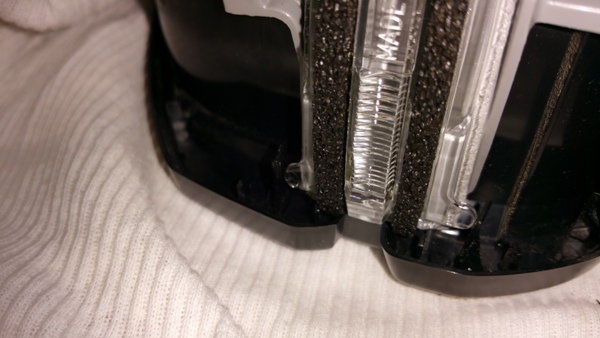
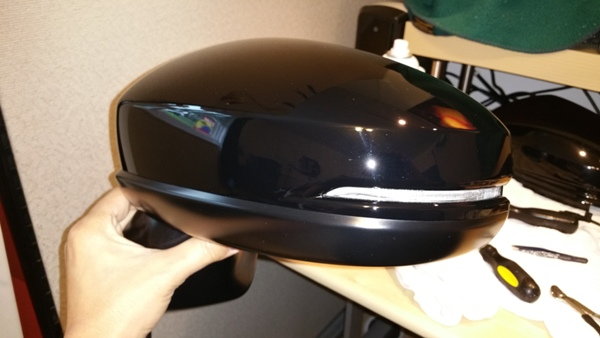
Pictures of my full LED light conversion. Pictures don't do it justice though. I also added the LED side mirror winkers. Unfortunately Honda never made it an option for the EX. In addition to the winkers, my EX 6MT has heated mirrors too!! 
More tech details can be found on my main mod thread!


More tech details can be found on my main mod thread!


#260
06-21-2015, 01:35 PM
BEAUTIFUL!!!

Man that RS Kit and Mugen Grill, i can only wish to have those one day in my life.