Axlline's Fit

Thread Starter
|
Member
Joined: Mar 2009
Posts: 190
From: Virginia Beach

Axlline's Fit
Putting this here as well to update when things change 
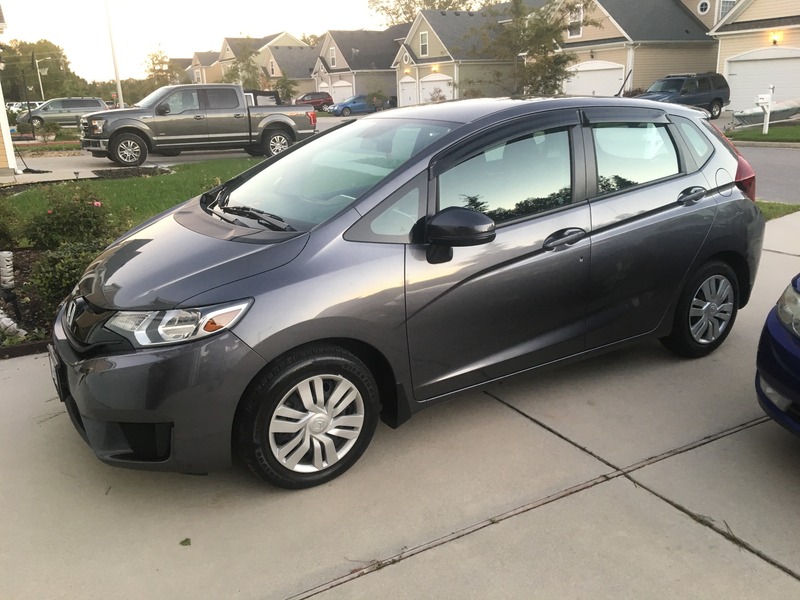
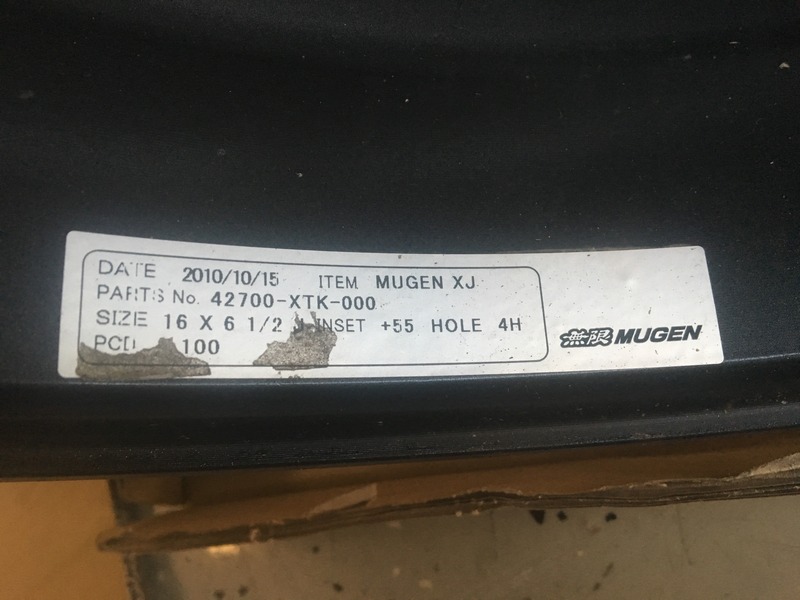
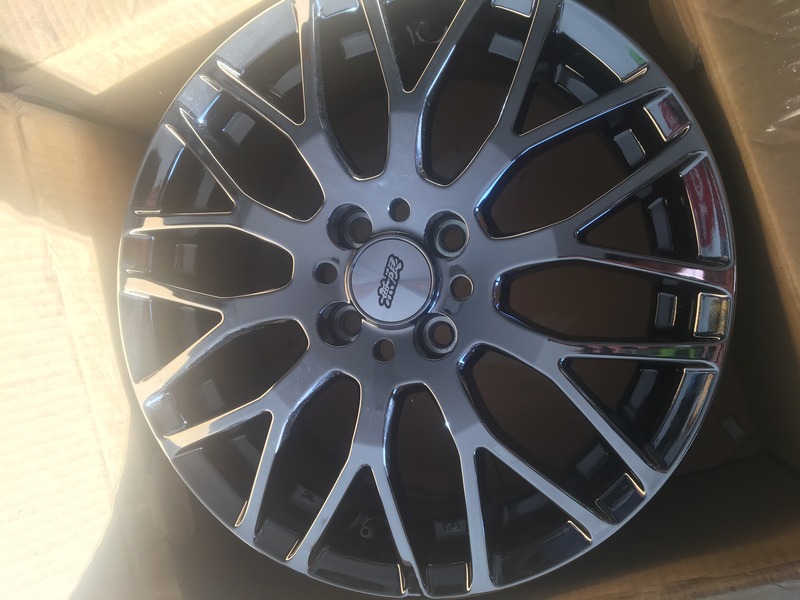
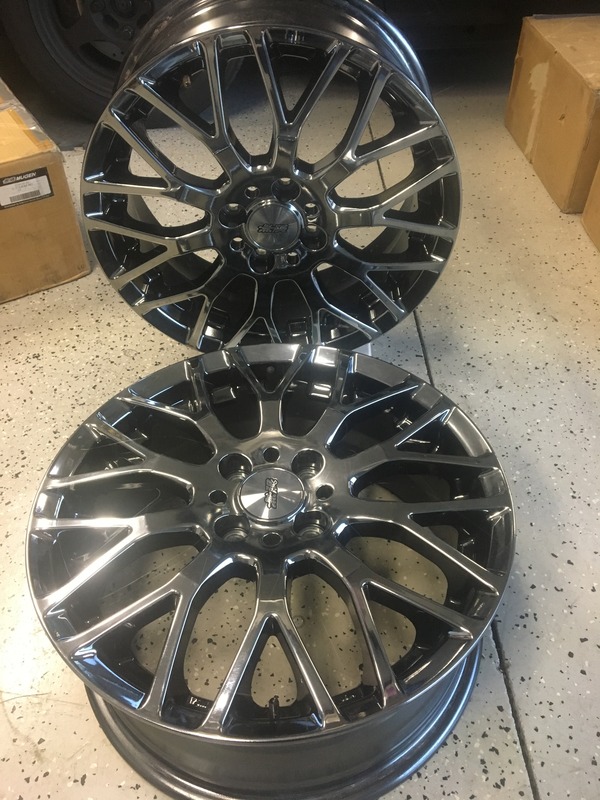
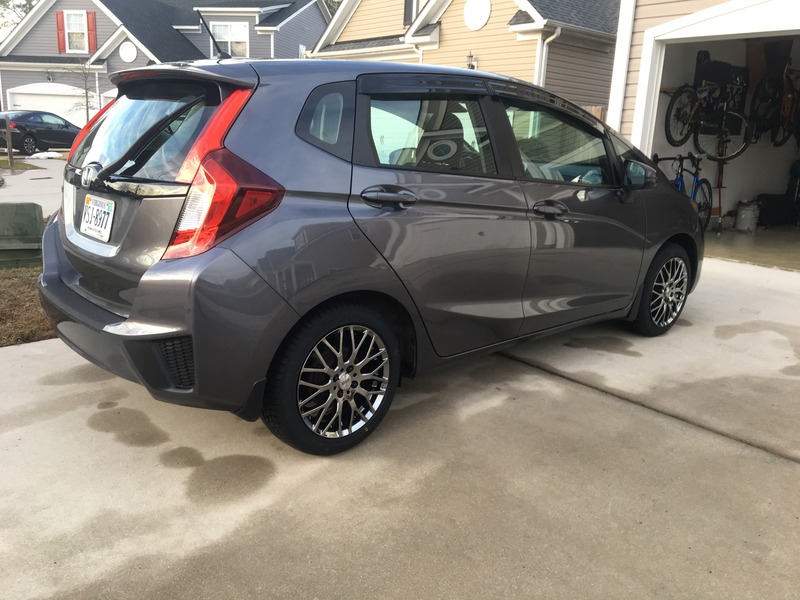
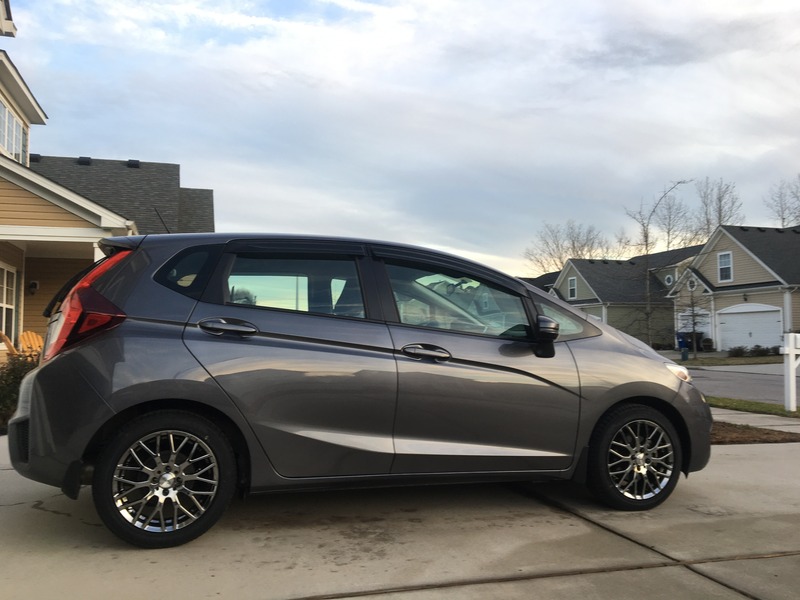
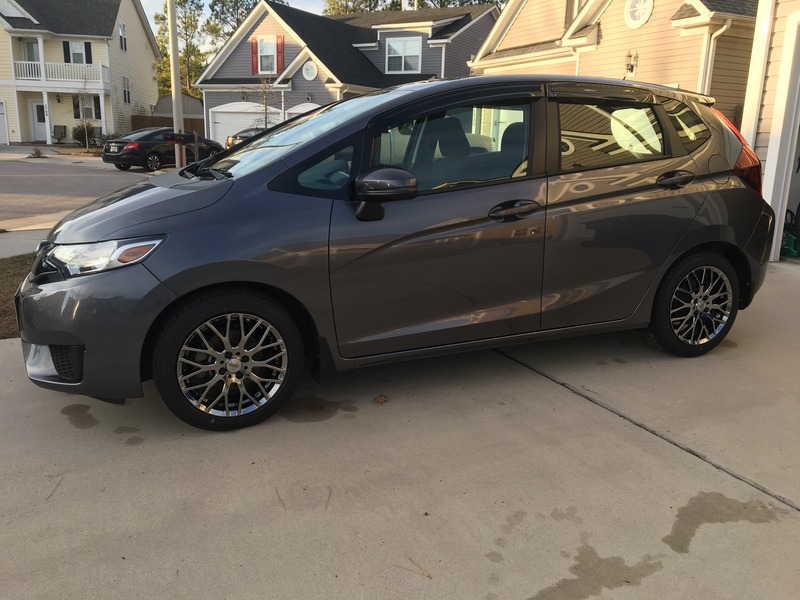
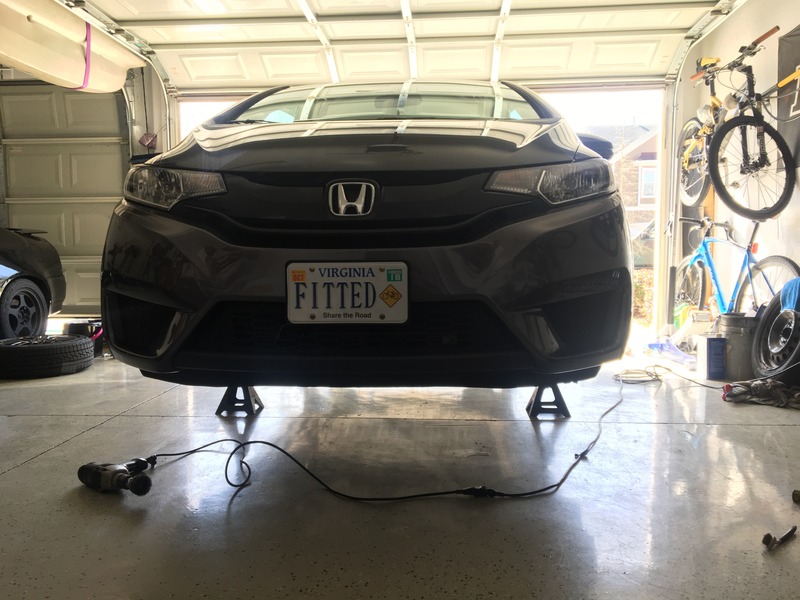
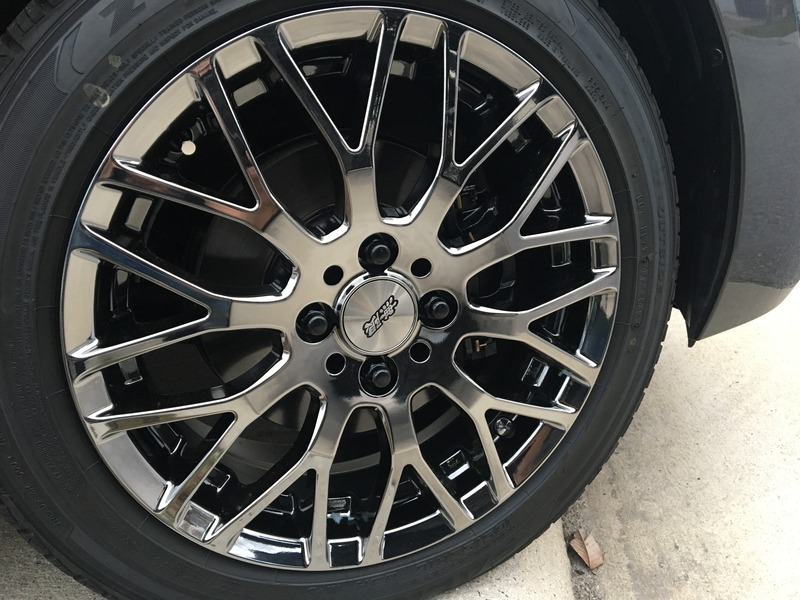
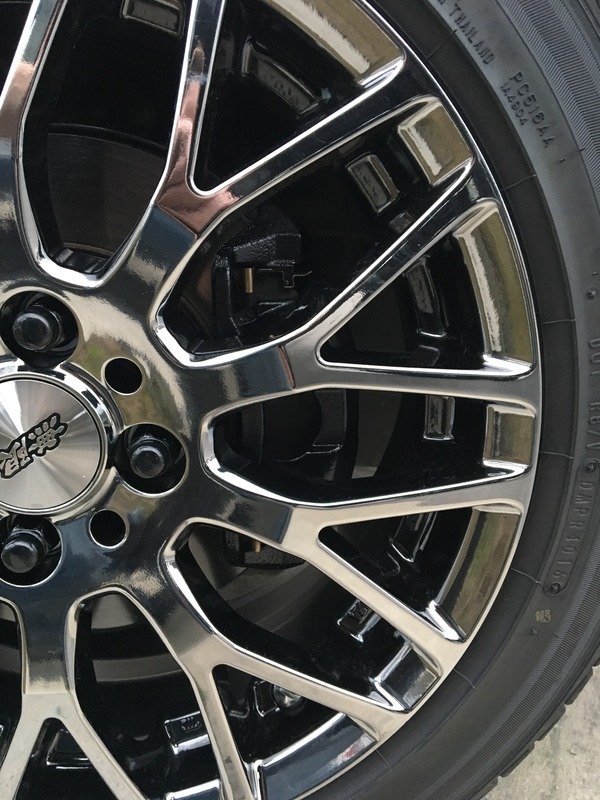
Well December time frame the heater core went out in my '99 Cherokee daily driver :/ So I convinced her that she wanted a more comfortable sedan and we got her a '14 Nissan Sentra with 12k, which made the Fit my new daily driver. Well stock is not my thing, so now the adventure stats. Picked the legit Mugens up for a steal, 16x7.
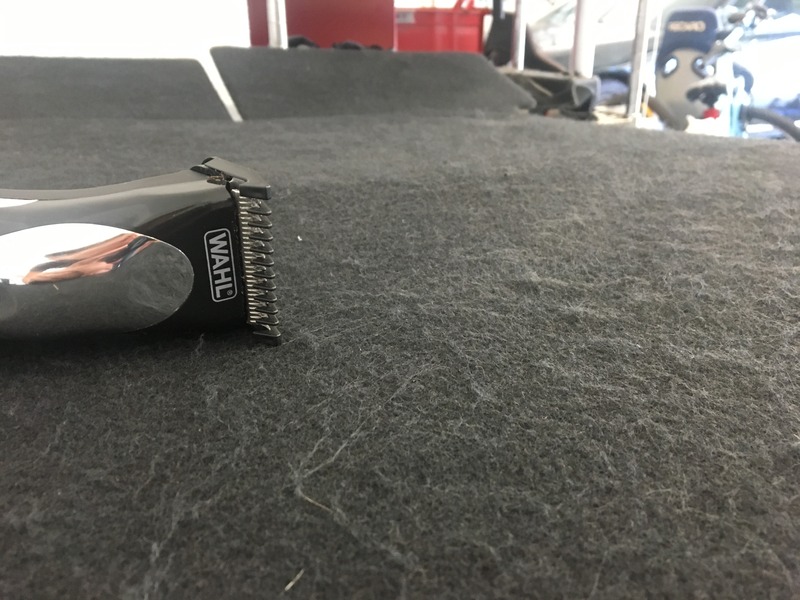
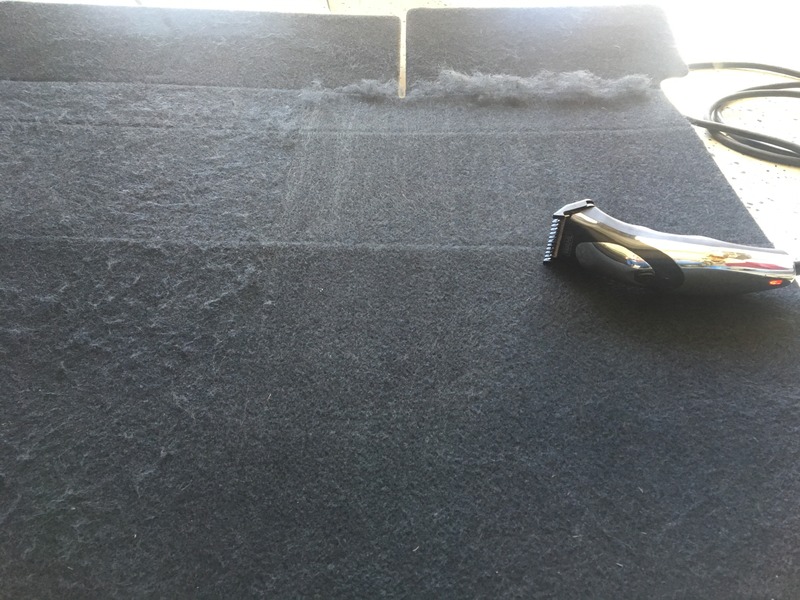
While waiting for those to get here I detailed the car inside and out, shaved the rear carpet to make it look better.
Before
Half done
Then we got snow, so the wheels didn't go on yet

Snow went away, got them on finally.
Color matched some of the interior pieces
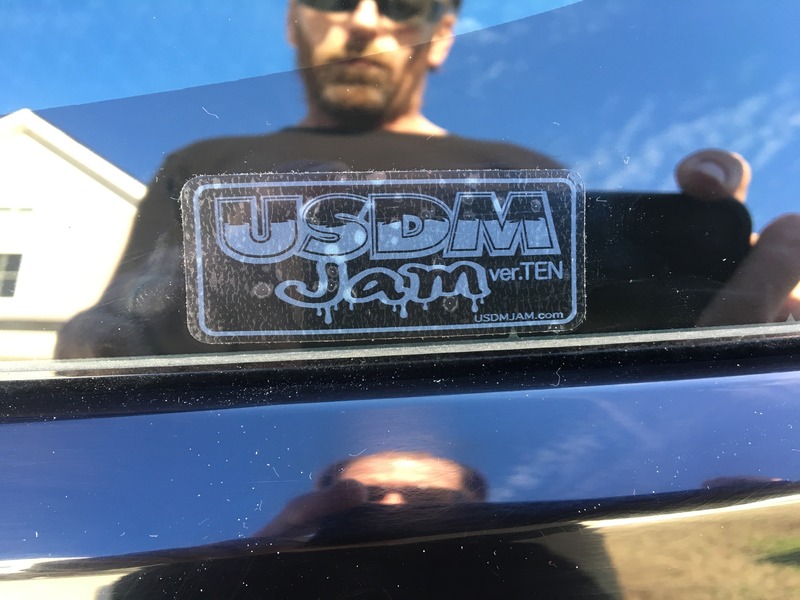
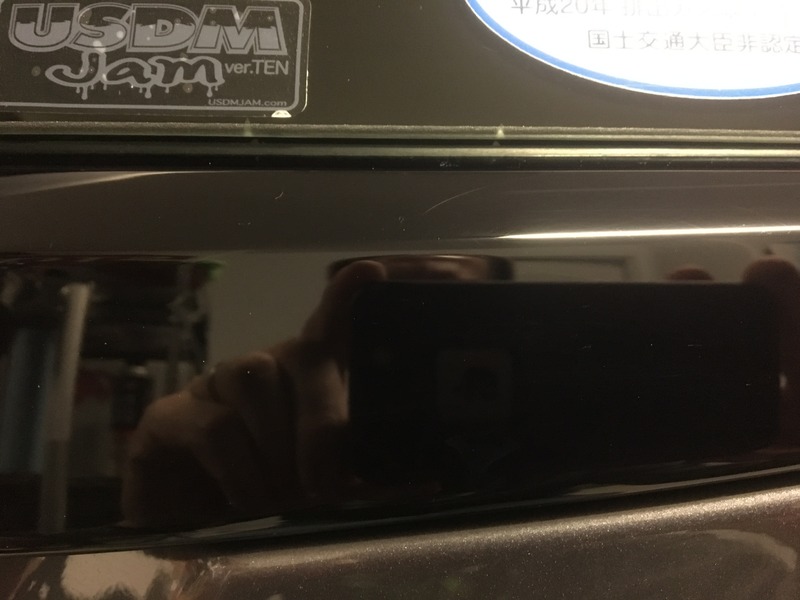
Applied a few of "JDM" decals I got from a Japanese friend
I have more plans, just need to save $$$ and decide what direction I want to go. Need to take care of that wheel gap I want to keep the MPG up on this on as she is my daily now. Since December my average MPG is 40.8, it was 40.9 before I put the Mugen wheels, .1 mpg is acceptable
Thanks for looking

Well December time frame the heater core went out in my '99 Cherokee daily driver :/ So I convinced her that she wanted a more comfortable sedan and we got her a '14 Nissan Sentra with 12k, which made the Fit my new daily driver. Well stock is not my thing, so now the adventure stats. Picked the legit Mugens up for a steal, 16x7.


While waiting for those to get here I detailed the car inside and out, shaved the rear carpet to make it look better.
Before

Half done

Then we got snow, so the wheels didn't go on yet

Snow went away, got them on finally.


Color matched some of the interior pieces

Applied a few of "JDM" decals I got from a Japanese friend


I have more plans, just need to save $$$ and decide what direction I want to go. Need to take care of that wheel gap
I want to keep the MPG up on this on as she is my daily now. Since December my average MPG is 40.8, it was 40.9 before I put the Mugen wheels, .1 mpg is acceptable Thanks for looking


Thread Starter
|
Member
Joined: Mar 2009
Posts: 190
From: Virginia Beach
 Tax time has me thinking airbags
 but that is a quarter the price of the car
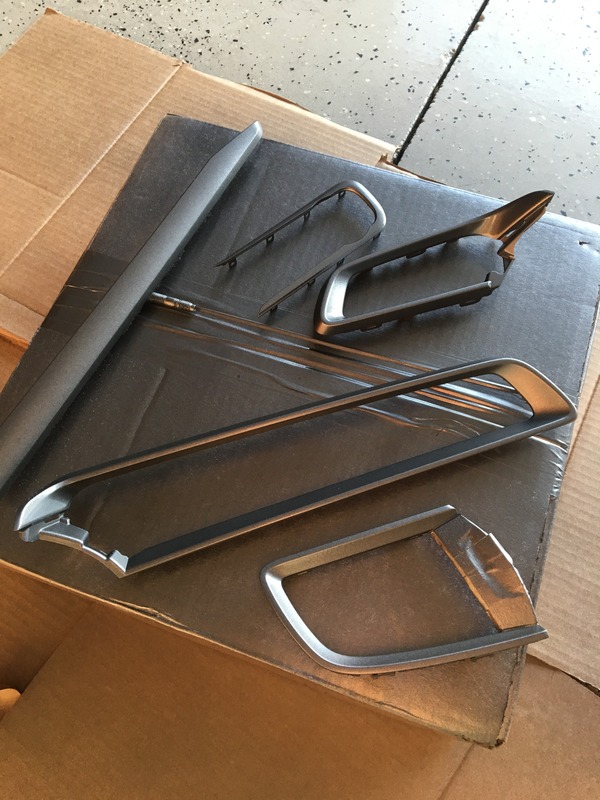
 Also remembered a few more things I've done and installed pics of the trim. Stubby antenna, reversed the rear wiper, installed a "wide" blue Spoon sports rear view mirror and found this shifter "sock" in the glove box of my Prelude; some swag I got from a car show.


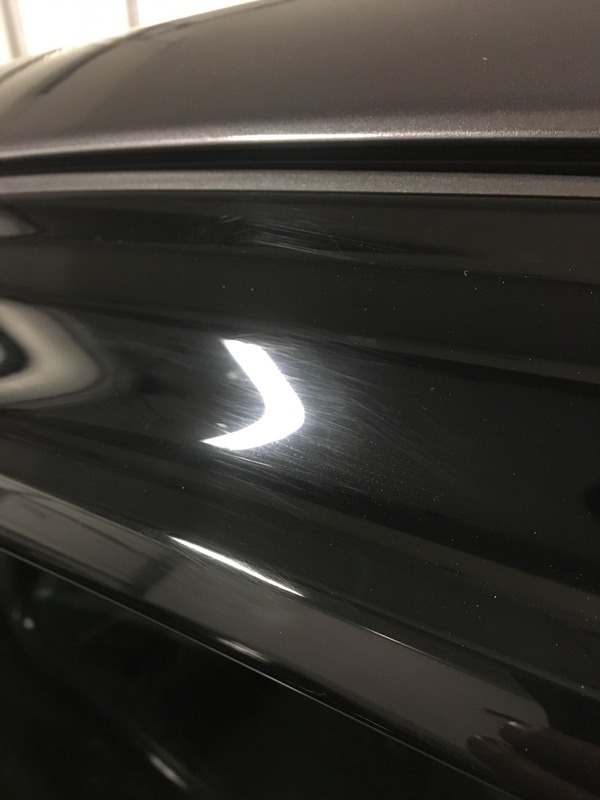
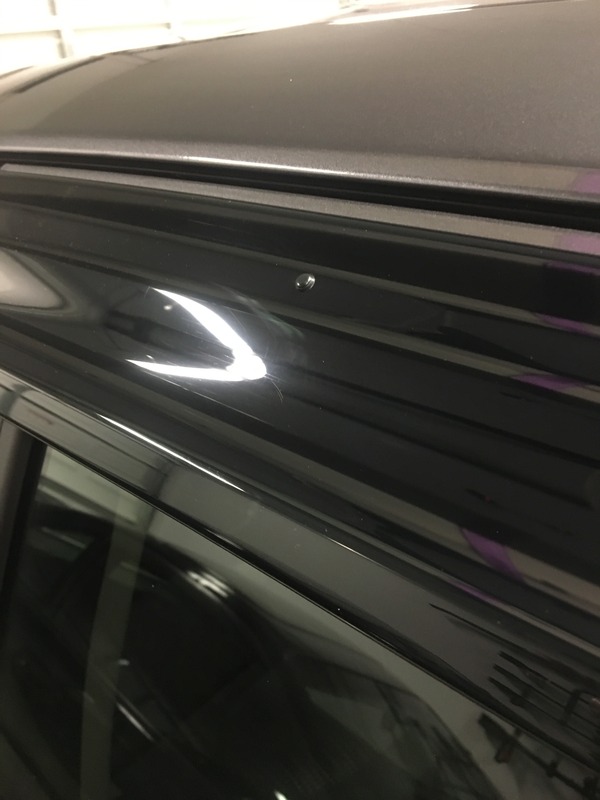
It rained today, pardon the dirt

Thread Starter
|
Member
Joined: Mar 2009
Posts: 190
From: Virginia Beach
I did it to be different, rumor has it, that it "might" make the blade last longer, because you don't get the build up of dirt on it like you would in the oem position, but hey, to each his own  Several of the 2nd gen guys have done it, I used their writeup.
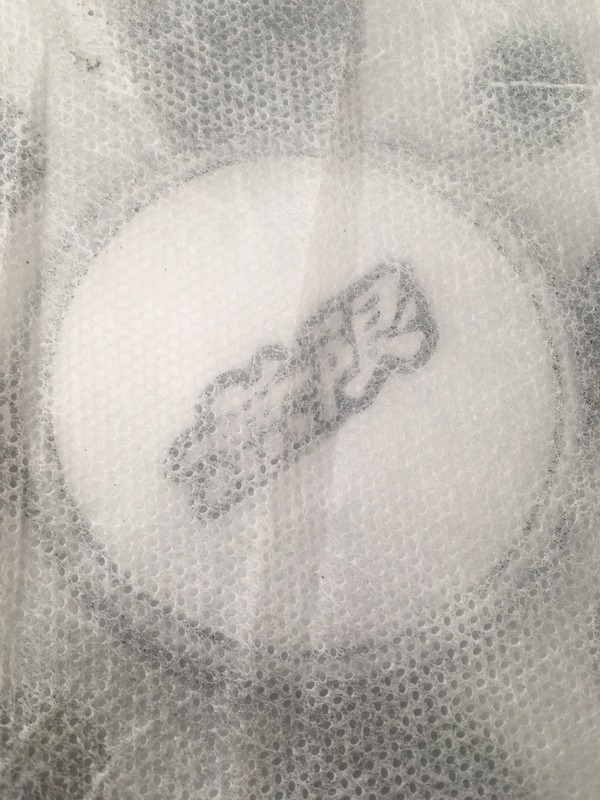
I also swapped out the cabin air filter today. I am go to assume that this is the oem one from the factory, LOL!
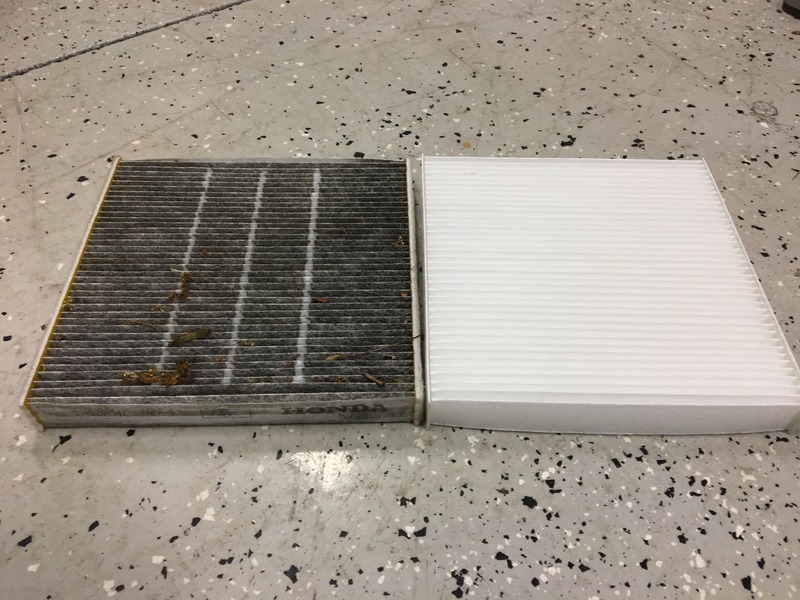
Several of the 2nd gen guys have done it, I used their writeup.I also swapped out the cabin air filter today. I am go to assume that this is the oem one from the factory, LOL!

Thread Starter
|
Member
Joined: Mar 2009
Posts: 190
From: Virginia Beach
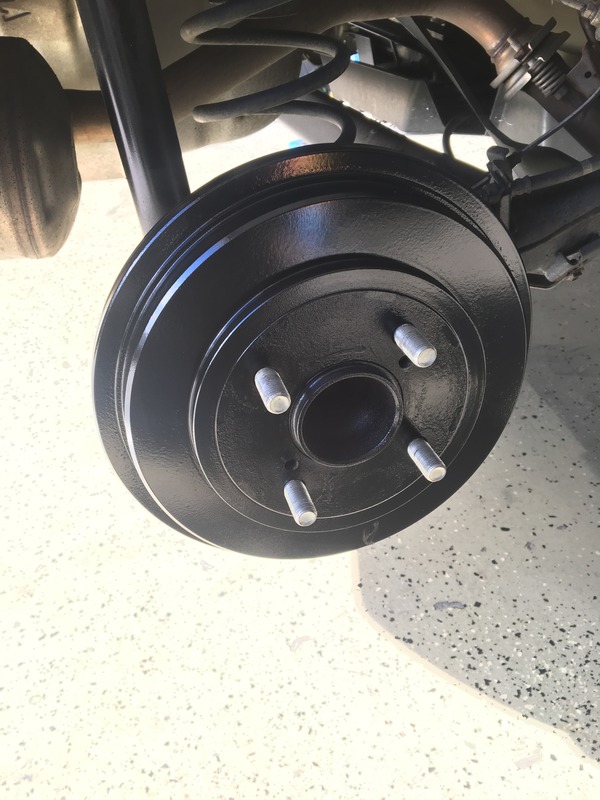
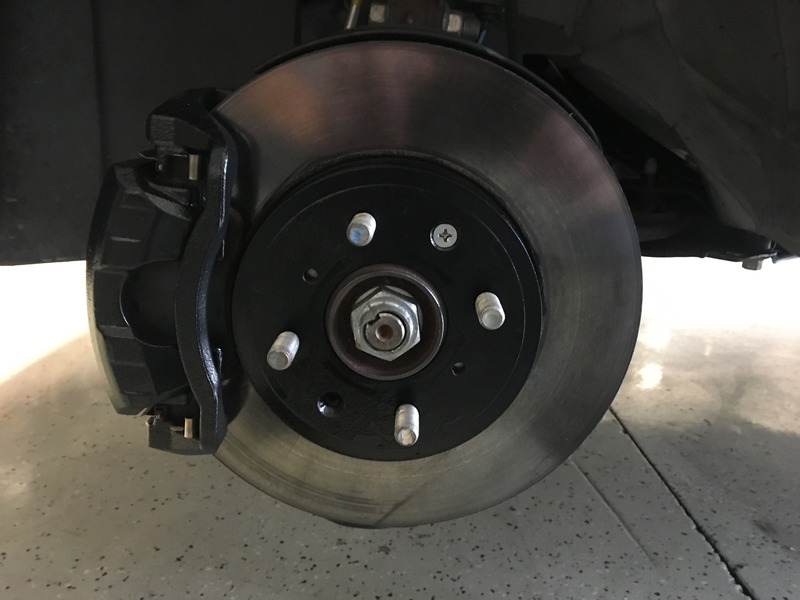
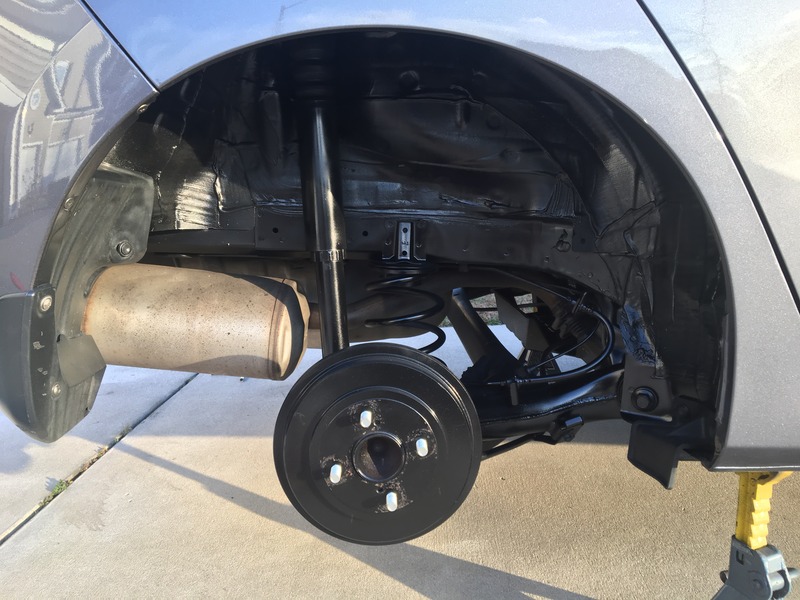
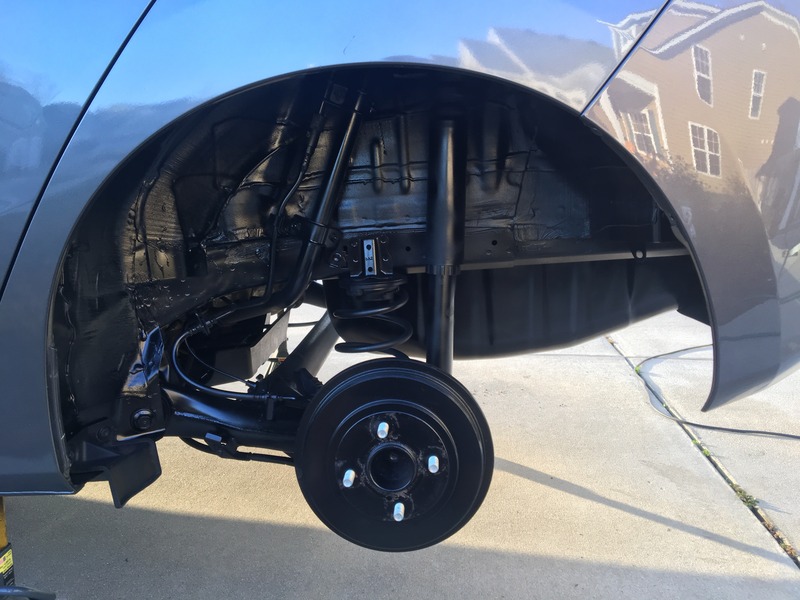
So while admiring my wheels, I got tired of seeing rust and bare metal behind them. On Saturday, the weather was warm enough to ceramic coat the brakes, not much of a write up just some before and after. I used the same(Dupli-color caliper coating) on my Prelude back in 2012 and it still looks great.
Forgot to take a before of the rear drums, here's mid way through cleaning with a wire-wheel
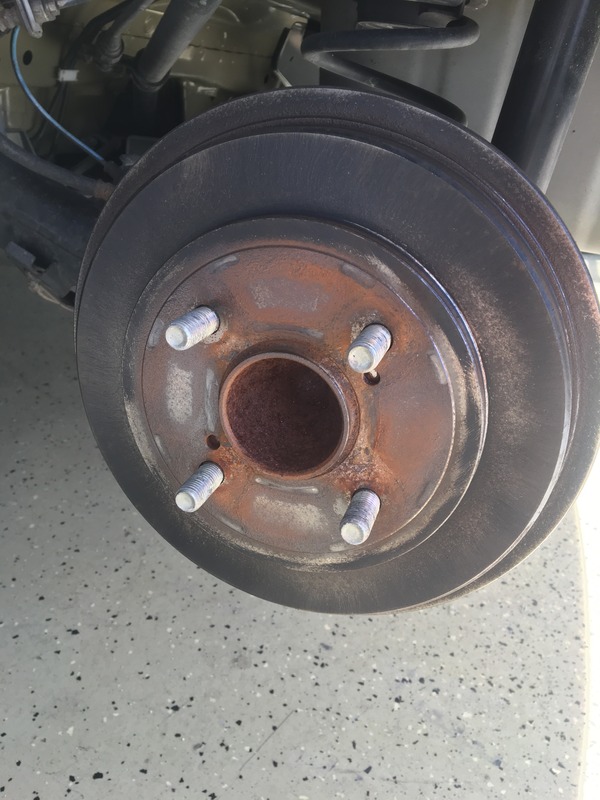
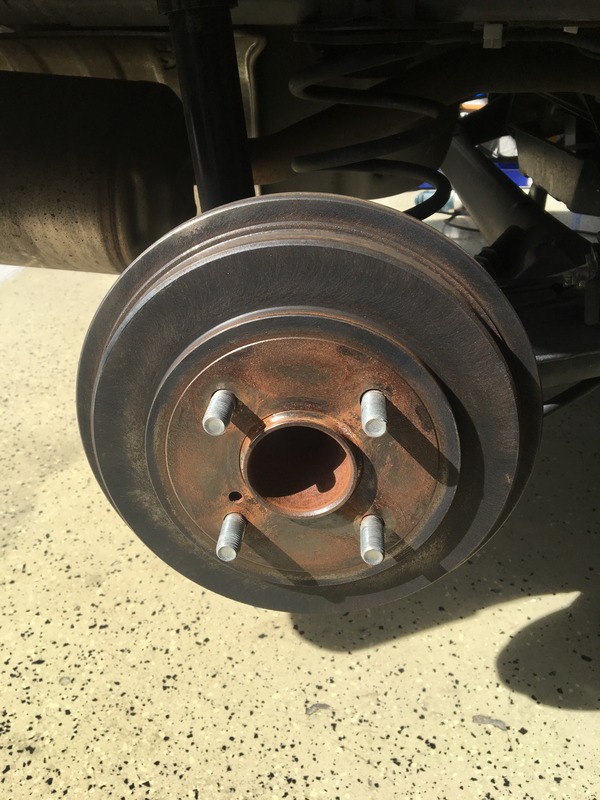
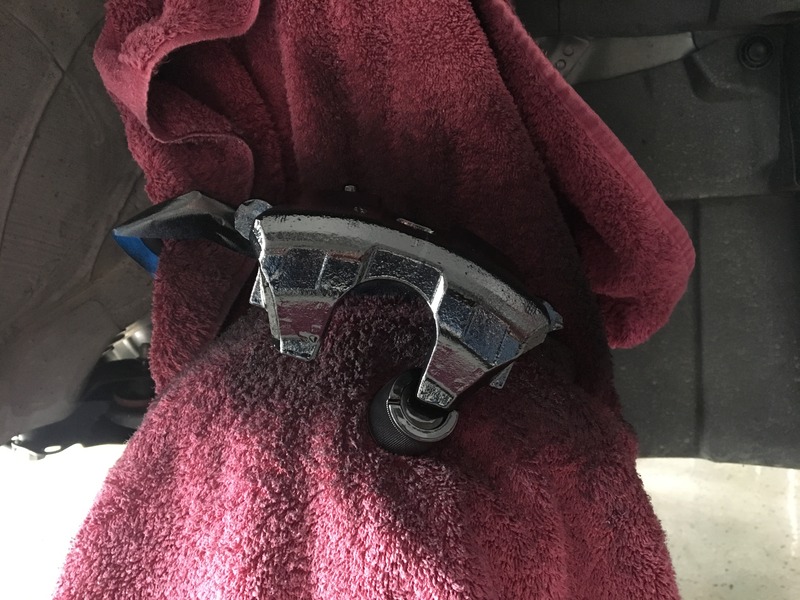
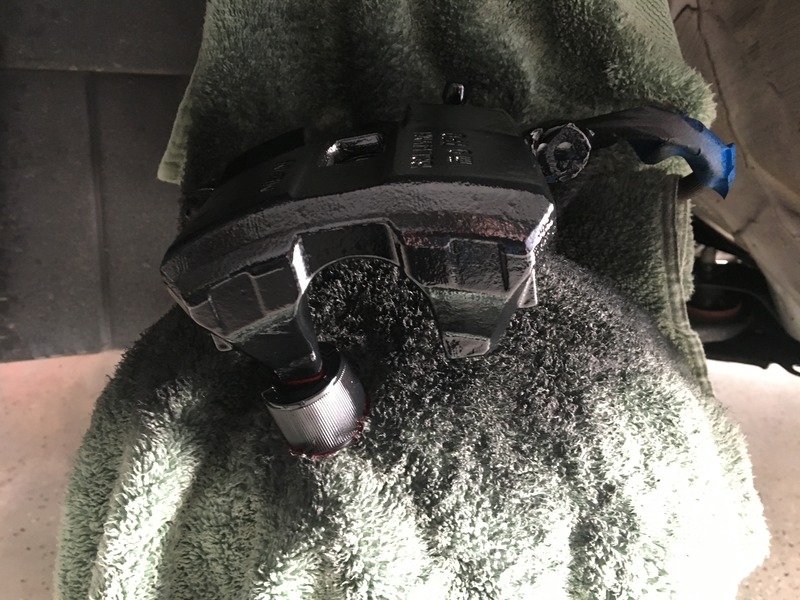

Forgot to take a before of the rear drums, here's mid way through cleaning with a wire-wheel


Thread Starter
|
Member
Joined: Mar 2009
Posts: 190
From: Virginia Beach
Thanks, I love them too, but they are a pain to clean

Step one, pull the gauge cluster surround; by putting you fingers under it just above the steering column


Then you can see the complete trim pieces


Start prying with your finger or a non-marring(plastic) tool where my fingers are and work you way outboard.


Hope it helps, just take it slow and easy.
Last edited by axlline; Feb 21, 2017 at 07:20 PM.
Thread Starter
|
Member
Joined: Mar 2009
Posts: 190
From: Virginia Beach
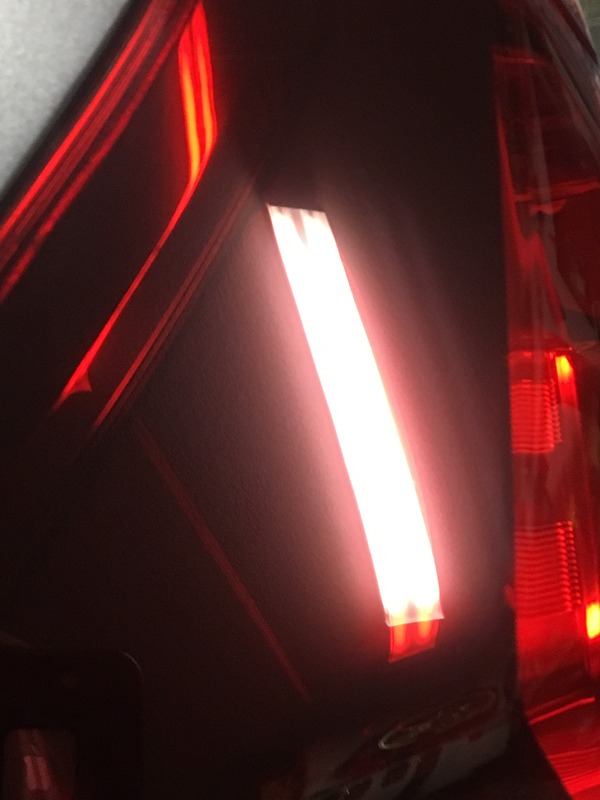
So I polished the window visors, the rear plastic garnish and the tailights. Bringing a used car back to where it should be.
Before
After

Before
After
Before
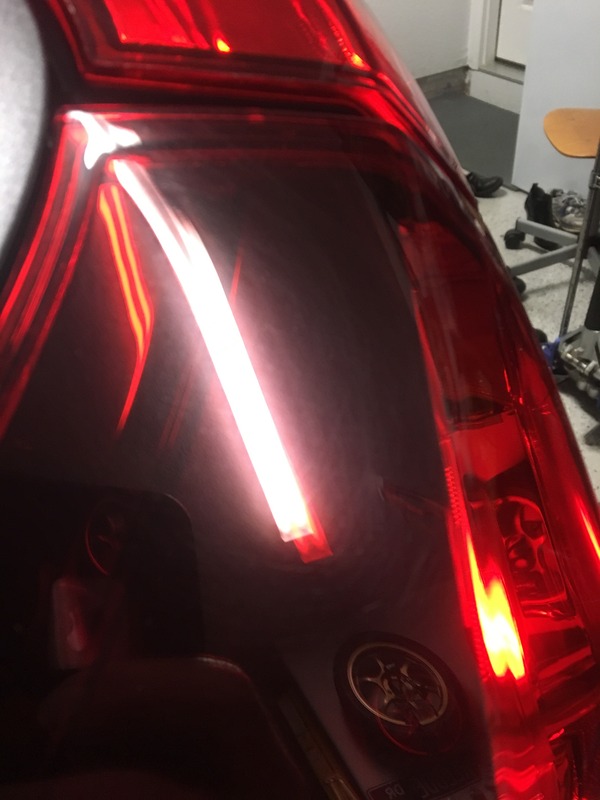
After
Also blacked out the rear wheel wells
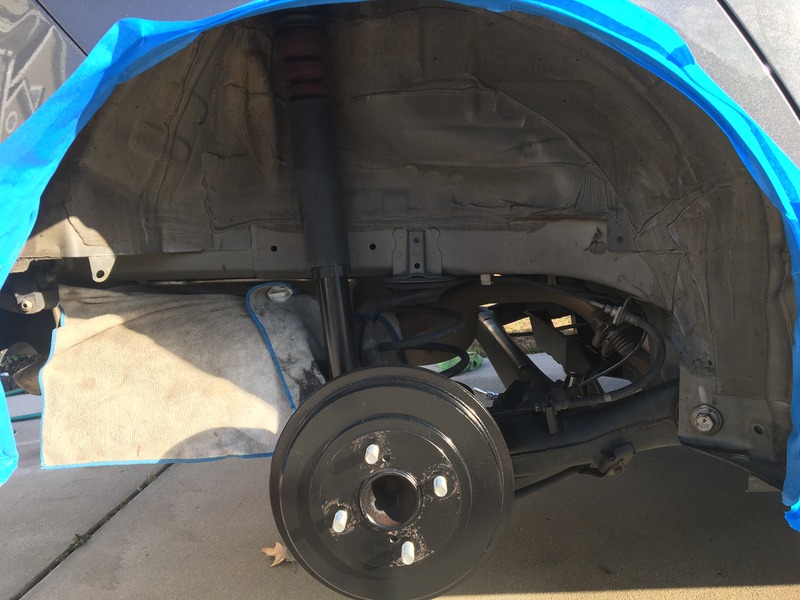
Before

After


Before

After

Before

After

Also blacked out the rear wheel wells


Thread Starter
|
Member
Joined: Mar 2009
Posts: 190
From: Virginia Beach
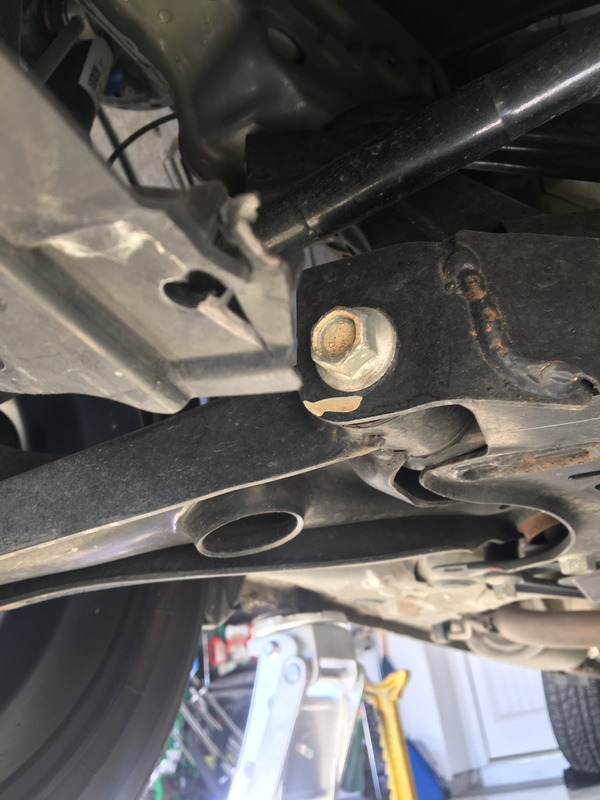
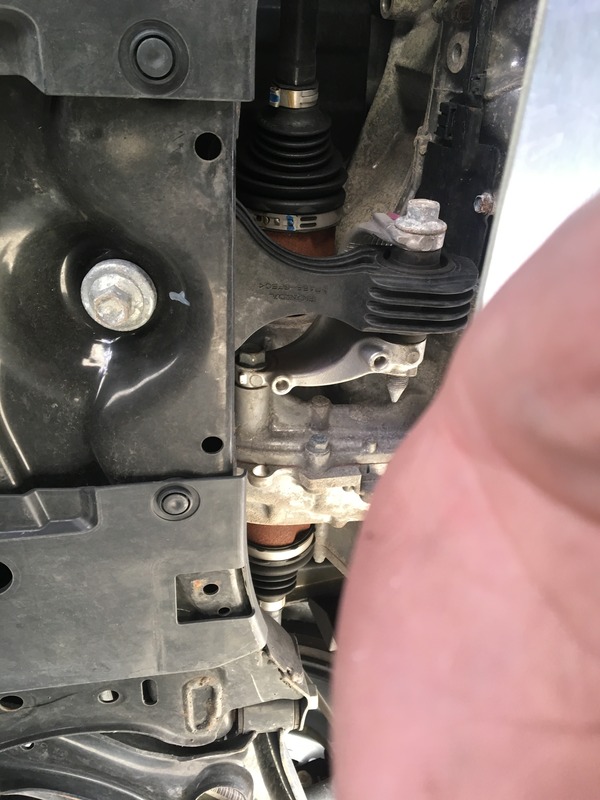
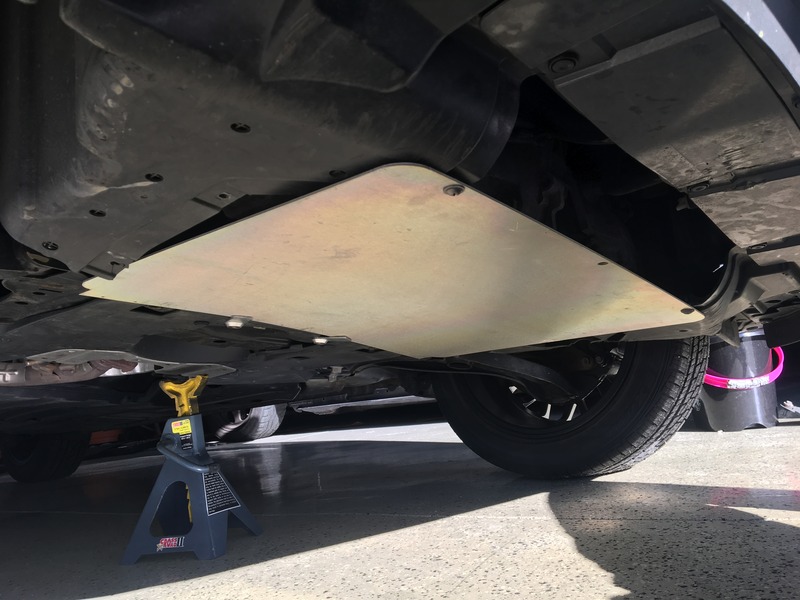
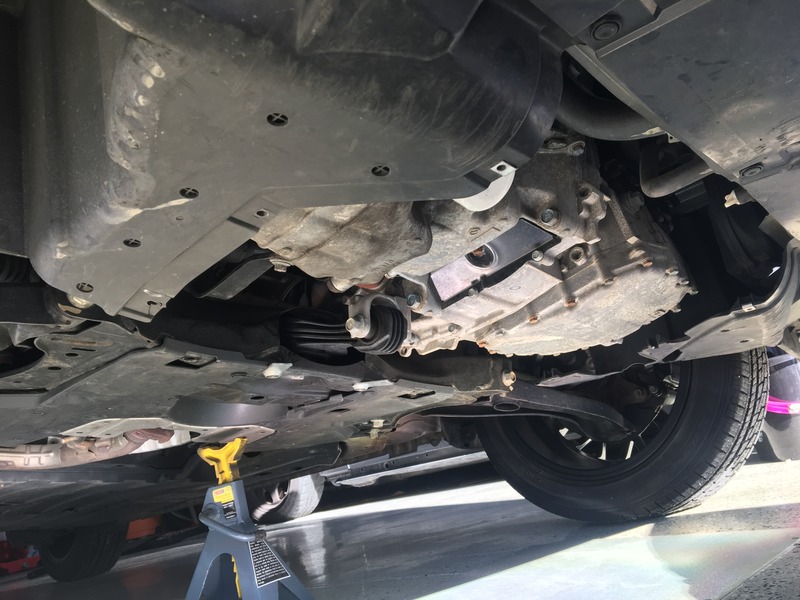
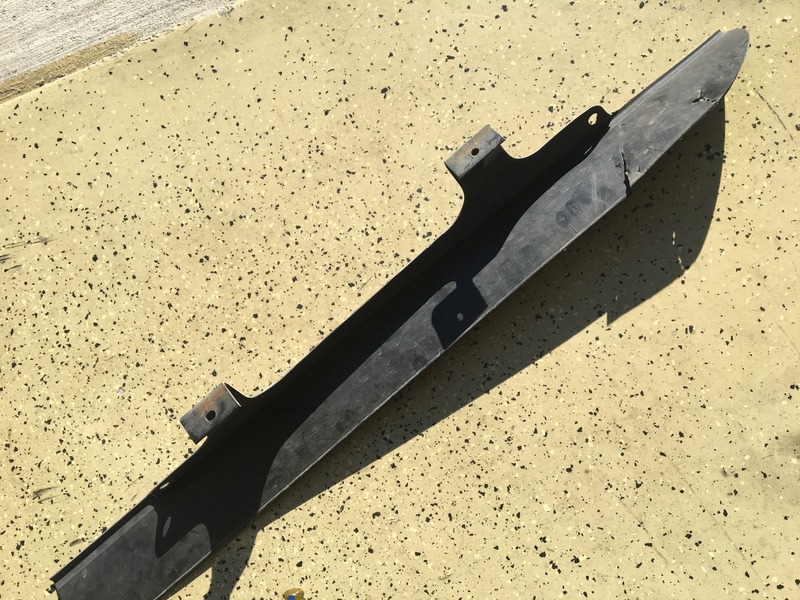
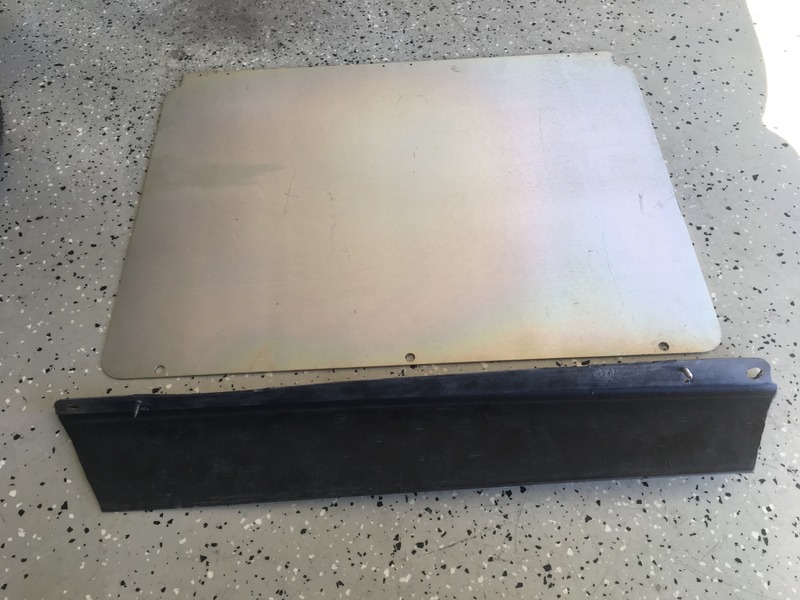
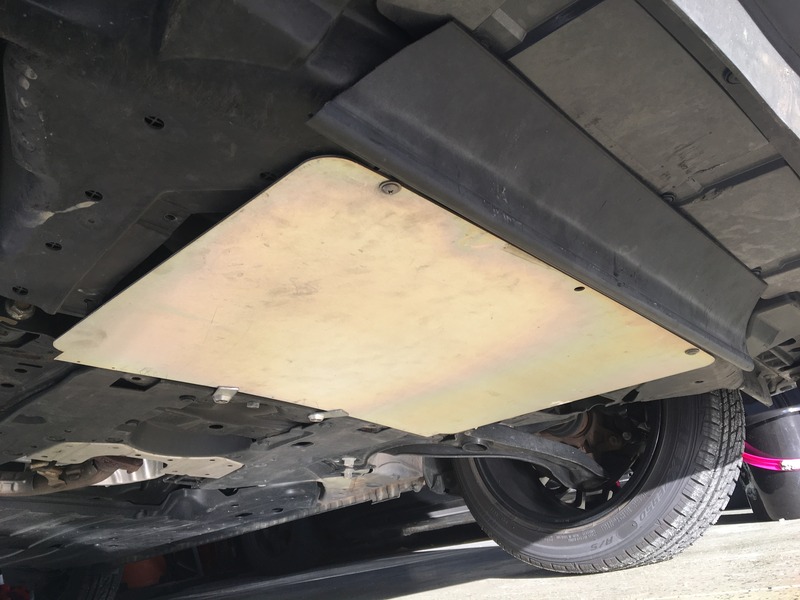
So my mileage on the Fit after the first month and a half was 40.9mpg(on 87). I decided to try something. So, the last two tanks, I filled up with premium(92 octane). Mileage jumped to 43.5mpg. Noticed when we bought the Fit the under engine aero cover was missing(had been ripped off). The cheapest I've found the replacement for is $149 😮 You can see in the photos where the hardware was ripped away, well I had this piece of aluminum that's about the right size. Today's project, fix the"aero" hole
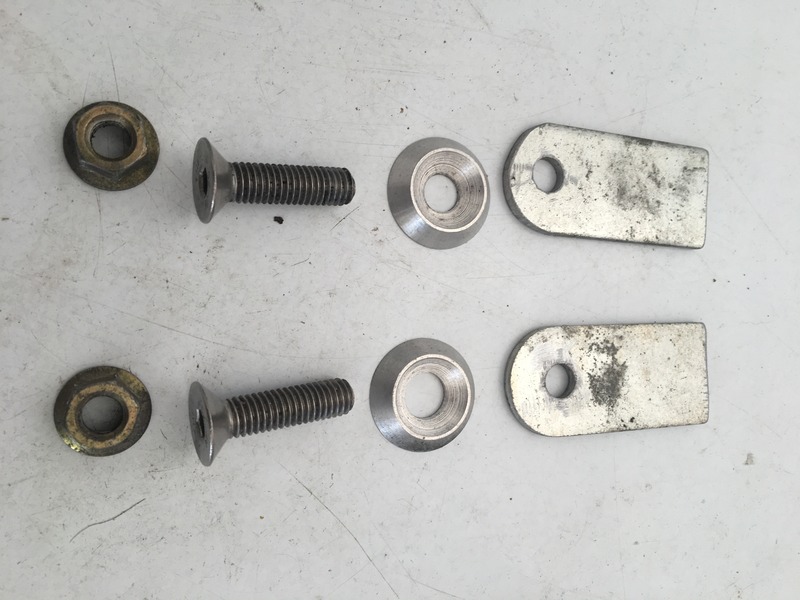
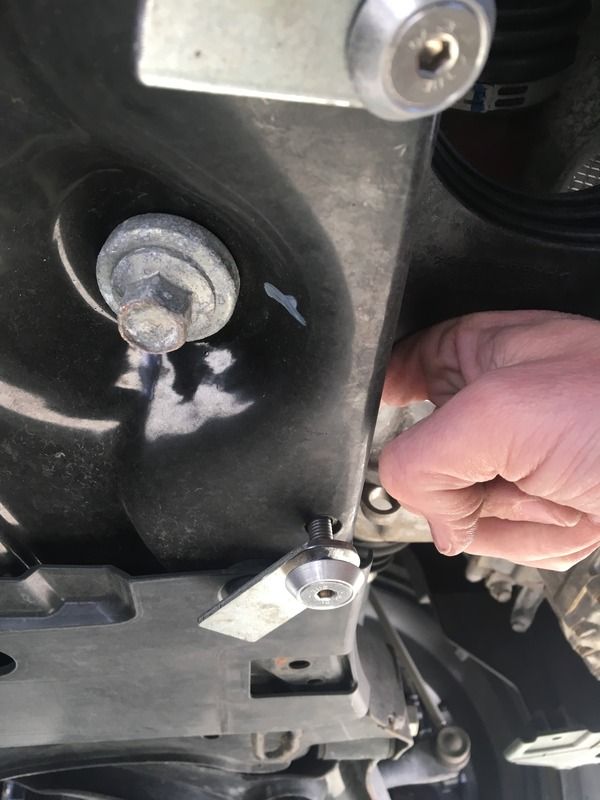
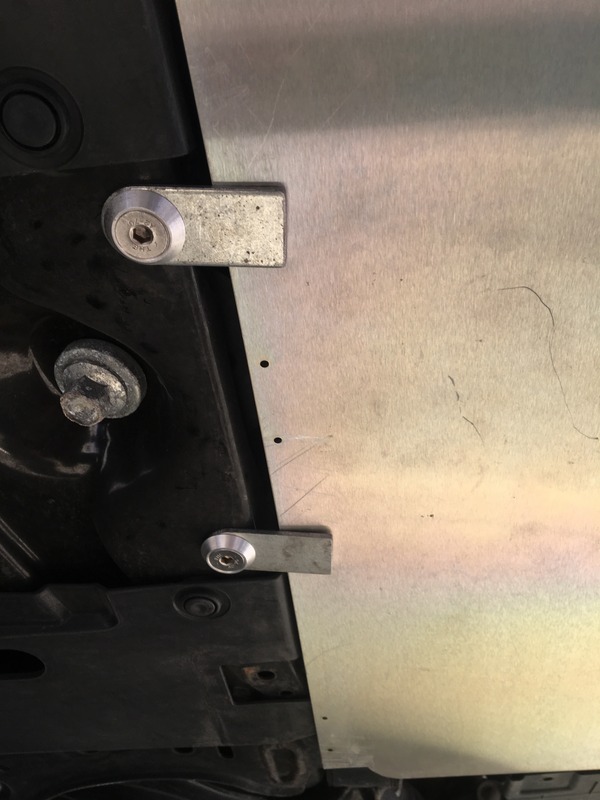
  😜 The front 2 hole in the aluminum panel lined up perfectly, yay no drilling in the heat treated aluminum
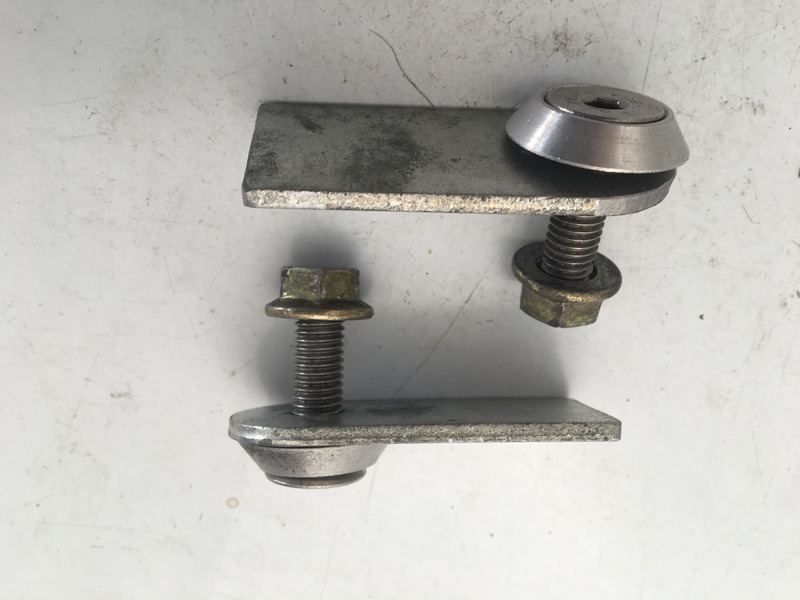
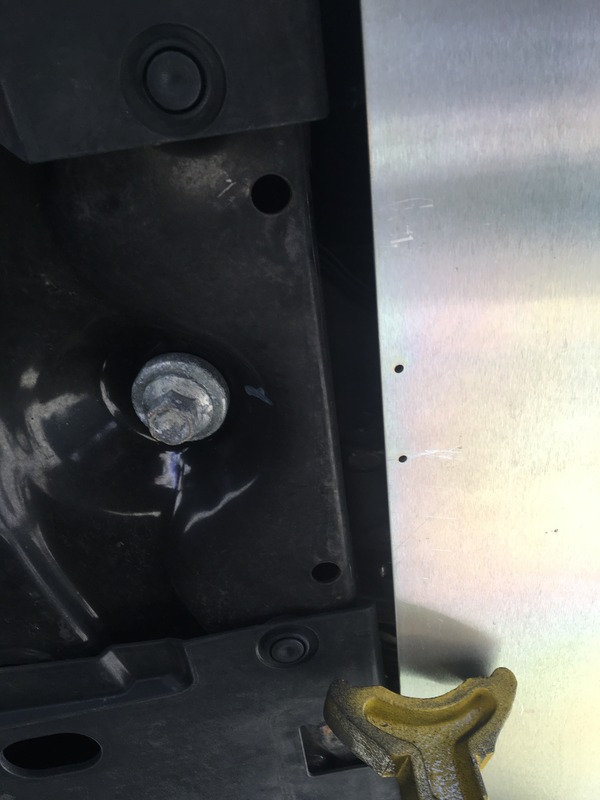
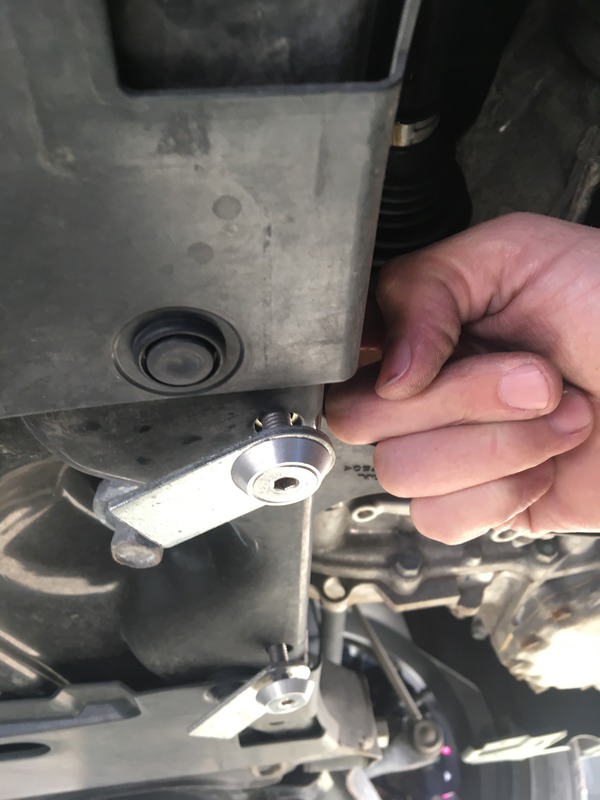
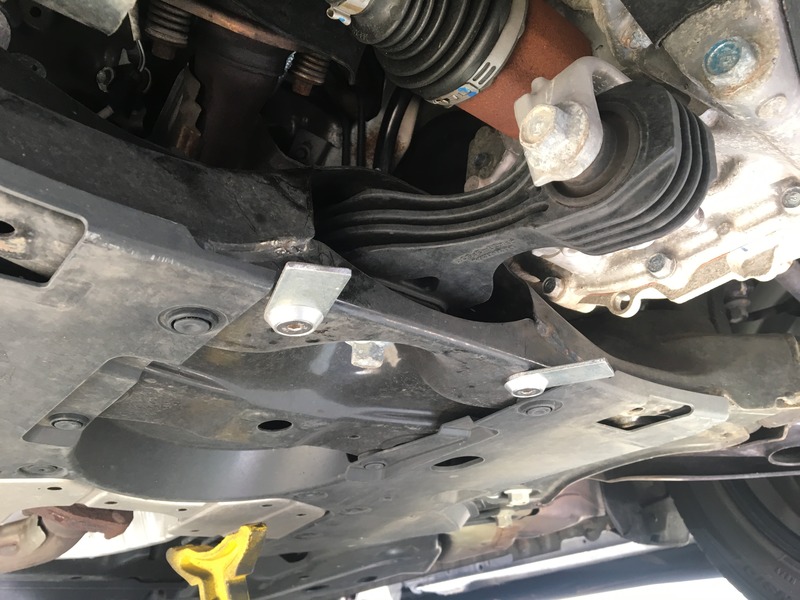
 😝 Wanted it sort of quick to remove but secure, so I made these finger that you wedge the panel in between those an the frame. I used the 2 middle holes as opposed to the original mounting spots because I could easily get to the back of these 2 holes. To remove, just remove the front two screws and pull forward(for oil changes). Had a slight gap at the front, so I took an air dam I had from the wife's old car. Reshaped it to cover the gap. Now to see if there are any mileage gains
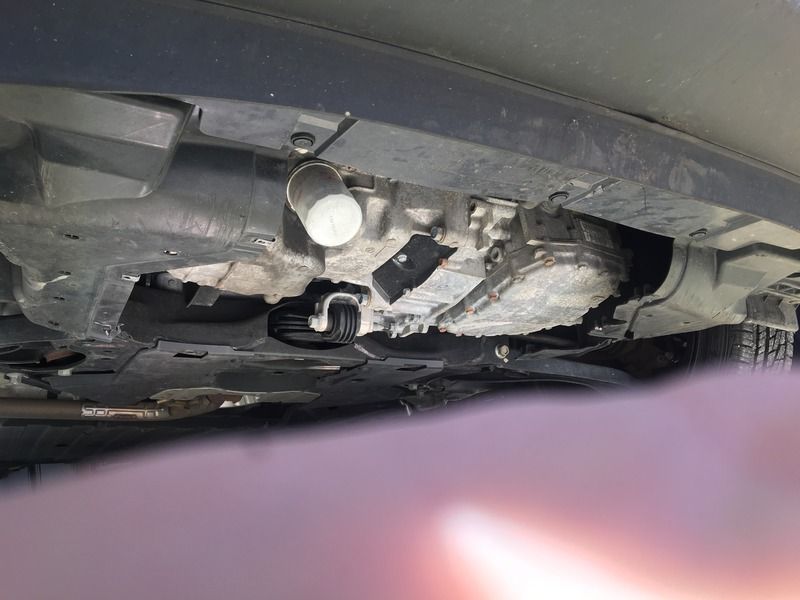
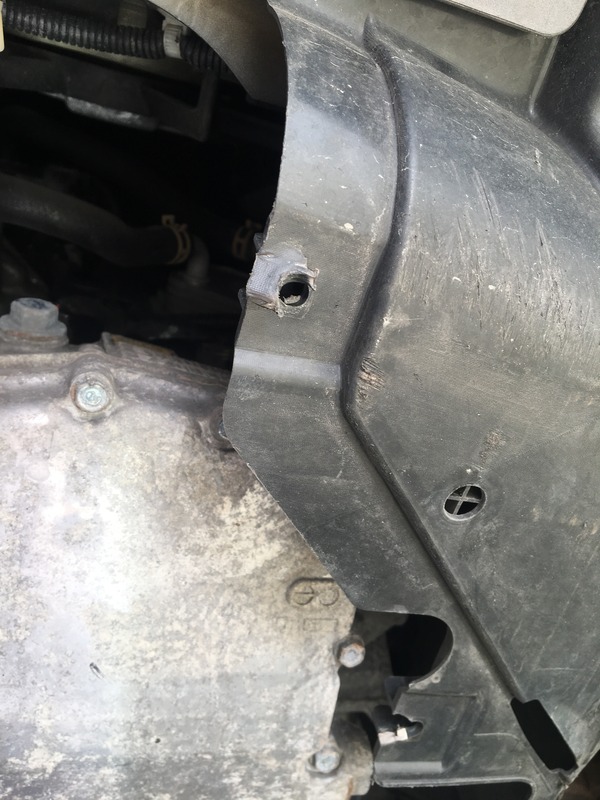
😮 You can see in the photos where the hardware was ripped away, well I had this piece of aluminum that's about the right size. Today's project, fix the"aero" hole 😜 The front 2 hole in the aluminum panel lined up perfectly, yay no drilling in the heat treated aluminum😝 Wanted it sort of quick to remove but secure, so I made these finger that you wedge the panel in between those an the frame. I used the 2 middle holes as opposed to the original mounting spots because I could easily get to the back of these 2 holes. To remove, just remove the front two screws and pull forward(for oil changes). Had a slight gap at the front, so I took an air dam I had from the wife's old car. Reshaped it to cover the gap. Now to see if there are any mileage gains 


Thread Starter
|
Member
Joined: Mar 2009
Posts: 190
From: Virginia Beach
Thank you, still need to get some longer screws for the front, to make it easier to pull it all together, the stock screws just barely reach and make it difficult to get started.

Thread Starter
|
Member
Joined: Mar 2009
Posts: 190
From: Virginia Beach
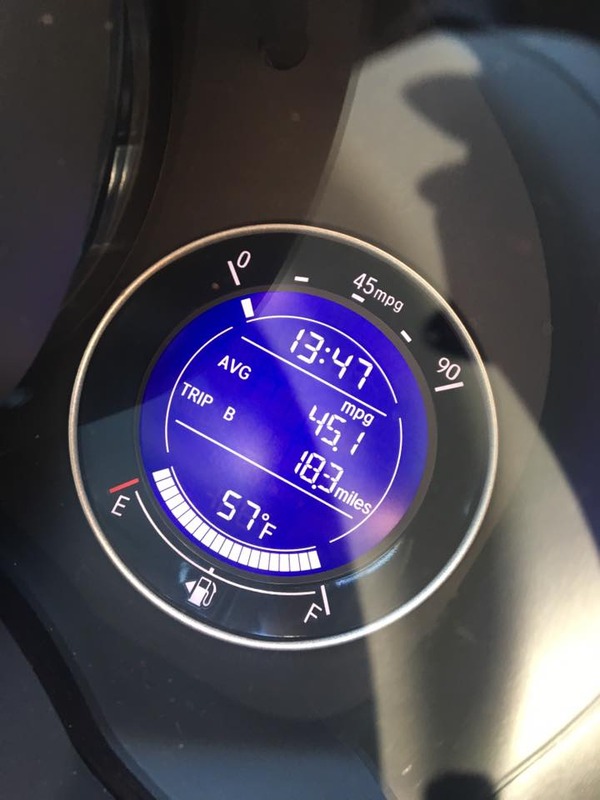
I am curious too, This was the first trip after I filled up and reset the trip meter. I know way too soon to be overjoyed and preaching, lol. I know it will go down, but it's the highest I've ever seen on my Fit.