
Axlline's Fit


Member
Joined: Jul 2014
Posts: 3,305
From: Shokan, NY

I did it to be different, rumor has it, that it "might" make the blade last longer, because you don't get the build up of dirt on it like you would in the oem position, but hey, to each his own  Several of the 2nd gen guys have done it, I used their writeup.
I also swapped out the cabin air filter today. I am go to assume that this is the oem one from the factory, LOL!
Several of the 2nd gen guys have done it, I used their writeup.I also swapped out the cabin air filter today. I am go to assume that this is the oem one from the factory, LOL!
Member
Joined: Jul 2014
Posts: 3,305
From: Shokan, NY
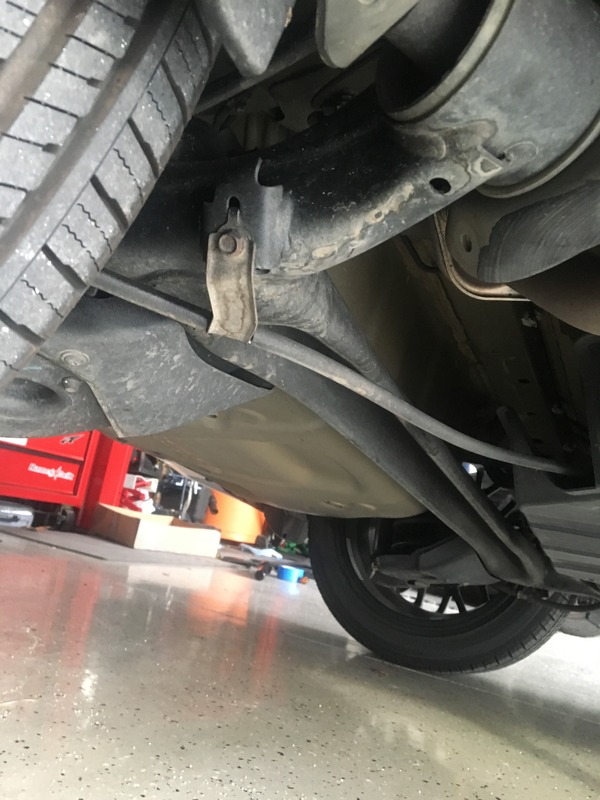
So my mileage on the Fit after the first month and a half was 40.9mpg(on 87). I decided to try something. So, the last two tanks, I filled up with premium(92 octane). Mileage jumped to 43.5mpg. Noticed when we bought the Fit the under engine aero cover was missing(had been ripped off). The cheapest I've found the replacement for is $149😮 You can see in the photos where the hardware was ripped away, well I had this piece of aluminum that's about the right size. Today's project, fix the"aero" hole The front 2 hole in the aluminum panel lined up perfectly, yay no drilling in the heat treated aluminum Wanted it sort of quick to remove but secure, so I made these finger that you wedge the panel in between those an the frame. I used the 2 middle holes as opposed to the original mounting spots because I could easily get to the back of these 2 holes. To remove, just remove the front two screws and pull forward(for oil changes). Had a slight gap at the front, so I took an air dam I had from the wife's old car. Reshaped it to cover the gap. Now to see if there are any mileage gains
Thread Starter
|
Member
Joined: Mar 2009
Posts: 190
From: Virginia Beach
Thanks, where I have them positioned now I don't even have to loosen or move them, just take out the front screws and pull forward to remove. I didn't think of the K&N for the cabin air filter, cool.
Thread Starter
|
Member
Joined: Mar 2009
Posts: 190
From: Virginia Beach
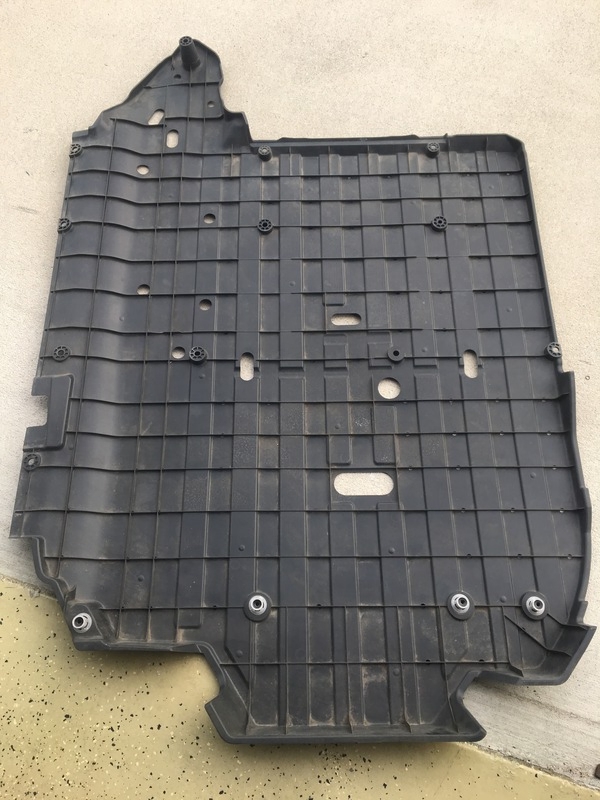
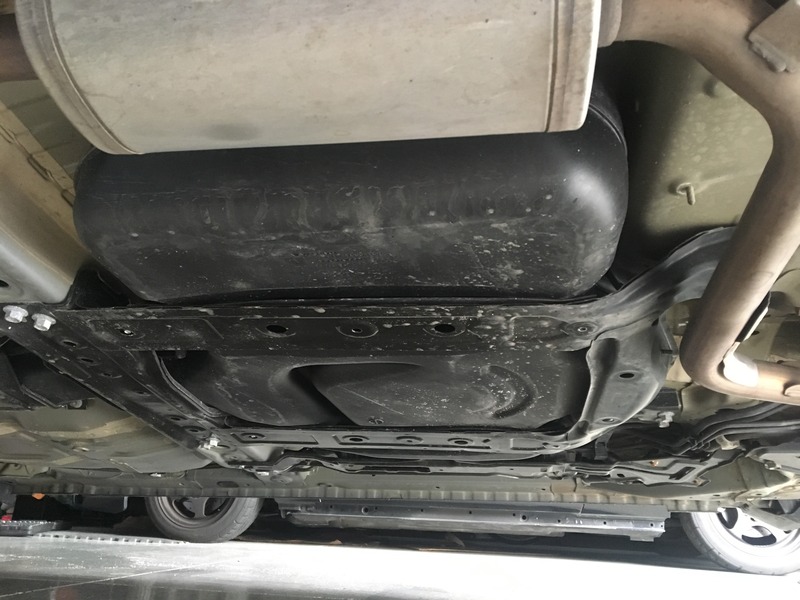
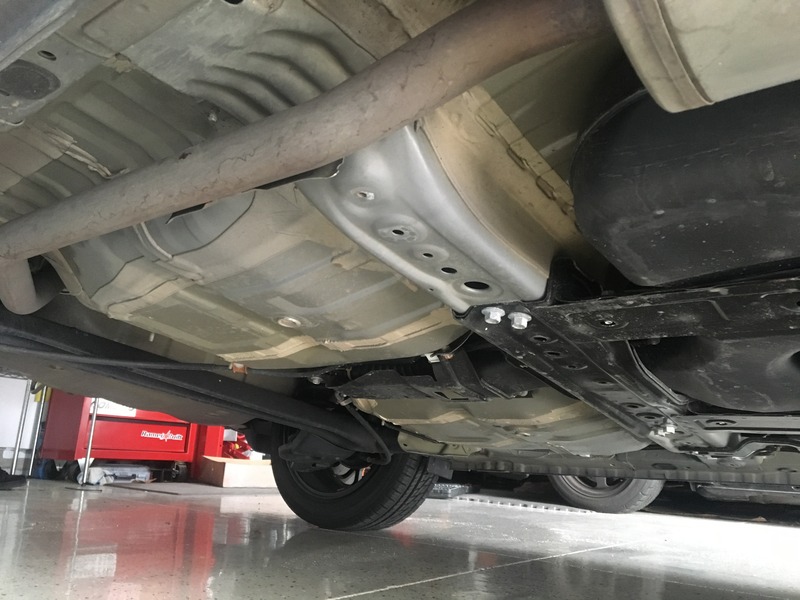
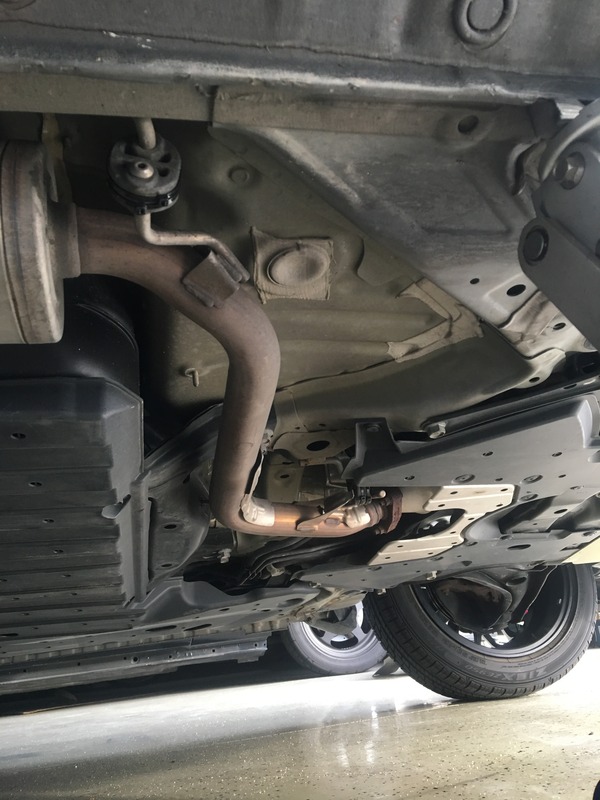
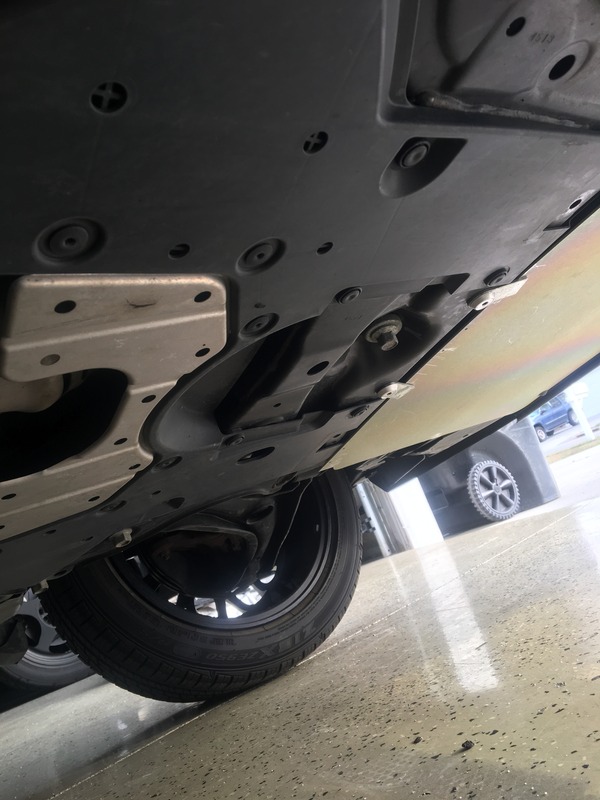
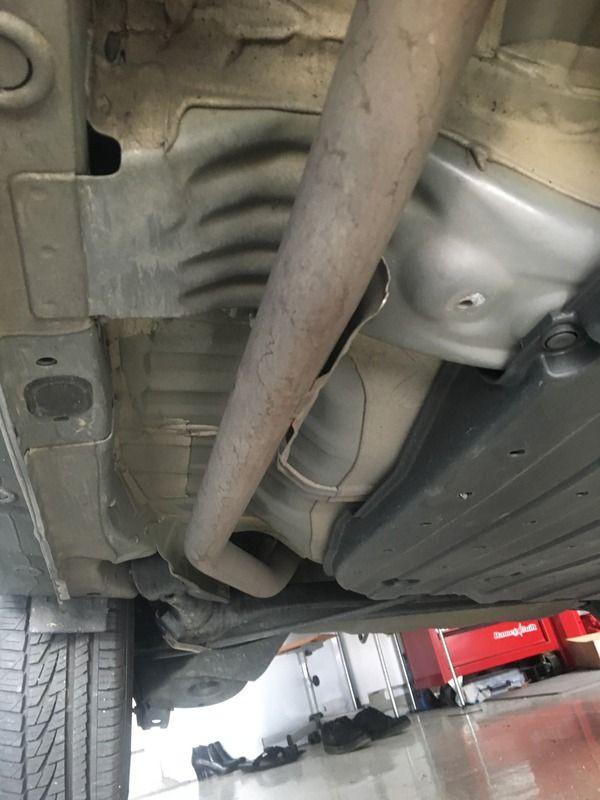
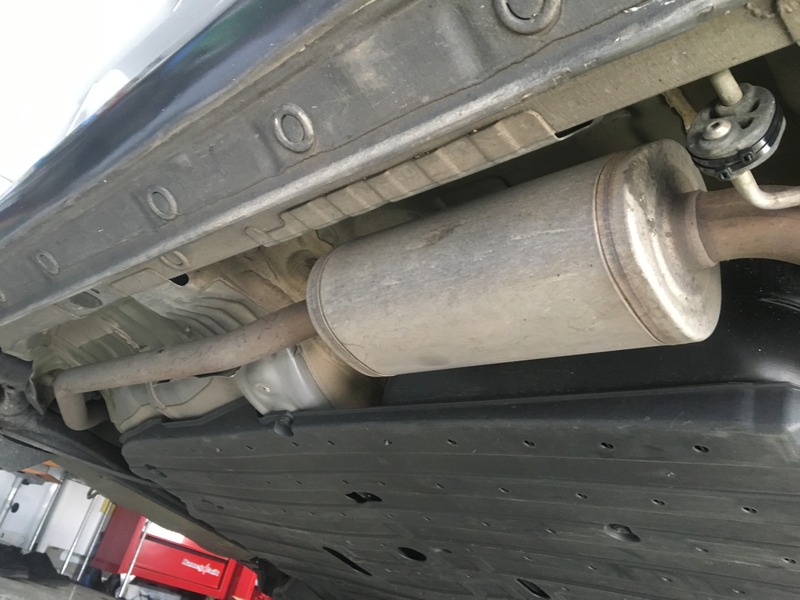
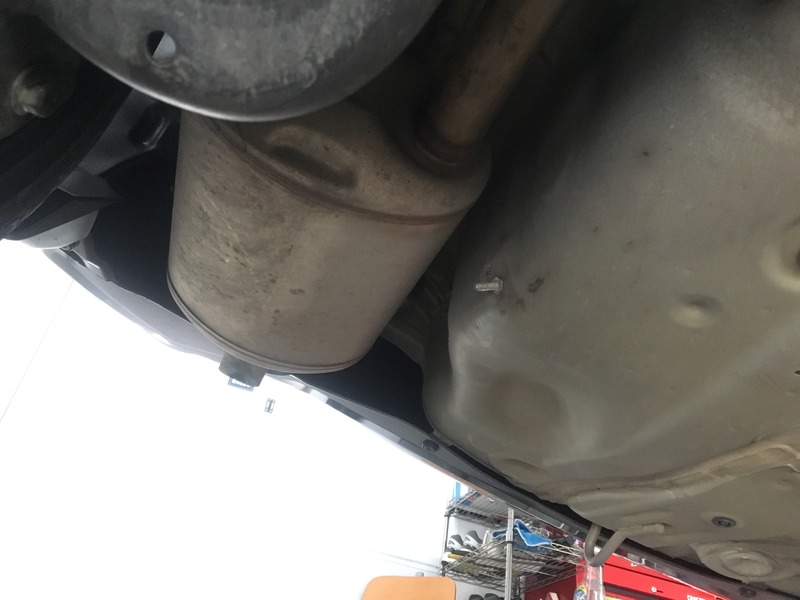
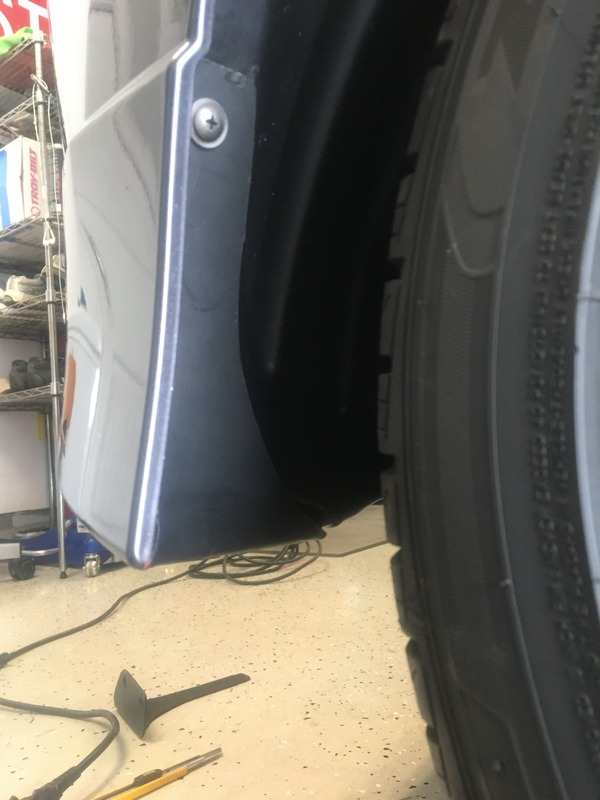
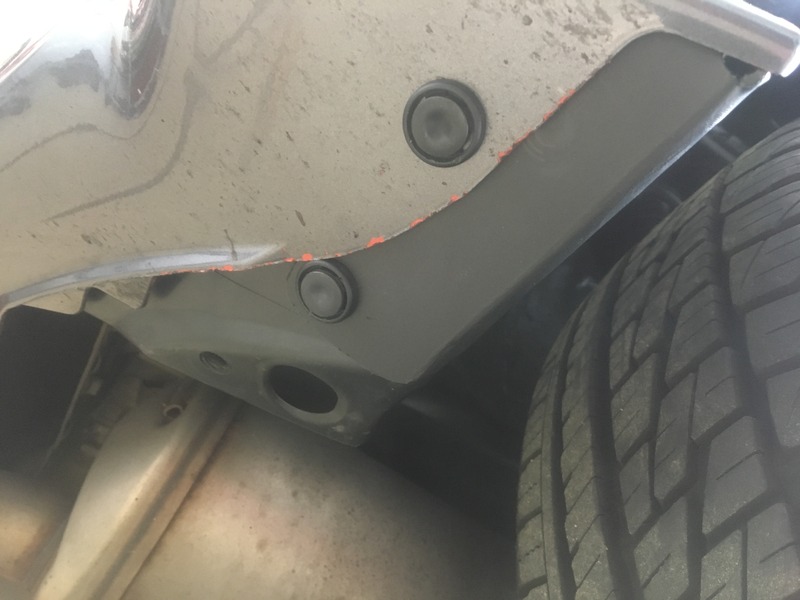
Cleaned the belly pan and took pics of what's behind it, thought you all might like to see. Also pull the heat shields, never saw a need for them. Also took pics of a few "aero" spots that I might cover ")


Last edited by axlline; Mar 8, 2017 at 09:04 AM.
Member
Joined: Jul 2014
Posts: 3,305
From: Shokan, NY
I've had rust under there occasionally - on the bolts, etc. I clean and paint them as I see the rust. Winter isn't the best time to do that, though.
Thread Starter
|
Member
Joined: Mar 2009
Posts: 190
From: Virginia Beach

Member
Joined: Jul 2014
Posts: 3,305
From: Shokan, NY
I've been working on projects in the garage, so the Fit has been sitting outside. : (


Thread Starter
|
Member
Joined: Mar 2009
Posts: 190
From: Virginia Beach
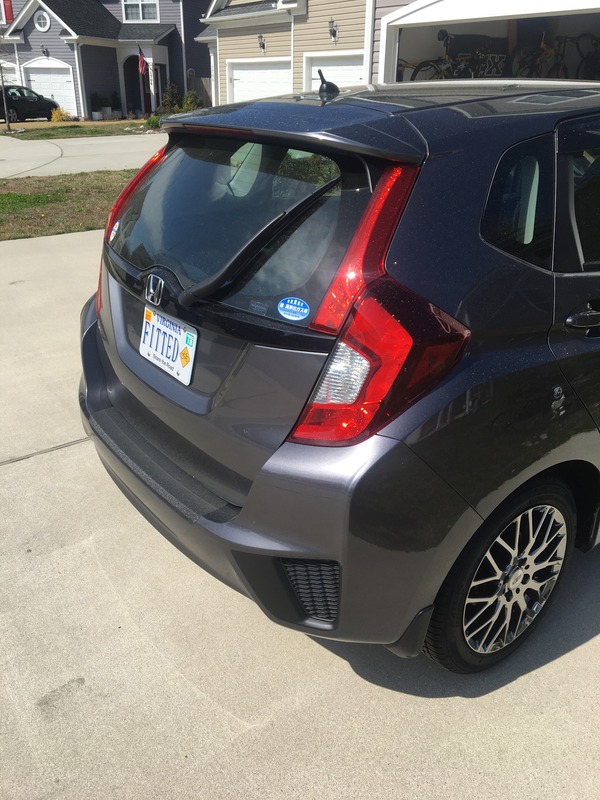
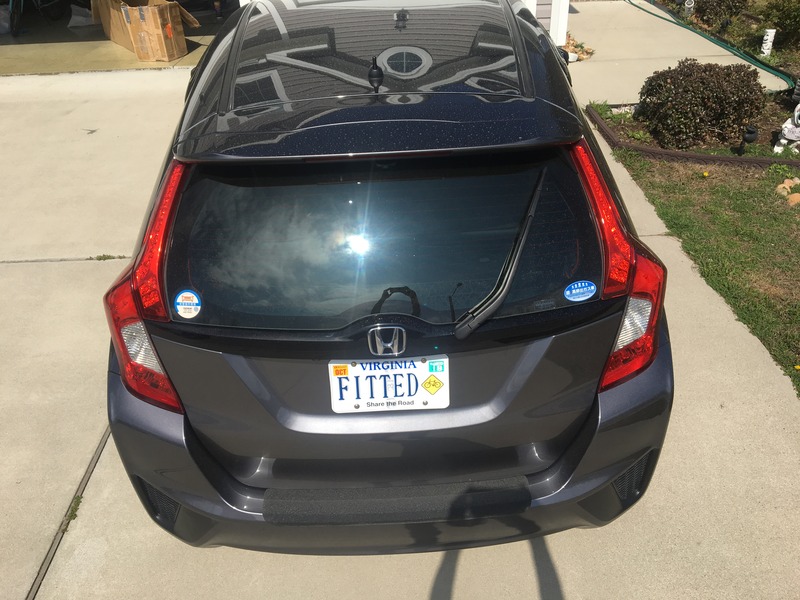
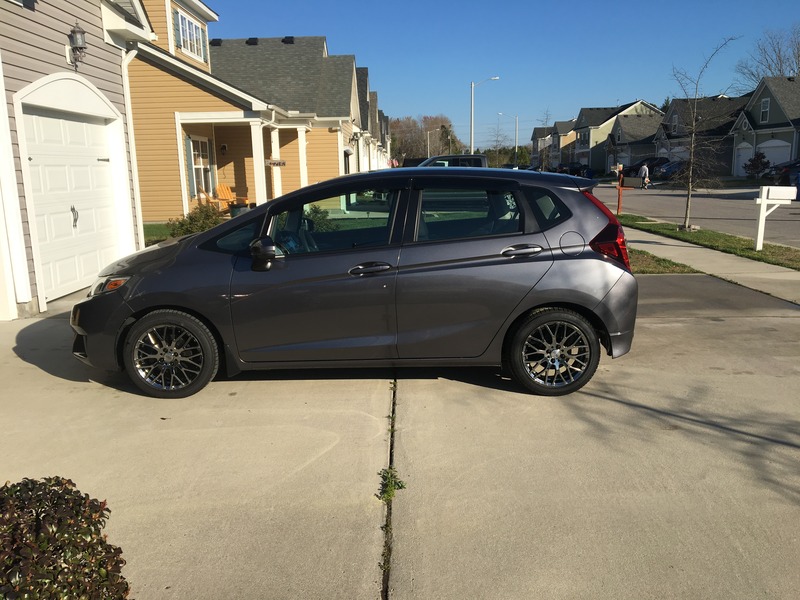
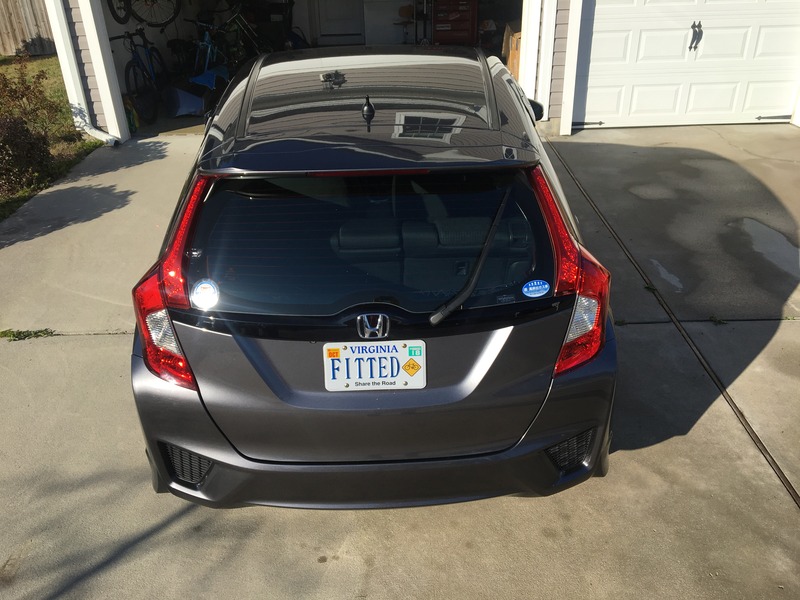
Ok, so I received my "new" jdm bumper from Stembridge(thanks again for the extra mile ) Installed it yesterday, only thing left to do some paint touch ups and to fix the rear inner fender liners, they have a gap because of the different shape.
Some before shots for reference
Next to each other
and on
Clay barred it and waxed it
All shiny :P
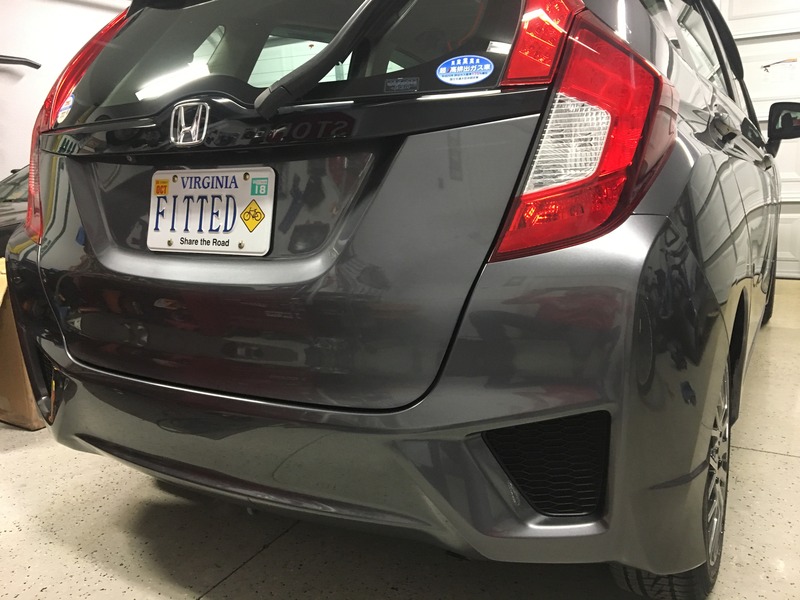
) Installed it yesterday, only thing left to do some paint touch ups and to fix the rear inner fender liners, they have a gap because of the different shape.
Some before shots for reference


Next to each other

and on


Clay barred it and waxed it


All shiny :P


Member
Joined: Jul 2014
Posts: 3,305
From: Shokan, NY
For a nice project lasting several days, get a couple of boxes of Dynamat and put it everywhere you can. It makes the car a lot quieter.
Thread Starter
|
Member
Joined: Mar 2009
Posts: 190
From: Virginia Beach
Thanks, I am contemplating the dynamat still, but I like the idea of it being quieter.
Thread Starter
|
Member
Joined: Mar 2009
Posts: 190
From: Virginia Beach
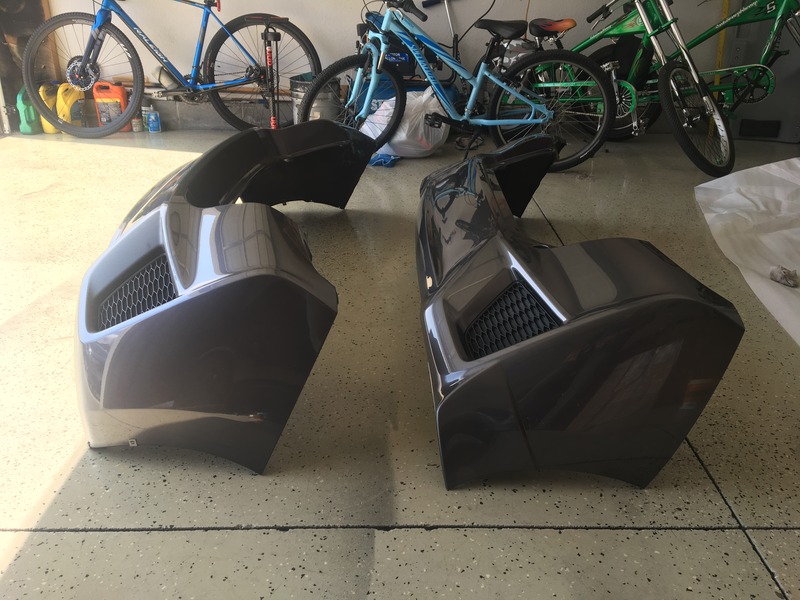
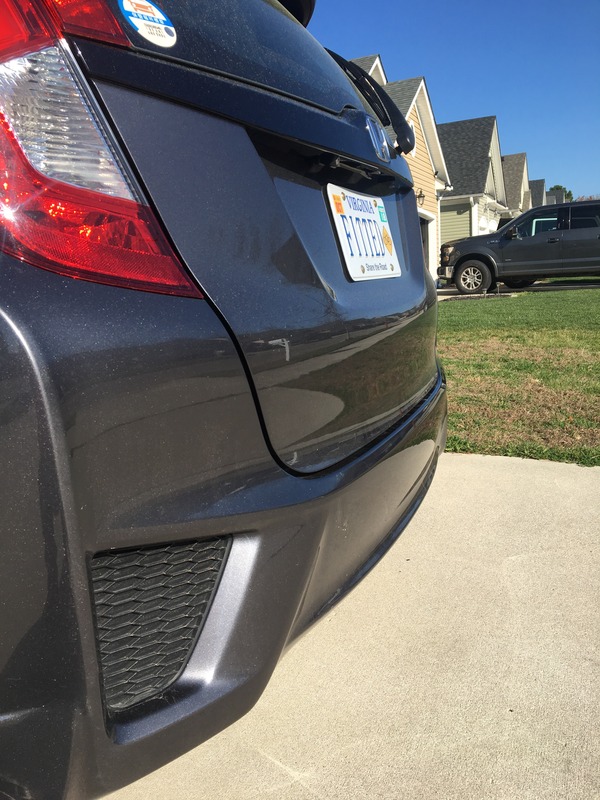
So yesterday's project, with the JDM RS bumper installed there is a gap that the usdm fender liners don't fill. Time to make covers �� I made them out of 2.5mm plastic that I cut and formed with a heat gun.
Next project will be to use my Honda touch up paint to cover the orange.
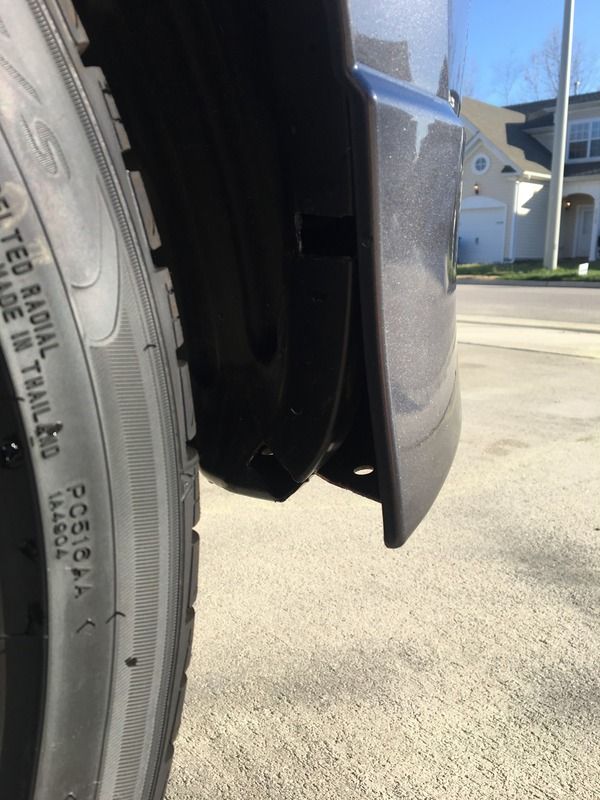
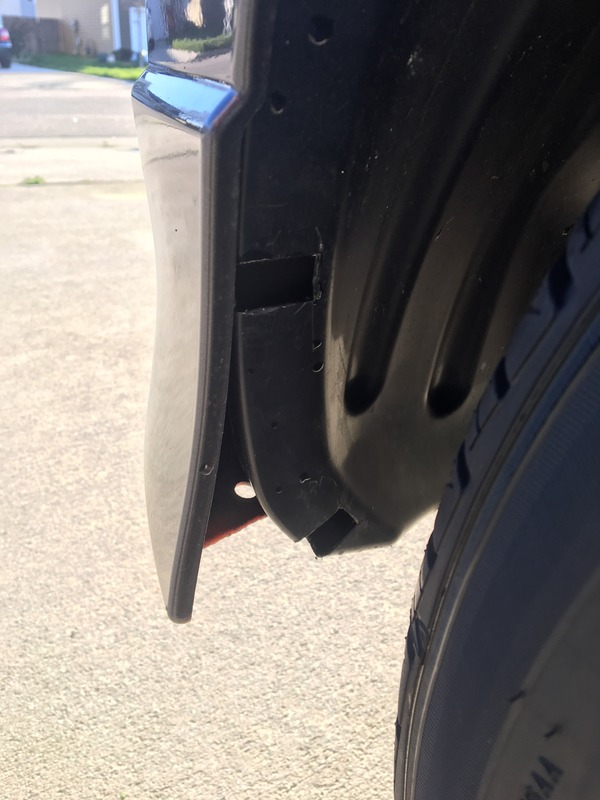

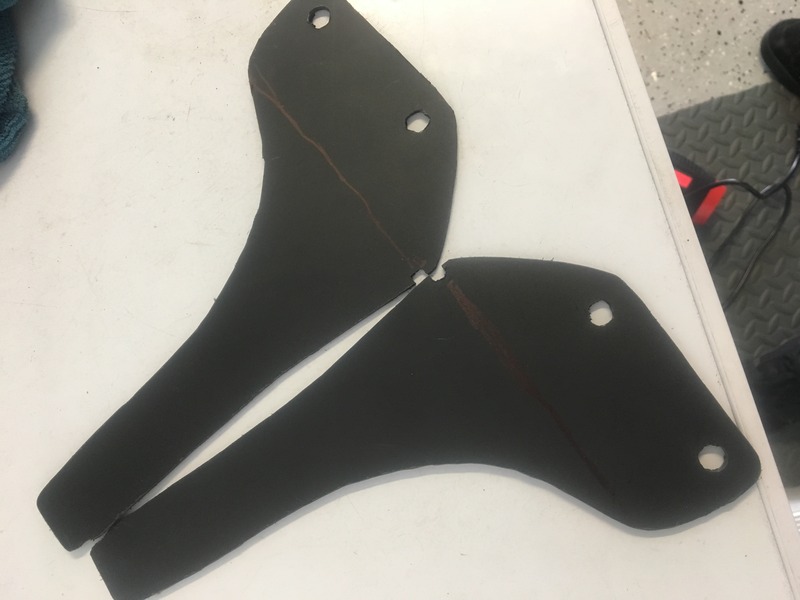
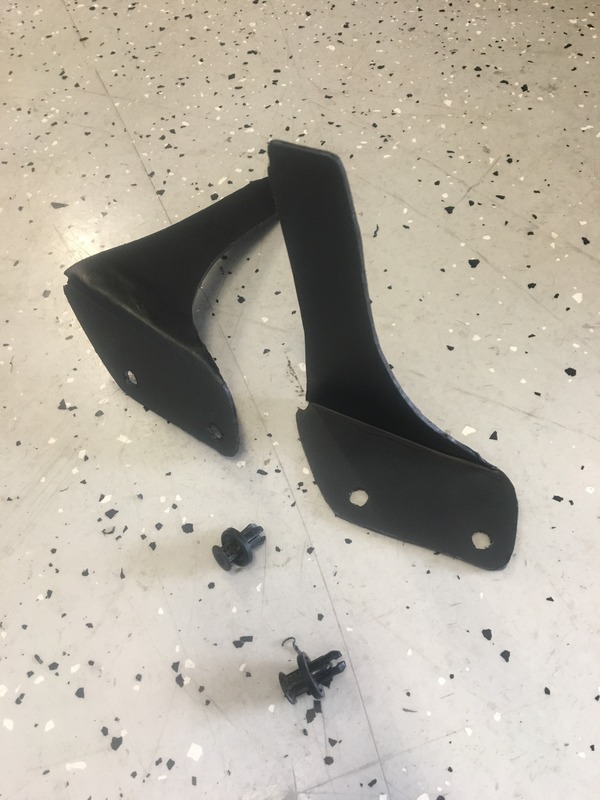
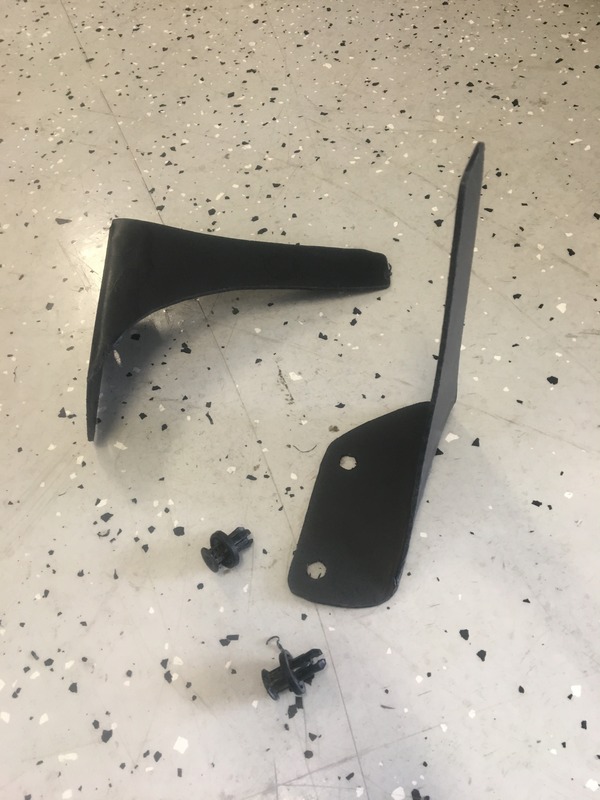
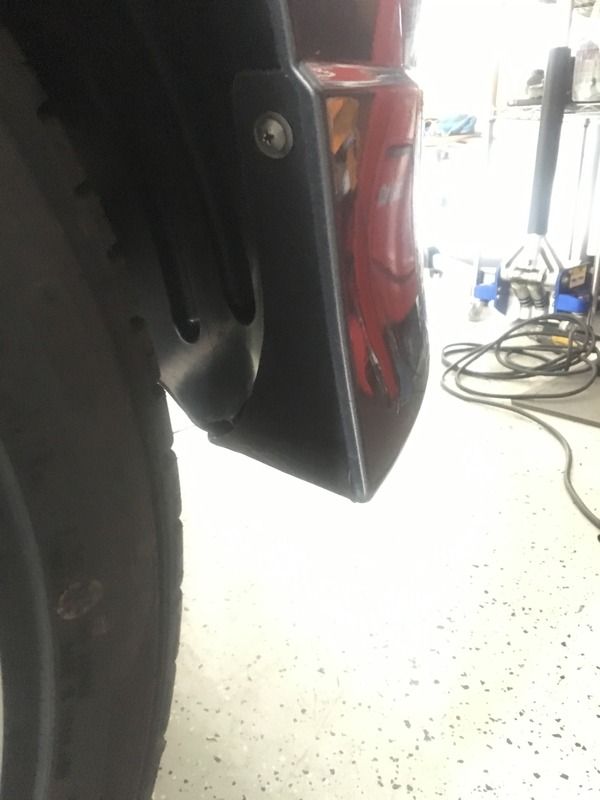
�� I made them out of 2.5mm plastic that I cut and formed with a heat gun.Next project will be to use my Honda touch up paint to cover the orange.


Last edited by axlline; Mar 31, 2017 at 06:26 AM.

Member
Joined: Jul 2014
Posts: 3,305
From: Shokan, NY
Any way you look at it, the Fit is a very economical car to drive. My only regret is the absence of a Honda Service Manual. The dealer's service is not very good.

Member
Joined: Jul 2016
Posts: 53
From: council bluffs

a month ago i got 47 mpg with eco mode off.