Paint brought back to life
#1
Paint brought back to life
Hi All, FORGET THE INFO IN THE FIRST 3 POSTS HERE AND GO TO #4!
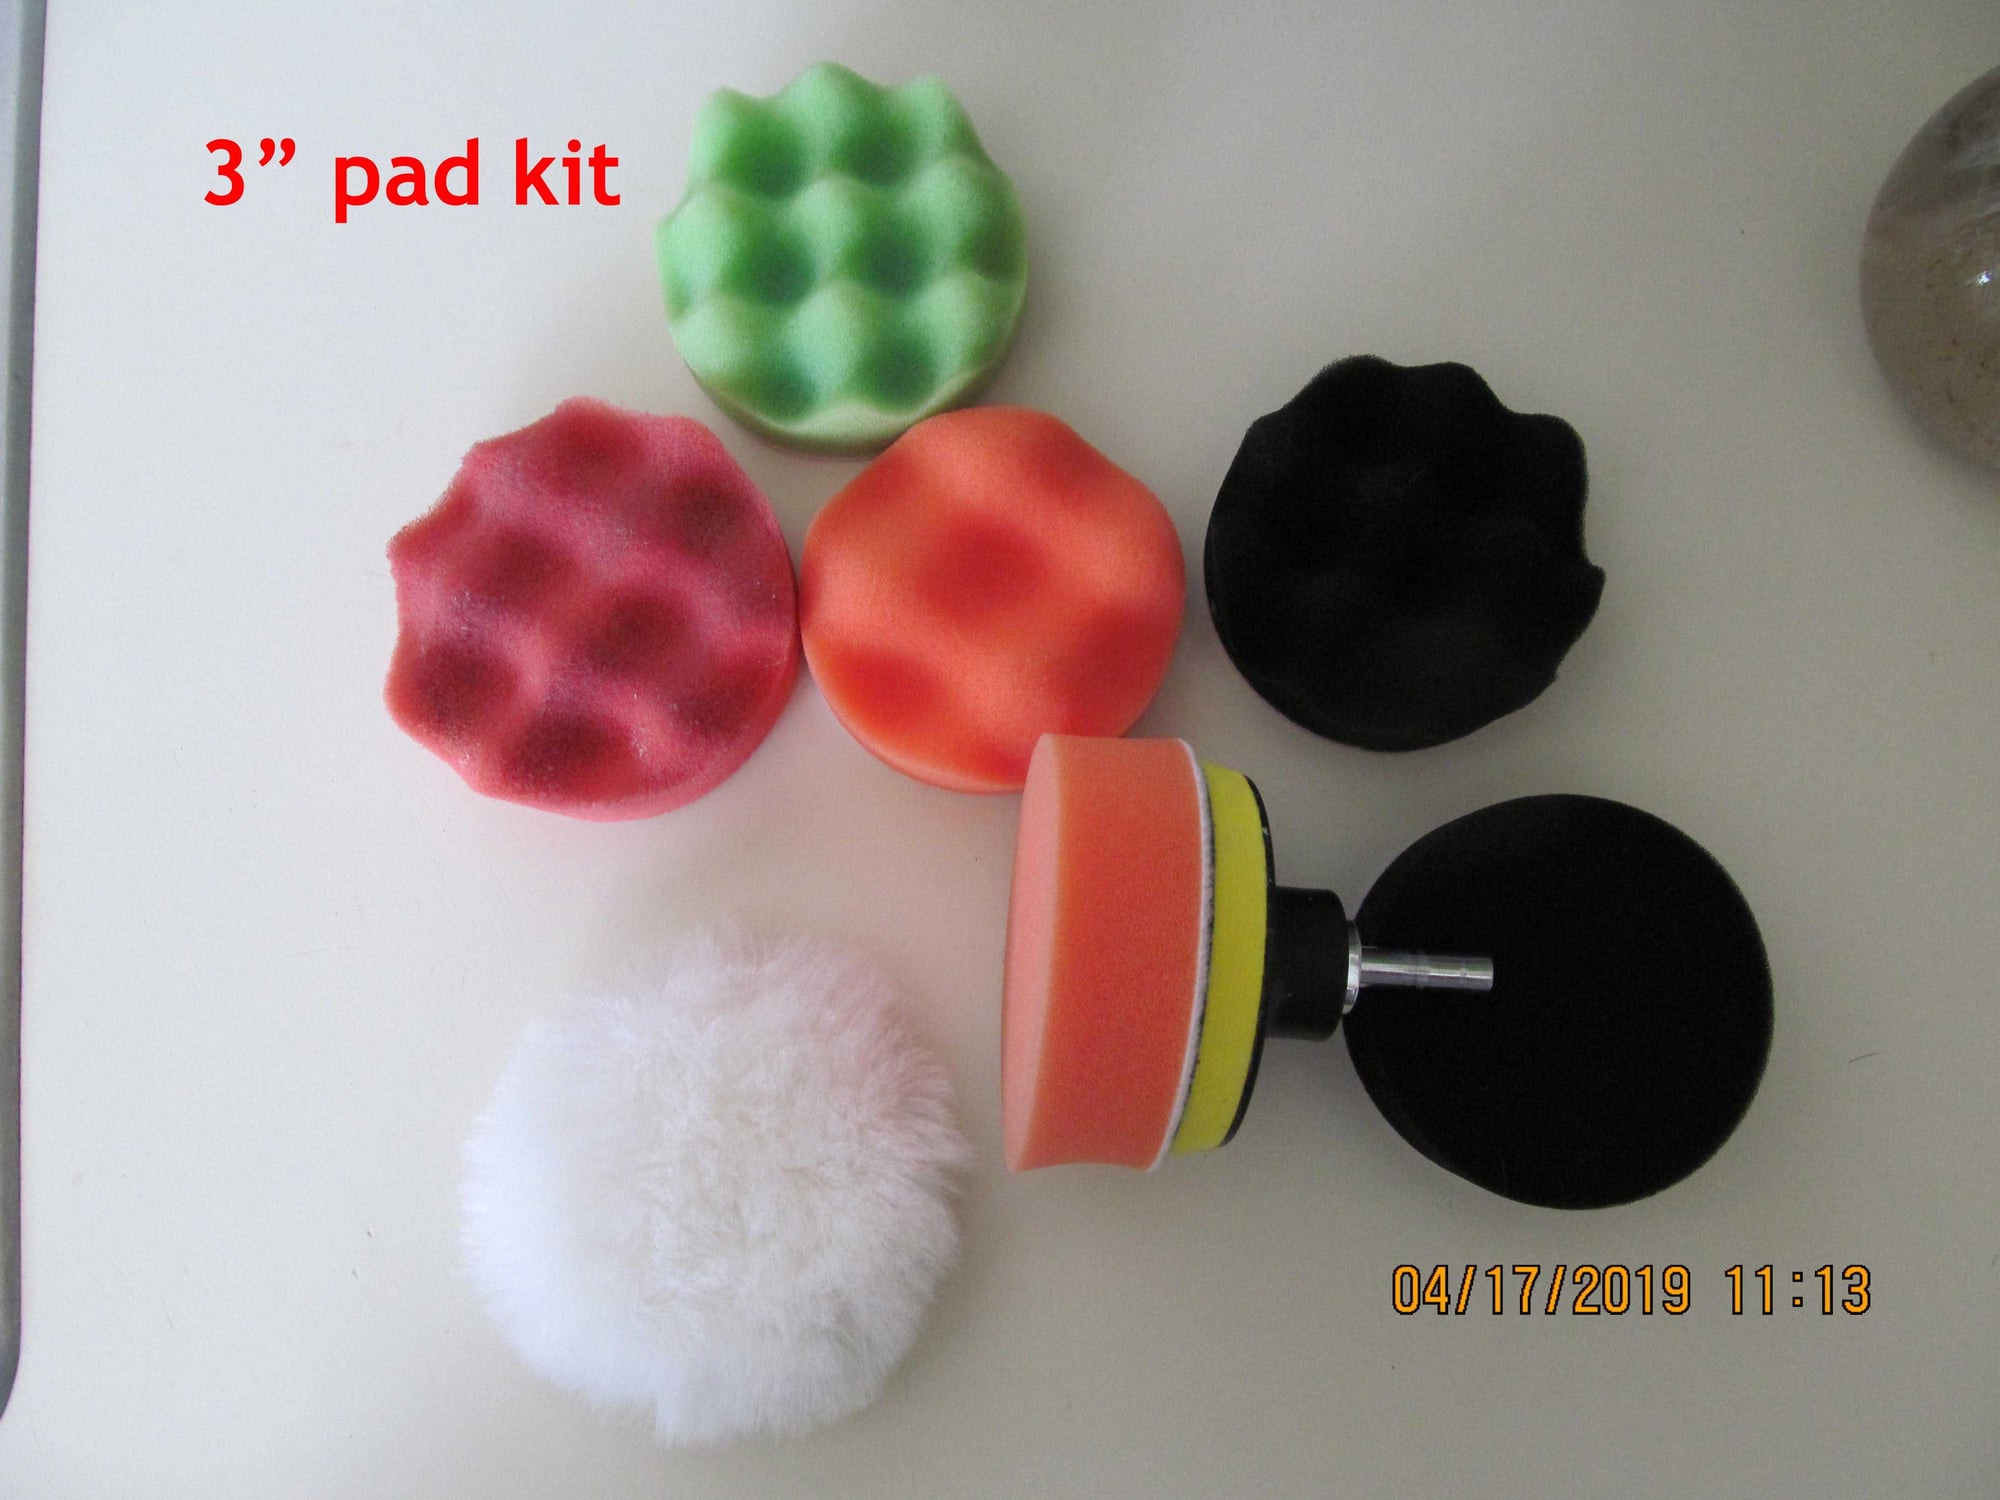
I'm new to the forum and just wanted to give some info on how I was able to bring my paint back to life, after years of abuse by the former owner. Just bought my 2010 Fit Sport and the previous owner must not have EVER waxed, and only infrequently washed it. The car is white and when looking down the side of the car, you could see what looked like "smug" marks----a dark, grayish "fog" all over the paint. Wax would not touch it so I got a clay bar and did the whole car and that helped remove a lot of the dull, gray. After that I waxed the car and it looked "okay". But the top surfaces, where the worst grunge settles, was still bad. So, I bought one of those small, sponge buffing kits. I got about 10 pads with it, all sponges that are 3" in diameter and get attached to my hand drill by Velcro. The Velcro holds the pads on with absolutely no problem! There are various pads that come with the kit (about $10 online) and each is used for different purposes. Some are used for cutting deeply (yes, a sponge can cut your car) others are used for a "light cut" others for buffing with wax. Long story short, I used the buffing sponge on my drill, with car wax. (MeGuiars liquid) I was going to use MeGuiar's polishing wax but played it safe with regular wax and glad I did. Without putting much pressure on the drill, and taking my time to double check my progress, the years of crud lifted off! It took some time but I'm glad I did it because it made all the difference in the world for the overall appearance of the car. In retrospect, I don't know if I would have had to bother with the clay bar and just buffed the finish with the sponge and wax so if anyone is going to try this, doing without the clay bar may save a lot of time. But, the clay bar does take years of "pollution" off the finish too. And the advantage of using the small 3" sponges is that you can get into tighter crevices. Better to use a large buffer on the big surfaces and the small buffer (drill) for cutting in the corners. Anyway, good luck for anyone who wants to try this. Great results but again, be careful because you can literally, burn your paint if not careful.
I'm new to the forum and just wanted to give some info on how I was able to bring my paint back to life, after years of abuse by the former owner. Just bought my 2010 Fit Sport and the previous owner must not have EVER waxed, and only infrequently washed it. The car is white and when looking down the side of the car, you could see what looked like "smug" marks----a dark, grayish "fog" all over the paint. Wax would not touch it so I got a clay bar and did the whole car and that helped remove a lot of the dull, gray. After that I waxed the car and it looked "okay". But the top surfaces, where the worst grunge settles, was still bad. So, I bought one of those small, sponge buffing kits. I got about 10 pads with it, all sponges that are 3" in diameter and get attached to my hand drill by Velcro. The Velcro holds the pads on with absolutely no problem! There are various pads that come with the kit (about $10 online) and each is used for different purposes. Some are used for cutting deeply (yes, a sponge can cut your car) others are used for a "light cut" others for buffing with wax. Long story short, I used the buffing sponge on my drill, with car wax. (MeGuiars liquid) I was going to use MeGuiar's polishing wax but played it safe with regular wax and glad I did. Without putting much pressure on the drill, and taking my time to double check my progress, the years of crud lifted off! It took some time but I'm glad I did it because it made all the difference in the world for the overall appearance of the car. In retrospect, I don't know if I would have had to bother with the clay bar and just buffed the finish with the sponge and wax so if anyone is going to try this, doing without the clay bar may save a lot of time. But, the clay bar does take years of "pollution" off the finish too. And the advantage of using the small 3" sponges is that you can get into tighter crevices. Better to use a large buffer on the big surfaces and the small buffer (drill) for cutting in the corners. Anyway, good luck for anyone who wants to try this. Great results but again, be careful because you can literally, burn your paint if not careful.
Last edited by JerryHughes; 04-22-2019 at 10:01 PM.
#3
Sorry, no pics. Wish I would have now. But when I did this yesterday, I only did the hood and front bumper because it looked like, pretty much, the rest of the car turned out good with just the clay bar and following wax. Looked good during the day (and I think part of that was because it is a white car) but last night when parking in a store lot, I looked at the sides of my car, under artificial light and they still looked bad! I mean, really bad. And I also looked at the hood and front bumper that I did buff out and they still looked really good, under that artificial light. So, I'm going to go back and do the whole car with the buffing wheel but I'll buy a larger wheel for the big surfaces and do the "tight spots" with the little 3" buffer I used on the hood and front bumper. This Fit's paint was really neglected, terribly----not pitted but covered with the "gray" dull smudge from air pollution, etc. and from never taking care of it. But, at least with some more work, it will look really good again. Because the paint is so neglected, I think I may try some very light polishing compound (McGuire's has it) to make the process go faster ---- but with care and watching the work closely. Then I'll top that off with a quick buff with the liquid wax. Another thing is that if this car was any other color, you may not realize as drastic cleanup as I did even though that grunge actually may be there. Good luck if you try this but take your time and continually check the finish so you don't burn it. Oh---buff only after washing the car. Must have a very clean surface, otherwise you will leave scratches!
#4
Supplies used to polish
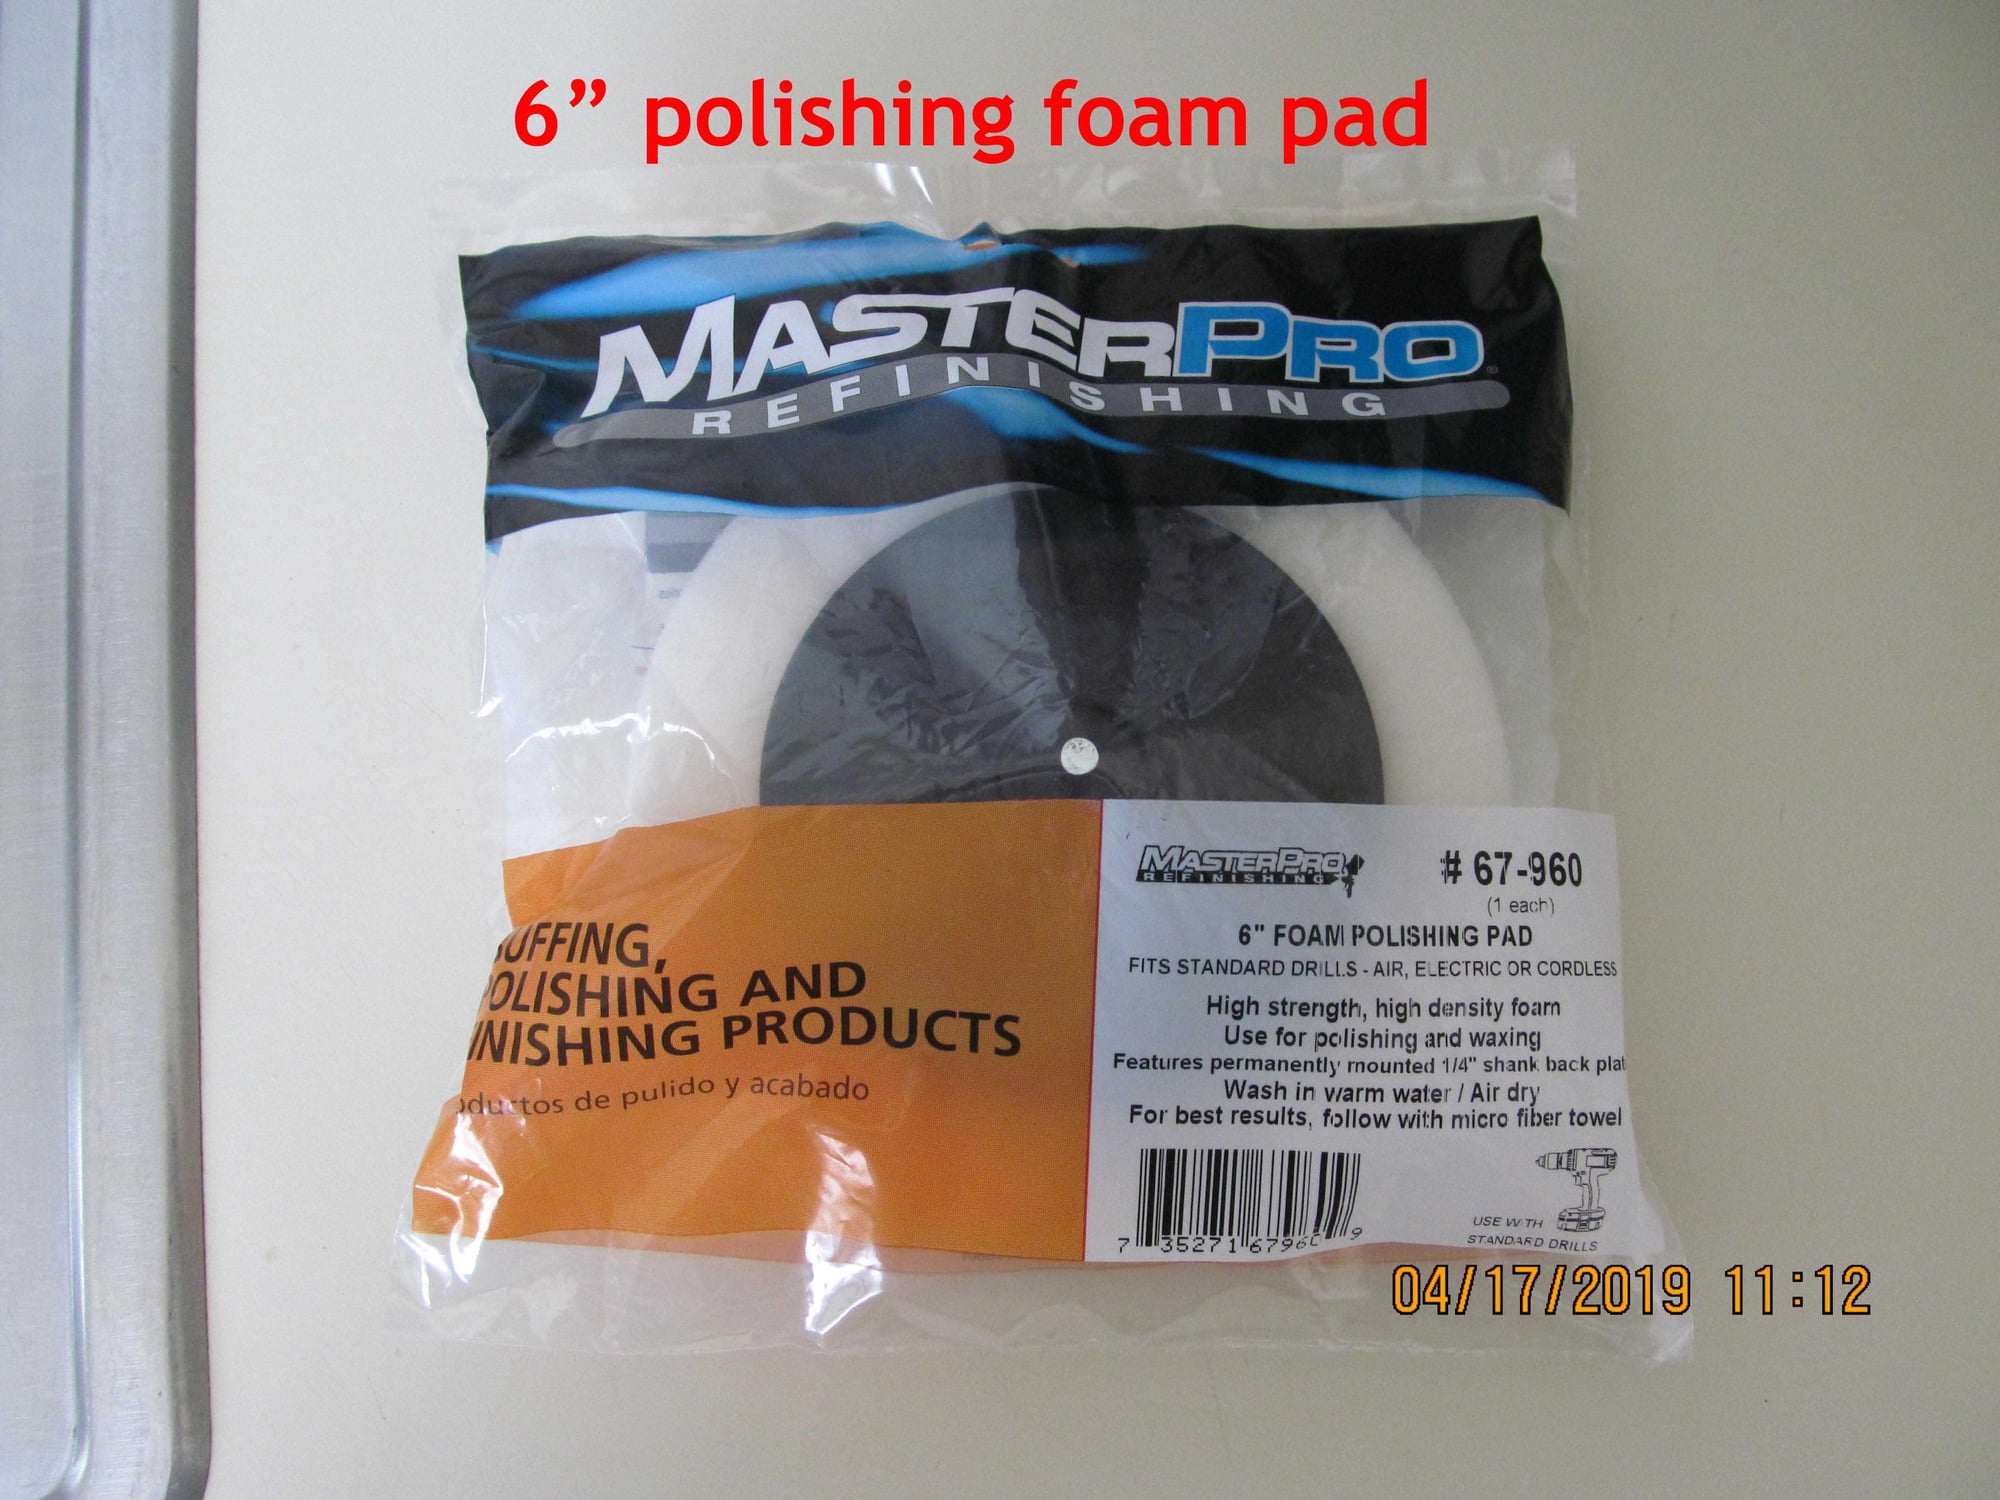
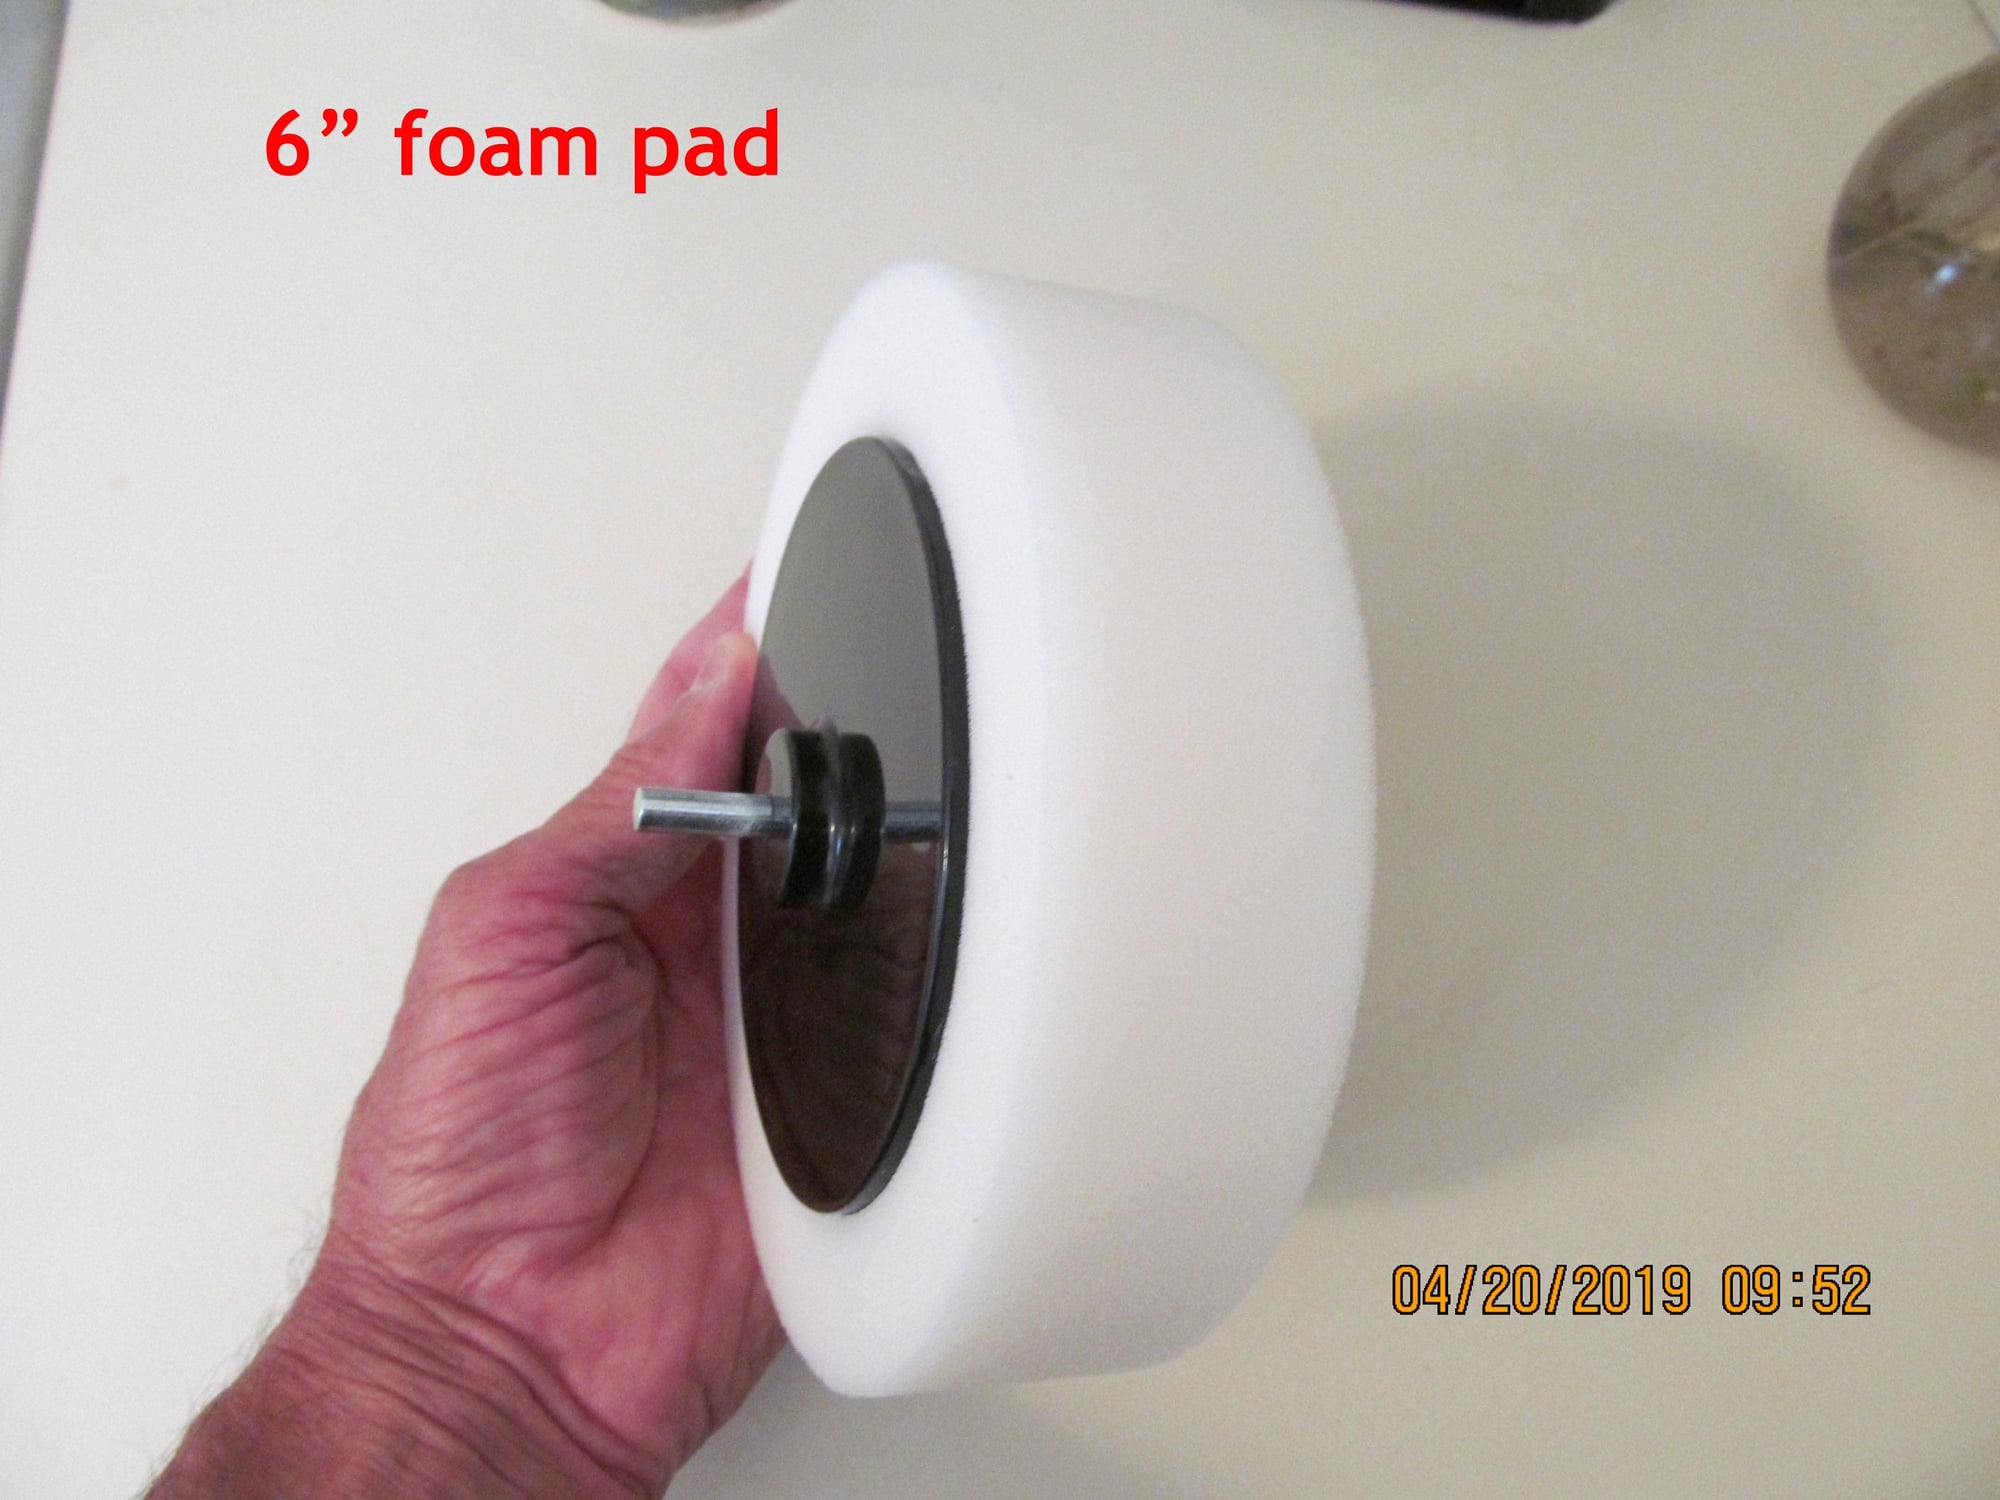
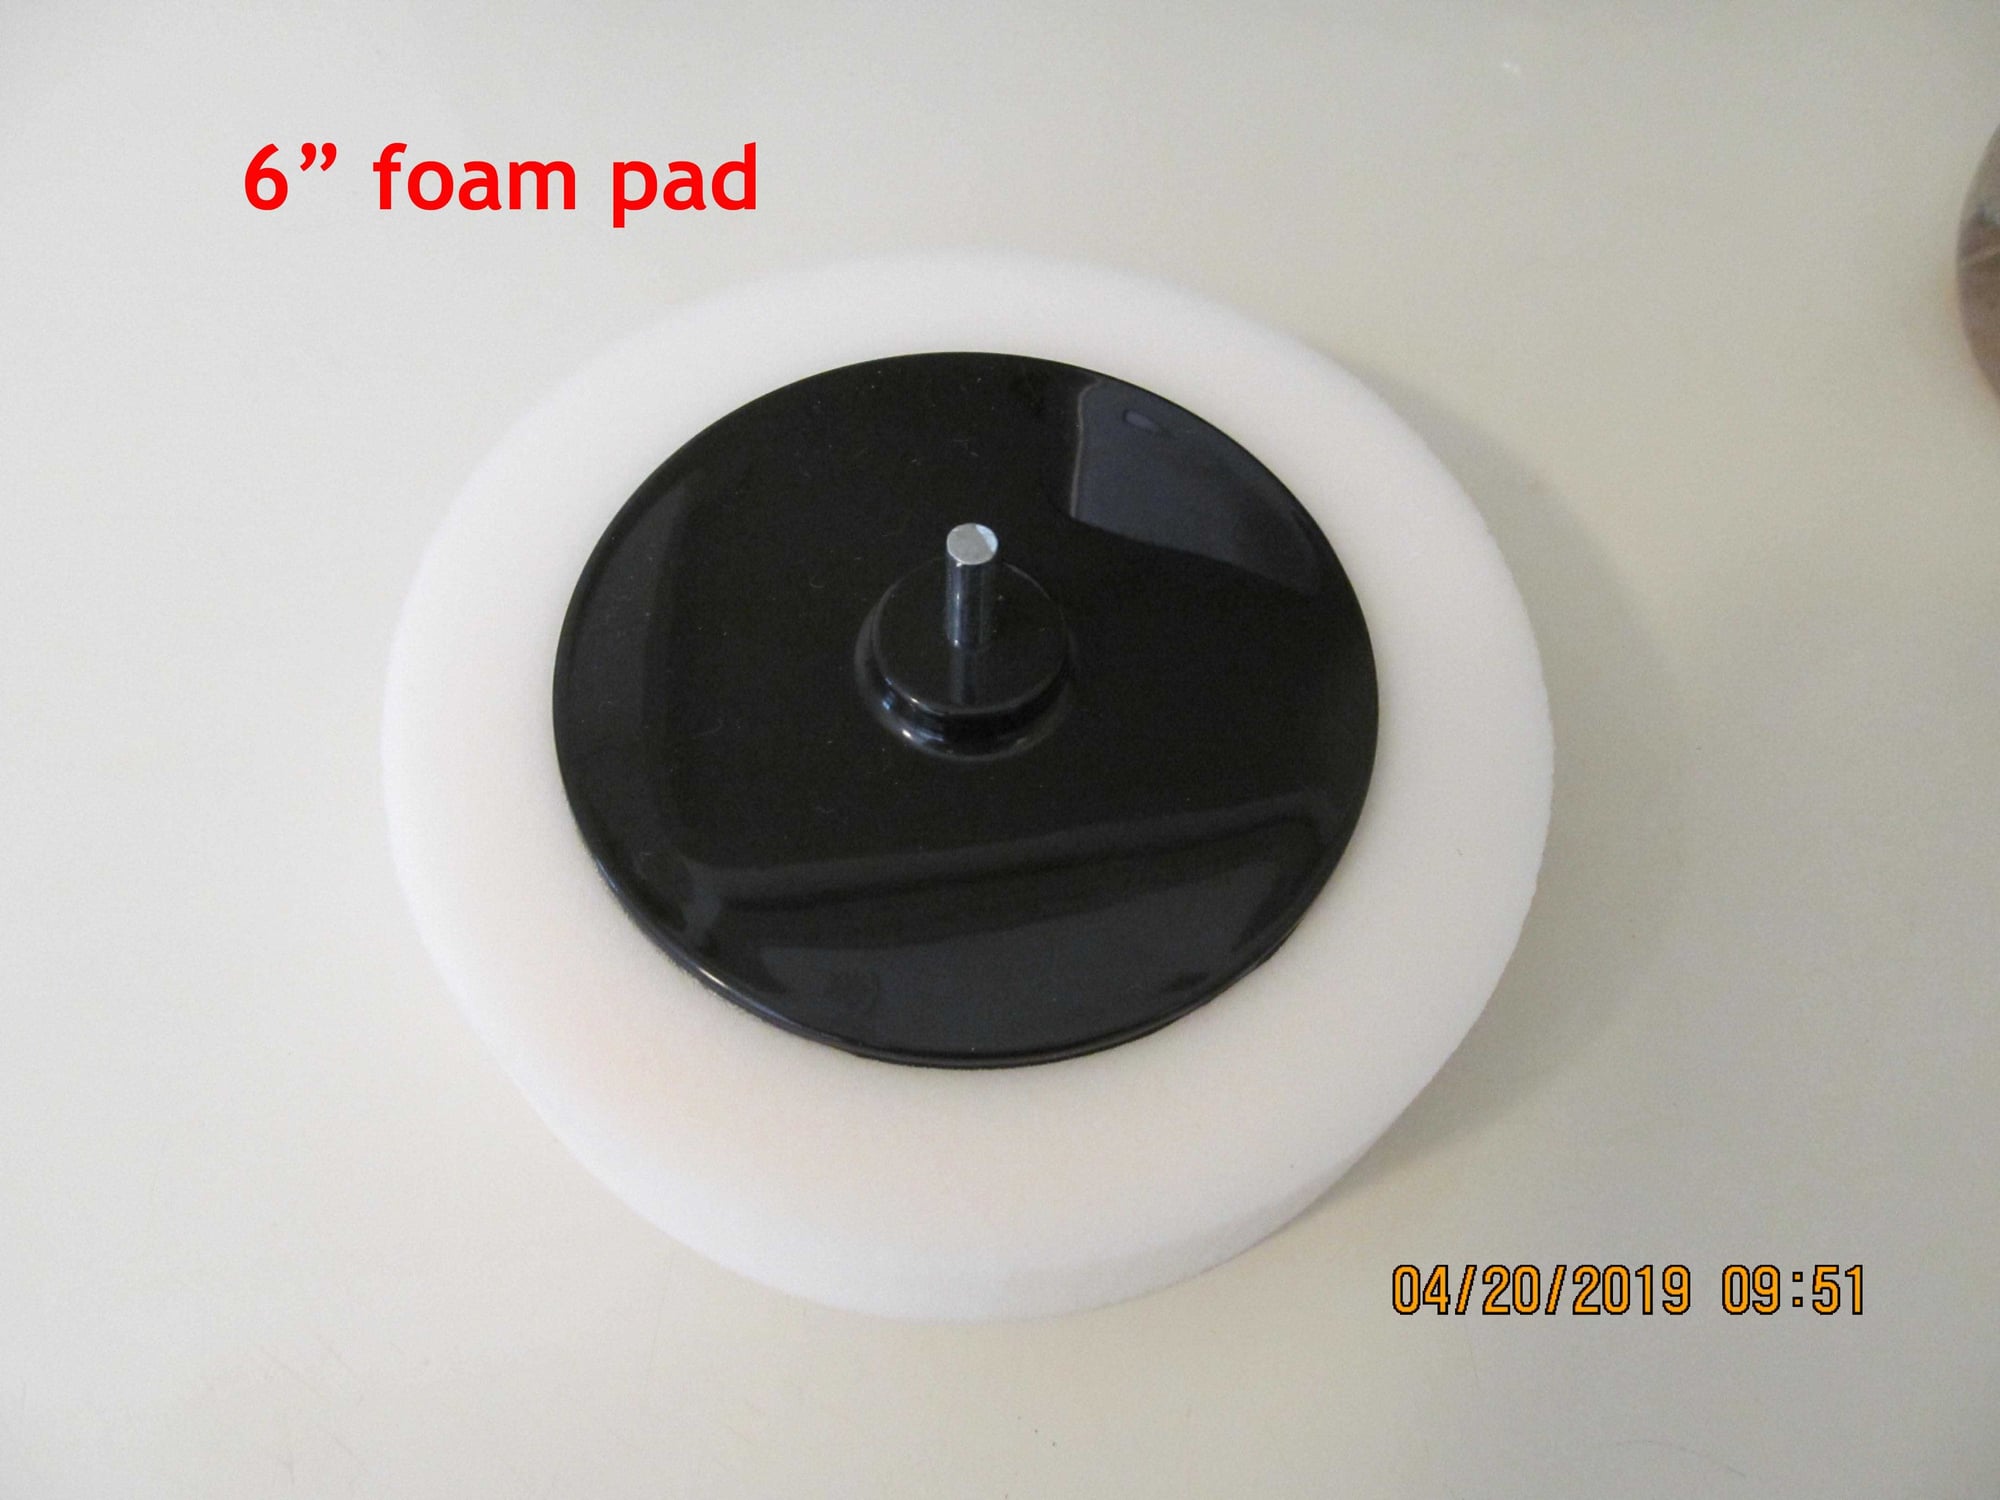
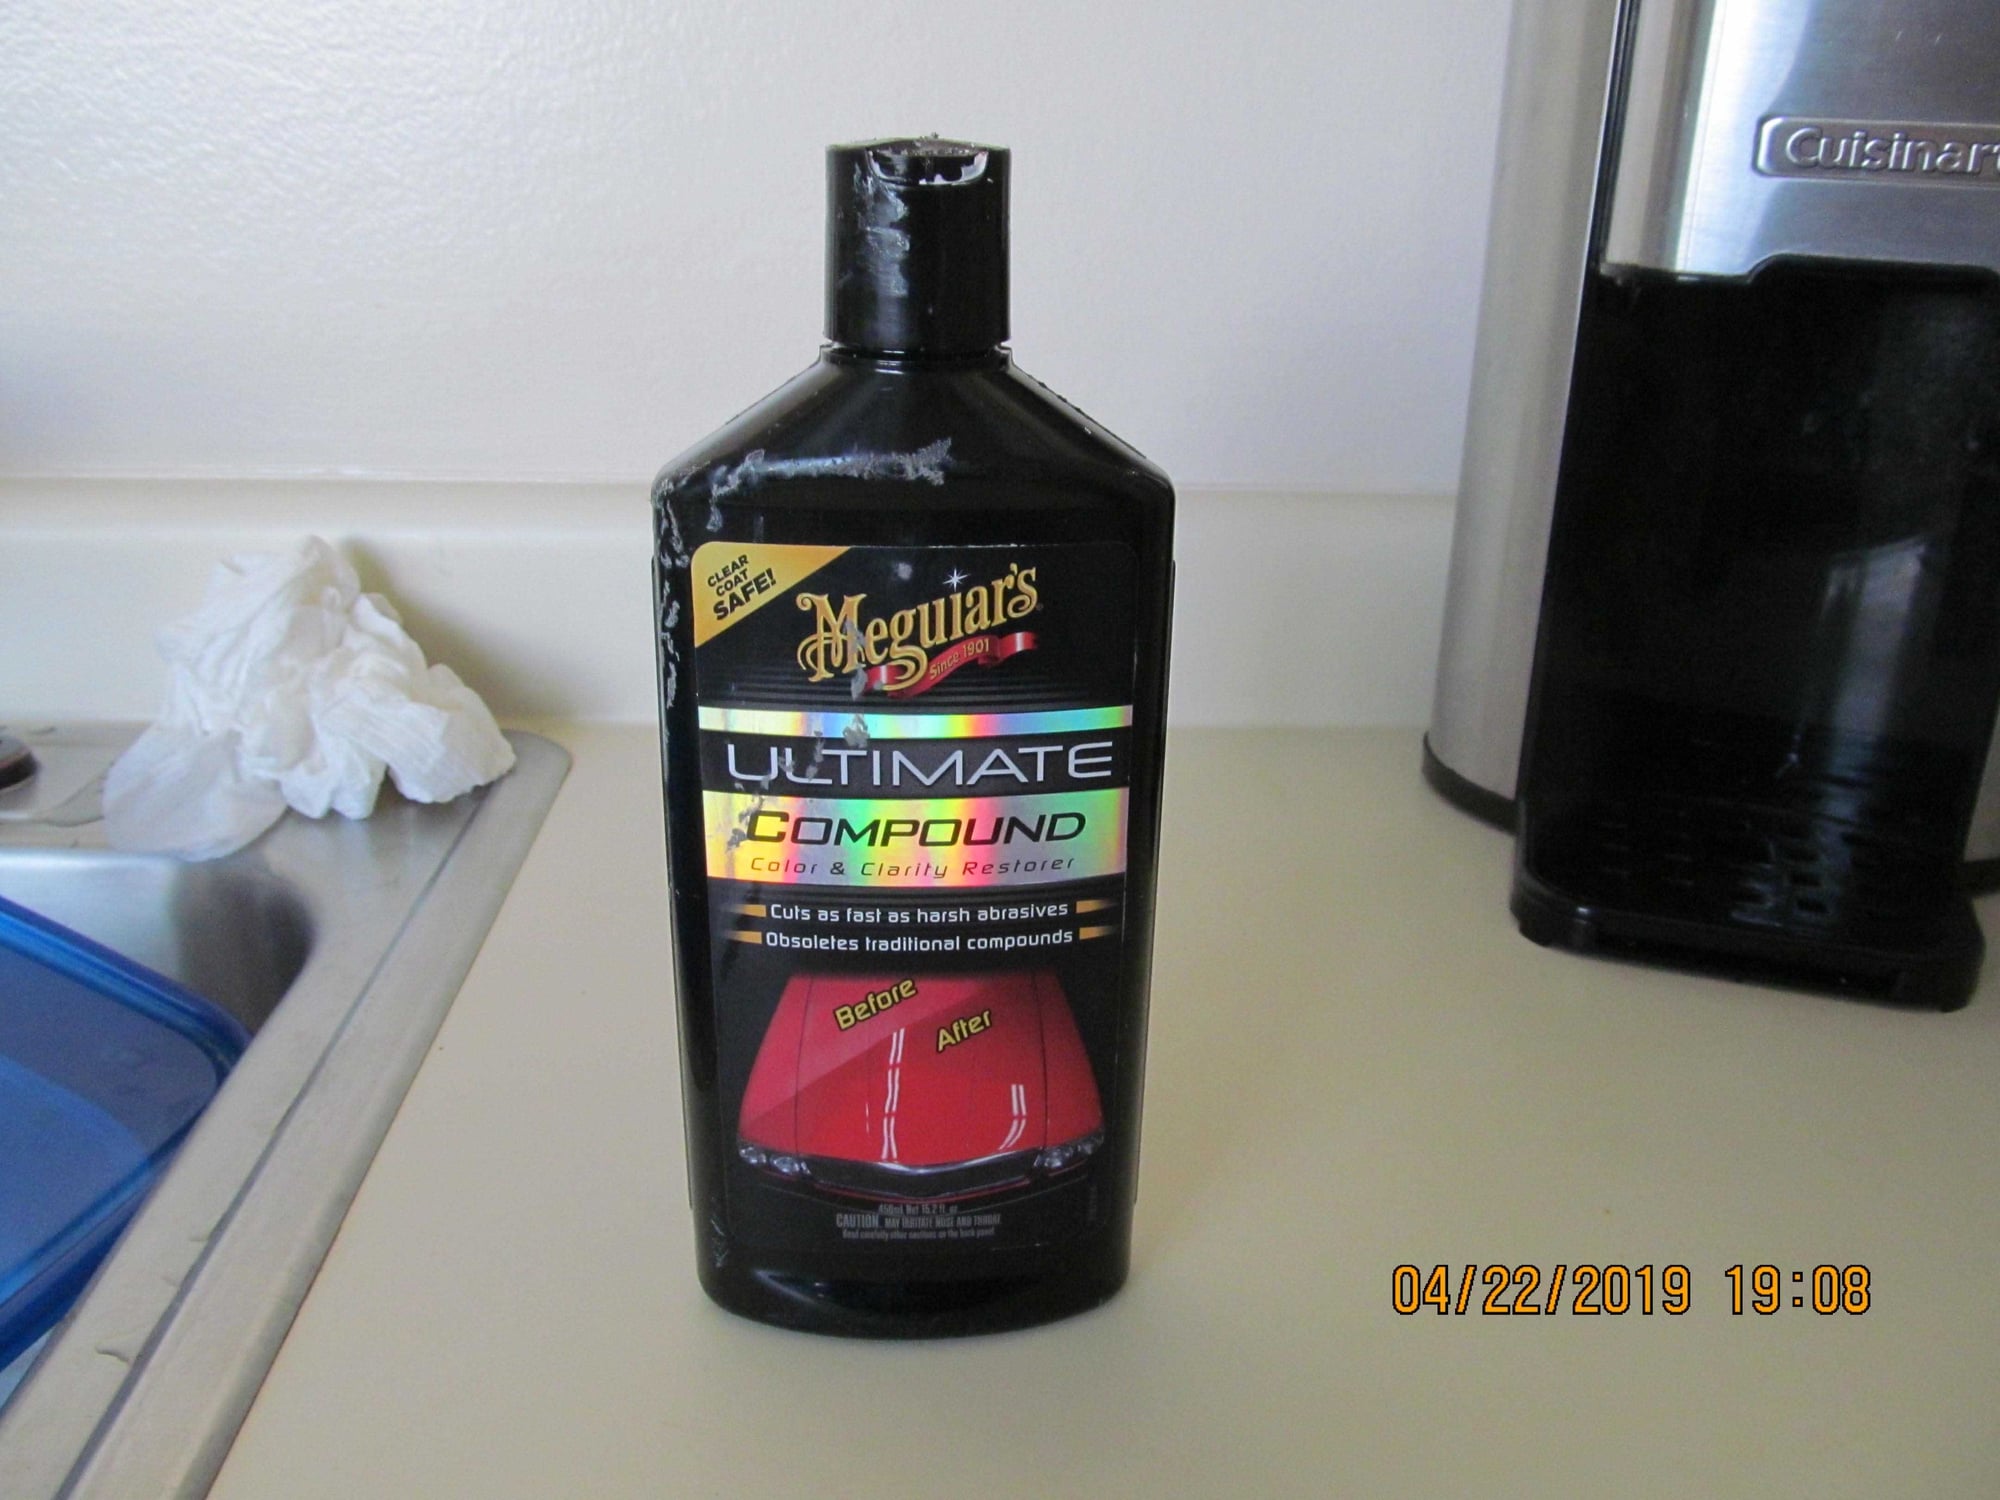
Okay, forget what I posted in the two posts (#1 and #3 above). Instead of using the clay bar and then waxing by hand, which I thought turned out so good, again, after viewing the paint job under artificial light, it didn't turn out nearly as nice as I thought. So, I bought a 6 inch foam polish pad from O'Reilly's (see photo) that fixes to my home drill and used that with Meguiar's Ultimate Compound Color and Clarity Restorer. I ended up using just a little over one bottle of Meguiar's on my Fit. Can not believe the difference in the paint job! The clay bar and wax does not compare at all to the finish I got off the 6" foam polishing pad. The paint job was so neglected for years and years, I can't believe how this turned out. Took me hours to do but since I keep up the outside of my cars with wax, I probably will never have to do it again.
Here are the directions I got in an email from the maker of the foam pad------------------
"You will not want to use water in combination, rather only use the polish or compound. The pad you have is for polishing, or lighter swirl and scratch removal. It is not recommended to run the pad dry or allow it to dry out completely. Every polish manufacturer may have slightly different suggestions of quantity of product, recommended polisher speed, and cycle time.
If you are using a specific product, try doing a quick search on youtube. There are so many videos out there on using the different products on the market, and can possibly help as well. Generally speaking, you would want to put a line of polish 3-4” long to pick up with pads and polish. That should allow for maybe a 16”x16” -24”x24” section".
I started out using a little more polish than what is recommended but very soon, I could tell how much to use efficiently. Trial and error sort of thing but this is a polishing compound and not meant for cutting deep into the paint. At no time was I afraid I'd burn the paint but I polished with care. When using the pad, I didn't allow the pad to dry out and polished one smaller area then immediately added more liquid polish to the pad and went over the same area I just did. I used moderate pressure on the drill pad and simply let the drill do the work. Then I immediately wiped that off with a cotton rag and followed that with a cotton towel, to shine. Perfect! Of course, like car wax, stay out of the sun and make sure the surface of the car is extremely clean. That's very important to avoid scratches. I wish pictures would show the difference between the clay bar and wax, and the wheeled polish but the photos couldn't pick it up, especially on a white car.
I added some pics of the 6" foam polishing pad I used and the small foam kit I used for tight places. When choosing foam pads, make sure you get the right kind. There are foam pads that are made for polishing and others for CUTTING! Don't use the cutting pads. Tomorrow I will wax everything, to protect. Good luck if you do this. It's worth it to bring your paint back to life!
Last edited by JerryHughes; 04-23-2019 at 04:39 AM.
#6
Hey, marmaladedad, even though I didn't have a picture of my car----you see the difference in the "before and after" label on the photo I posted of the Meguiar's can of compound? That's how much of a difference this process made with my car! Good luck and please let us know how your car turned out.
#7
Two things to watch for. Just thought I'd pass this on too. When doing, especially the roof, I used that blue painter's tape and taped all the edges of the paint from the black rubber/plastic parts that are adjacent to the roof, like all along the windows, etc. I taped them where there were no cracks left, to get the compound in the crevices. Putting the tape not only on the black but where the paint meets the black. So, where the paint/roof curves down in those recessed areas, I made sure that was taped because you're not going to see the shine or lack of shine where the roof "bends" anyway. Makes clean up so much easier and gives a neater job. And, you could actually do the job with just the 6" foam pad because it's very flexible and "bends" for most curves.
And because you have to have the drill in a perpendicular position to the roof in order to buff it, I made the mistake of when I was buffing the center of the roof-----because I was on a ladder and stretching, I put weight on the edges of the painted roof, denting the metal roof! Now I have an order in to Amazon for a dent pulling device. Ugg. Live and learn, so learn by my mistakes. Don't lean on the sides of the roof when buffing or at least, spread your weight out so you don't leave dents. Good luck.
And because you have to have the drill in a perpendicular position to the roof in order to buff it, I made the mistake of when I was buffing the center of the roof-----because I was on a ladder and stretching, I put weight on the edges of the painted roof, denting the metal roof! Now I have an order in to Amazon for a dent pulling device. Ugg. Live and learn, so learn by my mistakes. Don't lean on the sides of the roof when buffing or at least, spread your weight out so you don't leave dents. Good luck.
Last edited by JerryHughes; 04-24-2019 at 10:31 AM.
Thread
Thread Starter
Forum
Replies
Last Post
mav238
2nd Generation (GE 08-13)
5
08-07-2010 06:54 PM
phil@detailersdomain
Fit DIY: Repair & Maintenance
6
09-25-2009 12:19 AM


