


97 NHBP Acura Integra Full Paint Correction by Tru_Shine


97 NHBP Acura Integra Full Paint Correction by Tru_Shine
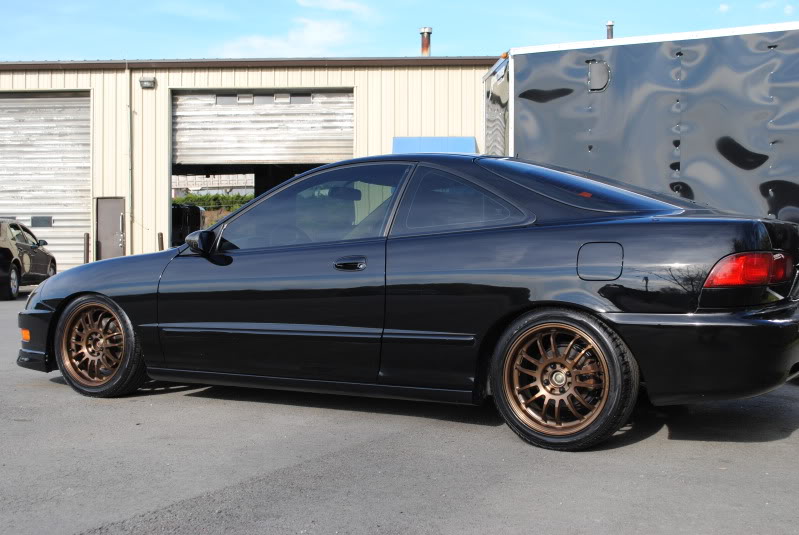
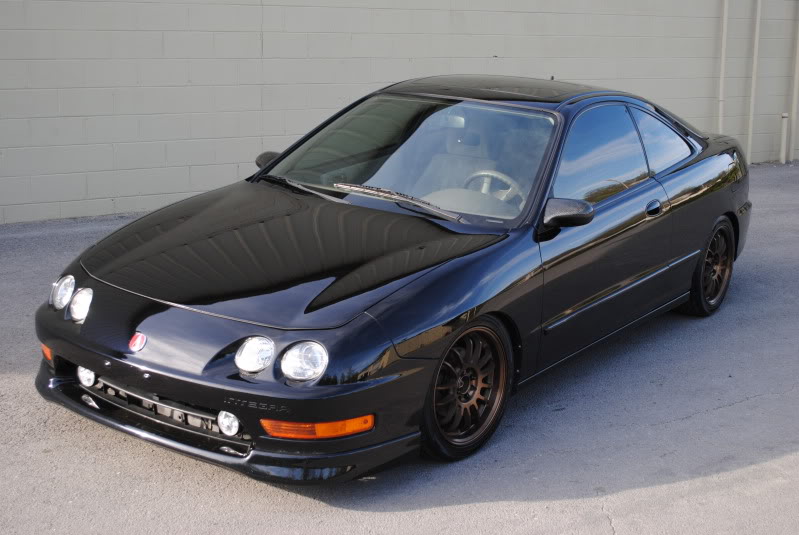
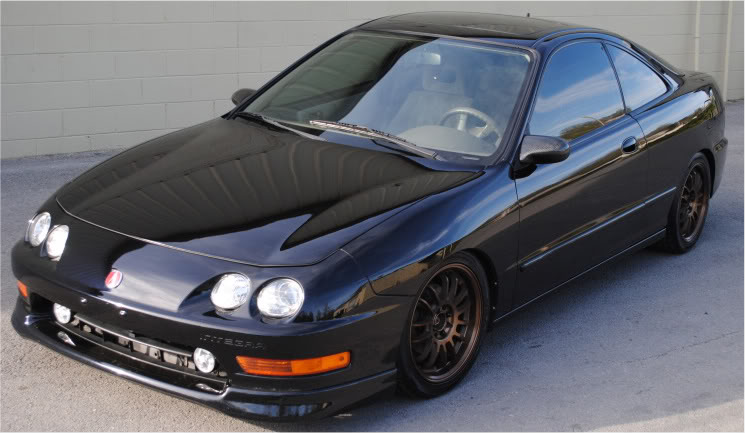
A buddy of mine came to me about his 1997 Black Acura Integra, He wanted it to have a Tru Shine before the Big Import Alliance meet in ATL GA. So he let me have it for a couple of days so I could take of everything and get this puppy gleaming. Lets get started!
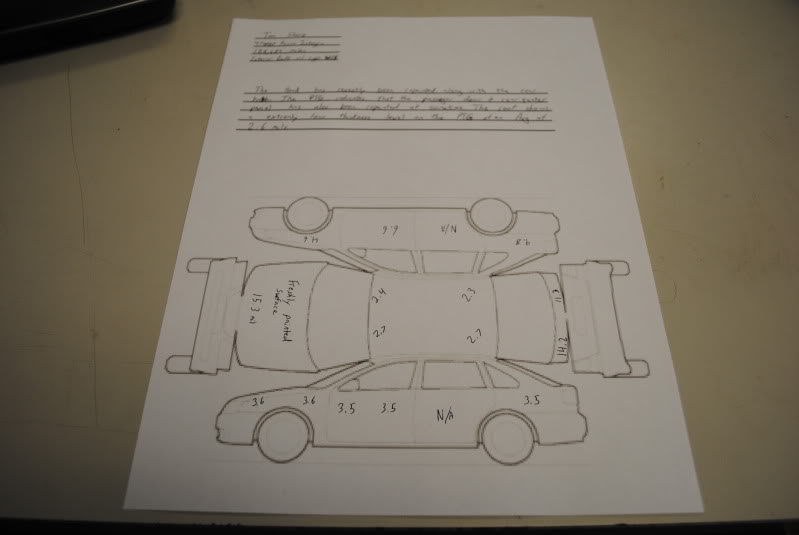
I began the detail with an inspection of the paint surface. I know the previous owner had the car buffed all the time so I was a little worried about how thin the paint was. I pulled out my Highline meter II Paint thickness gauge and began to walk around the car testing each panel. I knew the Hood and Trunk had recently been painted so I wasn't surprised with the results that I got.
The hood was healthy
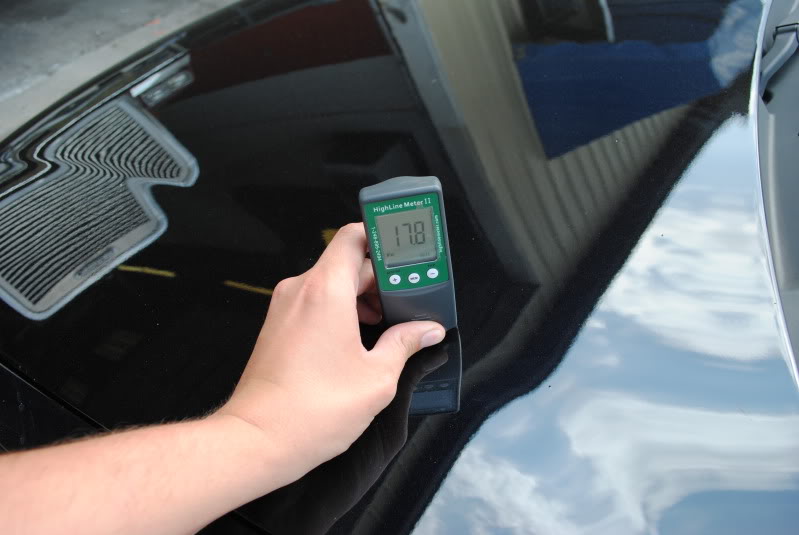
but all the original paint panels were pretty low.
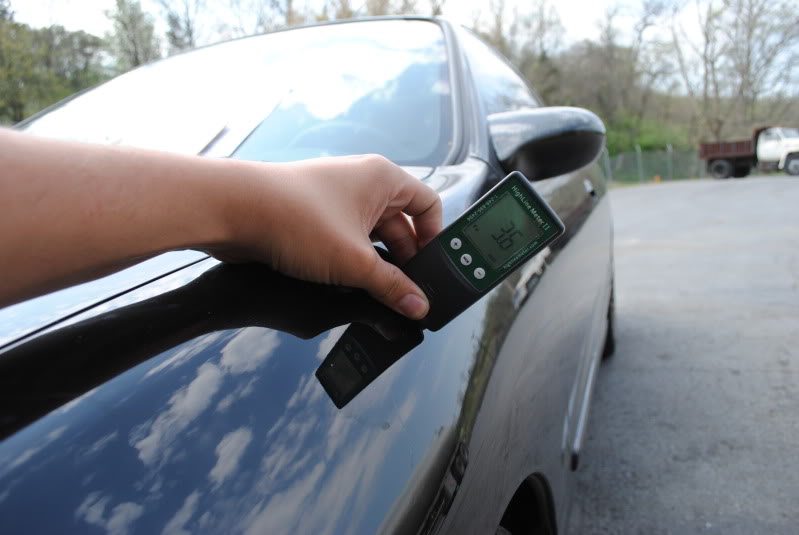
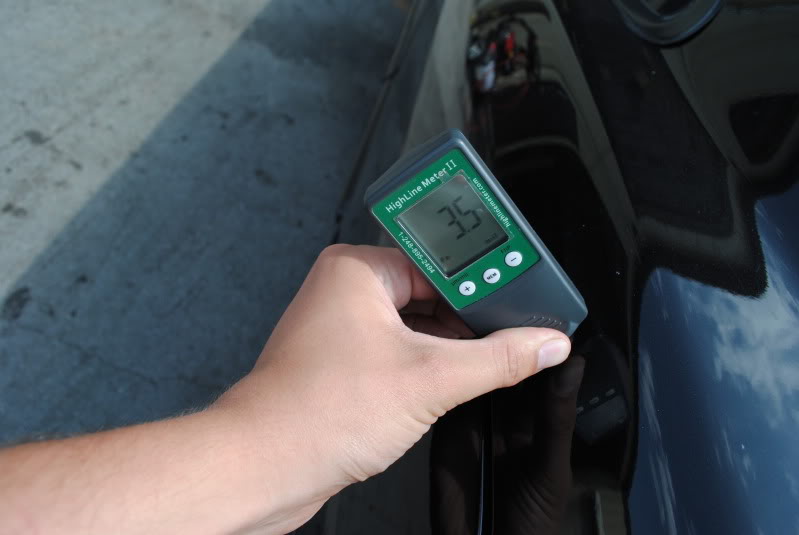
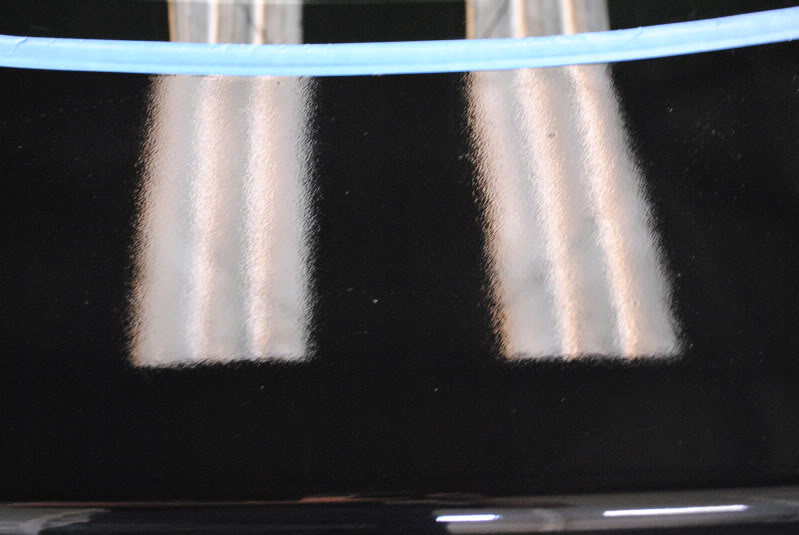
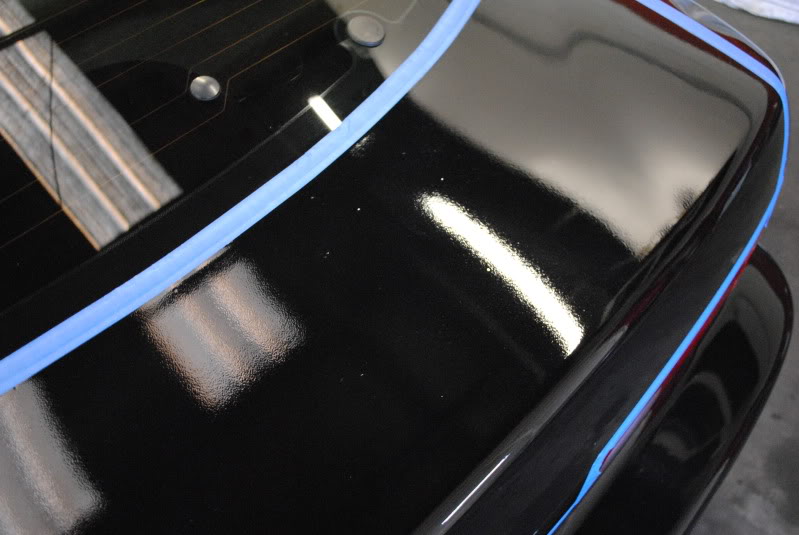
The trunk is going to be wet sanded because of some Extreme orange peel (you see in some pics below)
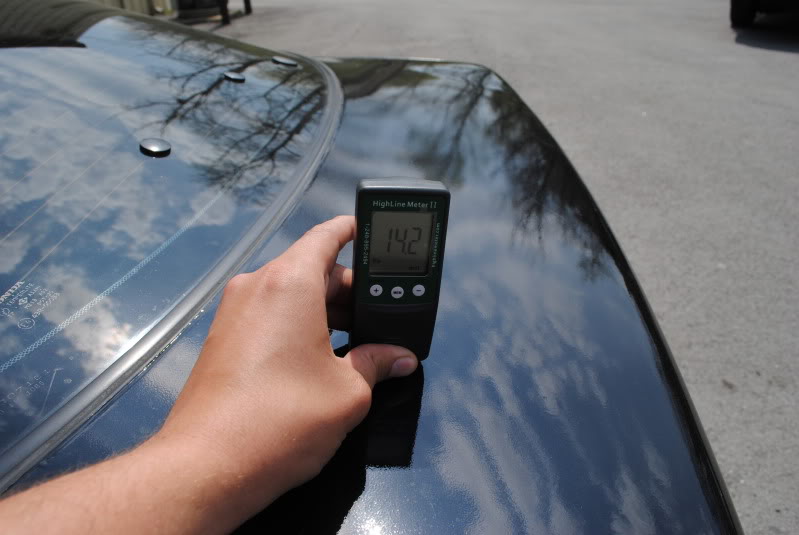
I recorded all of the information from each panel and any other info that the owner needed to know about. such as how thin the paint on the roof was, about 2.4 mils :nervous2:
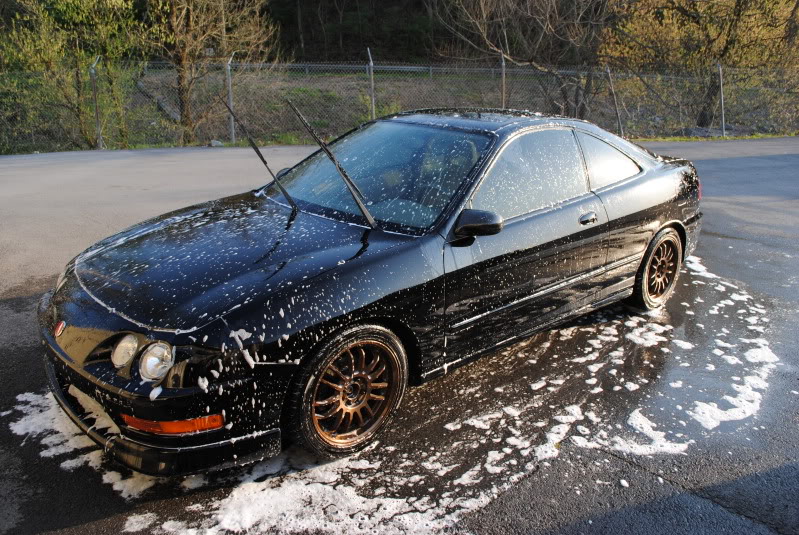
So I sprayed off all of this crazy pollen that was caked on everything. I washed the car with Dawn Dish detergent to strip ANY wax that was on the car off. I wanted a pure paint surface for the polish.
I used:
Single bucket Method
Dawn Dish Detergent (to strip off ALL wax for a pure paint surface)
Grit Guard
100% Sheep skin wash mitt
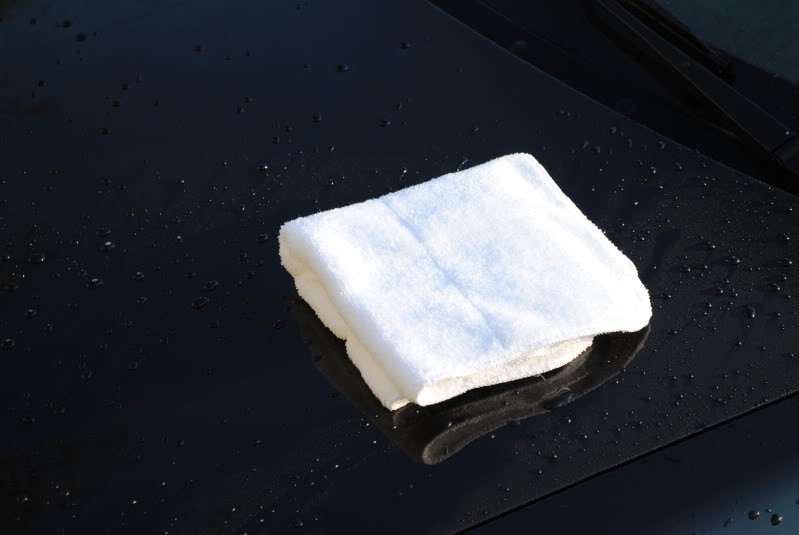
and Dried using a Detailed image reTHICKulous MF towel
and Clayed with Auto magic blue fine clay
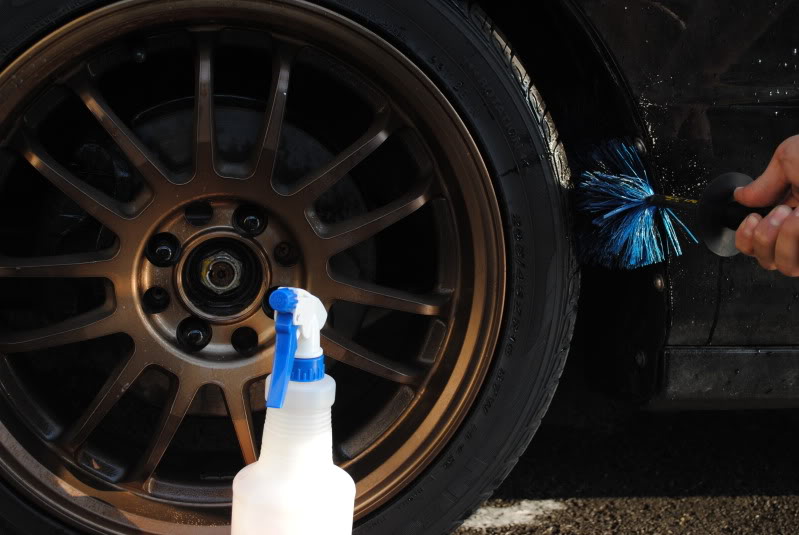
the wheels were cleaned with
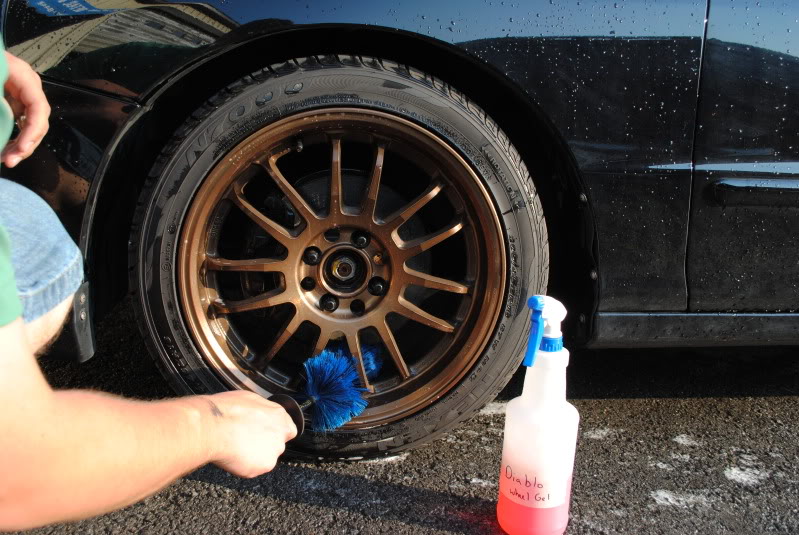
Chemical Guys "Diablo Wheel Gel" 1:3 dilution ratio
EZ Detail brush
I sprayed it on and let it set for 10-15 min on each wheel and the scrubbed it with my EZ Detail brush. and It worked amazingly, I love this stuff
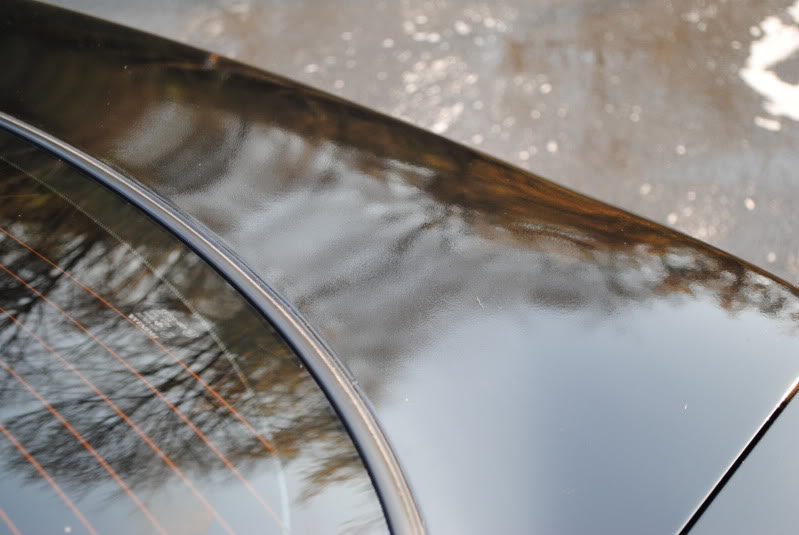
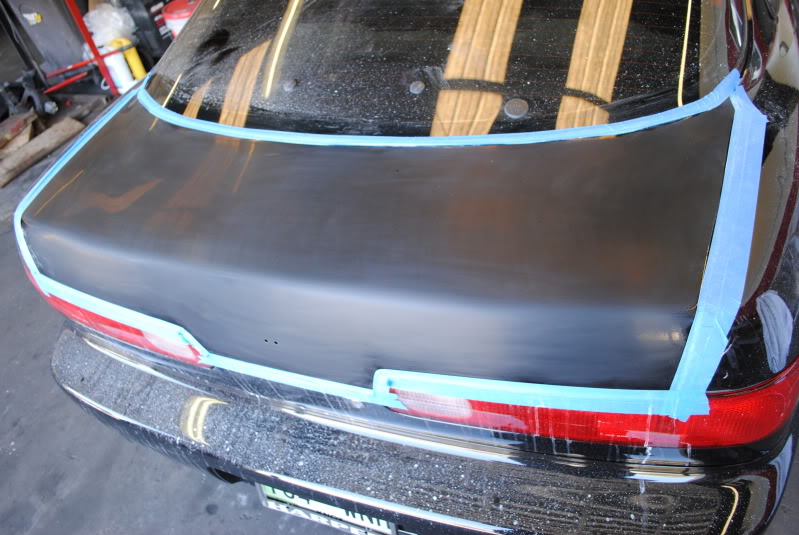
You can really tell how bad the trunk was orange peeled
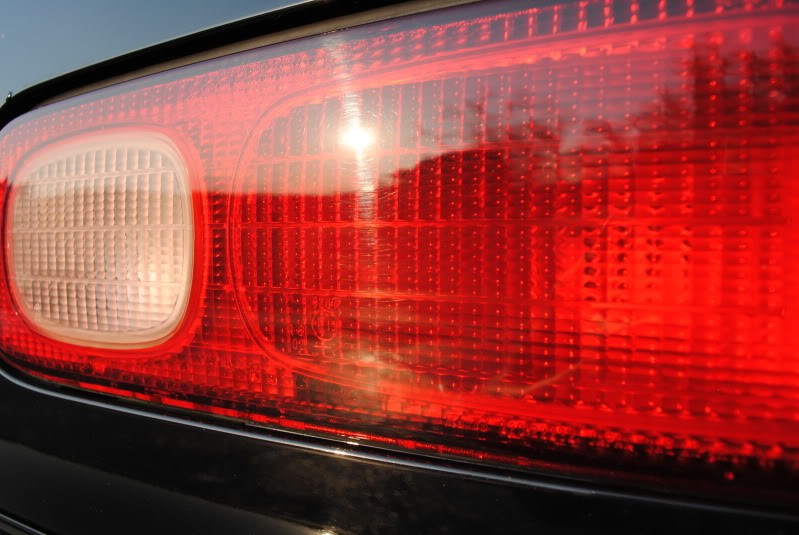
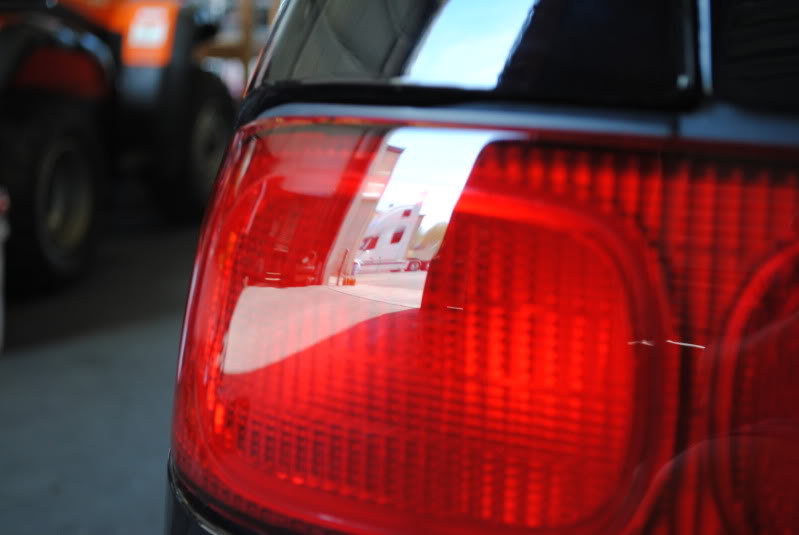
along with the paint the tail lights were just as dull and swirled up and needed some lovin too.
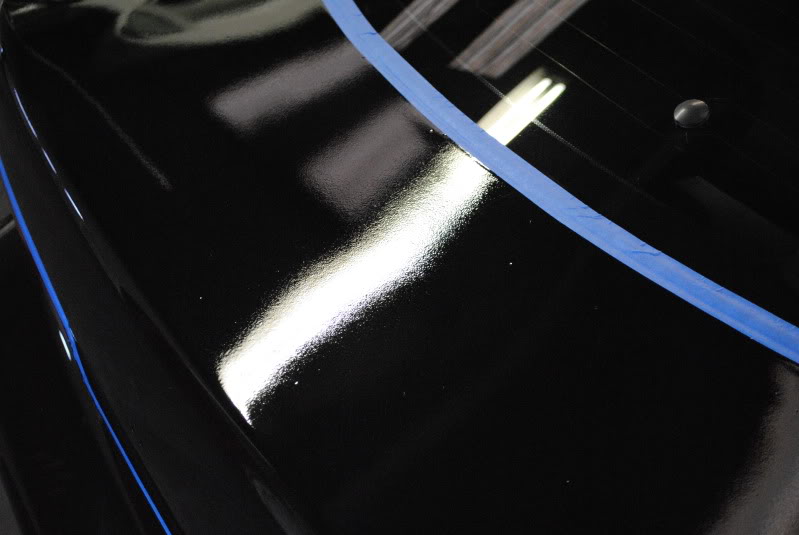
I brought the Car inside and began to tape off the trunk and get to wet sanding
I started dry sanding with P1500 Eagle Yellow Super-Tack with a foam interface pad and followed it up with P3000 Eagle Buflex pads.
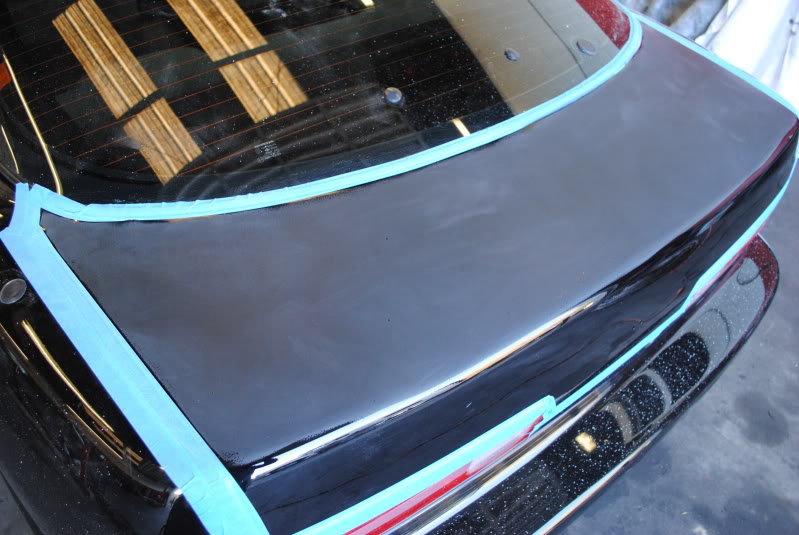
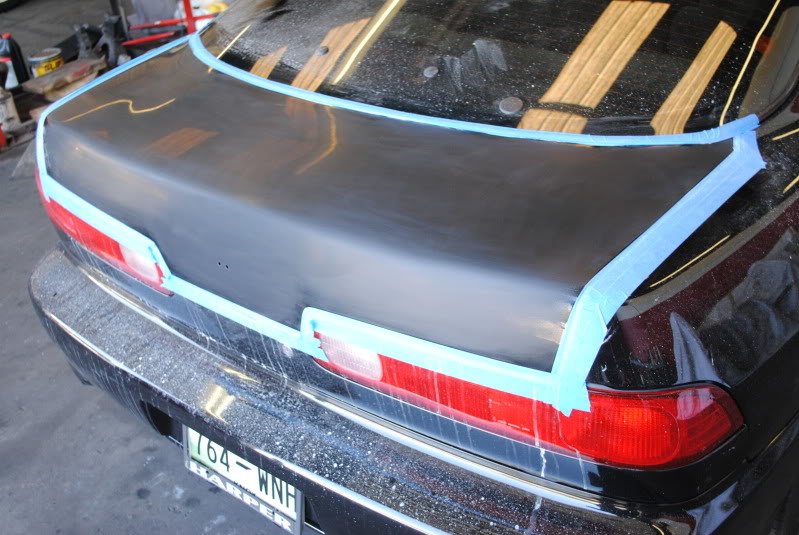
Smooth as a baby's butt! bye Bye oranges!
I buffed it out using:
Harbor freight Rotary buffer
Gloss It 3" foam backing plate
Lake country purple foamed wool pad
Meguiars M105 compund
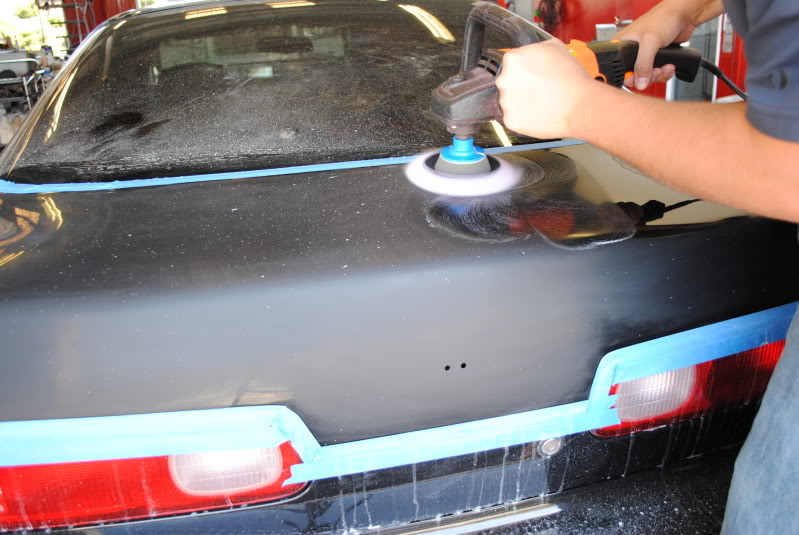
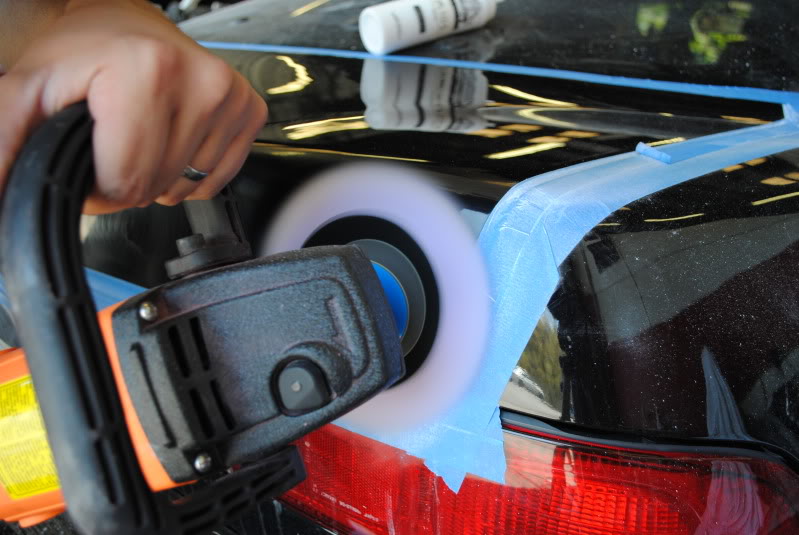
This is just after M105/PFW pad
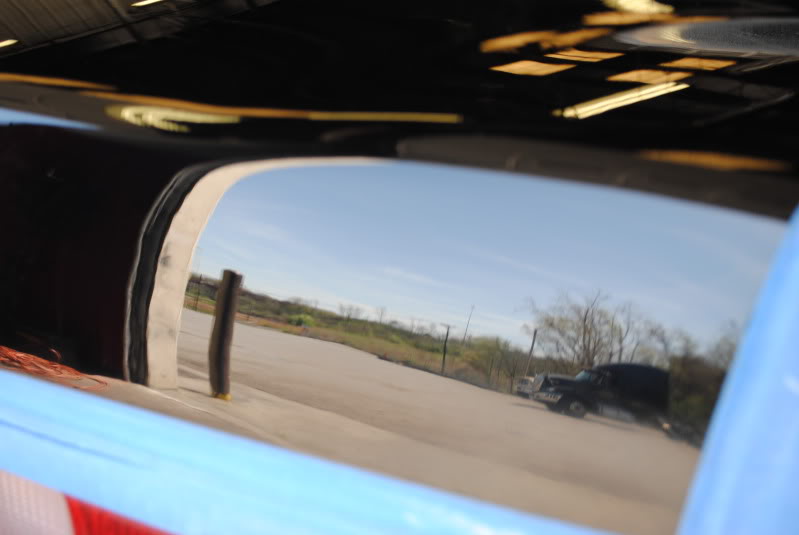
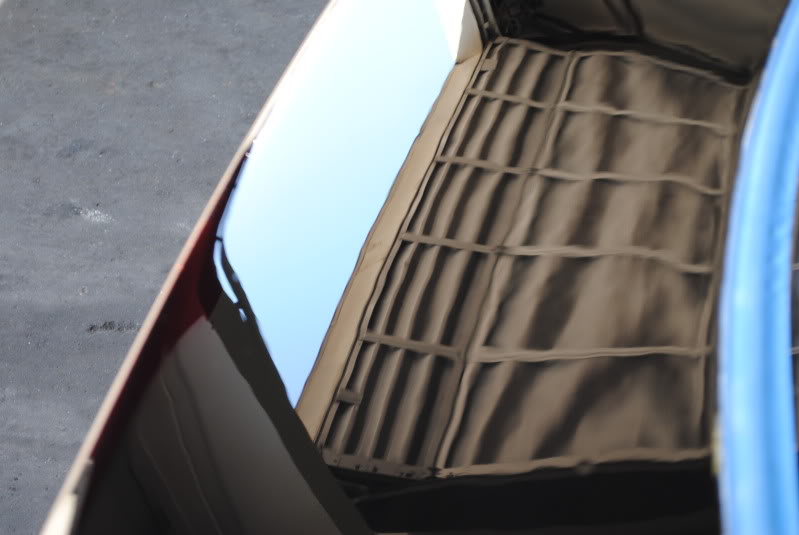
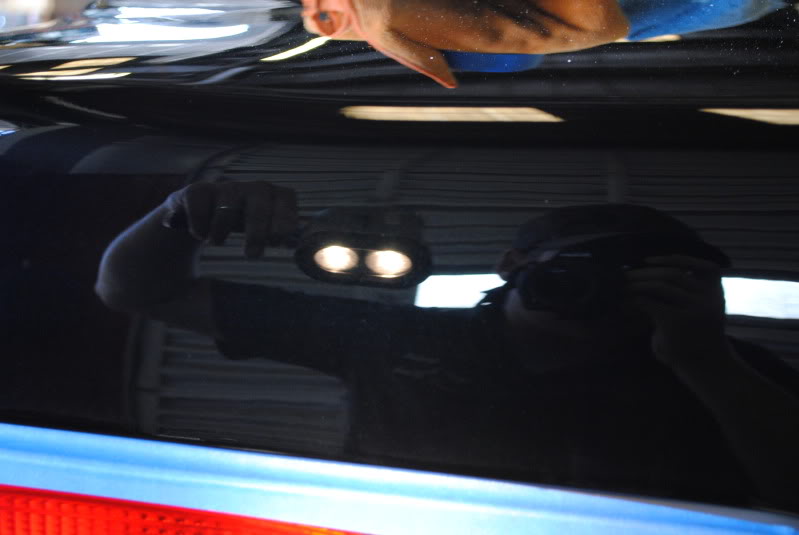
Continued.....
I hit the taillights with M105/ 4" Orange LC pad with the GlossIt 3" BP
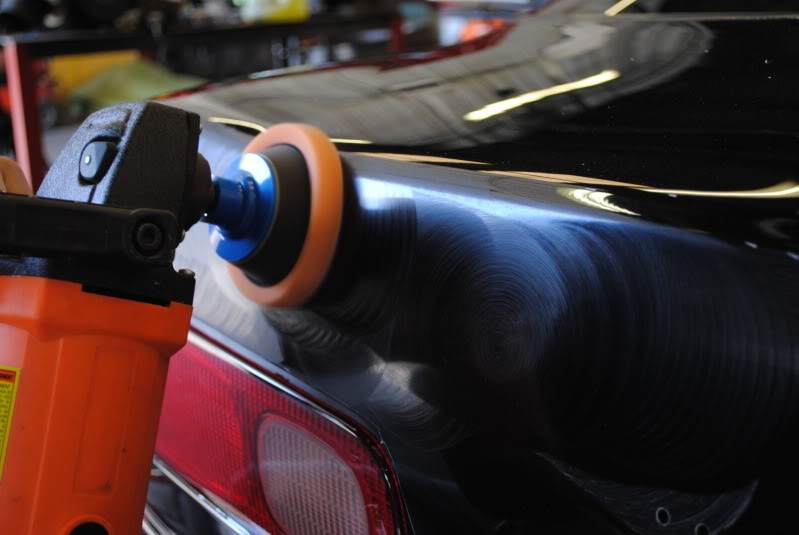
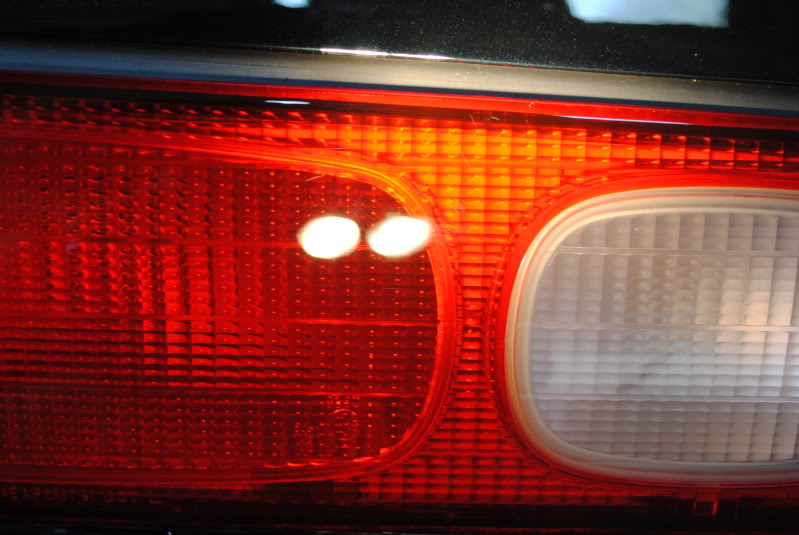
Now for the Paint Correction
I used:
Flex 3401
Cyan Hydro tech pad
with M105/M205
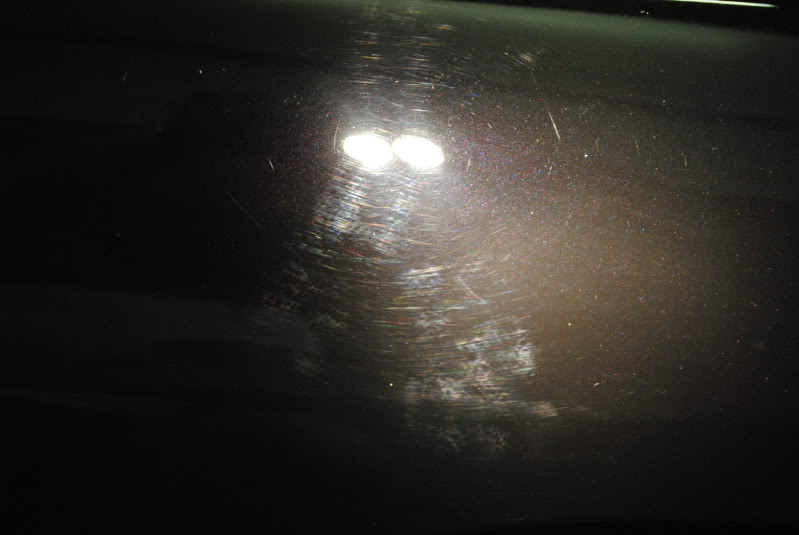
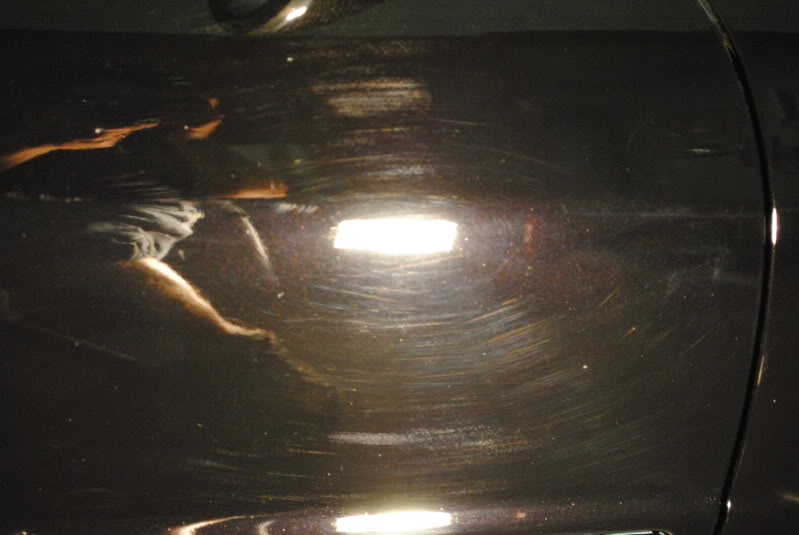
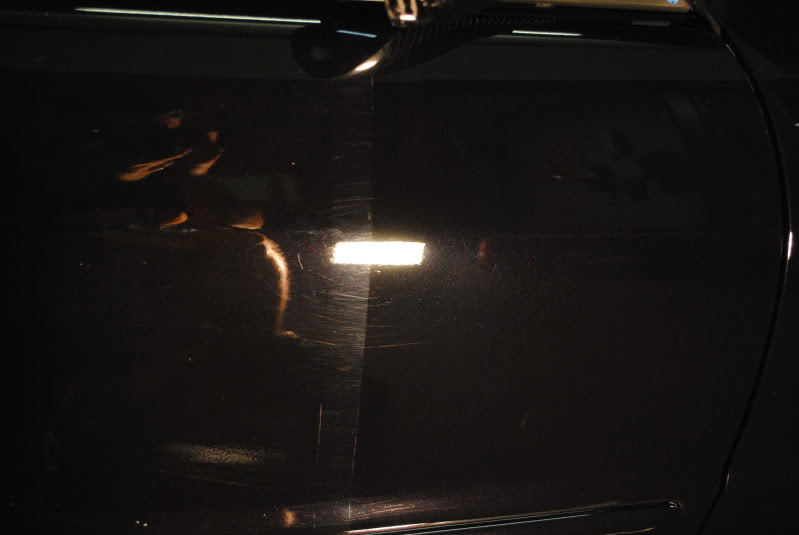
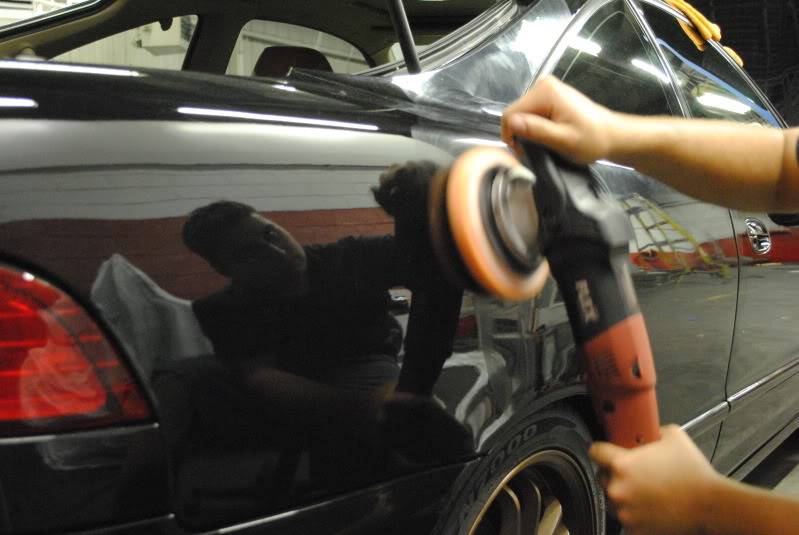
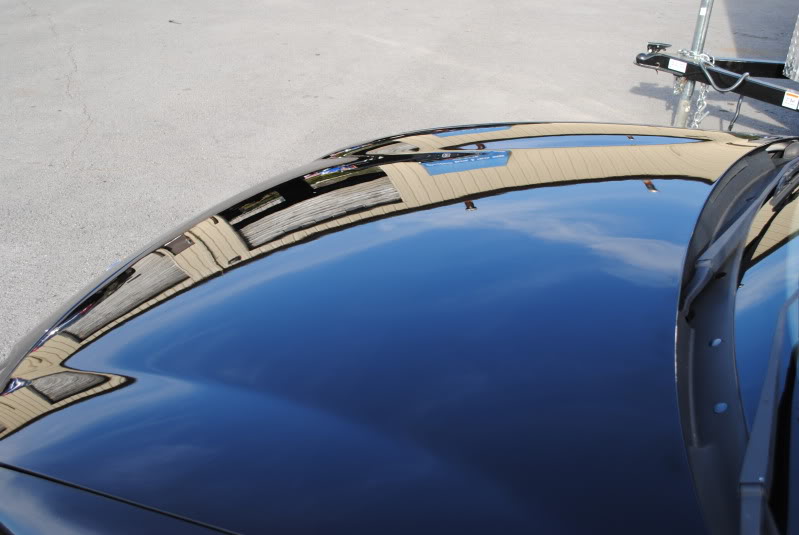
I finished the car and topped it with a coat of Black Fire Wet Diamond
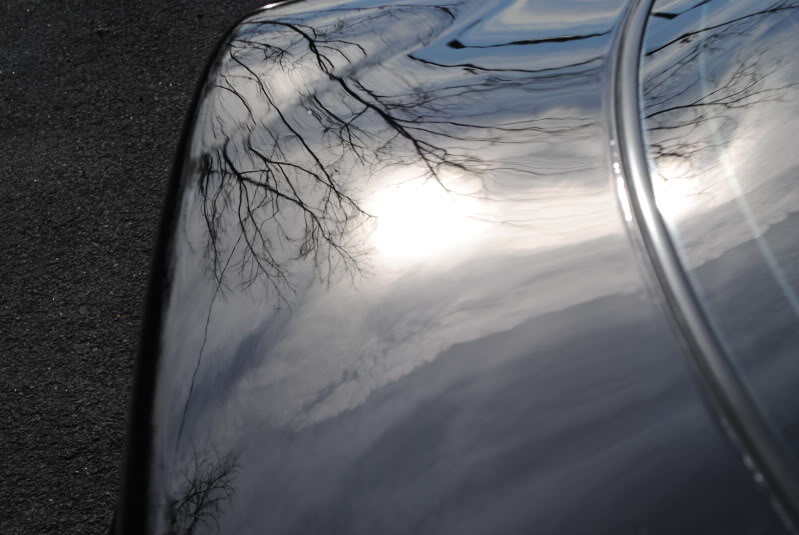
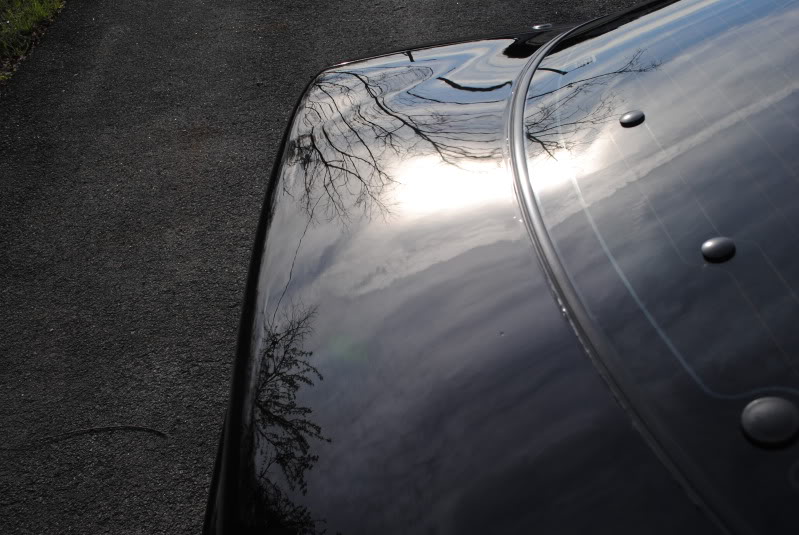
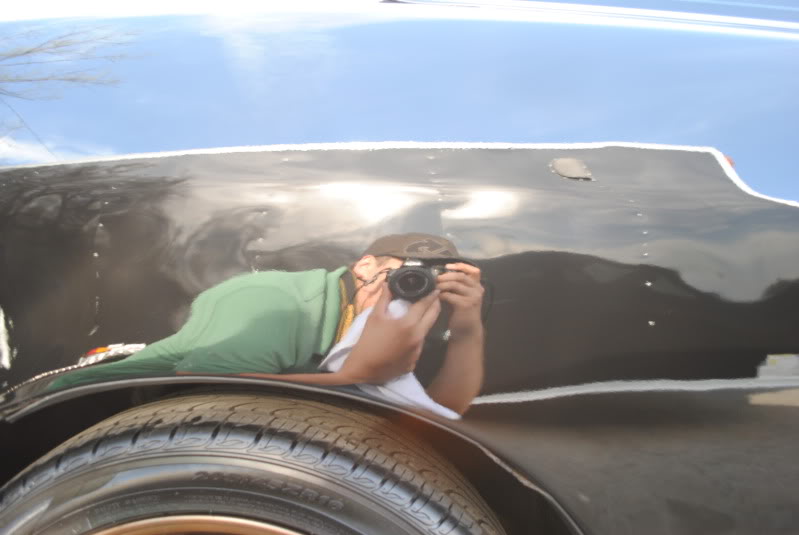
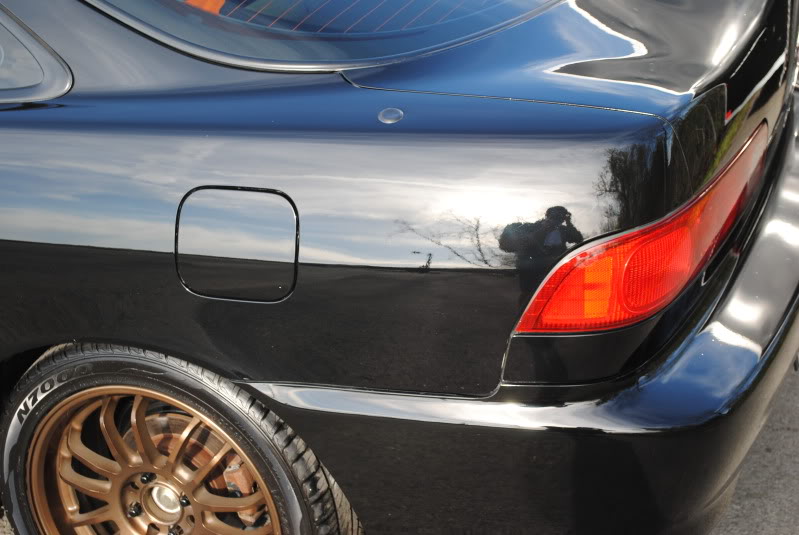
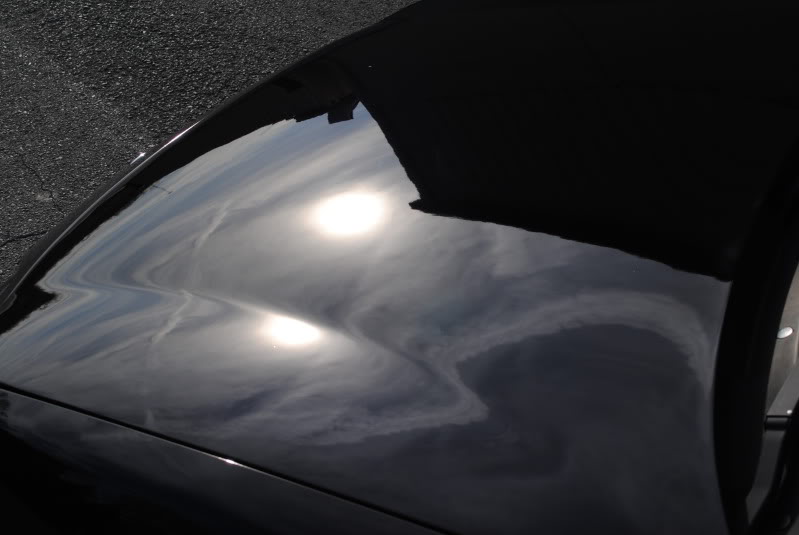
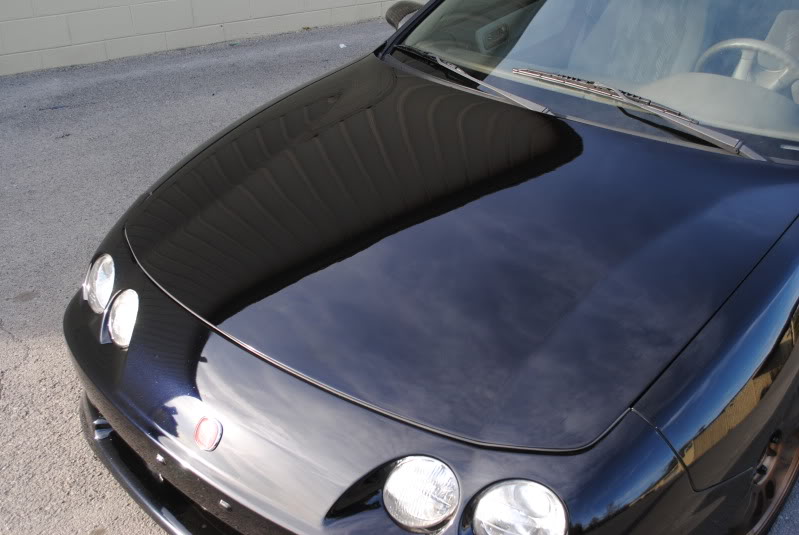
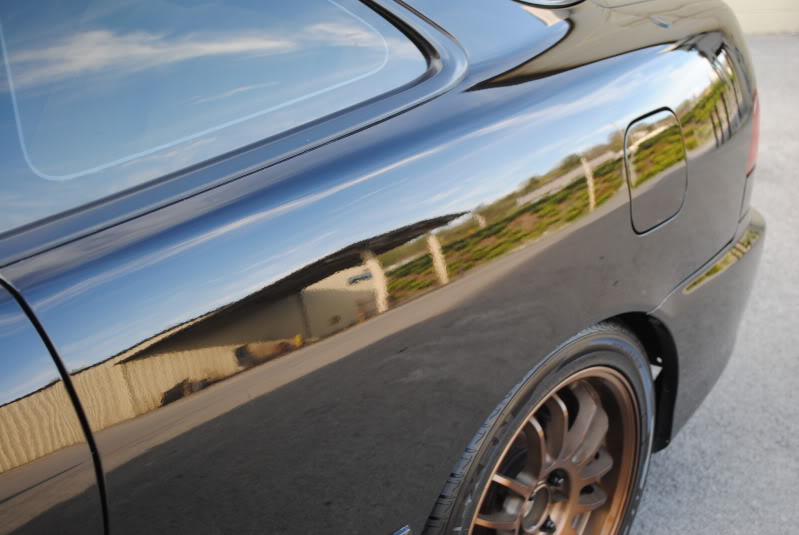
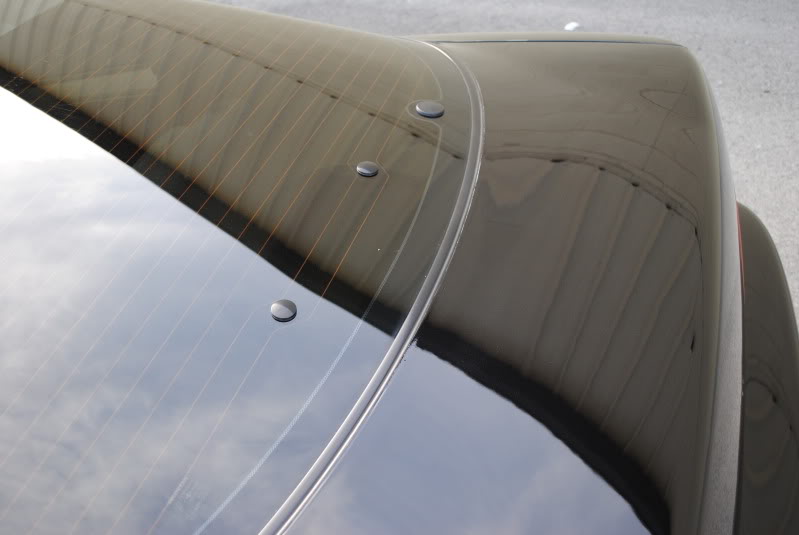
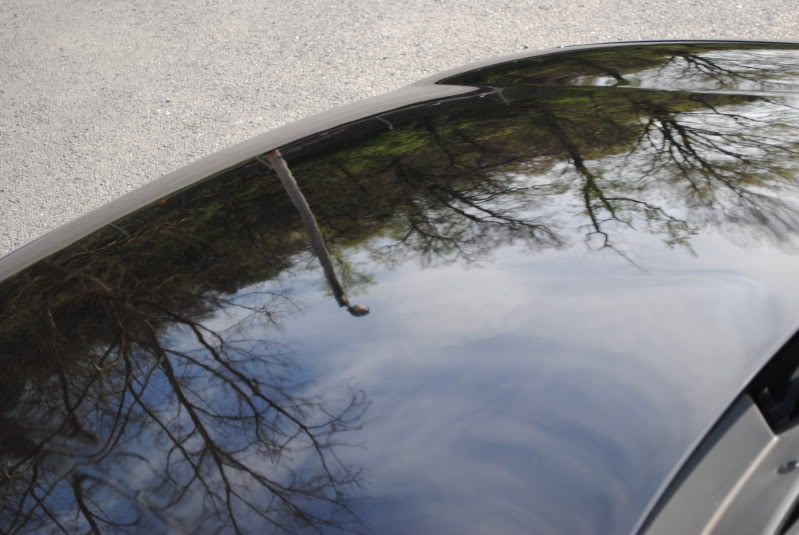
So Anyways now for the Final Sun Shots!!!!
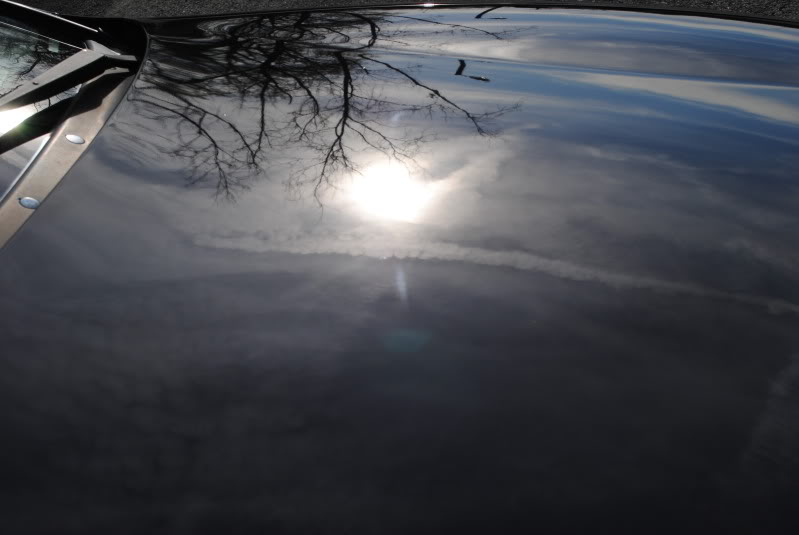
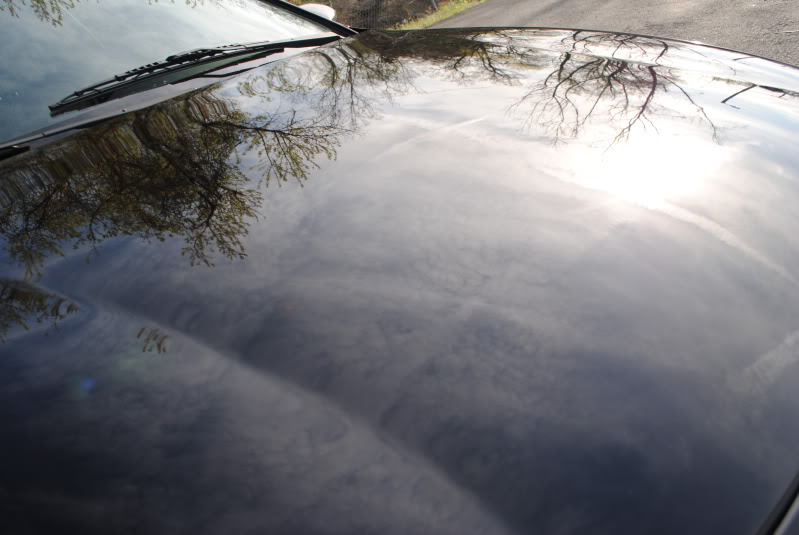
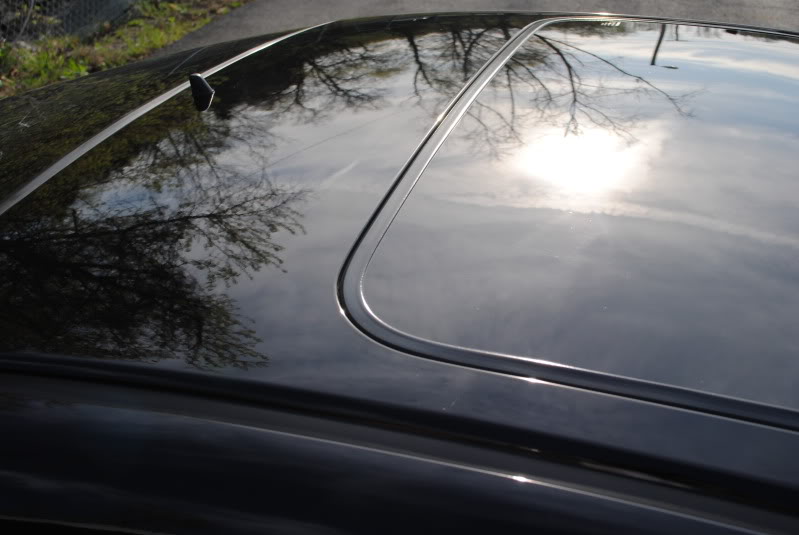
I began the detail with an inspection of the paint surface. I know the previous owner had the car buffed all the time so I was a little worried about how thin the paint was. I pulled out my Highline meter II Paint thickness gauge and began to walk around the car testing each panel. I knew the Hood and Trunk had recently been painted so I wasn't surprised with the results that I got.
The hood was healthy
but all the original paint panels were pretty low.
The trunk is going to be wet sanded because of some Extreme orange peel (you see in some pics below)
I recorded all of the information from each panel and any other info that the owner needed to know about. such as how thin the paint on the roof was, about 2.4 mils :nervous2:
So I sprayed off all of this crazy pollen that was caked on everything. I washed the car with Dawn Dish detergent to strip ANY wax that was on the car off. I wanted a pure paint surface for the polish.
I used:
Single bucket Method
Dawn Dish Detergent (to strip off ALL wax for a pure paint surface)
Grit Guard
100% Sheep skin wash mitt
and Dried using a Detailed image reTHICKulous MF towel
and Clayed with Auto magic blue fine clay
the wheels were cleaned with
Chemical Guys "Diablo Wheel Gel" 1:3 dilution ratio
EZ Detail brush
I sprayed it on and let it set for 10-15 min on each wheel and the scrubbed it with my EZ Detail brush. and It worked amazingly, I love this stuff
You can really tell how bad the trunk was orange peeled
along with the paint the tail lights were just as dull and swirled up and needed some lovin too.
I brought the Car inside and began to tape off the trunk and get to wet sanding
I started dry sanding with P1500 Eagle Yellow Super-Tack with a foam interface pad and followed it up with P3000 Eagle Buflex pads.
Smooth as a baby's butt! bye Bye oranges!
I buffed it out using:
Harbor freight Rotary buffer
Gloss It 3" foam backing plate
Lake country purple foamed wool pad
Meguiars M105 compund
This is just after M105/PFW pad
Continued.....
I hit the taillights with M105/ 4" Orange LC pad with the GlossIt 3" BP
Now for the Paint Correction
I used:
Flex 3401
Cyan Hydro tech pad
with M105/M205
I finished the car and topped it with a coat of Black Fire Wet Diamond
So Anyways now for the Final Sun Shots!!!!


the Rotary is a circular polisher that can leave all kinds of swirls and holograms when the sun hits it. So the Flex is a Forced Rotation Random Orbital that oscillates and wont leave swirls. I have yet to Master a Swirl free rotary polish when not covering up with any glazes.


 sow's ear to a silk purse...
Love the dramatic pix of the trunk with the tree reflections. Great Job! on the trunk lid. It was hosed!!
Was this single stage or Base coat/Clear coat? and what grit Wet-Dry sand paper were ya using?
Makes it hard to wash it next time with this D.D.F. (drop dead finish)
You and qbmurder13 should have alot to talk about.
Keep up the good work and post lots & lots of pix!!
C-ya ltr
Was this single stage or Base coat/Clear coat? and what grit Wet-Dry sand paper were ya using?
Makes it hard to wash it next time with this D.D.F. (drop dead finish)
You and qbmurder13 should have alot to talk about.
Keep up the good work and post lots & lots of pix!!
C-ya ltr
Love the dramatic pix of the trunk with the tree reflections. Great Job! on the trunk lid. It was hosed!!
Was this single stage or Base coat/Clear coat? and what grit Wet-Dry sand paper were ya using?
Makes it hard to wash it next time with this D.D.F. (drop dead finish)
You and qbmurder13 should have alot to talk about.
Keep up the good work and post lots & lots of pix!!
C-ya ltr
Was this single stage or Base coat/Clear coat? and what grit Wet-Dry sand paper were ya using?
Makes it hard to wash it next time with this D.D.F. (drop dead finish)
You and qbmurder13 should have alot to talk about.
Keep up the good work and post lots & lots of pix!!
C-ya ltr
and I used P1500 dry first then P3000 wet after to sand using a random orbital
there are ways and techniques to properly wash and dry your car without marring it up. So I briefly taught the owner how he needs to maintain the paint surface. hopefully he takes my advice so he doesn't waist $200. lol
and Me a QBmurder13 Go way back! I kinda blame him for pushing me over the detailing edge. (
hey QB)


 I miss my teggy

Thread
Thread Starter
Forum
Replies
Last Post
Vash
2nd Gen GE8 Specific Fit Exterior Modifications & JDM Styling Sub-Forum
65
Apr 3, 2015 11:03 AM
Fallen_Rock
Fit DIY: Repair & Maintenance
11
Jan 4, 2011 02:08 PM
F'it_ImFromTx
Fit Photos & Videos
32
Jun 12, 2010 07:53 AM


