Fit DIY: Repair & Maintenance Threads discussing repairs and maintenance you can do yourself

Black Mercedes E320 Paint correction

Thread Tools
 
Search this Thread
 
Old Jul 8, 2010 | 02:58 PM
  #1  
Fallen_Rock's Avatar
Thread Starter
|
Member
iTrader: (2)
Joined: Jun 2009
Posts: 365
From: Knoxville TN
Black Mercedes E320 Paint correction


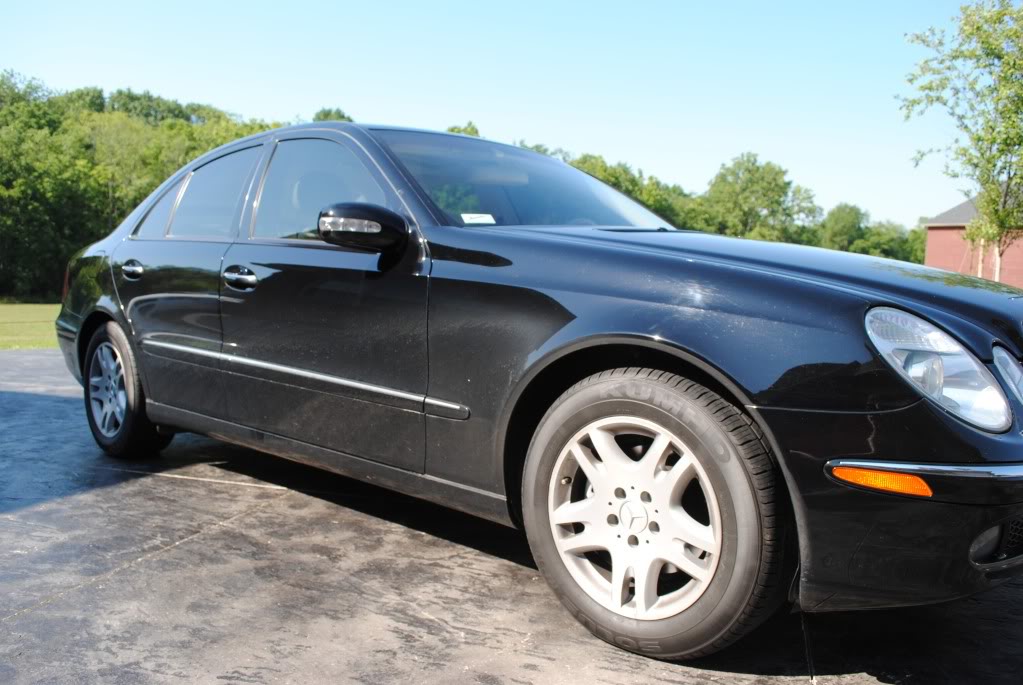
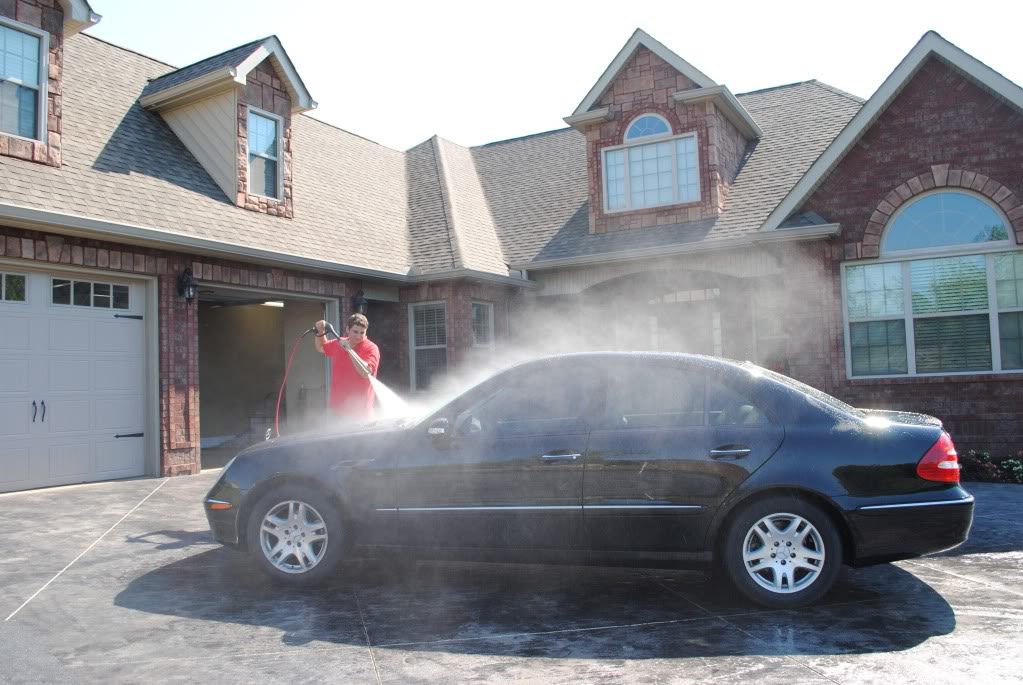
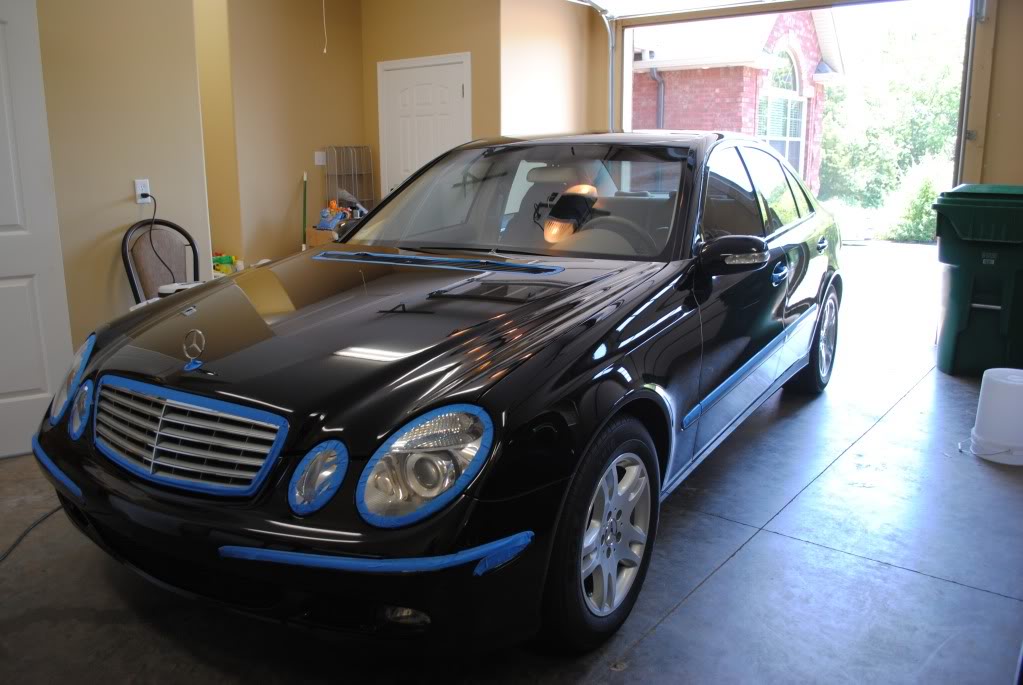
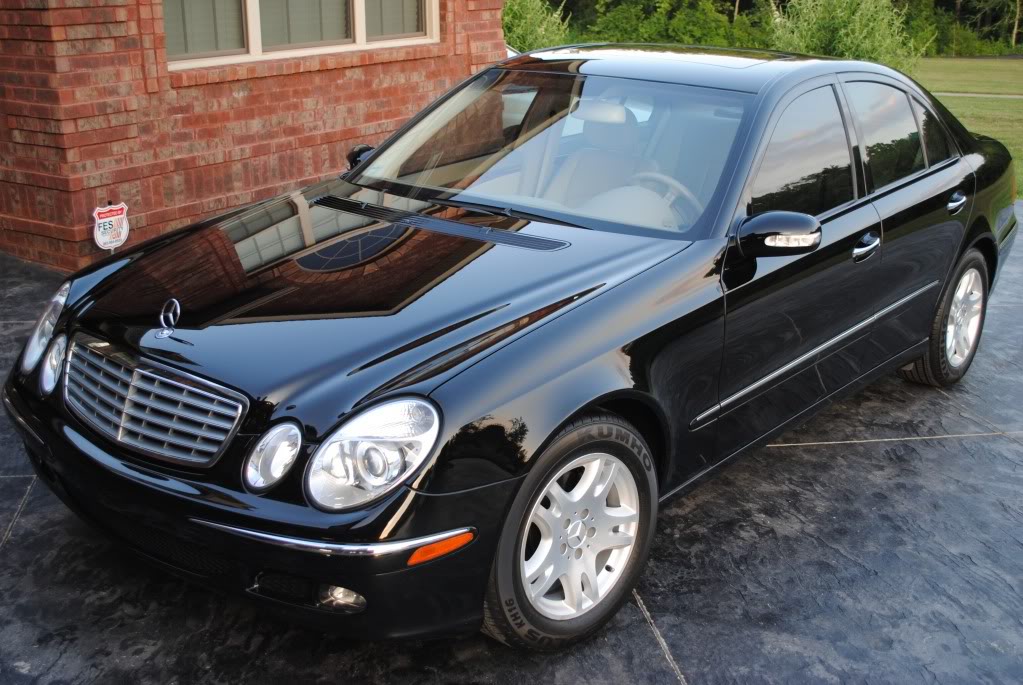
Hey everyone! Welcome back. I had a chance to give this Mercedes a new lease on life. It has had a rough life from the previous owner. Now the new owner wanted it brought back to a better then new condition. Here is the car when I arrived

Name:  DSC_0771.jpg
Views: 336
Size:  108.7 KB

Name:  DSC_0768.jpg
Views: 340
Size:  81.7 KB

Name:  DSC_0766.jpg
Views: 386
Size:  75.2 KB

Name:  DSC_0765.jpg
Views: 245
Size:  99.9 KB

Name:  DSC_0763.jpg
Views: 221
Size:  86.4 KB

Name:  DSC_0762.jpg
Views: 305
Size:  104.7 KB

Name:  DSC_0761.jpg
Views: 253
Size:  50.2 KB

Name:  DSC_0760.jpg
Views: 304
Size:  77.5 KB

Name:  DSC_0759.jpg
Views: 243
Size:  128.1 KB

Name:  DSC_0758.jpg
Views: 290
Size:  70.0 KB

Name:  DSC_0757.jpg
Views: 299
Size:  50.7 KB

I began by spraying off all of the heavy stuff with my pressure washer.

Name:  DSC_0772.jpg
Views: 259
Size:  125.3 KB

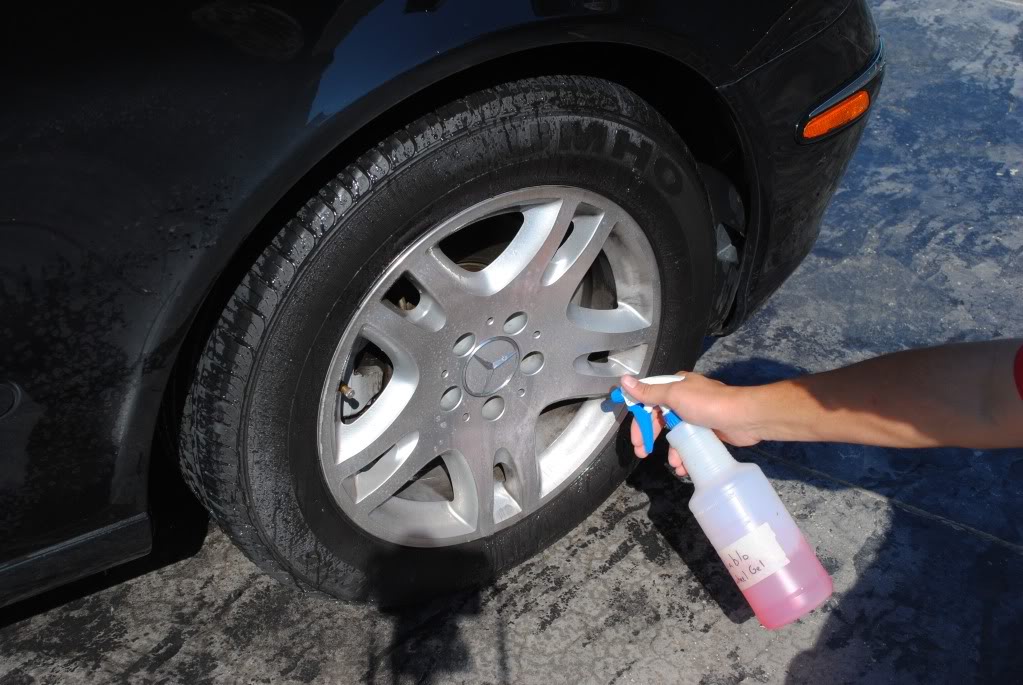
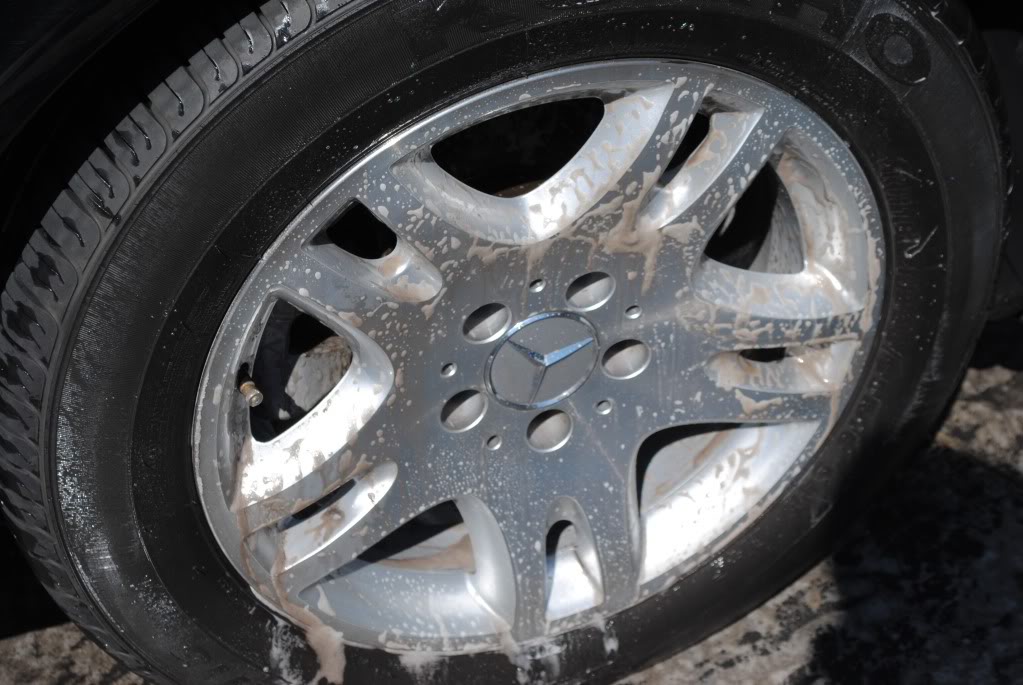
Then I applied some Diablo wheel gel wheel cleaner to let it dwell while I finished washing the car.

Name:  DSC_0773.jpg
Views: 281
Size:  121.1 KB

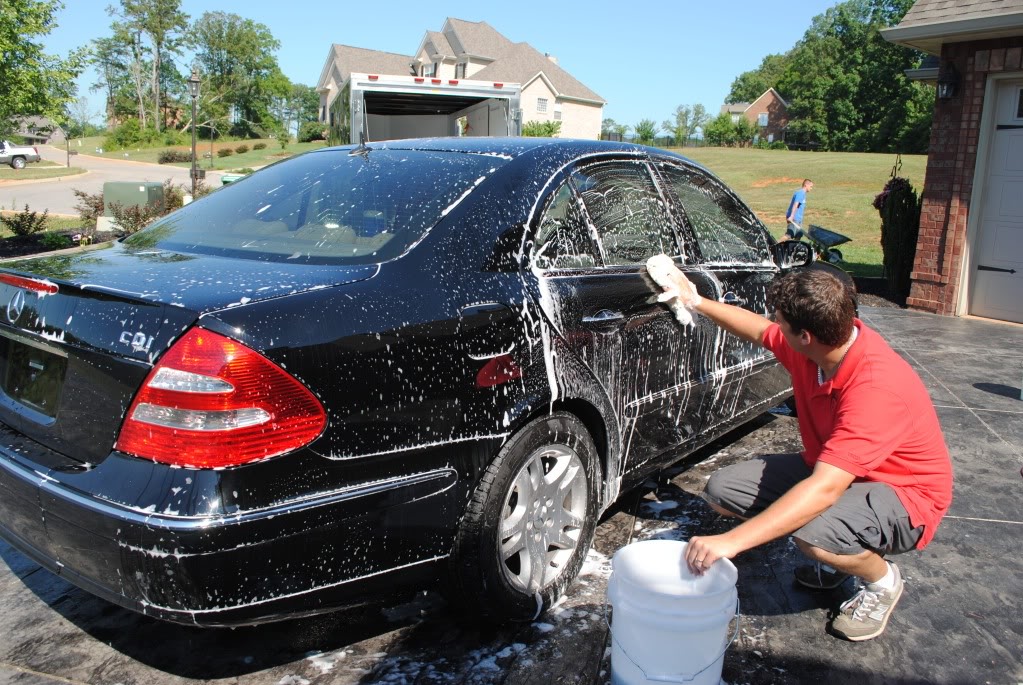
I used the one bucket method with a grit guard and a 100% sheep skin mitt. stripping the surface of any waxes using Dawn soap.

Name:  DSC_0774.jpg
Views: 220
Size:  215.3 KB

then the rinse

Name:  DSC_0777.jpg
Views: 227
Size:  171.6 KB

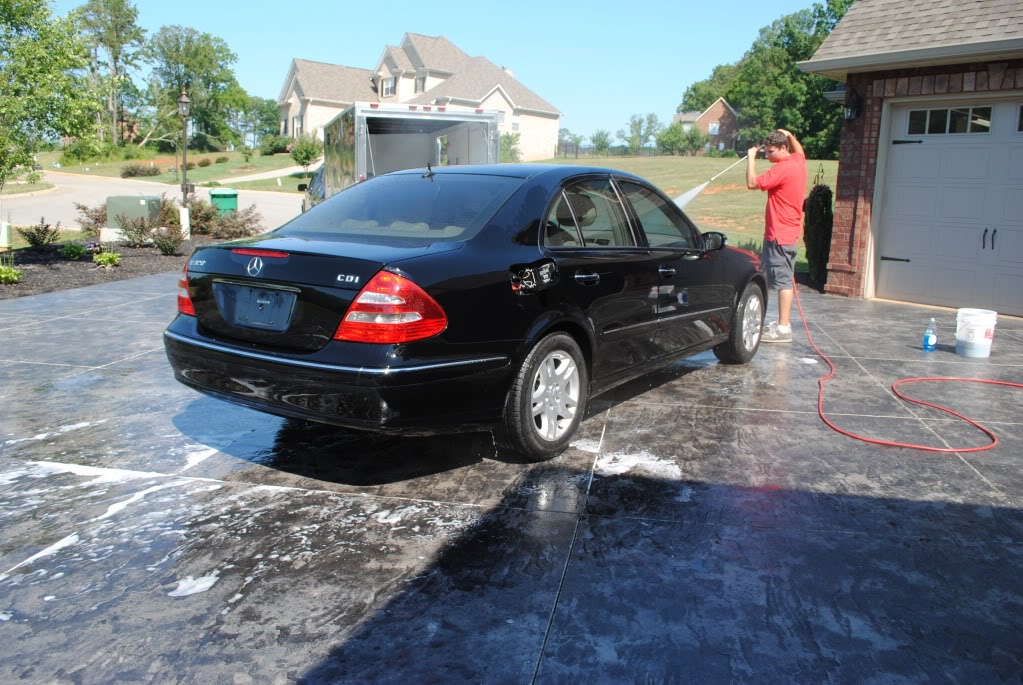
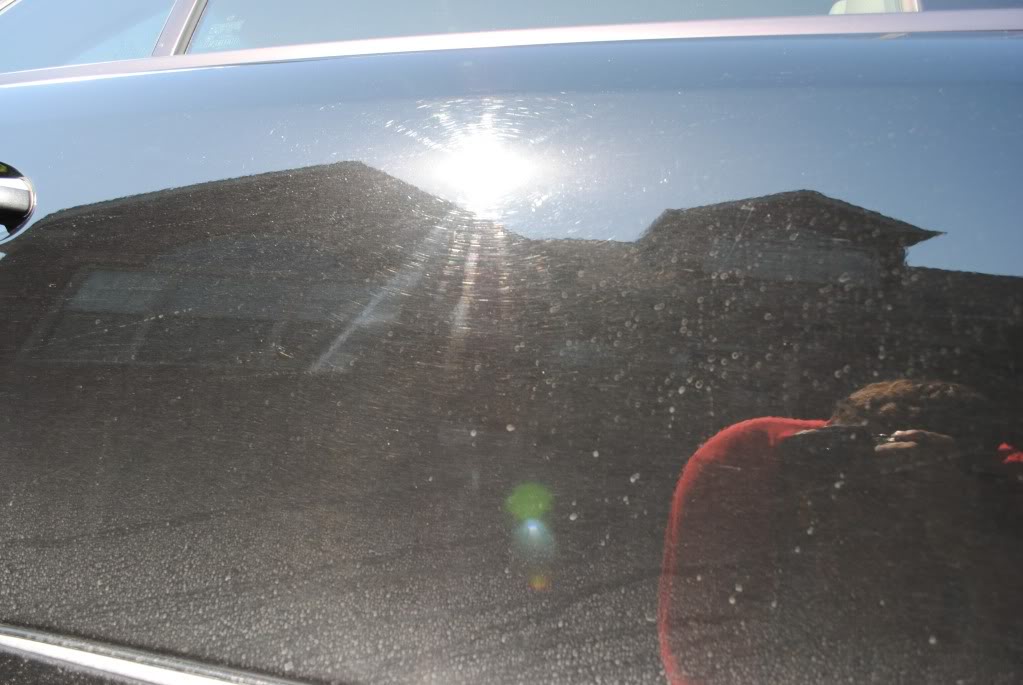
Notice how the Water just stays on the surface. This is because there isn't any protection. this is normally a bad thing, but it is what I was trying to achieve.

Name:  DSC_0781.jpg
Views: 241
Size:  63.1 KB

So after the wash, I get back to the wheels scrubbing them down with my EZ detail brush

Name:  DSC_0778.jpg
Views: 216
Size:  119.1 KB

Name:  DSC_0780.jpg
Views: 234
Size:  110.0 KB

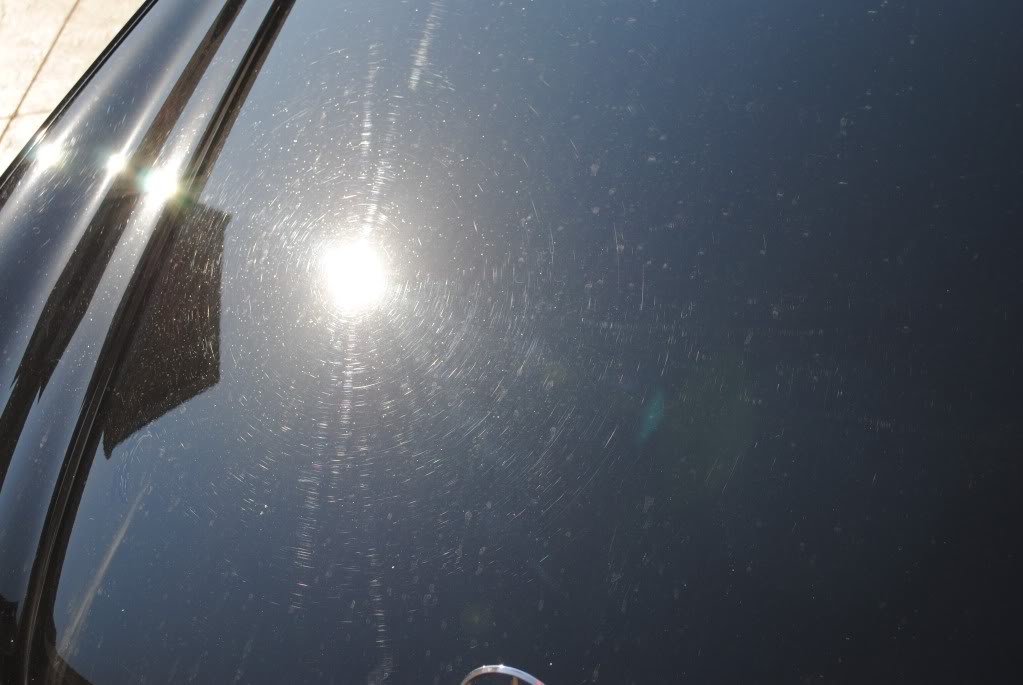
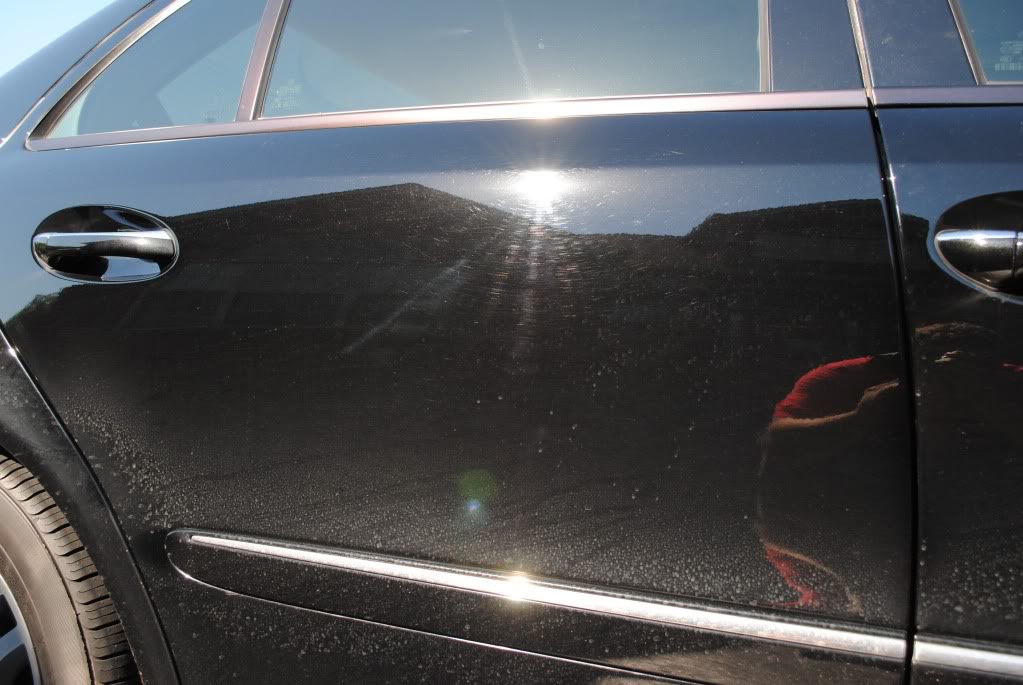
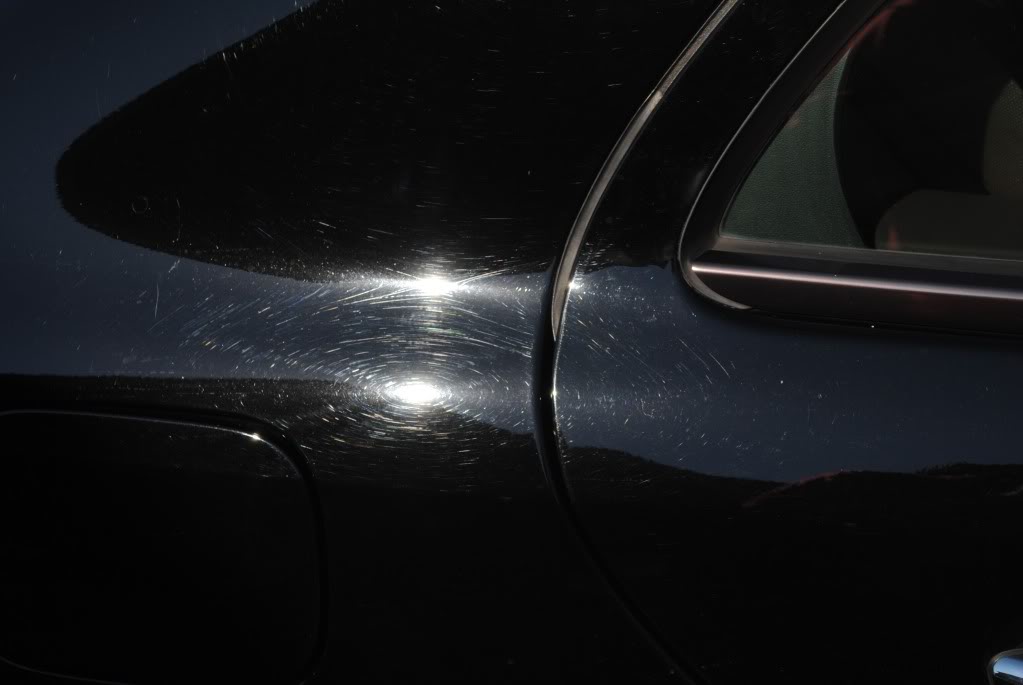
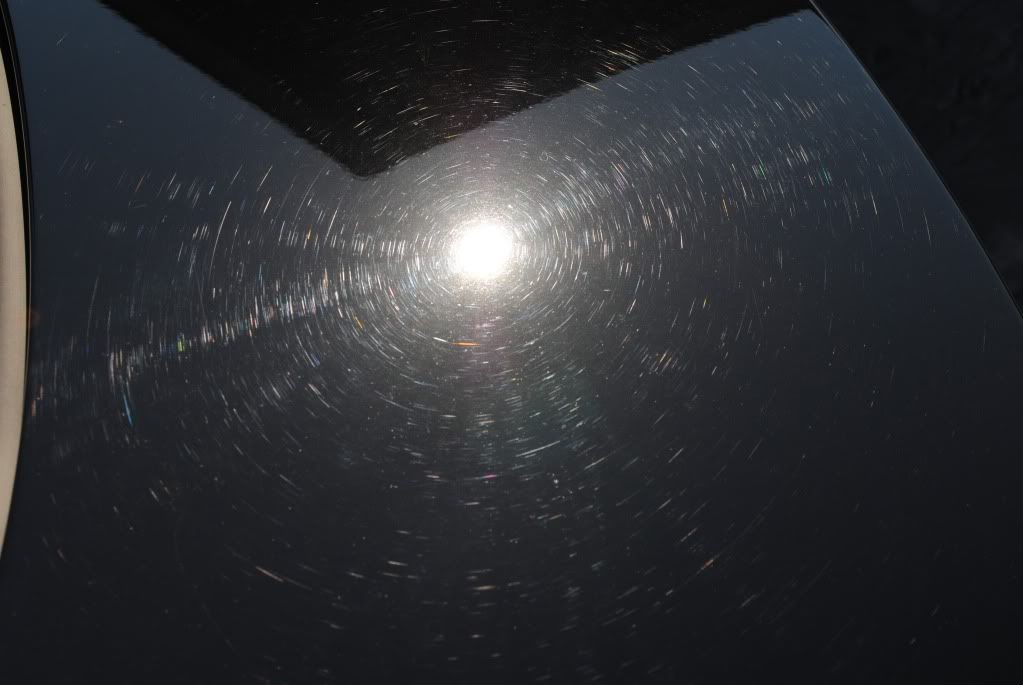
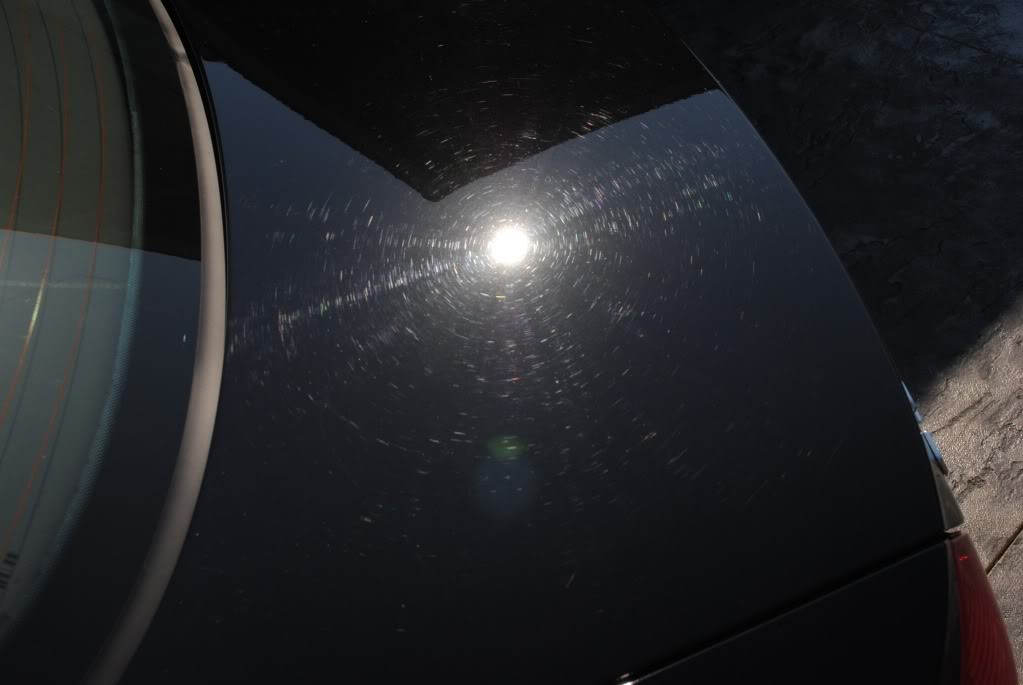
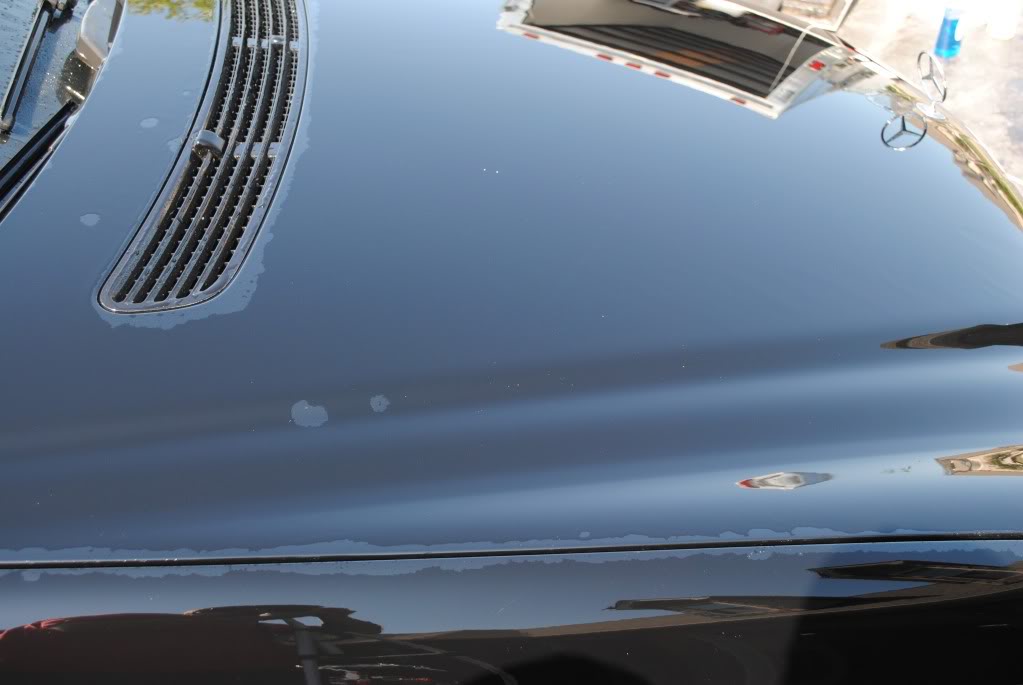
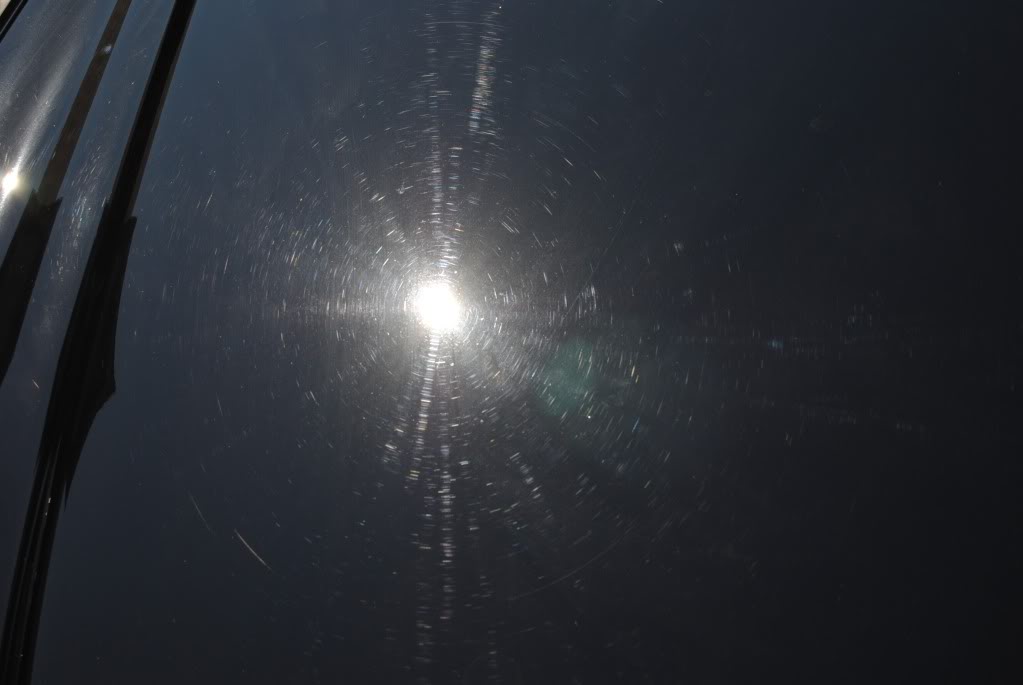
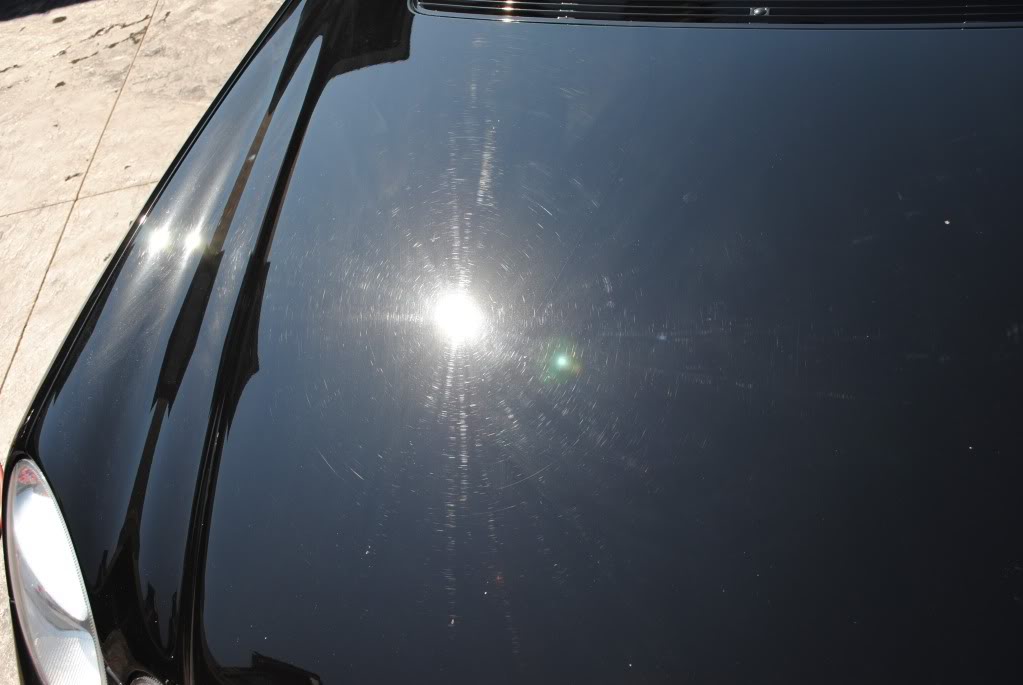
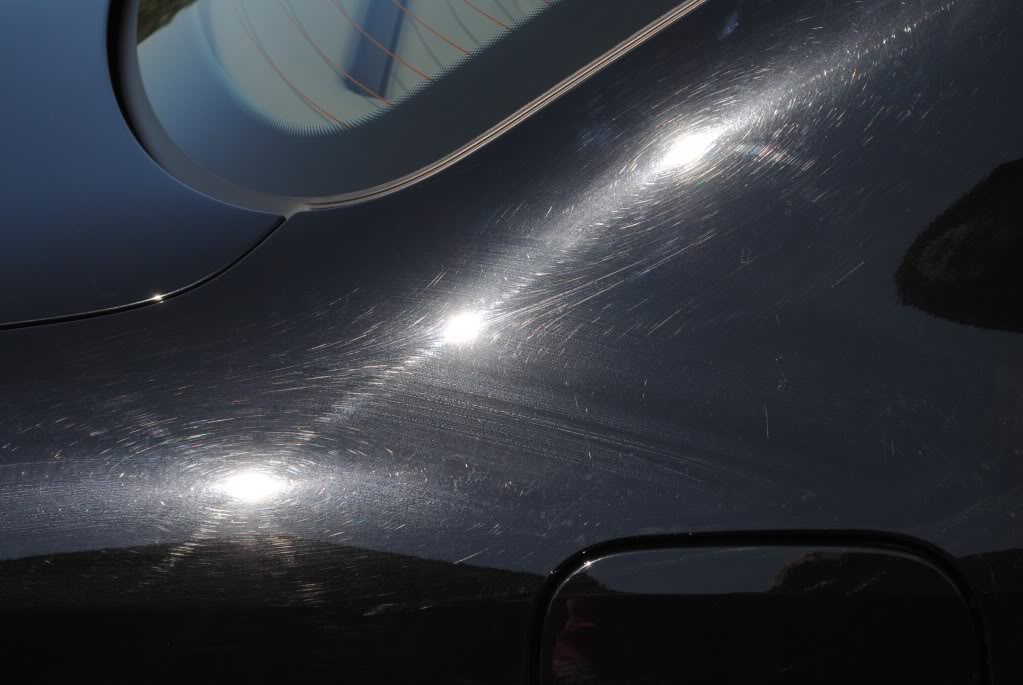
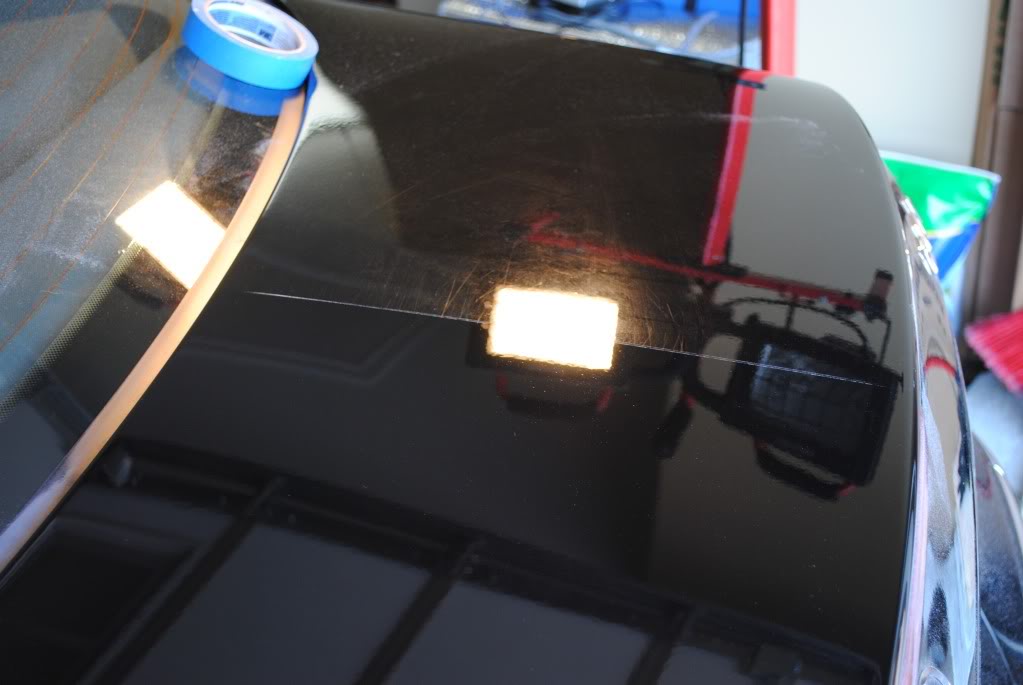
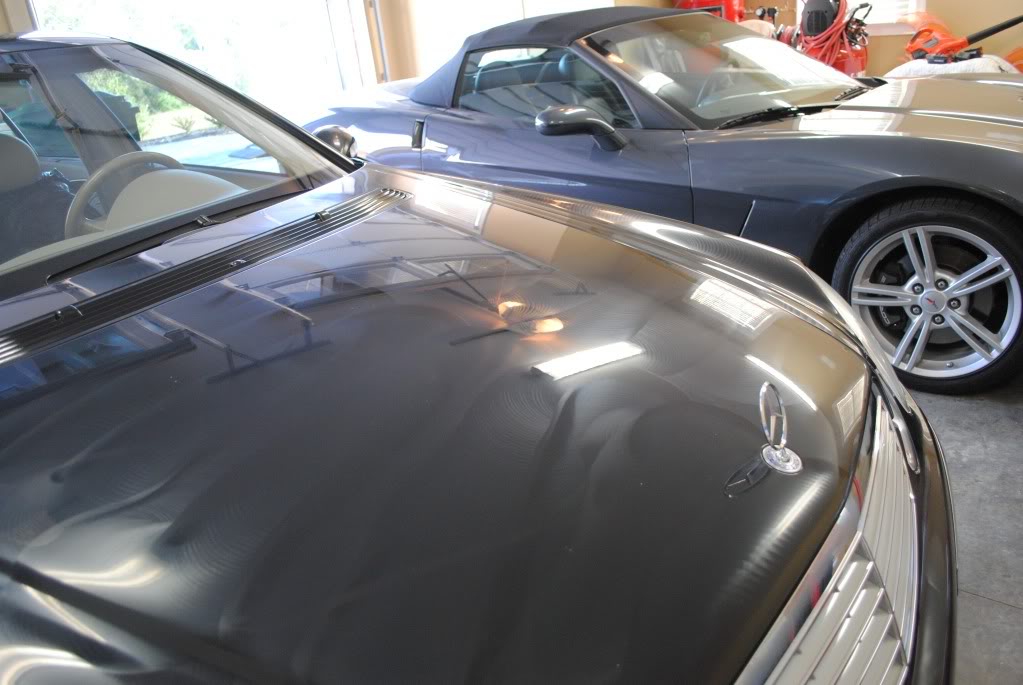
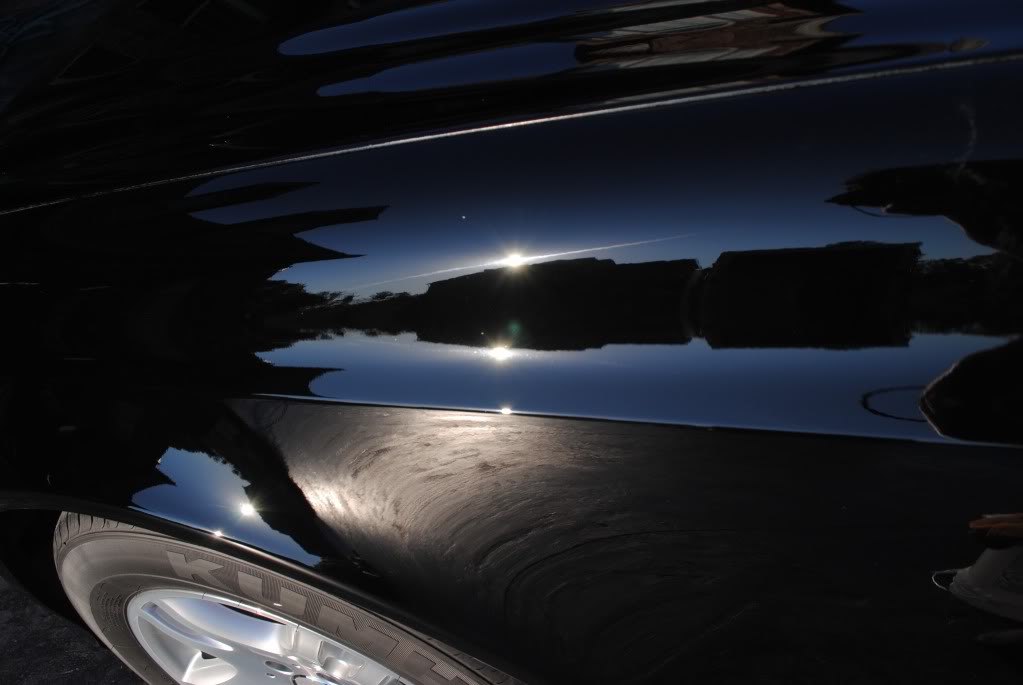
Here are a couple more swirl shots after the wash

Name:  DSC_0784.jpg
Views: 269
Size:  45.2 KB

Name:  DSC_0785.jpg
Views: 214
Size:  66.0 KB

Name:  DSC_0793.jpg
Views: 279
Size:  82.9 KB

Next I brought the car inside an let the paint cool down a bit. and then began the taping.

Name:  DSC_0811.jpg
Views: 221
Size:  98.0 KB

I used my Highline meter 2 to check the paint thickness just to make sure that the paint was not to thin.

Name:  DSC_0812.jpg
Views: 223
Size:  39.2 KB

Name:  DSC_0814.jpg
Views: 227
Size:  50.6 KB

Name:  DSC_0817.jpg
Views: 262
Size:  40.4 KB

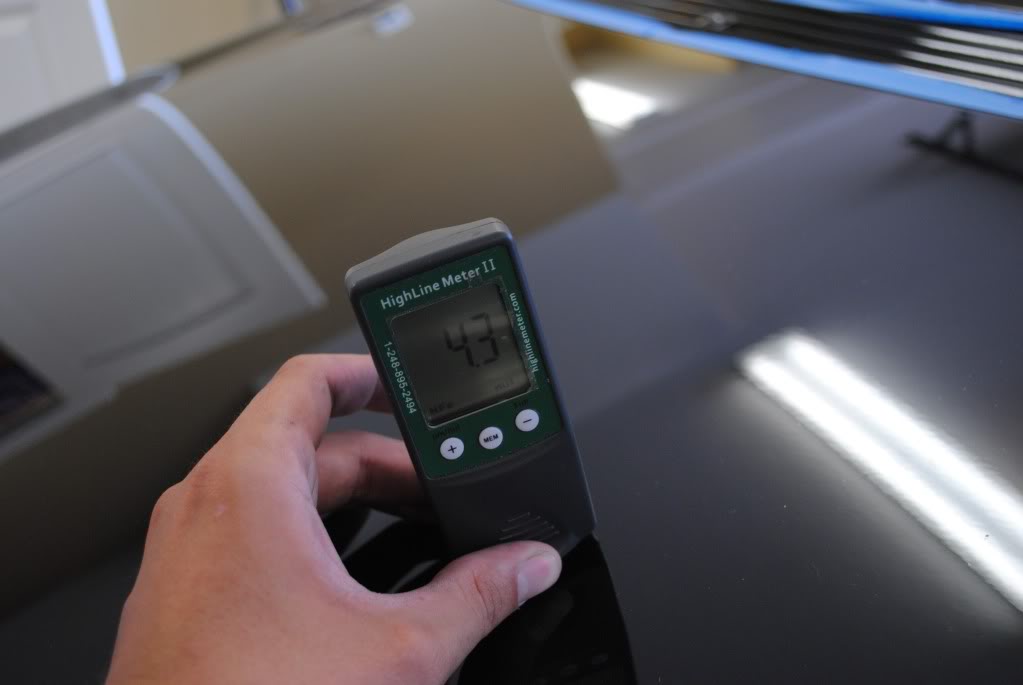
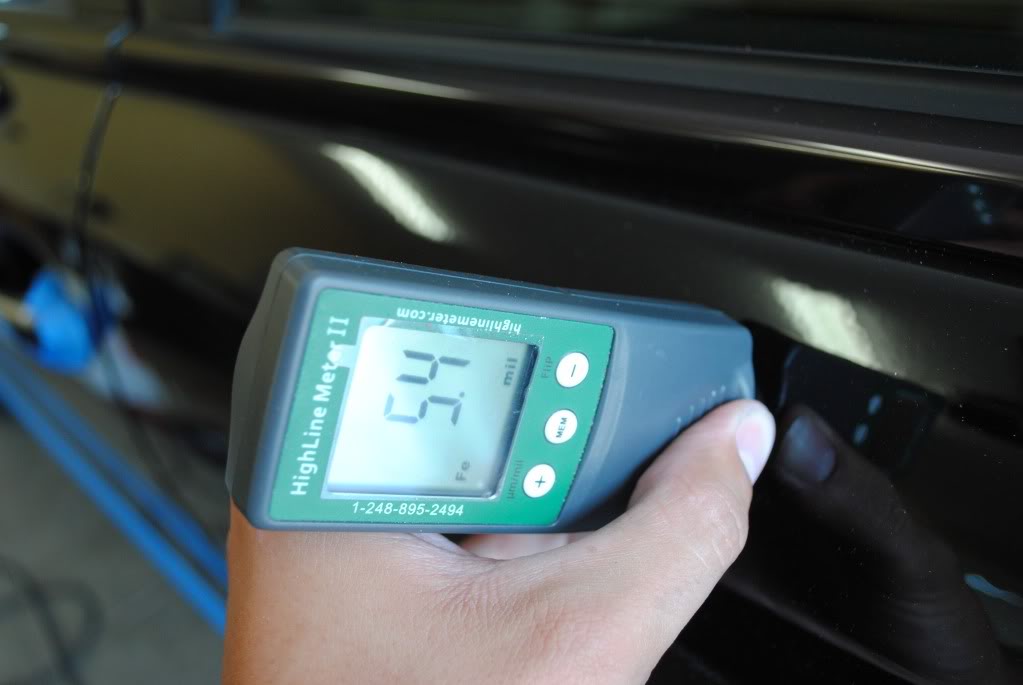
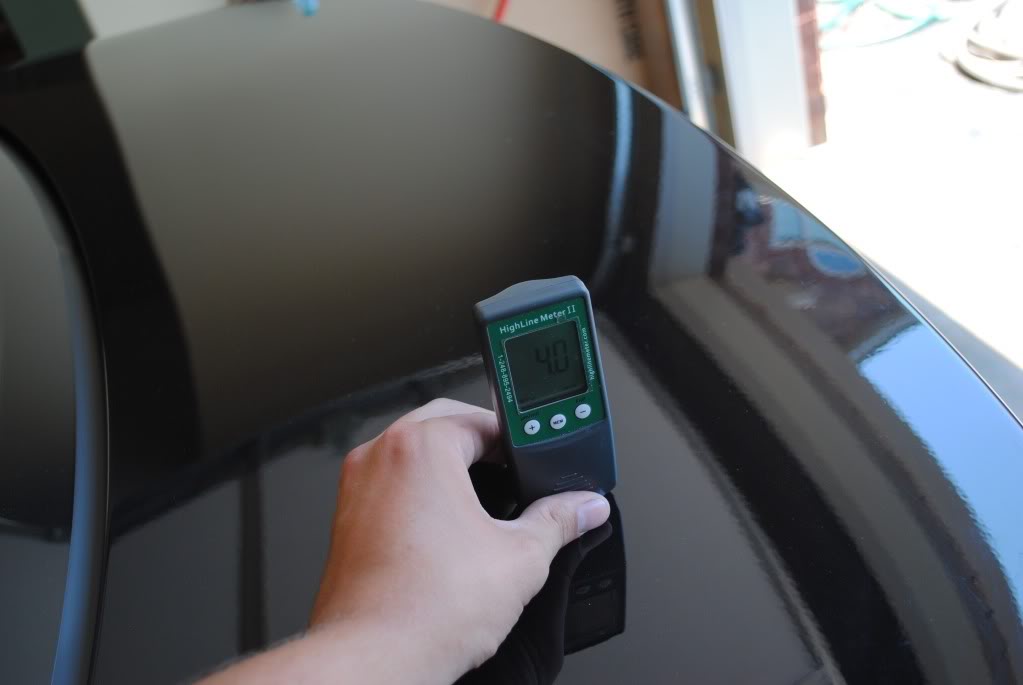
the average thickness was 4-5 which is normal.

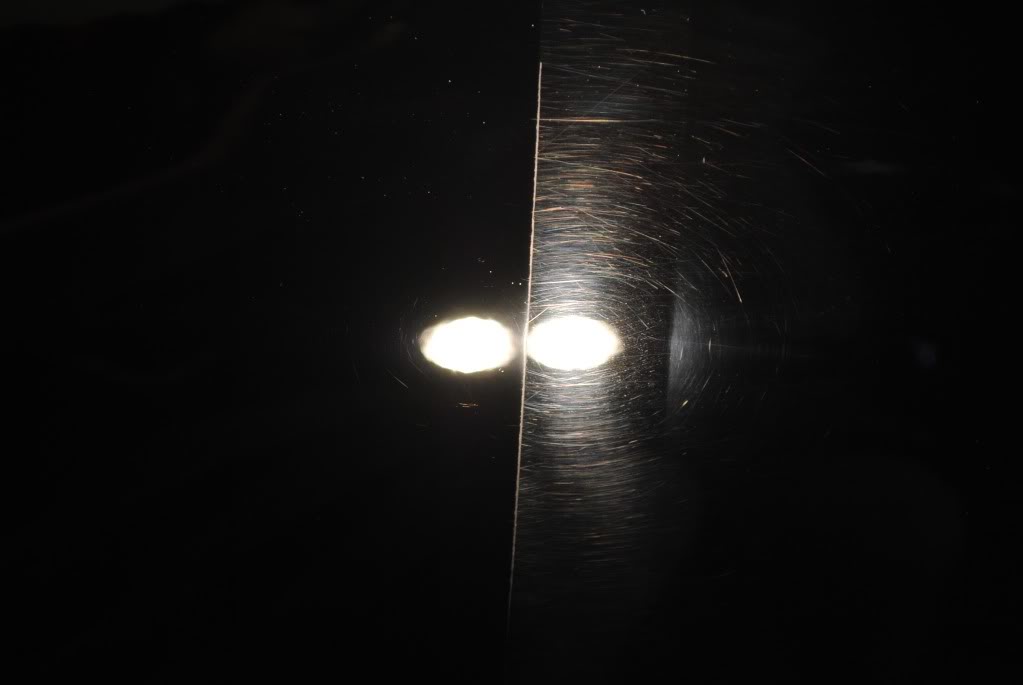
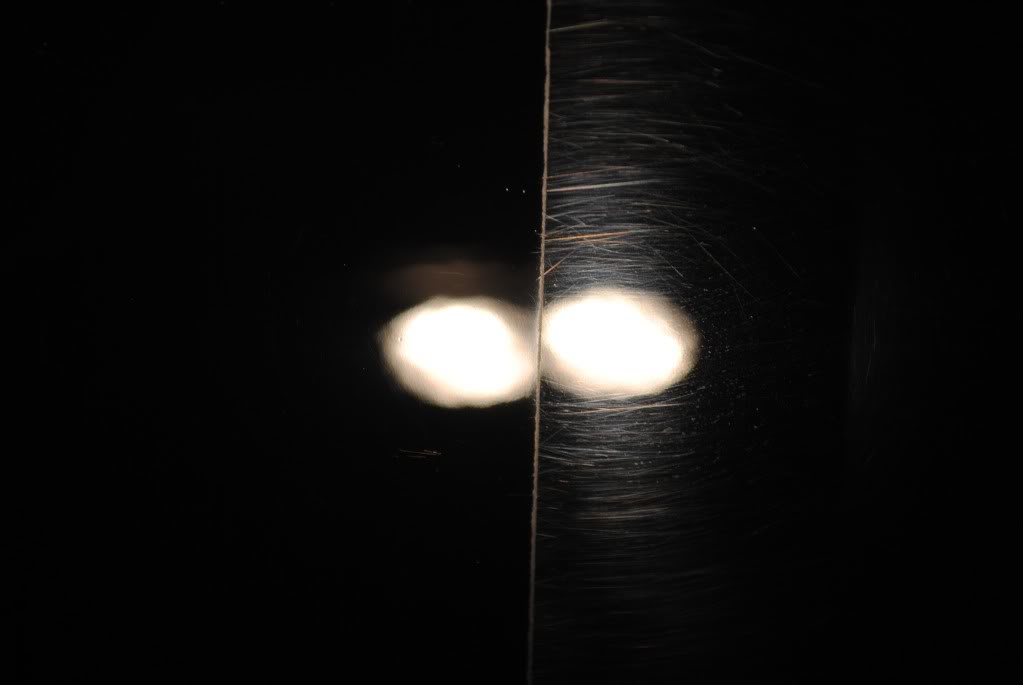
So next I began the compounding stage trying to find the right combo for this paint. I started off with my normal combo of M105 with a Cyan pad. but i just didn't feel that it cut hard enough to get some of these deeper RIDs out.

Name:  DSC_0821.jpg
Views: 333
Size:  99.7 KB

Name:  DSC_0823.jpg
Views: 216
Size:  82.2 KB

Name:  DSC_0824.jpg
Views: 222
Size:  18.4 KB

Name:  DSC_0826.jpg
Views: 229
Size:  31.5 KB

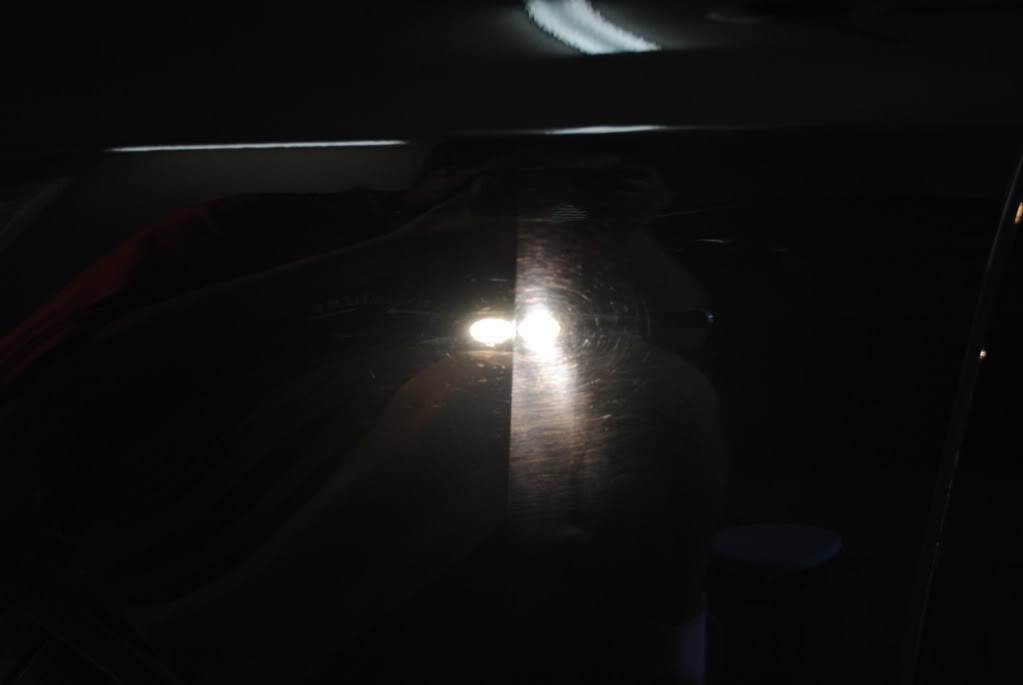
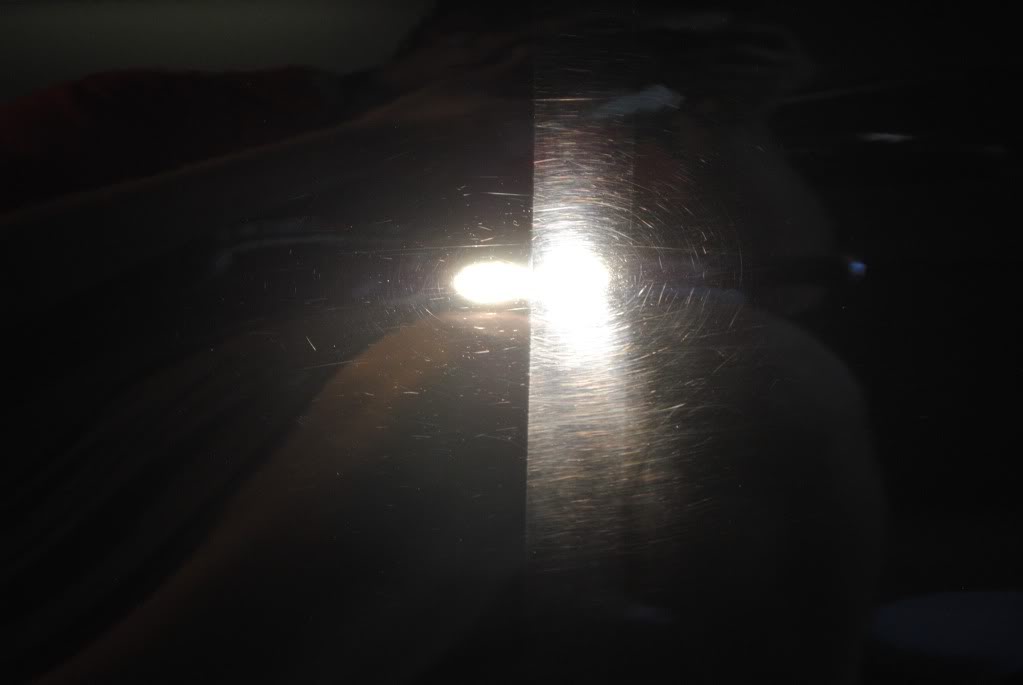
So I wasn't happy with the amount of cut from that combo. So I upped it to another level by using a Purple foamed wool pad and M105

and here is the difference......

Name:  DSC_0831.jpg
Views: 223
Size:  32.3 KB

Name:  DSC_0833.jpg
Views: 223
Size:  26.8 KB

Name:  DSC_0837.jpg
Views: 223
Size:  39.9 KB

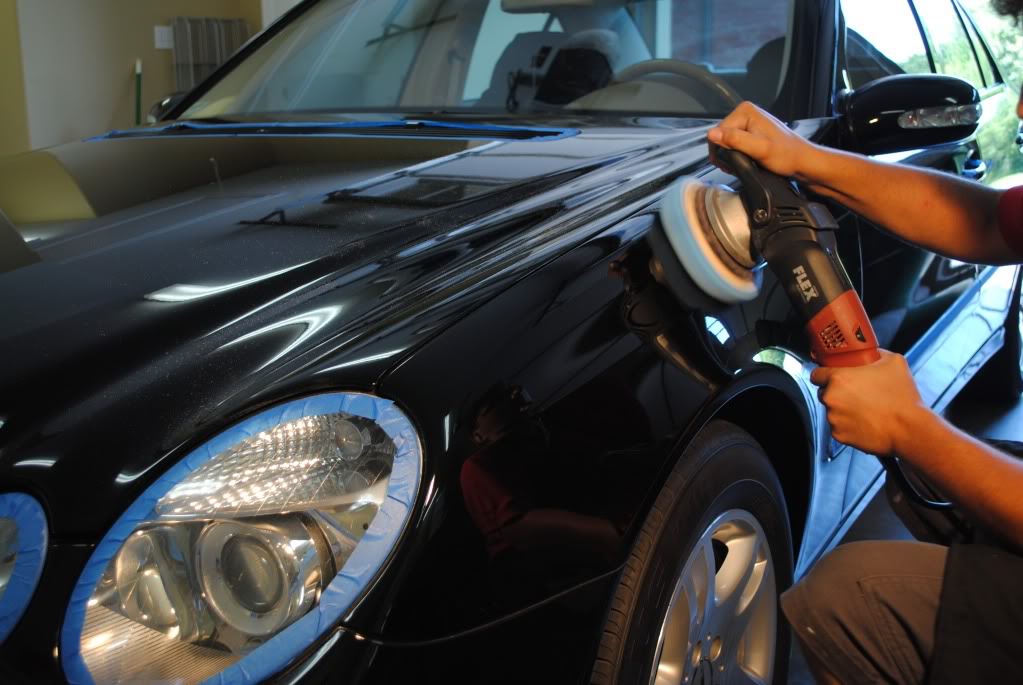
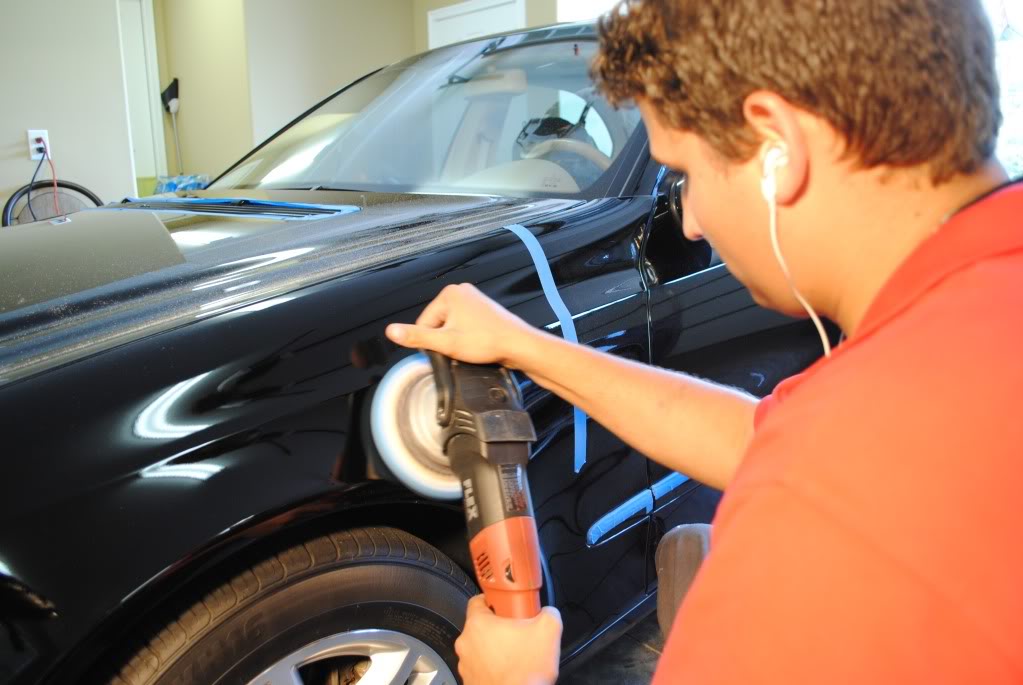
So I worked my way around the car using the PFW/M105 on my FLEX 3401

Name:  DSC_0842.jpg
Views: 223
Size:  81.4 KB

Name:  DSC_0844.jpg
Views: 271
Size:  35.2 KB

Name:  DSC_0846.jpg
Views: 243
Size:  60.5 KB

Name:  DSC_0848.jpg
Views: 214
Size:  24.1 KB

I didn't get any pics of the polishing stage but My weapon of choice was Meguiars M205 polish on a Lake country Tangerine pad. using the FLEX 3401

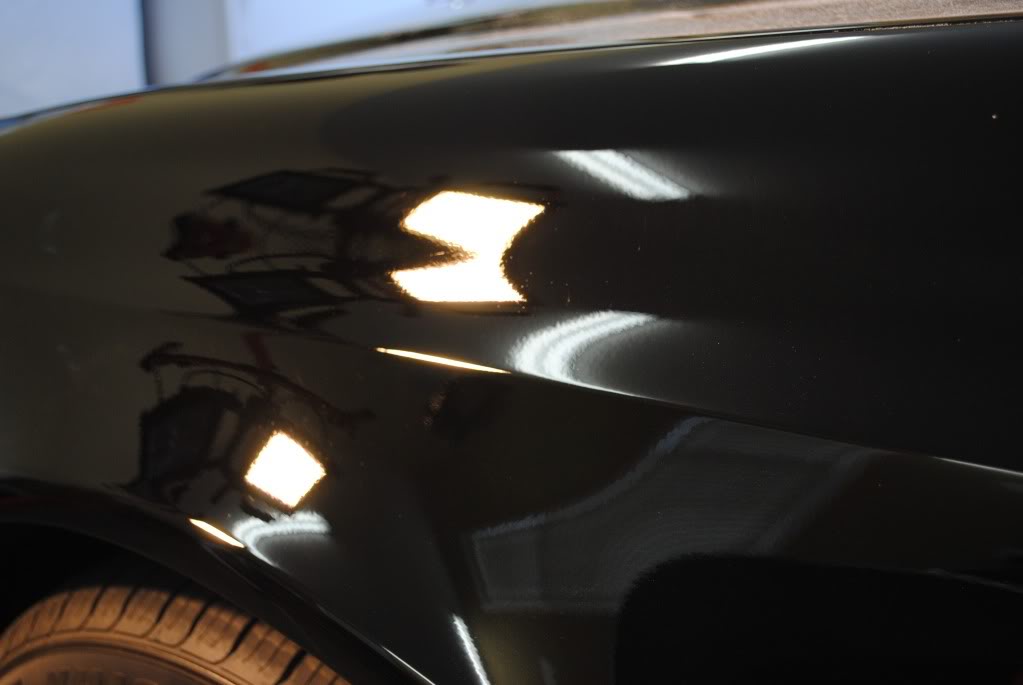
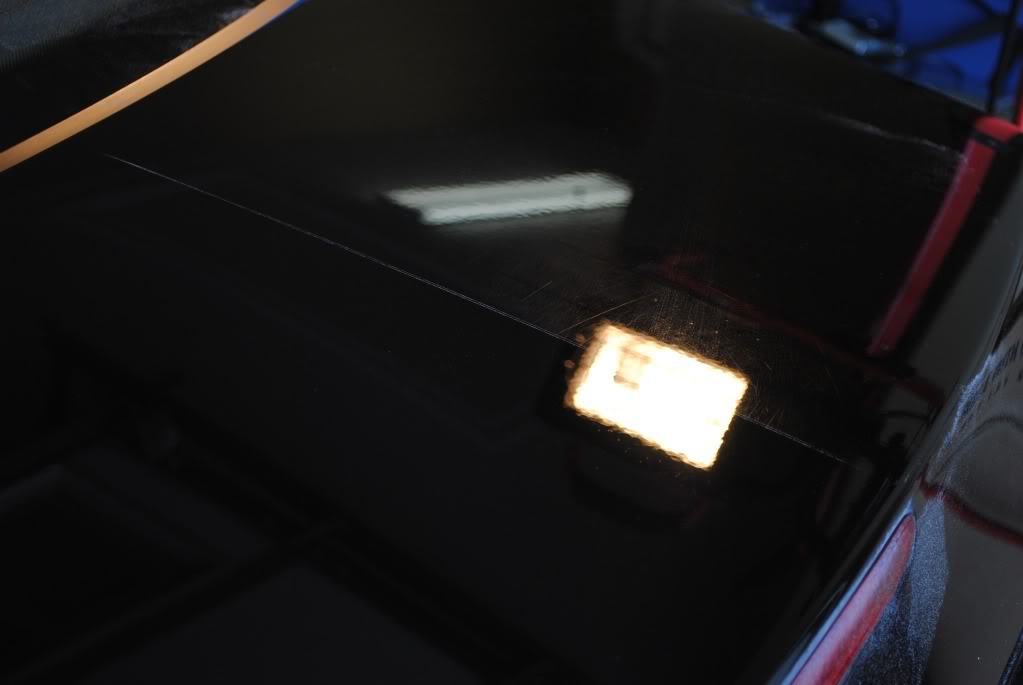
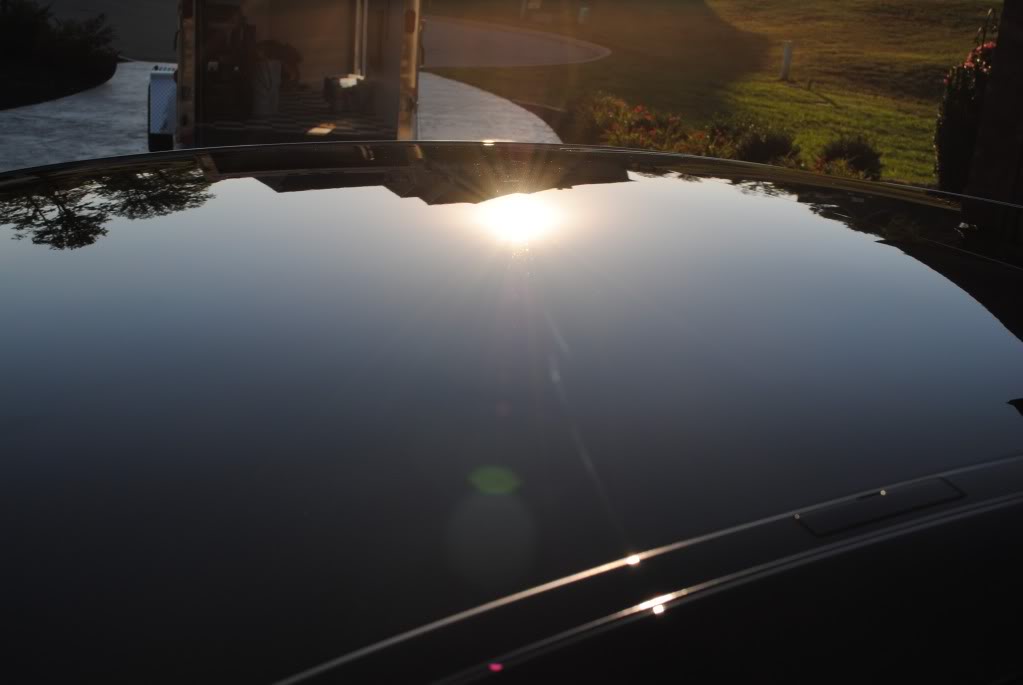
But after the polishing stage, I applied Black Fire Wet Diamond paint sealant and let it cure for a little bit.

Name:  DSC_0854.jpg
Views: 247
Size:  92.6 KB

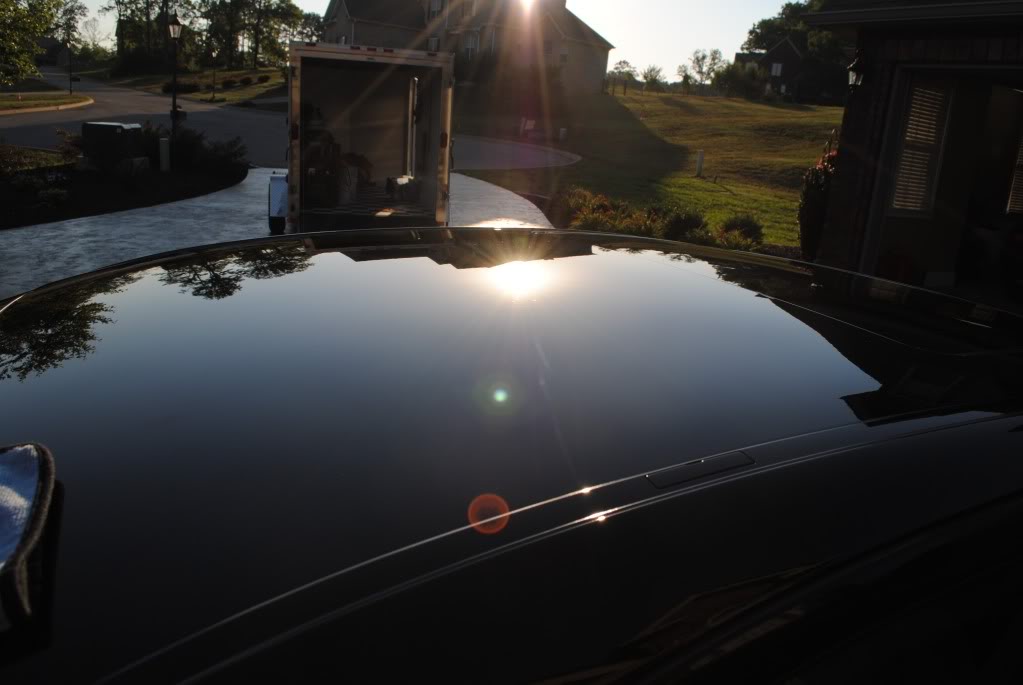
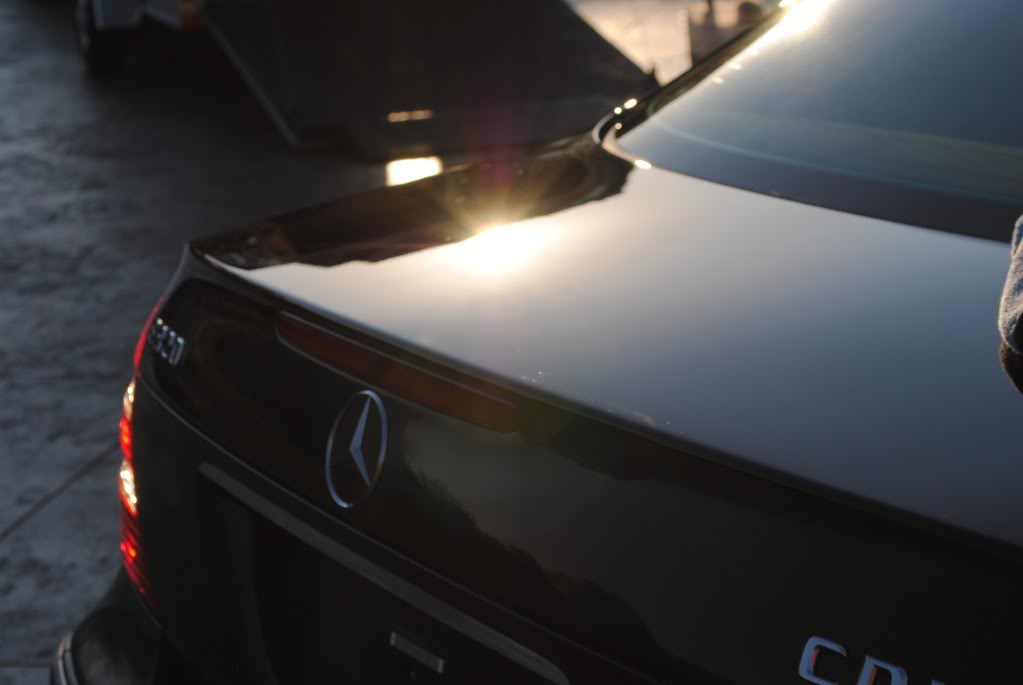
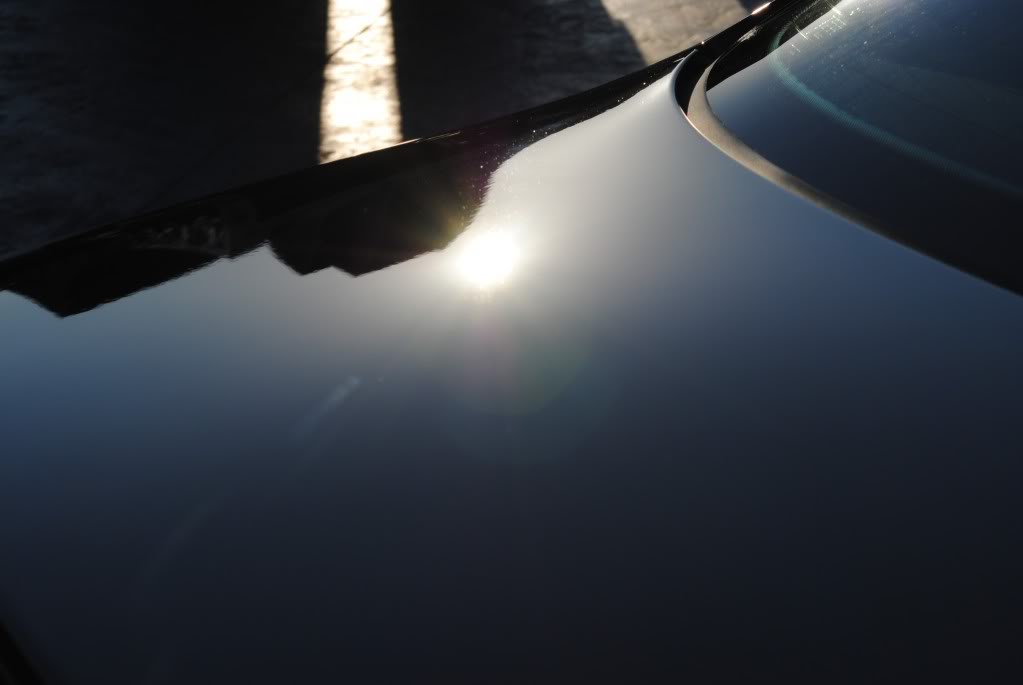
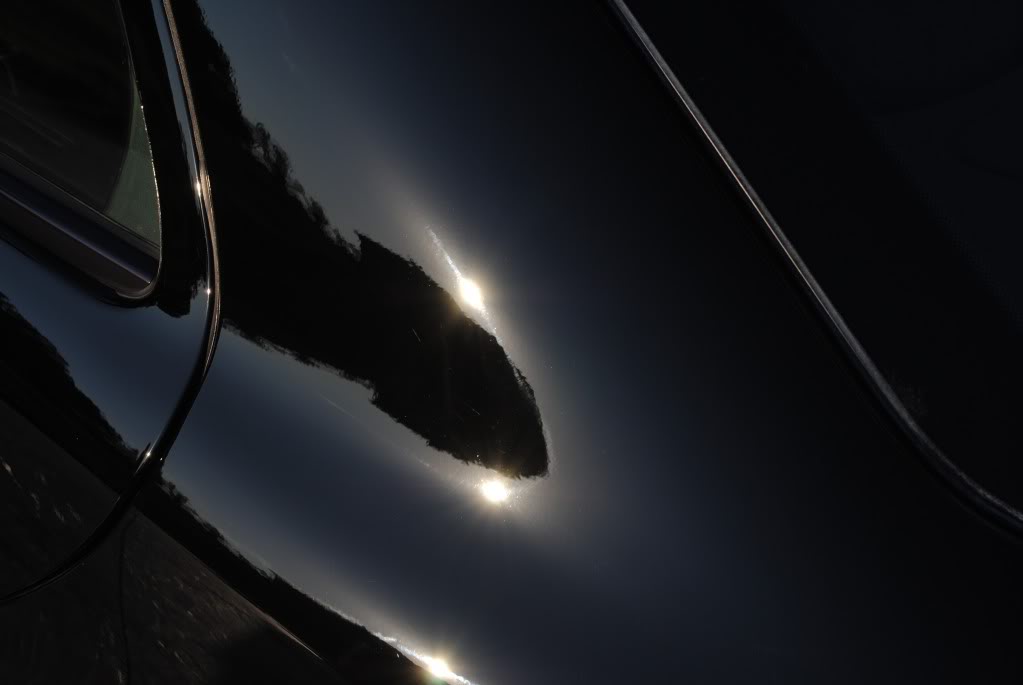
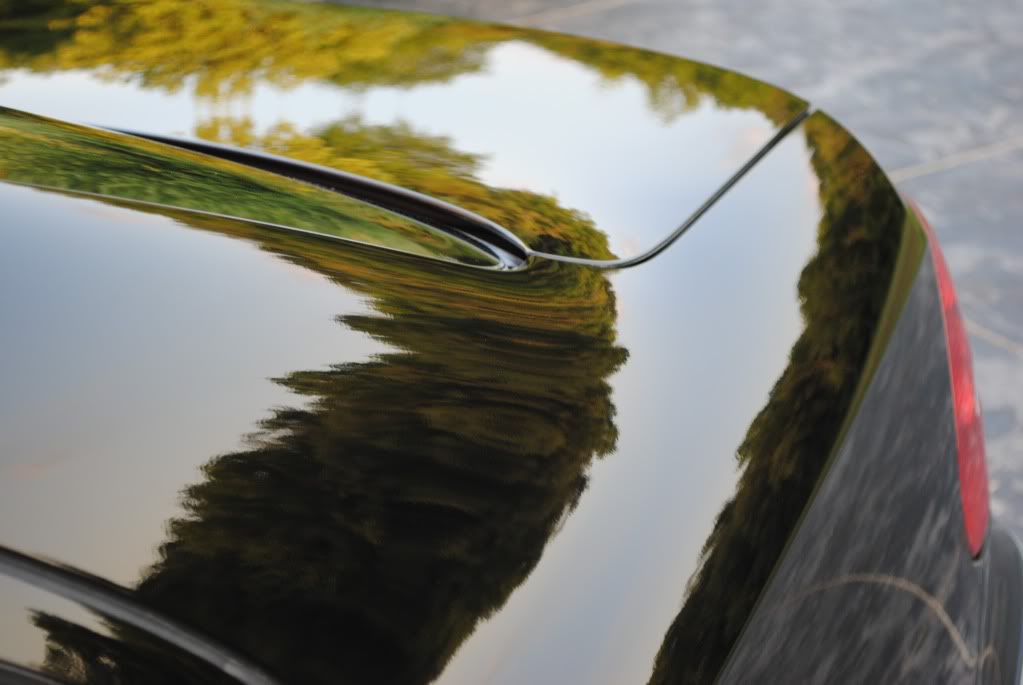
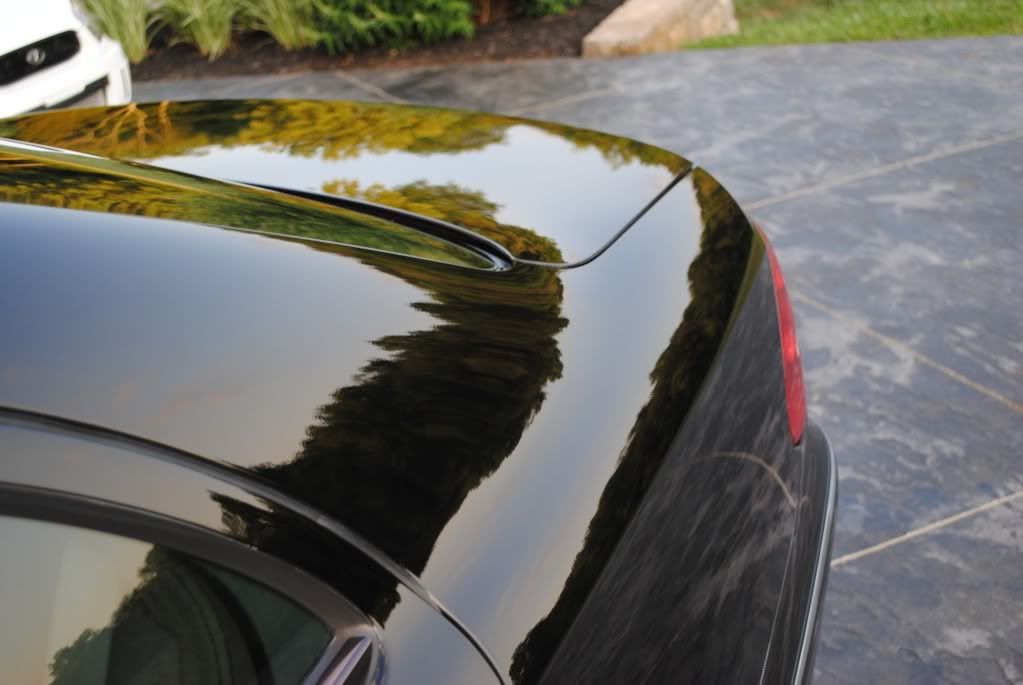
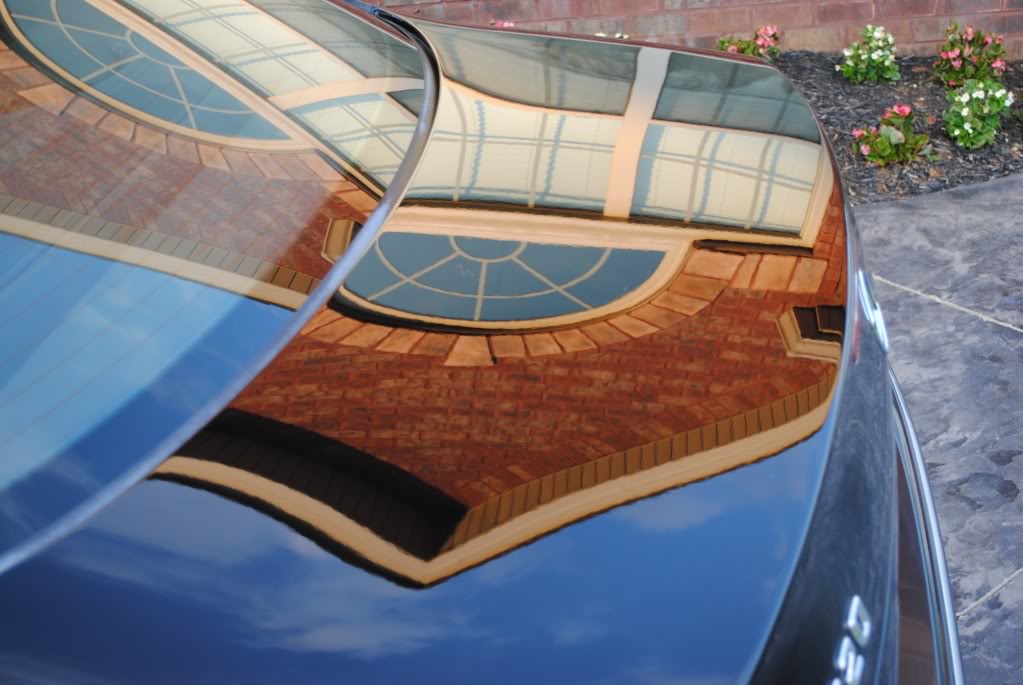
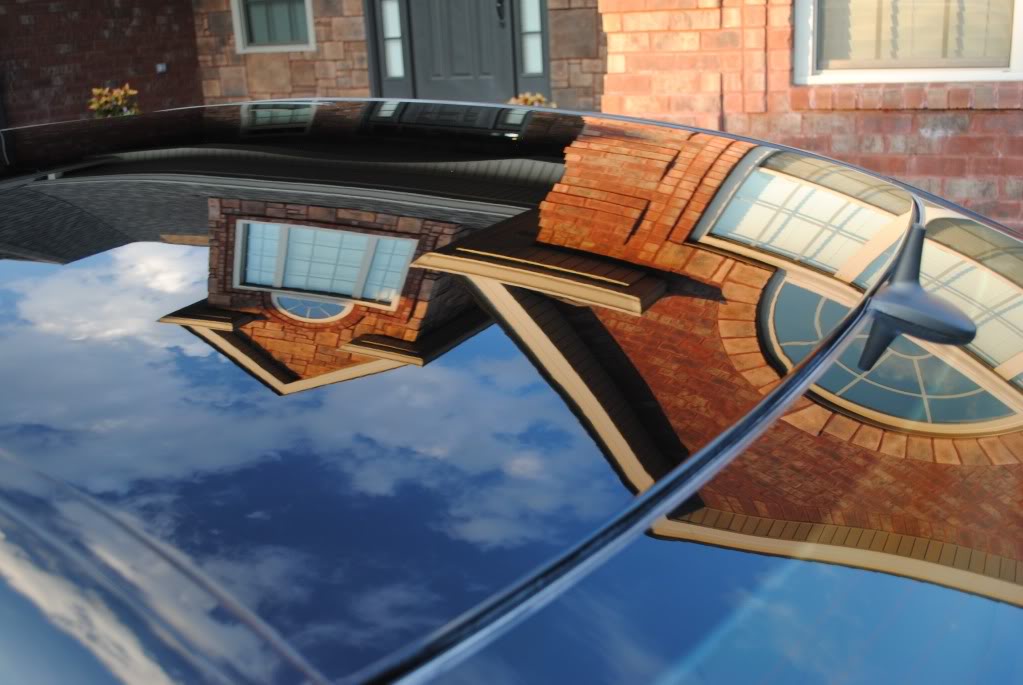
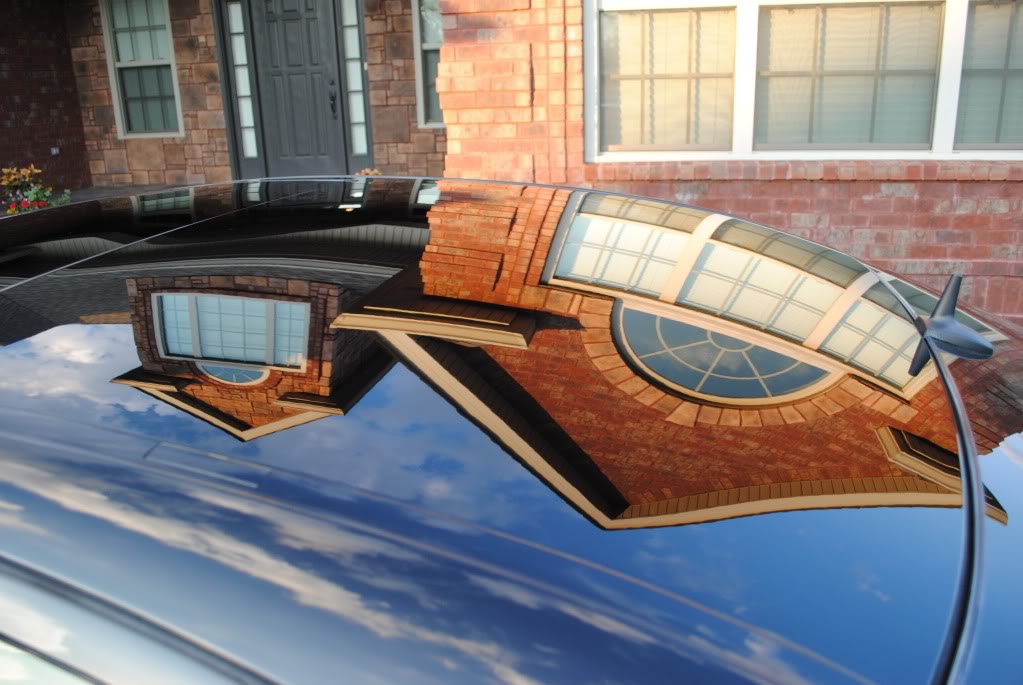
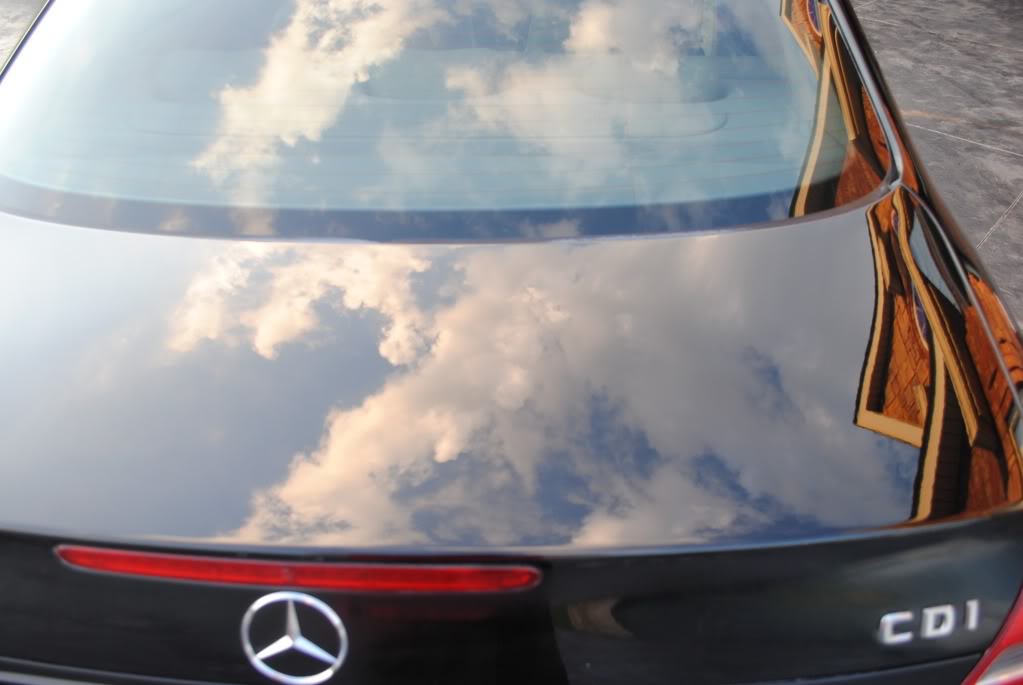
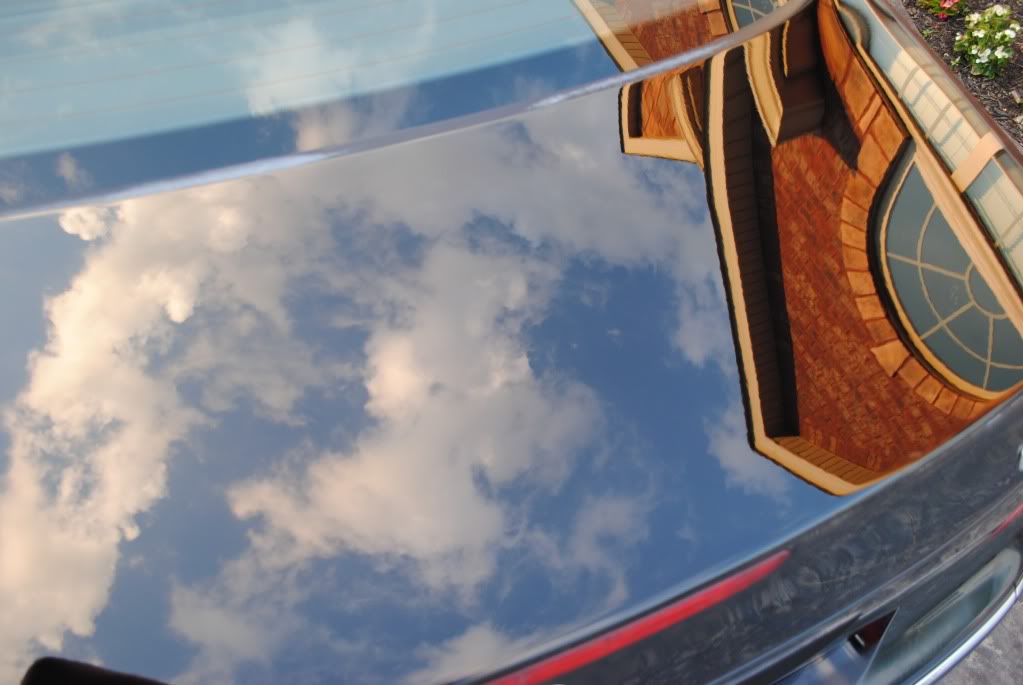
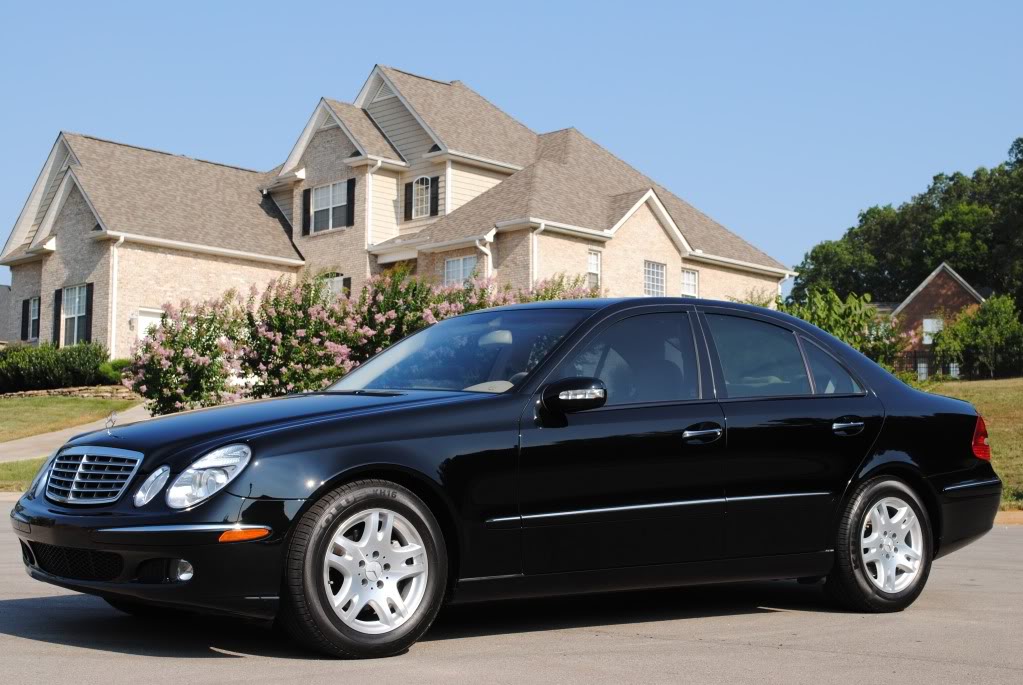
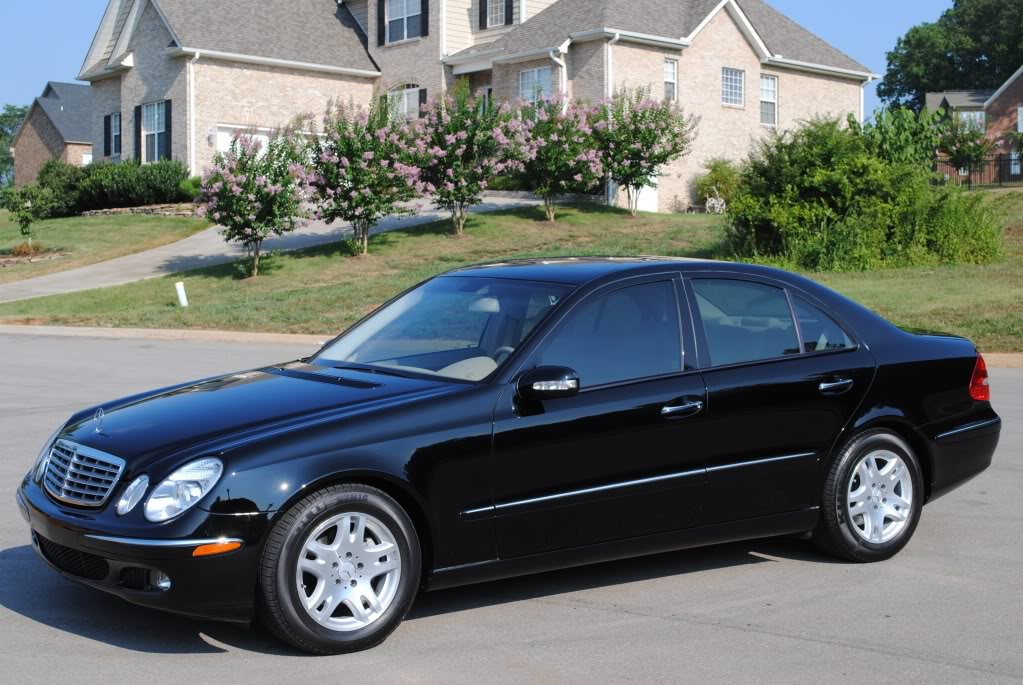
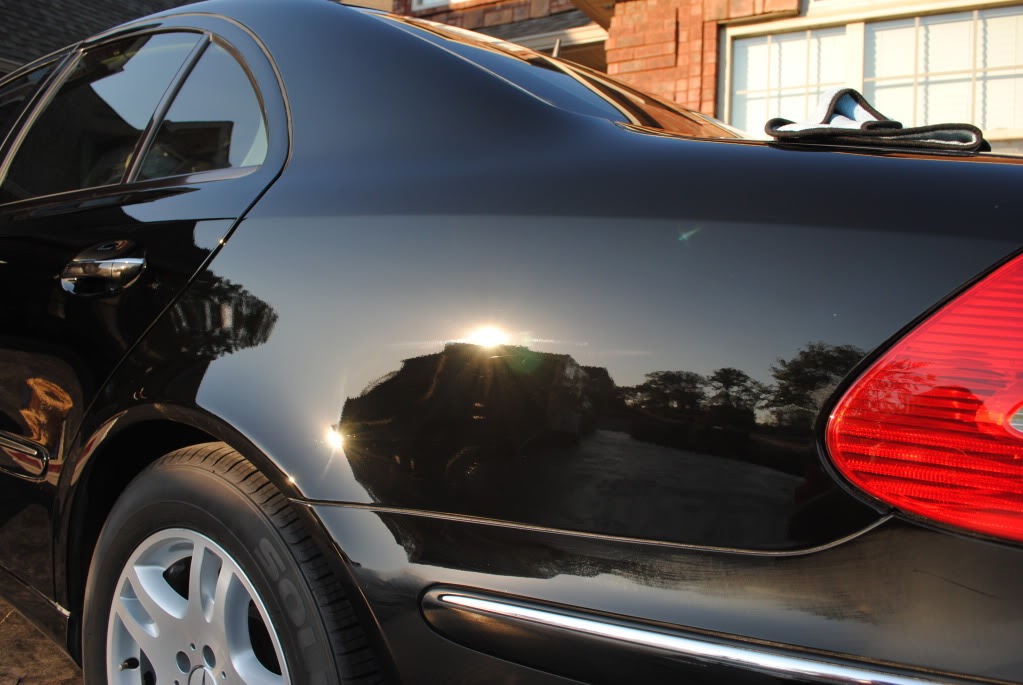
And here are the after shots.

Name:  DSC_0867.jpg
Views: 231
Size:  71.6 KB

Name:  DSC_0868.jpg
Views: 205
Size:  41.4 KB

Name:  DSC_0870.jpg
Views: 290
Size:  59.4 KB

Name:  DSC_0876.jpg
Views: 218
Size:  39.6 KB

Name:  DSC_0878.jpg
Views: 222
Size:  33.6 KB

Name:  DSC_0881.jpg
Views: 338
Size:  27.8 KB

Name:  DSC_0882.jpg
Views: 211
Size:  32.6 KB

Name:  DSC_0884.jpg
Views: 224
Size:  52.1 KB

Name:  DSC_0886.jpg
Views: 256
Size:  100.1 KB

Name:  DSC_0892.jpg
Views: 229
Size:  51.5 KB

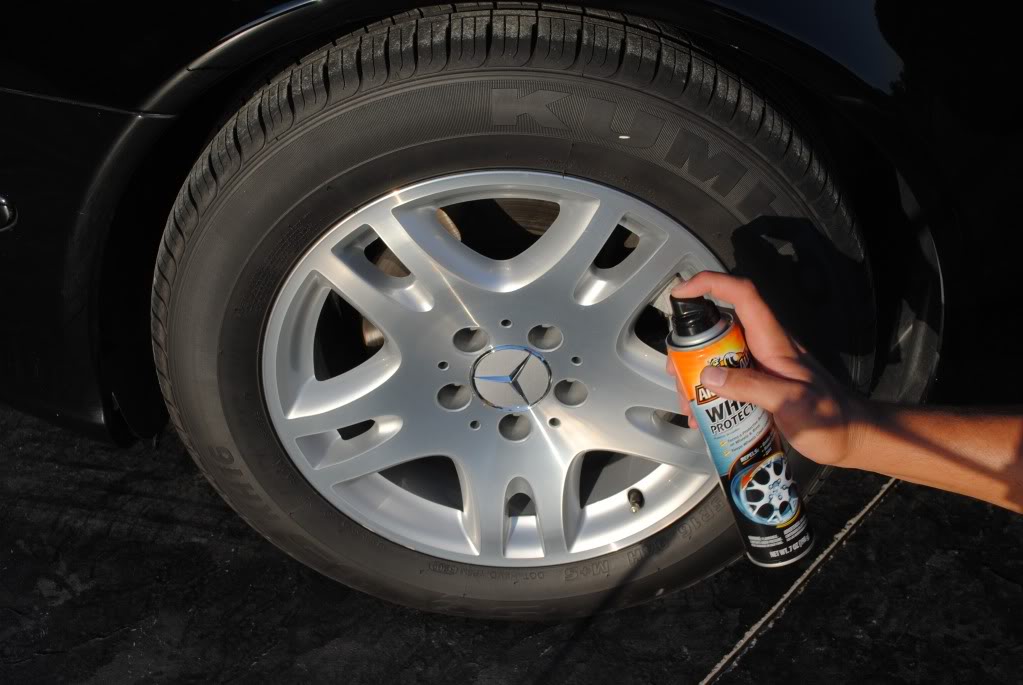
We all know how bad the Mercedes wheels get so nasty from the brake dust. even after driving down the road 10 miles they get covered. So I sealed the wheels using Armorall Wheel protectant to keep the wheels from getting dirty so quickly. this stuff is awesome! I use it on my own wheels on all of my cars.

Name:  DSC_0896.jpg
Views: 217
Size:  86.4 KB

And more of the deep wetness!

Name:  DSC_0905.jpg
Views: 225
Size:  57.3 KB


Name:  DSC_0907.jpg
Views: 205
Size:  89.9 KB

Name:  DSC_0908.jpg
Views: 198
Size:  88.0 KB

Name:  DSC_0909.jpg
Views: 236
Size:  100.9 KB

Name:  DSC_0910.jpg
Views: 214
Size:  55.8 KB

Name:  DSC_0911.jpg
Views: 223
Size:  68.7 KB

Name:  DSC_0917.jpg
Views: 212
Size:  141.4 KB

Name:  DSC_0923.jpg
Views: 221
Size:  145.2 KB

Name:  DSC_1100.jpg
Views: 822
Size:  124.5 KB

Name:  DSC_1101.jpg
Views: 1239
Size:  156.3 KB


Thanks for viewing, have a blessed day!
 
Old Jul 9, 2010 | 02:37 AM
  #2  
OhNineFIT's Avatar
Member
5 Year Member
iTrader: (2)
Joined: Oct 2008
Posts: 416
From: San Francisco, CA
man, that looks better than when it came out of the factory! Great job!!!!
 
Old Jul 24, 2010 | 04:33 PM
  #3  
mgcook's Avatar
New Member
iTrader: (1)
Joined: Dec 2008
Posts: 10
From: North Carolina
5 Year Member
What happened in the bottom right corner of this picture:
Name:  DSC_0886.jpg
Views: 235
Size:  100.1 KB
 
Old Jul 26, 2010 | 09:53 AM
  #4  
Fallen_Rock's Avatar
Thread Starter
|
Member
iTrader: (2)
Joined: Jun 2009
Posts: 365
From: Knoxville TN
Originally Posted by mgcook
What happened in the bottom right corner of this picture:

HAHA, good call, I missed some BFWD, don't worry though, it was removed before I left. I was just running out of daylight so I rushed to get pics.

Good catch though,
 
Old Aug 9, 2010 | 08:45 AM
  #5  
HOLY FIT!!'s Avatar
Member
iTrader: (11)
Joined: May 2010
Posts: 512
From: Northern VA
looks GREAT! man i wish you were in my area, im in need of a great job like that right about now, my black is wayyy swirly
 
Old Aug 12, 2010 | 06:40 AM
  #6  
patyong's Avatar
Member
5 Year Member
Joined: May 2009
Posts: 90
From: Australia
Did you use a clay bar after wash?
 
Old Aug 13, 2010 | 01:16 PM
  #7  
Fallen_Rock's Avatar
Thread Starter
|
Member
iTrader: (2)
Joined: Jun 2009
Posts: 365
From: Knoxville TN
Originally Posted by patyong
Did you use a clay bar after wash?
Of course, Claymagic blue fine clay.
 
Old Aug 13, 2010 | 01:39 PM
  #8  
Perrenoud Fit's Avatar
Member
iTrader: (2)
Joined: Dec 2008
Posts: 4,439
From: Chesapeake, VA. -USA
5 Year Member
Thumbs up

Another Be-u-tee-full job Fallen Rock. What a durastic change, "Good Works"
 
Old Aug 13, 2010 | 07:26 PM
  #9  
danger69's Avatar
Member
5 Year Member
iTrader: (6)
Joined: Aug 2007
Posts: 695
From: Daly City, CA
how often do you need to do such a restoration? i'm sure i can't do it everytime i wash my car.
 
Old Aug 15, 2010 | 03:36 PM
  #10  
Perrenoud Fit's Avatar
Member
iTrader: (2)
Joined: Dec 2008
Posts: 4,439
From: Chesapeake, VA. -USA
5 Year Member
Talking Can I take this one?

Originally Posted by danger69
how often do you need to do such a restoration? i'm sure i can't do it everytime i wash my car.
If you take care of the paint's finish regularly, then never. Black is as you can see a double sided blade in the way that black looks sooo good when the finish is kept up and looks horrible almost grey (fine scratches) if not. For the average Joe regular washing using a microfiber mit and a double bucket method,a thick M.F. cloth to dry, and a good sealer and then a high %carbuna wax, will keep your paint in Great condition.
The car that gets very little attention will need a reconditioning on the scale that Fallen Rock performs.

Take Care of your car and it will in turn Take Care of you
Just my 2 cents worth I don't mean to take away from Fallen Rock's thread he's the proffesional I'm at best the weekend warrior...
 

Last edited by Perrenoud Fit; Aug 15, 2010 at 03:40 PM.
Old Aug 16, 2010 | 09:38 AM
  #11  
Fallen_Rock's Avatar
Thread Starter
|
Member
iTrader: (2)
Joined: Jun 2009
Posts: 365
From: Knoxville TN
Instead of typing everything, I just let mike phillips explain it all. It will teach you everything you need to know about a proper wash job.

How to Wash Your Car (ShowCar style!)


and here is another technique that I dont really recommend,

YouTube - How To wash your car with one bucket of water
 
Old Aug 16, 2010 | 09:43 AM
  #12  
HOLY FIT!!'s Avatar
Member
iTrader: (11)
Joined: May 2010
Posts: 512
From: Northern VA
Originally Posted by Fallen_Rock
Instead of typing everything, I just let mike phillips explain it all. It will teach you everything you need to know about a proper wash job.

How to Wash Your Car (ShowCar style!)


and here is another technique that I dont really recommend,

YouTube - How To wash your car with one bucket of water
awesome, any tips for proper waxing?
 
Old Aug 16, 2010 | 02:51 PM
  #13  
DTruth's Avatar
Member
5 Year Member
Joined: Mar 2010
Posts: 154
From: Stockton CA
Originally Posted by HOLY FIT!!
awesome, any tips for proper waxing?

2nd that waxing help plz
 
Old Aug 16, 2010 | 03:44 PM
  #14  
EDJ82's Avatar
Member
Joined: May 2008
Posts: 26
From: New York
Looks great!
 
Related Topics
Thread
Thread Starter
Forum
Replies
Last Post
Fallen_Rock
Fit DIY: Repair & Maintenance
15
Jul 1, 2011 05:30 PM
markwalter
Fit Photos & Videos
11
Aug 25, 2010 07:46 PM
qbmurderer13
Other Car Related Discussions
22
Apr 14, 2010 03:10 AM
qbmurderer13
Fit Photos & Videos
43
Mar 24, 2009 01:10 PM
gd3kamiwanaB
Other Car Related Discussions
13
Oct 12, 2008 11:28 PM


All times are GMT -4. The time now is 02:50 PM.