Built LT1 Hybrid Impala SS (It burns Rubber and Gas)
#1
Built LT1 Hybrid Impala SS (It burns Rubber and Gas)
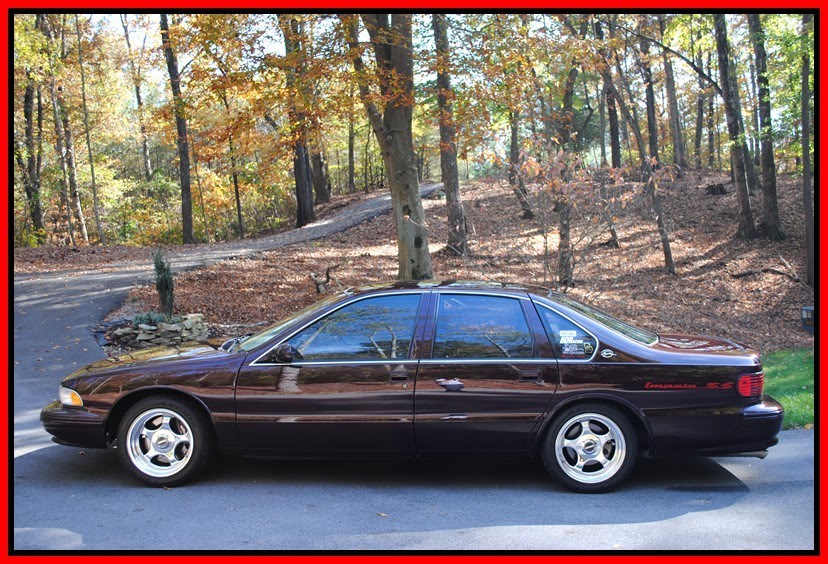
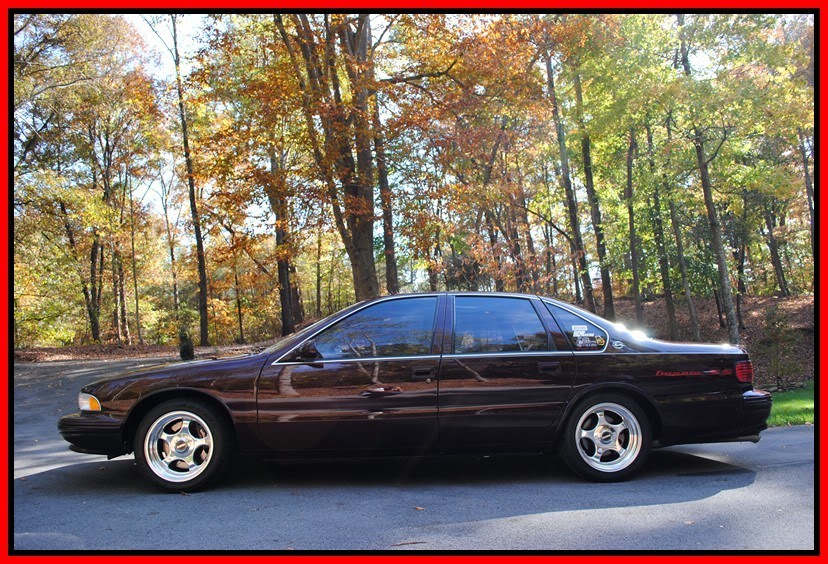
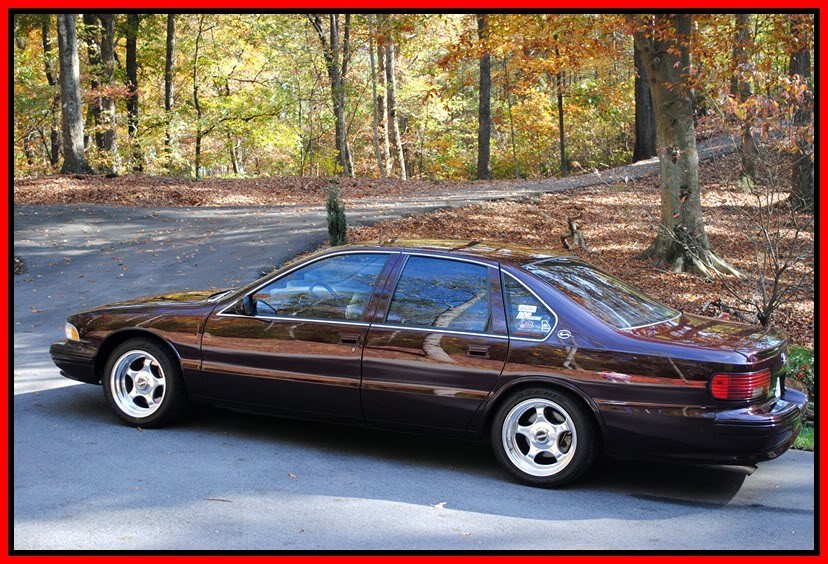
This 1996 Chevrolet Impala SS was a sweet car and sounded real mean! definitely not your average Impala. With tons of mods under the hood and even more on the suspension setup, This is one mean Taxi cab! The car is now pushing somewhere around 500hp at the crank, and runs an 11sec Quater mile!
There wasn't much sun out and it was a cold morning so I had to dress accordingly. here is the car when I first got there.
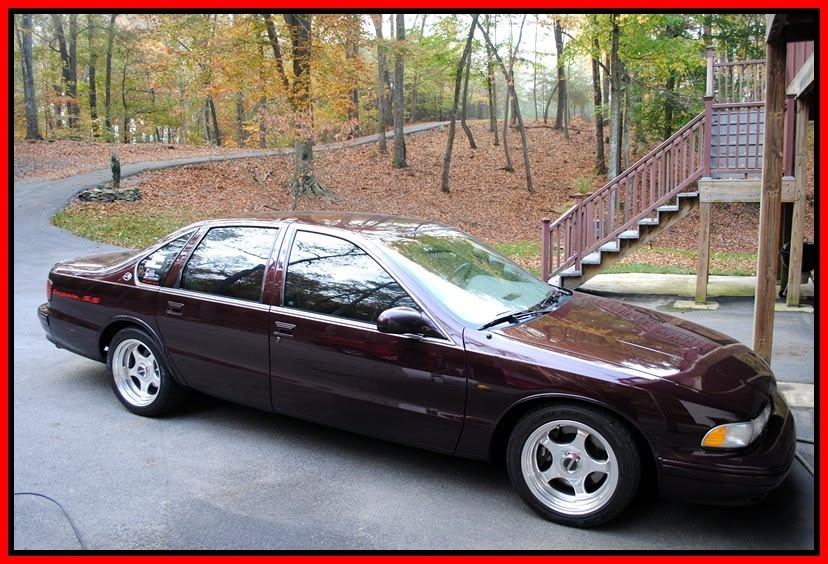
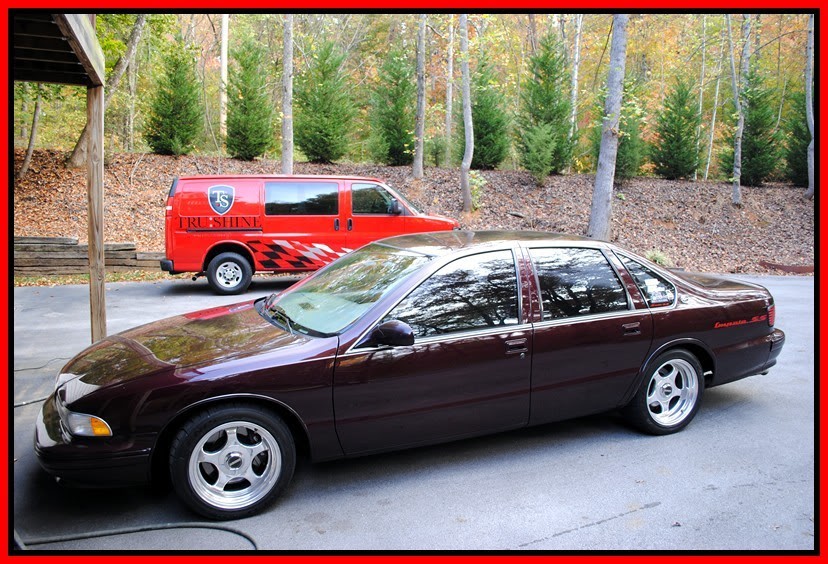
Kind of a dull reflection
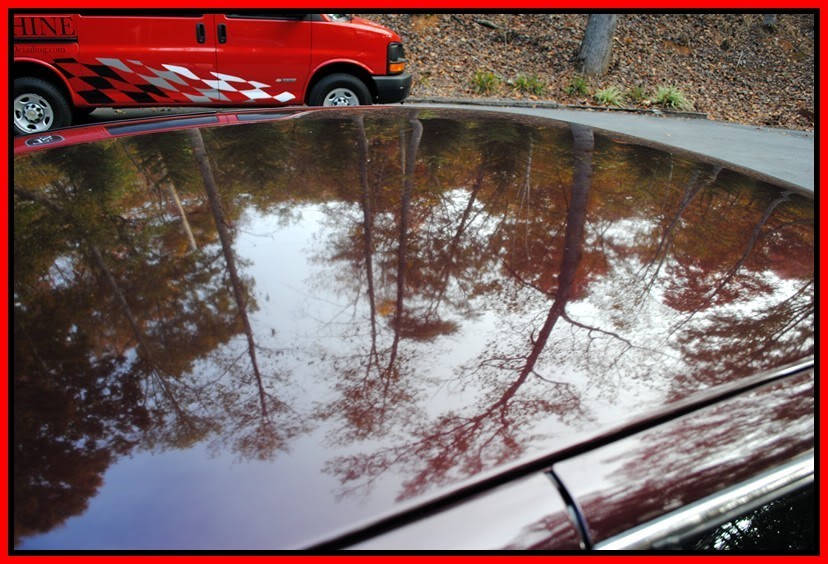
and the wheels could definitely be deeper and glossier.
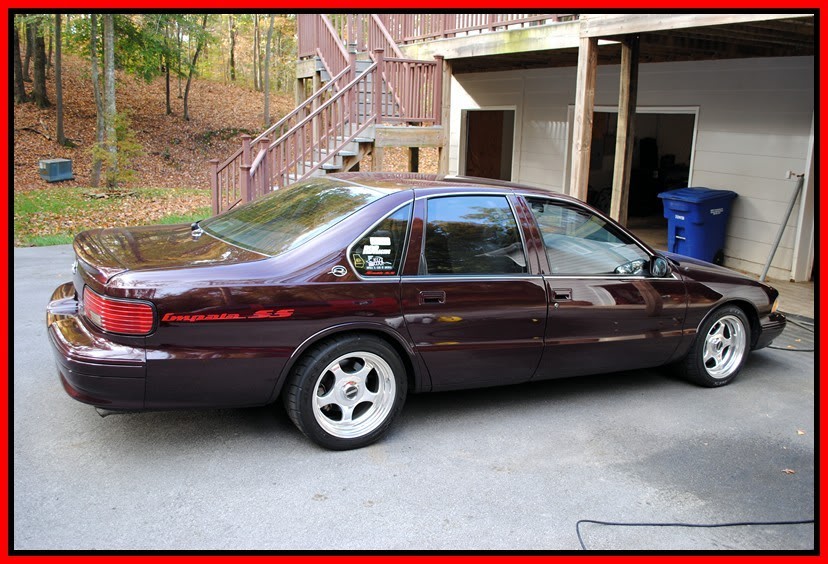
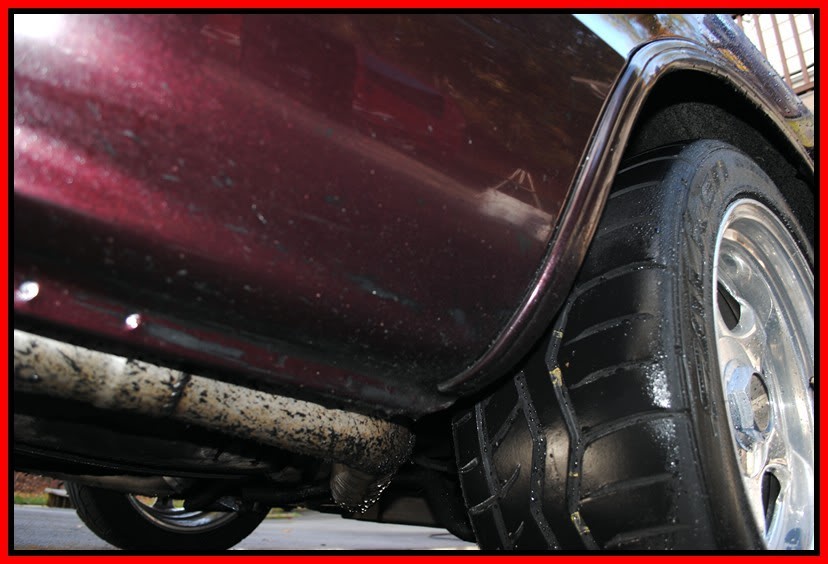
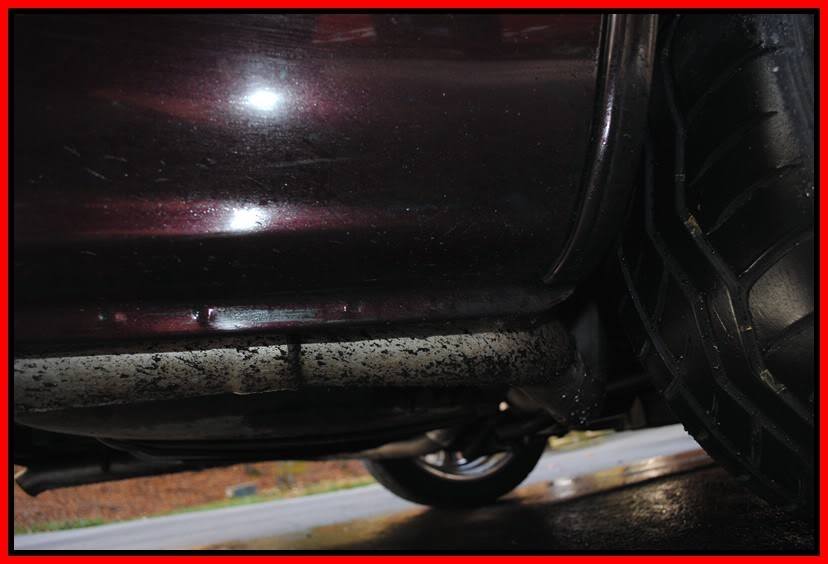
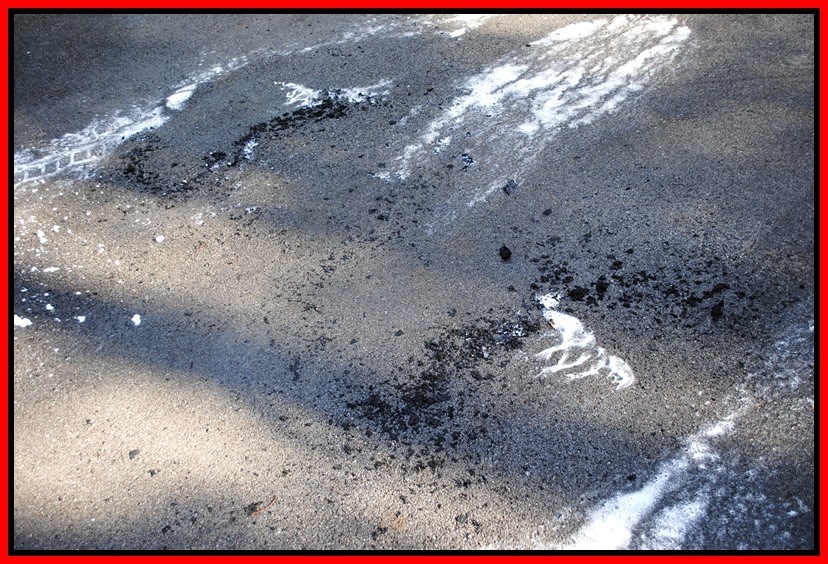
With all of the track time that this car gets, there was TONS of rubber all under the bottom of the rear bumper and all up in the rear fender wells. (Which you will see in a bit) *I used Stoners Tarmonator to help with the removal of the rubber buildup*
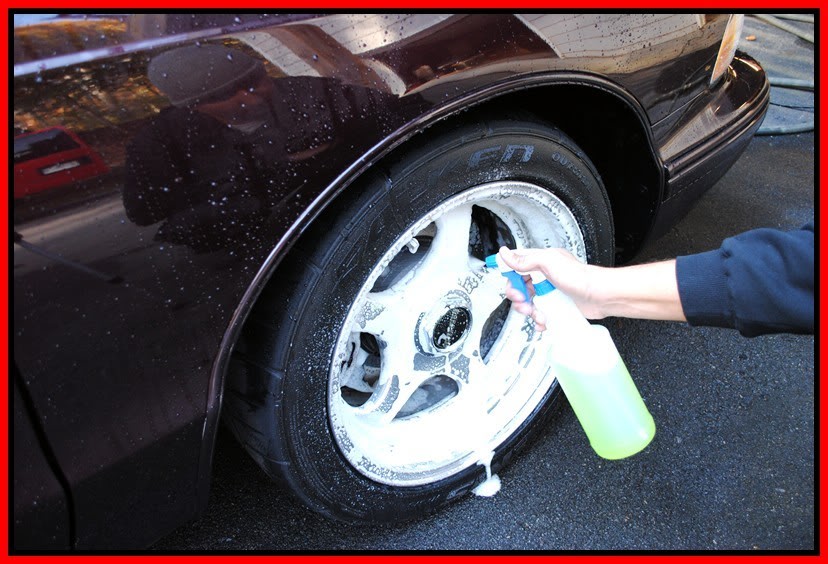
I started off by applying some P21s wheel gel to the wheels and letting it dwell for a bit. These wheels are Polished Aluminum. So it is VERY crucial that you use a pH balanced wheel cleaner on them. A lot of wheel cleaners are acid based and a lot of degreasers are Alkaline based both of which can harm the polished surface. This P21s wheel gel is Safe on any wheel surface.
after the dwell period, the wheels were then agitated with a EZ detail brush and other various brushes to get in all of the areas of the wheels
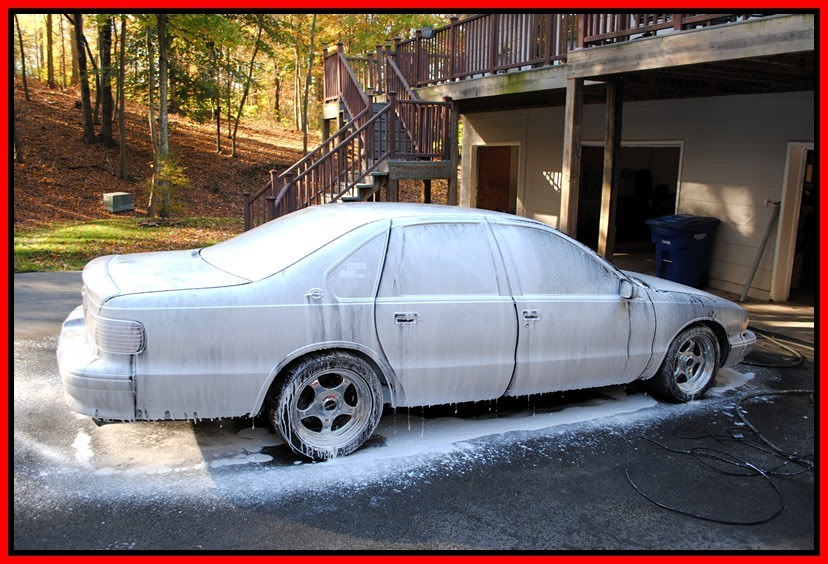
Once that was completed I snow foamed the car with a mixture of APC and Dawn soap to clean all of the oils and previous waxes off the car.
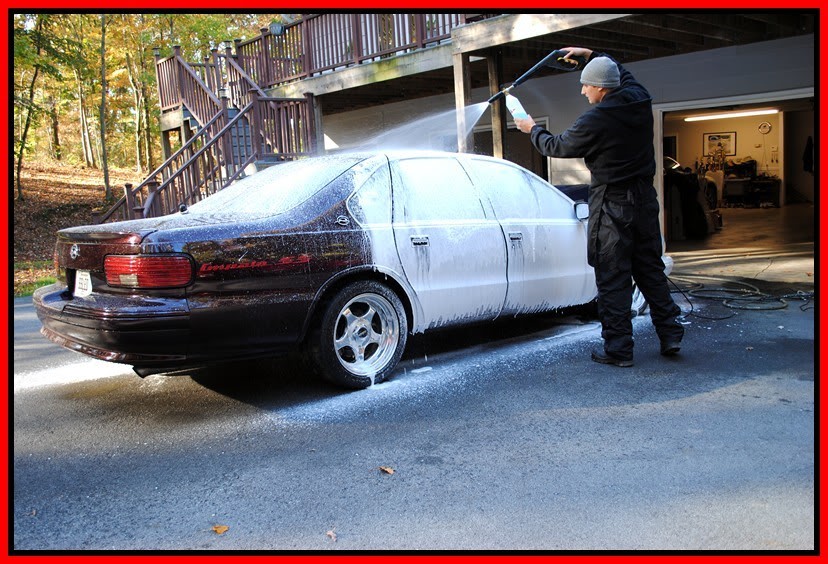
The Snow foam method is designed to suspend the dirt up off the surface of the paint to prevent scratching to the paint,along with the two bucket method with two grit guards.
once it has does it's job, I then rinse it all off to remove any suspended dirt, that way when I goto mitt wash the car, there is as least amount of dirt that could scratch the surface.
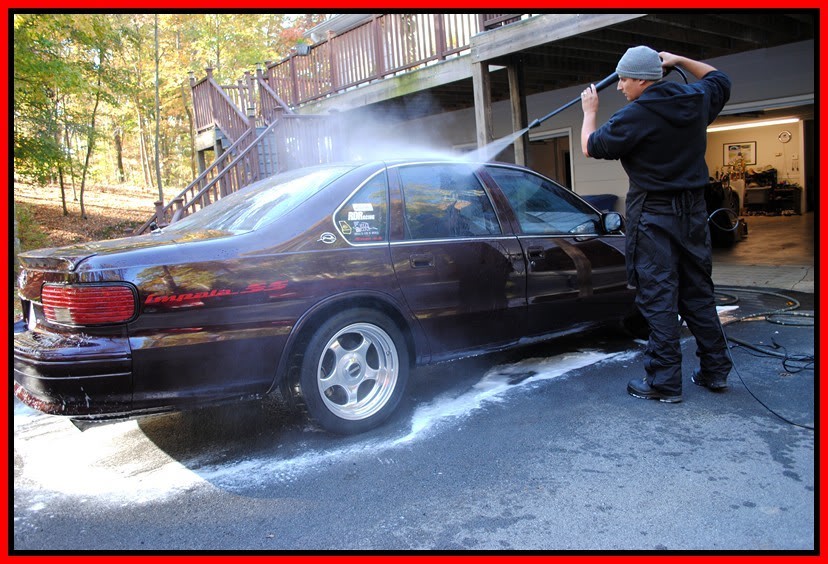
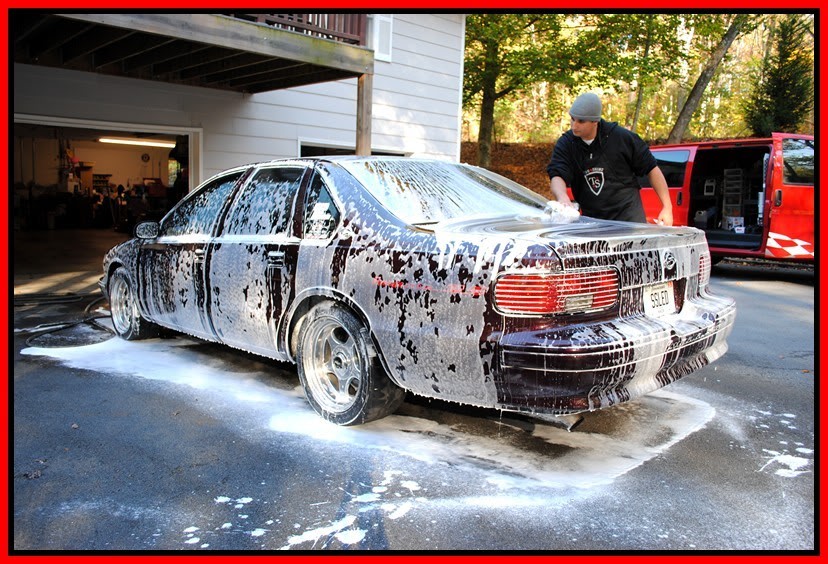
Then I give it another coat of foam for the 2bucket/Mitt wash
After the the car was rinsed and dried off, I pulled it into the garage, and you could see the pile of rubber that I sprayed off while washing that was left behind.
The next thing we did was remove the wheels, to get polished and sealed later on in the detail.
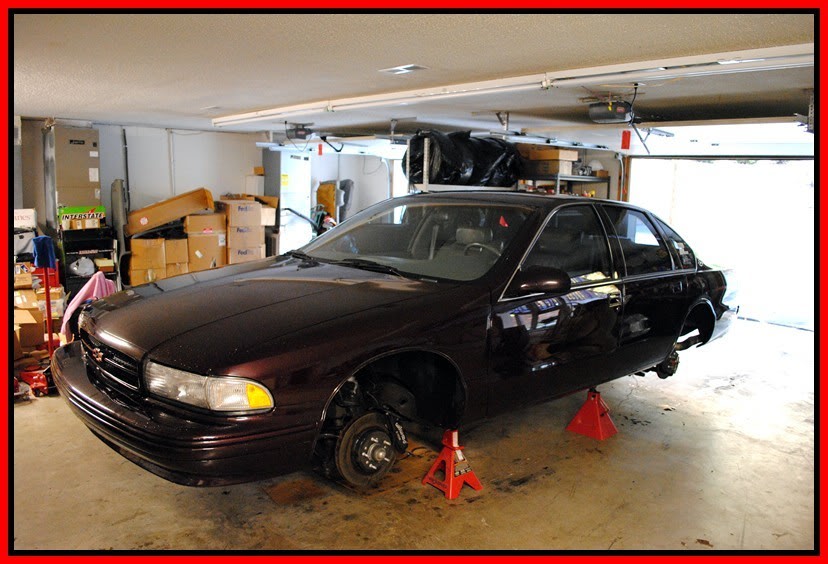
Next I clayed the car with Clay magic Fine clay w/ lube, and then taped off all black plastic moldings.
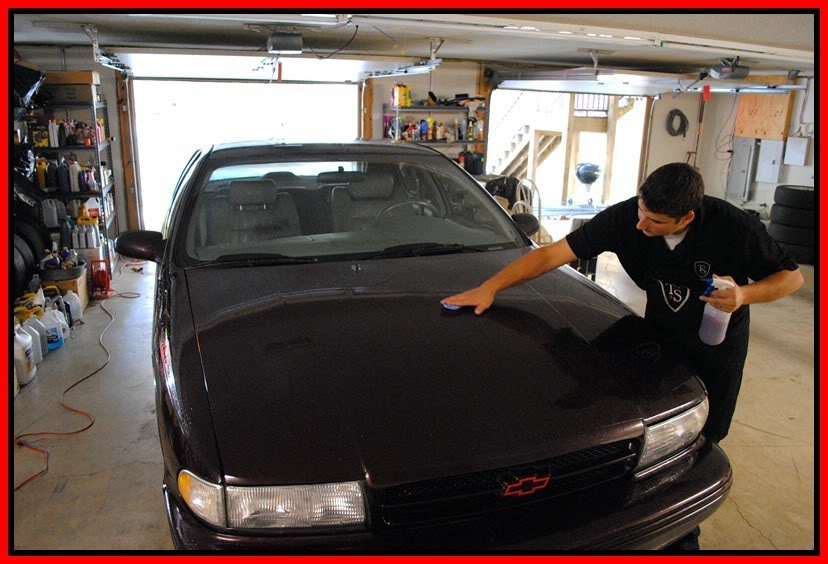
Now that the car is prepped for the polishing, let's see what I was working with.
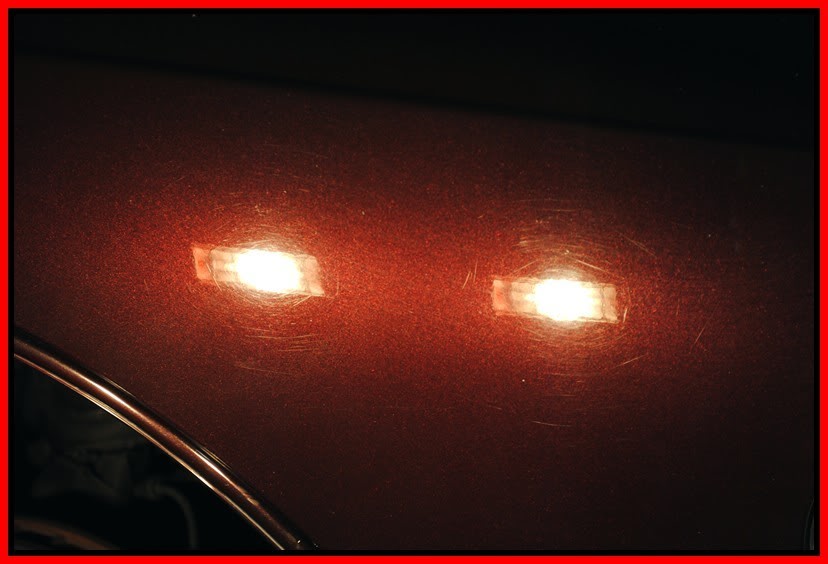
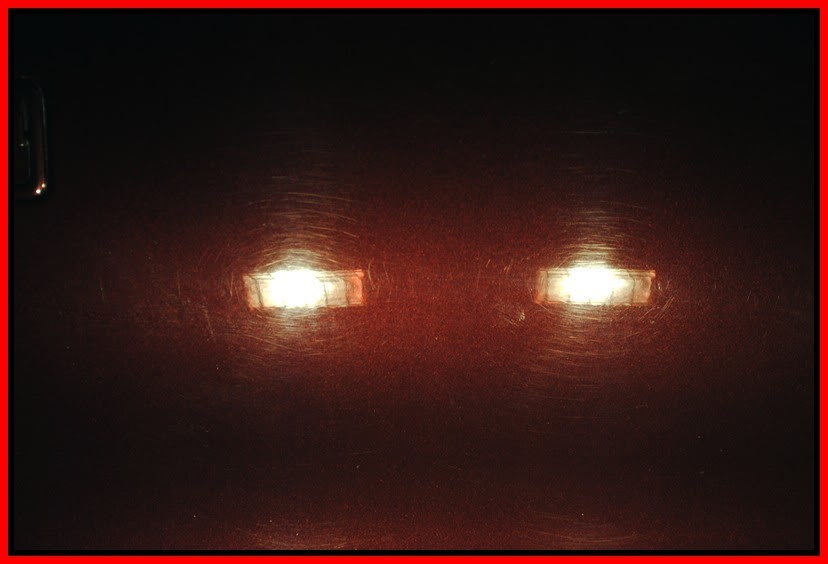
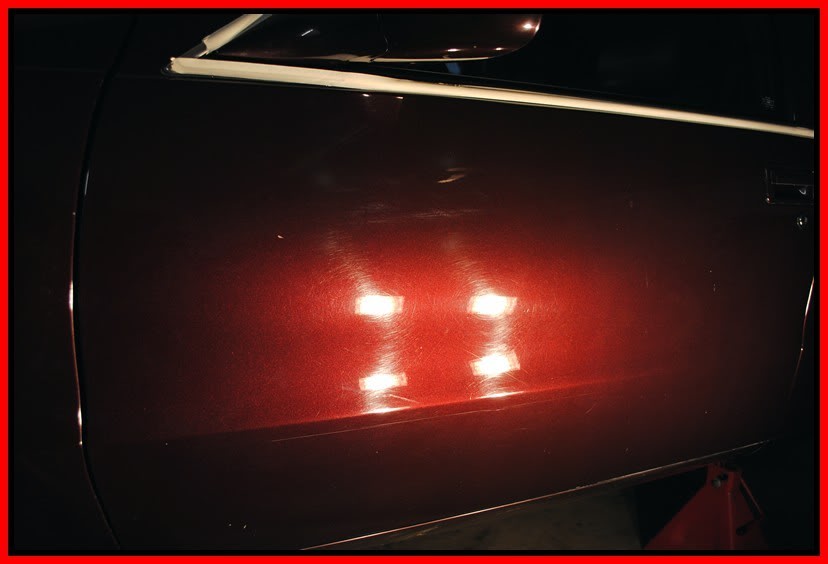
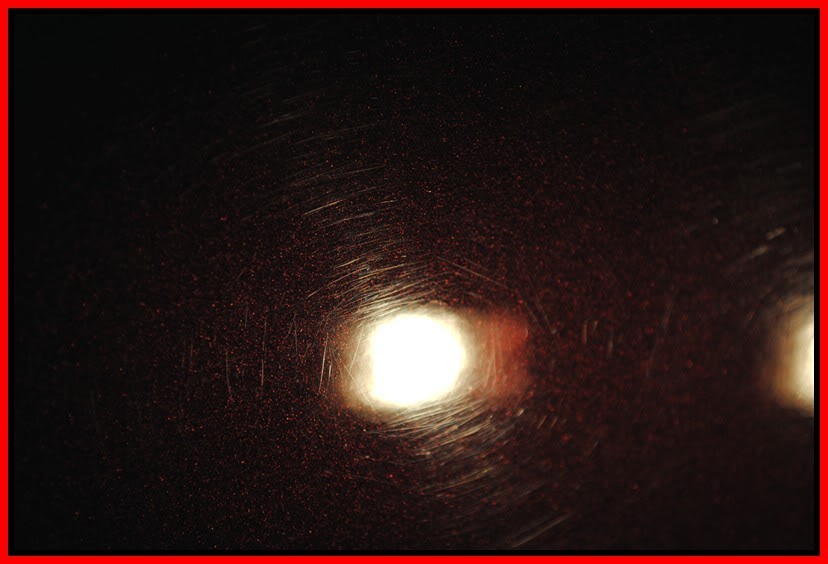
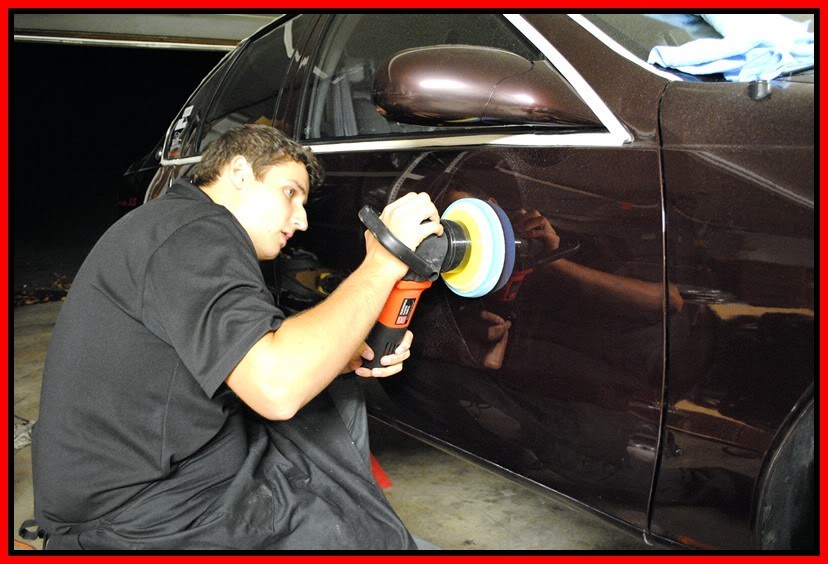
So I got a new toy and I wanted to try out a new method for Paint correction. This whole correction will be done with a Griot's Garage 6in Orbital DA and a Surbuff pad using Meguiars M105 and a LC hydrotech Tangerine pad with M205 polish.
here are some pics of the Griot's in action using the Surbuff pad.
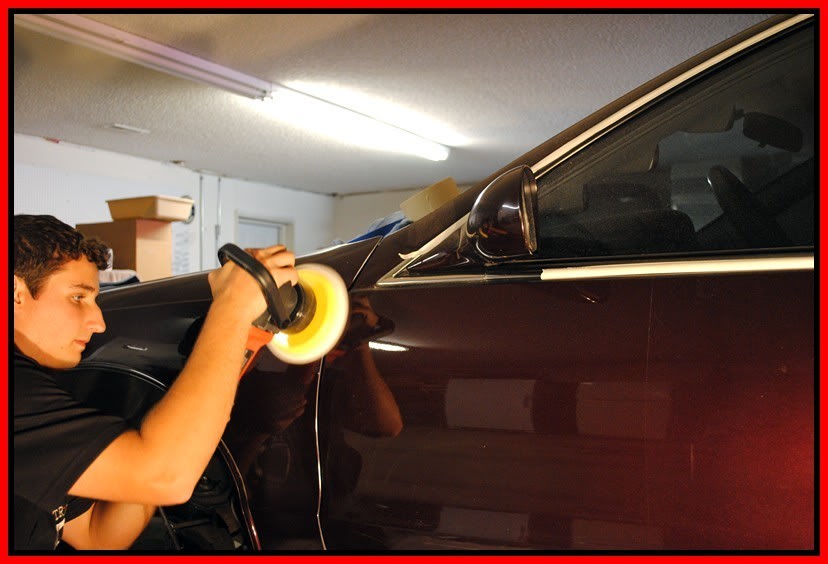
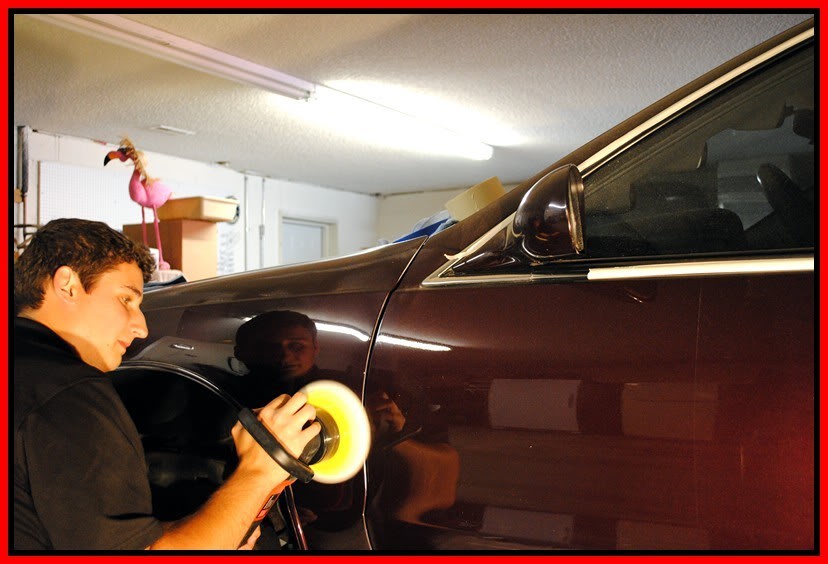
Then I check to see the level of correction with my Brinkmans duel xenon swirl finder.
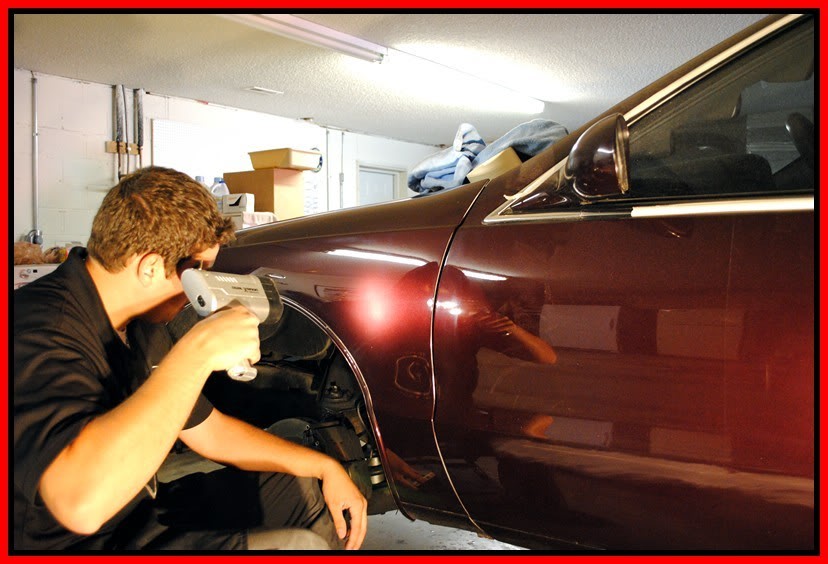
after the Surbuff/M105 combo, I polished it with the Tangerine/M205 and this is what I got.
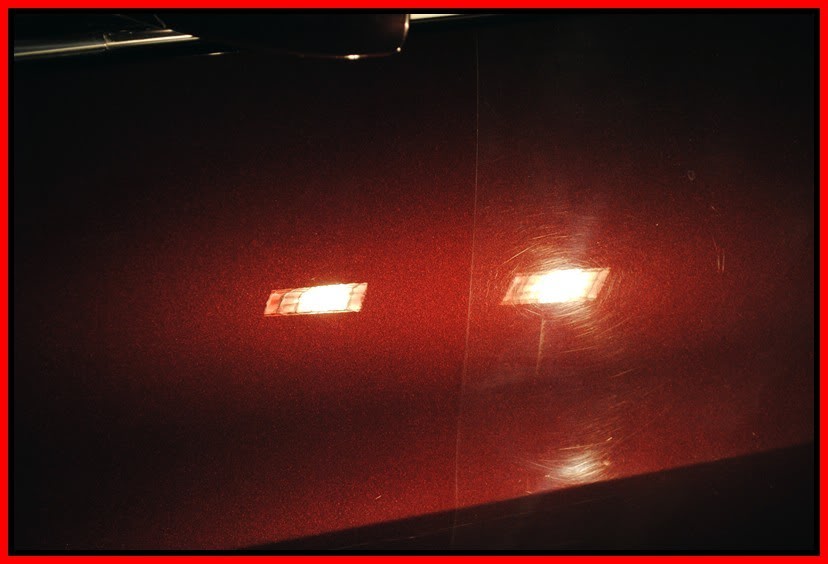
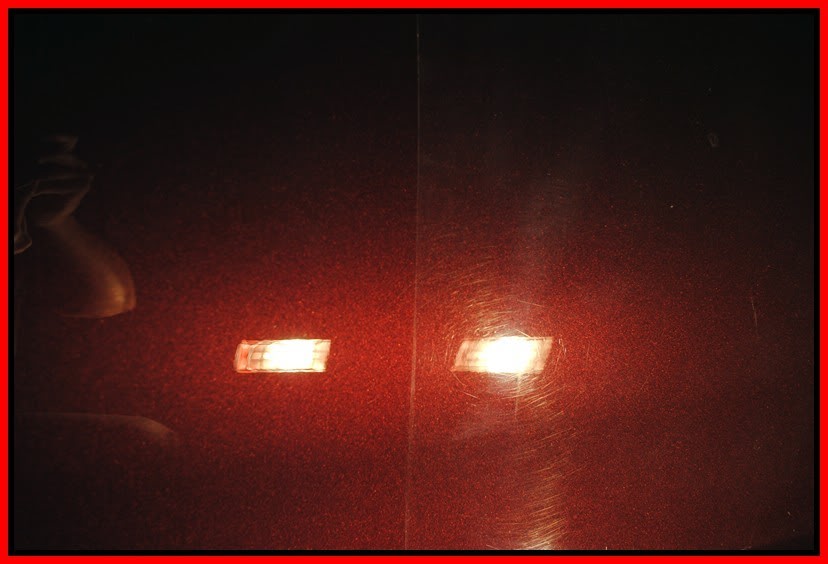
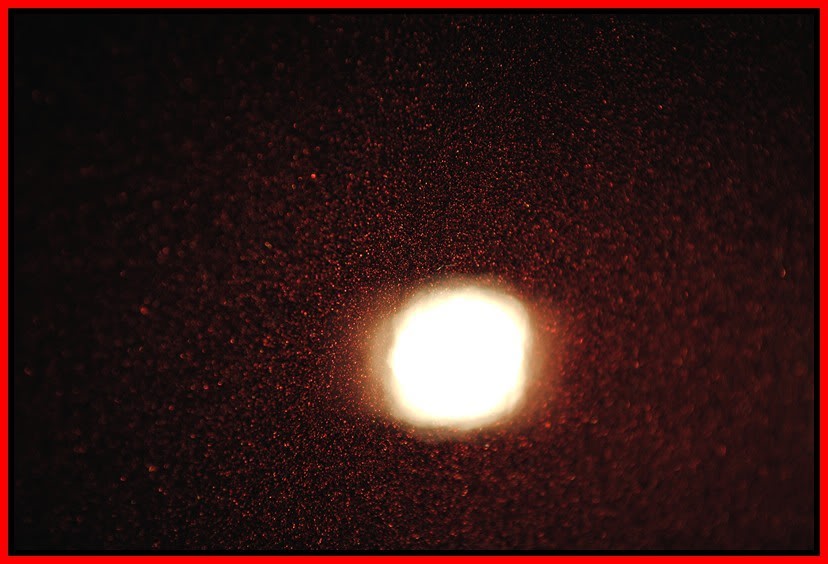
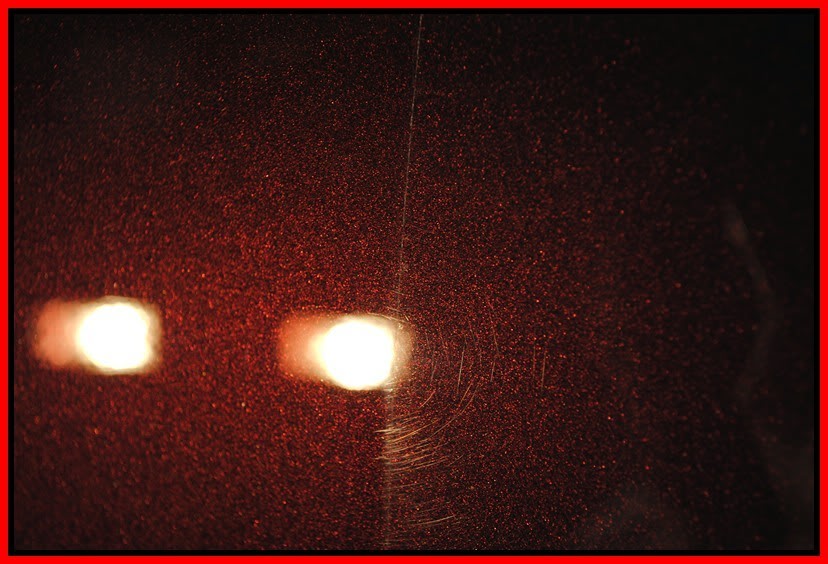
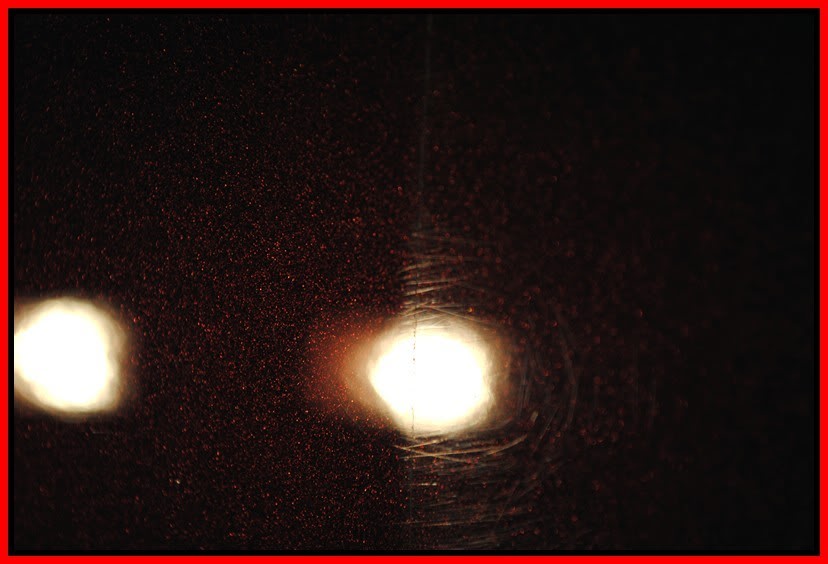
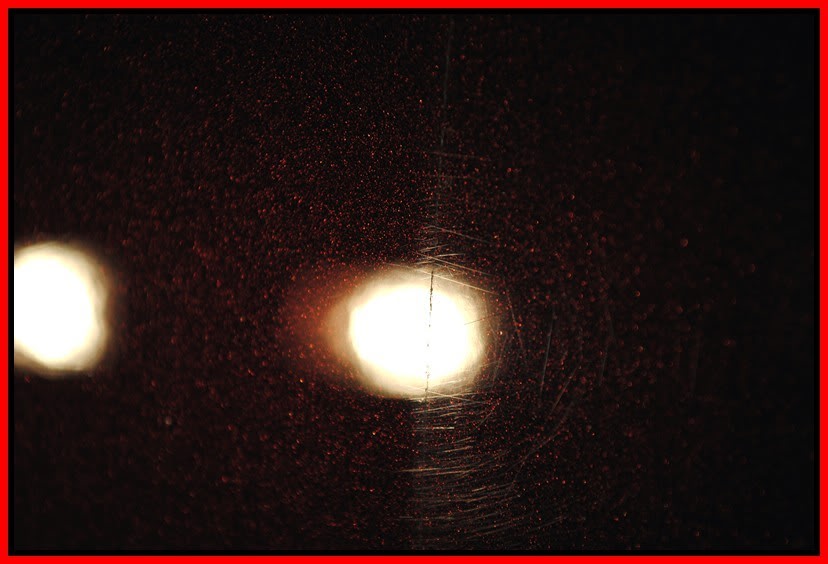
As I made my way arround to the rear, I got a chance to get some more of that rubber off with the tire out of the way.
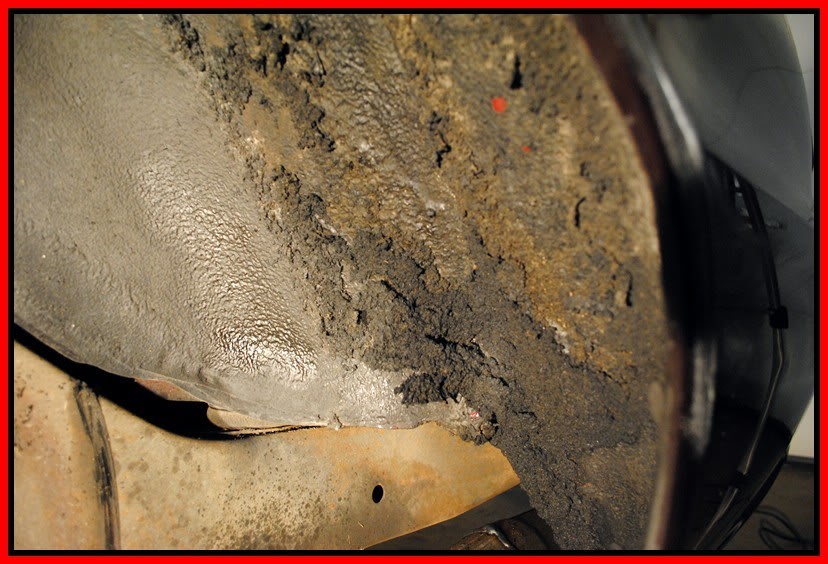
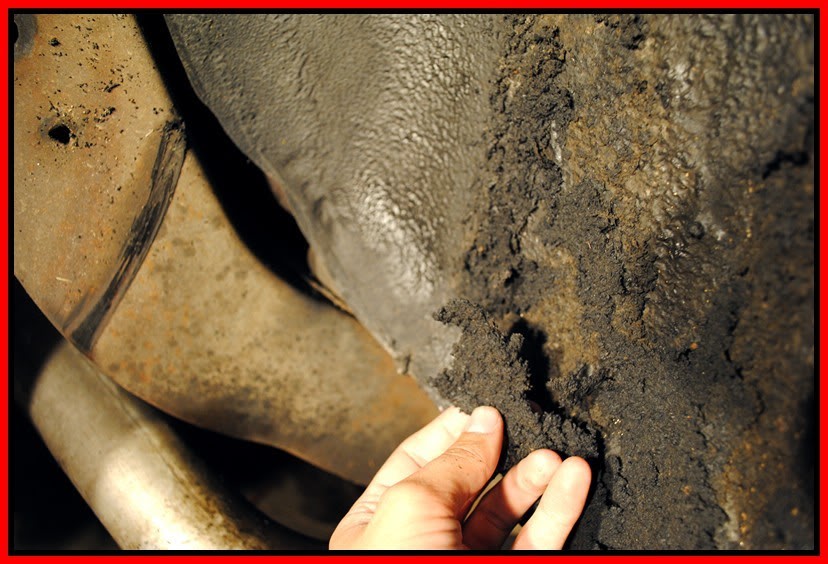
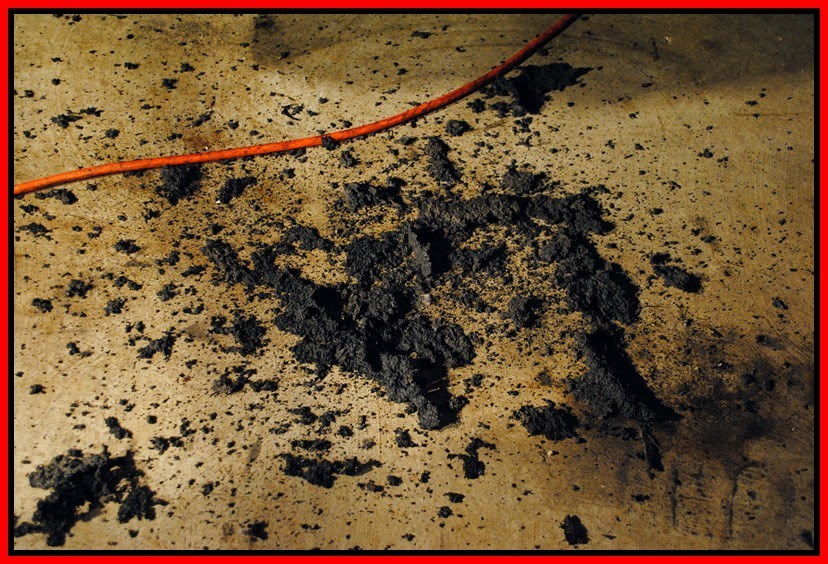
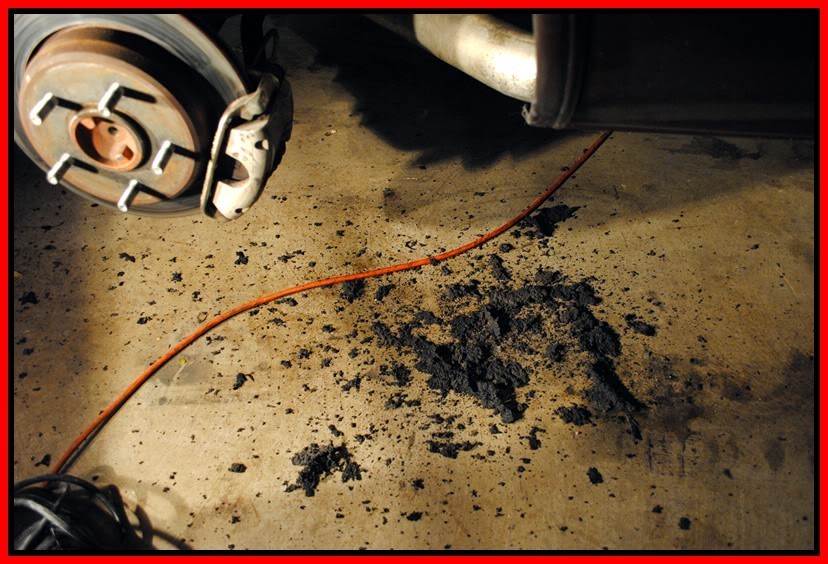
I took a break from the paint polishing and started polishing the wheels. I used some Busches polish and a microfiber towel.
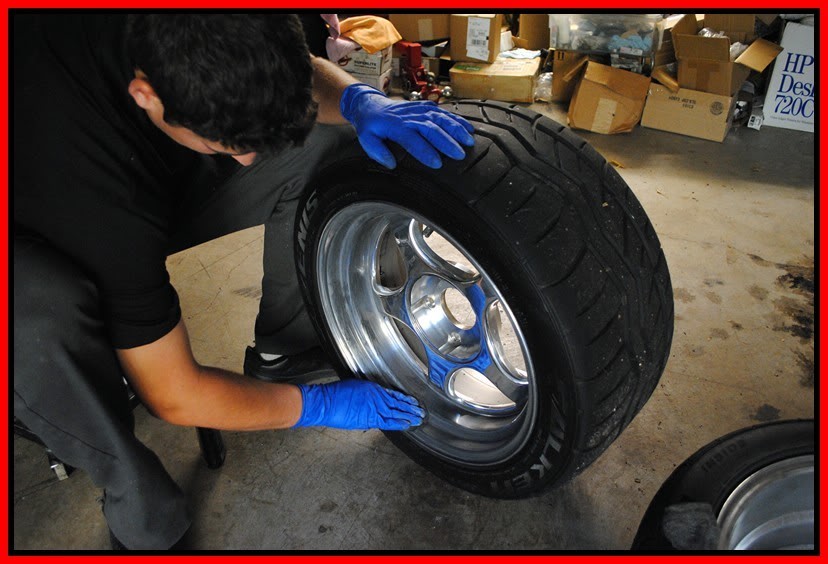
after the wheels were polished I coated each wheel with two layers of PB's Wheel sealant, letting each layer haze and then wipe of and reapply.
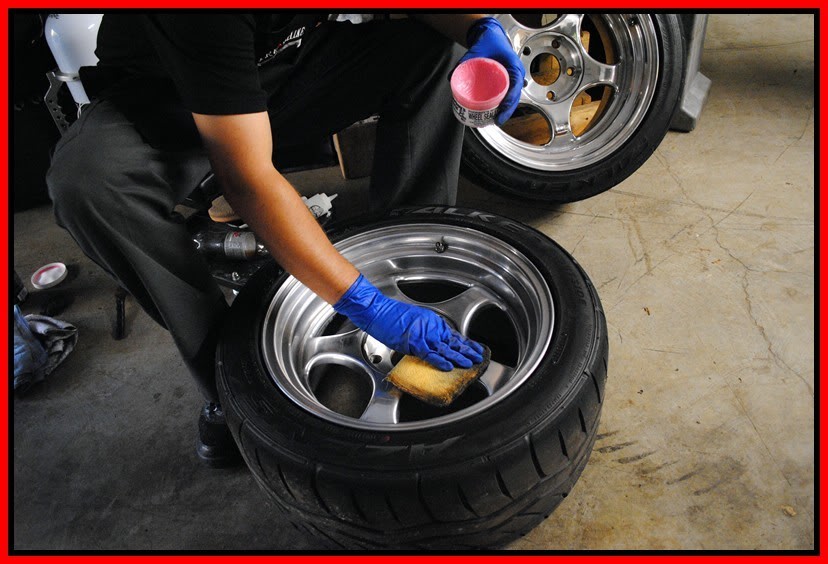
In person there was a tremendous difference in depth and gloss and I tried to capture it with the camera.
The one on the Left has been polished, and the one on the right has not.
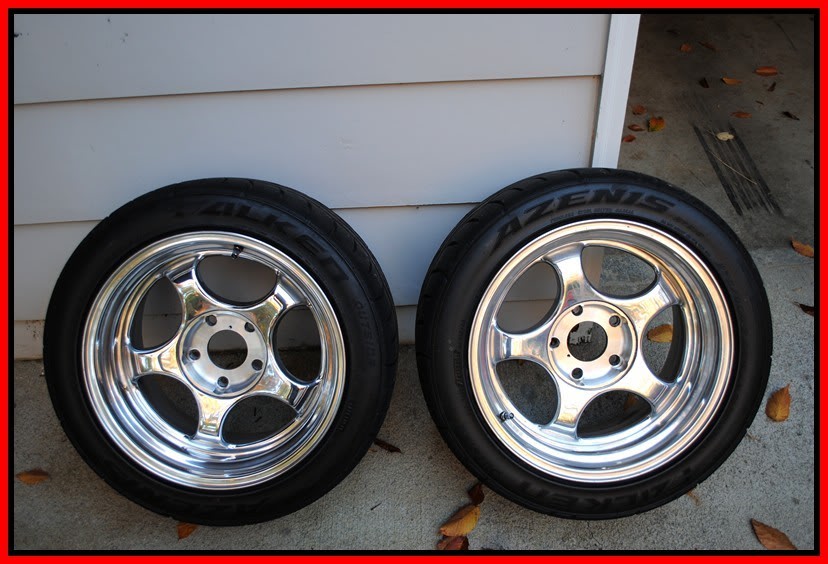
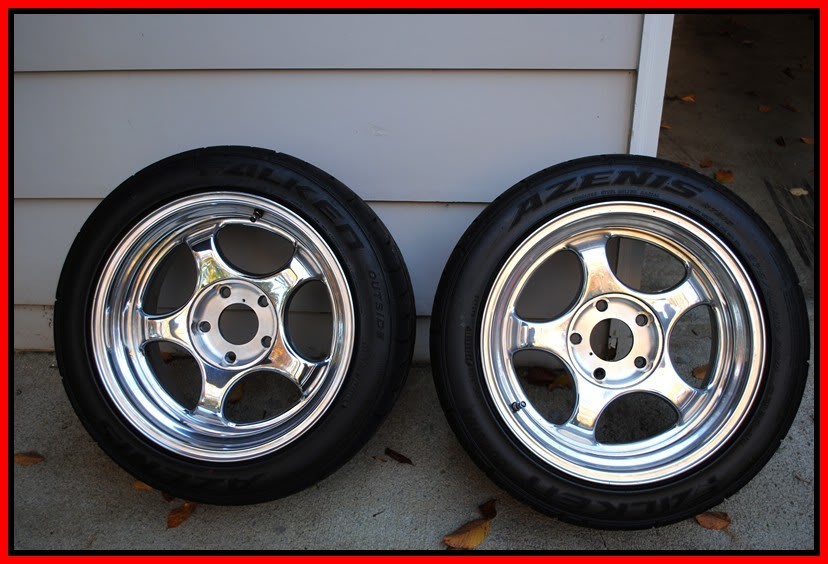
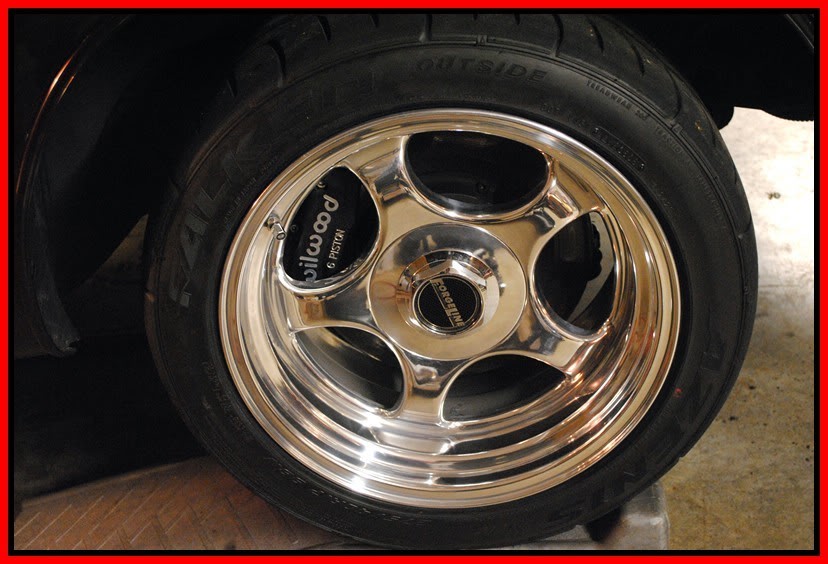
After the wheels were finished and put back on the car. I got back to the paint correction.
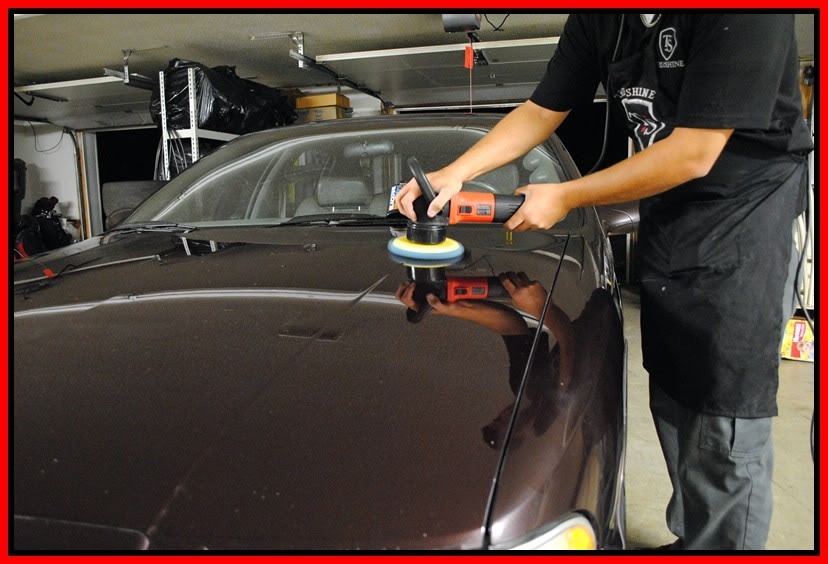
here I am using the Cyan pad with M105 compound.
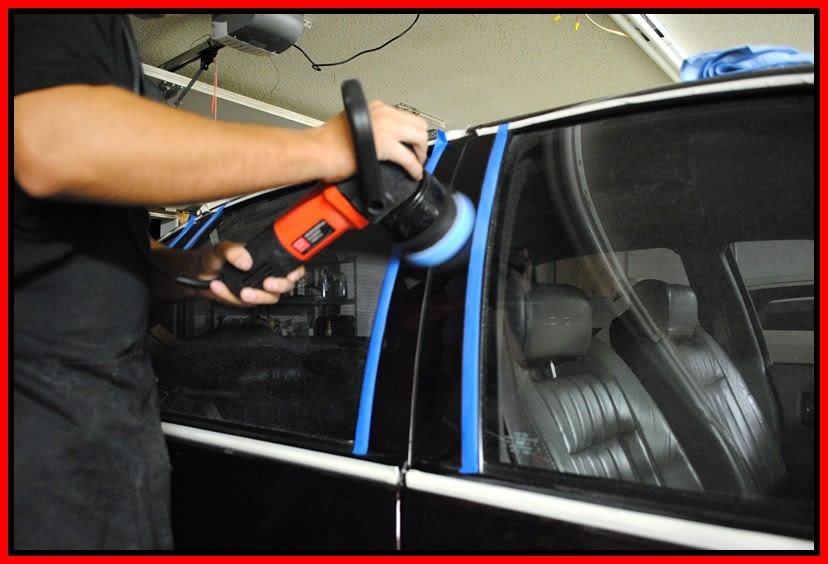
I changed out the backing plate and put on the 4in BP and used a 4in Cyan pad on the door pillars.
After all of the paint was finished I applied Black Fire Wet Diamond to the paint using a 6in Blue LC pad.
Since it was about 1:30 am when I finished I had to come back the next day for sun shots.
but here are the Final Shots
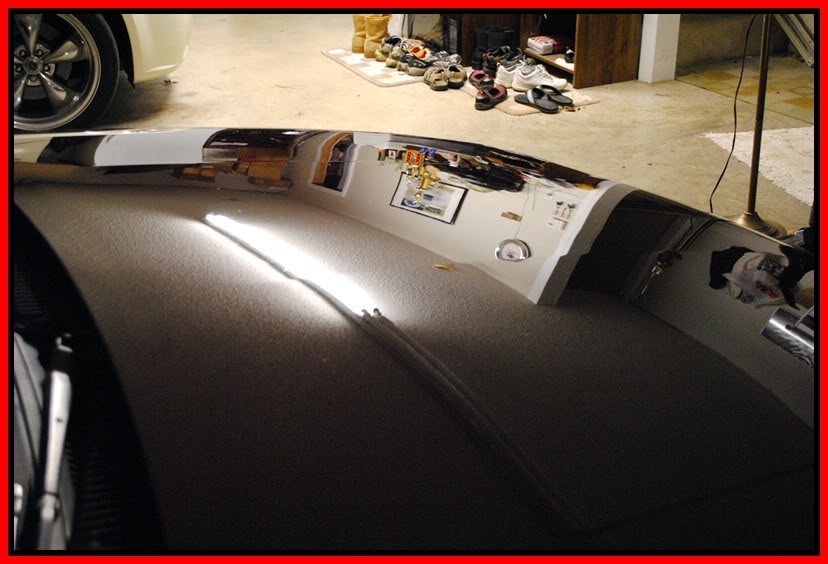
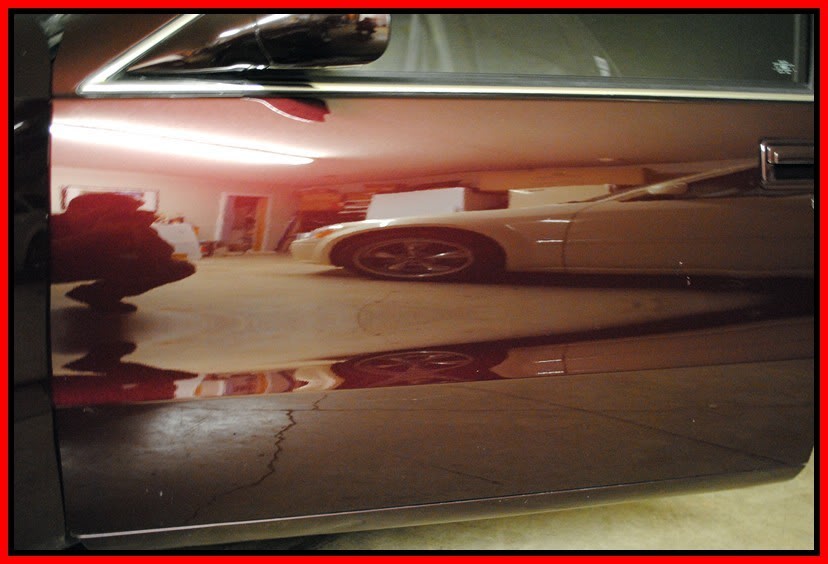
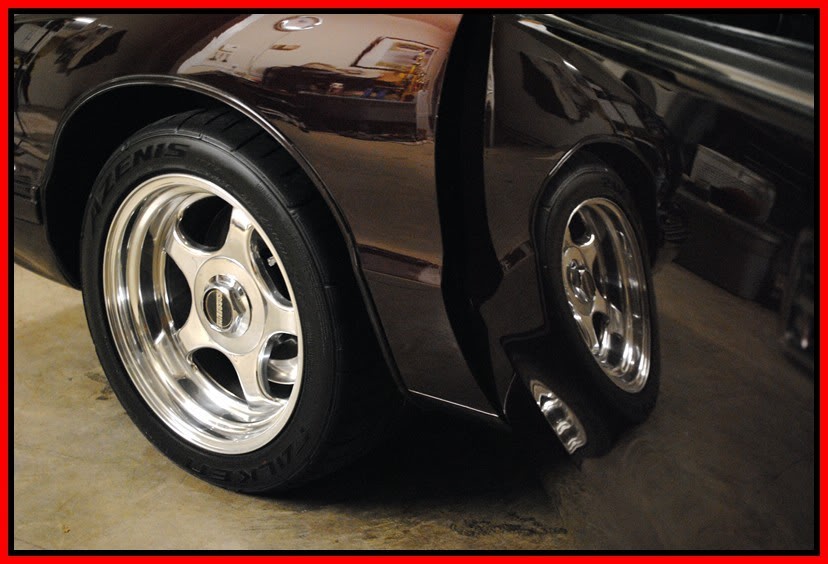
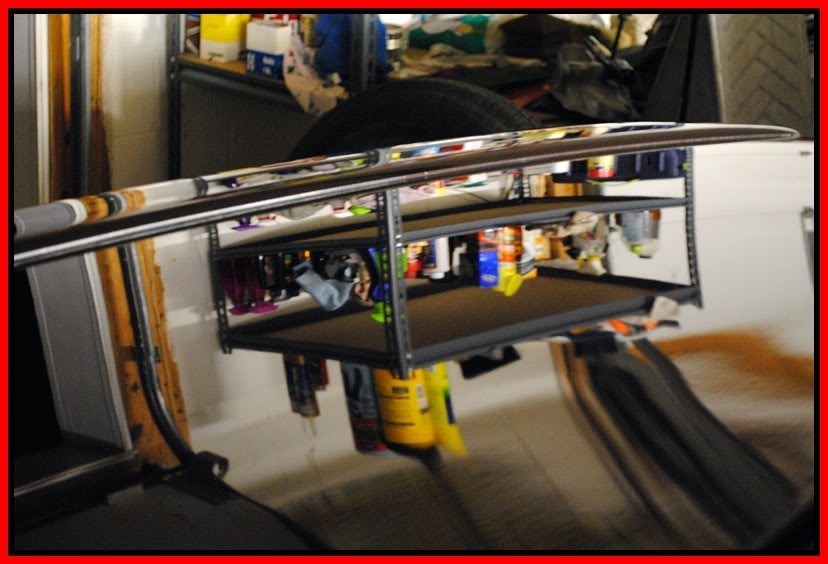
then the next day pics
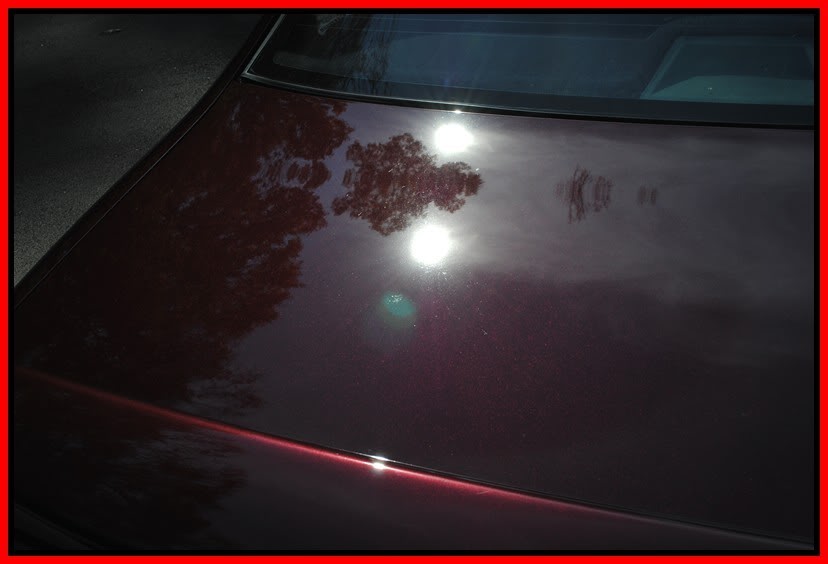
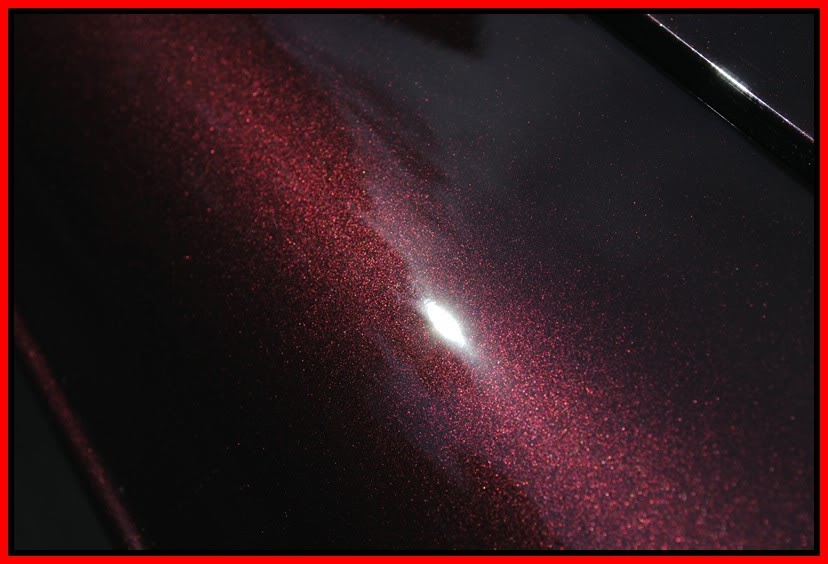
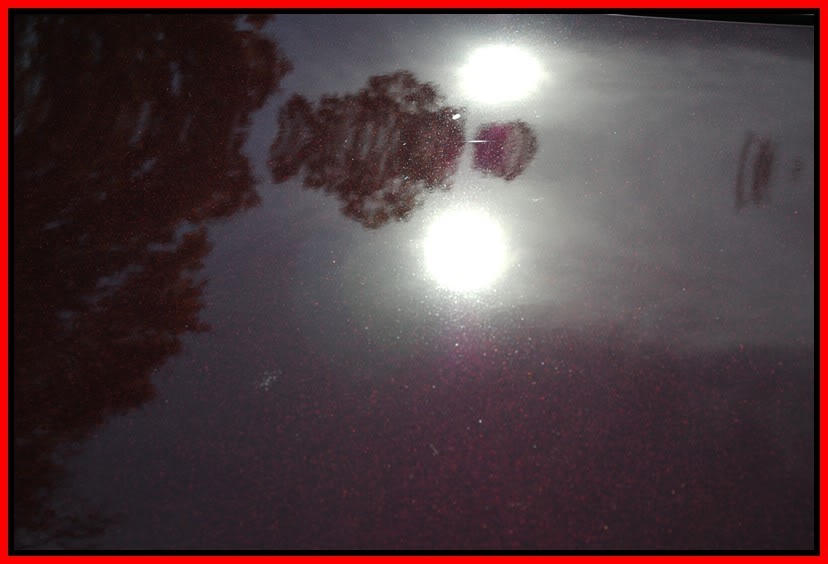
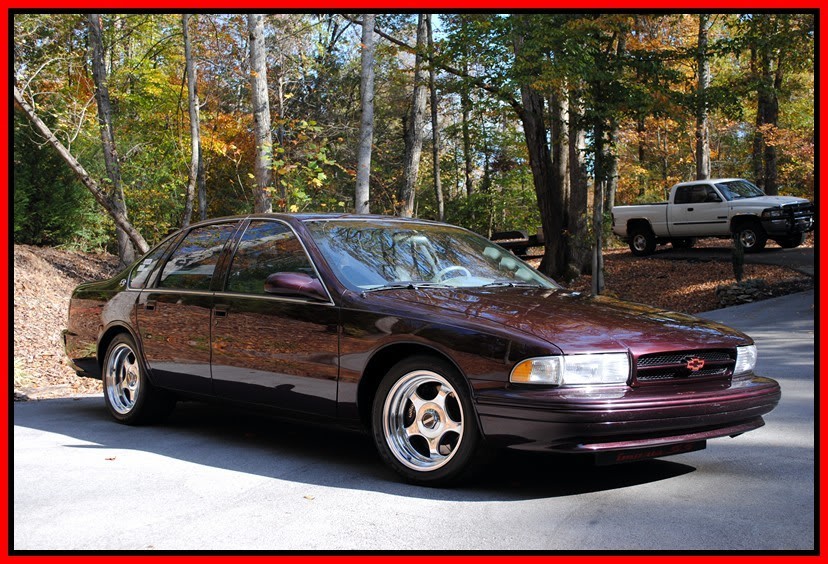
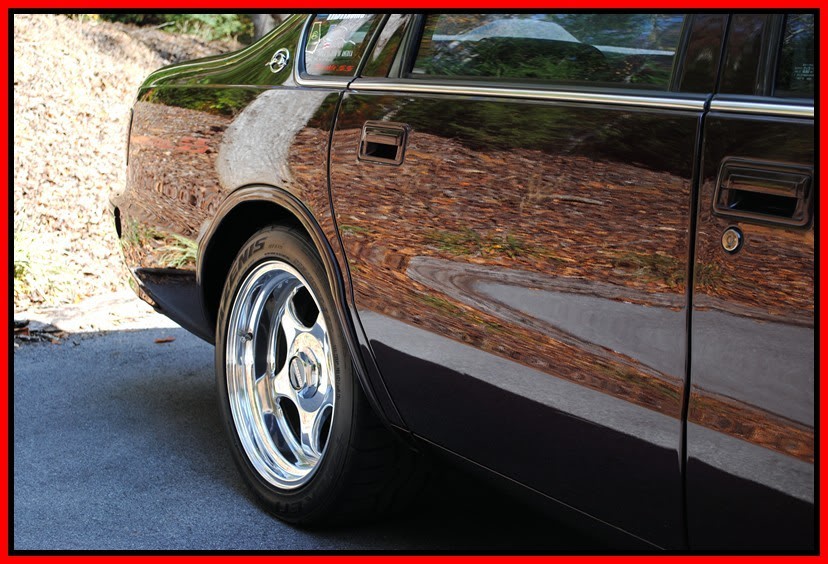
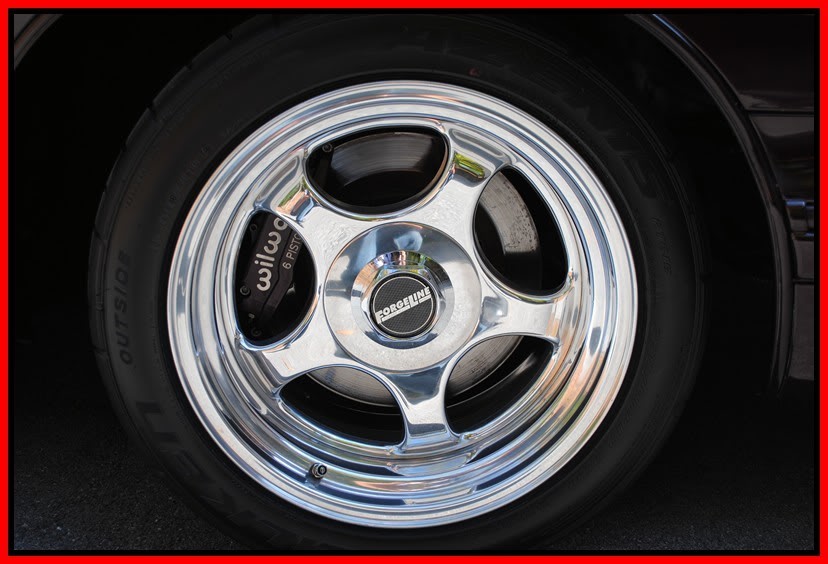
Wetness!
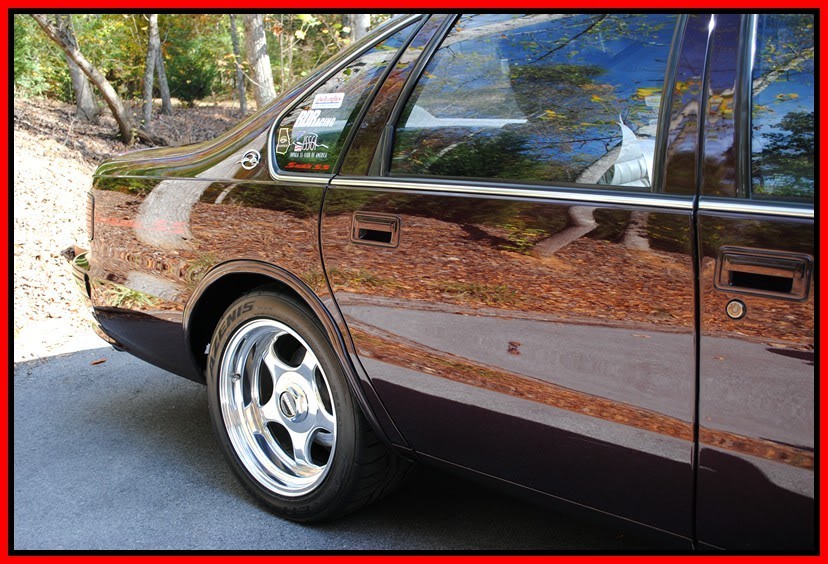
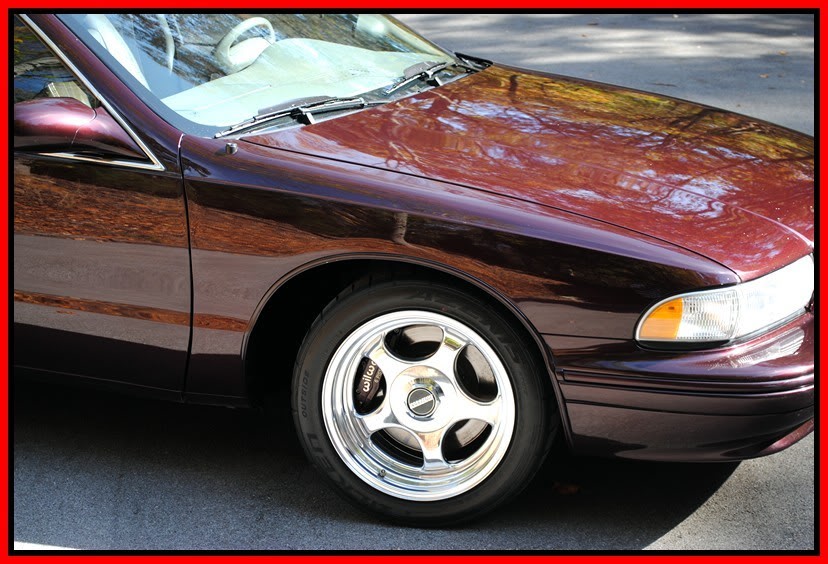
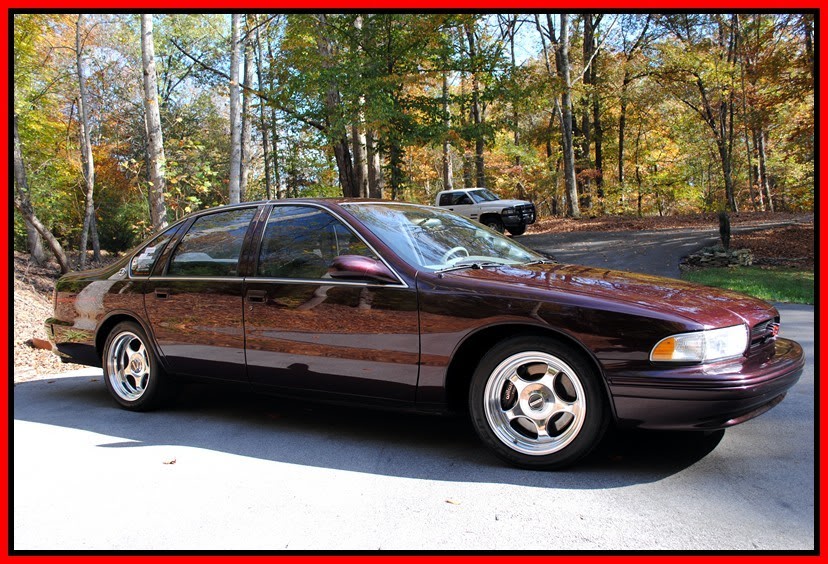
Thanks for viewing, have a bless day!
Thread
Thread Starter
Forum
Replies
Last Post
Type_LS
2nd Generation GE8 Specific Fit Photos & Videos Sub-Forum
41
05-30-2013 06:45 AM
gd3kamiwanaB
Fit Photos & Videos
11
05-19-2008 11:30 PM


