
Tell Me How --- > Washer Bottle :) !!!


Tell Me How --- > Washer Bottle :) !!!
when FI u have to remove washer bottle
my first thought was .. its ok...i get to save weight !!
but winter times, it is a must to have it so you can see properly through the windows....
i need to put it back....
i've seen some of you guys have it relocated...
but how do you fit the bottle neck ? and where ?
PLEASE POST PIC !
thanks in advance !

i am going to cut the neck off the bottle at a point where it will be about a 1" diameter hole. then get 1" diameter clear plumbing hose from home depot/lowes. inset it a bout an inch into the new hole at the top of the bottle. and use silicone to fill in the gap and seal it.
route the hose under the headlight, up behind in through the fender and into the engine bay near the brake lines.
i havent thought of a cap for it yet though.
route the hose under the headlight, up behind in through the fender and into the engine bay near the brake lines.
i havent thought of a cap for it yet though.
Last edited by NIGHTHAWKSI; Feb 3, 2009 at 03:02 PM.
post pic when u are at it!!
i wonder if there are any flexible tubes i can use for me to route it around tight corners....i was thinking about using soft PVC pipings...
but for sure you need JDM washer bottle firsT !
i wonder if there are any flexible tubes i can use for me to route it around tight corners....i was thinking about using soft PVC pipings...
but for sure you need JDM washer bottle firsT !
Hey Felix69.
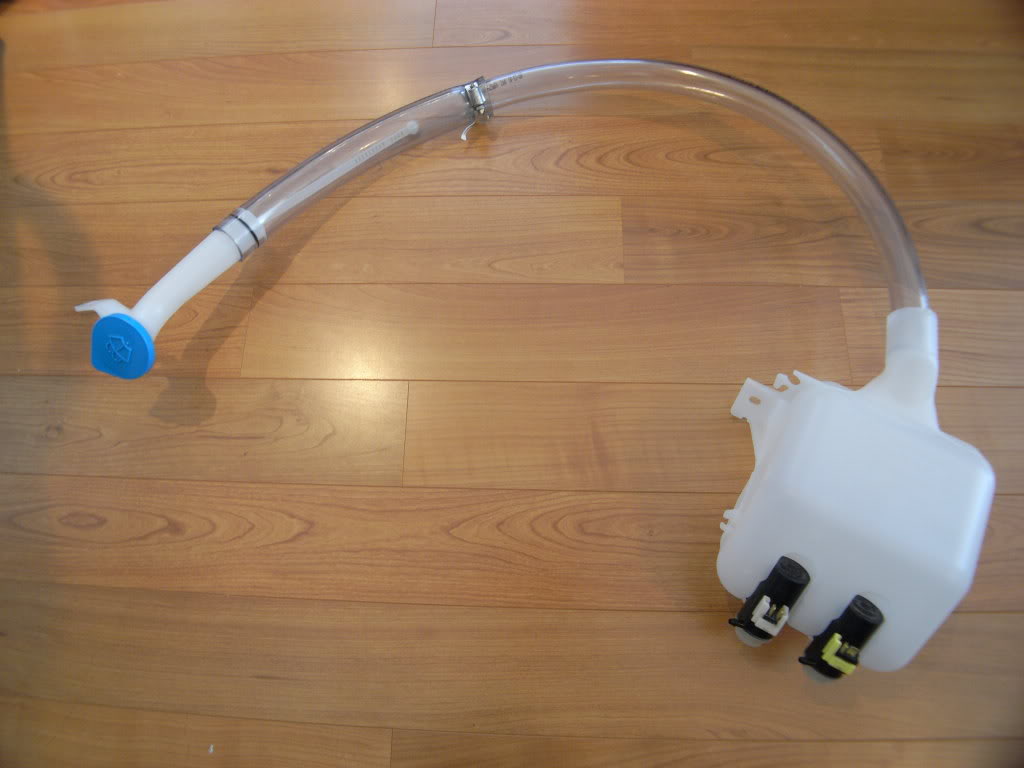
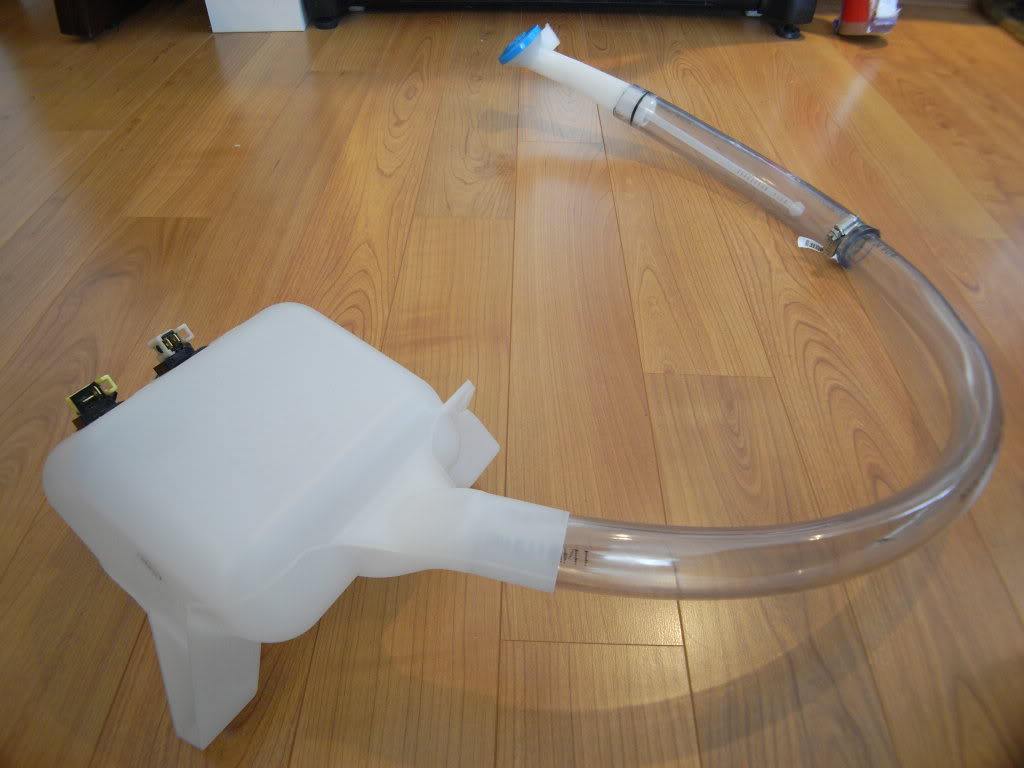
I got the JDM washer bottle with the T1R kit. I had to custom fabricate a mount for the smaller bottle and extend the filler spout.
I used a clear tubing that I picked up from Home Depot and that hose is fairly flexible. I mounted the smaller bottle in the same location as the stock one, I just had to make a couple brackets. You won't be able to use the fluid level sensor in the JDM bottle tho, but thats not a big issue, just that the light won't even come on that your low.. you'll just run out.
Mine works great now, no leaks or anything... It's definitely a must have for anyone living in an area that snows/rains in the winter months. I just took these pics, I don't have any of the bottle with the brackets I made tho. But this should give you an idea and confidence to get'er done

i am going to cut the neck off the bottle at a point where it will be about a 1" diameter hole. then get 1" diameter clear plumbing hose from home depot/lowes. inset it a bout an inch into the new hole at the top of the bottle. and use silicone to fill in the gap and seal it.
route the hose under the headlight, up behind in through the fender and into the engine bay near the brake lines.
i havent thought of a cap for it yet though.
route the hose under the headlight, up behind in through the fender and into the engine bay near the brake lines.
i havent thought of a cap for it yet though.
I'm impressed with the innovativeness of the forced induction folks here!
If you look very closely at the second pic there is still a rubber O-ring on the filler neck from where it was plugged into the reservoir... it wasn't too difficult to do, the hardest part was making the brackets to mount the smaller bottle.. I think maybe 2hrs from start to finish
Thx so much
tho another problem I will have is I have no where to mount the bottle
I had to cut the intercooler pipes and make it shorter so I can mounts the intercooler right up against the rad so that it will clear the front bumper with cutting every thing out
I'll see if I can fit it tho !! Cuz a washer bottle is just a must
You have the JDM front end conversion right? I think it'll be a tad more difficult.. but i'm sure you'll find a way.
GL!
Member
Joined: Feb 2007
Posts: 548
From: Flint, MI
Wow you guys put a lot of thought into this.. Kudos!
Mine's strapped in with bungee cord. The filler is cobbled together with duct tape and garden hose. Looks ok, actually, and it WORKS! Woohoo for Michigan Redneck engineering!
Mine's strapped in with bungee cord. The filler is cobbled together with duct tape and garden hose. Looks ok, actually, and it WORKS! Woohoo for Michigan Redneck engineering!
back to the Washer bottle solution
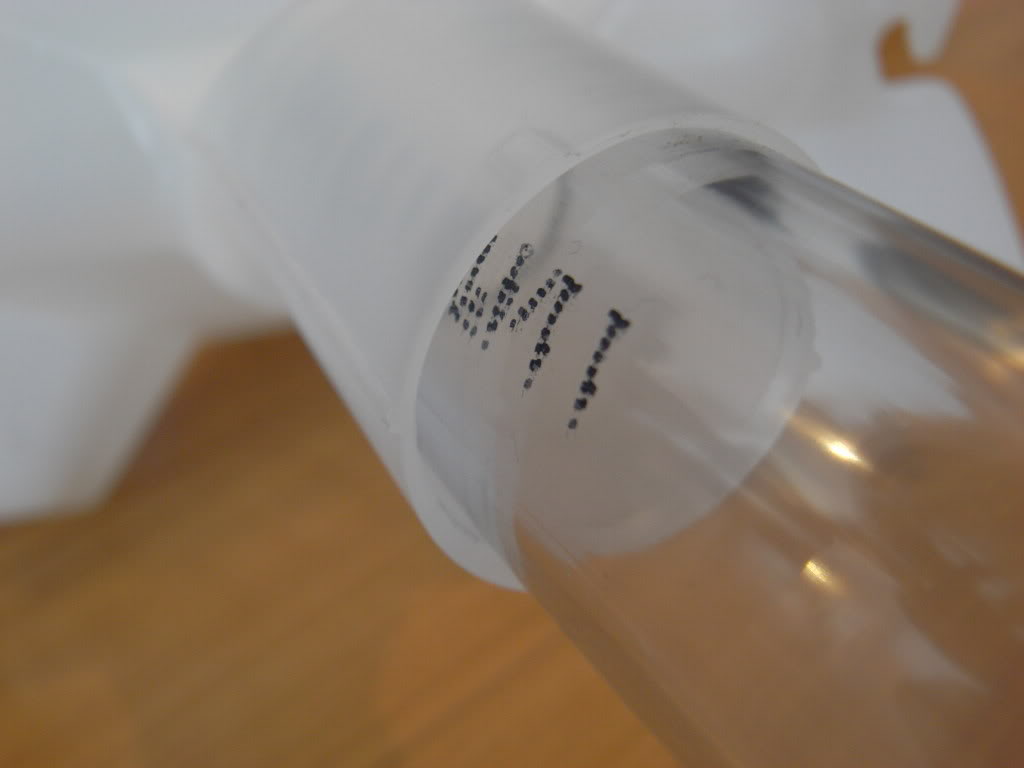
here is the mock up version of how i am gonna extend it...
Parts are from Home-depot
2 pvc tubes + Hose clamps + Glue gun
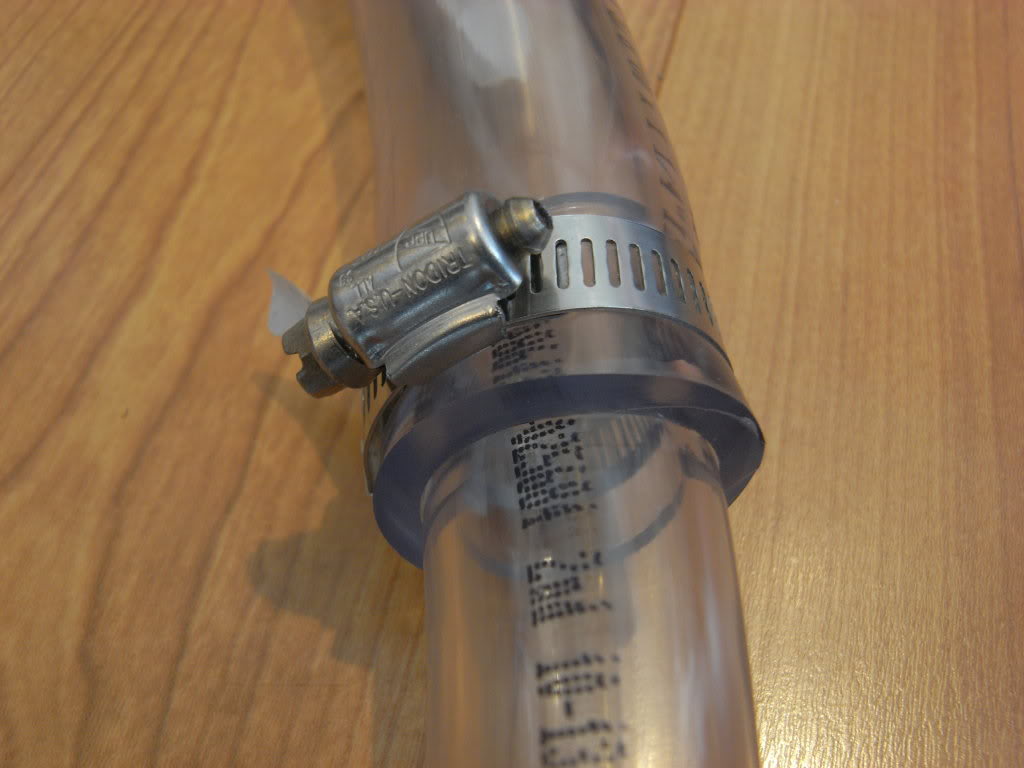
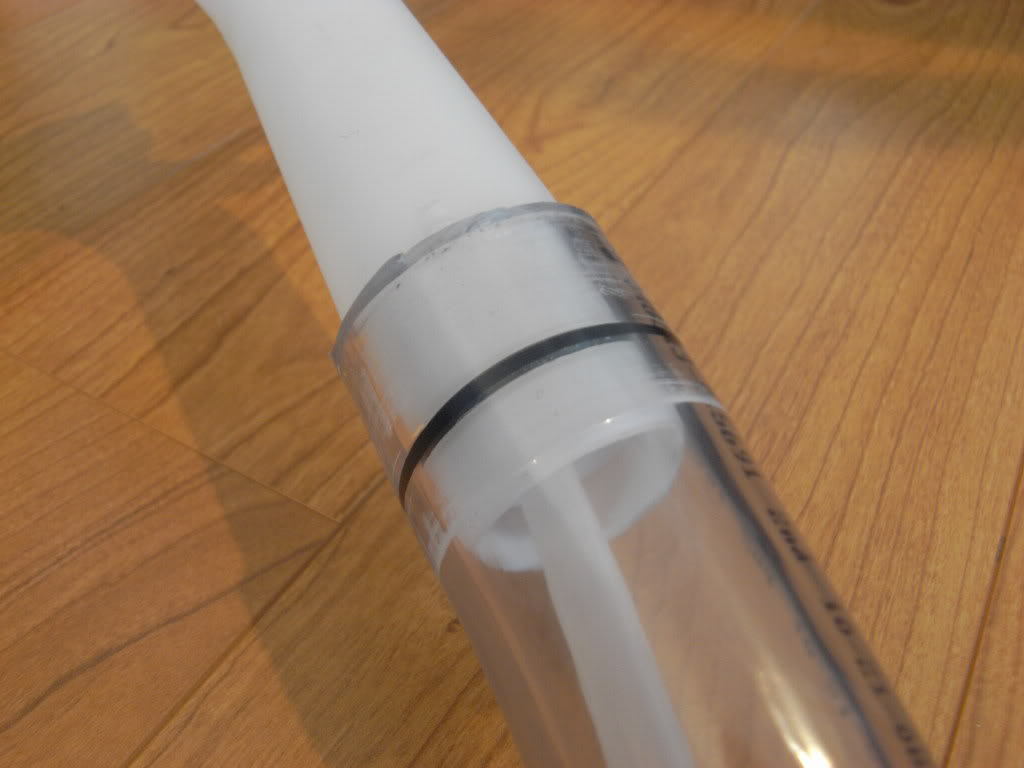
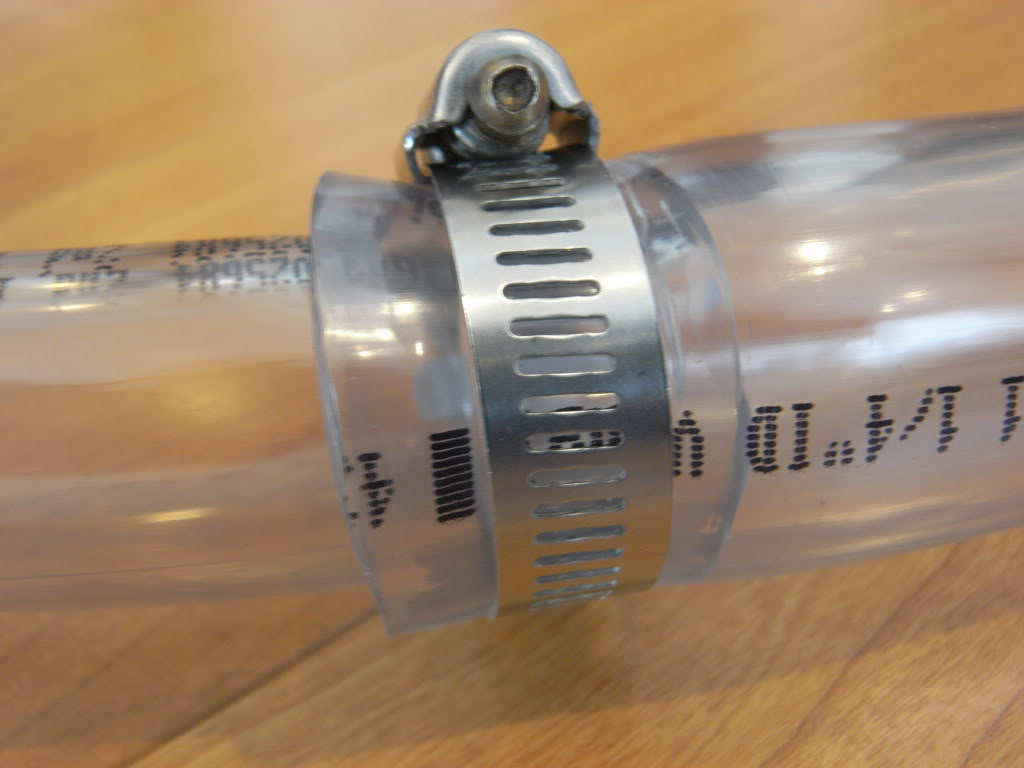
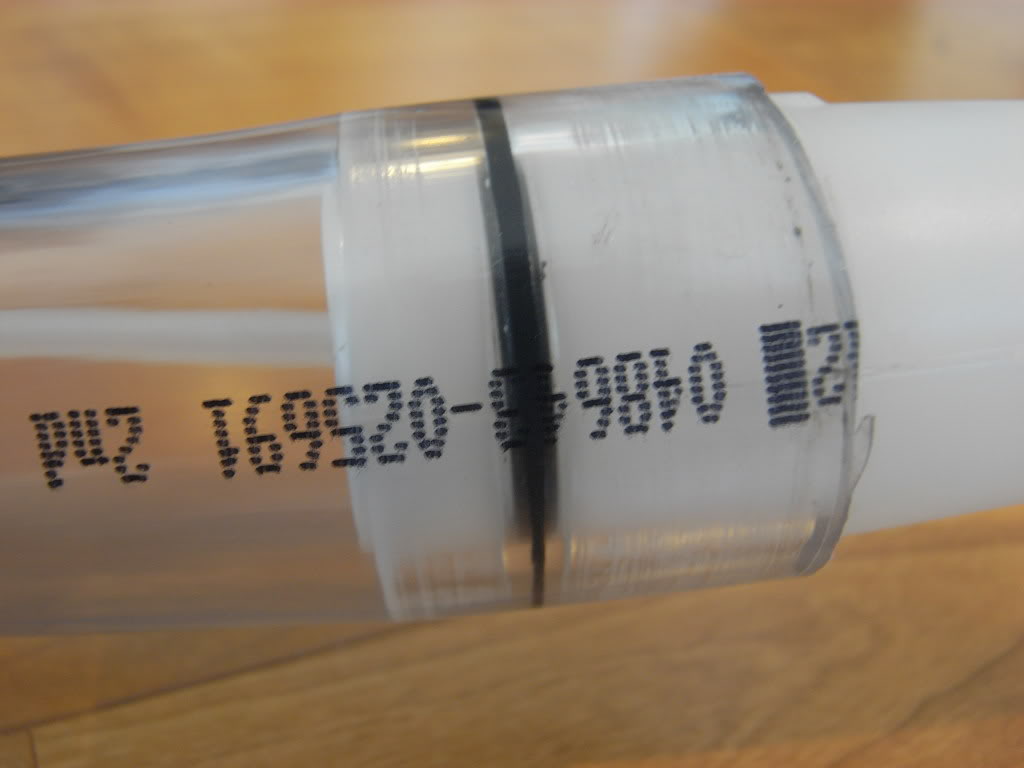
this is the part where i need to use glue gun..cuz it isn't tight....
here is the mock up version of how i am gonna extend it...
Parts are from Home-depot
2 pvc tubes + Hose clamps + Glue gun
this is the part where i need to use glue gun..cuz it isn't tight....


Thread
Thread Starter
Forum
Replies
Last Post
texas_fit
Fit DIY: Repair & Maintenance
1
Oct 16, 2016 08:00 PM
bdogpot
2nd Gen GE8 Specific Fit Engine Modifications, Motor Swaps, ECU Tuning Sub-Forum
2
Nov 27, 2012 09:31 AM
eat2na
Fit DIY: Repair & Maintenance
3
Aug 28, 2008 09:51 AM